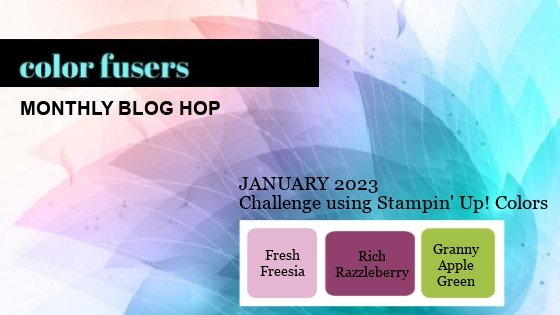
Color Fusers--January 2023
/Hello friends and welcome back to another year of the Color Fusers Blog Hop! We are so happy to have you here and we have some new friends joining us from around the world. So make sure to go all the way through the hop!
I was very excited about this color combo of Fresh Freesia, Rich Razzleberry and Granny Apple Green, however…I did cheat, I added in a fourth color because I really needed it to bring my card vision alive! I hope my fellow teammates can give me a pass for creative inspiration!
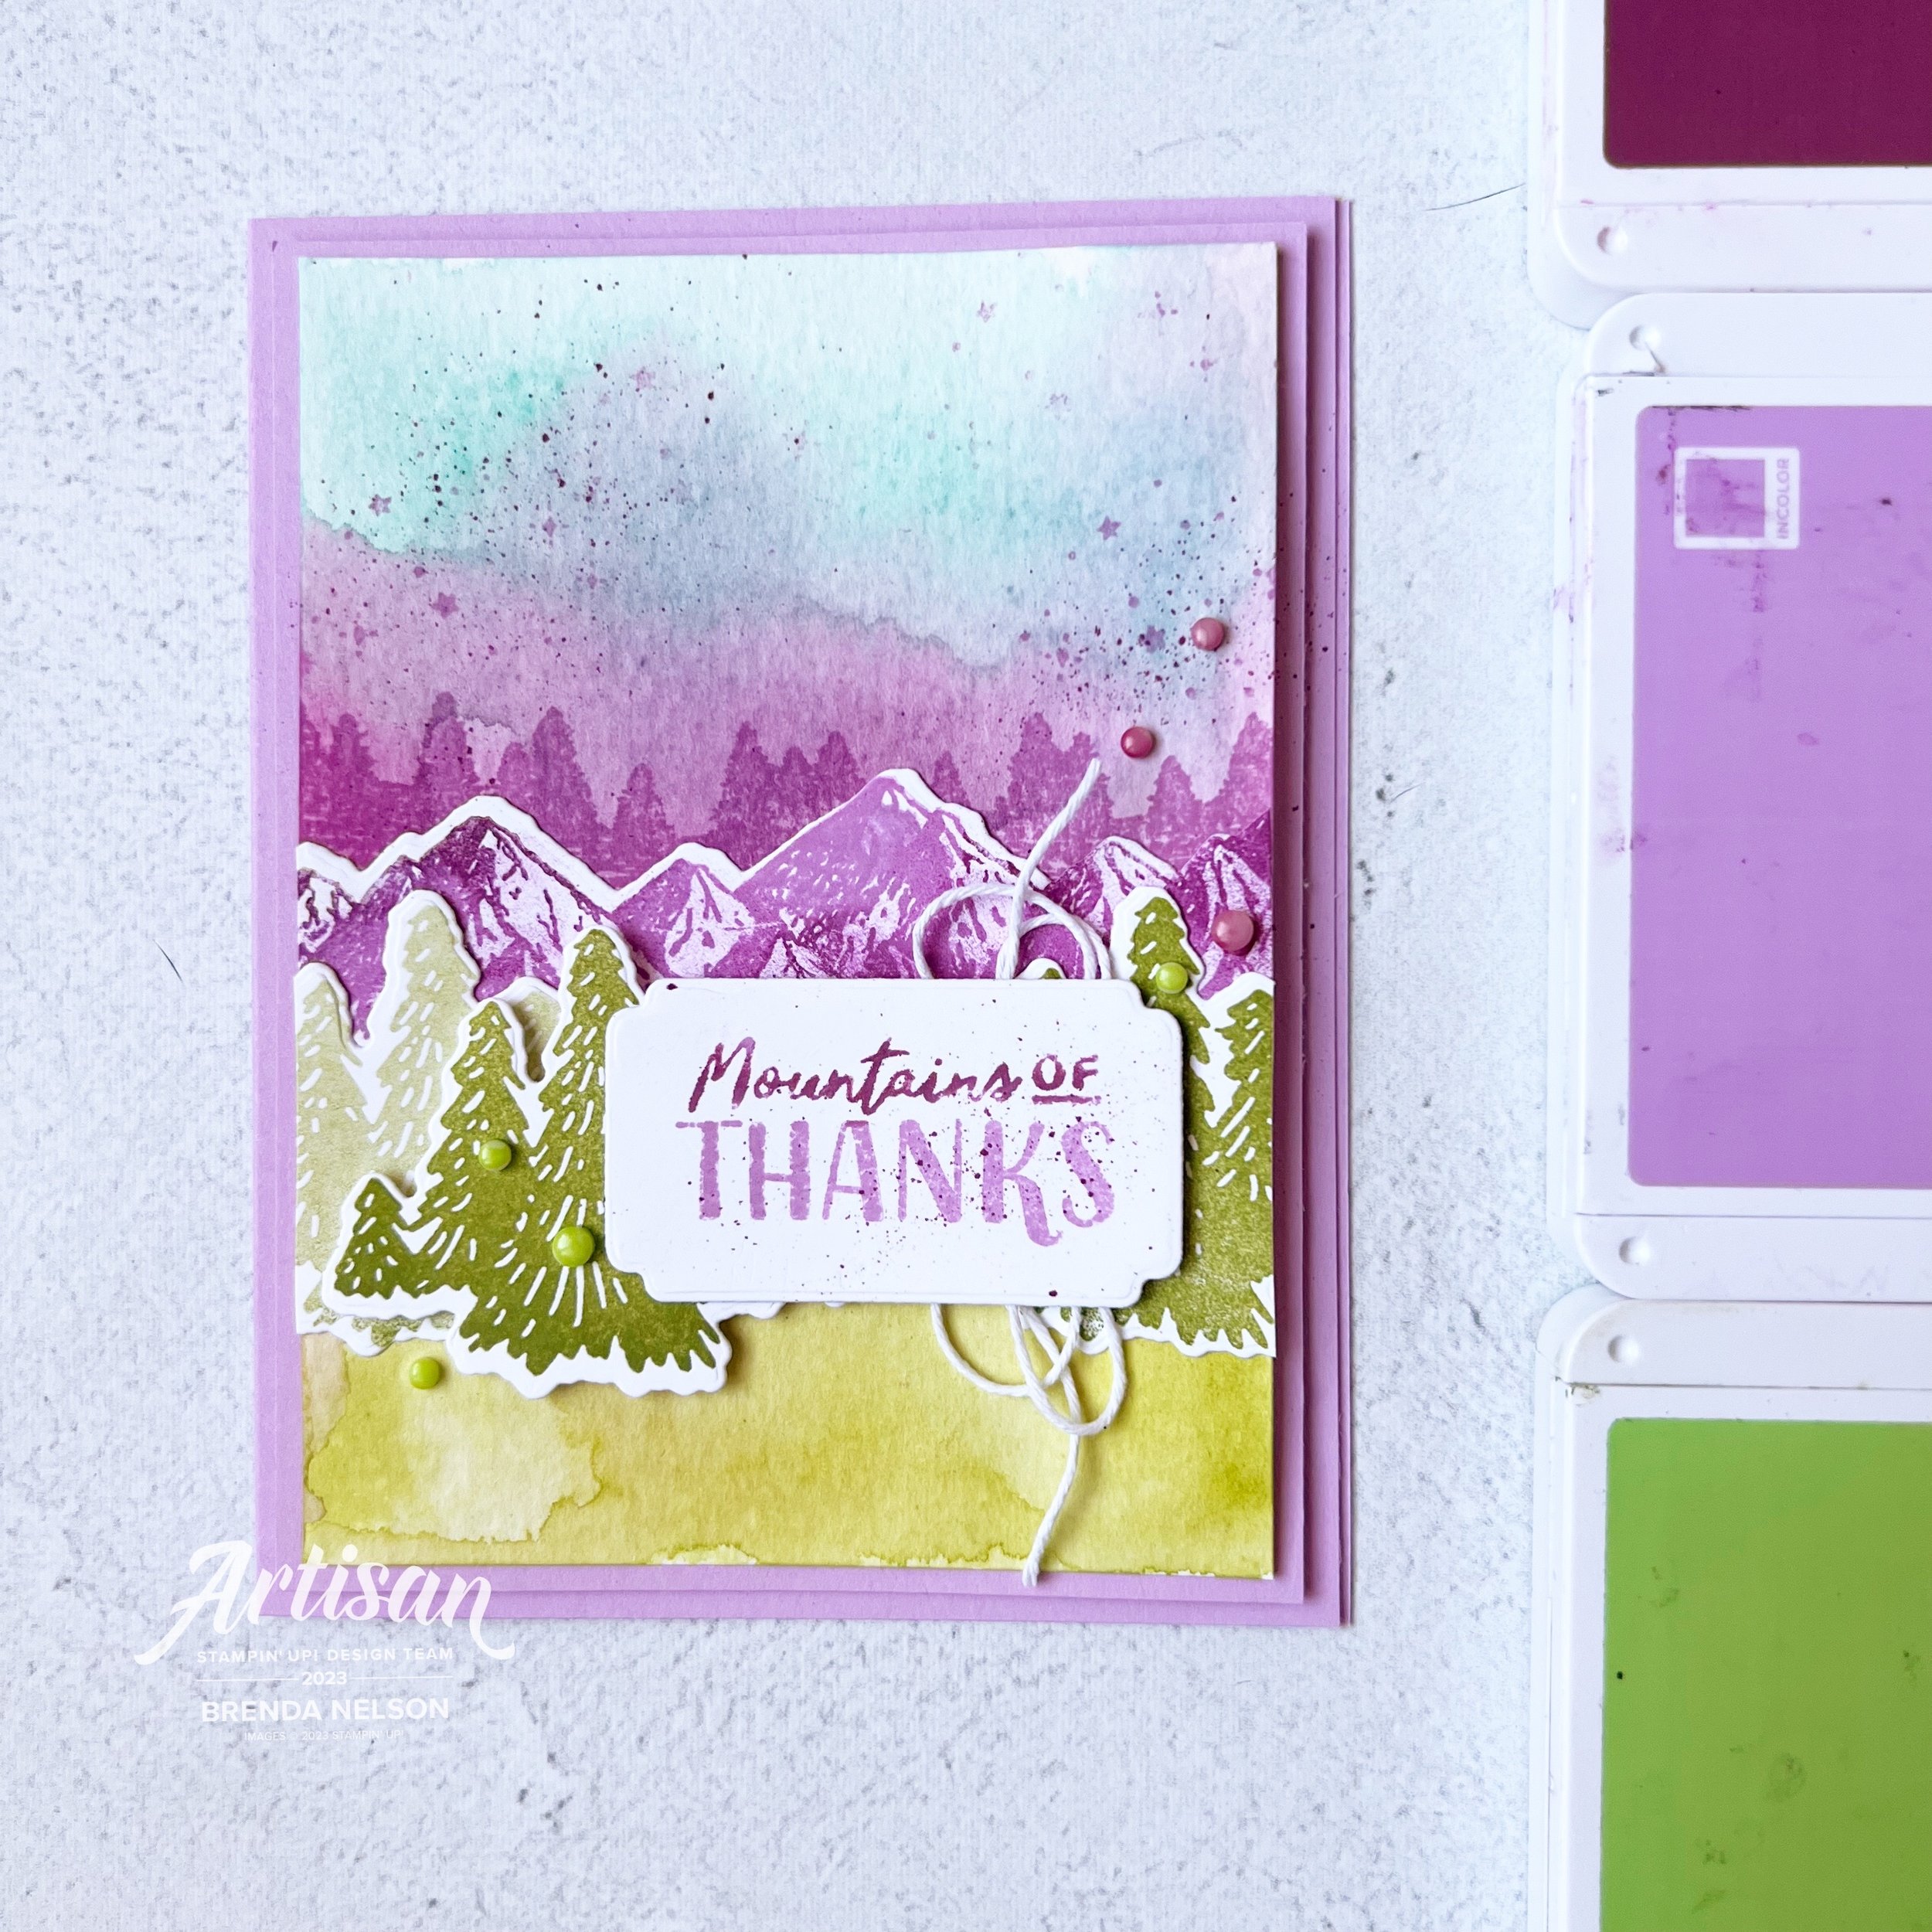
My card features a fourth color—Coastal Cabana! I had a summer sunset over the mountains in my mind and I really needed it to bring my card background to life.
This card reminds me of my recent trip I took w one of my besties—we drove through the rocky mountains, down through washington, idaho and montana. it was beautiful!
I started with a card base and first layer of Fresh Freesia. I then used our Watercolor Paper to create my background. I started by spritzing the paper with water and then I added in Coastal Cabana with a Water Painter to the top half of the watercolor paper. I then blasted it with my heat tool.
Next I added another spritz of water to the mid section of the card and added some Rich Razzleberry ink with a Water Painter. I made sure that these two colors ran together to create a ridge line. I wanted my mountain range to look like it was fading into the background. I stamped a few little stars from the Greatest Journey set on the sky part of the card.
I then spritzed the bottom half of the watercolor paper again and added my Granny Apple Green color to the bottom.
look at my well loved ink pads! I think i need to a magic eraser to them!
I used two stamp sets to complete this card—the ever fabulous and will never leave my stash stamp set, Mountain Air! I stamped the tree line in Rich Razzleberry ink. The mountains are stamped in Fresh Freesia and then I took a finger dauber in Rich Razzleberry to the tops and filled in a bit of the white space. The mountains were then die cut using the Majestic Mountain Dies.
The trees in forefront are stamped in Granny Apple Green—two full strength and one set stamped off. They were stamped using the new Greatest Journey stamp set and die cut with the coordinating dies.
The sentiment is from the same stamp set and I inked it up in Fresh Freesia and then took my Rich Razzleberry marker over top of the ‘Mountains of’ portion of the stamp to get that two-tone look. The sentiment is cut using the new Something Fancy Dies. I flicked my Rich Razzleberry marker over the sentiment and added a bit of white bakers twine behind.
I wanted some embellishments on my card so I used my Parakeet Party and Rich Razzleberry Stampin’ Blends to color some of the vanilla Classic Matte Dots so they would coordinate.
I LOVE how this card turned out and its really one of a kind, because as you all know with watercoloring, you can rarely repeat the same thing twice! Or I cannot at least! I had a lot of fun making it and my hands were a complete mess. But really, if your hands are inky, did you even really craft? Hahaha!
Don’t you love how many uses we have for our Stampin’ Blends? I love that we can create so many custom things such as the Classic Matte Dots, or color over our many ribbons, or on Window Sheets (a tip I shared for one of my Artisan assignments last year), we can use them for flicking/spritzing, highlighting words, doodling and so much more!
I can’t wait to see what Bonnie O’Neill creates so make sure to hop over to her NEXT or you can be a rebel and go PREVIOUS to see what Sue Vine has designed. Either way, I know you will be impressed so make sure to visit everyone on the hop to see what they have made this month! And thank you again for checking in to see what crafty projects I have been up to!
These items are currently available in my online store!
Product List


