Color Fusers--January 2023

Hello friends and welcome back to another year of the Color Fusers Blog Hop! We are so happy to have you here and we have some new friends joining us from around the world. So make sure to go all the way through the hop!

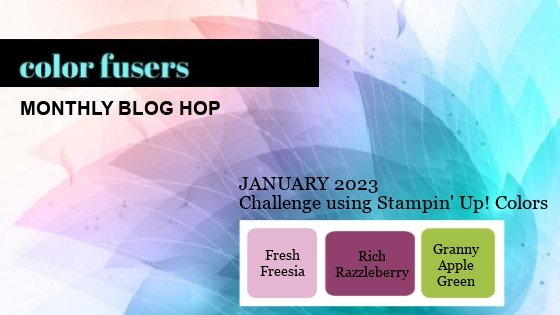
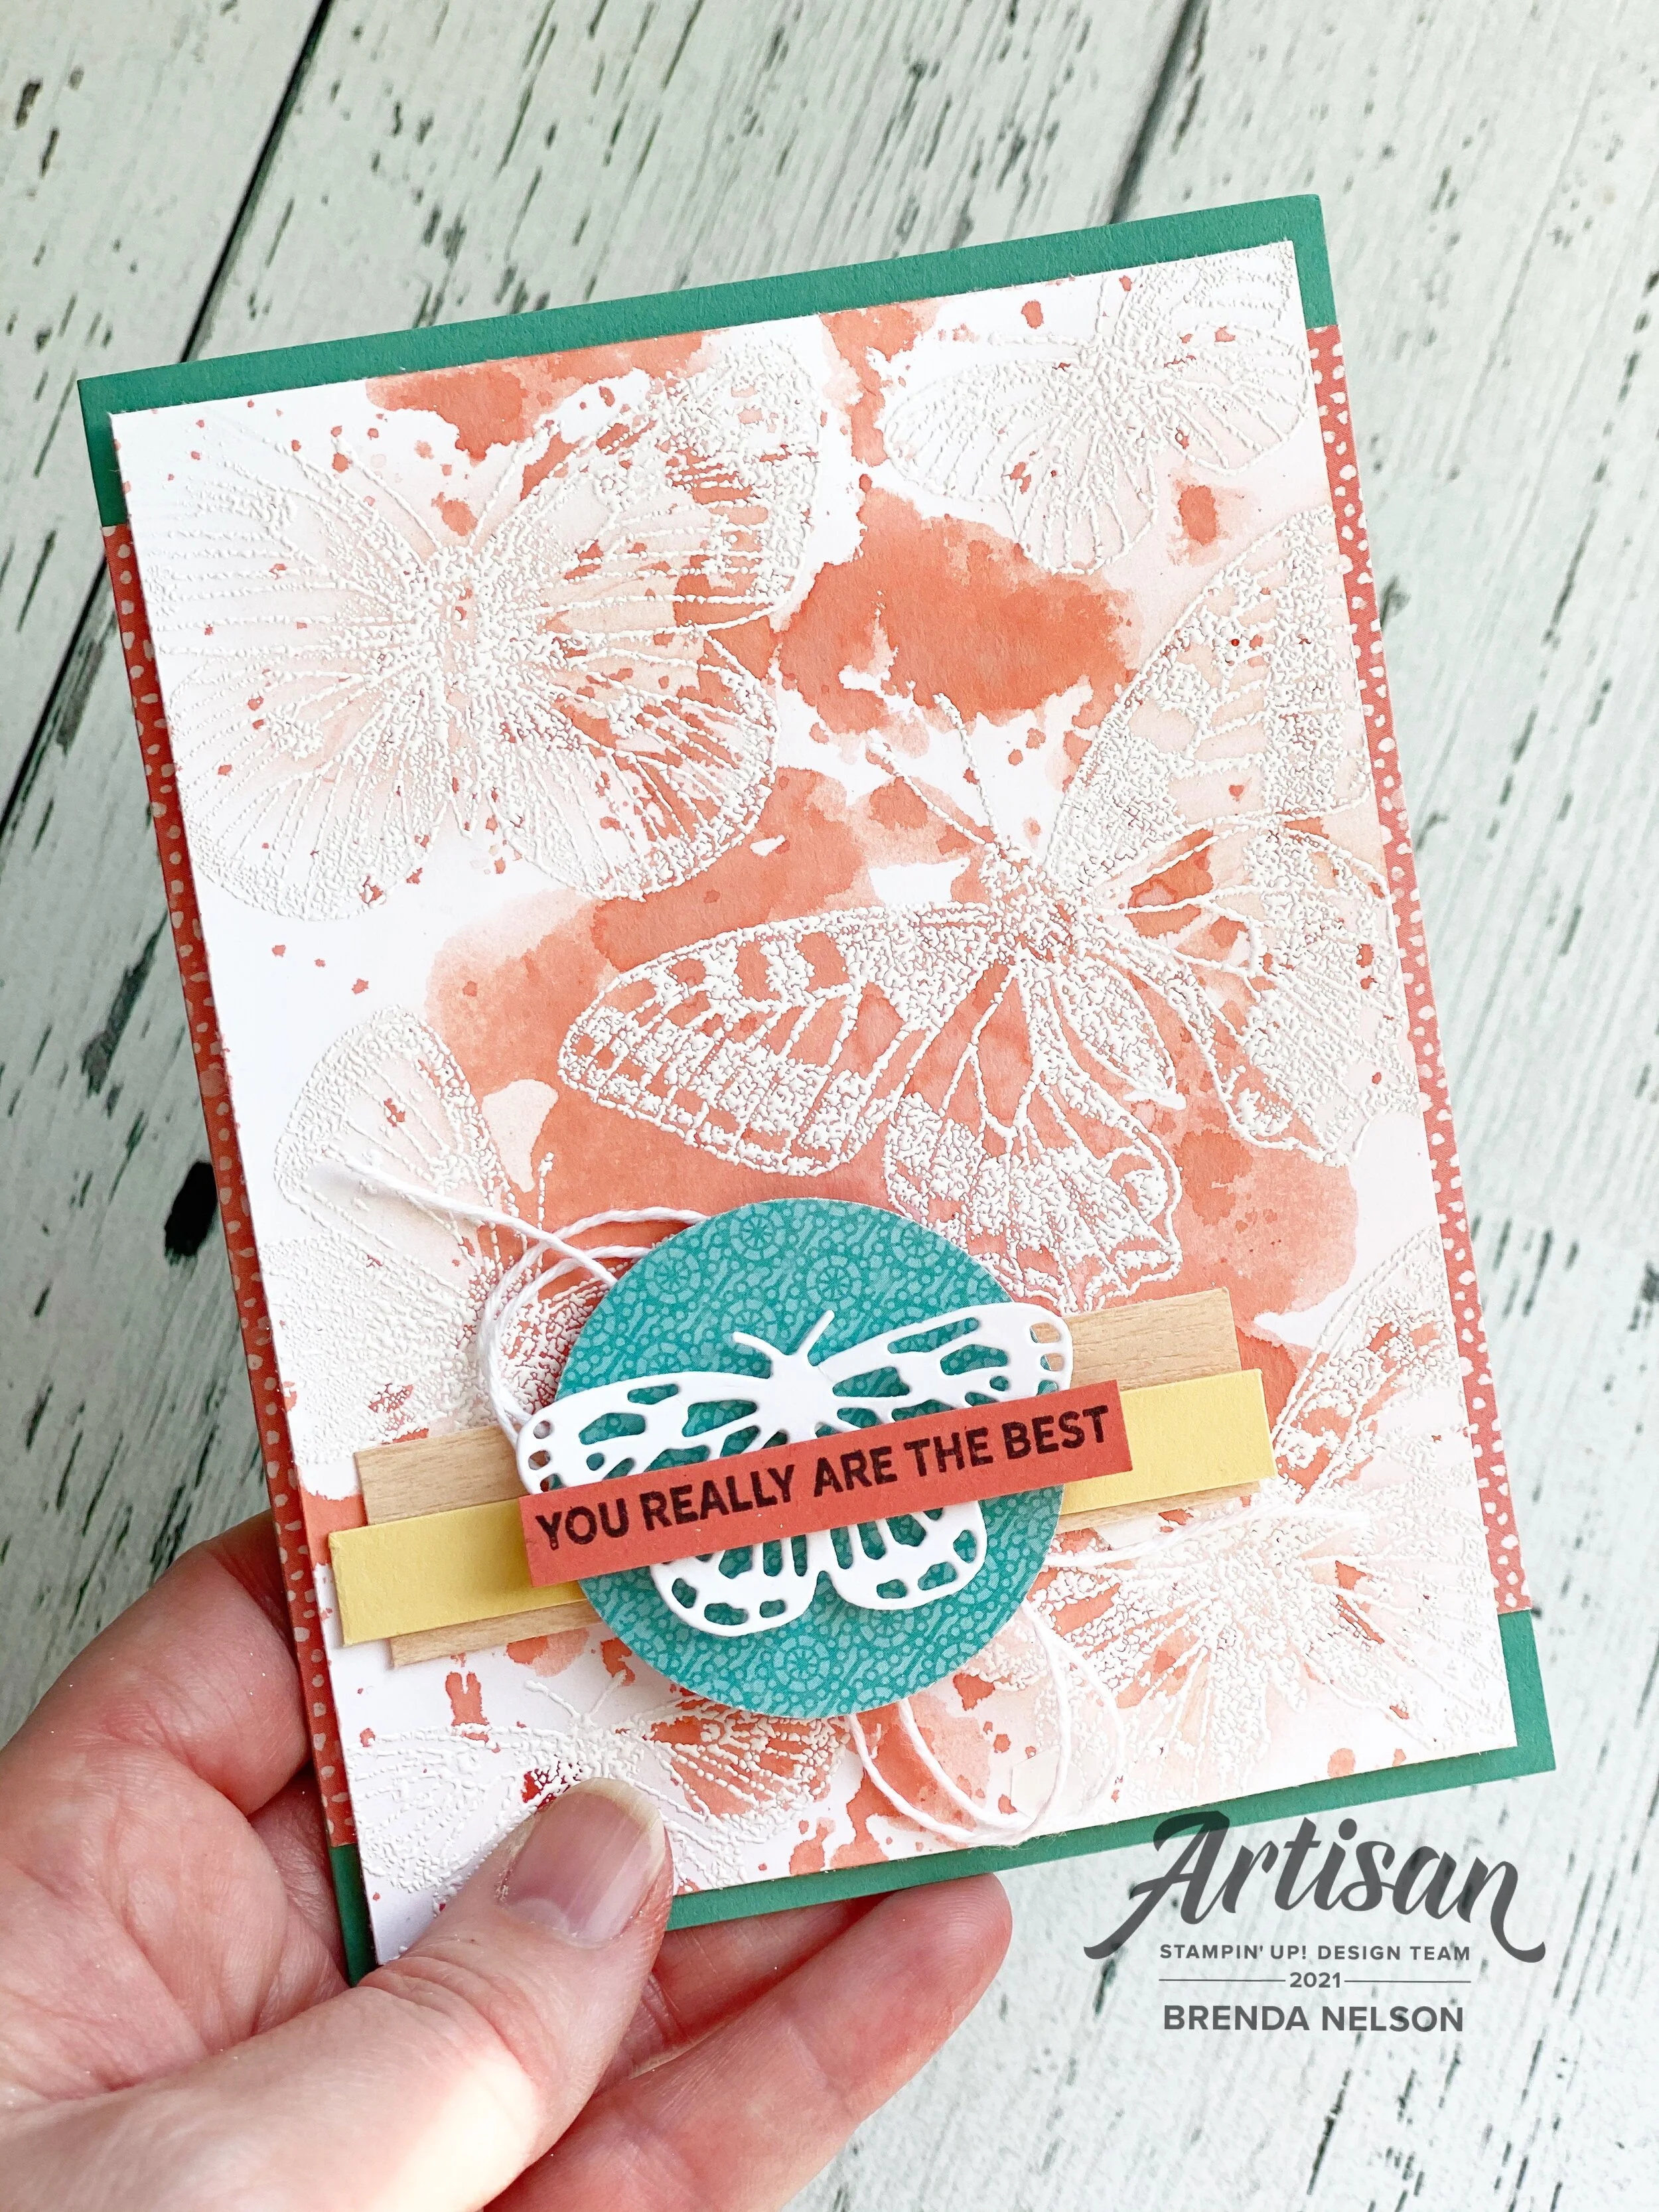
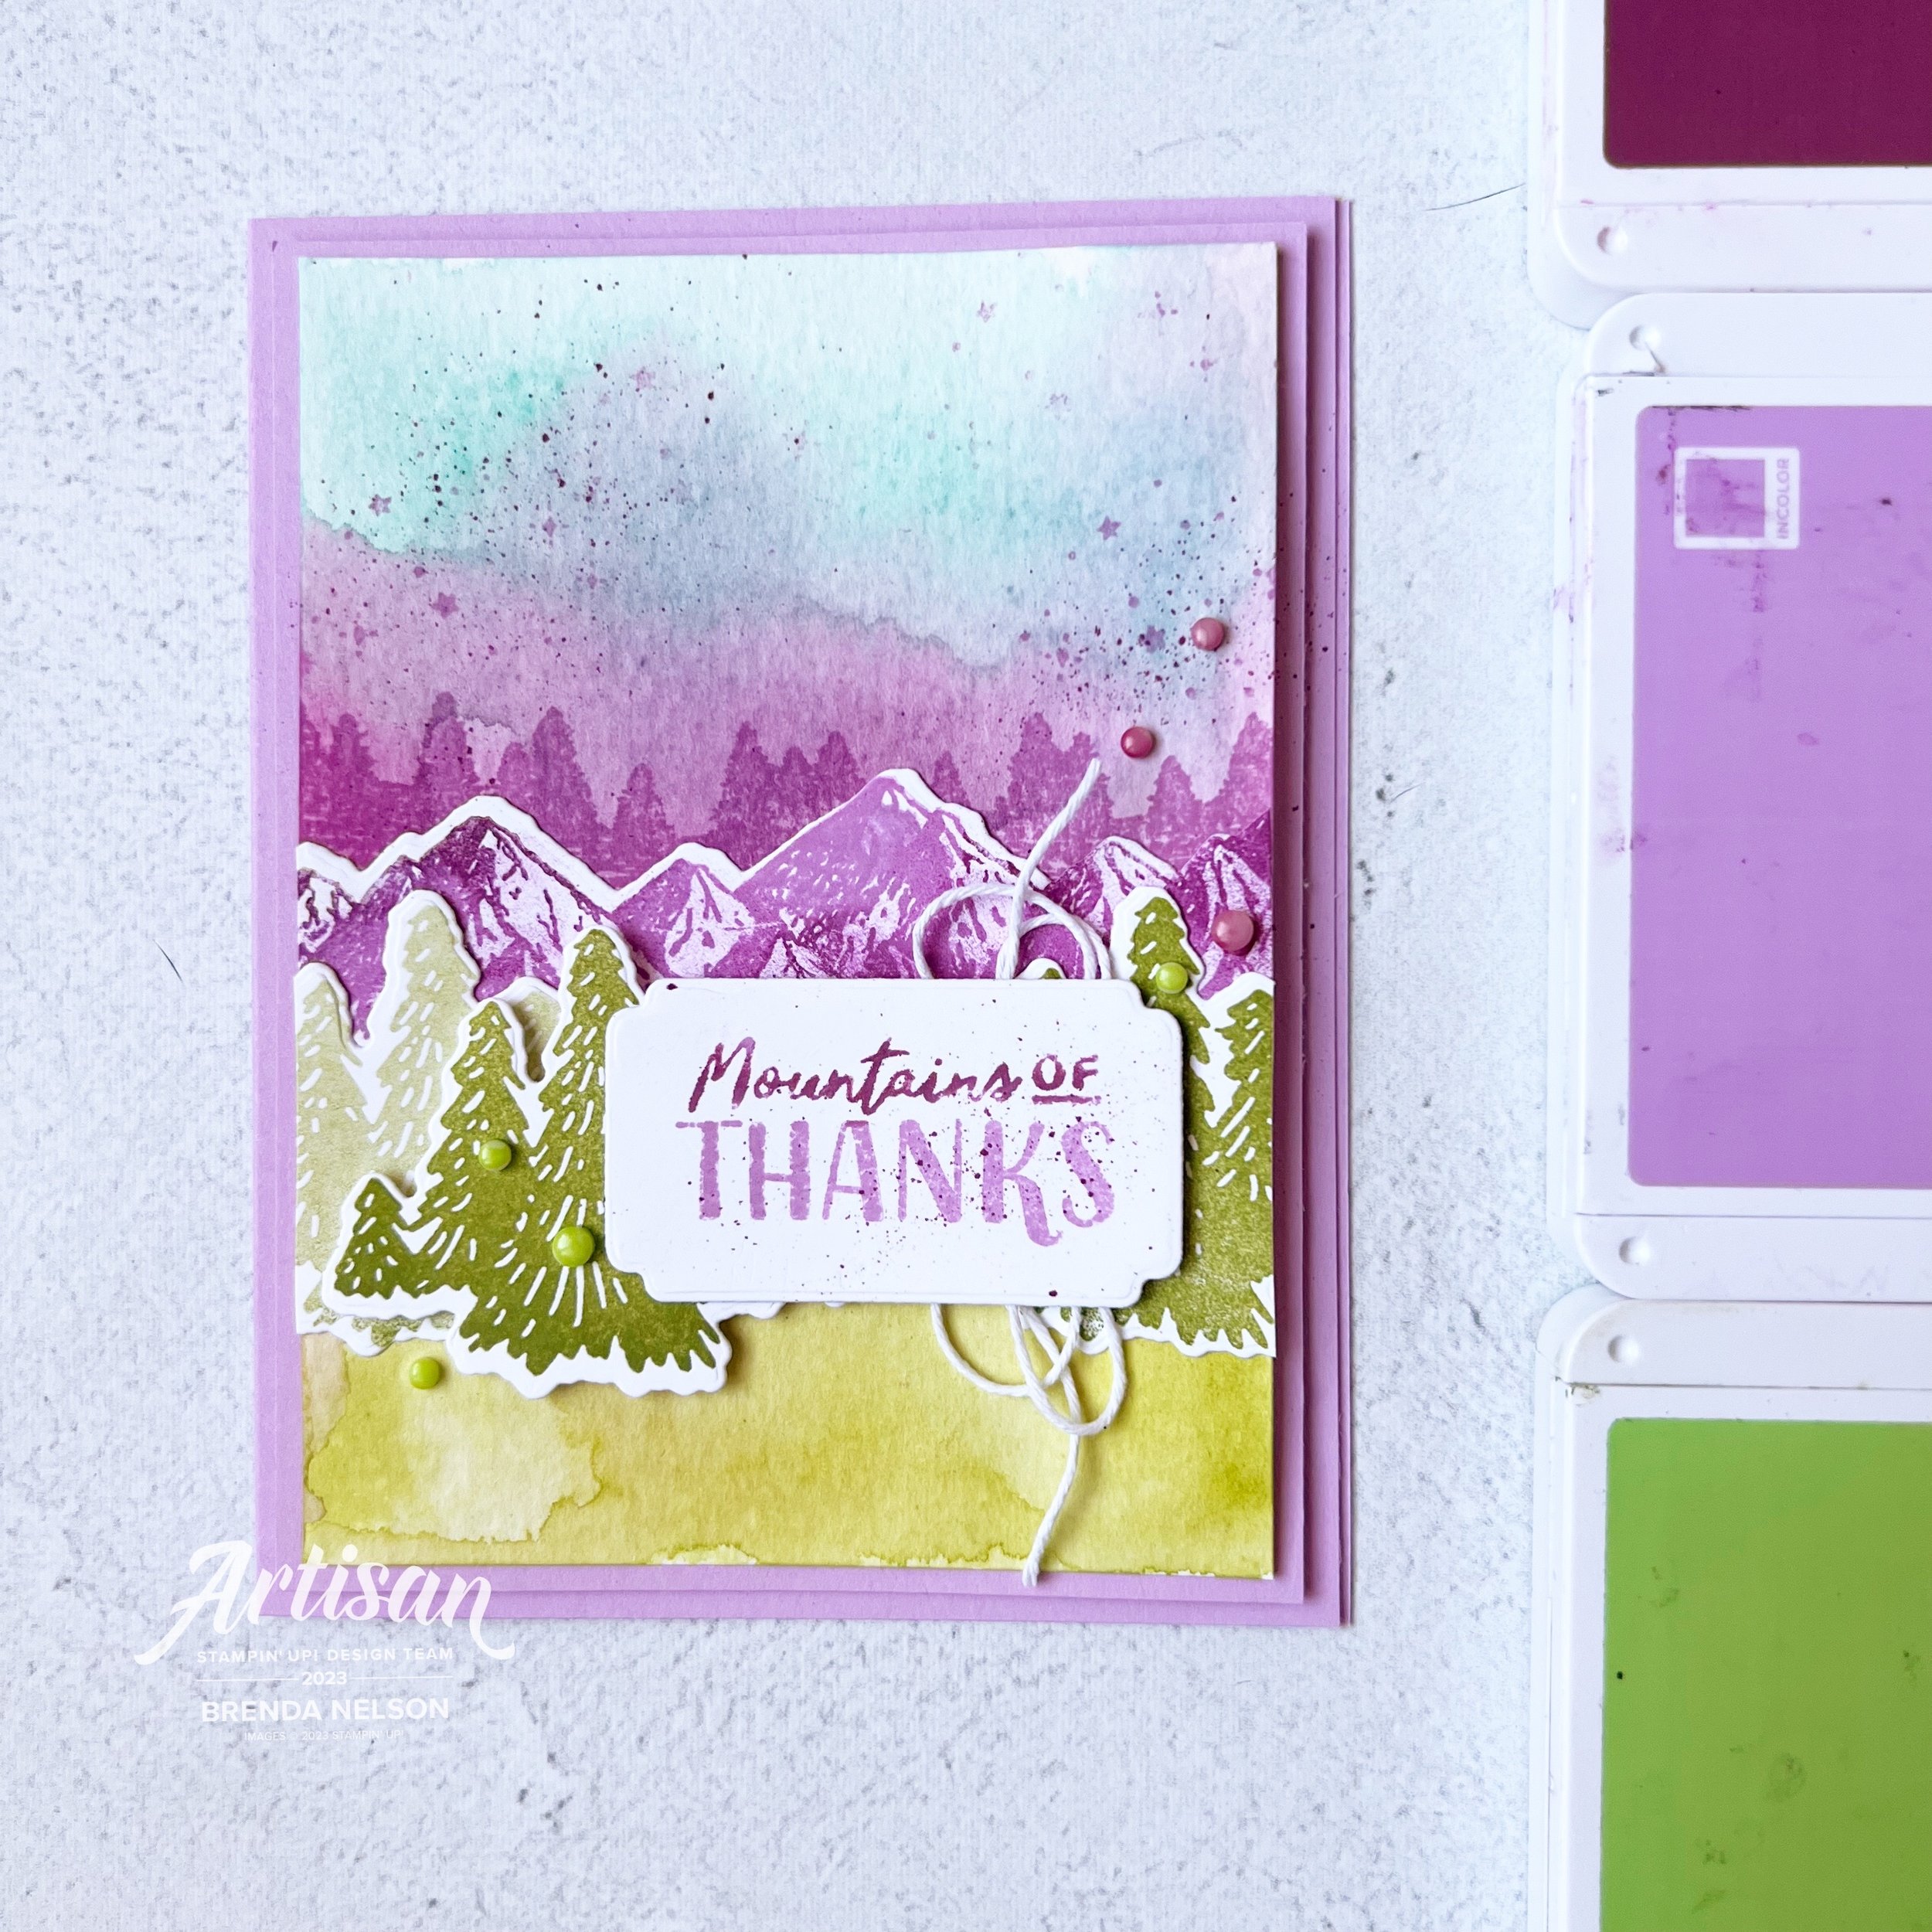
I was very excited about this color combo of Fresh Freesia, Rich Razzleberry and Granny Apple Green, however…I did cheat, I added in a fourth color because I really needed it to bring my card vision alive! I hope my fellow teammates can give me a pass for creative inspiration!

My card features a fourth color—Coastal Cabana! I had a summer sunset over the mountains in my mind and I really needed it to bring my card background to life.

This card reminds me of my recent trip I took w one of my besties—we drove through the rocky mountains, down through washington, idaho and montana. it was beautiful!

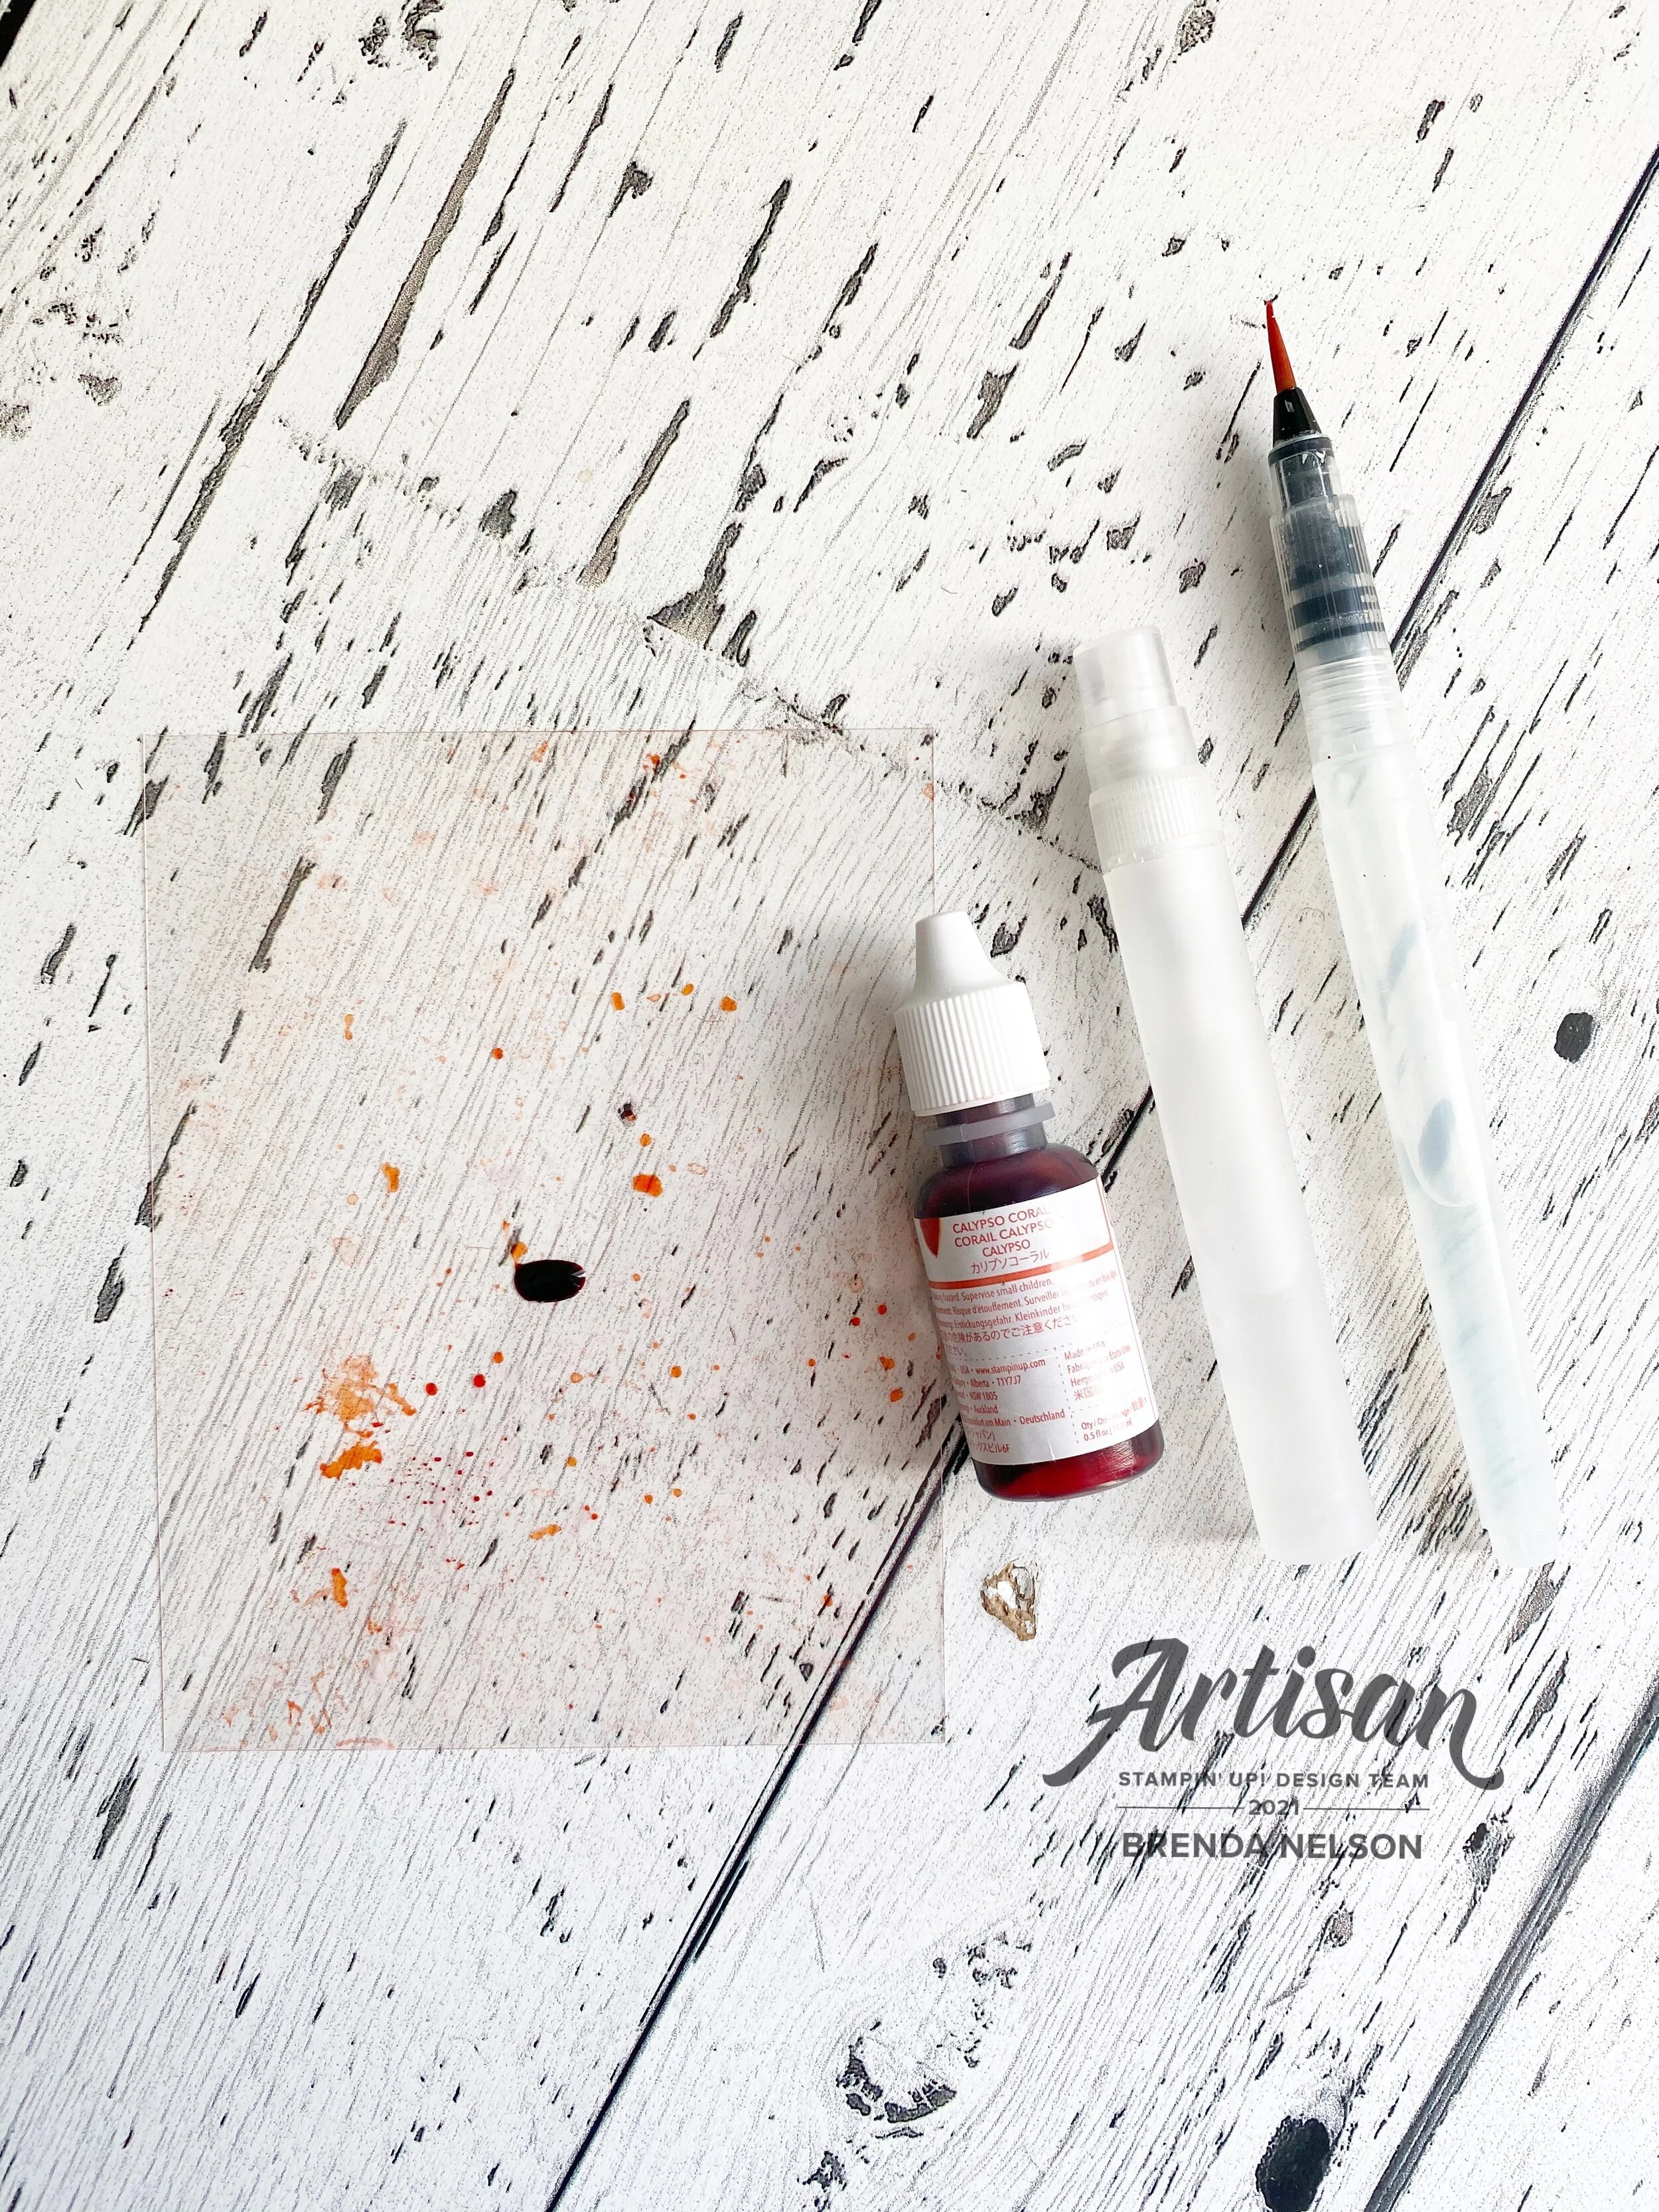
I started with a card base and first layer of Fresh Freesia. I then used our Watercolor Paper to create my background. I started by spritzing the paper with water and then I added in Coastal Cabana with a Water Painter to the top half of the watercolor paper. I then blasted it with my heat tool.

Next I added another spritz of water to the mid section of the card and added some Rich Razzleberry ink with a Water Painter. I made sure that these two colors ran together to create a ridge line. I wanted my mountain range to look like it was fading into the background. I stamped a few little stars from the Greatest Journey set on the sky part of the card.

I then spritzed the bottom half of the watercolor paper again and added my Granny Apple Green color to the bottom.

look at my well loved ink pads! I think i need to a magic eraser to them!

I used two stamp sets to complete this card—the ever fabulous and will never leave my stash stamp set, Mountain Air! I stamped the tree line in Rich Razzleberry ink. The mountains are stamped in Fresh Freesia and then I took a finger dauber in Rich Razzleberry to the tops and filled in a bit of the white space. The mountains were then die cut using the Majestic Mountain Dies.

The trees in forefront are stamped in Granny Apple Green—two full strength and one set stamped off. They were stamped using the new Greatest Journey stamp set and die cut with the coordinating dies.

The sentiment is from the same stamp set and I inked it up in Fresh Freesia and then took my Rich Razzleberry marker over top of the ‘Mountains of’ portion of the stamp to get that two-tone look. The sentiment is cut using the new Something Fancy Dies. I flicked my Rich Razzleberry marker over the sentiment and added a bit of white bakers twine behind.

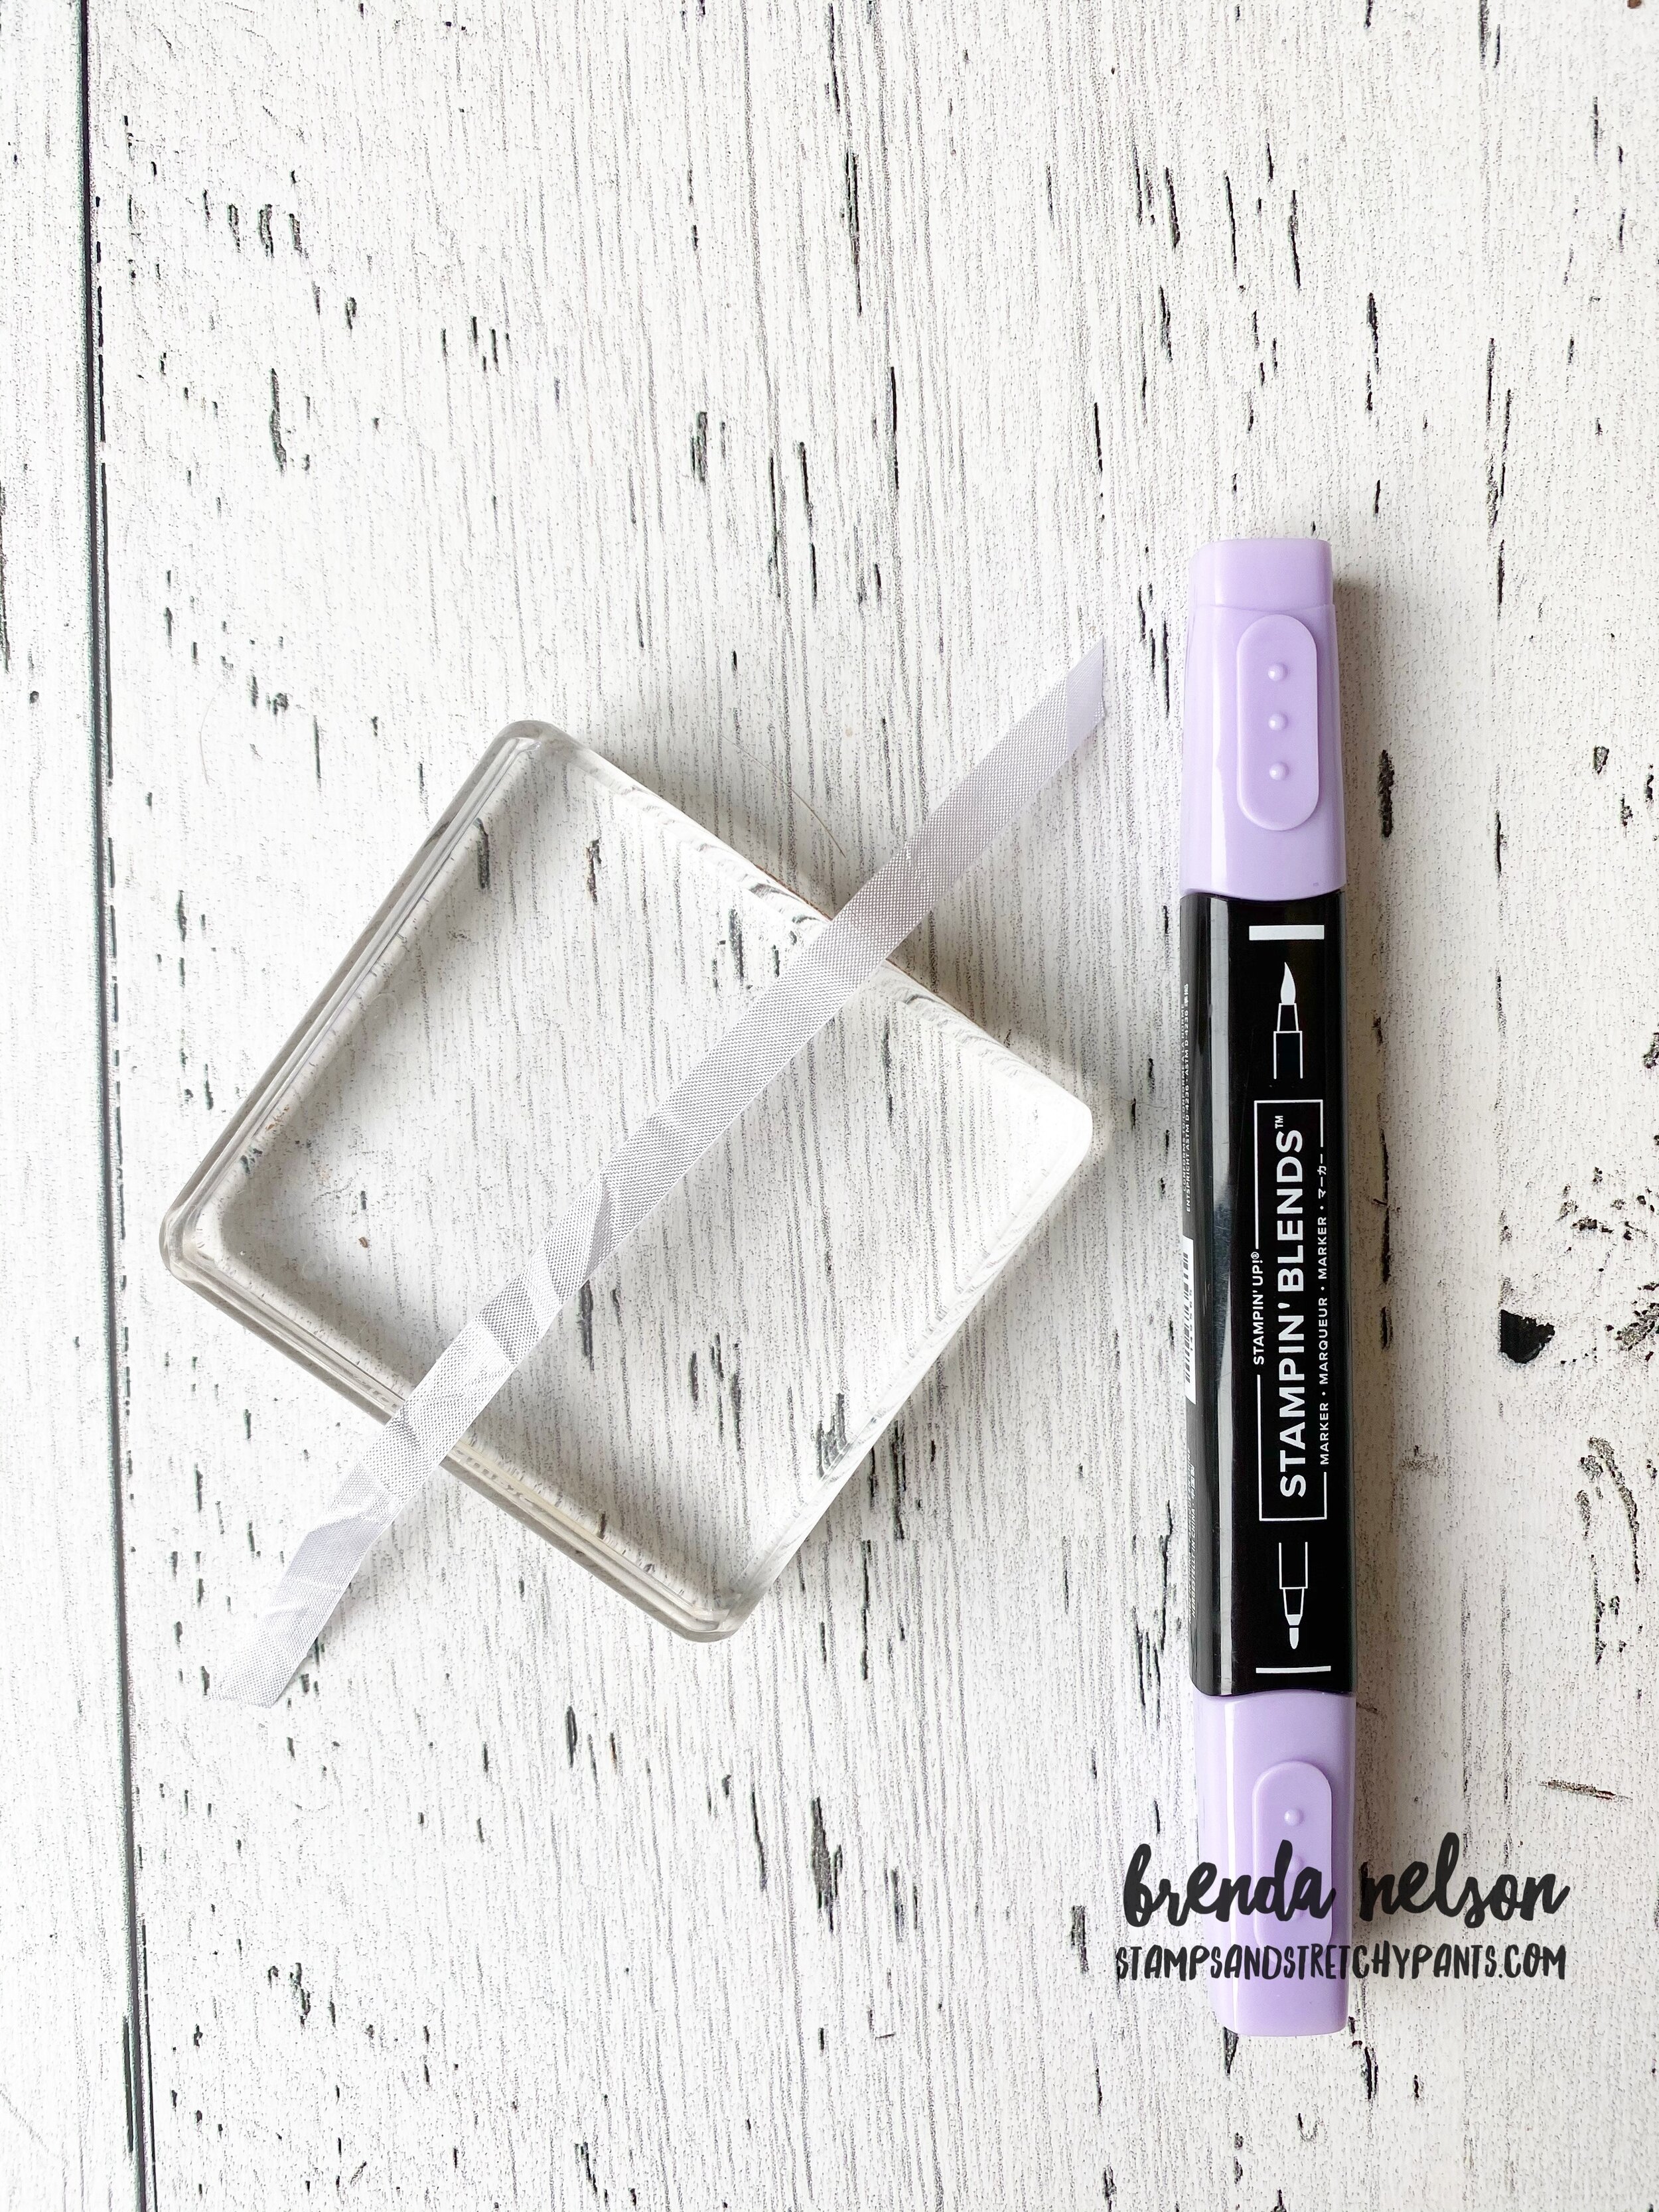
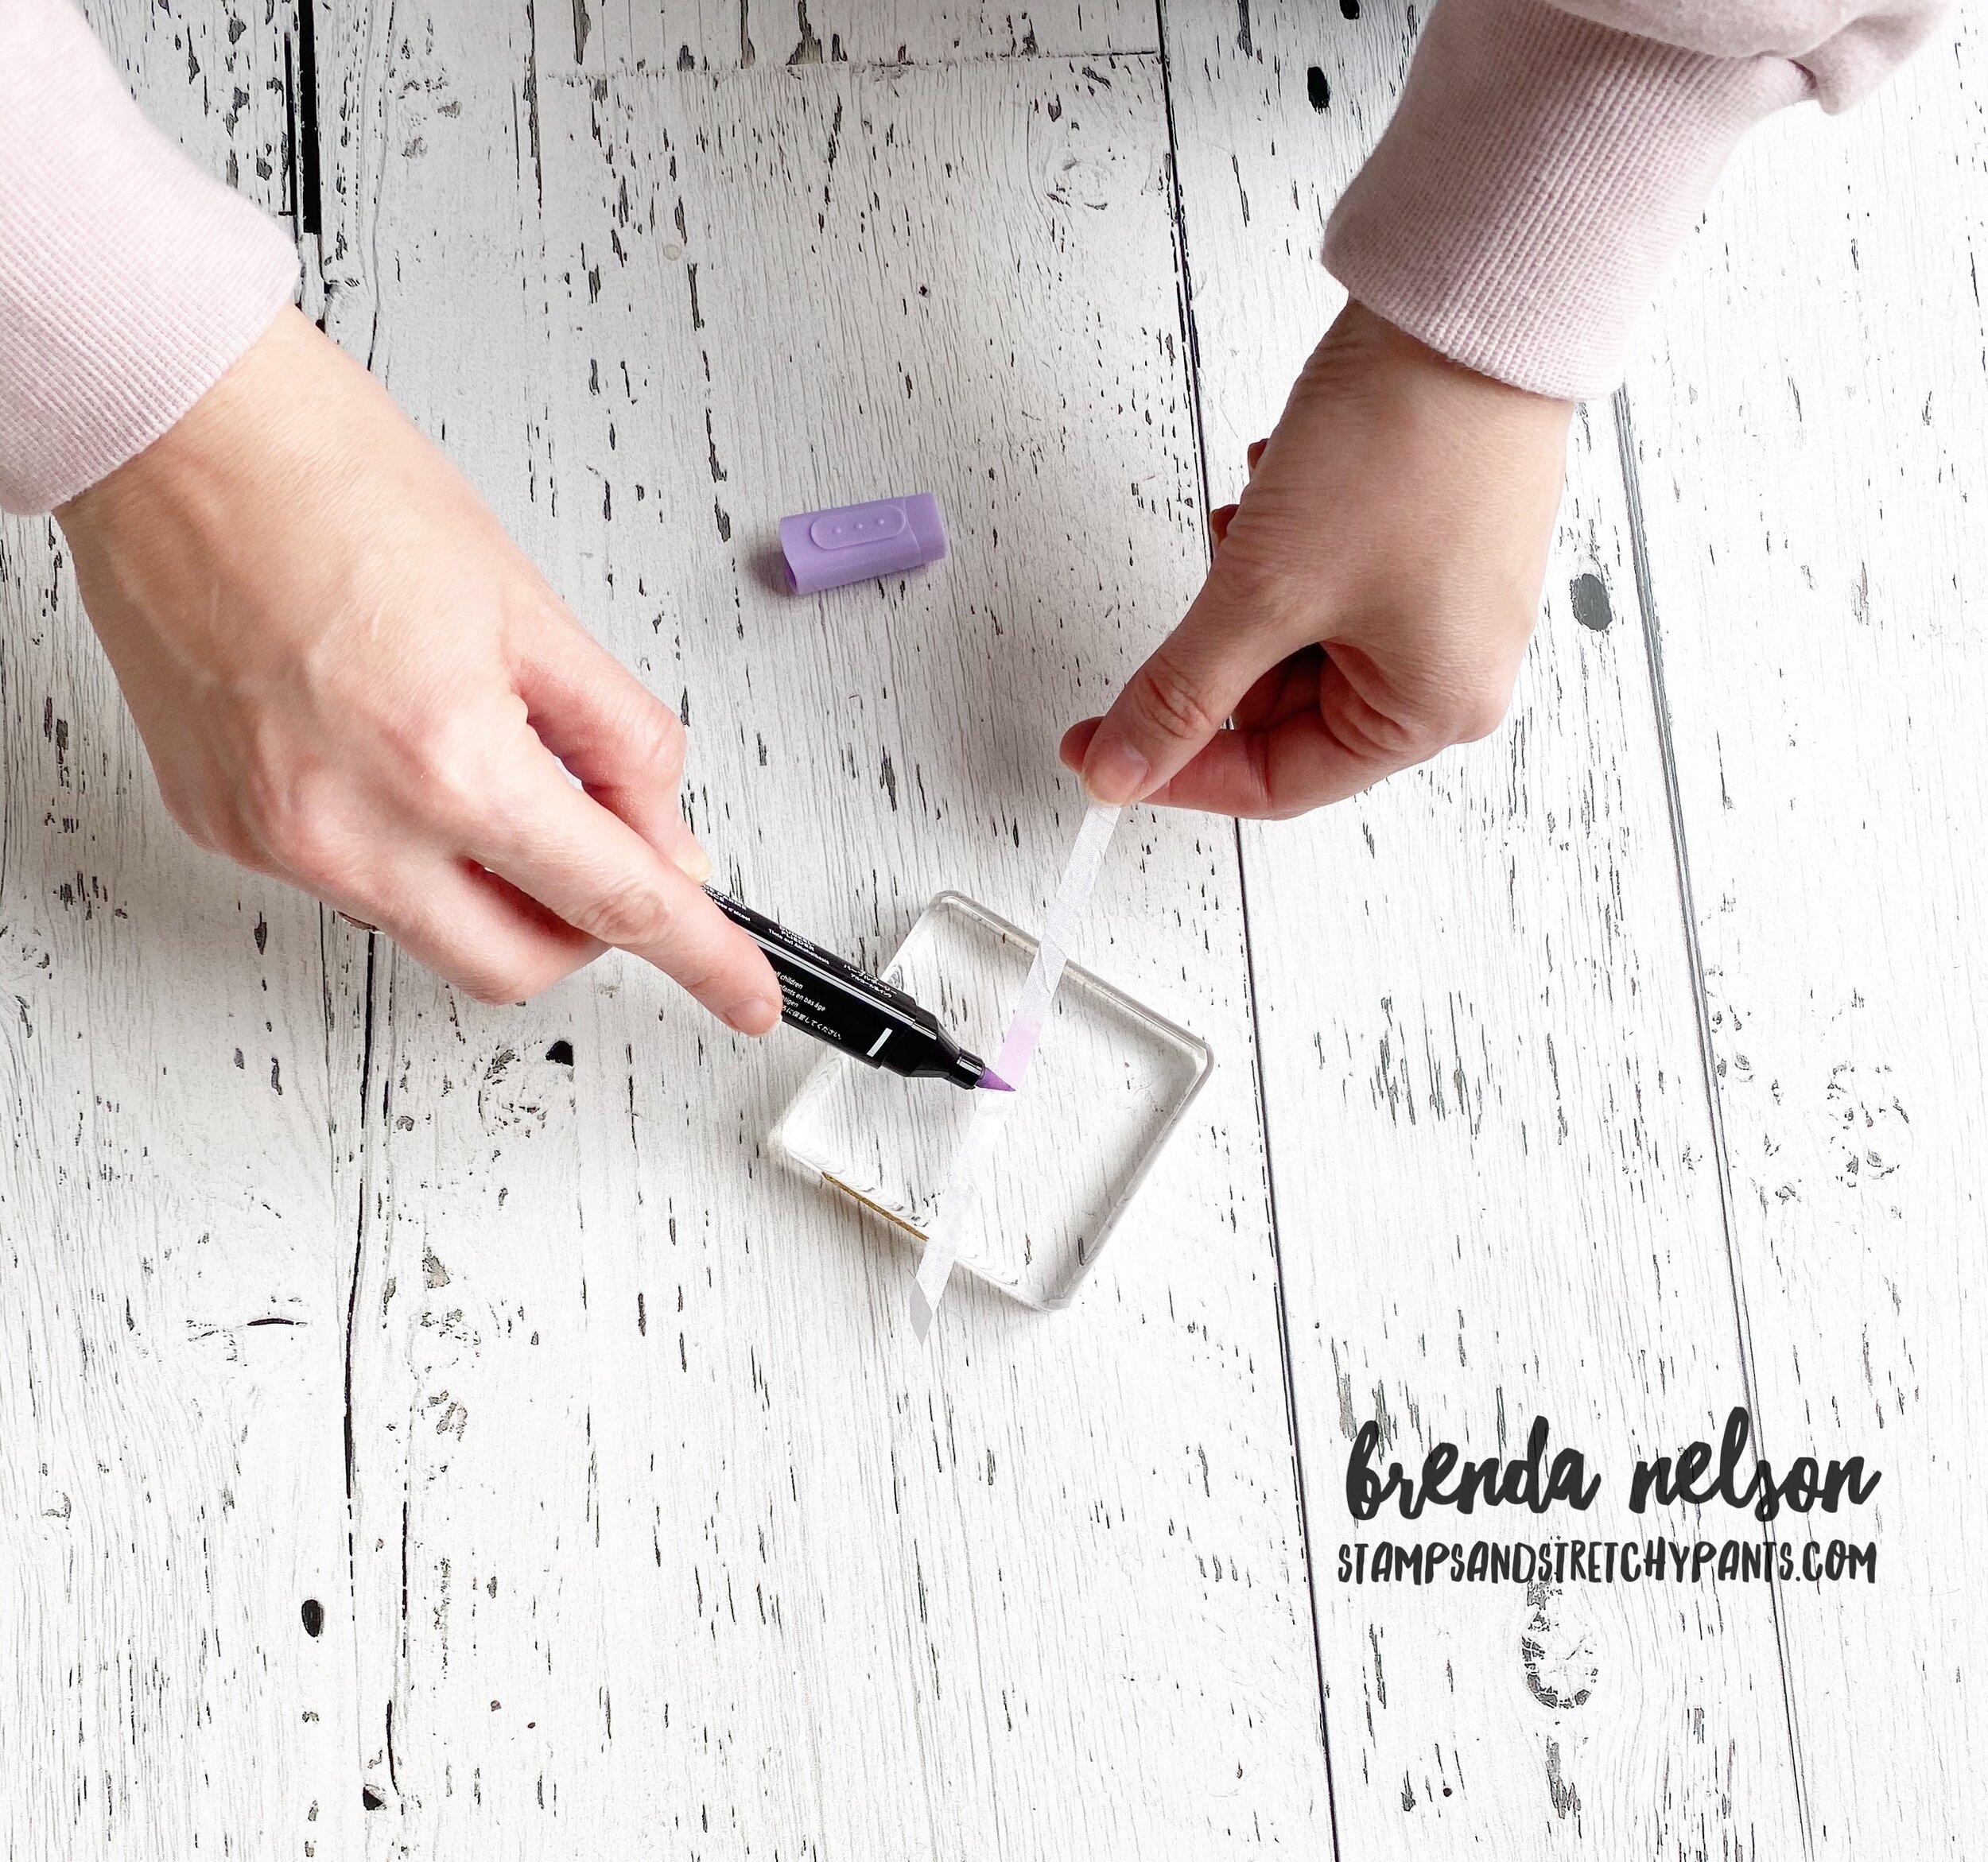
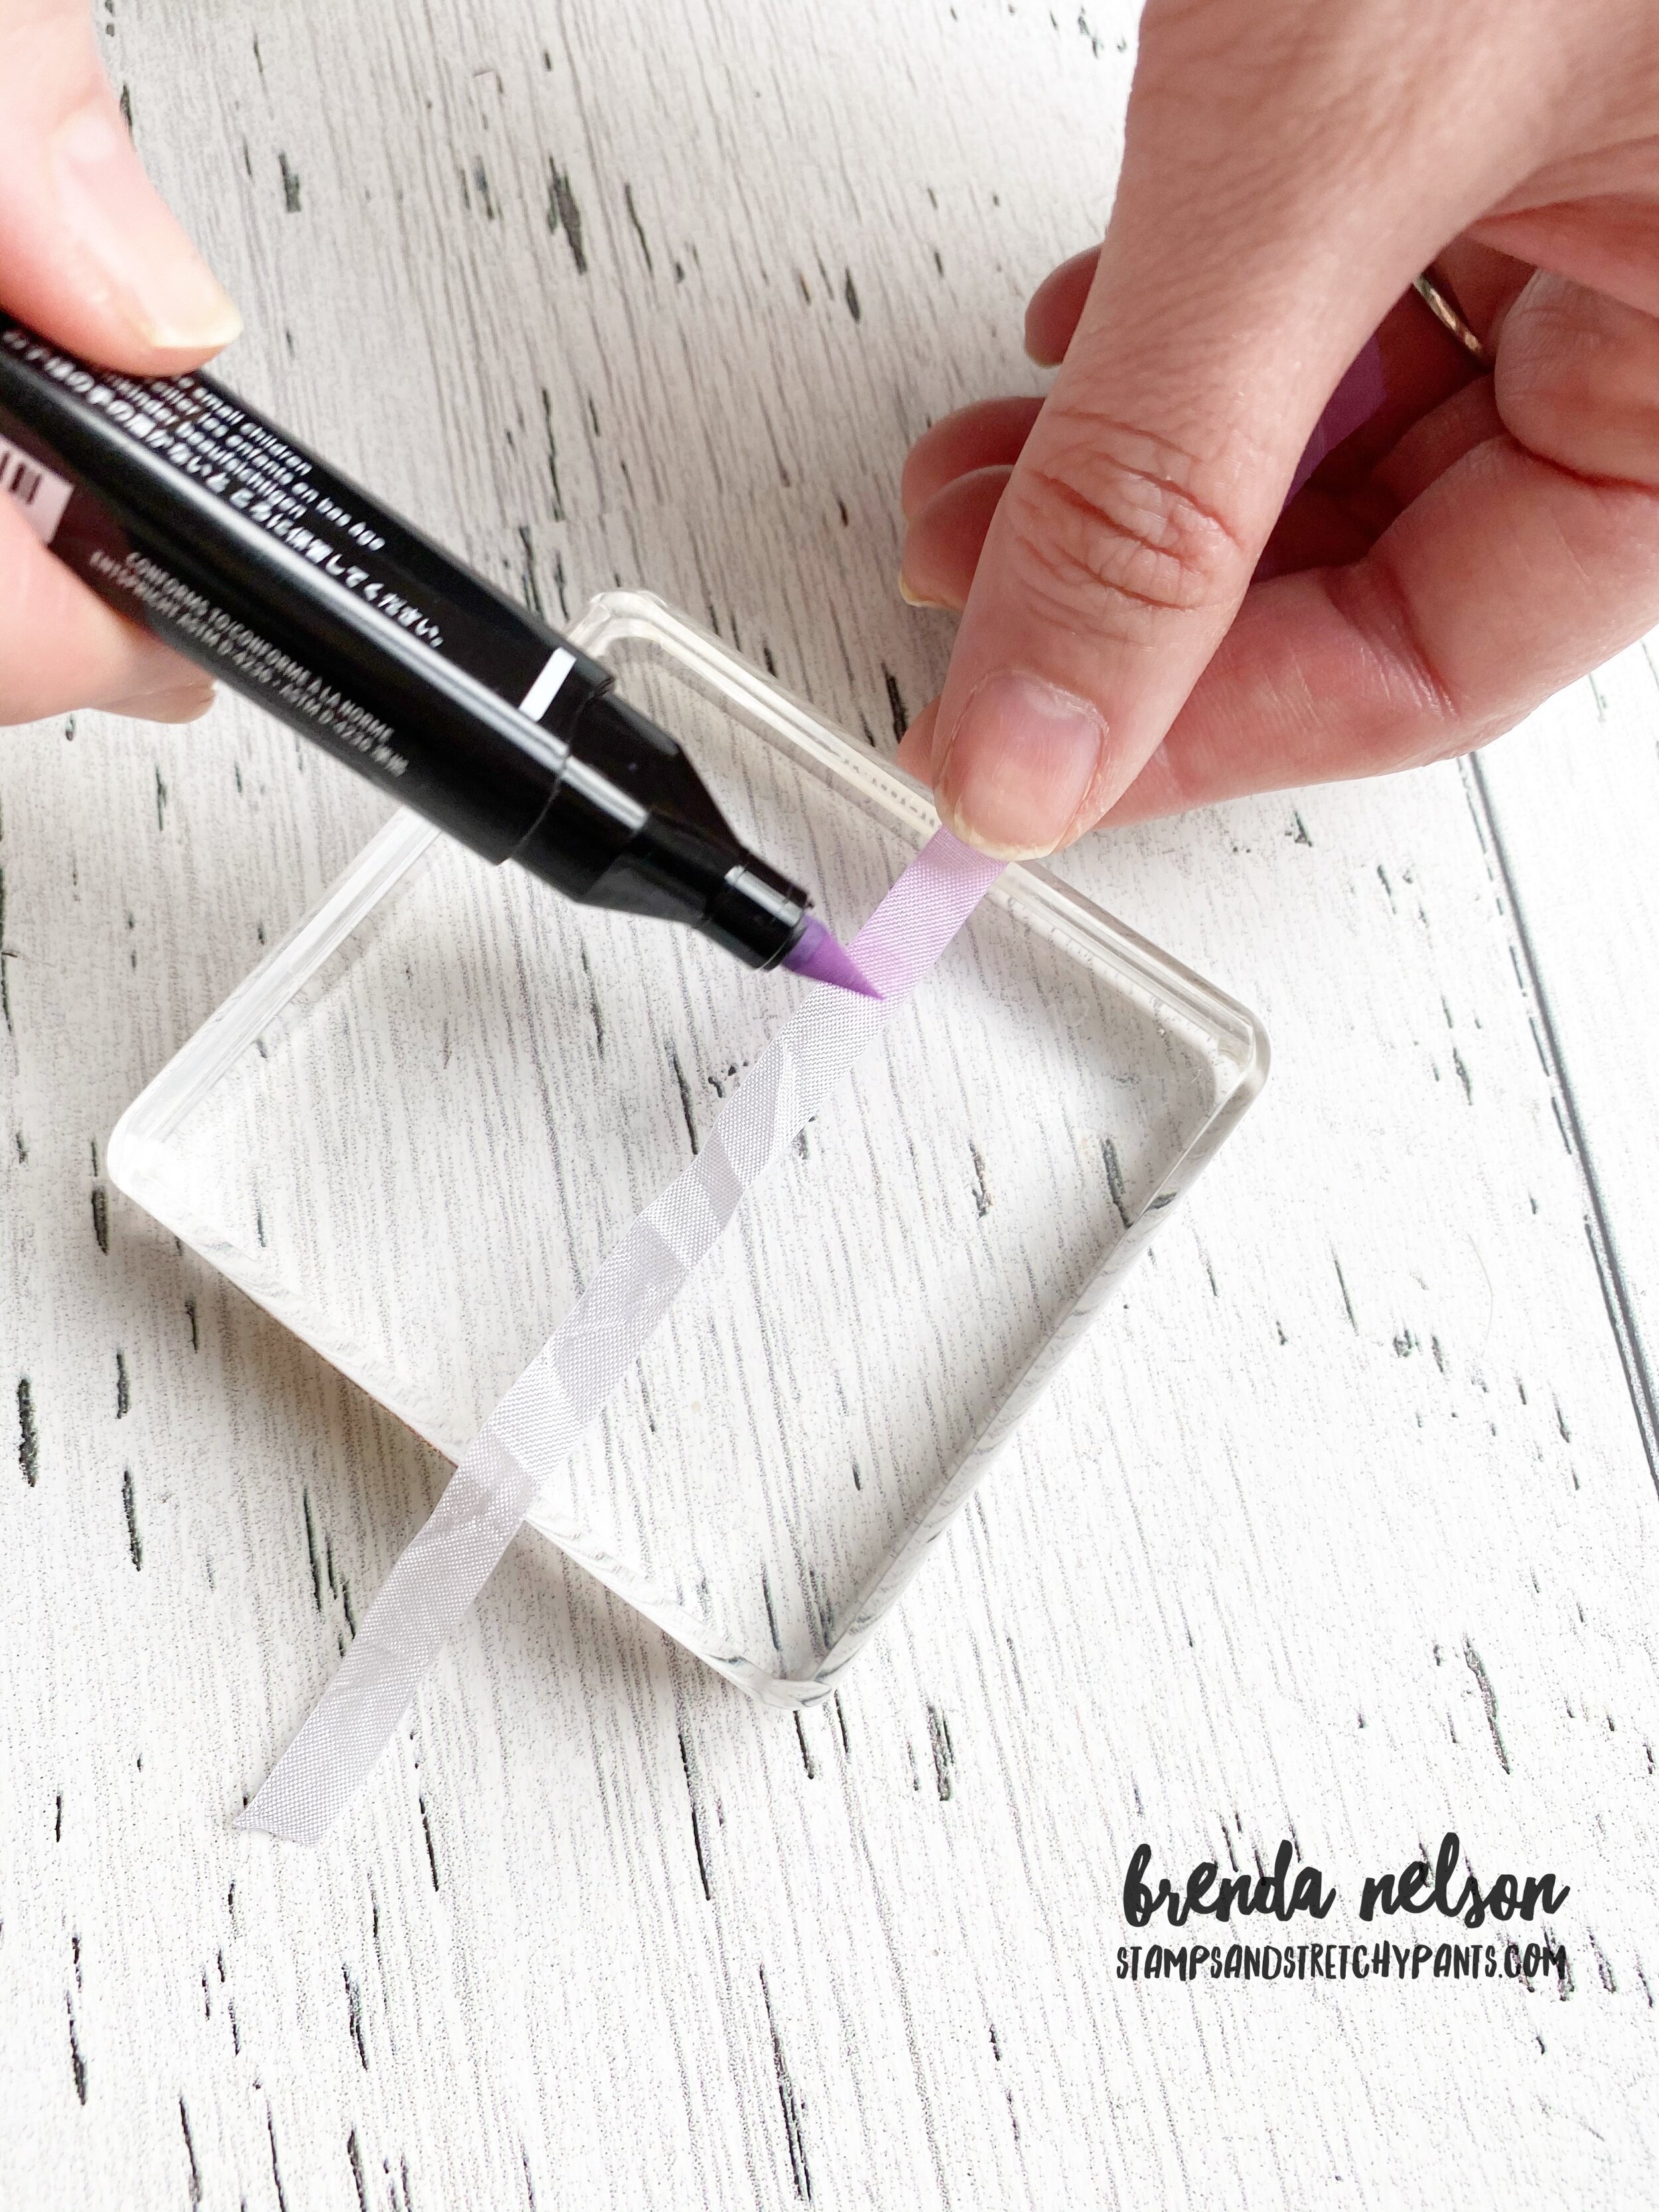
I wanted some embellishments on my card so I used my Parakeet Party and Rich Razzleberry Stampin’ Blends to color some of the vanilla Classic Matte Dots so they would coordinate.

I LOVE how this card turned out and its really one of a kind, because as you all know with watercoloring, you can rarely repeat the same thing twice! Or I cannot at least! I had a lot of fun making it and my hands were a complete mess. But really, if your hands are inky, did you even really craft? Hahaha!


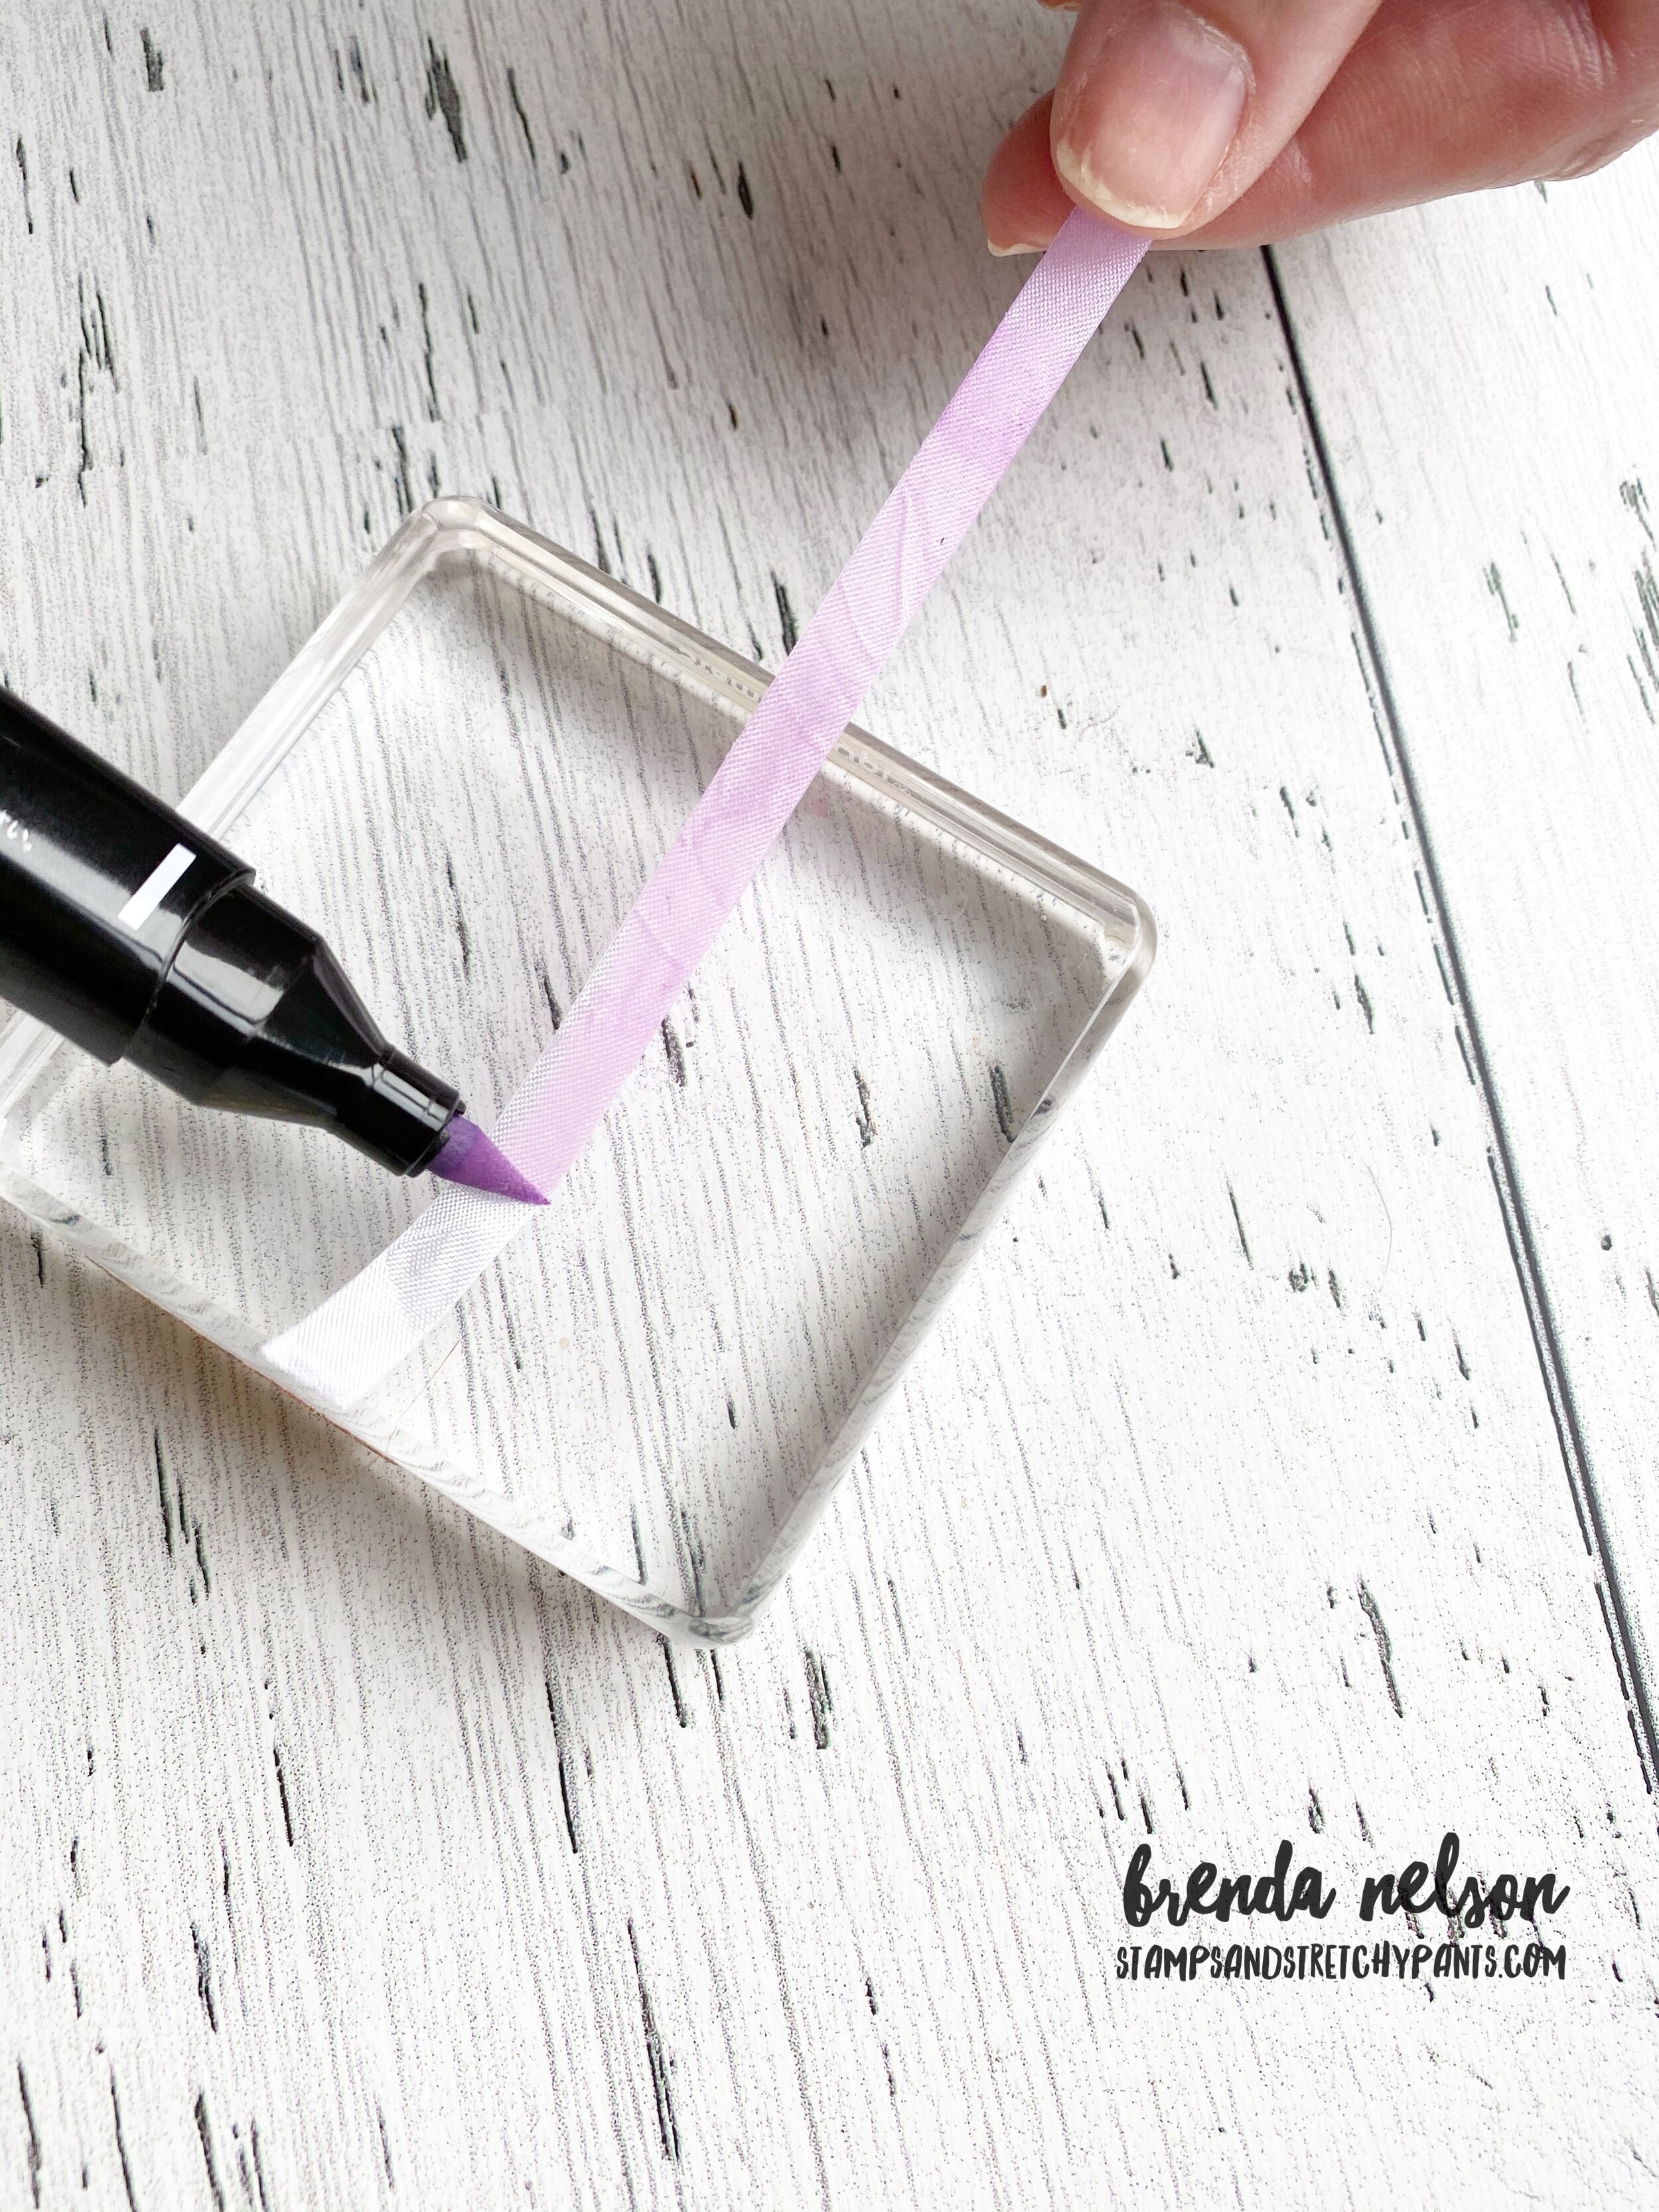
Don’t you love how many uses we have for our Stampin’ Blends? I love that we can create so many custom things such as the Classic Matte Dots, or color over our many ribbons, or on Window Sheets (a tip I shared for one of my Artisan assignments last year), we can use them for flicking/spritzing, highlighting words, doodling and so much more!

I can’t wait to see what Bonnie O’Neill creates so make sure to hop over to her NEXT or you can be a rebel and go PREVIOUS to see what Sue Vine has designed. Either way, I know you will be impressed so make sure to visit everyone on the hop to see what they have made this month! And thank you again for checking in to see what crafty projects I have been up to!


Happy 50th Anniversary!

Did you know that can make Custom Cards? It is a service that I offer if you do need an extra special project! I have experience designing custom wedding invites, baby shower invites and even anniversary cards like this extra special one I made for my friends parents!

The only request my friend had was that I used some gold on this special card for her parents. I incorporated it on the 50 using Gold Foil paper and on the inside layer with the Shimmery Gold Vellum. Because the rest was left to me I decided to use brand new upcoming products with a bunch of favorites and retired products.

The star of this card though is the flower from the Blessings of Home stamp set. This set will be released in the upcoming January-June catalogue and I know you will love it as much as I have already! I colored this in using ink pads and a Water Painter and my lazy watercoloring technique. The stamp was stamped using Basic Grey ink in place of traditional black to give it a bit of a softer touch.

The sentiment is from a favorite retired stamp set of mine, Many Mates and is punched using the Label Me Fancy punch. I added a little bit of gold thread behind the sentiment. The card is a “fun fold” and is elegantly tied together with some of the White Crinkled Seam Binding Ribbon.

I added an extra panel of Basic White card stock to the front panel of the card. The fun flap is in Soft Seafoam card stock and the flap part was run through the Timeworn Type 3D Embossing folder to a add a subtle bit of textrure.

When you open the card you see a gorgeous panel of Shimmery Gold Vellum which I just love. You can see a tiny bit of a scalloped edge along the fun fold panel. I cut this with a die from the Peony Dies.

I stamped another floral image from the Blessings of Home stamp set and colored it with the same technique as the front. “Congratulations” is from the stamp set Inspired Thoughts in the Annual Catalogue. I added a few retired little pearls from the Share What You Love collection to complete this project.

I was told my friends parents absolutely loved their card and I was so happy to create it for them!

If you are ever in need of something extra special, please reach out to me, I would love to design and create something for you too!

Easy Watercolor with the Butterfly Brilliance Bundle

Hello friends! I am always looking for an easy way to create a fantastic background, especially if it can be watercolored! I decided to pair up this easy watercoloring technique with the new Butterfly Brilliance Bundle! It is an awesome bundle with a stamp set and coordinating dies that is an early release product from Stampin’ Up!

final (1) 22.jpg

I started with a base of Just Jade card stock and added two little strips of DSP from the Butterfly Bijou collection. This 6x6 stack of paper is only available this month! So it is a fun exclusive offering!

I order to do water coloring I would suggest using Shimmery White, which is what I used on my card, or water color paper. Shimmery White is a little more cost effective if you are planning to make a bunch of cards and it is thicker than Basic White so it allows more water to be used on the card base.

The Stamparatus will be your best friends with this large stamp! You can use the stamp on the plate either attached to the base or separate like I did here.

The Stamparatus will be your best friends with this large stamp! You can use the stamp on the plate either attached to the base or separate like I did here.

To start creating my background I began by inking of the stamp with White Craft ink and stamping it on my Shimmery White card stock. I added white embossing powder on top and heat set it.

This step helps create an ‘ink resist’ technique as the water coloring will not take where the butterflies are stamped.

This step helps create an ‘ink resist’ technique as the water coloring will not take where the butterflies are stamped.

I cut a piece of our Window Sheets to the same size of my card base. You can also use one of our cello bags too if you do not have access to a Window Sheet.

Choose an ink refill of your choice, I decided on Calypso Coral for this project. You will also need a water mister and a water painter. The water painter just helps spread the ink around on the window sheet if you need to.

final (1) 20.jpg
 

Start by adding a drop of ink onto the window sheet. You will then spritz some water on top and if you need to use the water painter to move the inky water around to cover a larger surface area on the window sheet.


Once you have your window sheet ready you are going to take our butterfly shimmery white card stock layer and flip it over so that the stamped side is going to touch the inky window sheet.

I tapped my paper around using my fingers to press the paper into the ink in different spots. I did not just lay this shimmery white piece on top.

The idea behind this method is that you only want the inky water to touch your paper in select spots.

Each background will be unique and different!

final (1) 21.jpg
I just think this looks so cool and I love how every single piece will look different! And to clean the window sheet when you are done just. grab a tissue or baby wipe! Easy peesy!

I just think this looks so cool and I love how every single piece will look different! And to clean the window sheet when you are done just. grab a tissue or baby wipe! Easy peesy!

final+36.jpg

To finish off the front of my card I added a small piece of the Natural Touch specialty paper and a small strip of So Saffron card stock over top. I punched a circle from the Butterfly Bijou DSP and I cut a white butterfly from the dies.

The sentiment is from the In Bloom stamp set and is trimmed down by hand from its original form.

I really love this technique and I hope you are willing to give it a try!

Create with Connie and Mary--Kids Cards!

Are you loving all of the fun whimsical images in our new January to June catalogue? I know I am, especially this adorable crocodile! So when I heard this weeks theme was Kids Cards I knew I wanted to play with this awesome set!


The stamp set I am referring to is called Oh Snap! and its really just too much fun! I love the big bold crocodile and the 11 different phrases included in the set.

Design Team.jpg
final (2) 3.jpg

I wanted to include the Oh So Ombre Designer Series paper into this project as we are in the final weeks of Sale-a-bration! It makes for a great background and it was fun to stamp direct to the DSP, something that I don’t do that often.

The little fish as so cute and I colored them with the Mango Melody Stampin’ Blends. The little pool of water is stamped on Basic White with Balmy Blue ink and hand trimmed.


I wanted my crocodile to have a bit of a different look so I created this watercolor background on Shimmery White card stock.

I used Soft Seafoam, Pear Pizzazz and Granny Apple green.

And easy way to create a water color background is to cut a piece of Window Sheet to the same size of your card base.

final (10).jpg

Smash the lightest color of ink on the window sheet and then spritz with water. Make sure you move the water around to eliminate any harsh edges. You can then take your card base and lightly tap it against the window sheet to create a fun watercolor look.

Clean it with a tissue and move on to the next color, tapping your card base in different spots onto the ink. I let the ink move around on my paper and heat each layer with my heat tool.

You then get this really unique background! I thought it was fun to stamp my crocodile on top so he got lots of color and dimension to you know, maybe minim his scales? Either way, he looks fun and different.

You will need to hand trim this sucker out so make sure you have the time and patience to do it!

You will need to hand trim this sucker out so make sure you have the time and patience to do it!

Once I cut out my croc I popped him up on Mini Dimensionals to give him a little extra lift off the page. I decided to add in a strip of Balmy Blue card stock and a scallop edge in Mango Melody to help tie all of the colors together

I also added in a few of the Frosted & Clear Epoxy Droplets found in our main catalogue!

I had a lot of fun playing with this set, I hope you do too! If you would like to order from me and live in Canada you can do so any time by clicking the hostess link on the side!

I can’t wait to see what the rest of the design team came up with! You can go BACK to see Melissa’s project or NEXT to see what Connie has created! Make sure to hop the whole way through and leave a comment!

Leave a little sparkle!

Well here it is, Day #8, and I am using a stamp set that I have not previously inked up! I actually borrowed this from a friend and might have to get it for myself after making this card! I am so happy with how it turned out!

The background technique was recently shared on Instagram by @seeinginkspots (you should follow her, she is a true artist and a former Artisan that I met years ago in the airport and was gushing like a lunatic). And I was inspired to give it a go!

It is very very easy, simply swipe 2-3 ink pad colors over a piece of Whisper White card stock. For my card I used Balmy Blue, Coastal Cabana, and Highland Heather. You then take an Aqua Painter and flick droplets over water over top and watch the magic happen. After it was dry (you can speed it up with the heat tool if you like), I cut it out with one of the Stitched Rectangular dies.

The unicorn, from the stamp set Leave a Little Sparkle, is stamped in Momento Black ink and cut with a 2 1/2 inch circle punch. I only used a bit of Wink of Stella on the body and horn and the light Purple Posy Stampin Blend on the flowers (hard to see in the picture). Happy Birthday is from the Label Me Bold stamp set. Both of these sets are retiring which does make me a little sad!

 
final.jpg
Isn’t it like magic how the water reacts to the ink? I love the way its looks so much with this card!

Isn’t it like magic how the water reacts to the ink? I love the way its looks so much with this card!

Make sure to start with a piece of Whisper White card stock that is bigger than the final area you want for your background. It will give you a bit of wiggle room for placement.

Make sure to start with a piece of Whisper White card stock that is bigger than the final area you want for your background. It will give you a bit of wiggle room for placement.

You can easily color the Crinkled Seam Binding Ribbon with any of your blends to make custom ribbon for any card project! The easiest way I have found to do this is with one of our acrylic blocks. You sandwich the ribbon between the block and brush tip of the blend marker and pull the ribbon through. It will easily slide along the block colouring itself as it goes, it takes no time at all!