Prized Peony Project
/I was really intrigued with this Prized Peony bundle when I received it in my last order. The Peony dies has 17 pieces to it and I won’t lie, it did take me a bit to figure out how to assemble this 3 D peony as it is a bit different from any other dies Stampin’ Up! has had. Once I got my mind around it they became very easy to put together. I created a fun project using our new Mini Paper Pumpkin boxes and two note-sized cards. My only complaint would be that these boxes don’t fit a full sized card. However, I will just have to get used to making note sized cards!

I created this handy chart to quickly illustrate the order of assembly the peony. If you use the bottom of the flower as a visual aid it also will help you with the assembly. And because the layers nestle quite snuggly you don’t actually need that much adhesive.
There are also 3 leaves included in the Peony Dies so I added those onto the guide so you can see which pieces layer together to create the final leaf. I hope it helps!

I labeled the flowers in the order that they slip inside each other. You can fold back the paper along the slit to help create more dimension in your flowers.
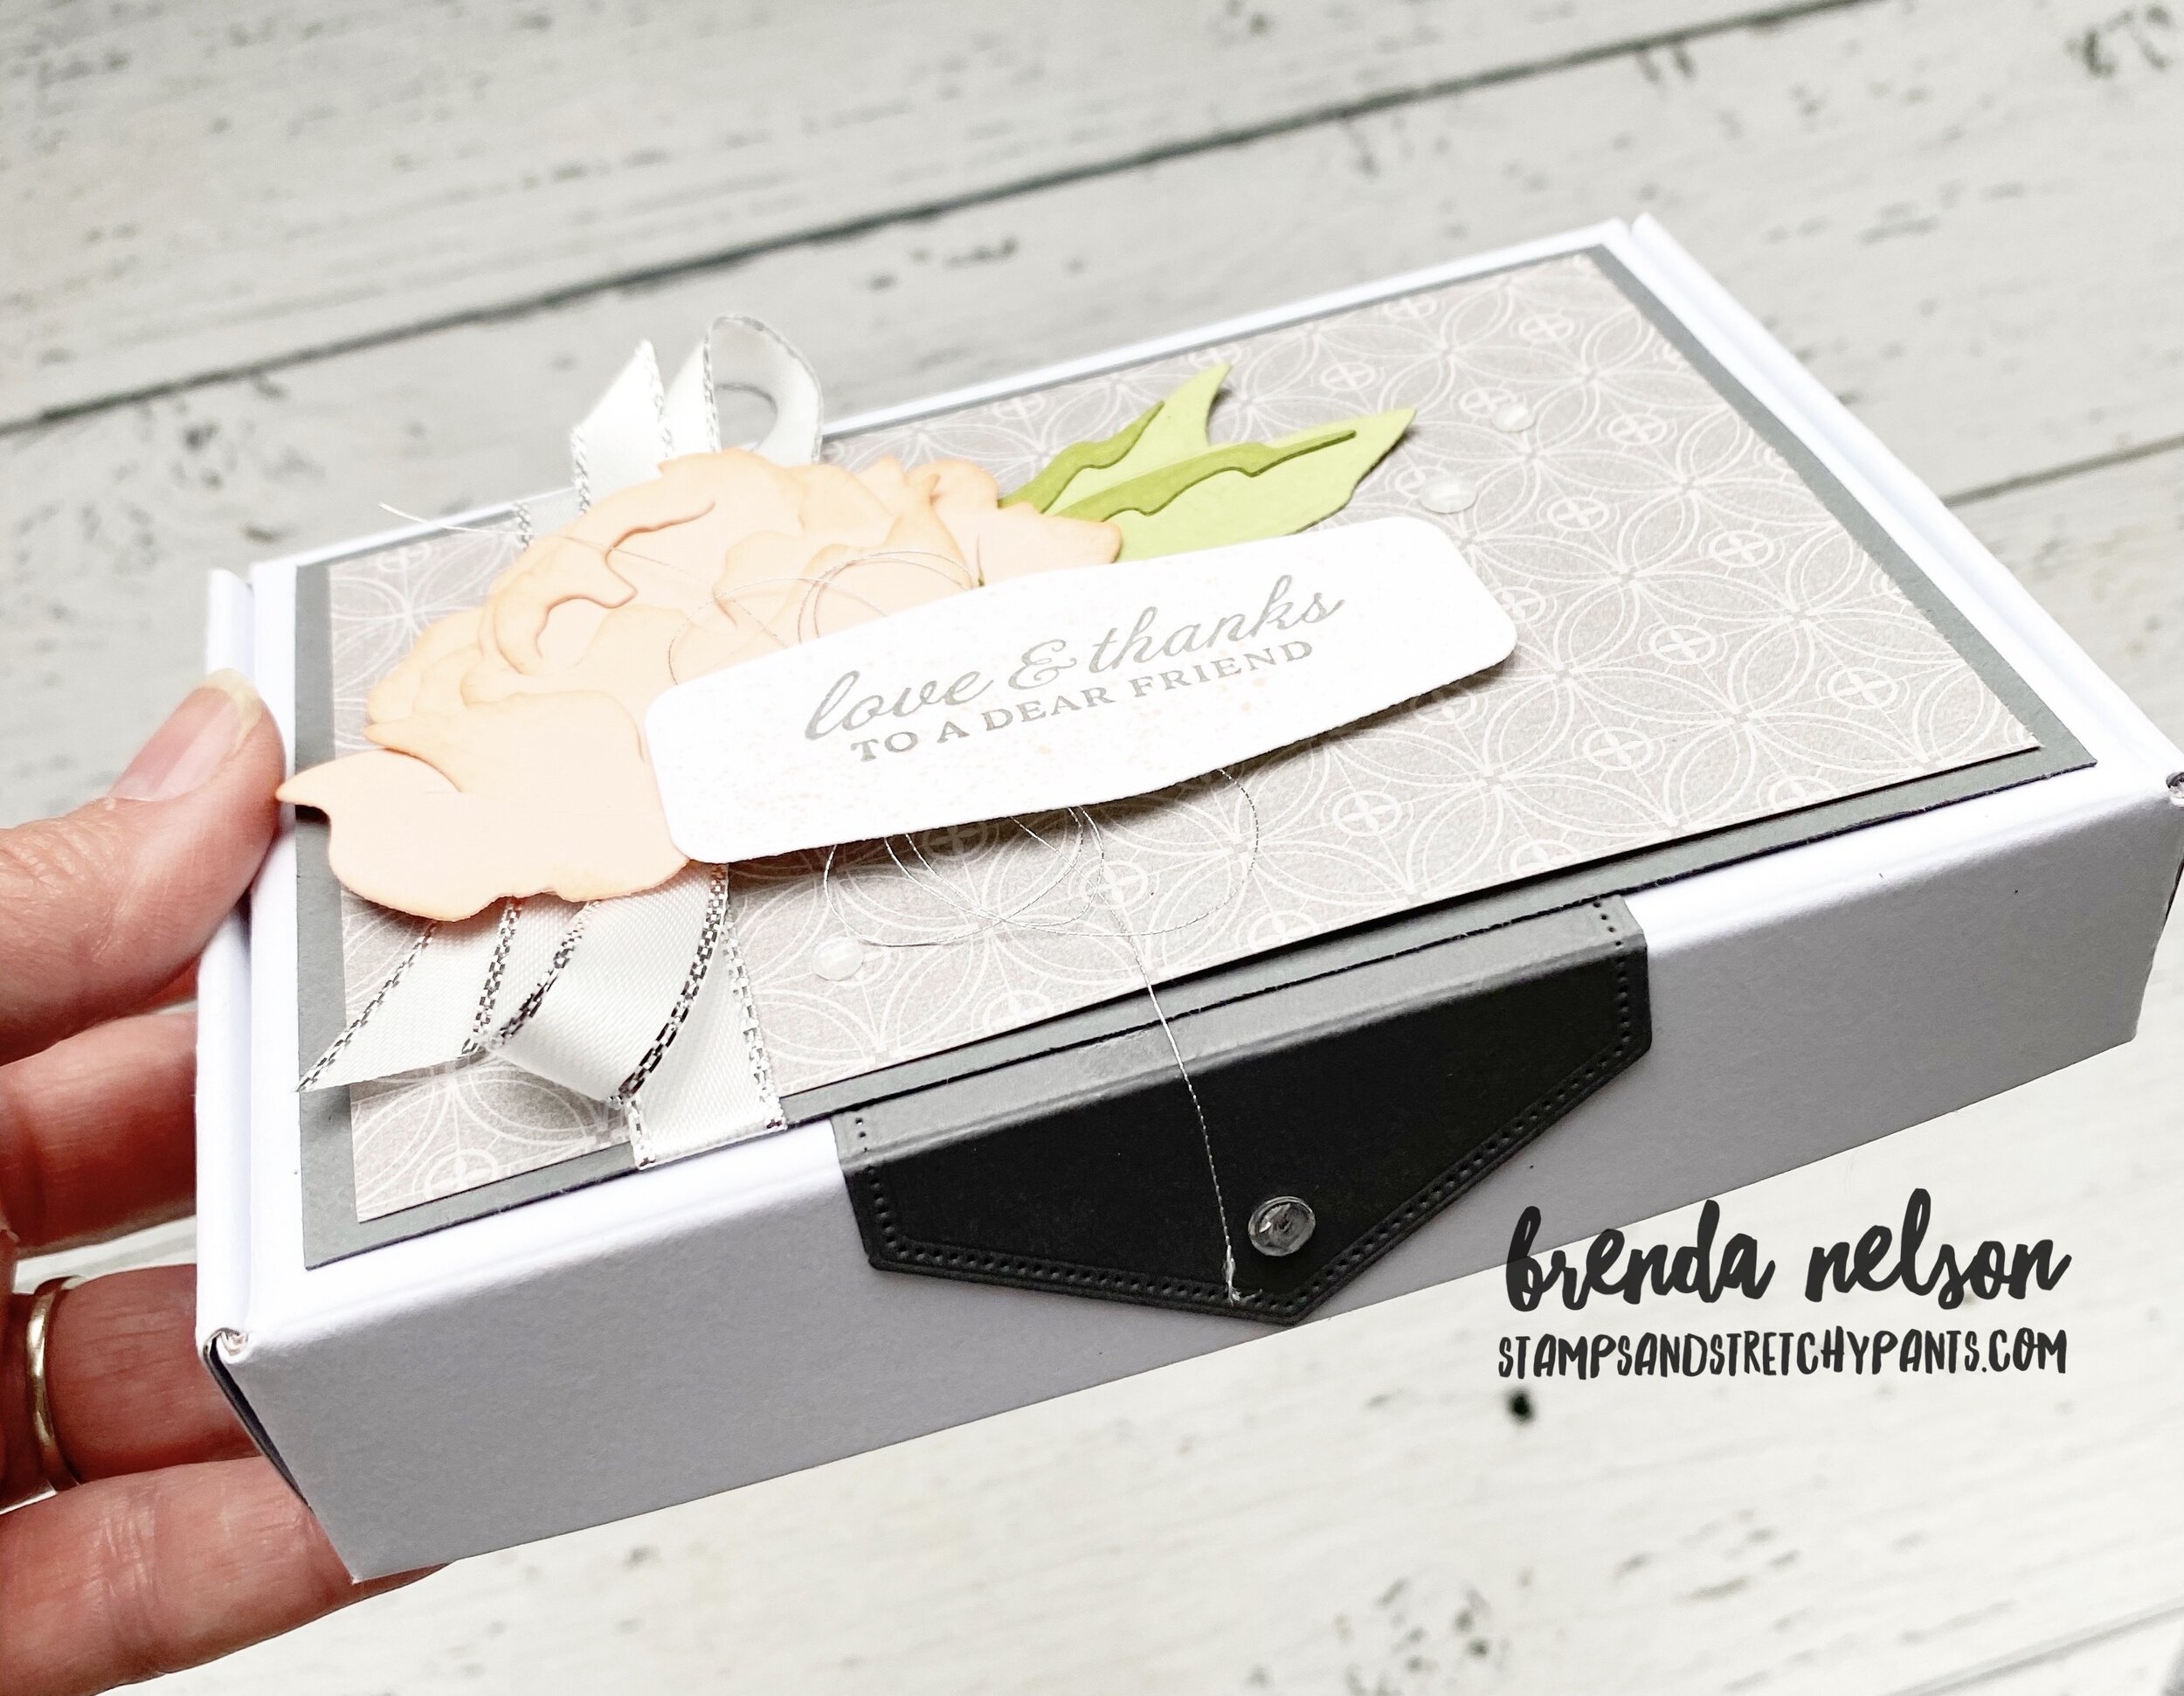
I love the size of these mini paper pumpkin boxes! They are just so fun and have unlimited potential. I wanted this project to look ‘fancy’ so I added a tab using the Stitched Rectangular dies to create a tab that gives the illusion of keeping the box closed. I added one of the Elegant Faceted Gems to it as well.
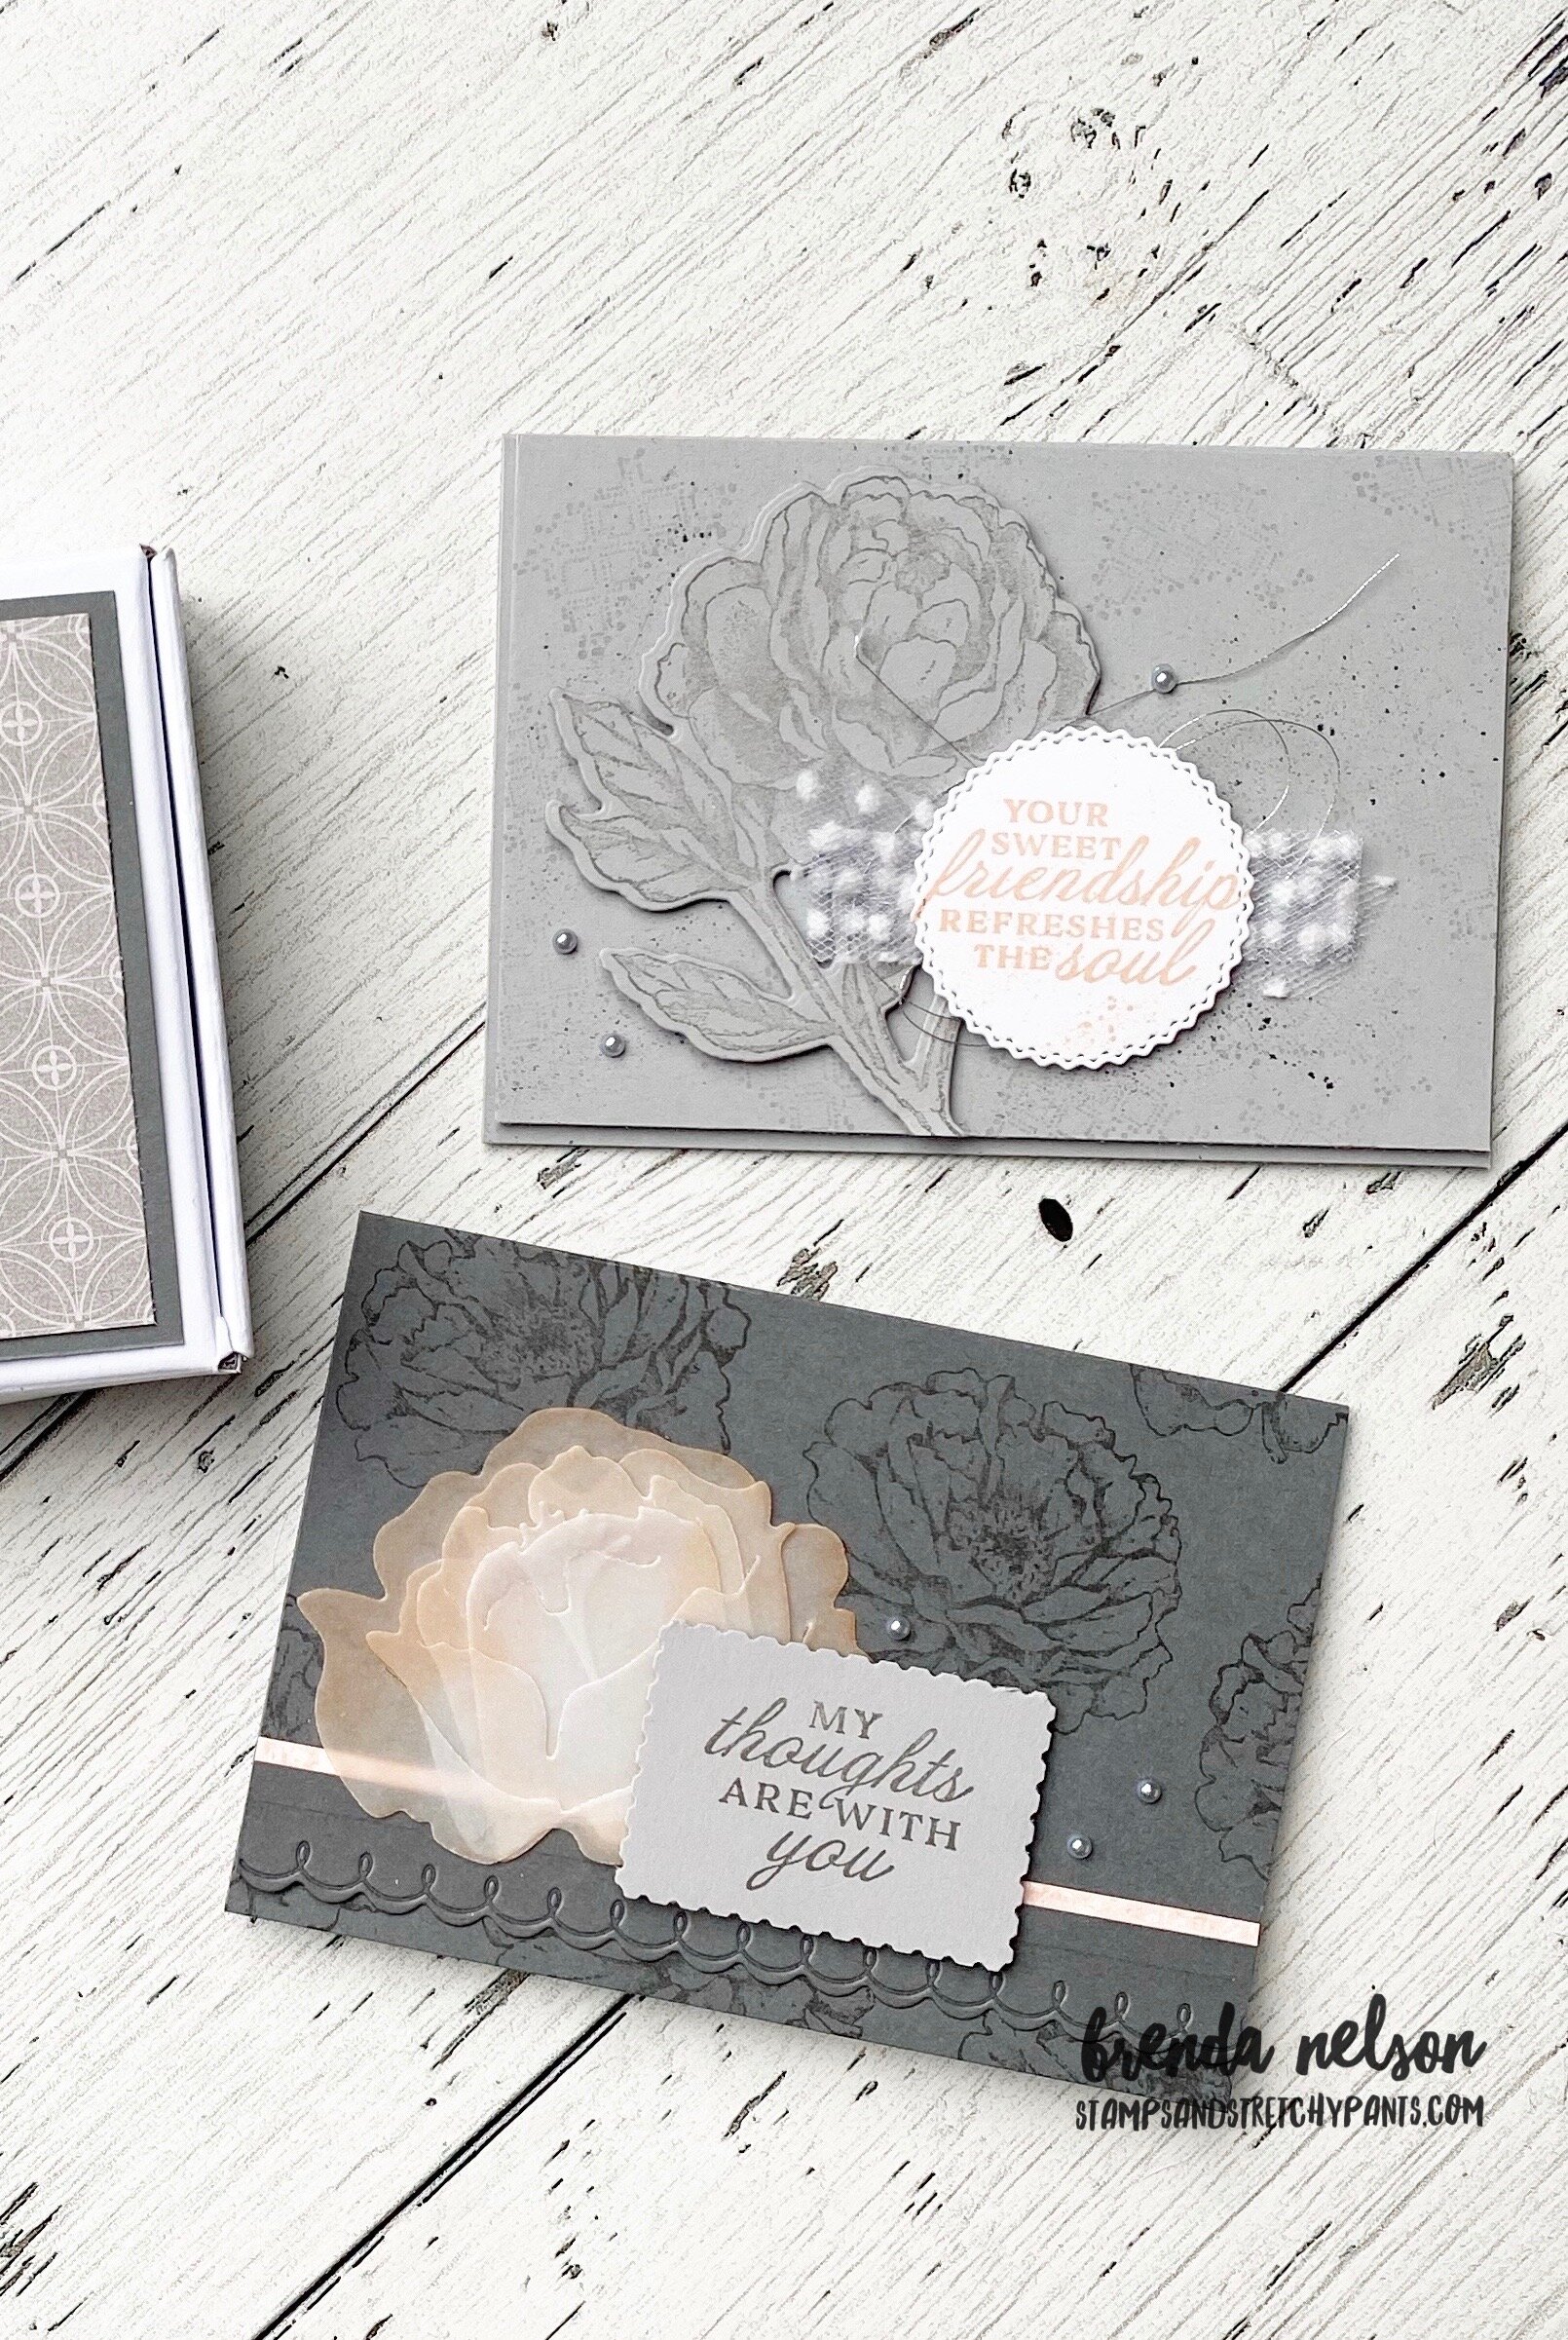
The Smoky Slate card has a light background stamped using one of the images in the Prized Peony stamp set. I stamped it off first so it was very faint and then I used my Water Painter dipped in some Basic Grey ink to create a splatter. I stamped the large peony on Smoky Slate card stock and cut it out with the coordinating die. It is popped up on Dimensionals. The sentiment is stamped in Petal Pink and cut out with a die from the Tasteful Labels dies.
The Basic Grey card has the large single bloom (no stem) stamped as the background. I then cut the peony pieces out of vellum and sponged the edges in Petal Pink ink. I added a very thin strip of DSP and the scallop edge is cut from a piece of the Basic Grey card stock (about 1.2 inch in thickness). A few silver metallic pearls completes the look!


