Twelve Days of Christmas--Project #6
/Hi friends! Are you enjoying our project shares? I really hope you are finding some fun and different ideas between myself and Melanie! Today I want to share another holiday scrapbook page idea with you!

I offer a class each month, on the last Sunday of the month, over zoom, that is called The Making Memories Membership. Each month I design and share a layout with the members, share my creative strategies and design process and then recreate the page using completely different supplies. You craft along with me using your own supplies! It has been a wonderful first year offering this class series. If you are looking to develop your scrapbooking skills, please message me to find out how you can join for 2025!
This page was one that I shared this past month with everyone in The Making Memories Membership group. Typically, I do not share publicly what I create for this group, but I love this page so much and I would love you to join my creative community, so here you go!

Tell me I am not the only one who snaps pics of the starbucks holiday cups? hahaha!
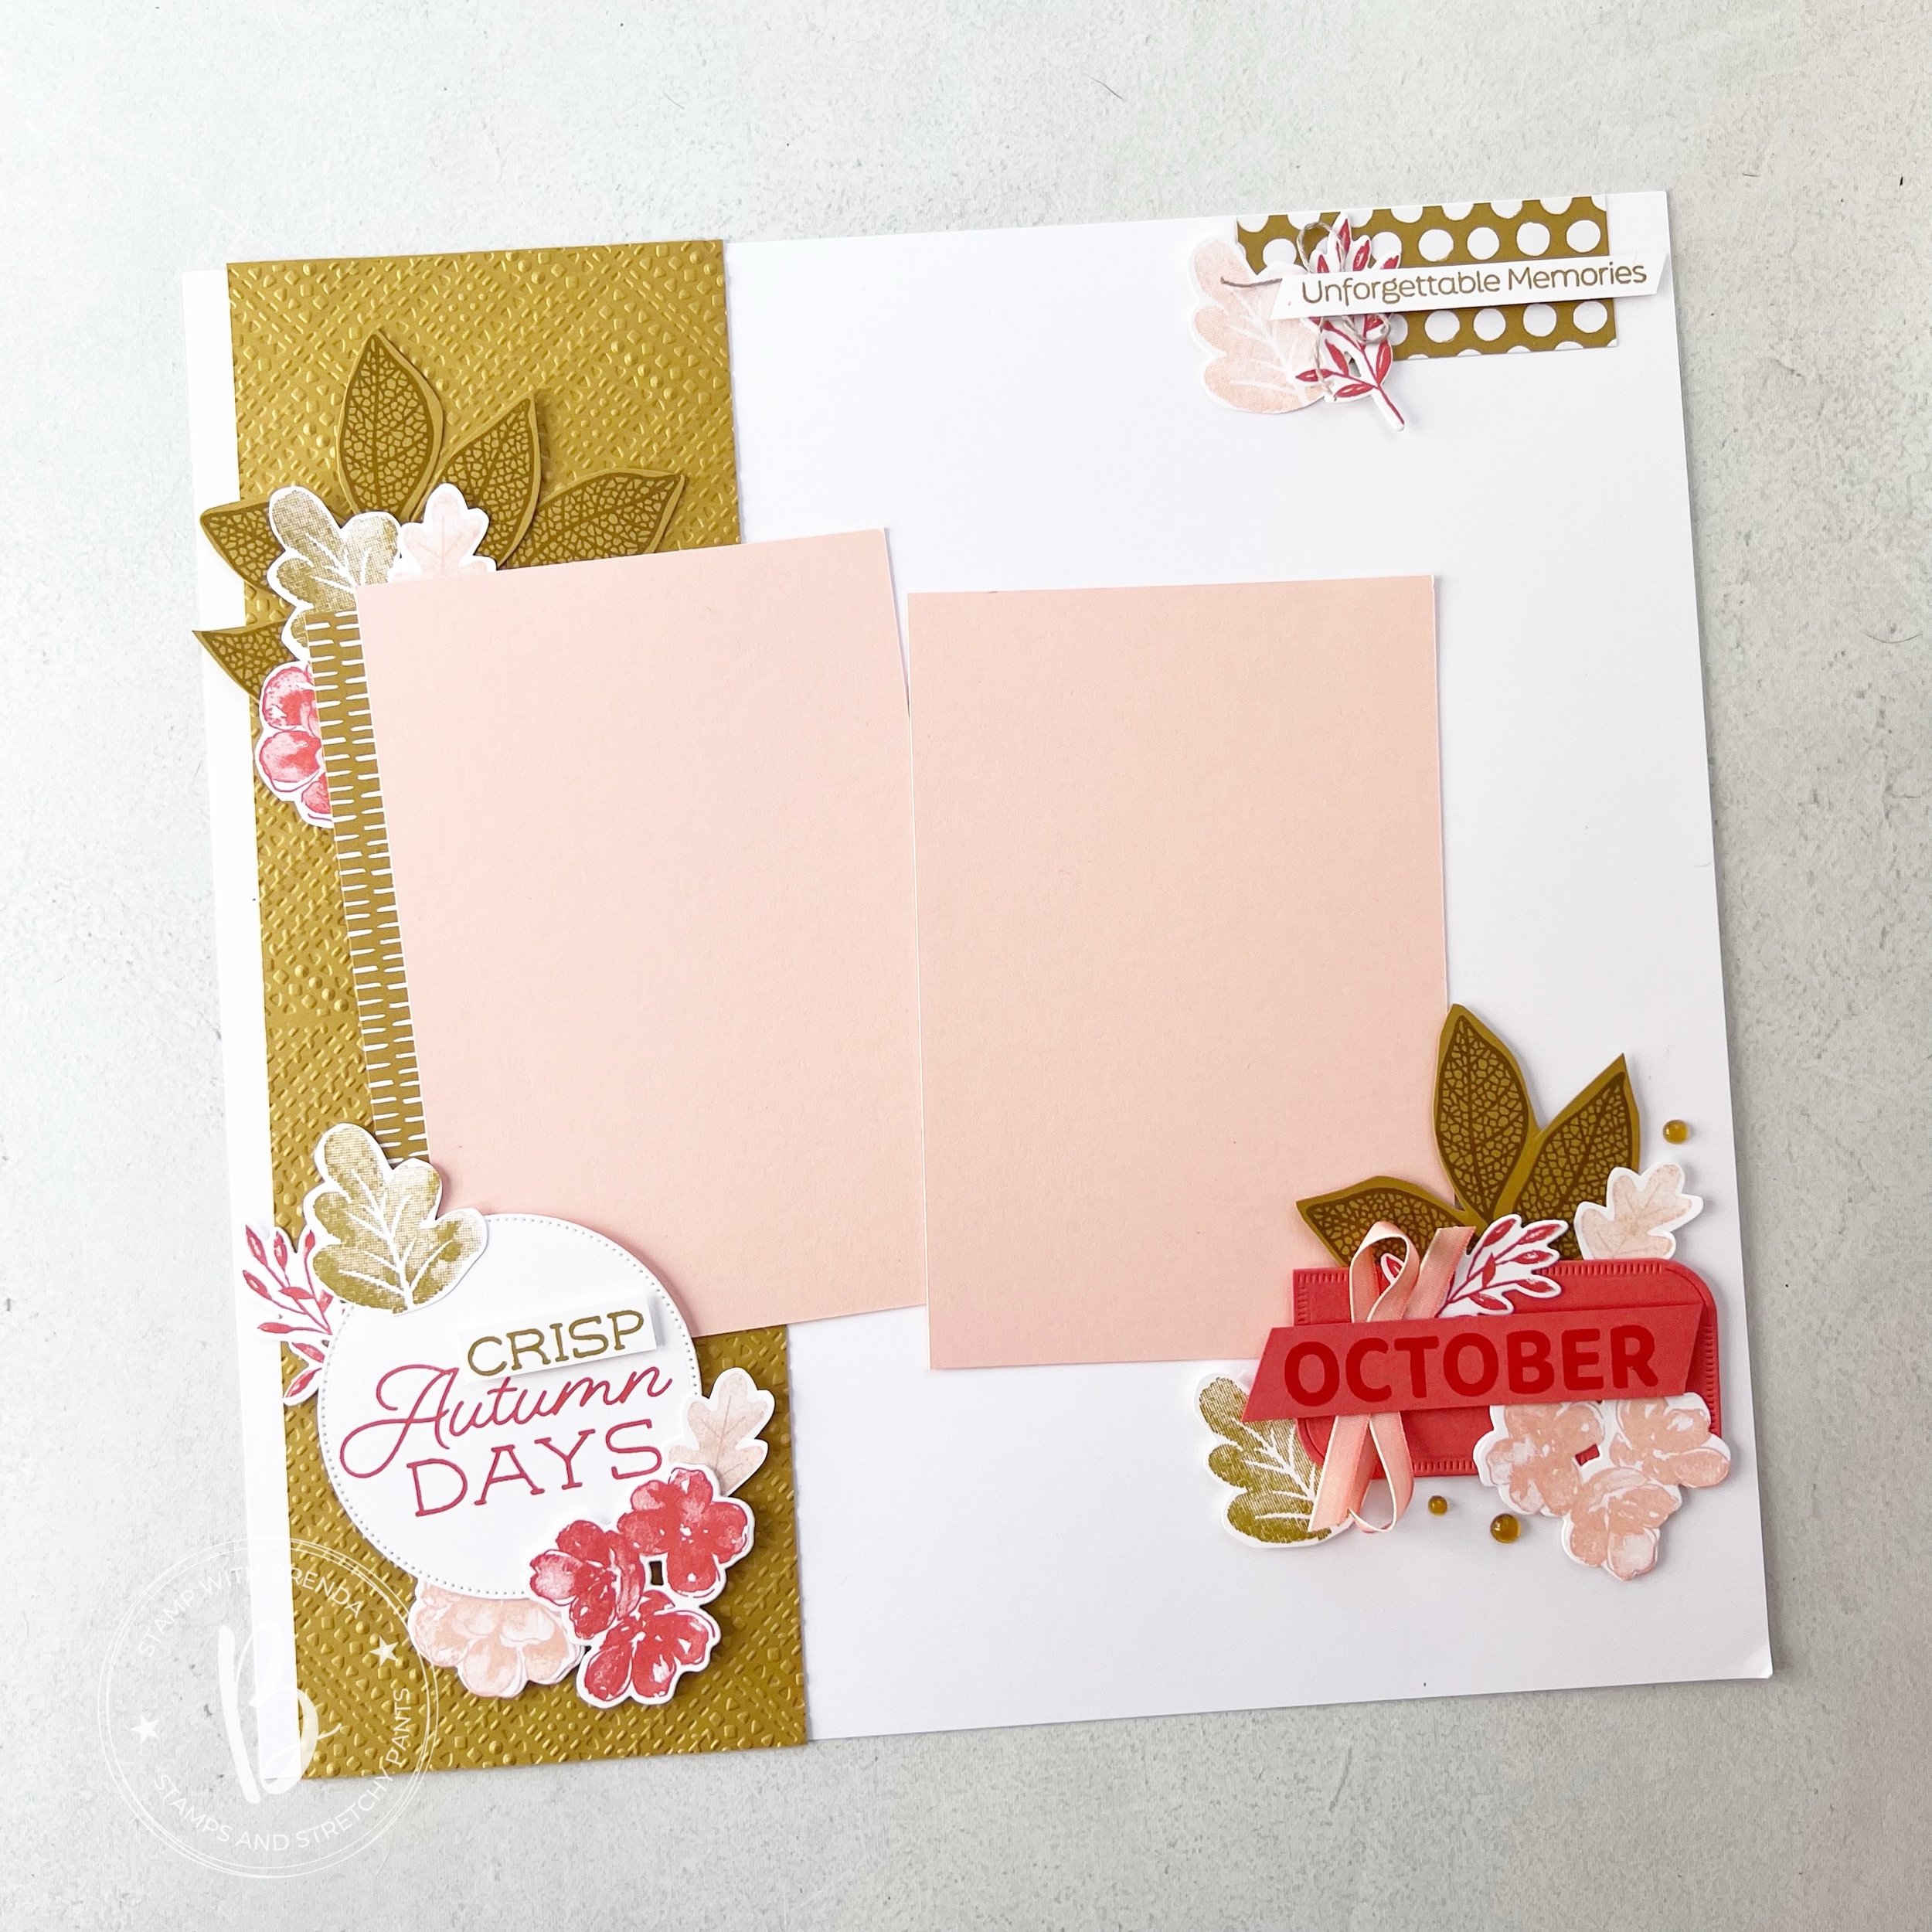
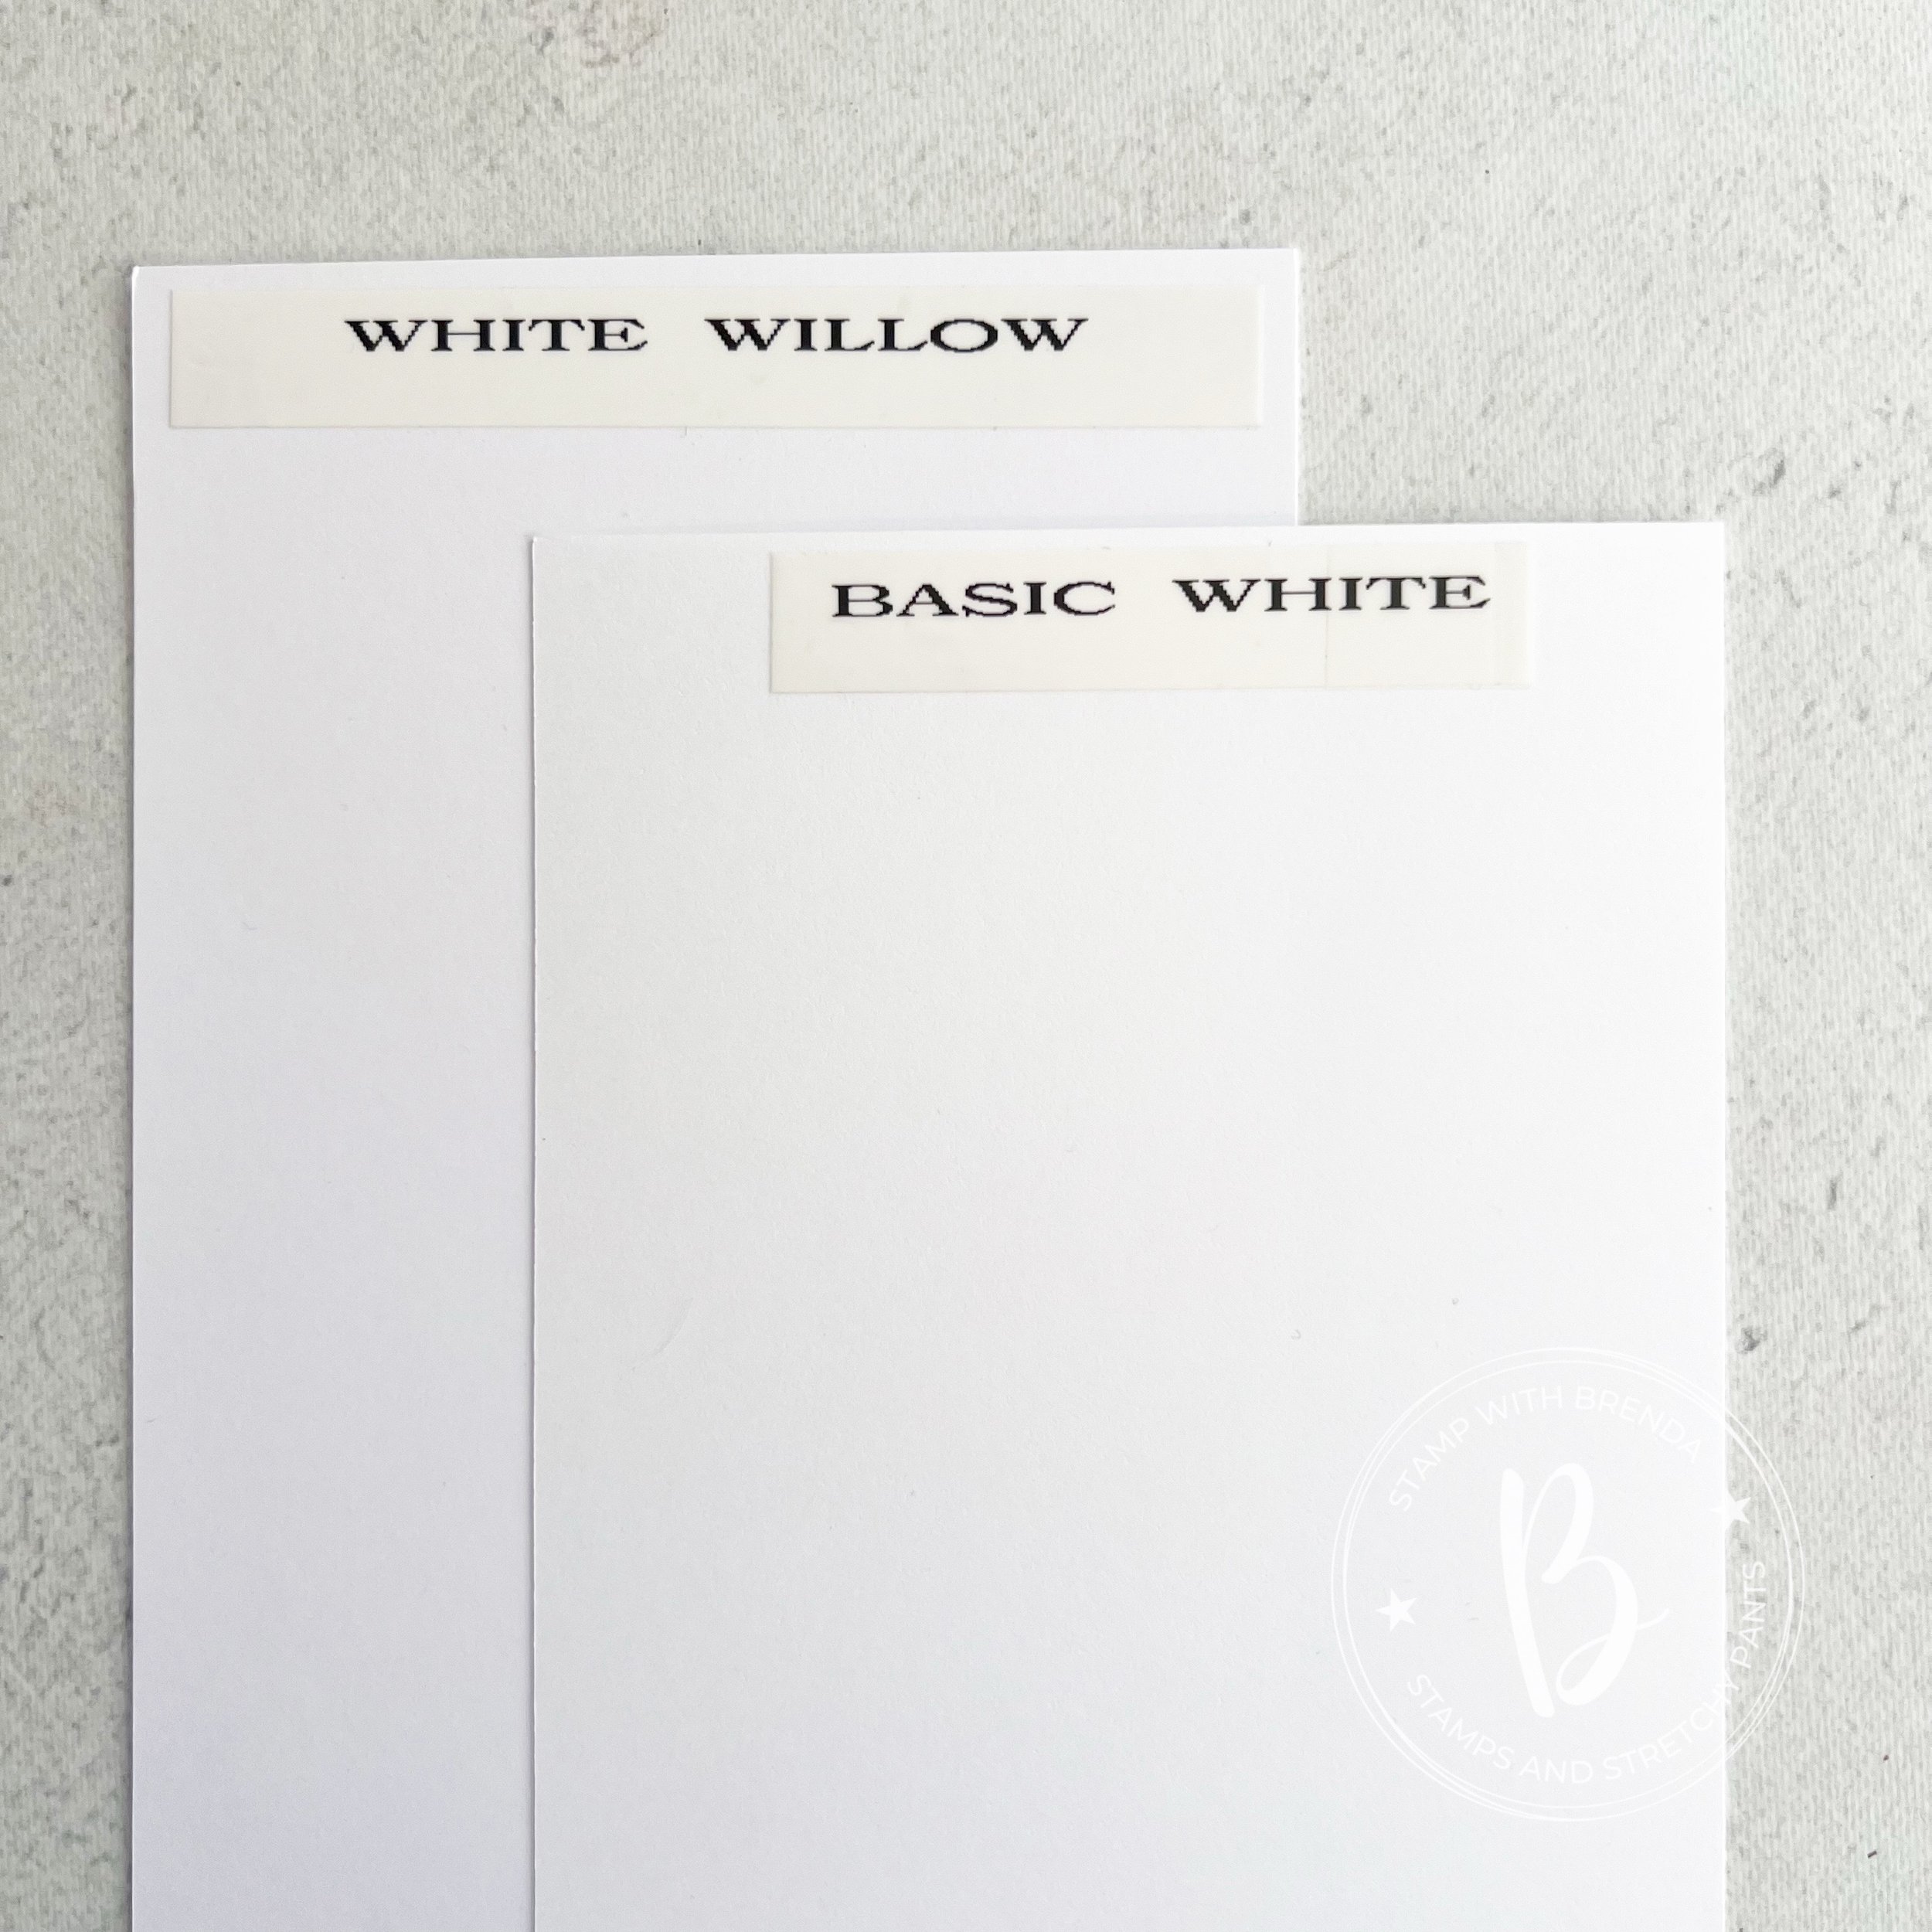
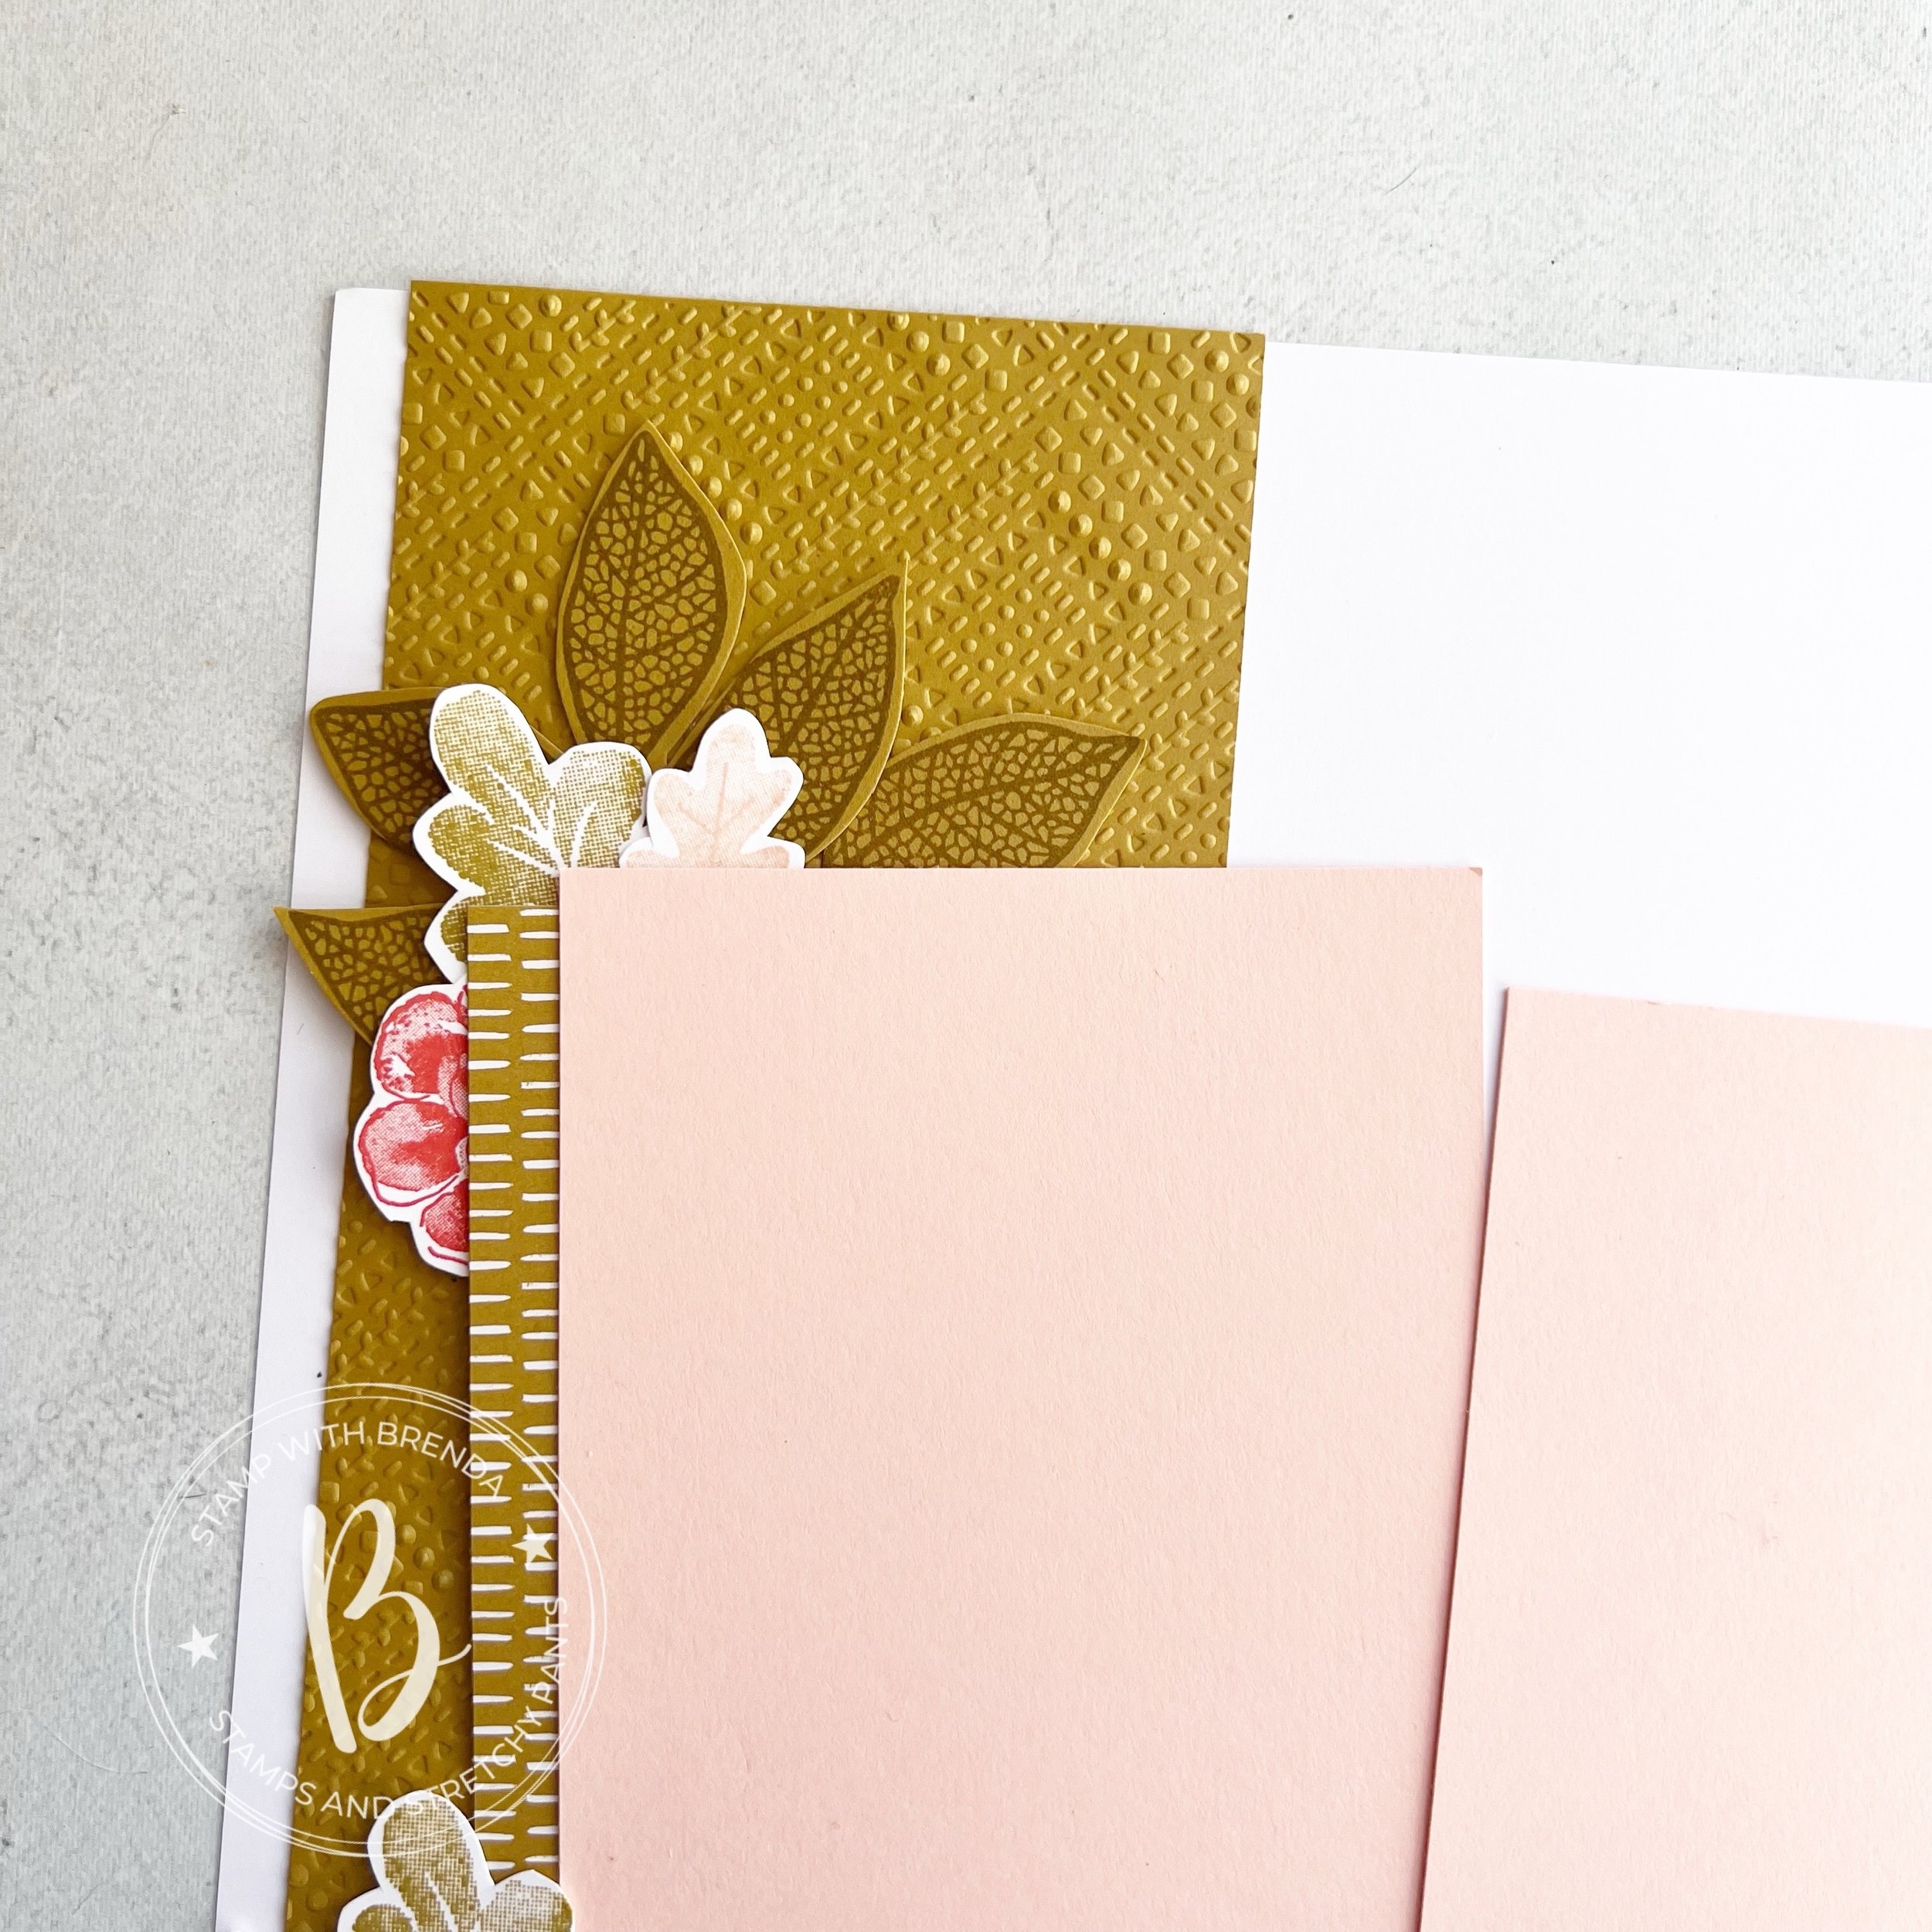
The base of this page is Pecan Pie with a layer of Basic White over top. I used a variety of 2x2 squares in a bunch of DSP patterns to give life to this page. Some are retired, some are holiday prints and some are more neutral, however they come together in perfect harmony. There is literally SO MUCH you can do, design wise, with a 2x2 square!
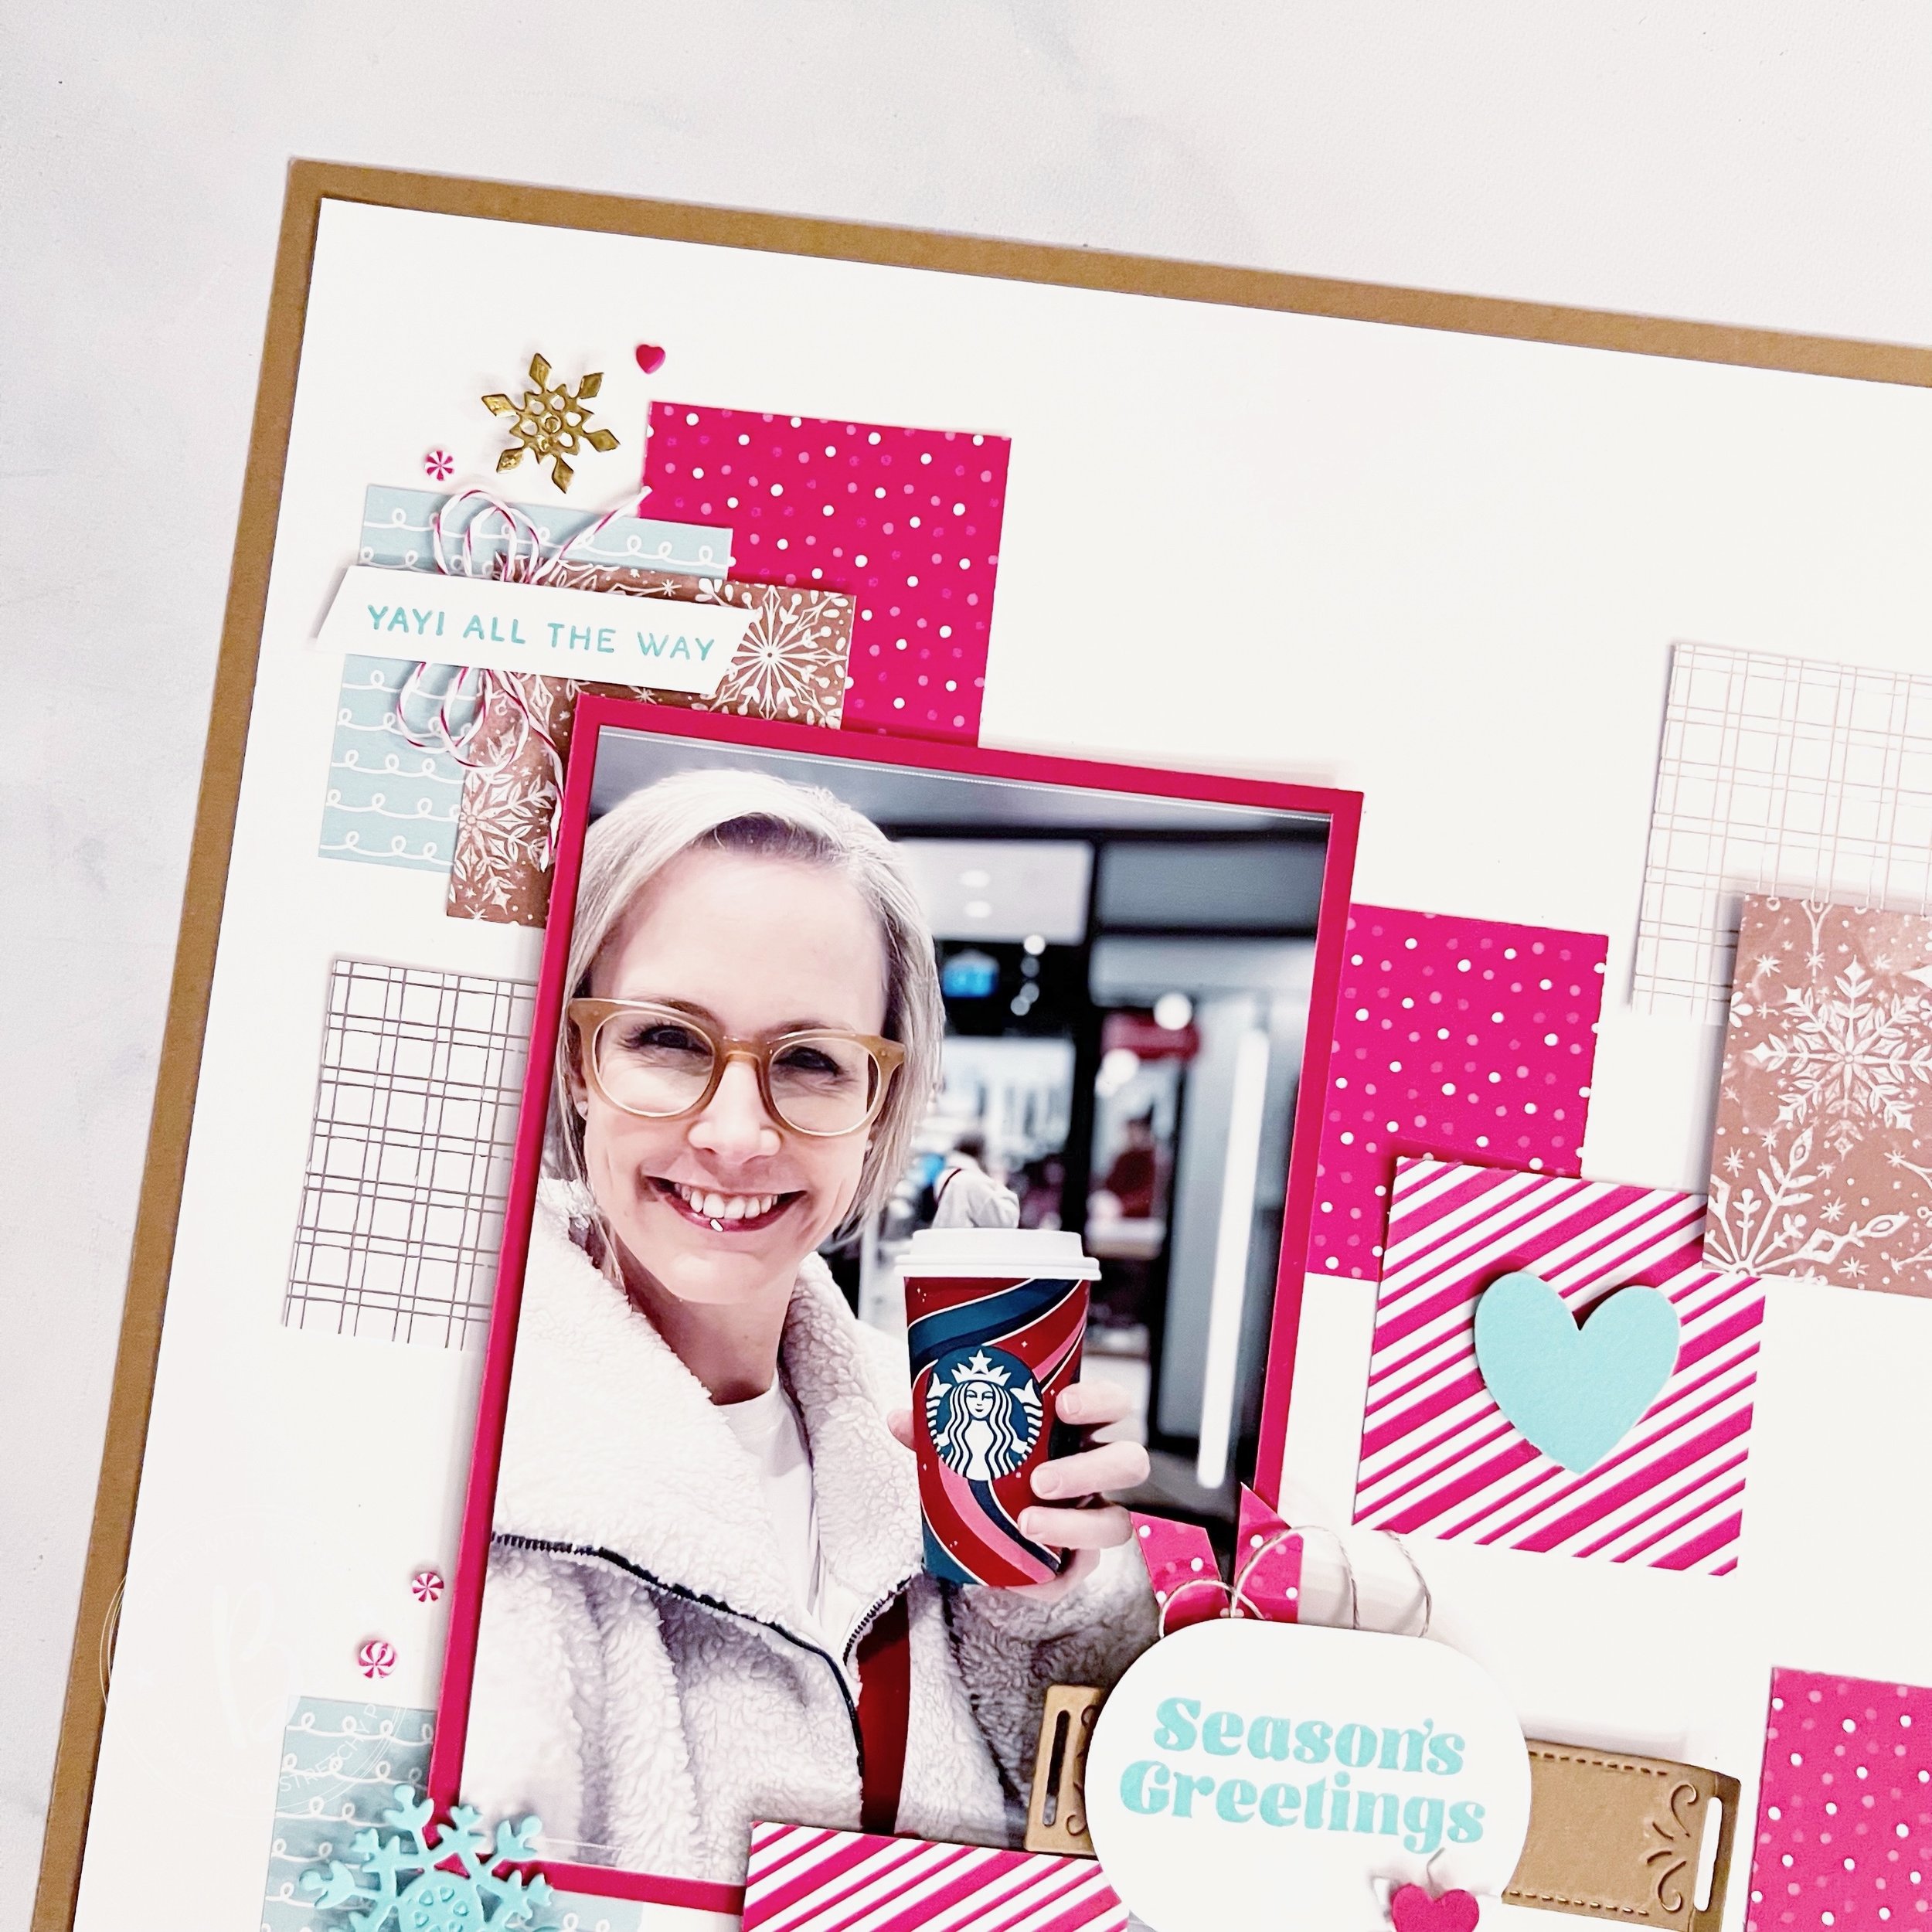
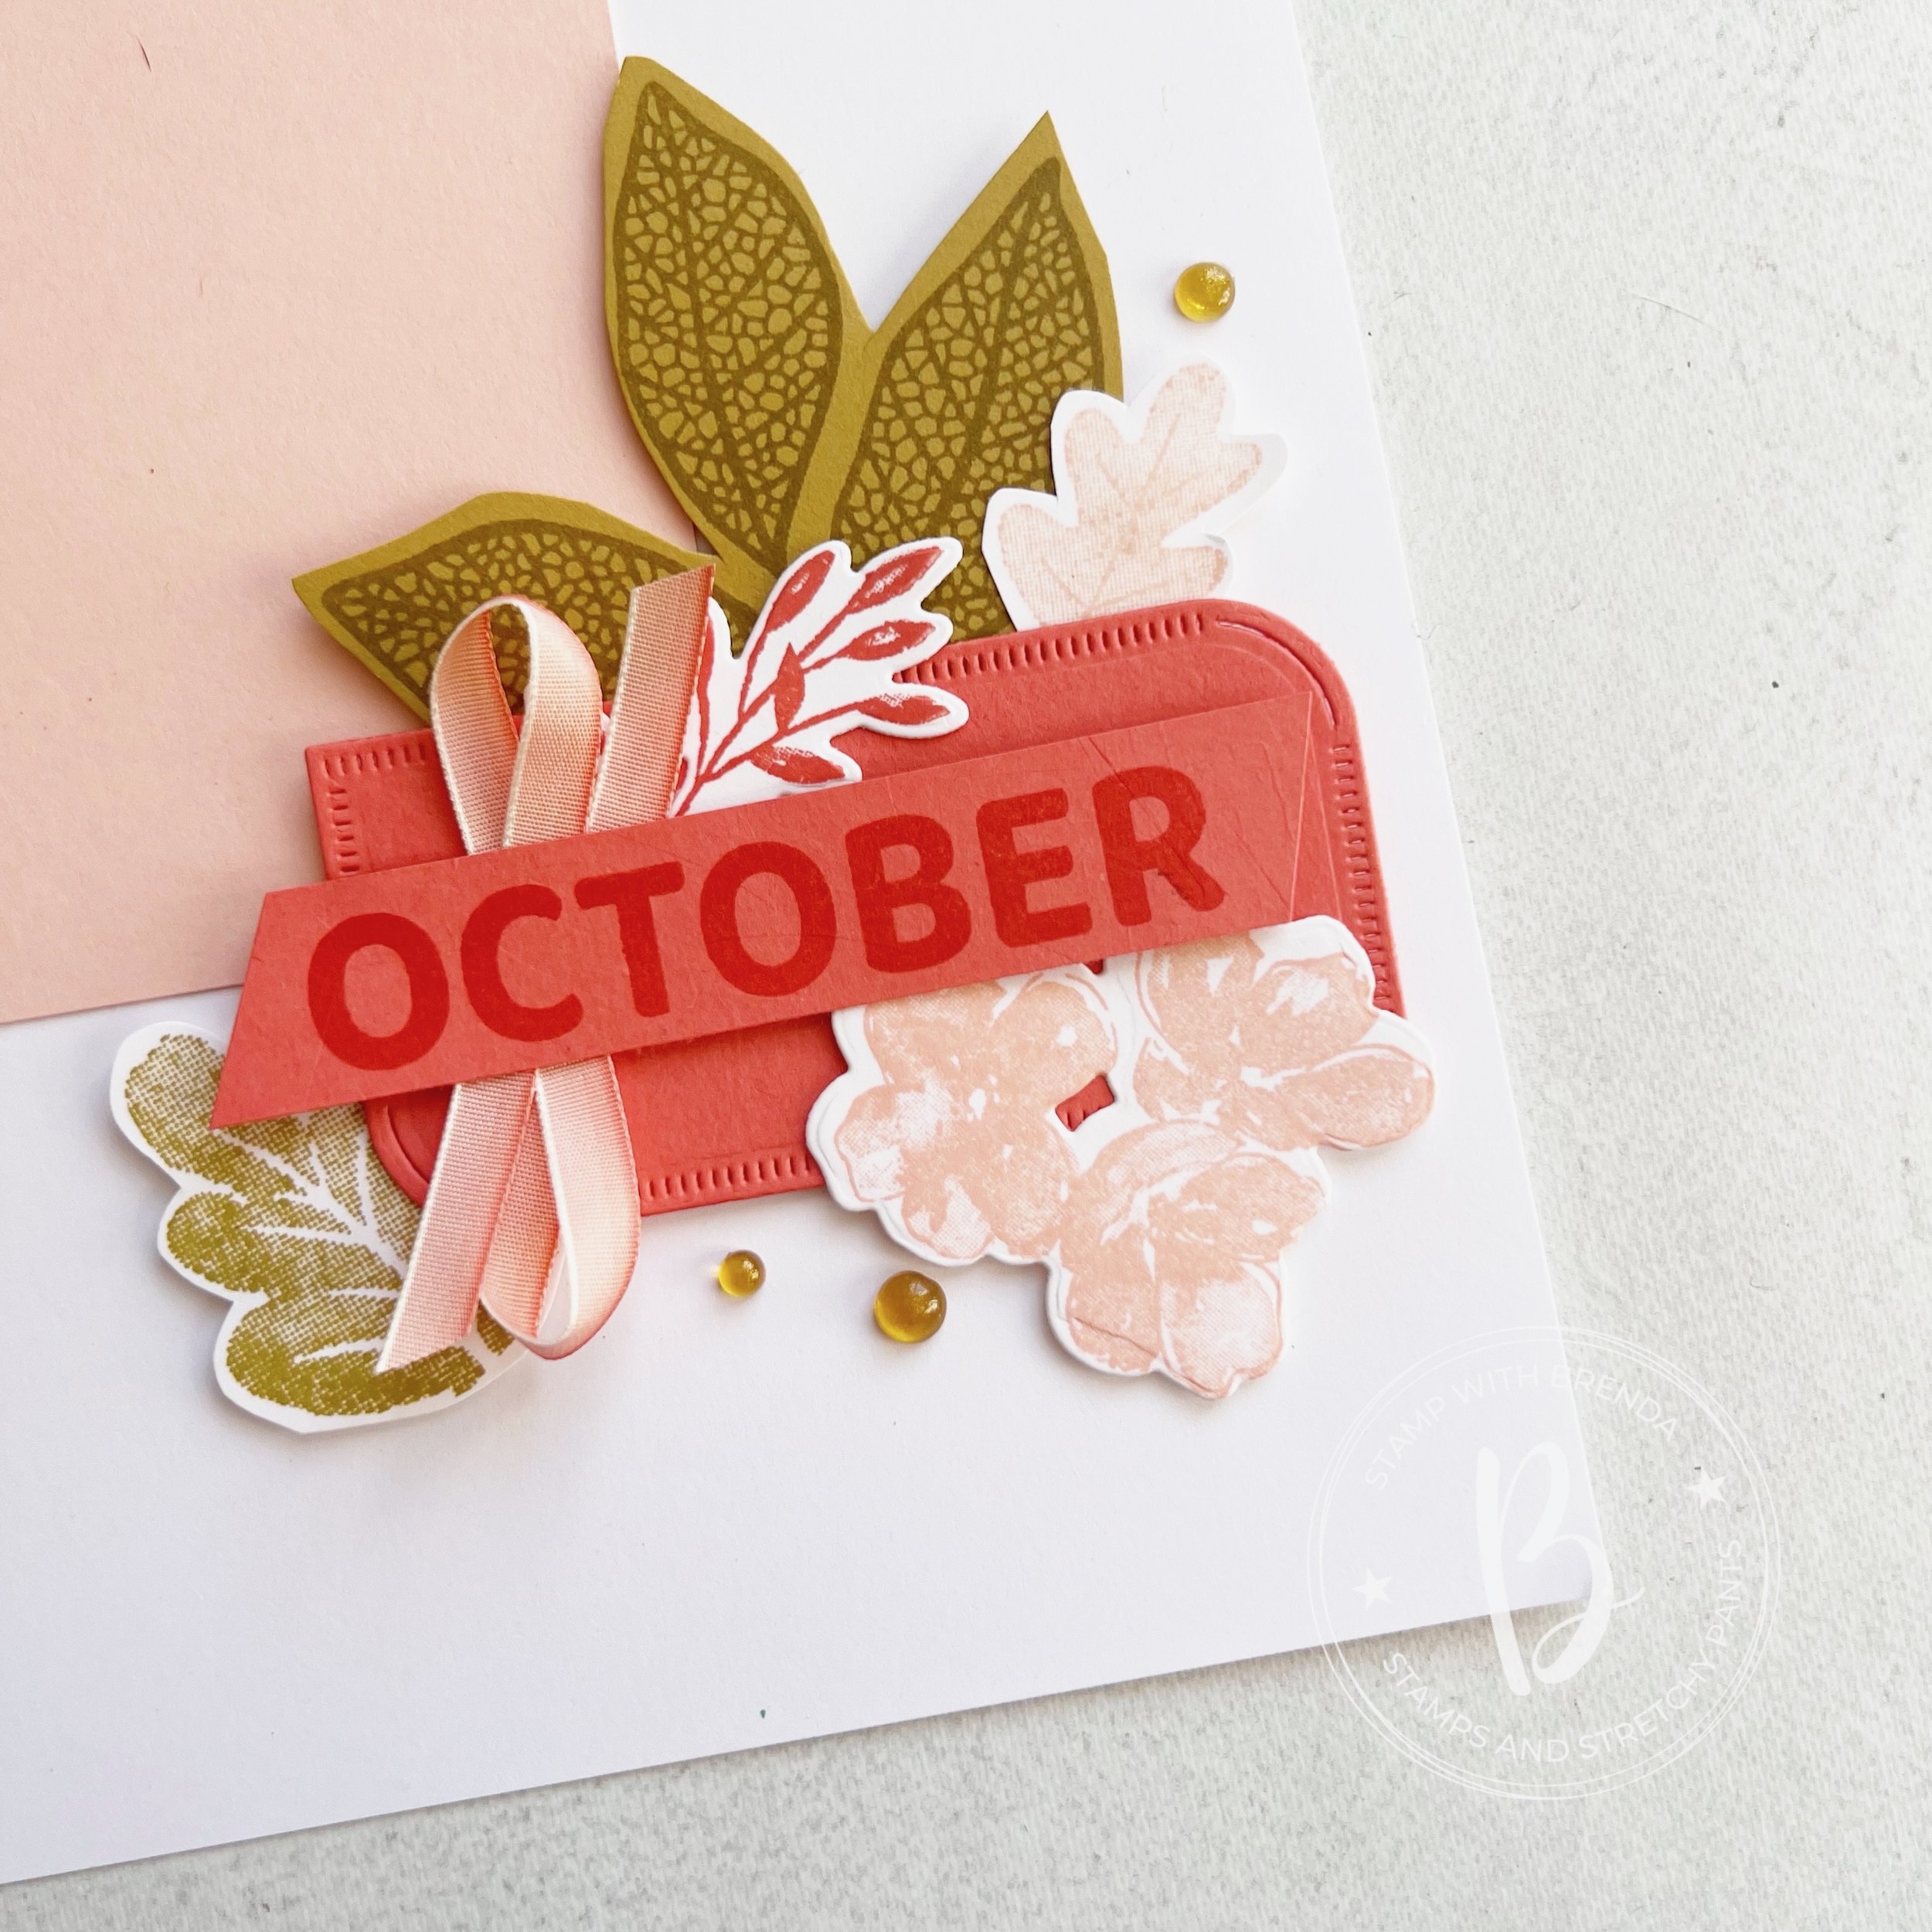
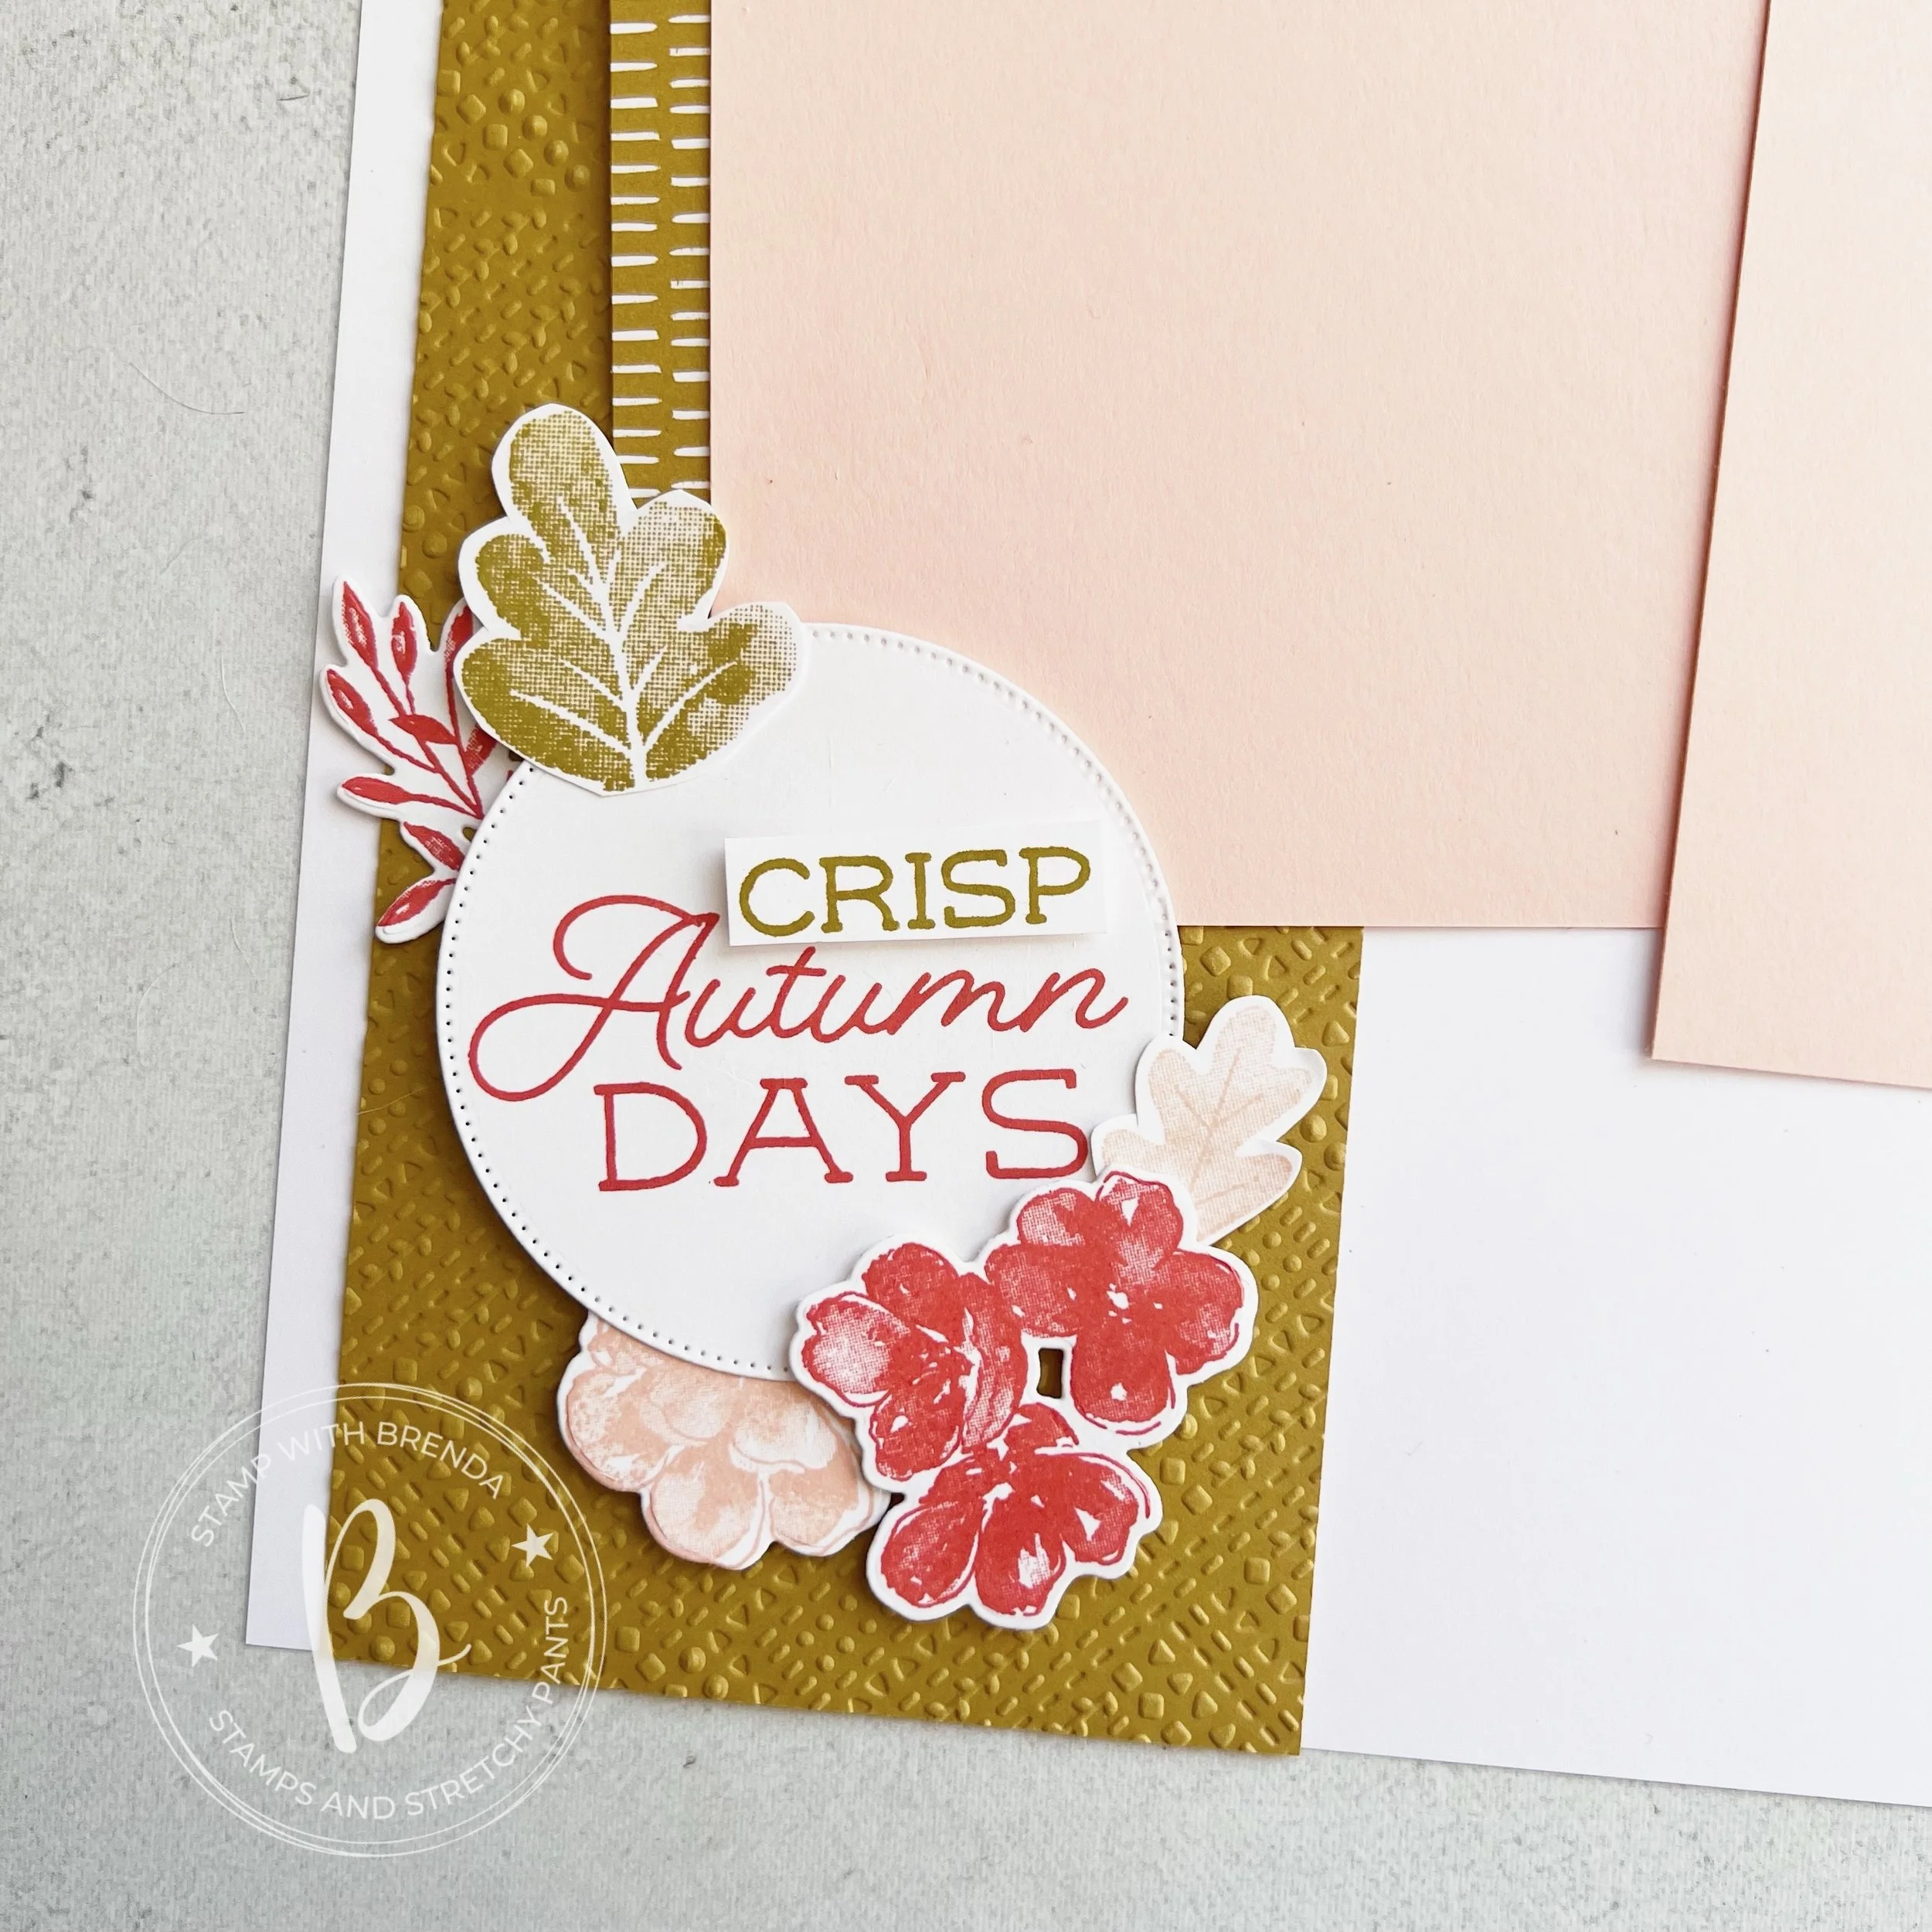
‘Yay all the Way’ is from the Sophisticated Sled Bundle —with a little Real Red & White Bakers Twine in behind and a gold snowflake from the Snowy Wonder Dies. This bundle is where you will find the ‘Season’s Greetings’ sentiment as well. I used the Modern Oval Punch for that sentiment and layed it over top of a label die from the Peaceful Season Dies.

I wanted to add little images or shapes to some of the squares to help tell the story or the theme of my page. I stamped the little tree from the Snowy Wonder stamp set, a heart from the Bee Builder Punch, a little die cut tree from Snowy Wonder and the snowflake from the One of a Kind dies. Plus a few fun peppermint embellishments and some really old little heart embellishments (that I have been hoarding!).
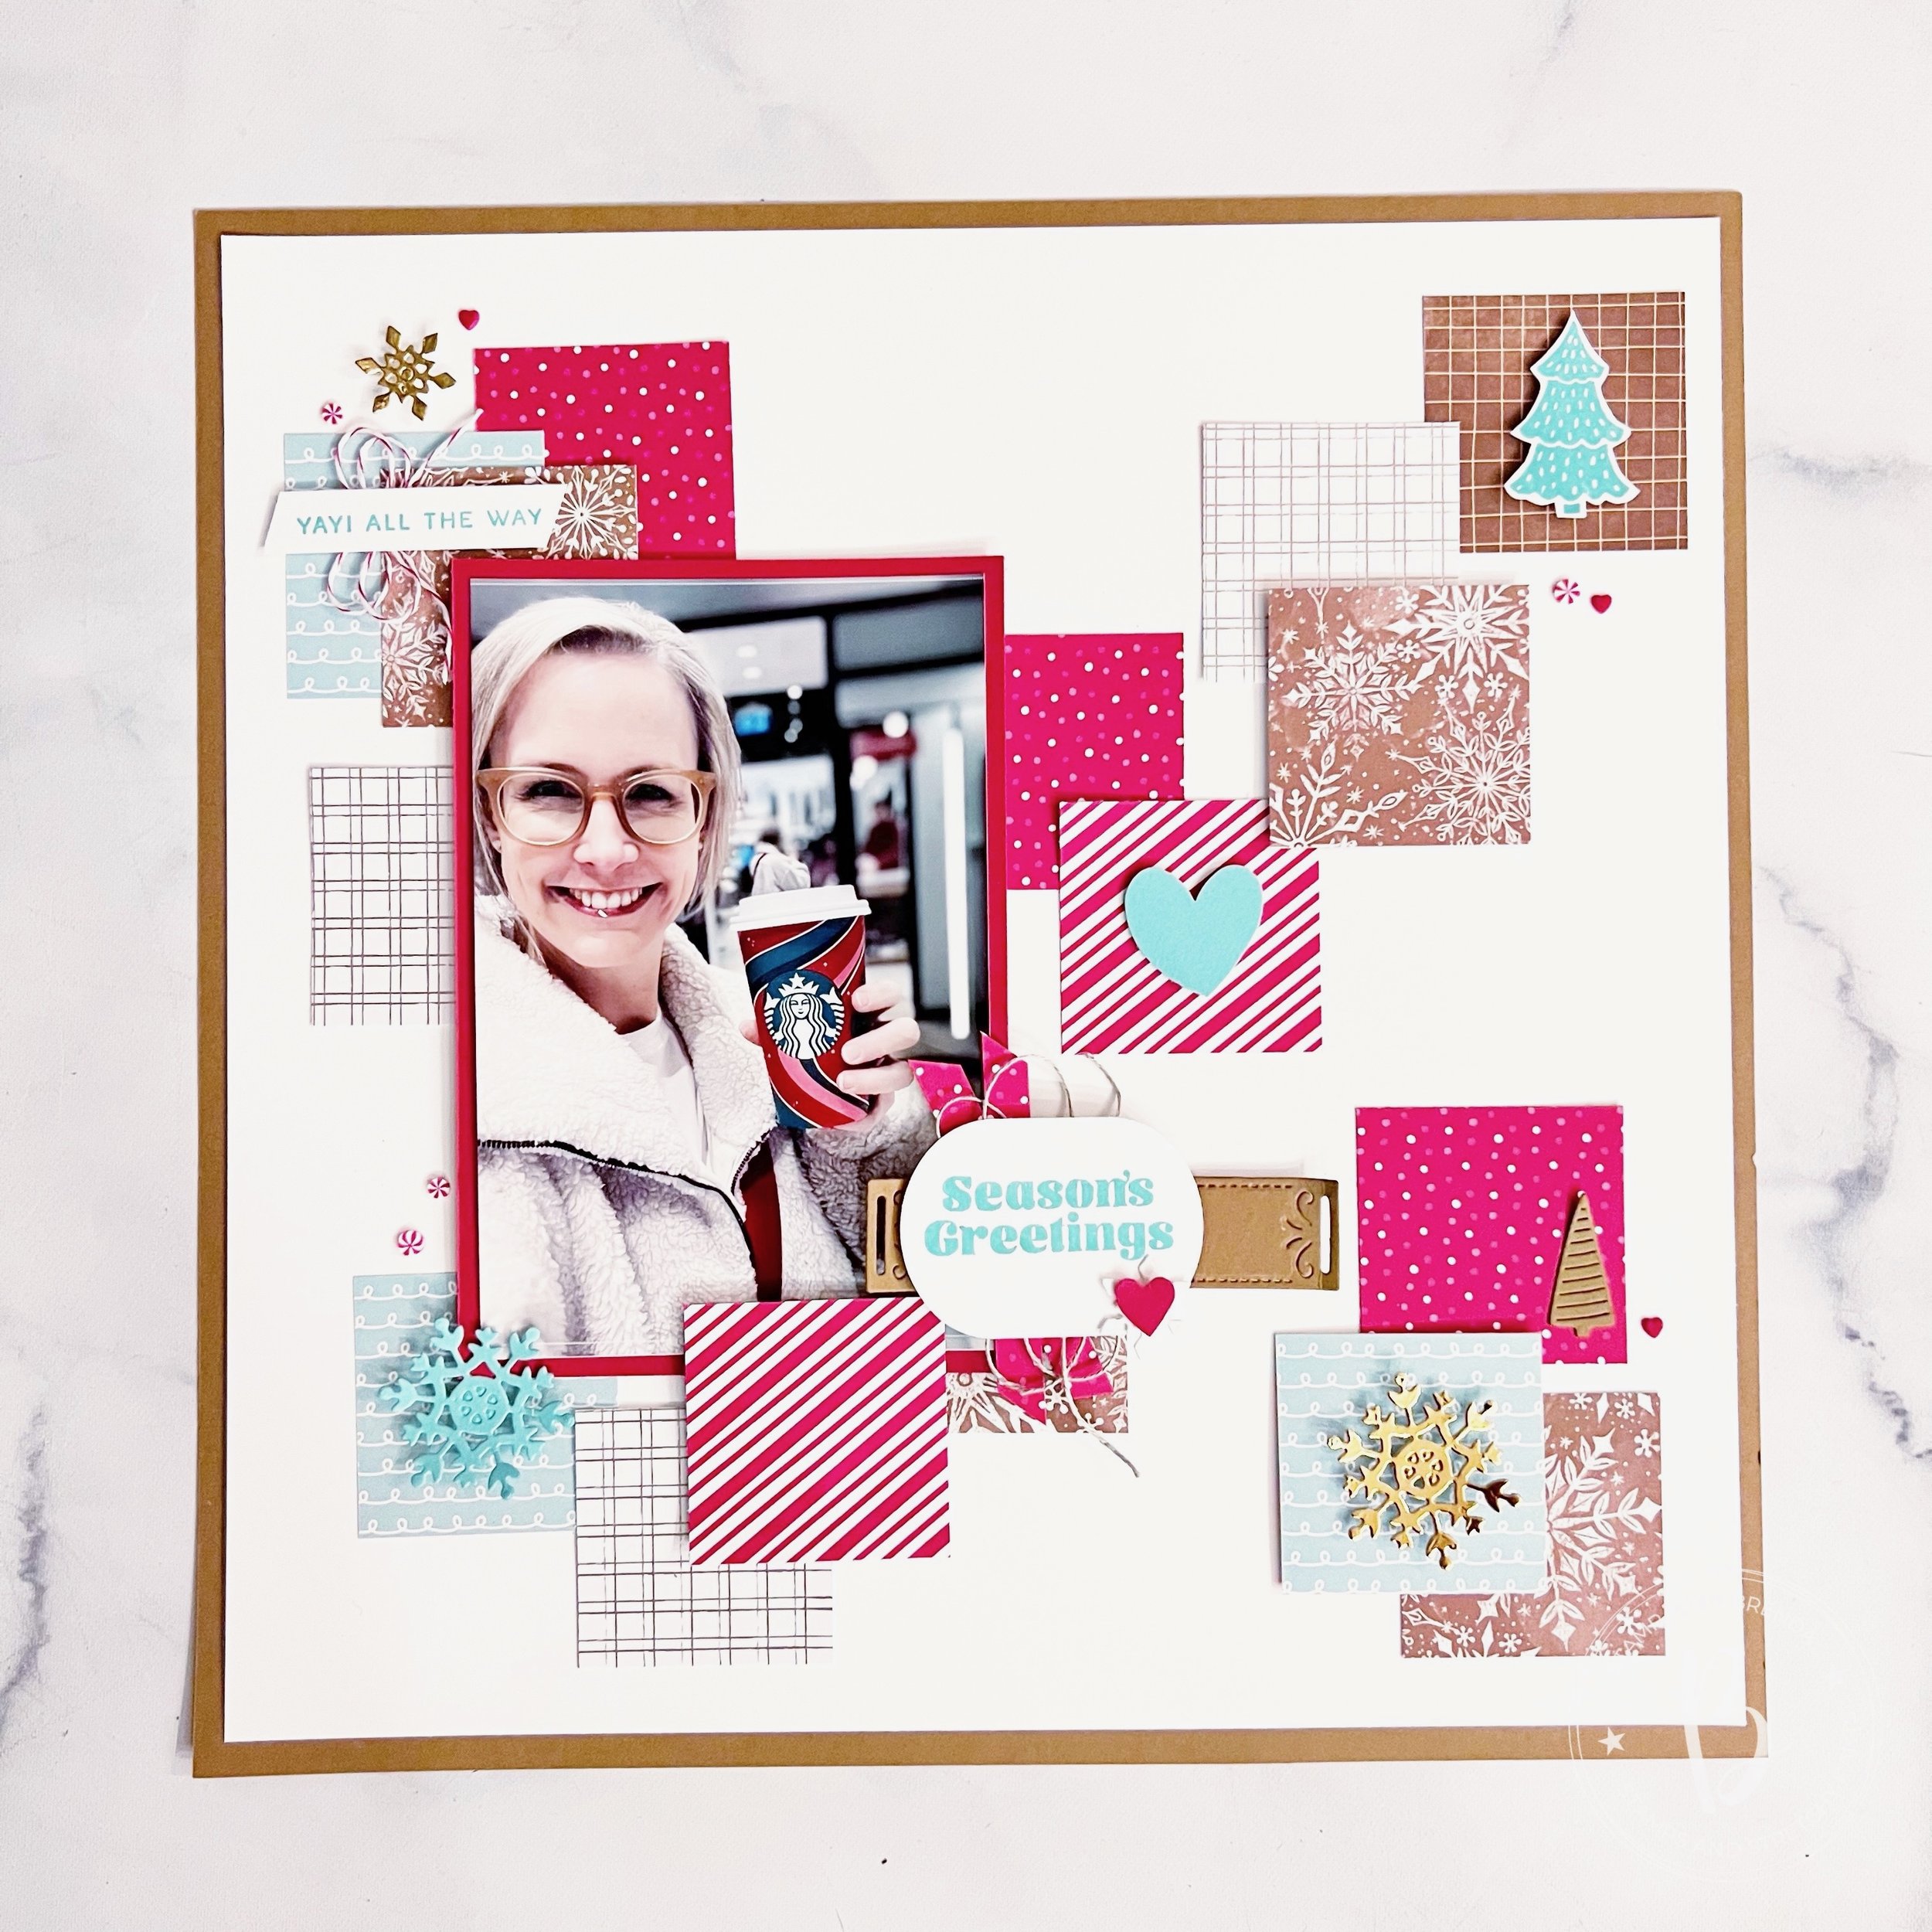
If you are going to try and recreate this page, make sure to pop up your Real Red photo mat plus a few of the square to give dimension to your page. It really helps bring the layering effect of the 2x2 squares to life.
If you have questions about The Making Memories Membership program, please reach out!
And check out Melanie’s project tomorrow, or see what she shared yesterday, as we are alternating our schedule!


")
 Designer Series Paper & Sticker Sheet (English)")
 Circle Punch")
")


")
")
")
")
 Cardstock")
 Cardstock")


")
")
")


