Scrapbooking with Memories & More cards!

If you are looking for an easy way to start scrapbooking, I would suggest Memories & More cards! I have several sets that I collect from every catalogue so my project share today is actually using a retired set of cards Flowers for Every Season. I do offer lots of classes featuring the Memories & More cards as they are just so user friendly!

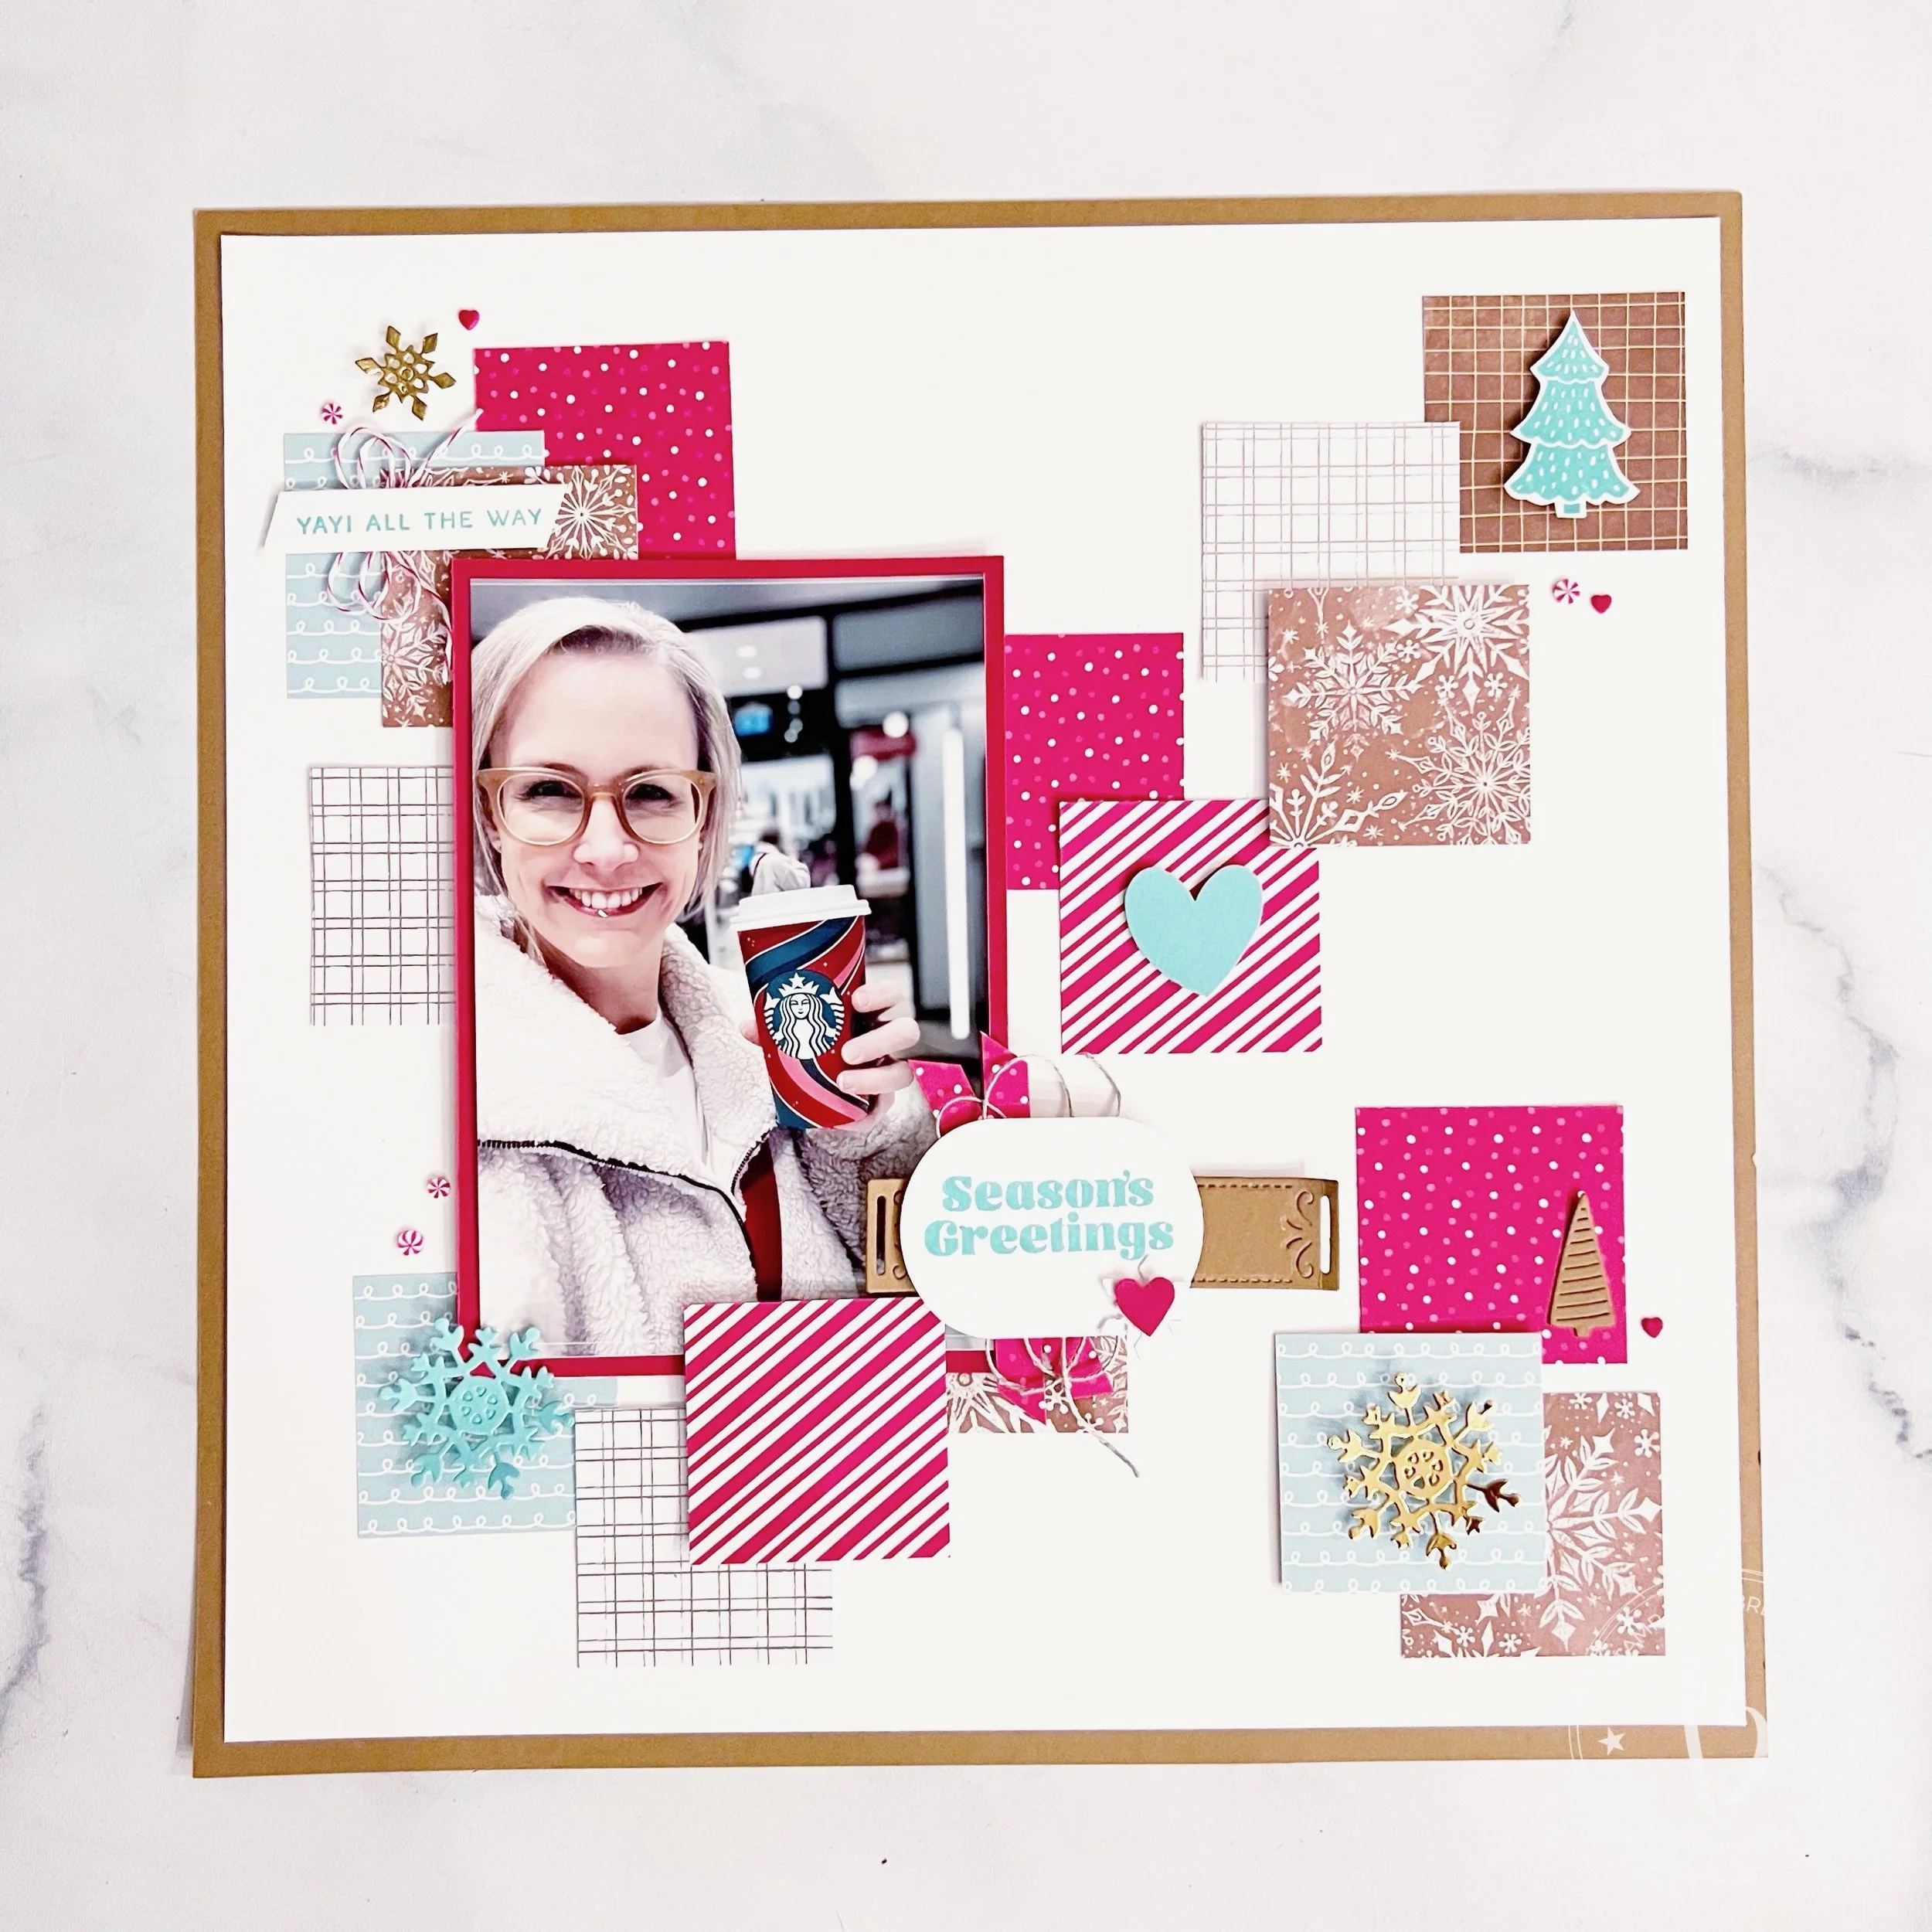
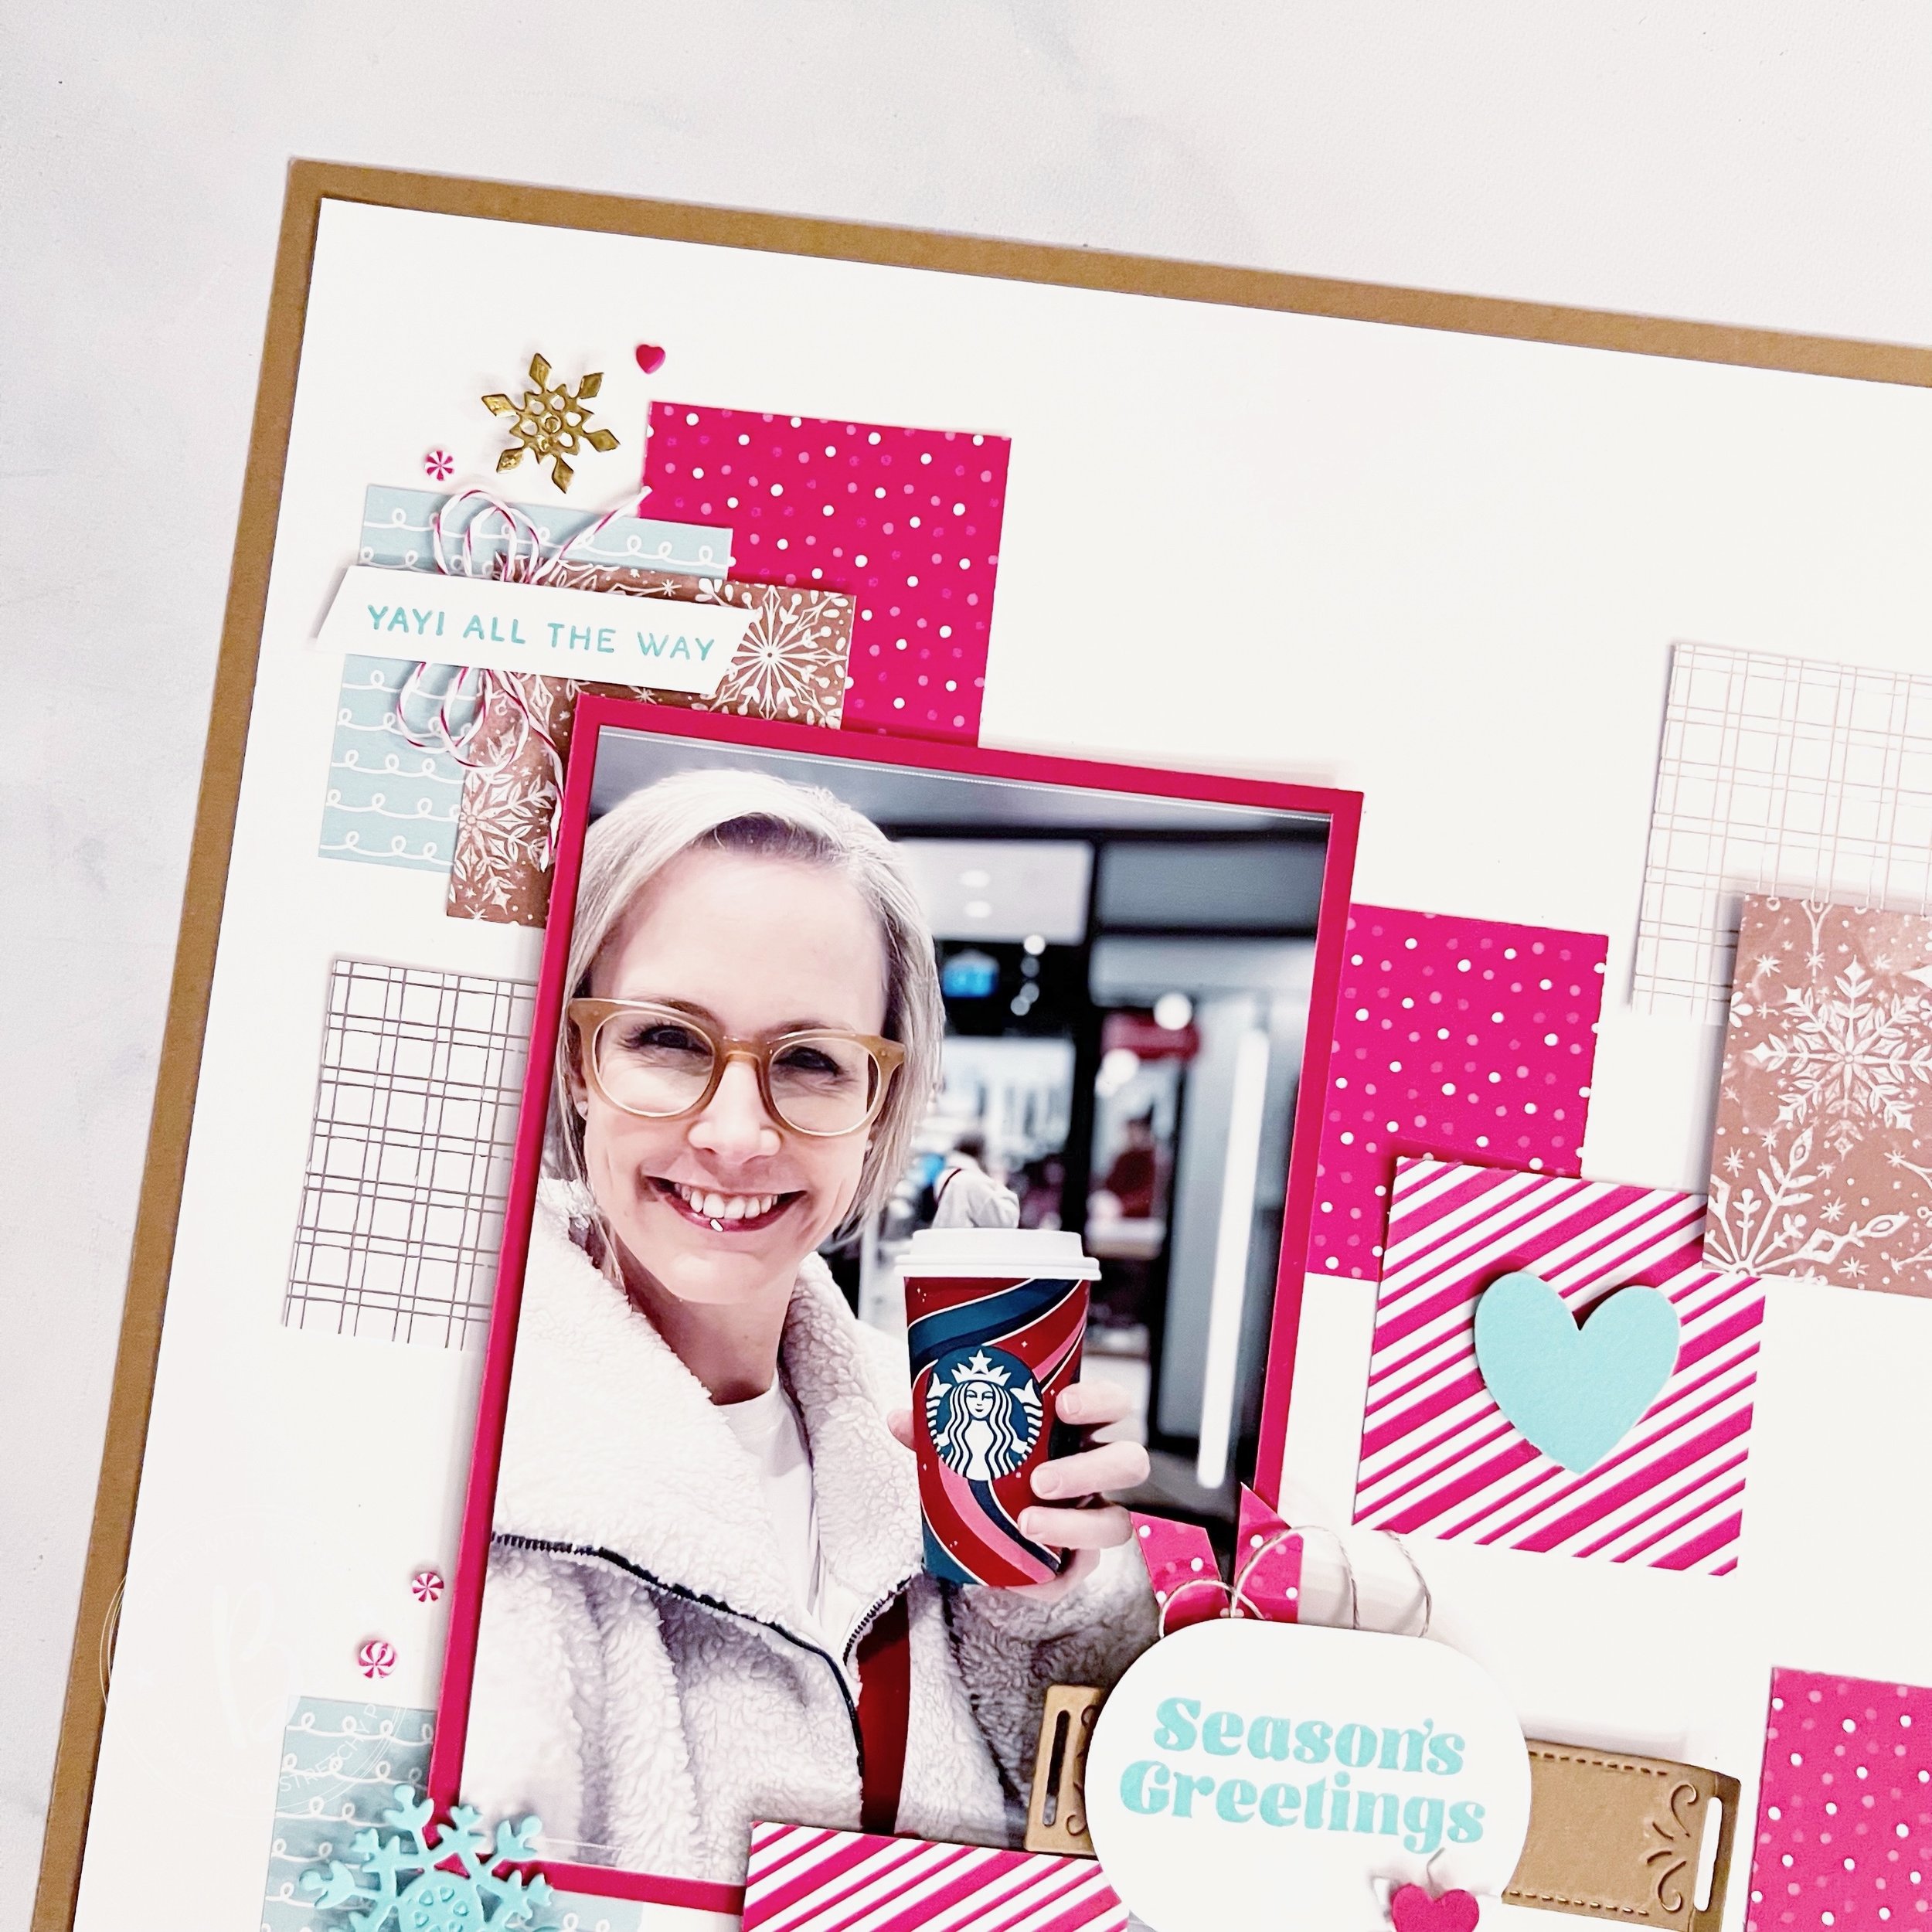
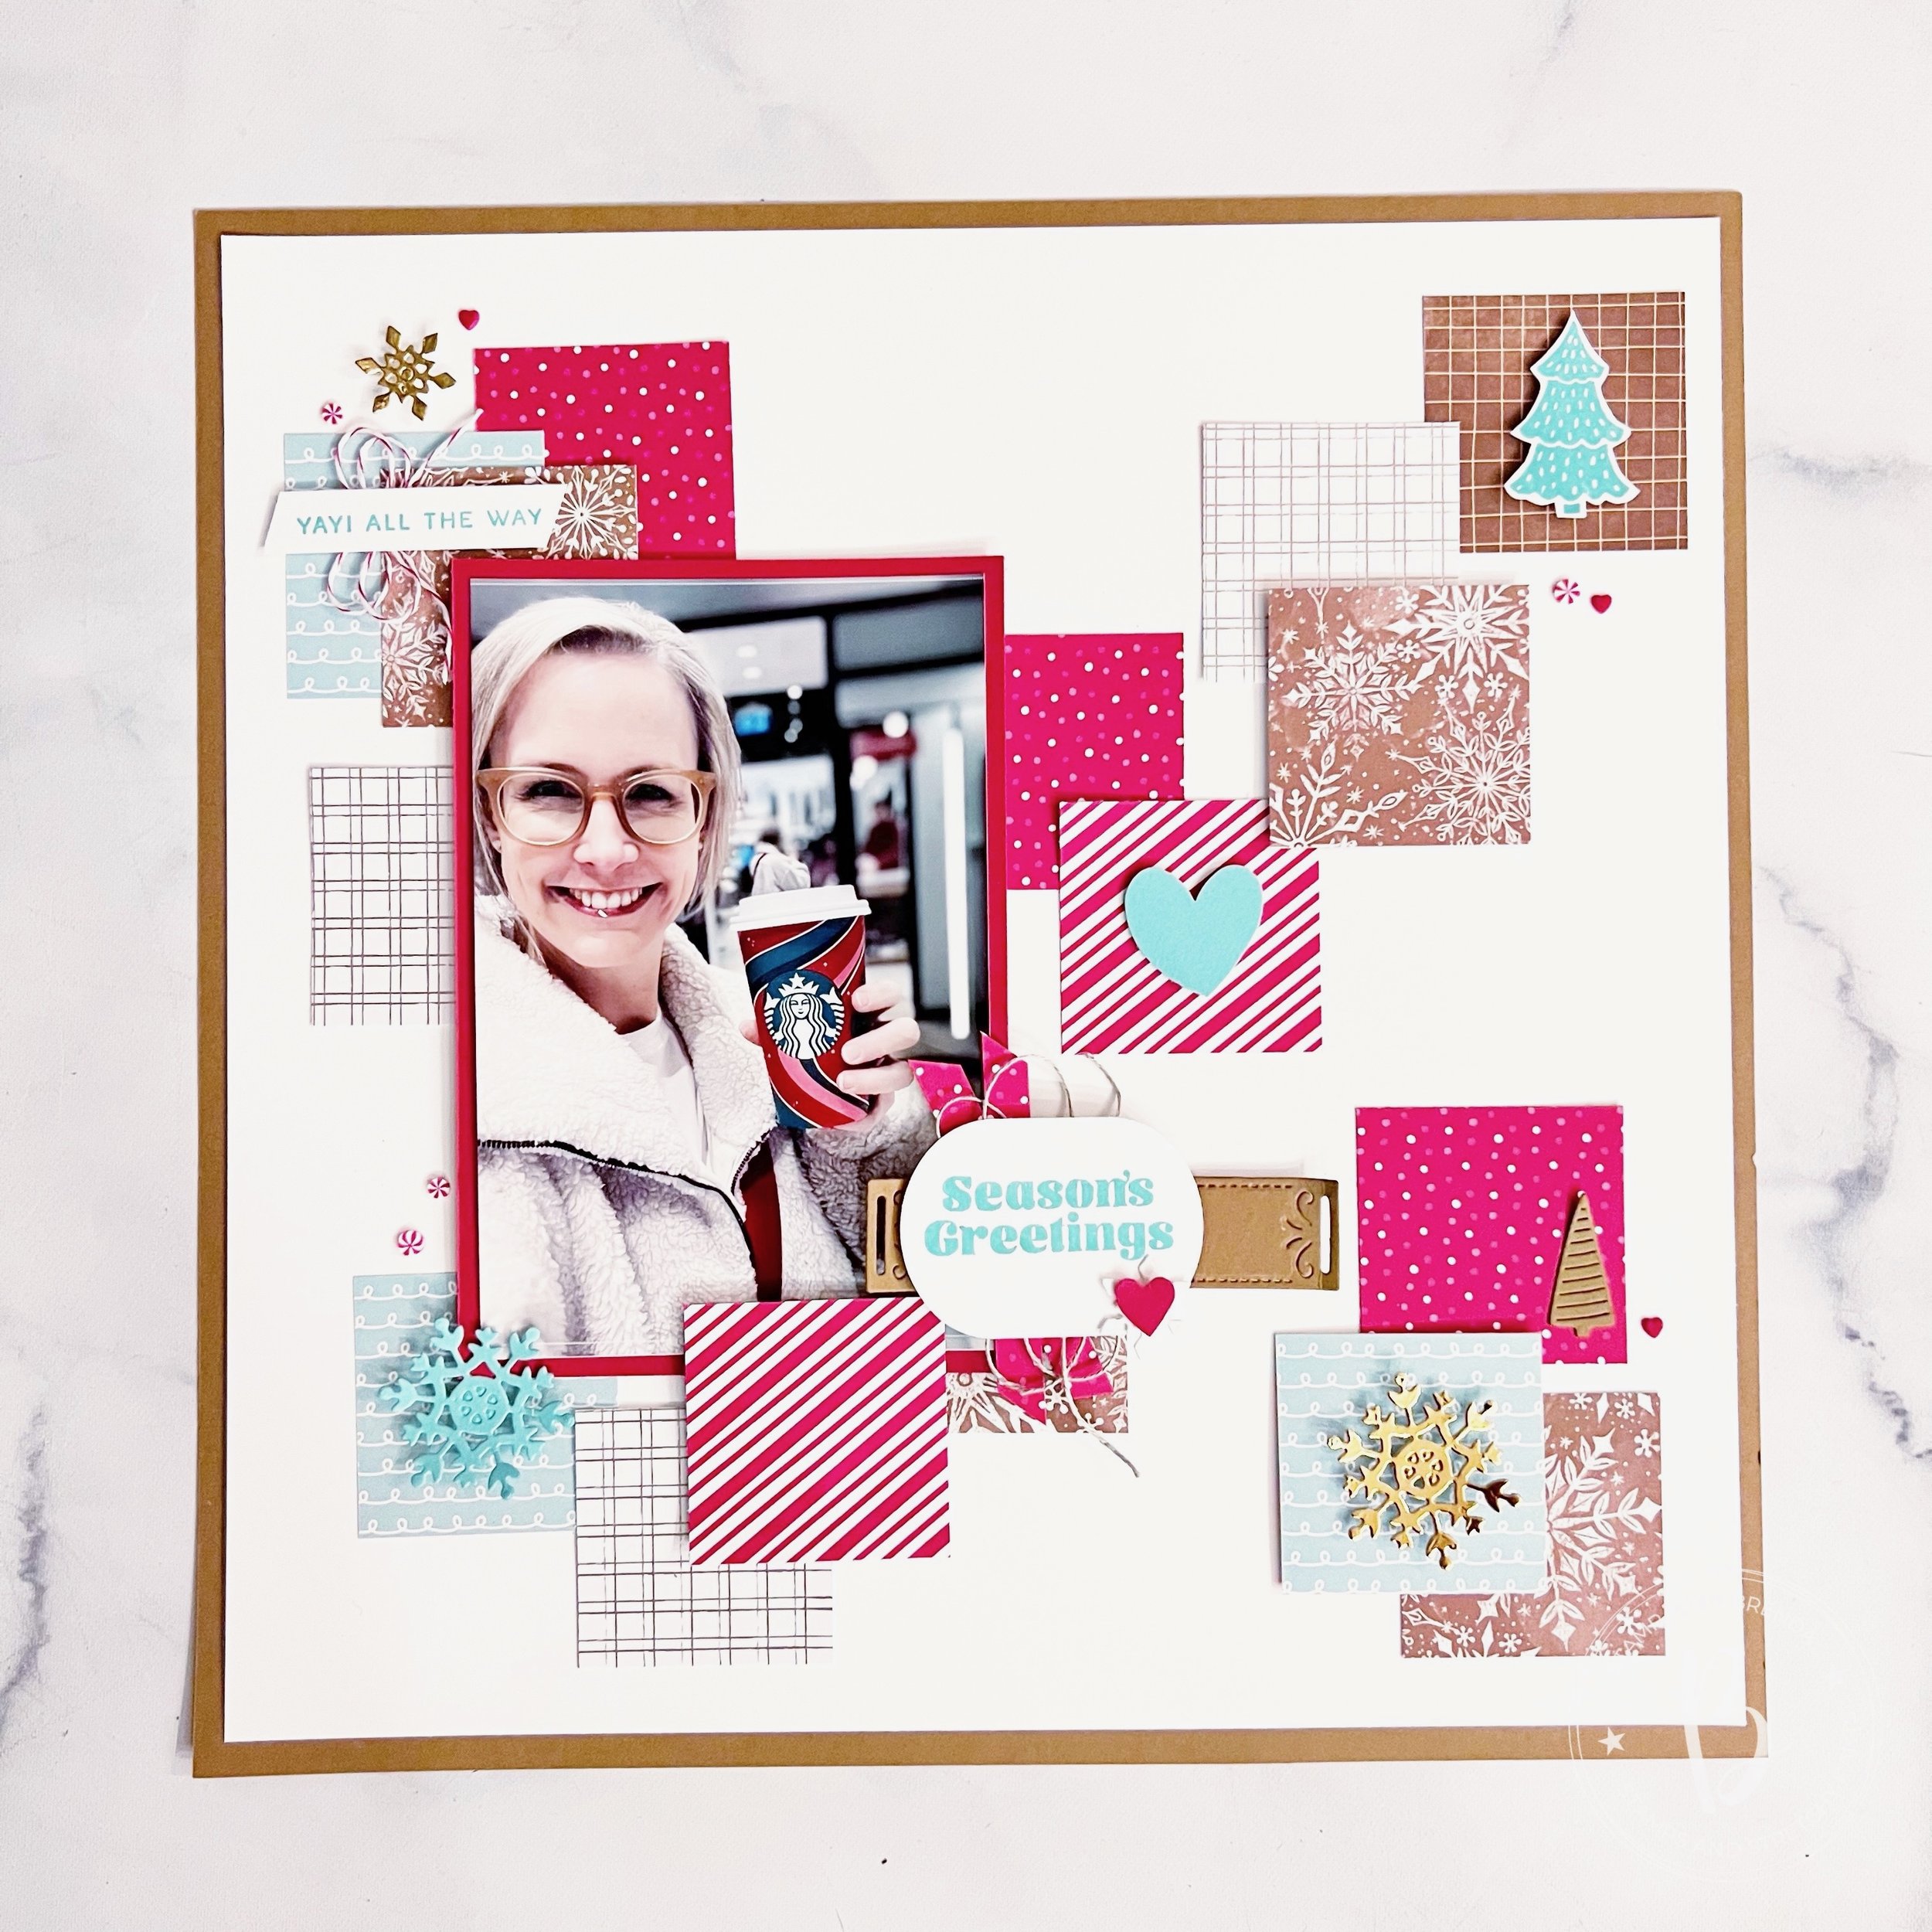
Stampin’ Fancy Friday this month is featuring projects made with Memories & More cards so I knew right away I wanted to create a fun scrapbook page of a recent ‘pass through’ trip to Jasper, AB Canada with my friends Jessica. This was a nightly pit stop for us on our way to Vancouver for On Stage back in November!

What I love about Memories & More cards is that they have so many great images, sentiments or phrases that you can easily cut out. Often there are stickers and other fun elements that you can add onto your projects. You can stop there or you can add in other things from your craft supply.

For this page I started with a base of Crumb Cake 12x12 and I added a layer of Misty Moonlight behind my picture as a photo mat.

One of my favorite things to do with the Memories & More cards is cut them apart either with paper snips or with dies. The ‘Winter Wishes’ sentiment came from one of that cards that I used the Layering Circle Dies to cut out. ‘It’s Cold Outside’ and ‘Yay for Today’ are cut from another card that was full of different sentiments. I also trimmed out the flower tucked under the main sentiment from a card as well. See! So many options!

I jazzed up this page with some background stamping from Joyful Flurry.

TOP TIP: For background stamping with images, I like to add a bunch of stamps to a large block to stamp at once! This is an efficient way to stamp a large area!

I added some die cut snowflakes from the Celebrate Tags Dies and some of our new Pastel Adhesive Backed Sequins. I am also a hoarder of our gold and silver Metallic Thread that retired a few years ago so I added some on this page too. It is definitely a true mash up of stuff on this scrapbook page!

I like to use the cards to highlight my photo so you can see how I used them as some fun layers behind my photo. You can cut them apart and trick the eye into thinking you are using a much larger piece of paper than you really are. This really helps stretch the Memories & More cards even further!

I hope this project encourages you to look at some past or retired supplies you might have and give them some new life by pairing them up with some more current items. Or at the vary least you are inspired to create a scrapbook page.

Make sure you follow us @stampinfancyfriday on Instagram and Facebook. Each month Artisan Alumni members create with a different theme and share across social media!


Thanks for popping by my blog today! If you are interested in scrapbooking make sure to check out my gallery! I recently added 46 page layouts so there is alot of scrapbooking inspiration for you!

And if you create something that I have inspired you with, please tag me! I would love to see your take!

Seven Days of Scrapbooking--Day #2

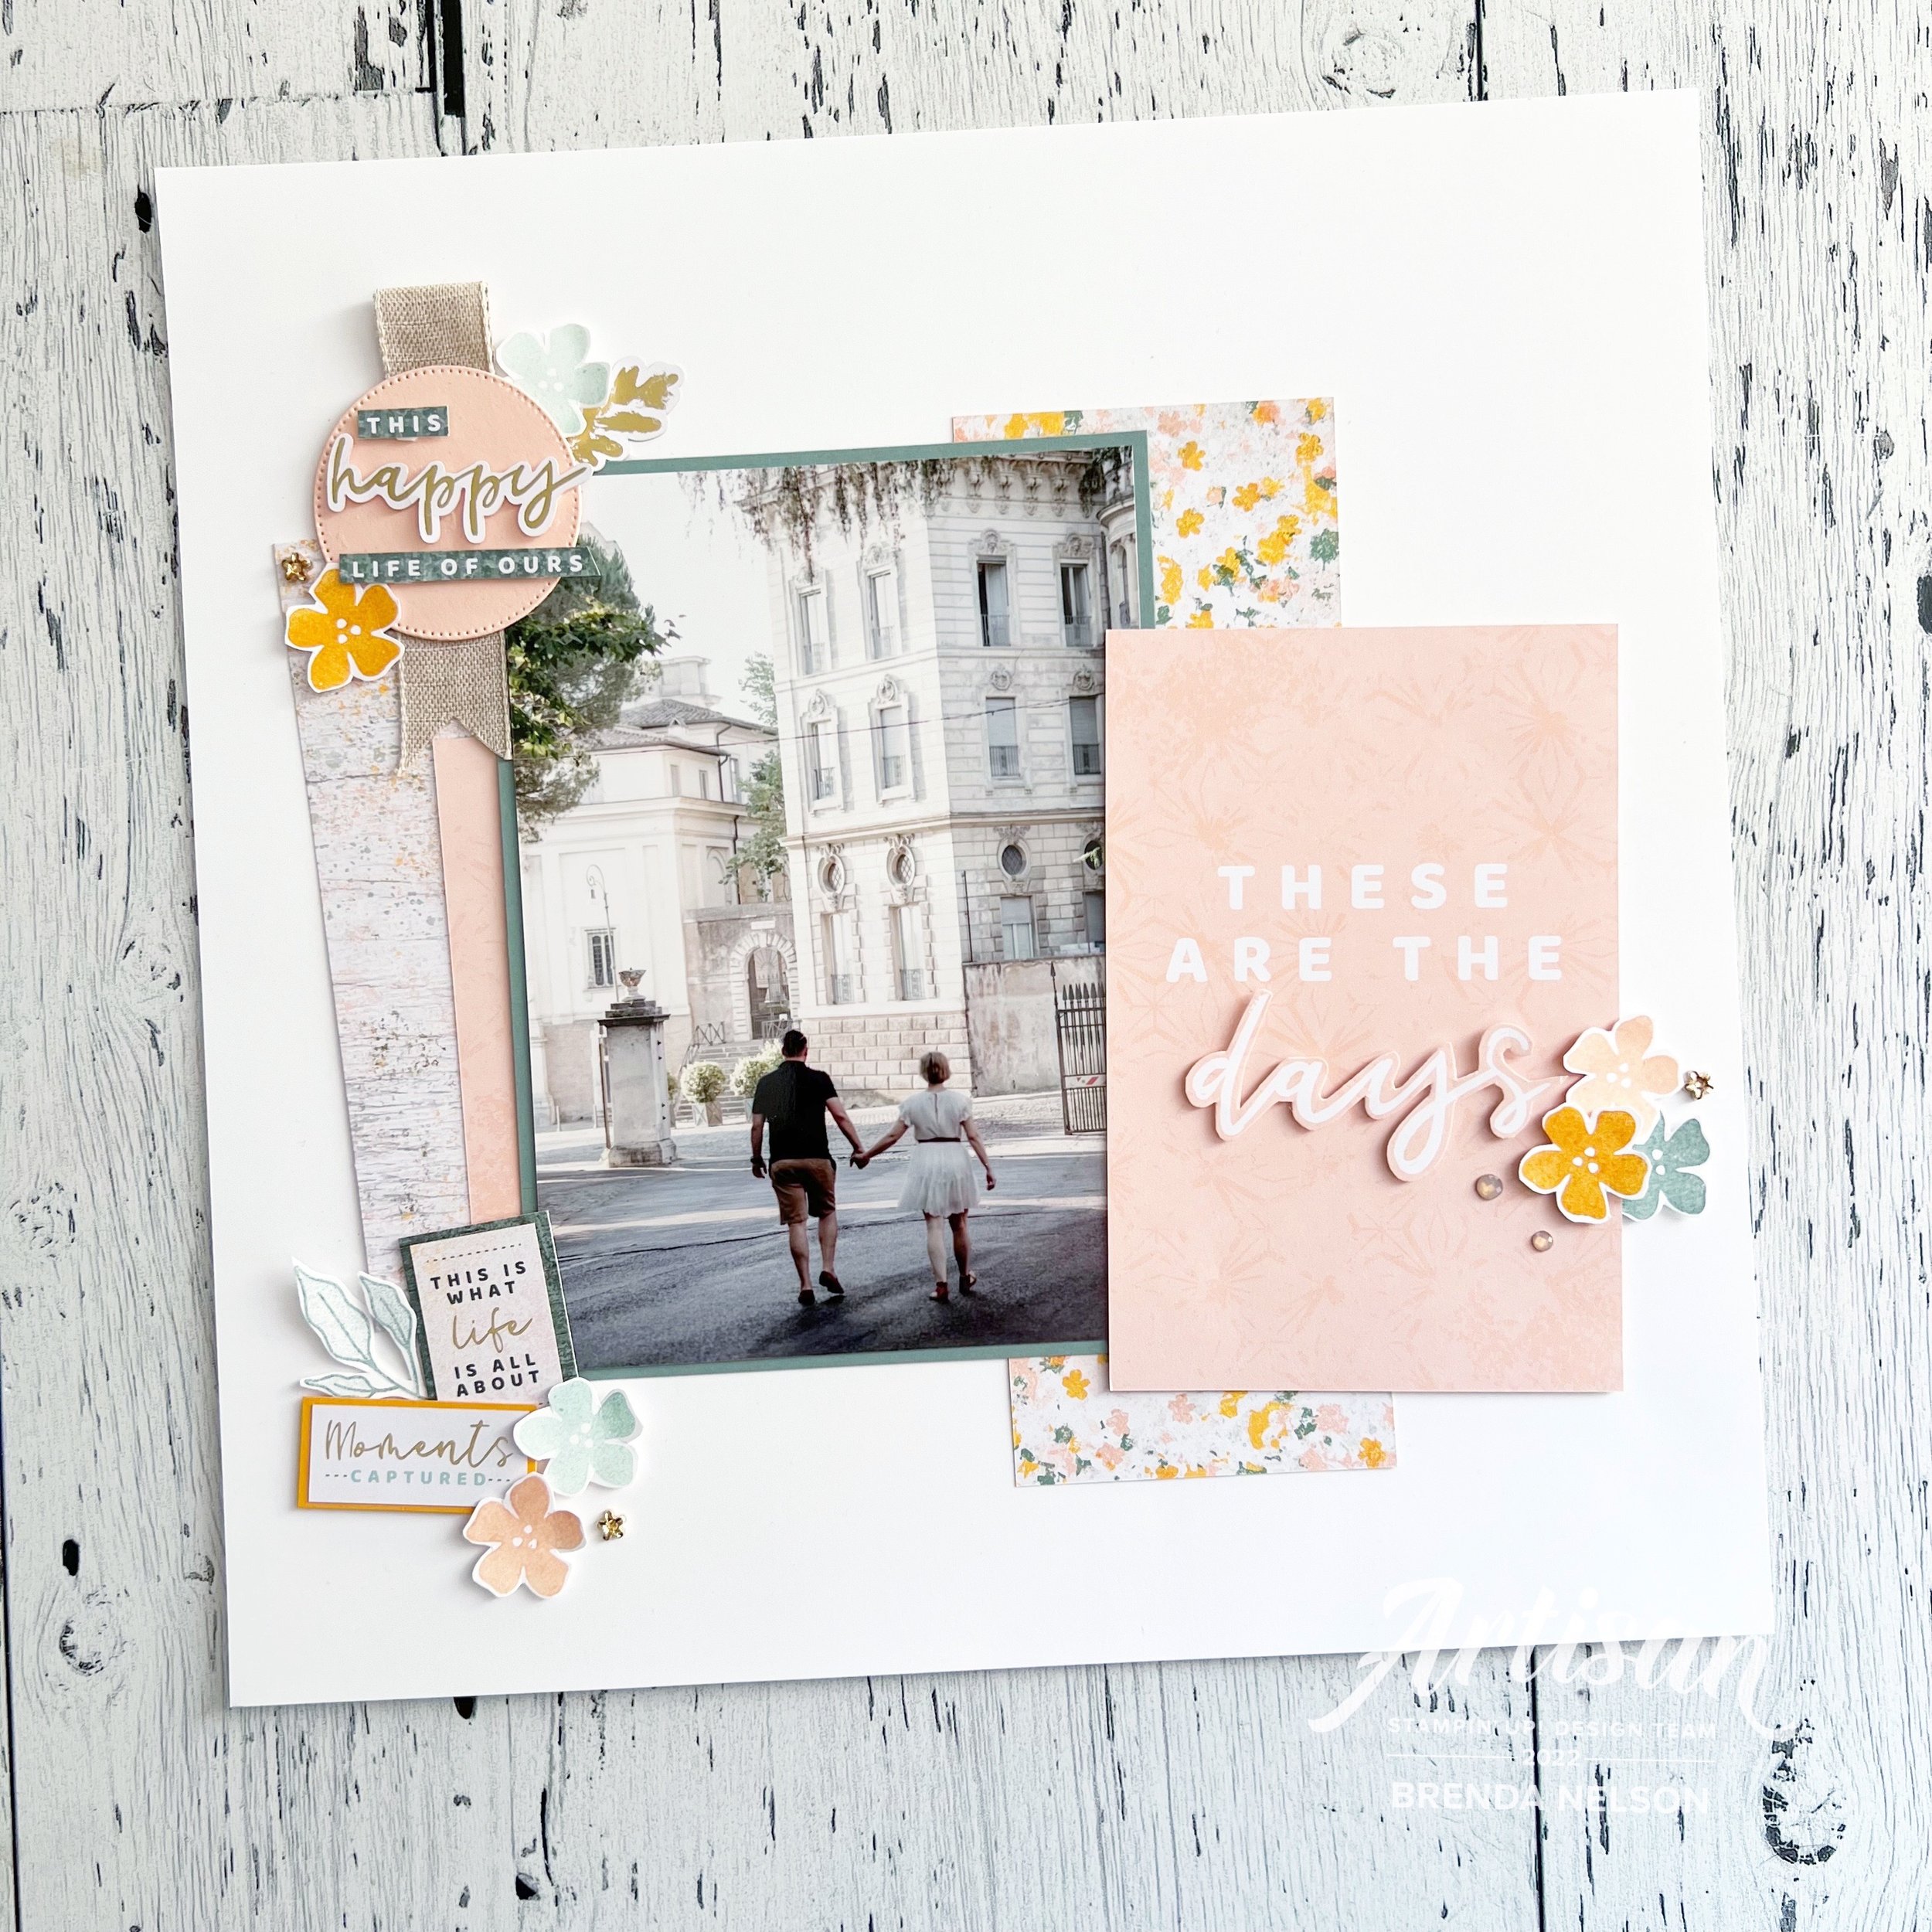
Hello friends and welcome back! If you missed the dozen amazing scrapbooking projects shared yesterday on my Instagram Stories just search the hashtag #sevendaysofscrapbooking and you can see all of the amazing projects! I am really excited to share my page today as it focuses on the Textured Chic Memories & More cards. I used these card packages quite frequently to make traditional scrapbook pages and I hope this sparks a creative idea in yourself!

With a few additional supplies I was easily able to make this amazing page to capture this moment in Rome with my husband. This picture was taken on the Greece Incentive trip using a photographer we booked through Flytographer and was one of the best experiences we have ever had on a holiday!

Fun Fact: We were at our photography location at 6 am to take these pictures! It was worth the early hour to not have a soul around in our pictures!

Let me start by saying what I LOVE about our Memories & More cards—the thickness and style of the cards, a little stiffer than our regular card stock and DSP so they immediately add texture. The VALUE of the cards is amazing! You get double of everything which allows you the freedom to cut up a card and layer it if you need to (on the word ‘days’ for example), and finally the variety of phrases and sentiments in the collection of cards. I find there are some really unique sentiments not found in our stamp sets. And the concept designers have been knocking the collections out of the park over the past few catalogues!

And if there are coordinating Cards & Envelopes, make sure to get those too! I often use them as layering pieces—the envelopes are decorative so cut them apart for layering!

For this page I actually did add in a few stamped florals and greenery from the Framed Occasions stamp set so this is actually a hybrid project of sorts. The top left corner of this page truly represents all that I love about M&M cards. For example, I have die cut a circle using Petal Pink card stock and the Stylish Shapes dies and on top have added a sticker (yes! the cards come with stickers too which is brilliant) and then CUT APART one of the 3x4 cards to make a whole new sentiment. I layered some of the new Natural Finish ribbon behind along with some stamped flowers, another sticker and the cute little Flower Trinkets!

On the bottom left of the page I used 2 more stickers (like seriously, how perfect are they?) that I mounted on a piece of Mango Melody card stock and part of the M&M card that was left over after I snipped out those words. Don’t let anything go to waste! A couple more flowers and some greenery tied this area together with the first one—this is a design key. You always want to have repeating elements on your scrapbook page (in my opinion or style of memory keeping at least). :)


My favorite thing to do with this style of memory keeping is to cut one of the duplicate cards apart to layer on top of the original. By adding ‘days’ that is hand cut and popped up with a Dimensional we have truly brought this one dimensional card to life. And don’t get rid of the extra left over, if you look along the left side of the photo mat I have tucked it there to bring this color across the page! Its a pro tip for sure!

I also added a few of the Elegant Faceted Gems to this section with more stamped flowers and a Flower Trinket. Its the best way to add this color trio over to this side of the page.

If you haven’t tried Memories & More cards yet on a traditional scrapbook page I really encourage you to give it a try! The investment isn’t steep and its fun to play around with the many card options in your design!

Make sure to check out my stories so you can see what everyone else is creating and sharing! If you are in Canada and would like to order anything, please visit my store with sincere thanks in advance and send me a message if you are interested in joining in any of my classes!

#sevendaysofscrapbooking

Around the World on Wednesday--Favorite Inspiration

This month we are exploring where we get our inspiration from which I think is super interesting. Sometimes I have an idea, or want to use a specific color, but get stuck thinking about what other colors might coordinate. My number one go to tool are the Color Coach cards that Stampin’ Up! has developed. I know everyone who is participating in the Hop this month will have some fantastic tips and inspiration for us to get inspired when we are feeling stuck!

91442295_10216484369808661_2887014979863576576_n.jpg

The Color Coach cards are a Demonstrator resource found in the Printing Place. I am sure if you ask your own local demo she/he would be more than happy to share them with you. As a demo myself I have offered this as class project. We organized all of our Color Coach cards into one of our 6 x 8 albums with a card stock sample. I reference this book ALL THE TIME. Sometimes I just need a bit of color inspiration!

IMG_2295.jpg

So for our project today, I opened up my Color Coach and selected a Calypso Coral Color Coach Card (say that 5x fast!) and used the 3 colors to create my project—Calypso Coral, Petal Pink and Sahara Sand. I used gold as my accent color to add that glitz aspect.

IMG_2293.jpg

We have so many options to add gold to our projects—we can emboss with gold embossing powder, add gold foil paper to our projects, gold embellishments (so many options) or our brand new gold Gilded Leafing embellishment. The Gilded Leafing has a bit of a different look to it than gold embossing and I wanted to play around with it on this project.

final+%282%29+2.jpg

Because I wanted to incorporate all three colors from the Color Coach Card onto my project I reached for my Blending Brushes which are a brand new tool being offered by Stampin’ Up!. I started by blending the Petal Pink color first because I was then able to use the SAME brush to add in the Calypso Coral! These brushes are totally amazing.

The Petal Pink is blended across the mid section of the card. I then added in the Calypso Coral along the bottom left corner and brought the Sahara Sand in from the top right. The Sahara Sand just gives our paper a subtle color but you can see the difference when you add the sentiment which is on Whisper White/Basic White card stock.

The sentiment is from the stamp set Always in my Heart

The sentiment is from the stamp set Always in my Heart

I continued the gold theme by accenting my sentiment with some Gold Foil paper cut with the scallop die from the Peony die set and some Gold Metallic Pearls.

I stamped both opposite corners using the Sale-a-bration stamp set Corner Bouquet. To apply the Gilded Leafing to my image I started by stamping it with Versamark and then adding Heat’n Stick Powder over top.

HOT TIP: To use your Heat’n Stick Powder successfully only heat it until it starts to glisten. Once this happens it has become sticky and you can add another ingredient on top. If you over heat or cook it too long, it actually loses its stickiness

After heating the powder you can add your Gilded Leafing. I have dumped out my jar (which will explode in volume) into a large container. You can press your card right into the leafing in the bin or you can add it with tweezers. Either method works but I prefer pressing it into the container. Once you have it attached it, it will look like a hot mess (trust me you are going to look at this and think ‘this ain’t pretty'), you need to use either a Stampin’ Sponge or the large Water Painter brush to brush away the excess and bring the detail to life. I was able to apply extra Gilded Leafing to my project in areas where I didn’t feel there was enough. You can use your finger to rub it with some pressure to your project as well.

In the end, I think it turned out pretty spectacular!

final (1) 3.jpg

I am so curious to see where everyone else gets their inspiration from. I hope you enjoy our hop this month and if you live in Canada you can shop with me anytime by using the hostess code. Gratitude and thanks in advance! Up next on the hop is the amazing Tricia Butts from the United States!


A little Tropical Fun!

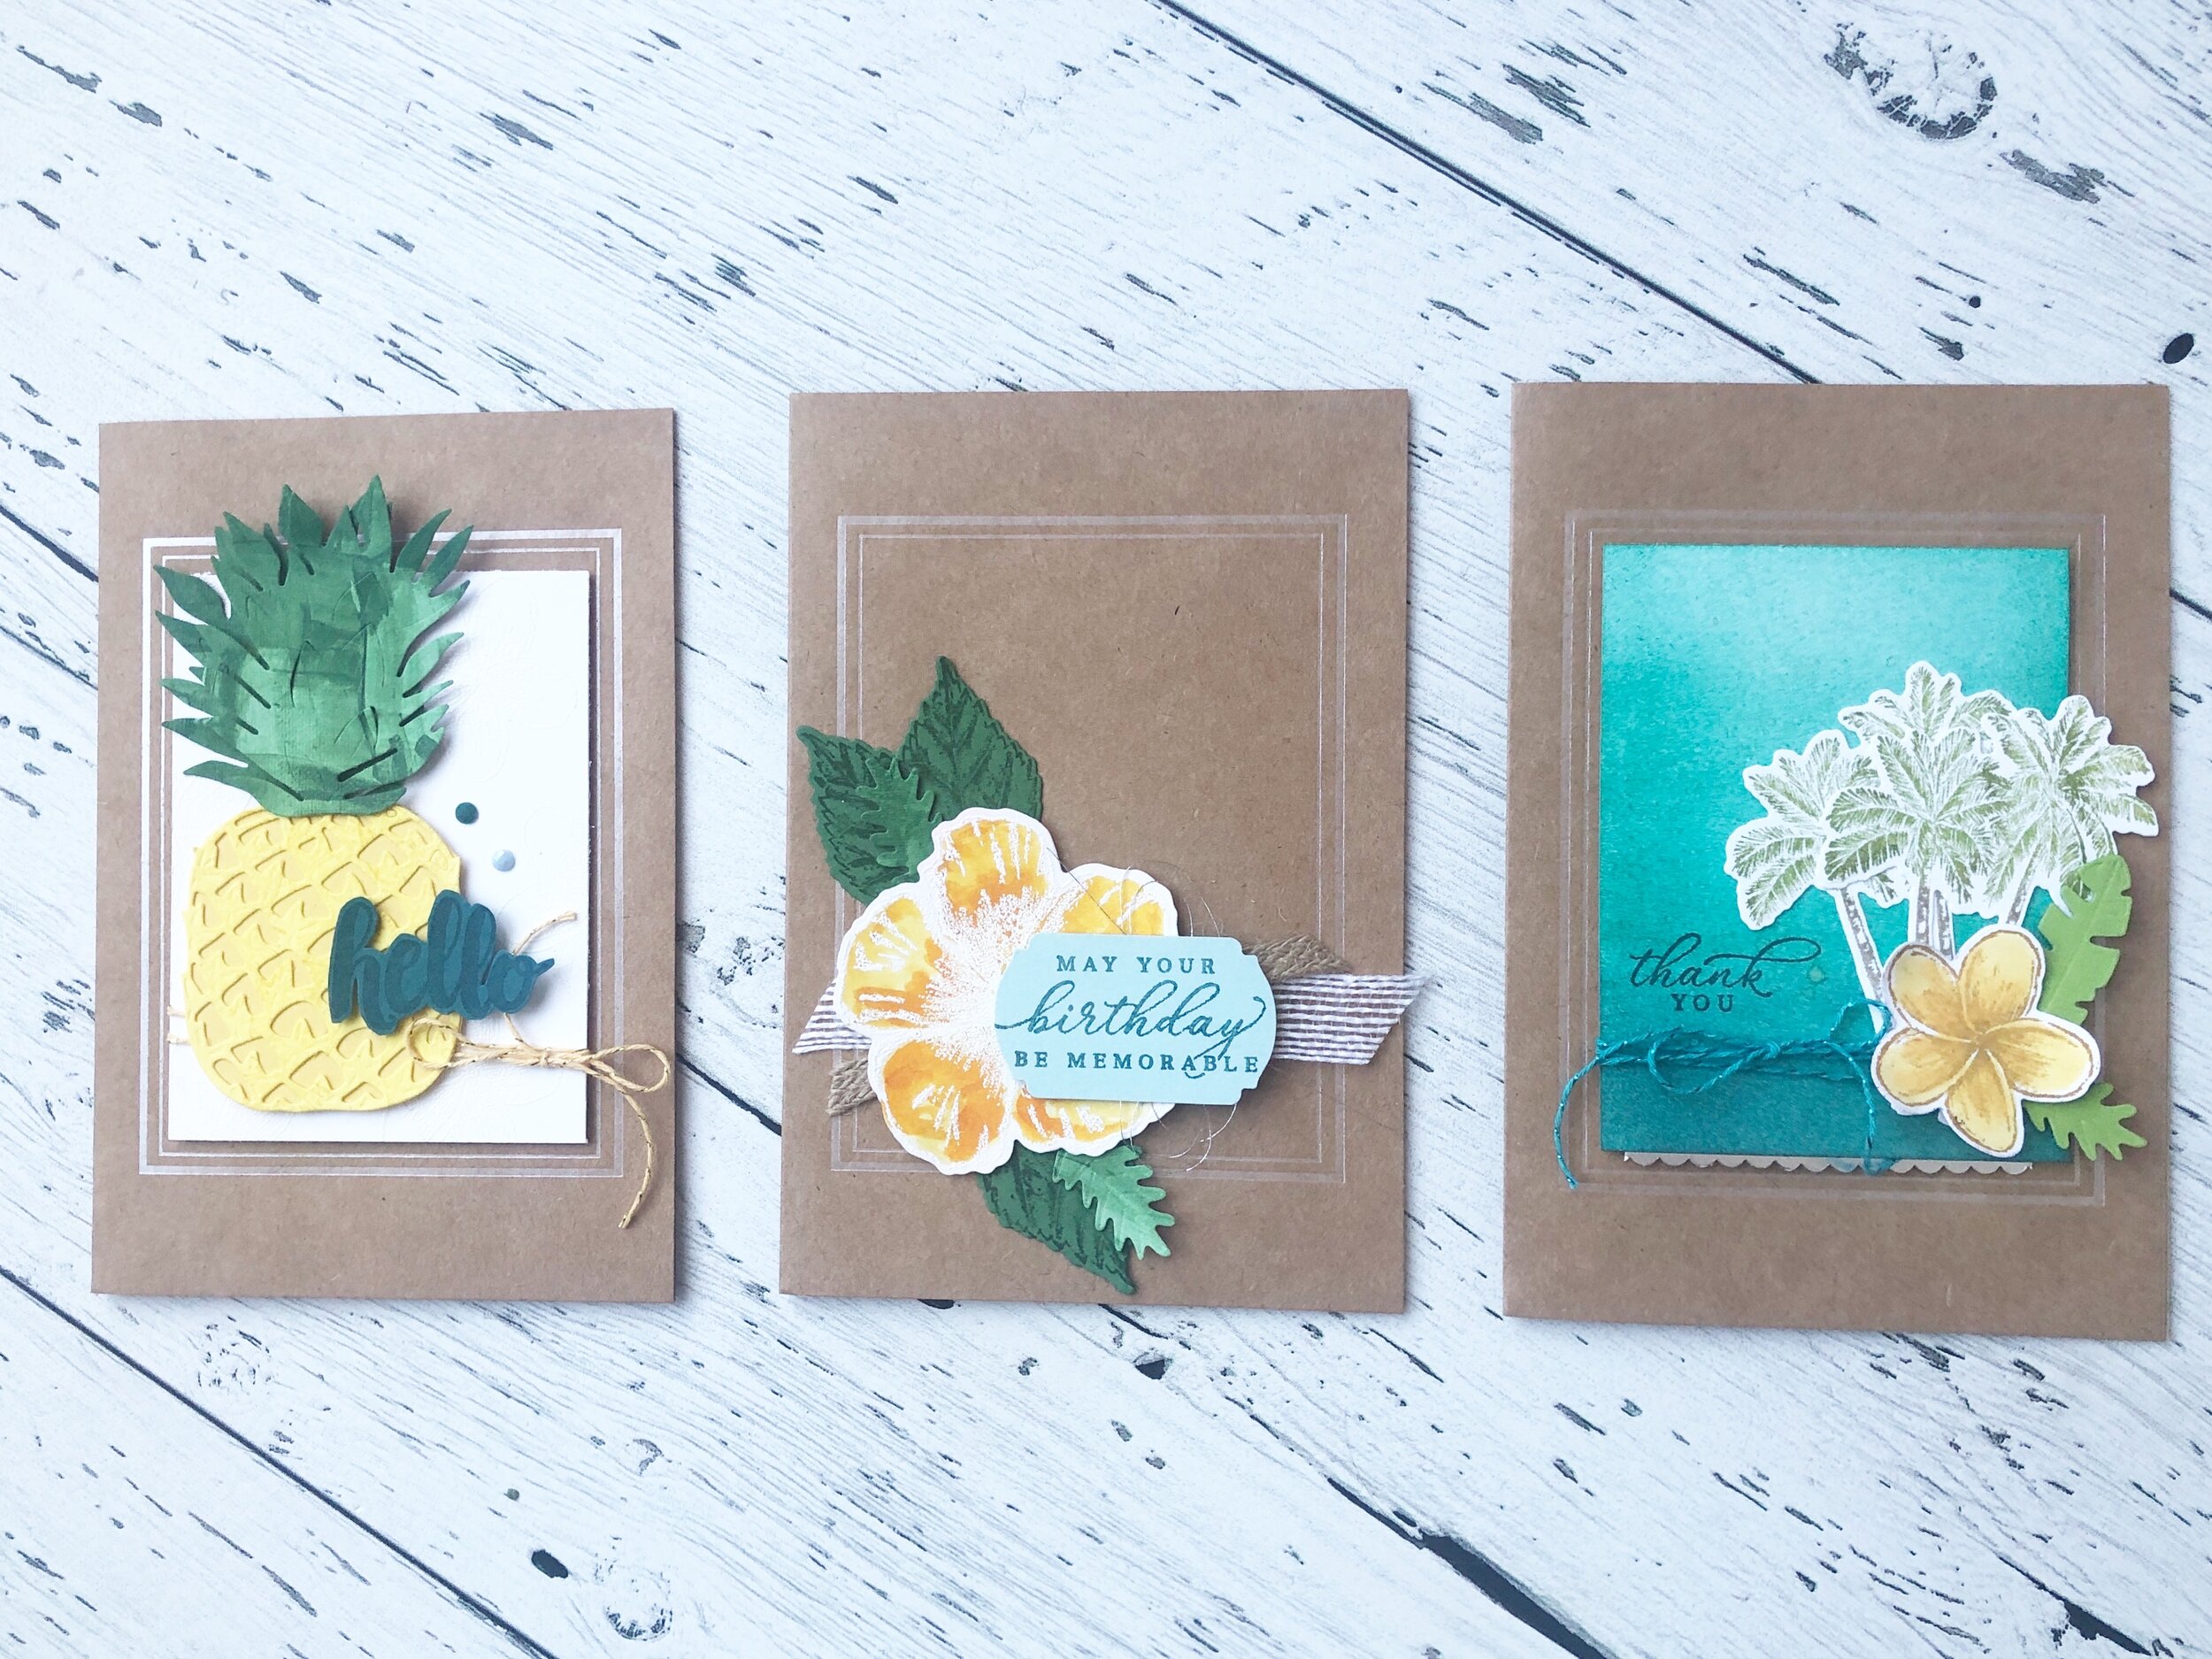
I recently hosted a team event where we had a Tropical Theme. I do love a good theme and with the Tropical Oasis Suite (which by the way, I will never ever get rid of it, the pineapple frame lit can’t be beat!) it was easy to come up with these 3 amazing cards!

I started by using the Magnolia Lane Large Specialty Memories & More Cards & Envelopes (pg 171 of the Idea Book and Catalogue). The silver edge of the card added a nice detail and an anchor for designing the cards.

fullsizeoutput_10f07.jpeg

The first card featuring the awesome pineapple die also ties in the Seriously The Best stamp set (pg 60 of the Occasions Catty). I isolated the word Hello and fussy cut it out using Pretty Peacock. I added in some Sale-a-bration items—can you spot them?

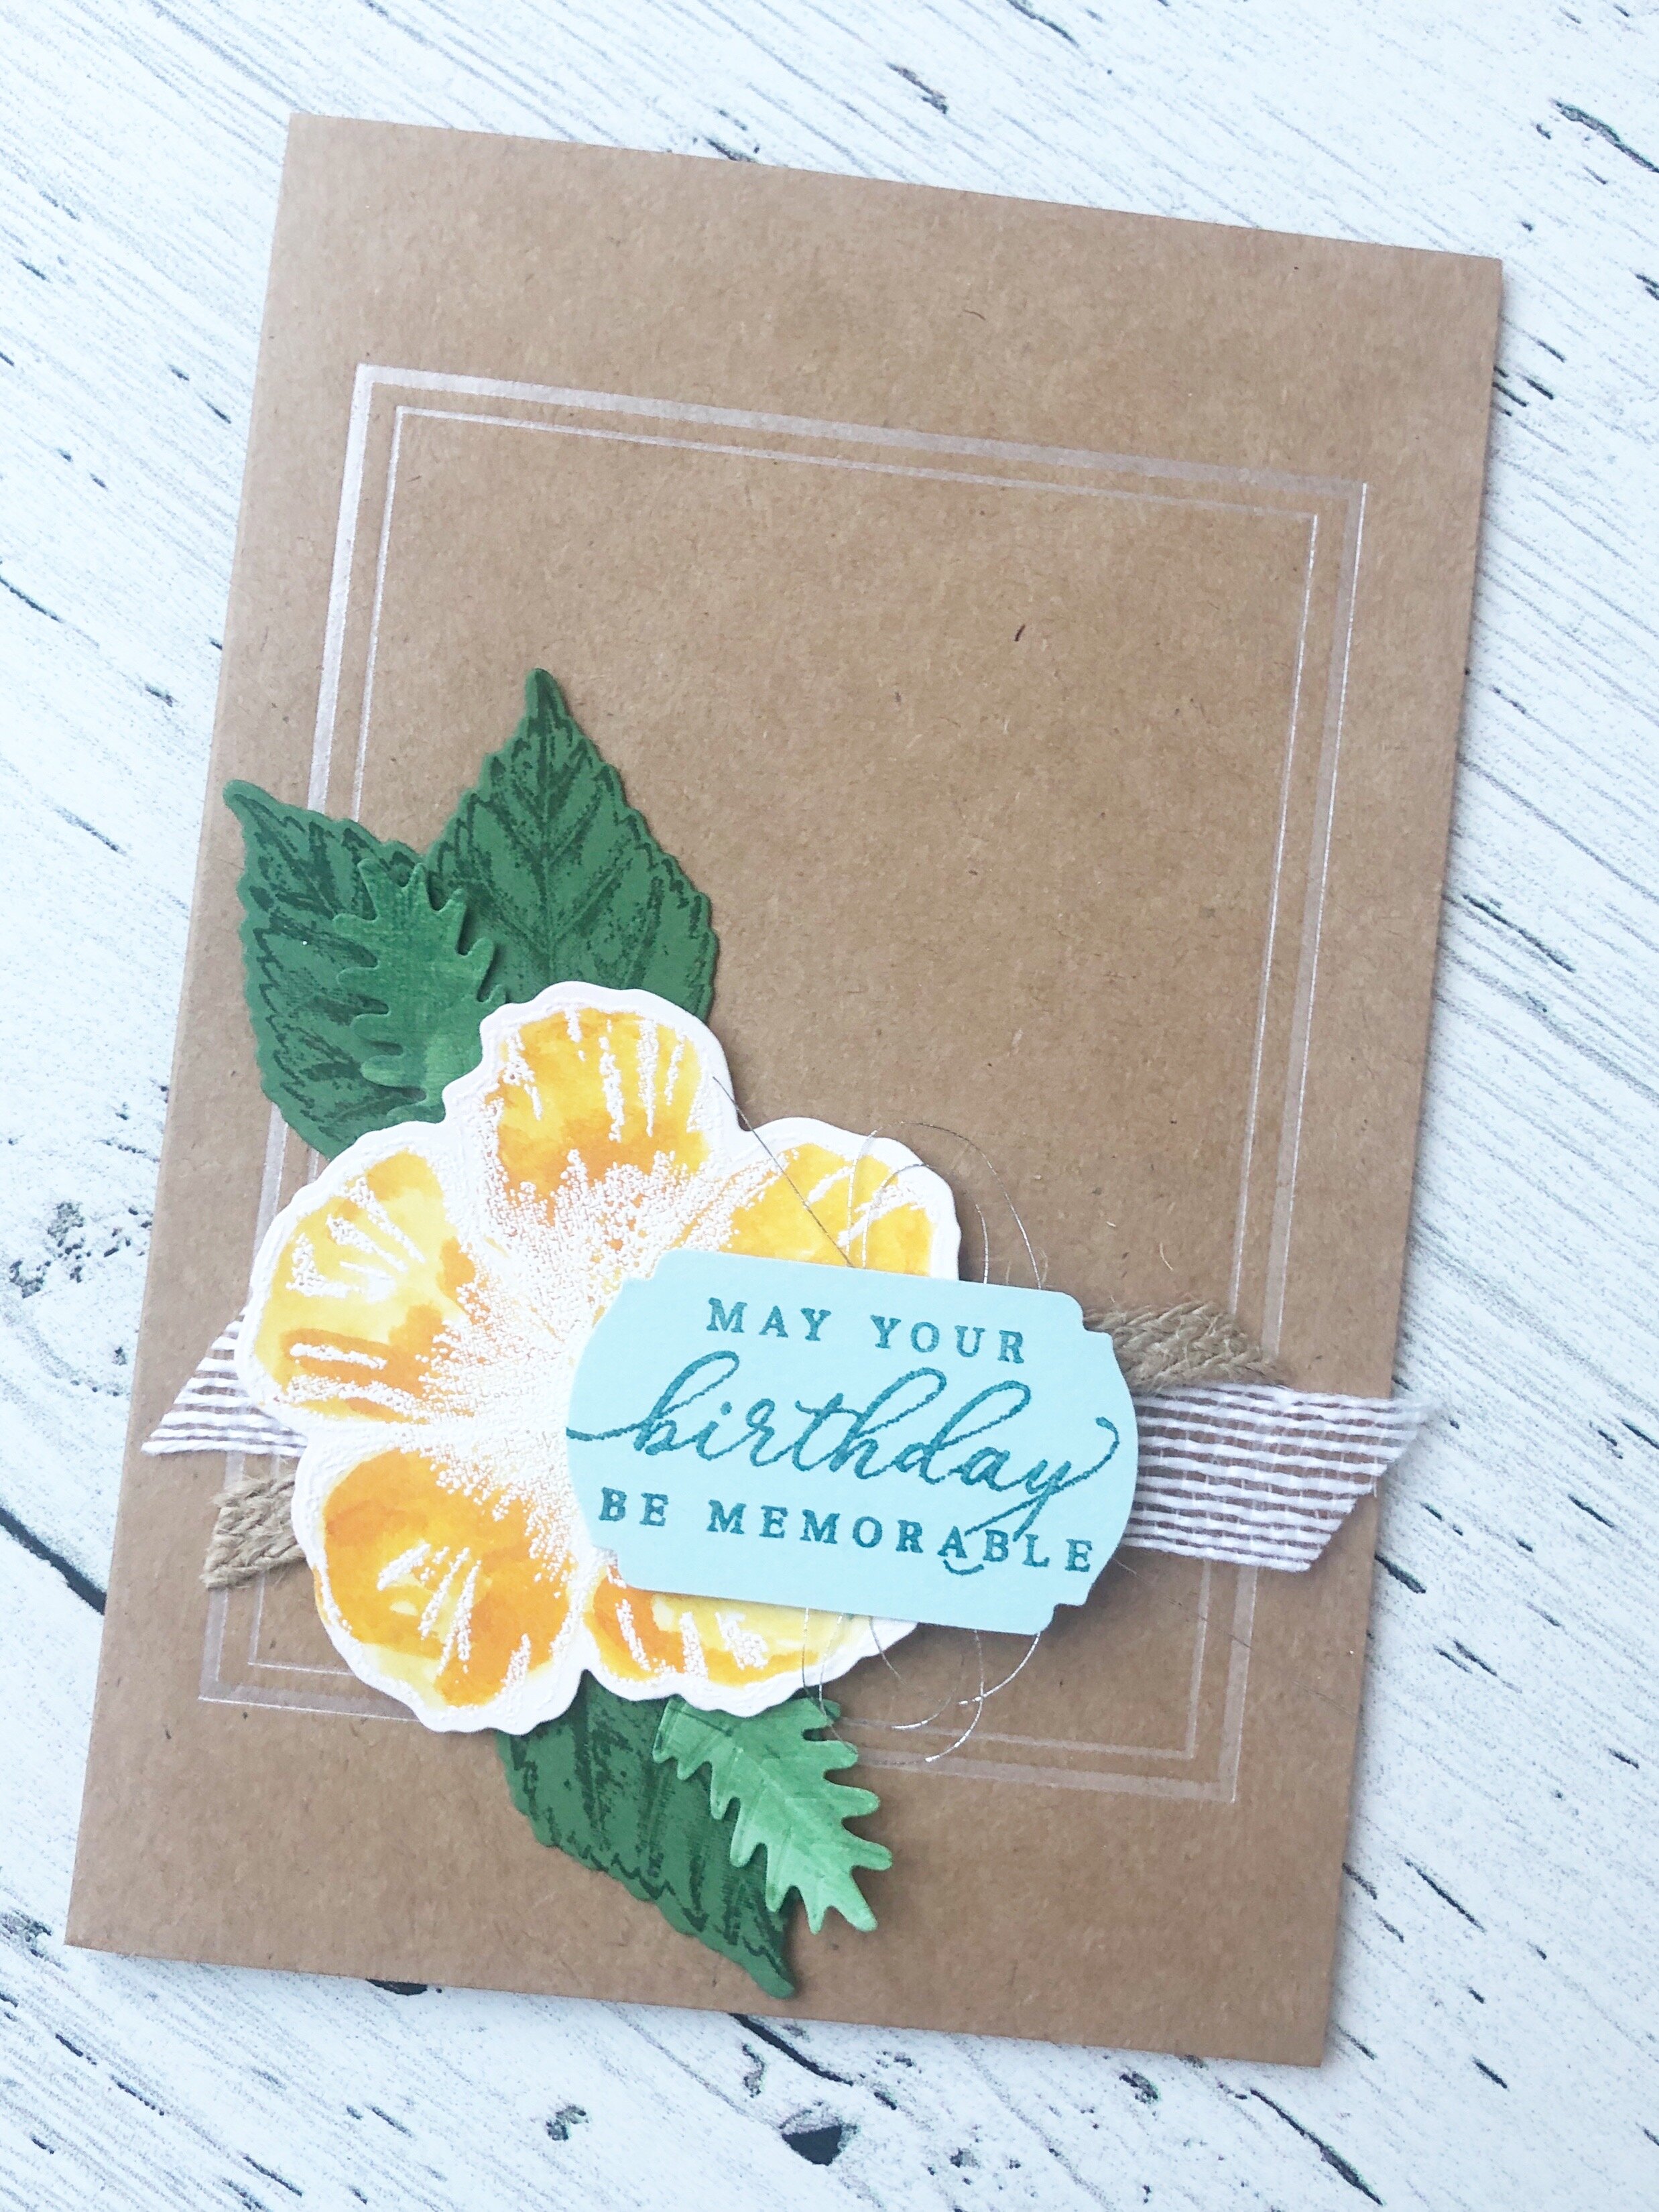
The flower card in the center was stamped in Whisper White Kraft ink and embossed with white embossing powder. I coloured it using, the Mango Melody pigment sprinkles! You simply tap some onto a block, give it a light spritz of water and use an Aqua Painter to color it in. I should note that it is also stamped on Shimmery White card stock to hold the water. You should give this colouring technique a try!

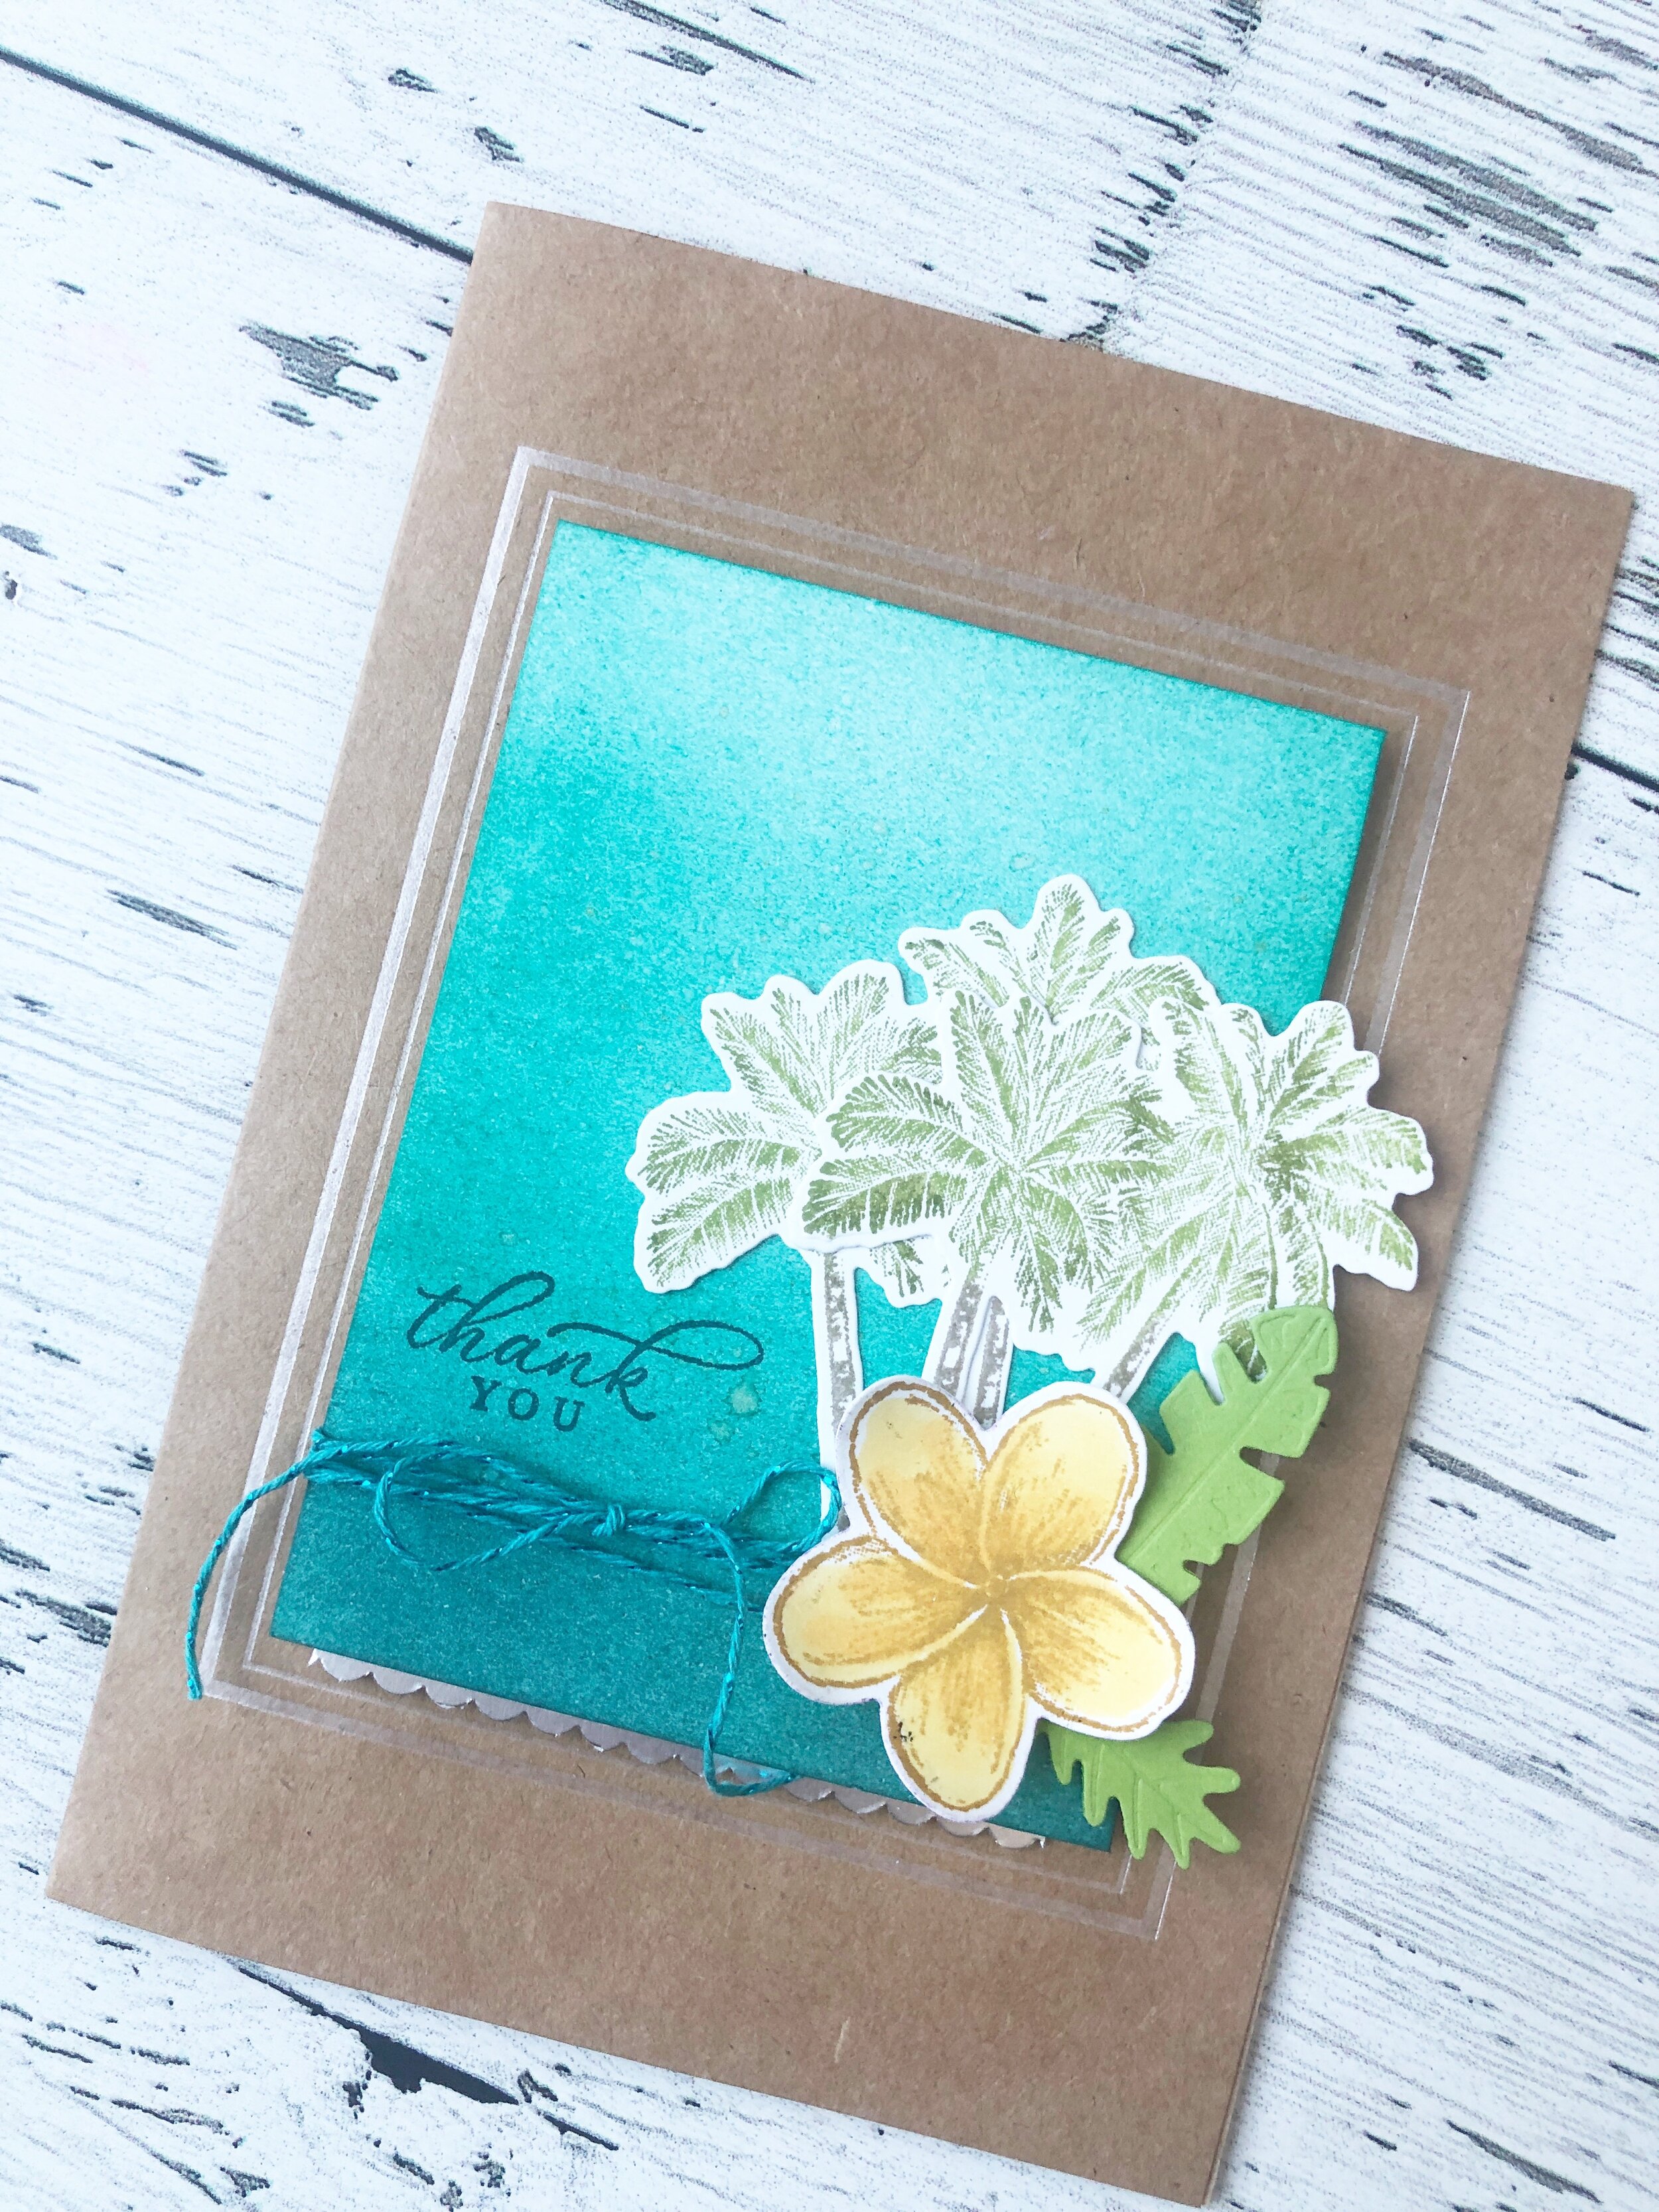
The final card I used Coastal Cabana, Bermuda Bay and Pretty Peacock and the foam brayers to create the background. The small flower is stamped with the Saddle Brown Stazon Ink and coloured with the Mango Melody Stampin’ Blends. And the palm trees are coloured with good ole regular Stampin’ Write markers!

Do you love Memories and More?

Have you crafted with Memories and More? If you have shied away from memory keeping, I truly encourage you to give this product line a chance. I scooped these retired Big Plans cards up on the Clearance Rack a few weeks back. I almost have regret that I didn’t order them when they were current product! I turned them into this AAAAMAZING mini Memories and More album! Here is my secret—-look at each panel like a card front. How would you design and embellish a card? I also put a lot of embellishments on the OUTSIDE of the pocket pages! want to be able to see and touch them when I flip the pages. Dimensionals work awesome to keep stuff stuck down. I love the color combo of these cards too. Calypso Coral, Pineapple Punch and Grey Granite were the perfect pairing for my album, which is my summer 2019 highlights album. I am offering this as all day stamping’ class on Saturday, Nov 23rd from 9:30-5. My stampin’ friends will come and create this album that holds at least 26 photos and has lots of sparkle as I embellished like crazy with rhinestones and Wink of Stella. I do have a couple spots left in this class, so if you are interested in more details please reach out to me! I hope this little snippet encourages you to give this product line a try!

IMG_3292.JPG