Scrapbooking with Memories & More cards!

If you are looking for an easy way to start scrapbooking, I would suggest Memories & More cards! I have several sets that I collect from every catalogue so my project share today is actually using a retired set of cards Flowers for Every Season. I do offer lots of classes featuring the Memories & More cards as they are just so user friendly!

Stampin’ Fancy Friday this month is featuring projects made with Memories & More cards so I knew right away I wanted to create a fun scrapbook page of a recent ‘pass through’ trip to Jasper, AB Canada with my friends Jessica. This was a nightly pit stop for us on our way to Vancouver for On Stage back in November!

What I love about Memories & More cards is that they have so many great images, sentiments or phrases that you can easily cut out. Often there are stickers and other fun elements that you can add onto your projects. You can stop there or you can add in other things from your craft supply.

For this page I started with a base of Crumb Cake 12x12 and I added a layer of Misty Moonlight behind my picture as a photo mat.

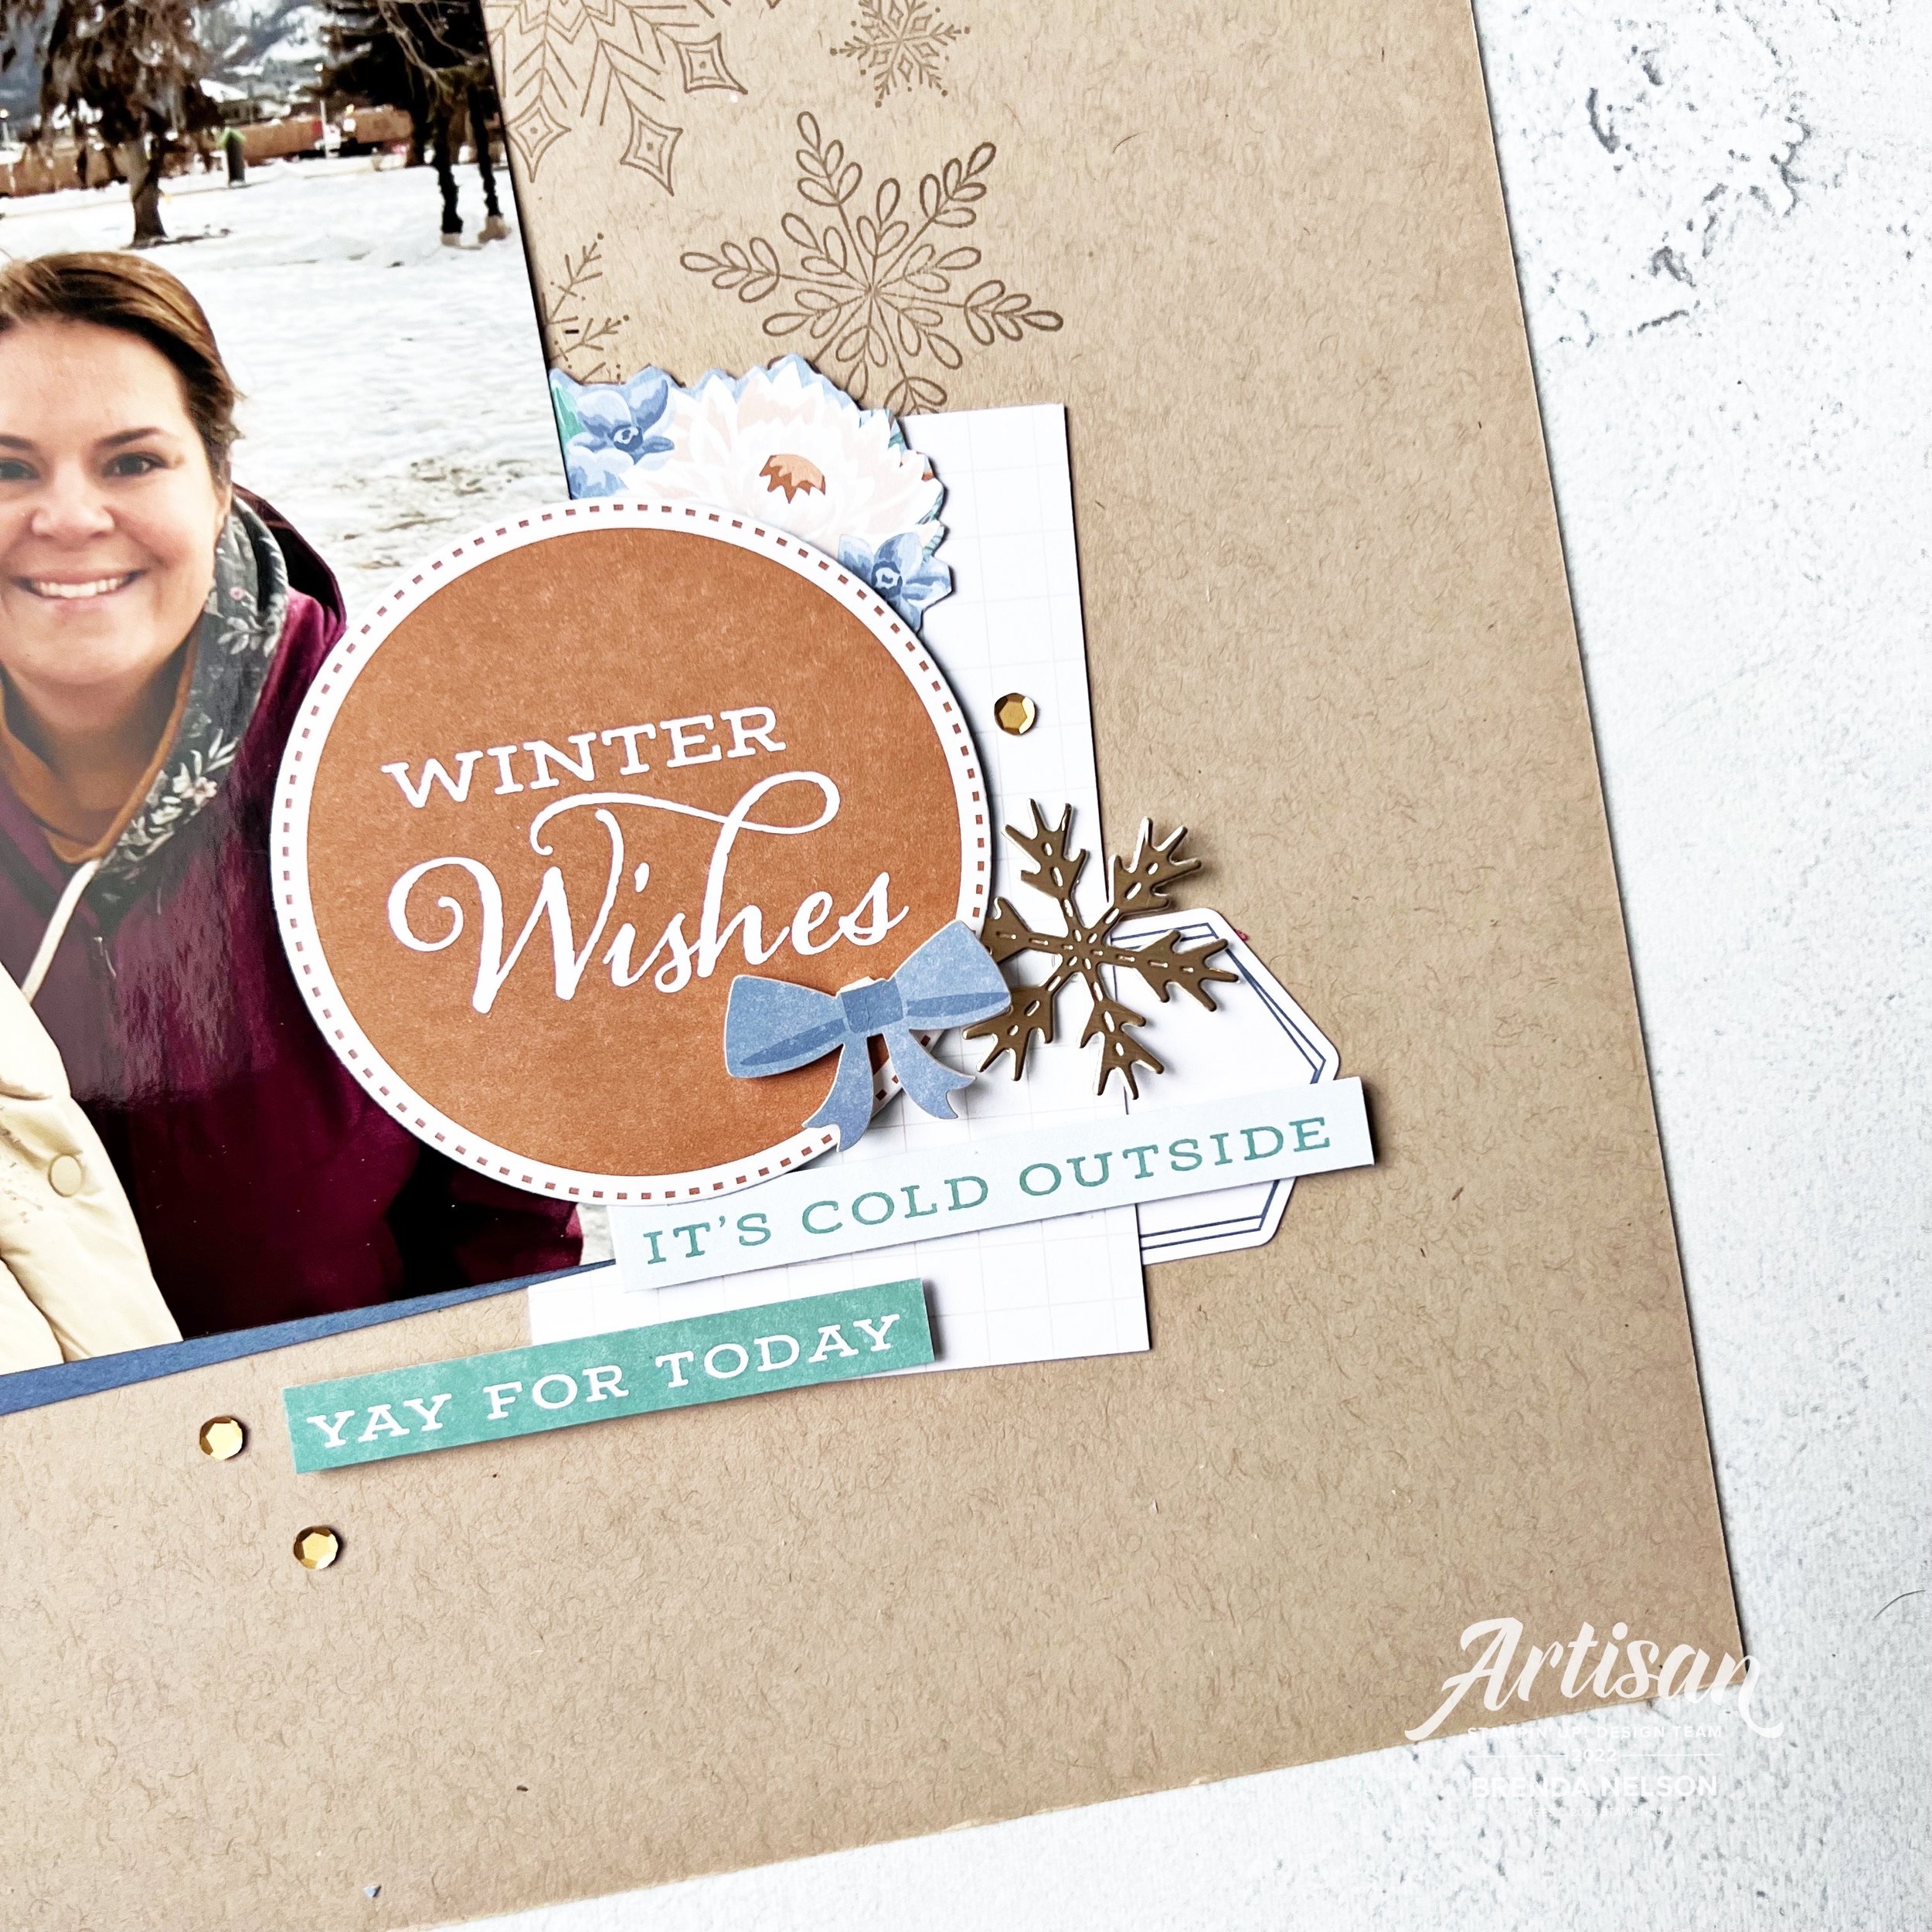
One of my favorite things to do with the Memories & More cards is cut them apart either with paper snips or with dies. The ‘Winter Wishes’ sentiment came from one of that cards that I used the Layering Circle Dies to cut out. ‘It’s Cold Outside’ and ‘Yay for Today’ are cut from another card that was full of different sentiments. I also trimmed out the flower tucked under the main sentiment from a card as well. See! So many options!

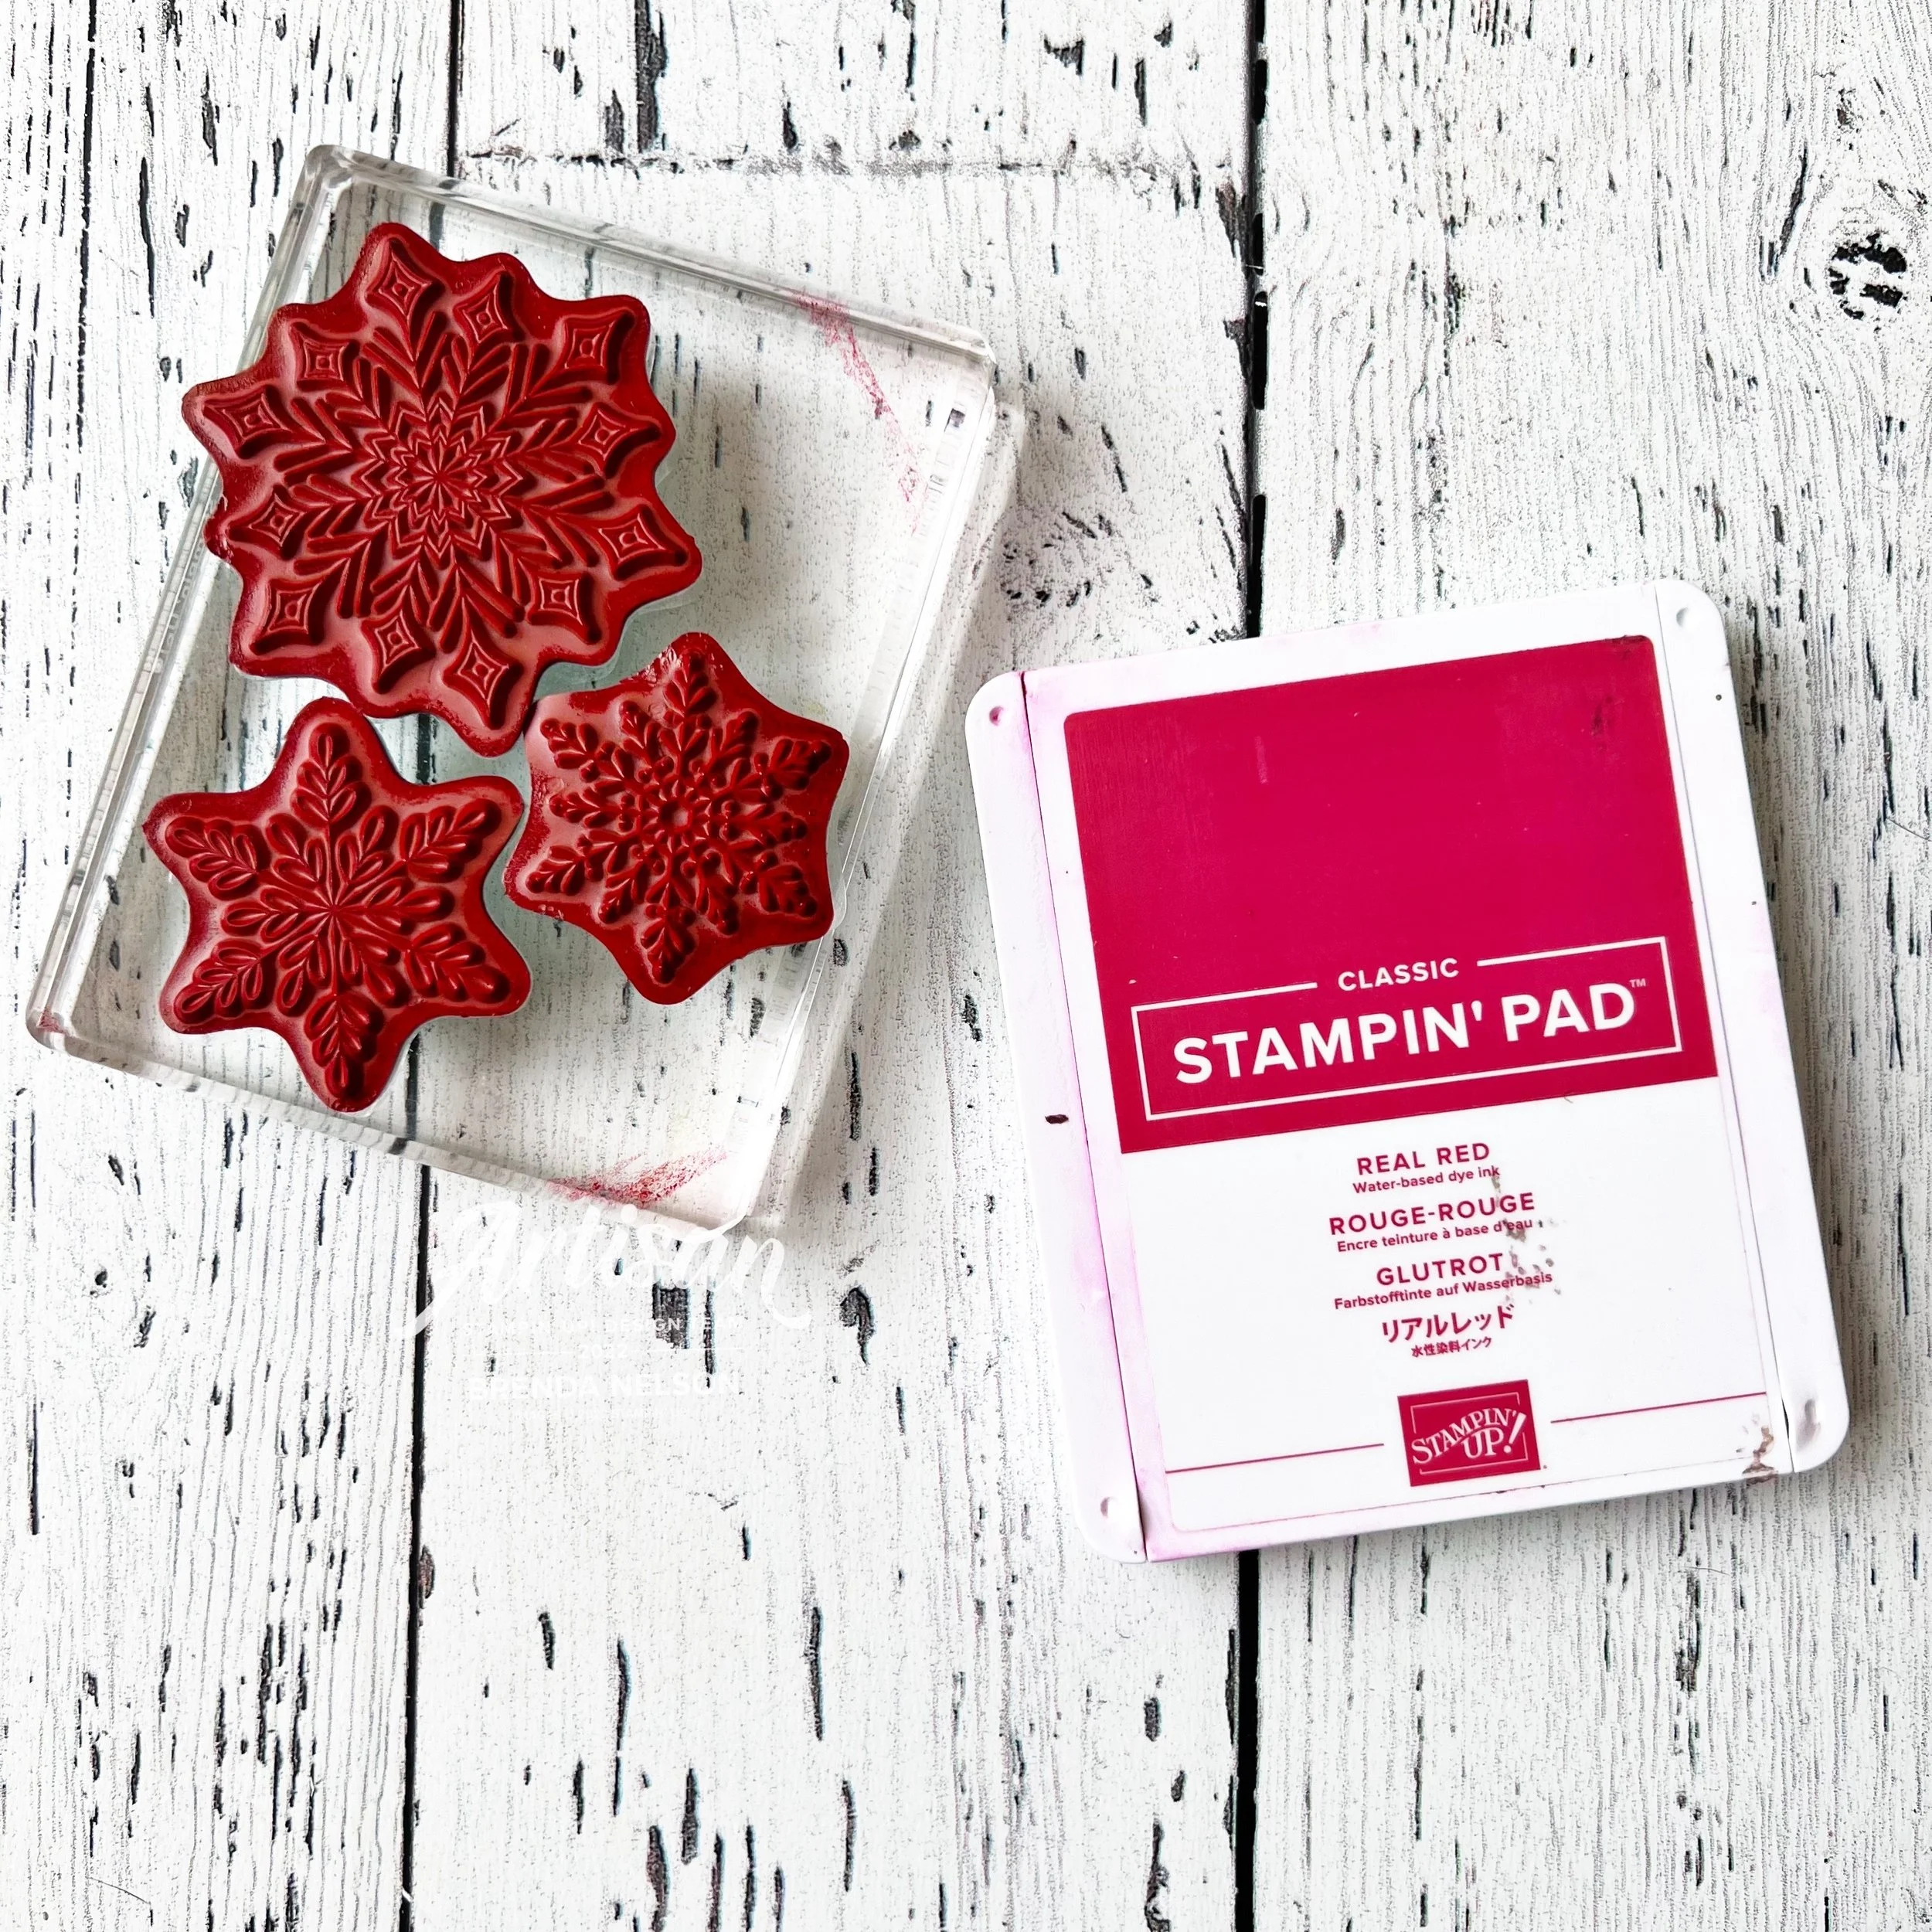
I jazzed up this page with some background stamping from Joyful Flurry.

TOP TIP: For background stamping with images, I like to add a bunch of stamps to a large block to stamp at once! This is an efficient way to stamp a large area!

I added some die cut snowflakes from the Celebrate Tags Dies and some of our new Pastel Adhesive Backed Sequins. I am also a hoarder of our gold and silver Metallic Thread that retired a few years ago so I added some on this page too. It is definitely a true mash up of stuff on this scrapbook page!

I like to use the cards to highlight my photo so you can see how I used them as some fun layers behind my photo. You can cut them apart and trick the eye into thinking you are using a much larger piece of paper than you really are. This really helps stretch the Memories & More cards even further!

I hope this project encourages you to look at some past or retired supplies you might have and give them some new life by pairing them up with some more current items. Or at the vary least you are inspired to create a scrapbook page.

Make sure you follow us @stampinfancyfriday on Instagram and Facebook. Each month Artisan Alumni members create with a different theme and share across social media!


Thanks for popping by my blog today! If you are interested in scrapbooking make sure to check out my gallery! I recently added 46 page layouts so there is alot of scrapbooking inspiration for you!

And if you create something that I have inspired you with, please tag me! I would love to see your take!

12 Days of Christmas--Day 12

For my final 12 Days of Christmas project I want to share a mini album with you. The cover of this mini album was actually one of my Artisan Design Team projects shared a couple months back. I decided to complete this album and offer it as a class! It is a pretty simple album idea that I have used repeatedly for different seasons and events!

The base of this album is an 8 1/2 x 11, cut in two pieces. I used 2 sheets to create this album and after it was all decorated I added two binder rings (found at any office supply store) with a variety of ribbons tied around the top ring. I have made several versions of this album, either designed to be horizontal (like this one) or vertical (to stand up on a shelf or table).

The base of this album is Smoky Slate which I thought was a nice neutral to pair up with the Santa Express Designer Series Paper.

I added a mix of patterns on the left side of the album along with a strip of Poppy Parade card stock to define an edge.

On the right side I stamped ‘Ho Ho Ho’ in Smoky Slate and added a DSP tag from the Santa Express paper along with the sentiments from the Santa’s Delivery stamp set. A bit of Iridescent Trim through the top completed the look of the tag. I used some of the Adhesive Backed Stars as a fun accent embellishment on the front as well.

This page is the inside of the cover. Now, do you ever have a boo boo? I do, I dropped an ink pad in the top left of this page and since I had already completed the front cover and didn’t want to start again, I just covered it with some DSP, hahaha! Sometimes you gotta do what you gotta do!

This album is pretty simple because I knew that I wanted kids in my studio to make it and my youngest stamper was 6! She did an amazing job. You can step up these pages if you like, but if not I think this is an all ages project.

Merry Christmas is cut from a retired punch and I added some Sweet Sorbet Bakers Twine and a Wonderful Snowflake behind it as an accent. The Mint Macaron scalloped border is from the Hand Penned Dies. I actually never put this die away, it just lives permanently on my magnet board beside my Stamp Cut & Emboss Machine.

I love the Joyful Flurry stamp set, especially when you can mount several stamps on a large block and stamp all at once, which is what I did for the boarder. I added a couple die cut snowflakes from the dies and the “let is snow” sentiment.

The next two pages feature the Spruced Up Dies and snowflakes once again. “Snowflake Wishes…” is a sentiment from the retired Snowflake Wishes stamp set/bundle. I will never part with it as I absolutely LOVE this sentiment!

And finally the last two pages in this easy mini album. Behind the “Falala" which is from the Framed & Festive stamp set, I added the other part of the trees from the Spruced Up Dies. I love how you get 2 trees cut at once with this set. Such a time saver and brilliant. I added more DSP and some Adhesive Backed Stars as well.

The “Ho Ho Ho” page is the last page in the book and the sentiment is from the Santa’s Delivery stamp set. I added some Basic White Bakers Twine behind the sentiment and on top of another Wonderful Snowflake.

I hope this quick and easy album inspires you to create your own! I have made them for all seasons and they are suitable for any age group!

I can’t wait to see what Melanie’s final project is today! THANK YOU SO MUCH for hopping along with us as we shared 12 Days of Christmas projects. I covered cards, treats, scrapbooking and a mini album within my 12 Days so I hope you enjoyed the variety—its the spice of life after all!


12 Days of Christmas--Day 10

Do you love to give out treats? I always make special thank you treats for my stamping friends and team members, especially around the holiday season. Recently, I got to go on a girls trip to Target visiting 7 different Target stores in Washington and Montana! haha! It was a lot of fun and I made sure to bring home some exclusive snacks to share!

I found these chocolate toffee pretzel rods at target and created a fun tag for them to add to my team members holiday bags!

Taking the time to make a cute tag is an easy way to jazz up a little treat or gift! I used some Sale a bration DSP that I had laying around in my scrap bin and paired it up with the Garden Green ribbon from the Real Red & Garden Green combo package in the holiday catalogue. The little tags are cute using the Tailor Made Tags Dies. A definite craft room must have!

The sentiment and stamped snowflake are from the Joyful Flurry stamp set and the die cut snowflake in Coastal Cabana is from the Celebrations Tags dies.

I also flicked Wink of Stella over top of my tag for a little bit of shimmer! Sometimes things don’t have to be uber fancy to surprise and delight people! Most people in our crafting circle will appreciate the fact that you took the time to make them something fun. I know I do!

Let’s see what Melanie has created for us today—after today we each only have 2 more projects to share with you!


12 Days of Christmas--Day 8

Today I want to share a Christmas inspired scrapbook page with you. It uses a little bit of new, a little bit of old and a little bit of current! It is always my favorite things to do, mash up a bunch of products that I love and enjoy!

The base of this page is Real Red which is just classic Christmas and I paired it up with Crumb Cake, Early Espresso and Basic White elements for a really awesome holiday feel. The Gingerbread & Peppermint DSP from holiday 2021 was some of my favorite DSP and I still have a couple of packages to use on some projects for this holiday season.

I almost always add DSP to my scrapbook pages and often that color dictates the rest of my page design. I wanted to go with a winter Christmas feel so I added some snowflakes from the Joyful Flurry stamp set to the background in Real Red ink.


Top Tip: when stamping background images, mount as many of the stamps onto a large block as you can. This way you can ink up the stamp and efficiently fill in your background!

I added some of the Wonderful Snowflakes to both of my scrapbook pages. This is one of the main elements that connect these two pages to each other along with the coordinating photo mats in Early Espresso and Crumb Cake.

I used a variety of sentiments from Snowflake Flurry and Framed & Festive for my pages.

Have you been seeing sneak peeks of the Alphabet A La Mode Dies around the internet? I love love love these dies and knew that I wanted to incorporate them into my page design. The word ‘JOY’ fit perfectly on the tag from the Celebration Tags Dies.

I love these dies and have used them so many times over this holiday season! A few classic Rhinestones are the perfect bling for these pages!

The North Pole Sacks are the perfect scrapbook page accessory! I added one to my page with a little pull out that you could use to journal or tuck Christmas momento’s inside.

I really love how this page layout came out and I can’t wait to share it with my scrapbook group later this month. If you are local to YEG and are interested in scrapbooking, please let me know! I would love to share in some creativity with you in 2023.

Click on the link below to see what Melanie has shared today over on her blog!

12 Days of Christmas--Day 5

I love a good pocket card don’t you? For my 5th card of 12 Days of Christmas I am sharing one of my ‘go to’ card designs. I make this card style several times throughout the year as I love that you can pull out the Basic White layer and write a message, stick a gift card inside or even a flat little treat. You can use this design for any sentiment or occasion.

I started with a base of Crumb Cake card stock and you score it like a regular card except on one side, score a 1 1/4 inch piece that becomes the flap for the front. I like to round the edges on the top and flap.

I added a strip of Sweetest Christmas DSP to the flap and then adhered the entire flap down using Tear’n Tape. Wrap a length of Linen Thread around the flap to keep the card closed hence creating the pocket.

The Joyful Flurry stamp set was perfect to add to the front and pull out piece, stamping them in Crumb Cake ink. The Wonderful Snowflakes are still my favorite holiday embellishment. I love how they are iridescent and I can pop them right out—NO DIE CUTTING! Yippee! They look perfect with the Garden Green Mittens!


The worlds cutest mittens are from the Celebrate with Tags stamp set and die cut with the Celebrations Tags Dies (my absolute favorite die set in the JJ catty! I have used it SO MUCH!

Merry Christmas is from the same stamp set and I just trimmed it apart using paper snips. It is stamped in Sweet Sorbet—my fav red this season!

I hope you will give this card style a try some time! It is truly one of my go to designs! Don’t forget to go see what Melanie is sharing today!