Twelve Days of Christmas--Last Project Share!
/I can’t believe that we are at the end of another 12 Days of Christmas! Time flies when you are having fun crafting and being inspired, doesn’t it? I hope you love the projects that Mel and I have been sharing with you over the last 12 days! If you missed any posts, make sure to go back and check them out and please leave us an encouraging comment!

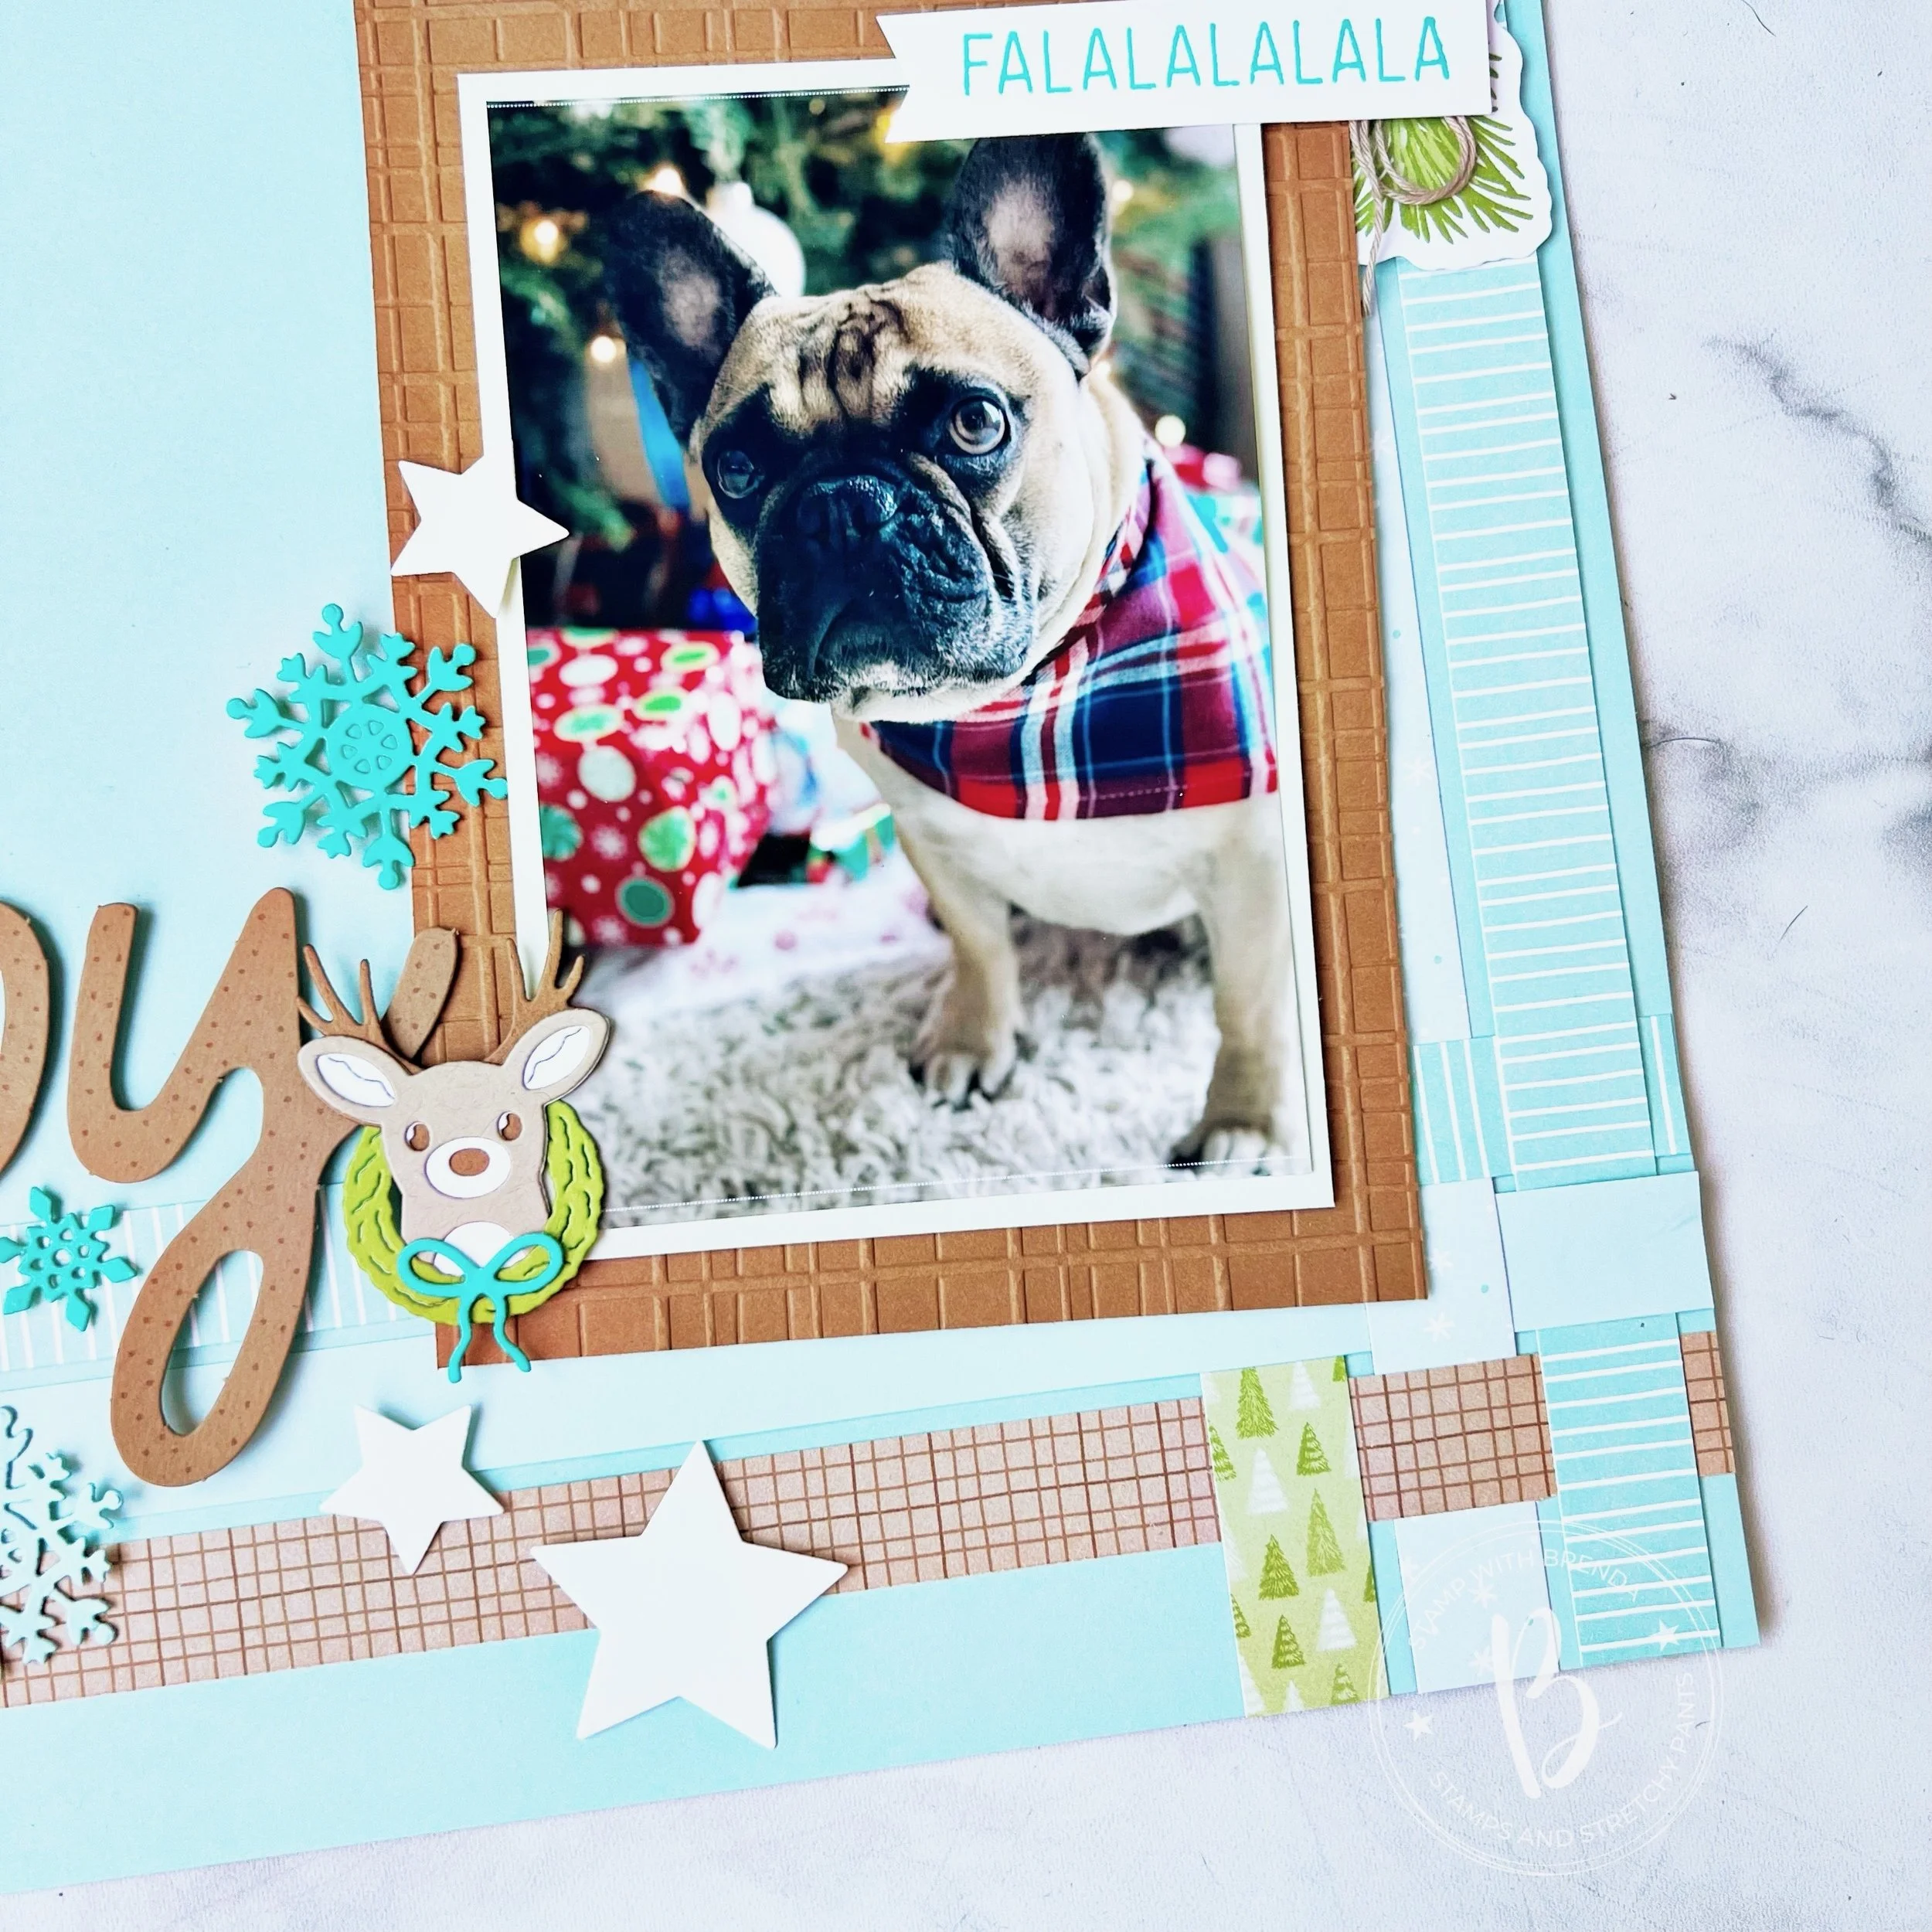
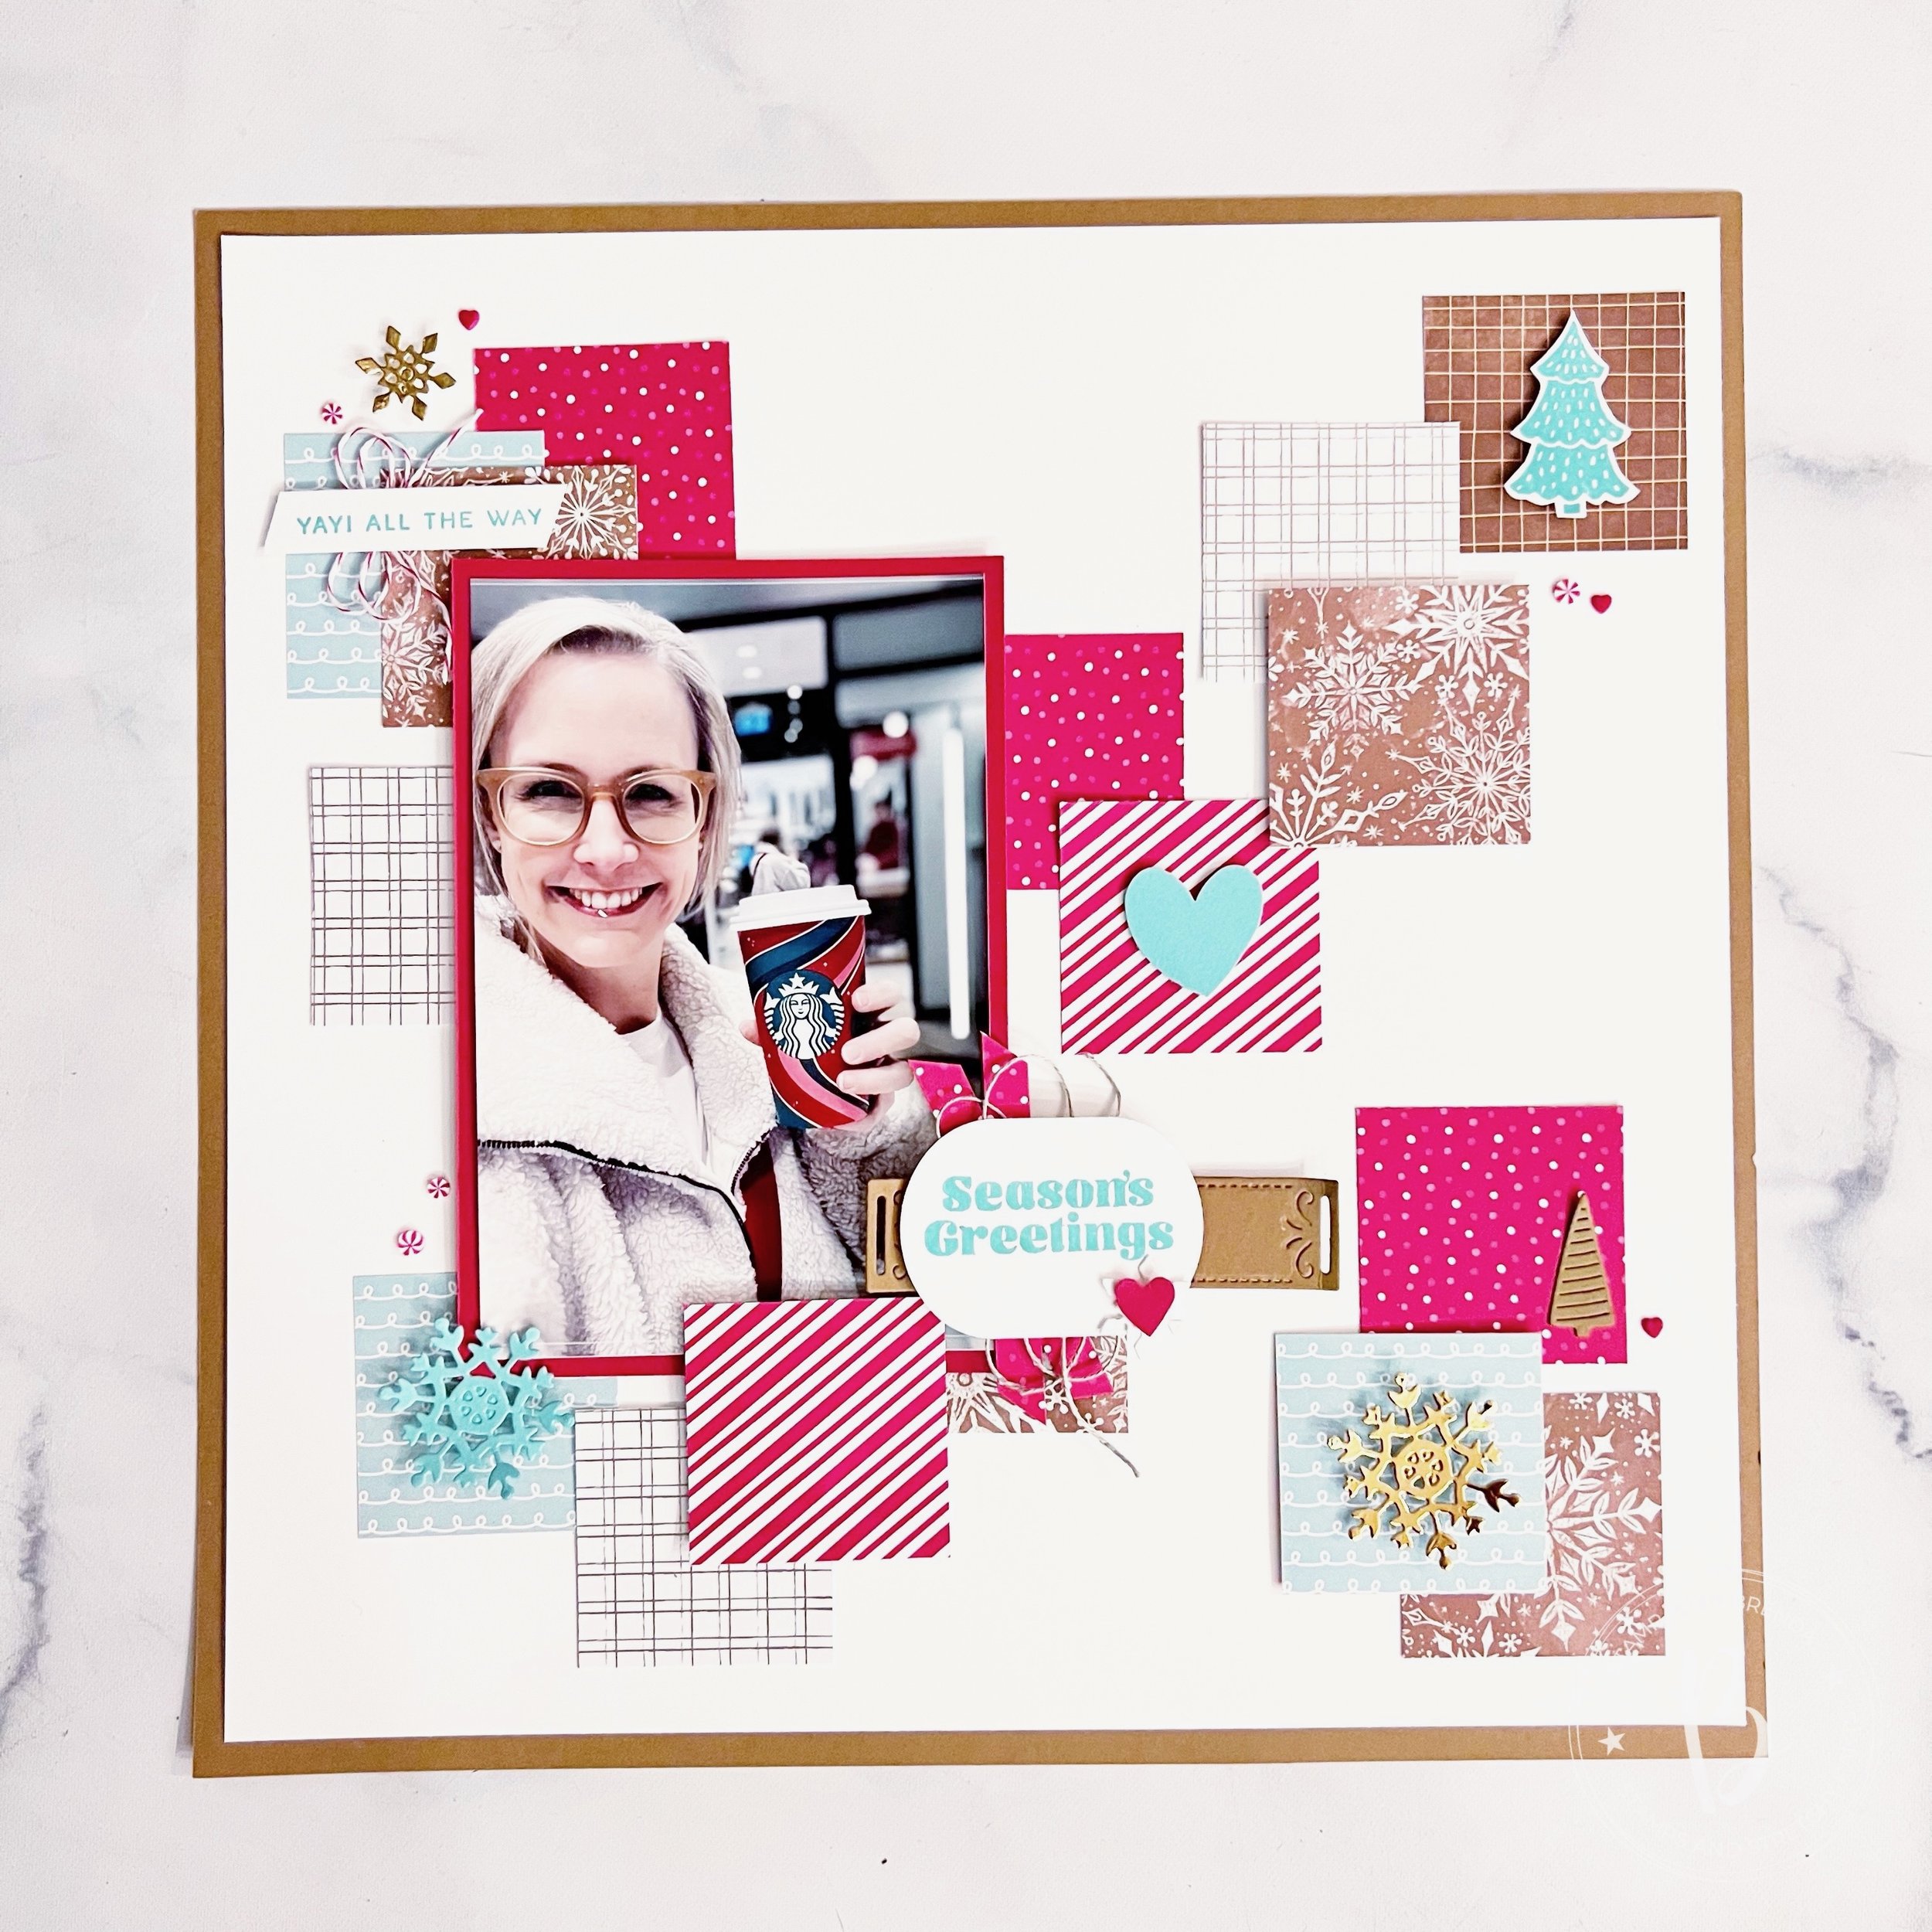
Of course, I had to end my 12 Days of Christmas 2024 with a scrapbook page of my bestie, Hawkins. He is my loyal companion, always at my feet in my craftroom.
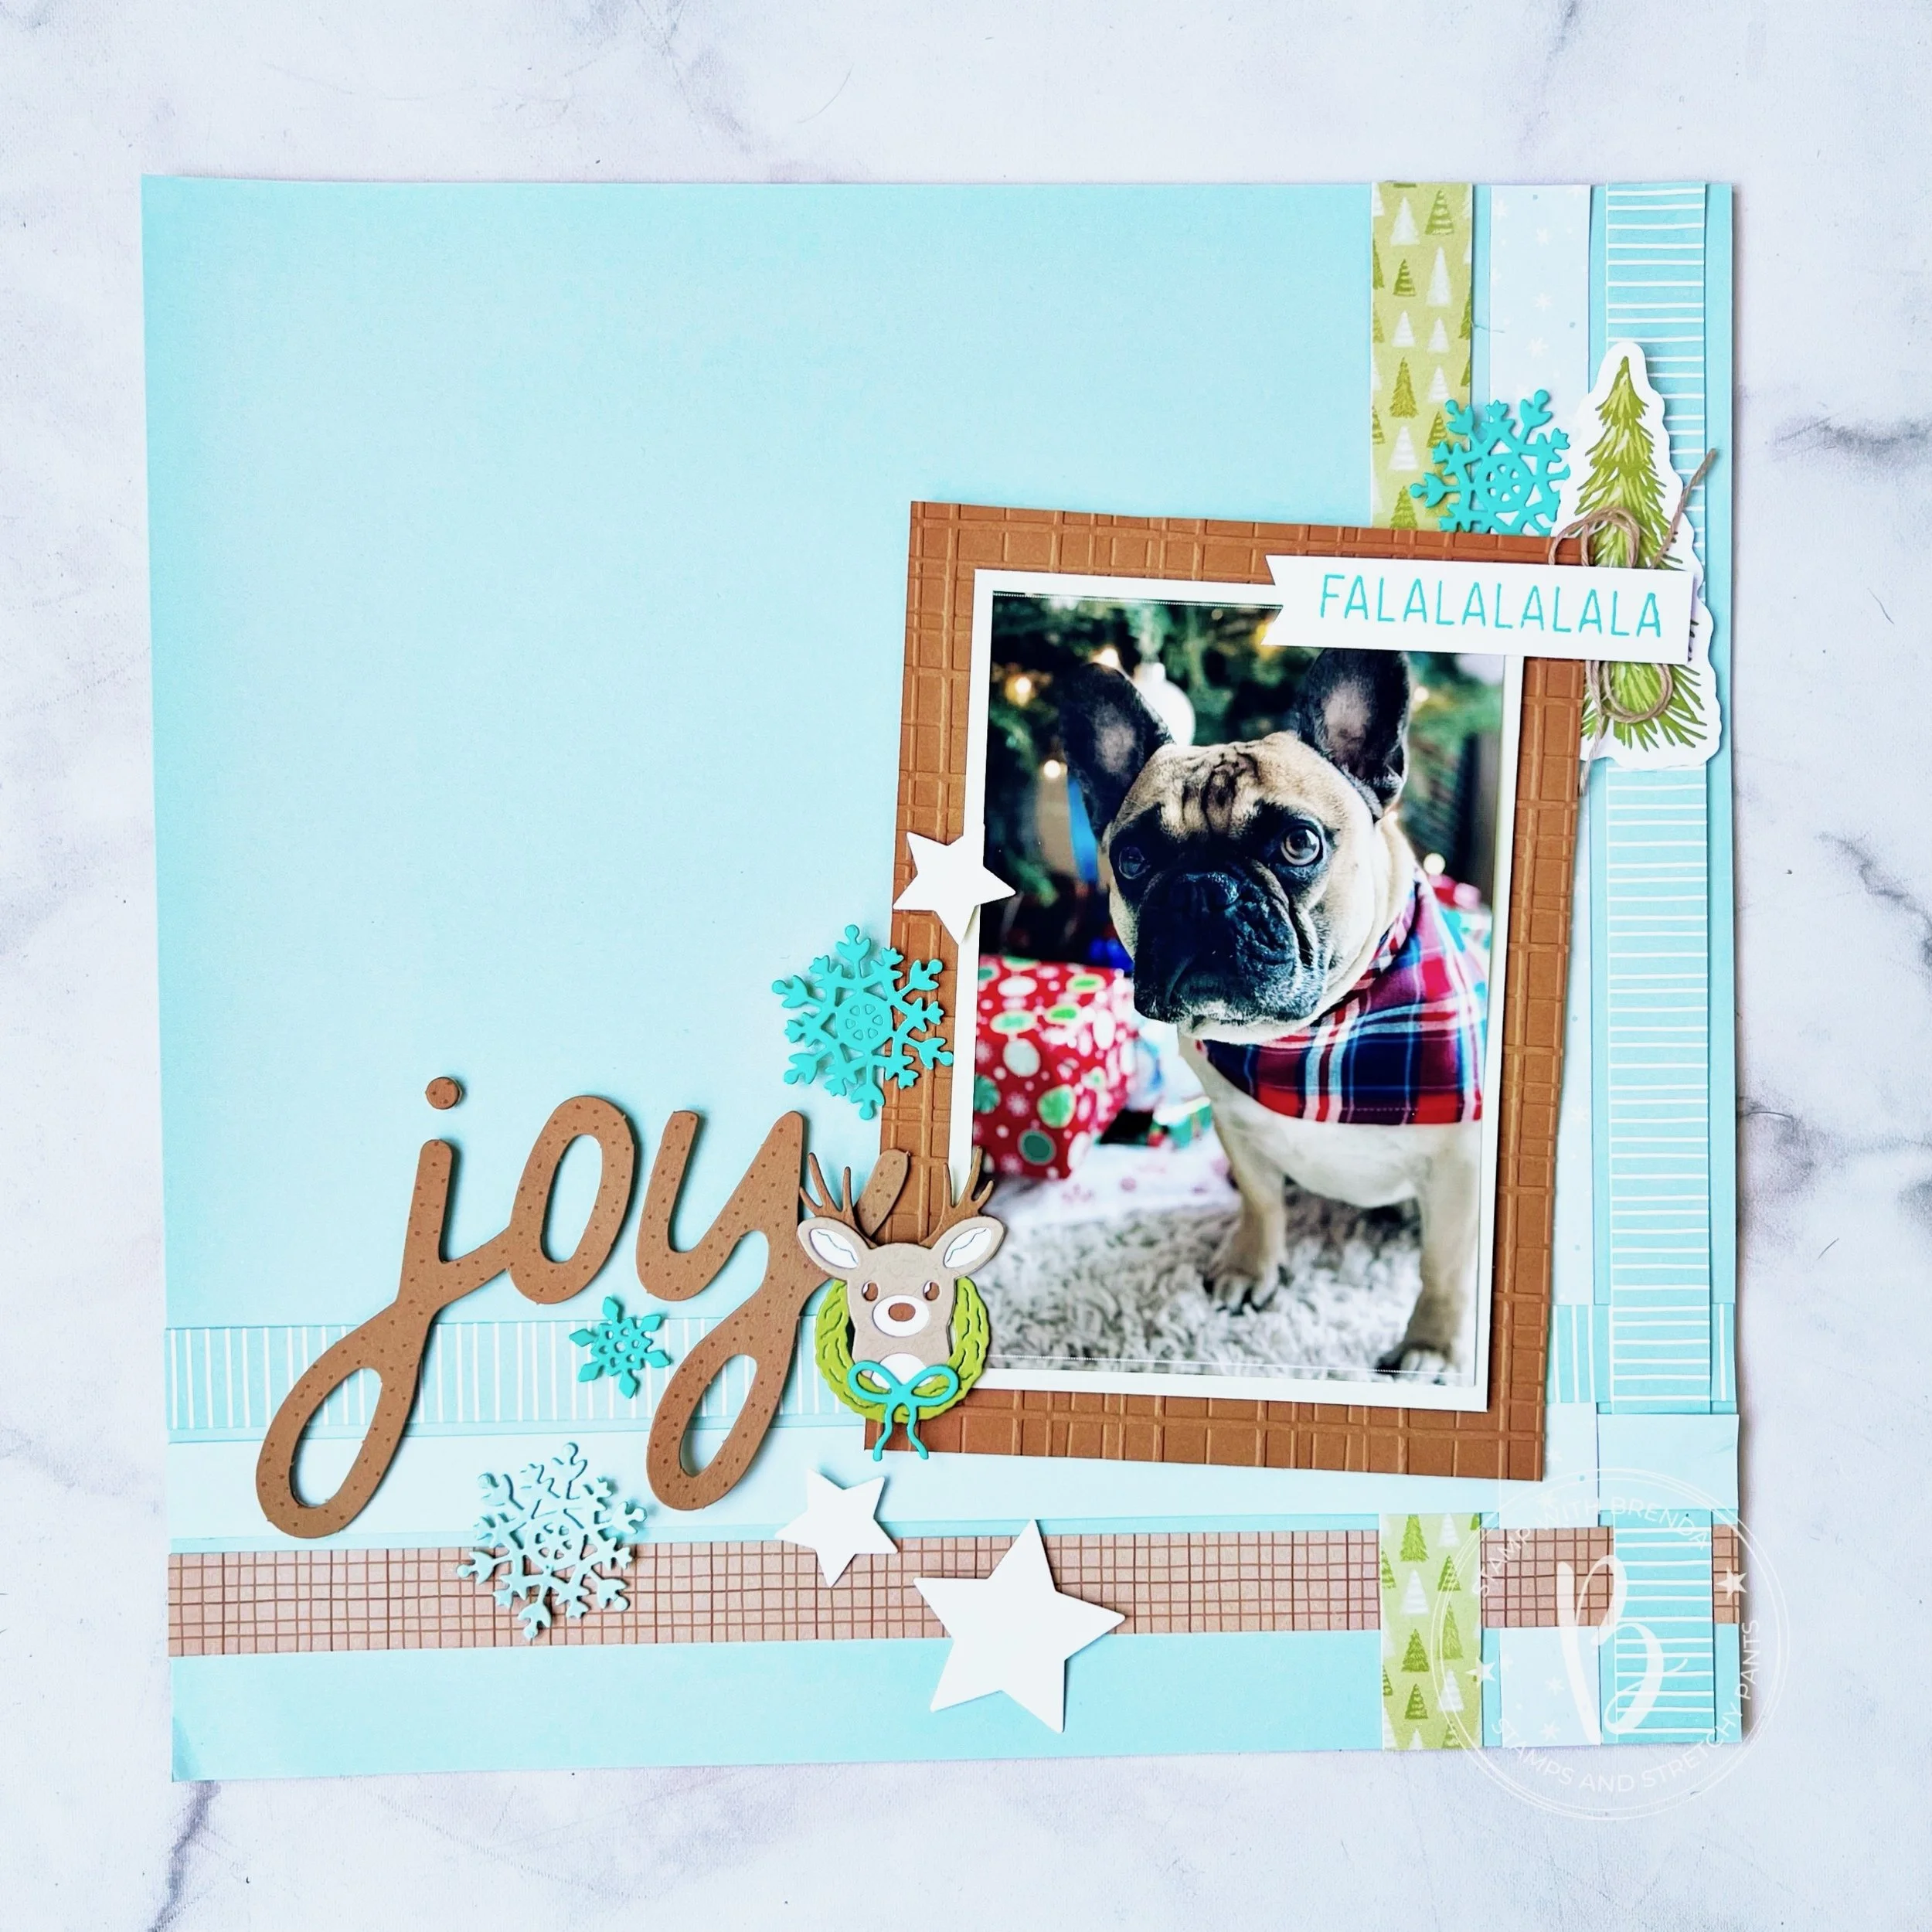
I used Pool Party 12x12 as my base and elements from the Reindeer Memories Scrapbooking Kit for my page. I have really enjoyed these kits, using the pieces to design my own layouts.
The photo mat in Pecan Pie and I chose this to match the die cut word ‘Joy’ that you get in the scrapbooking kit. I ran it through the Forever Plaid embossing folder.

Isn’t Hawkins so handsome? I added FALALALALALA to this page as I like to think that might have been going through his mind! hahaha. It is from the Reindeer Memories stamp set, which is also found in the Scrapbooking Brochure. A little Crumb Cake Bakers Twine is layered behind along with a tree die cut from the kit and a snowflake from the One of a Kind Dies.
A did a fun paper weaving technique on the page using 3/4 x 12 inch strips of DSP from the Kit, the Reindeer Days DSP, and the Sweet Days of Autumn DSP.

I love this Joy die cut. I added some polka dots using my Pecan Pie Stampin’ Write marker for a little extra interest. I couldn’t resist adding the adorable deer from the Reindeer Days die set, plus more snowflakes and some stars I had laying around in my scrap pile.
I hope this page inspires you to scrapbook your bestie too and to think about a holiday layout in a completely different color palette. I have truly enjoyed curating this projects to share with you. Melanie and I were so happy to offer this to you again for our 3rd year running.
Thank you to everyone who has been by my side this past 18 months. You know who you are and how much you mean to me!
Cheers to an awesome festive season and let’s bring on 2025. The best is yet to come (insert 1000 hearts).
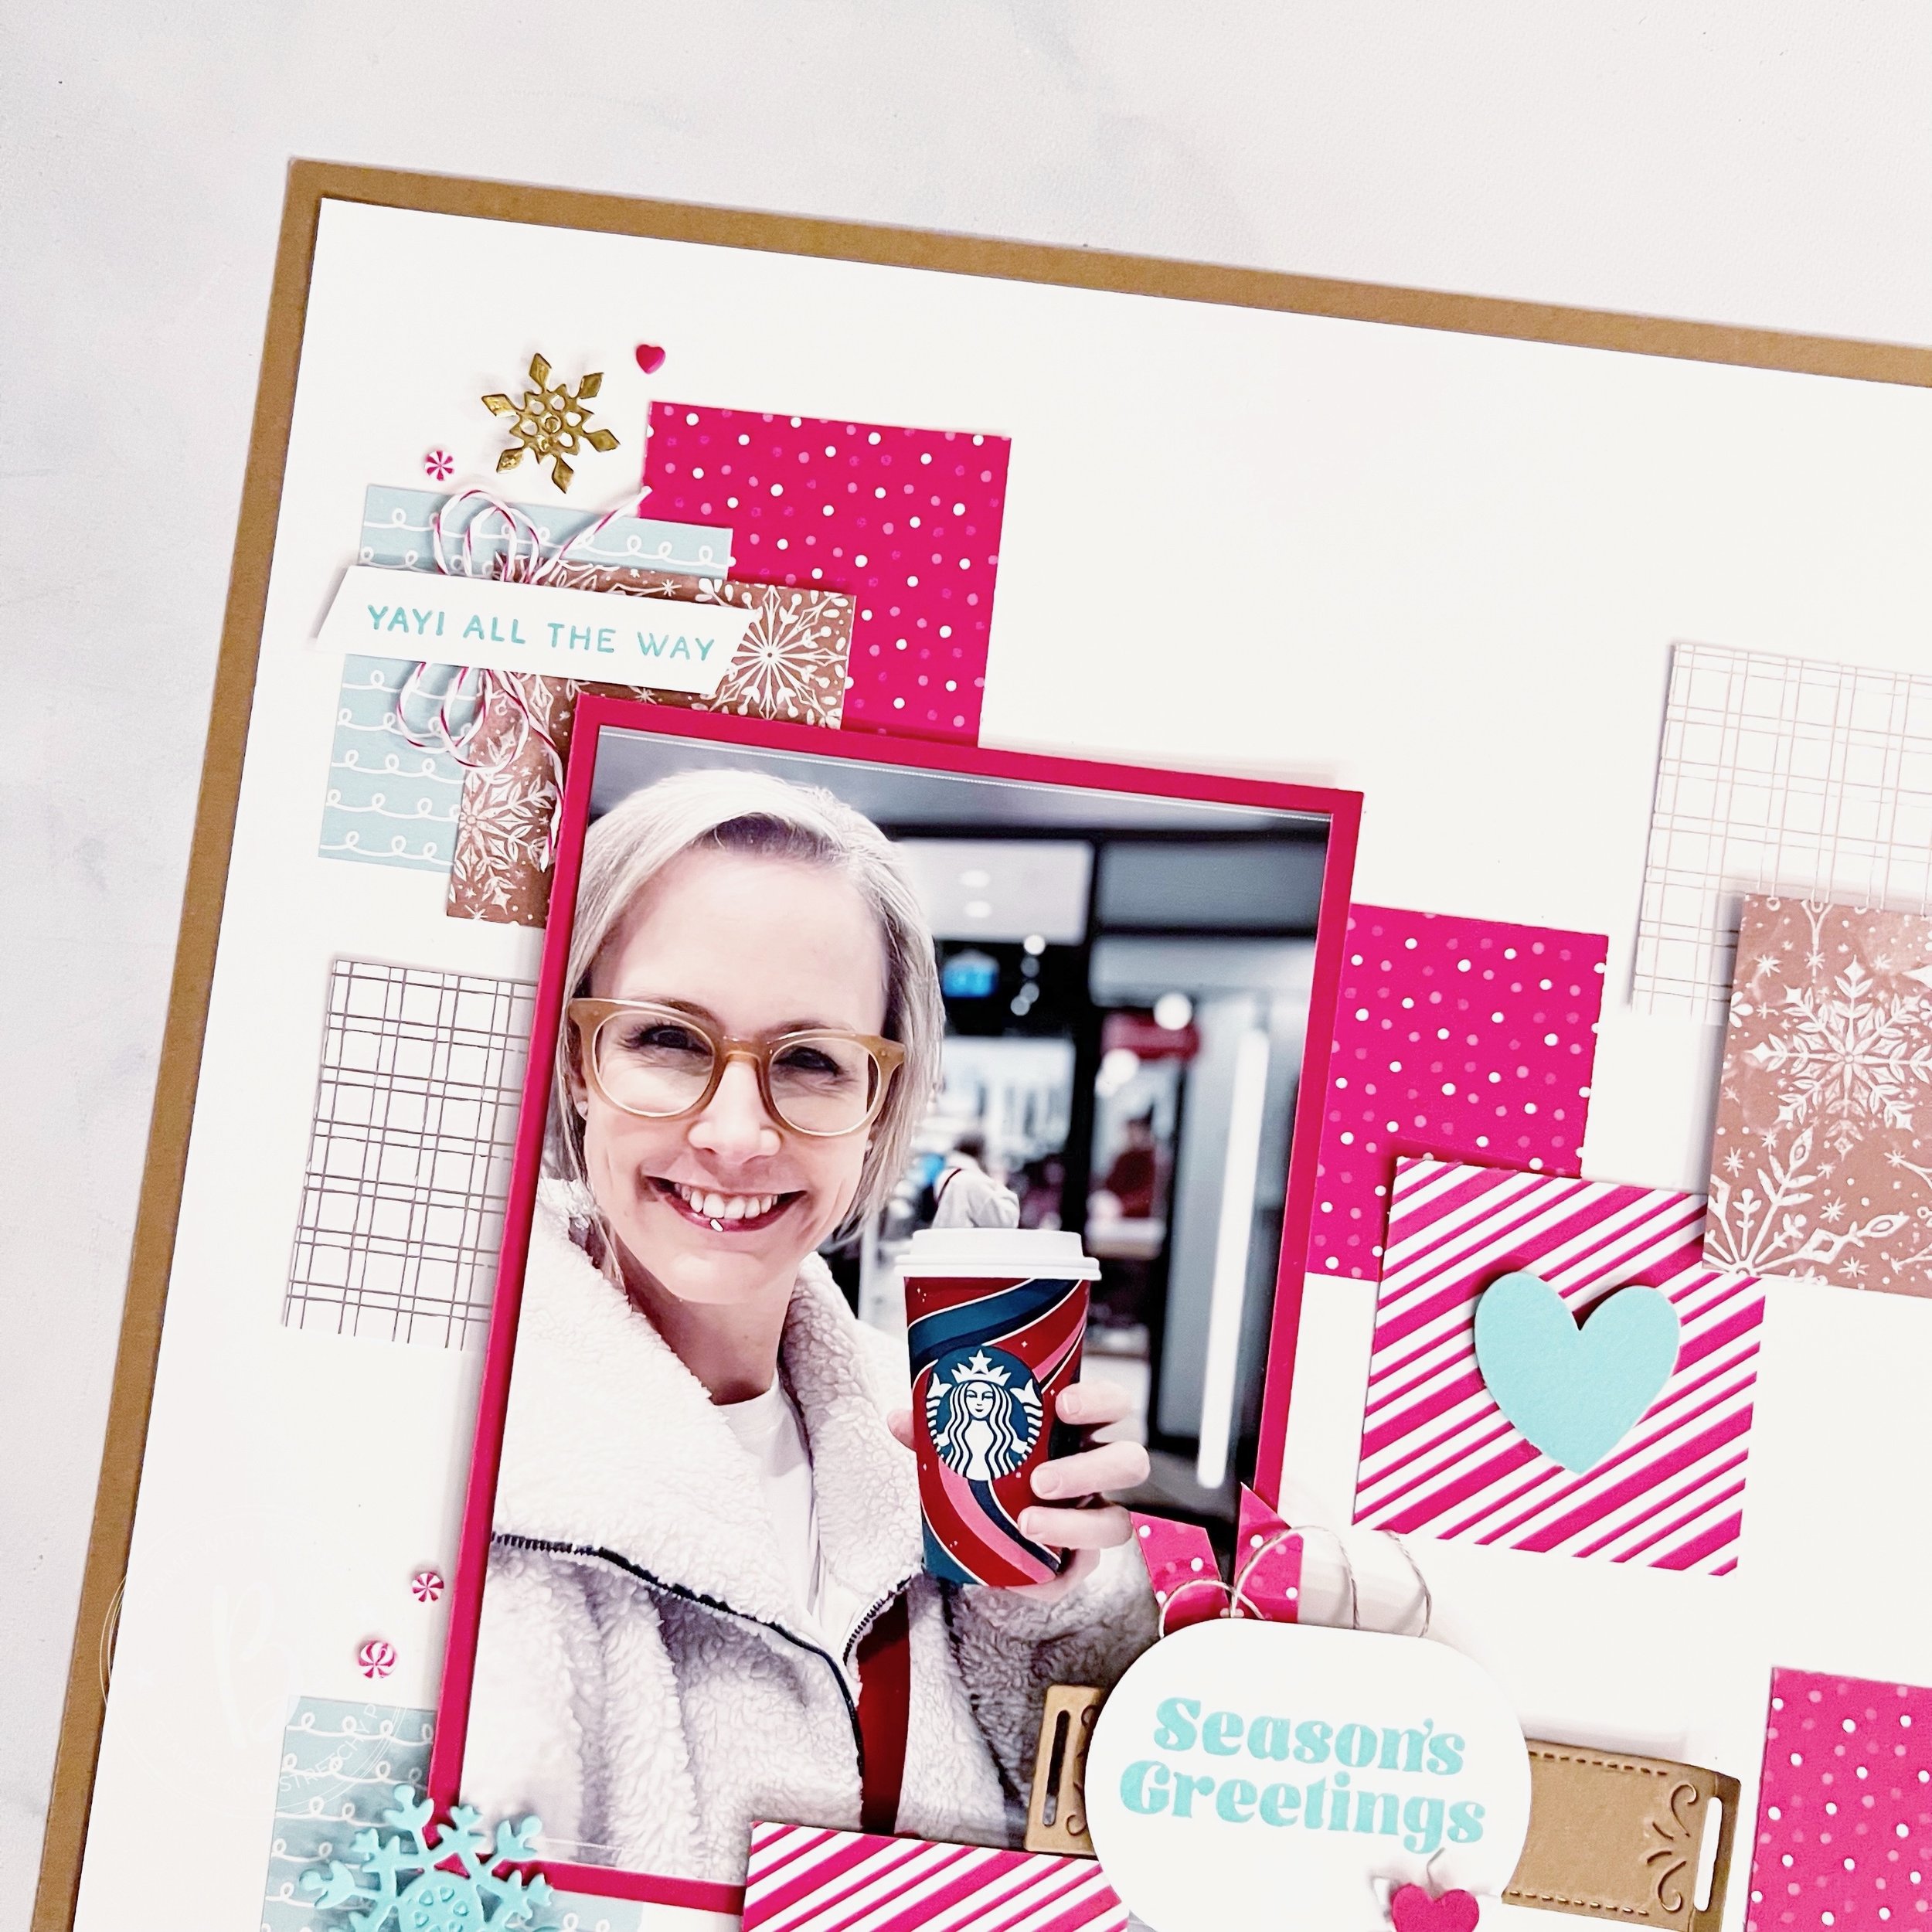
Head on over to Melanie’s blog to see her final festive project and if you missed anything, take a loop back!


")
 Designer Series Paper & Sticker Sheet (English)")
 Circle Punch")
")


