Twelve Days of Christmas--Project # 5
/HI friends! Are you enjoying all of our projects so far? I hope so! It is definitely starting to feeling like holiday season! Today I am sharing a card and a coordinating ornament or gift tag idea!

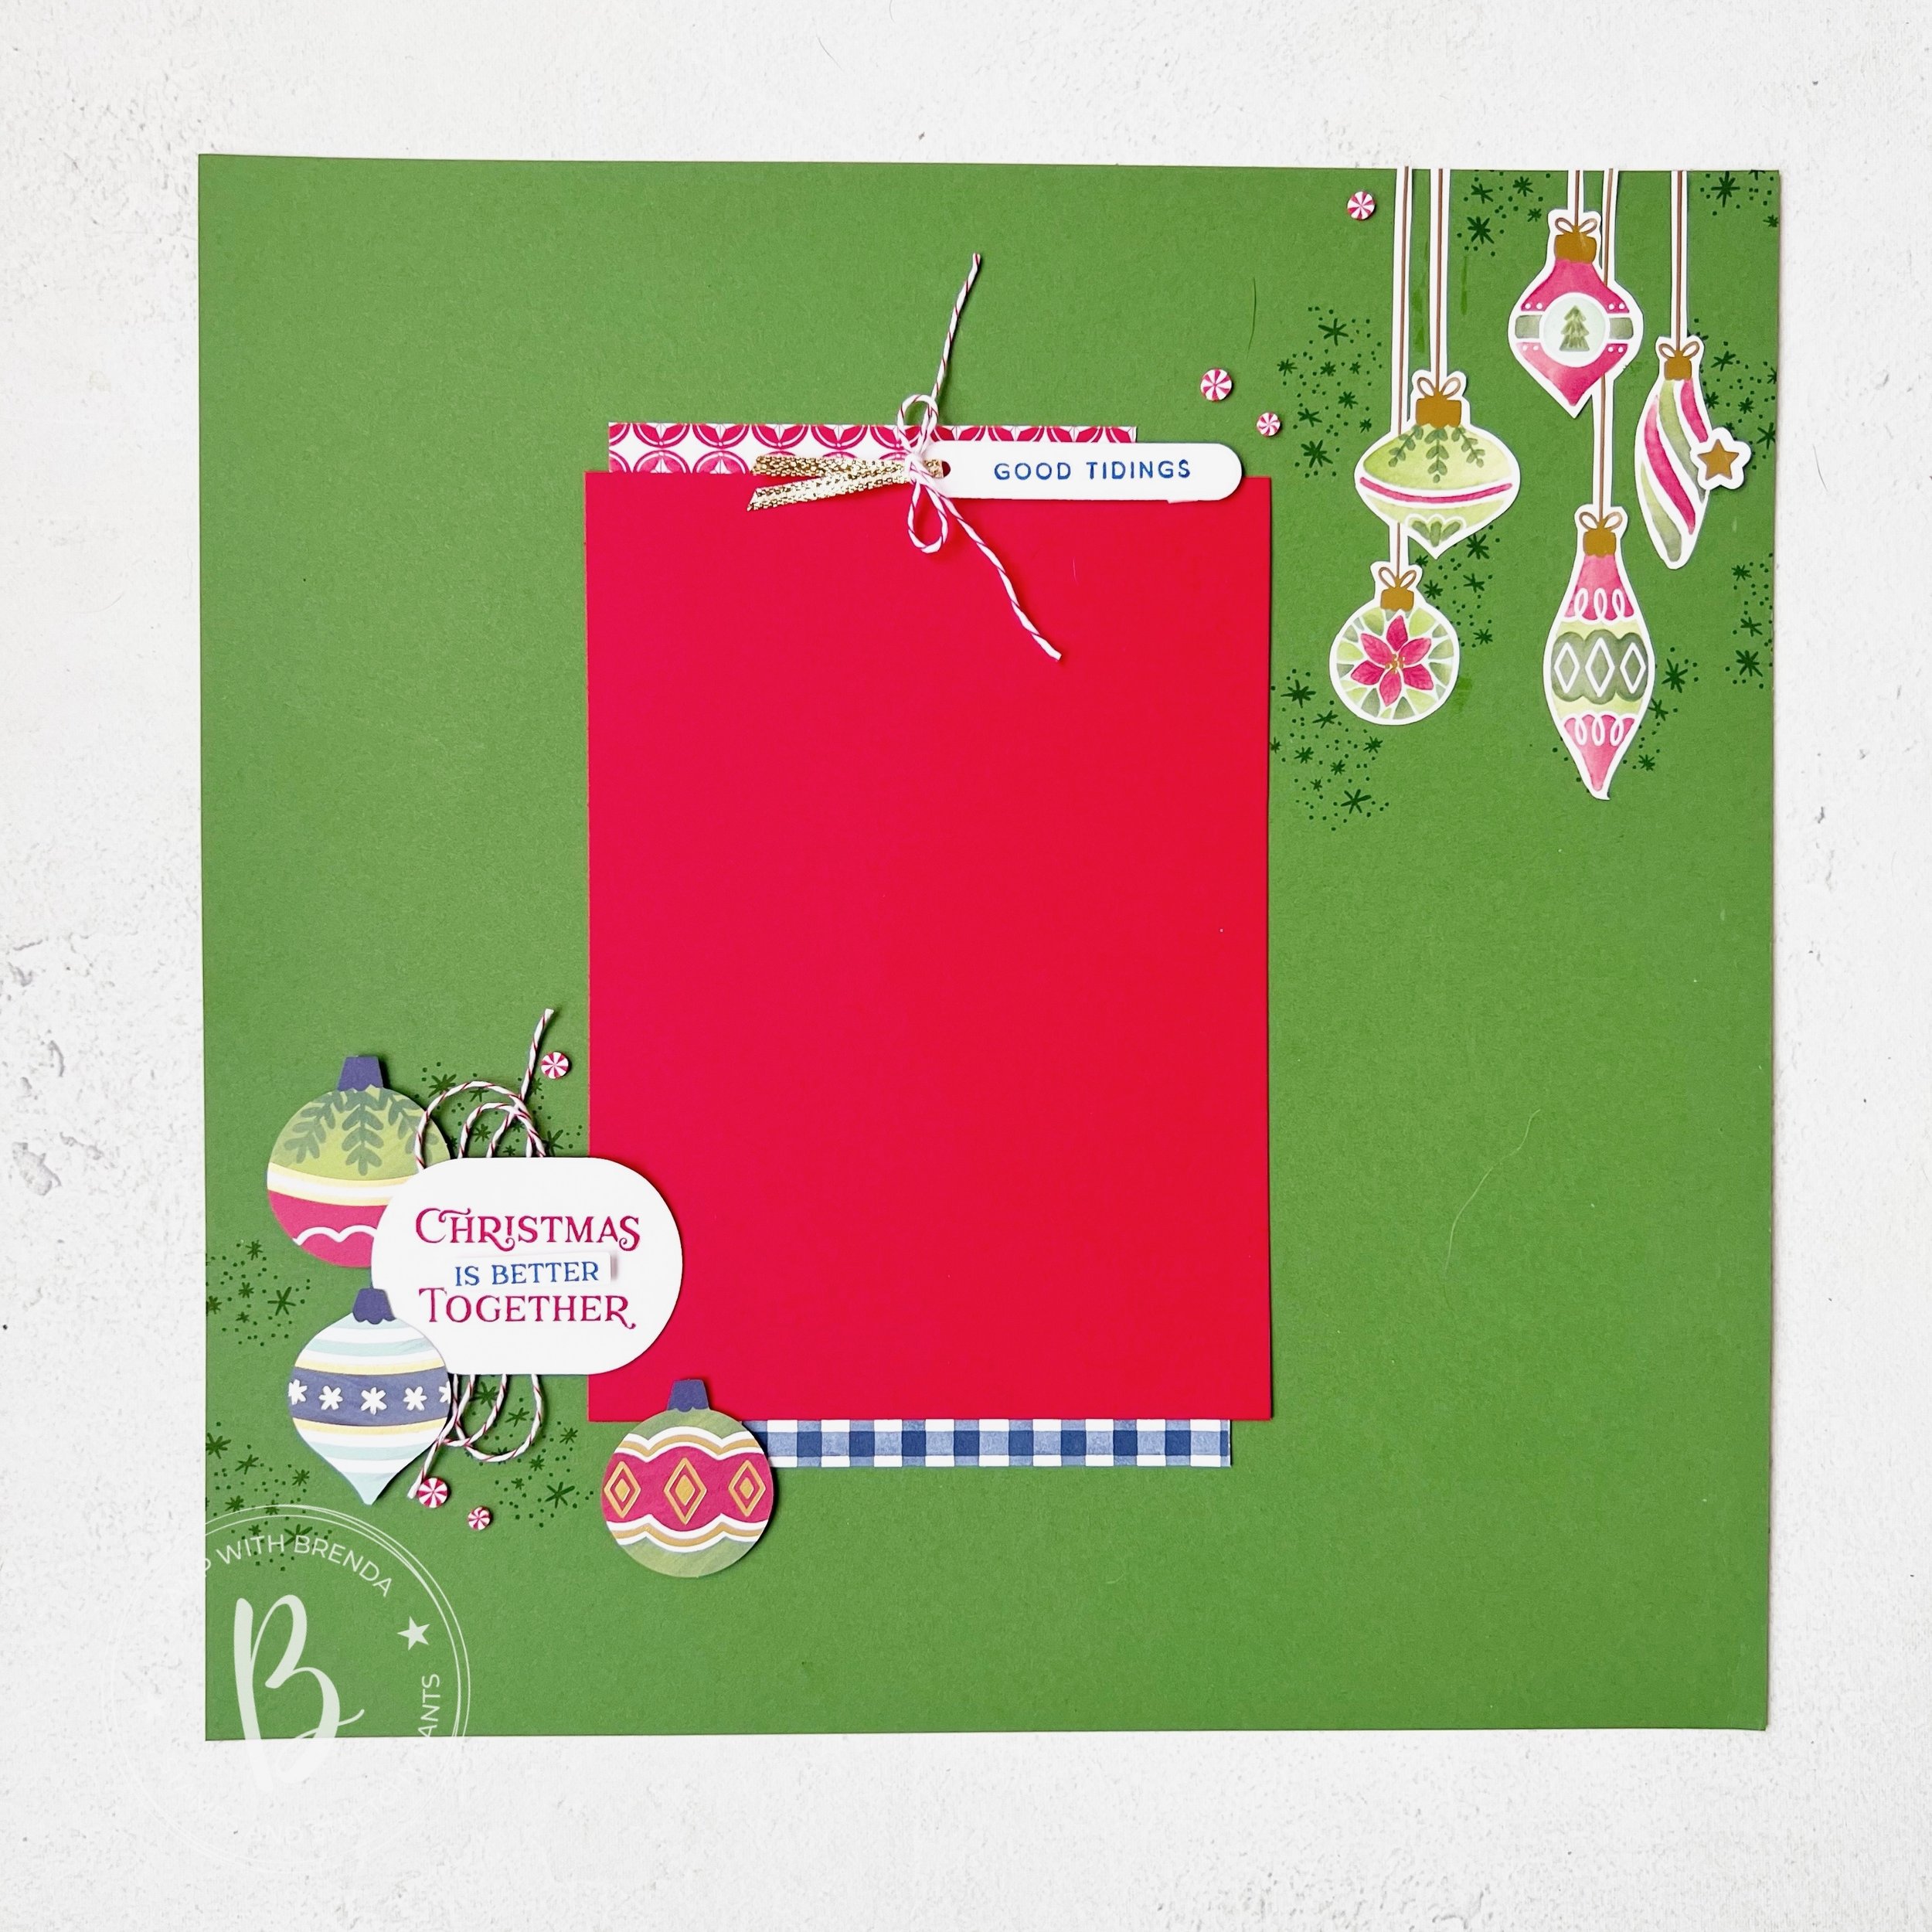
Lets start with one of my favorite card designs—I think it definitely falls into the ‘Good Card Design’ category as you can recreate this card with any dsp or die cut options!
The base is Real Red (its just screams classic Christmas) and in the top left and bottom right I stamped the little cluster of stars found in the Decorative Trees stamp set.
I created a first layer in Basic White where I die cut out a circle. Behind the circle I laid strips of DSP from the Take a Bow DSP in 1/2 and 3/4 wide strips. This is such a great way to use up DSP. I also ran this panel through the Snowfall Folder for a little extra touch.
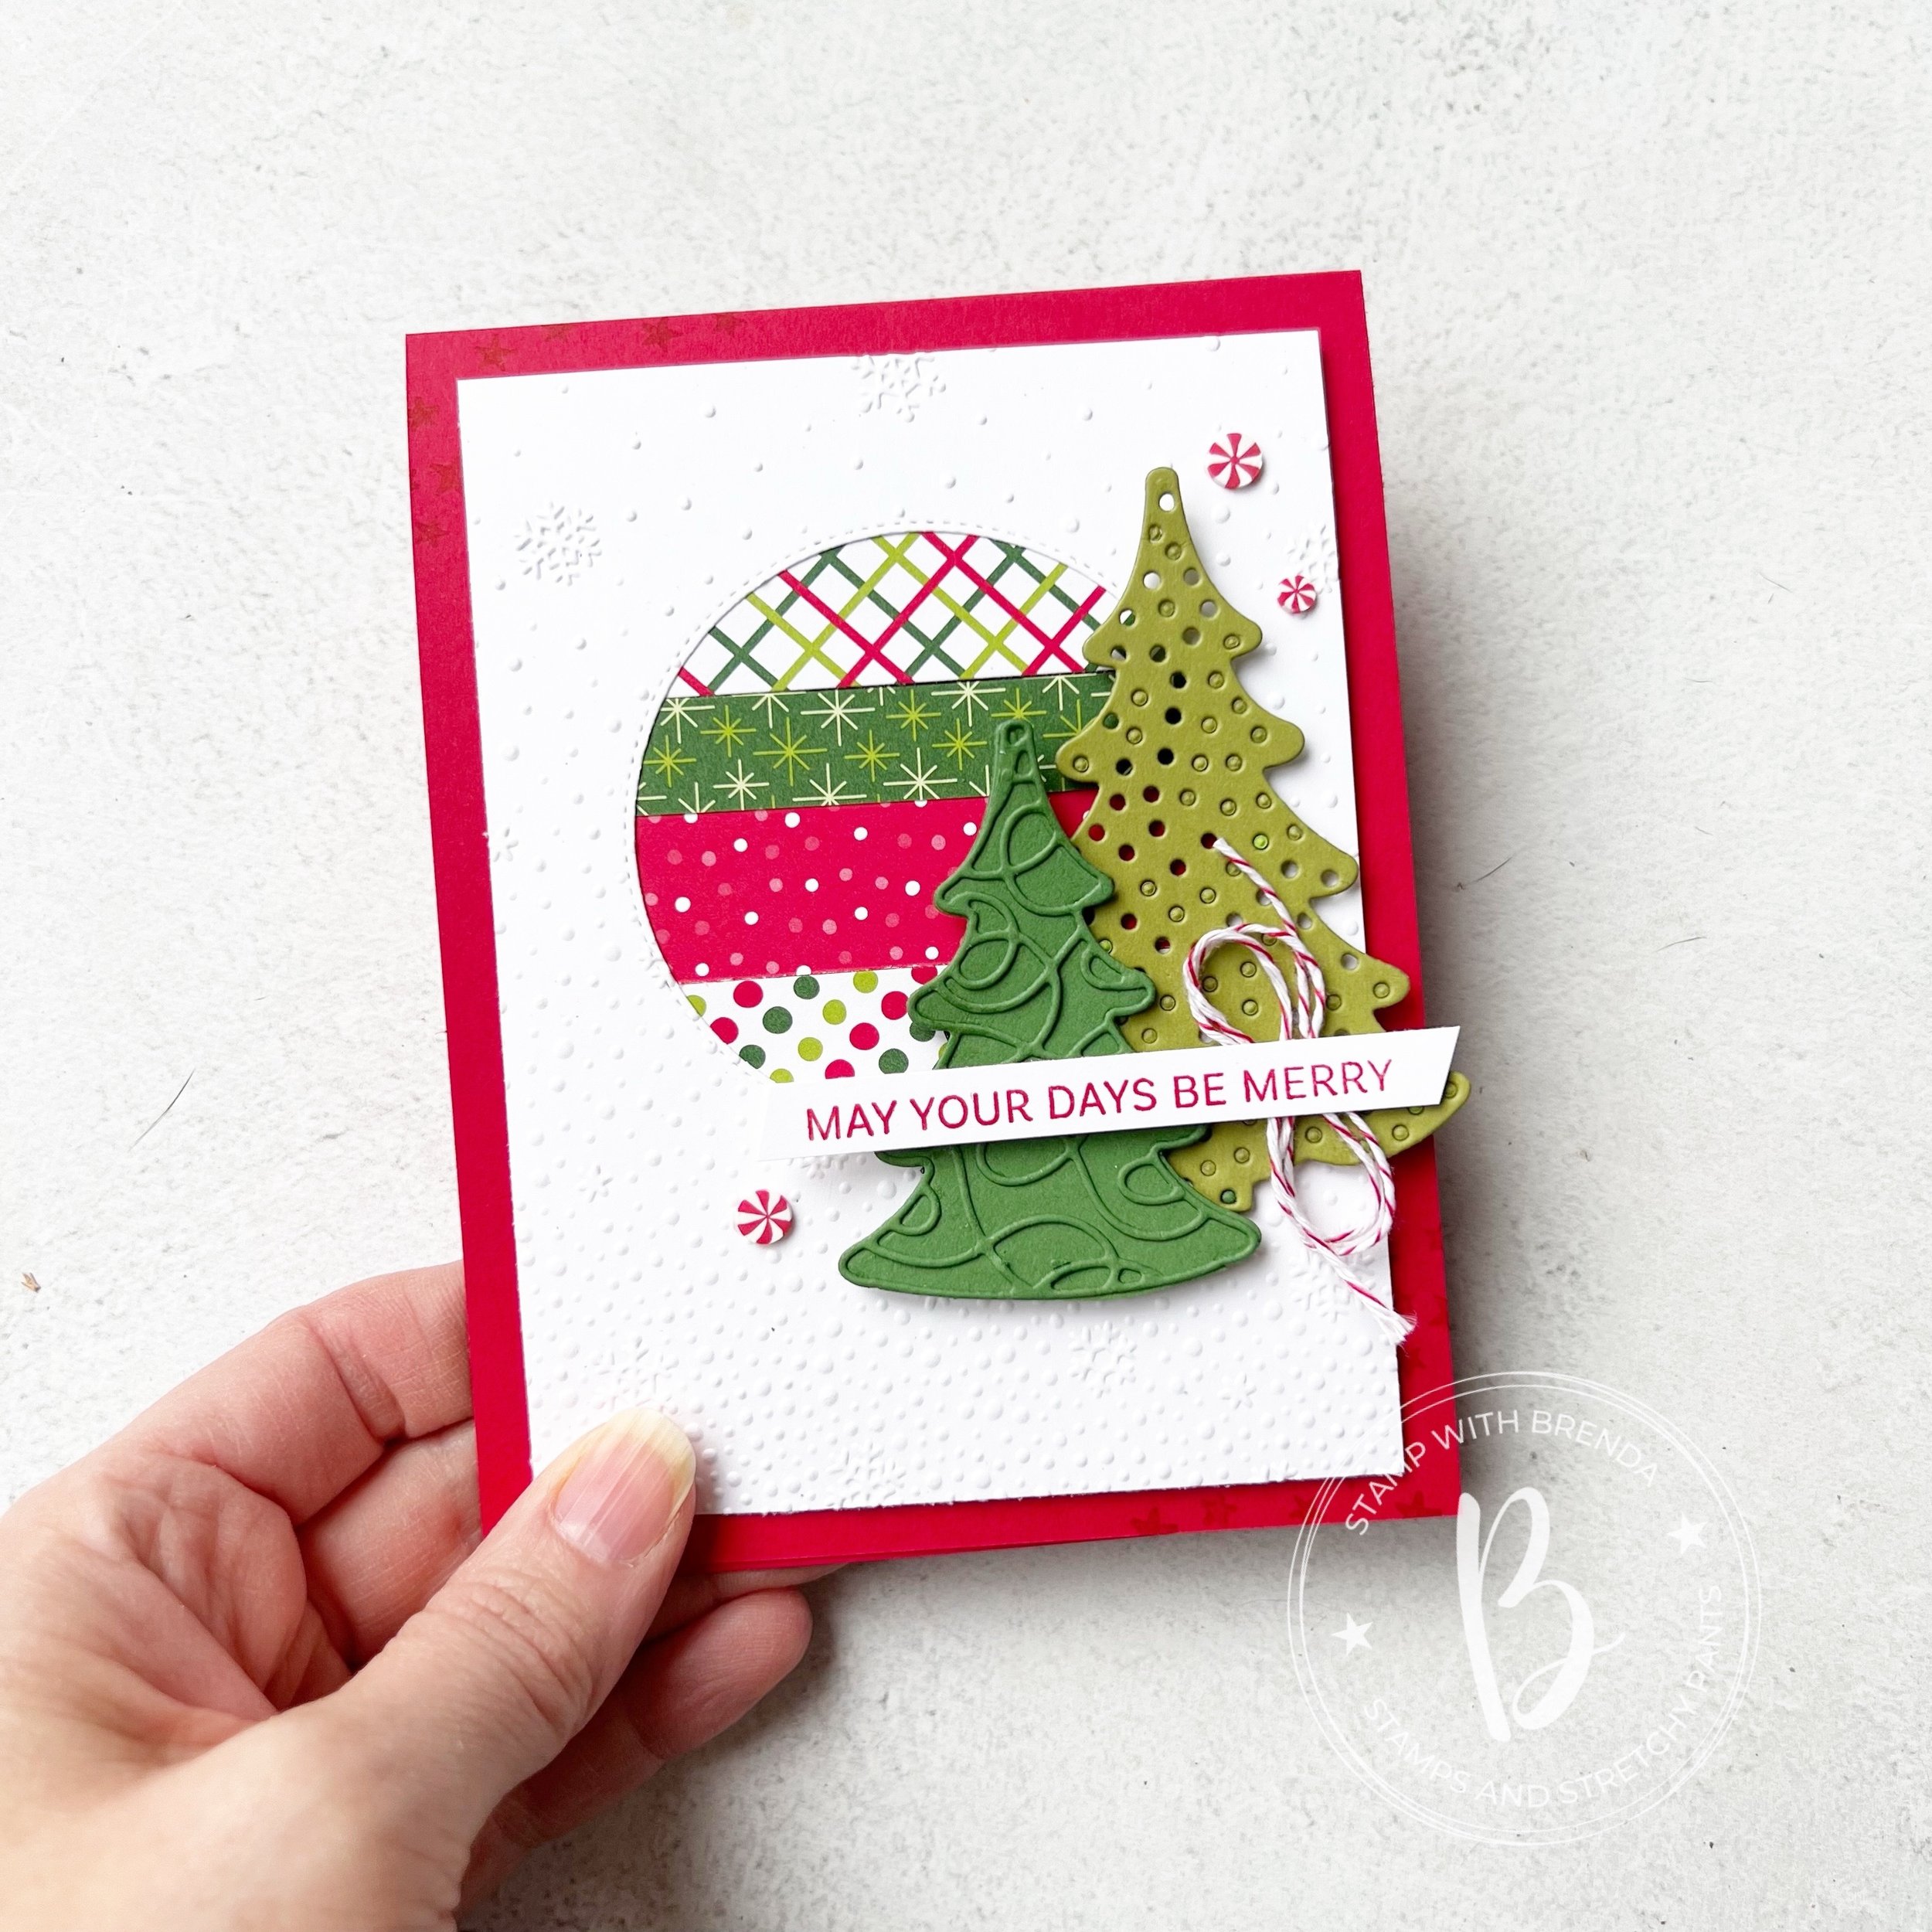
I used the colors of the Take a Bow DSP to determine the colors of my two trees that I die cut with the Decorative Tree Dies. I just love these dies and have had so much fun creating with them this holiday season.
The dies have two sets of trees to choose from. The Garden Green treen in the front is one of the smaller tree options. The fancy layer that is on top of the tree is a separate die. You need to cut it and add it to the base tree, which is bigger. You then just use your snips to trim off the bottom section of the base tree! I was so happy to discover this as it made creating even more tree combinations a breeze!
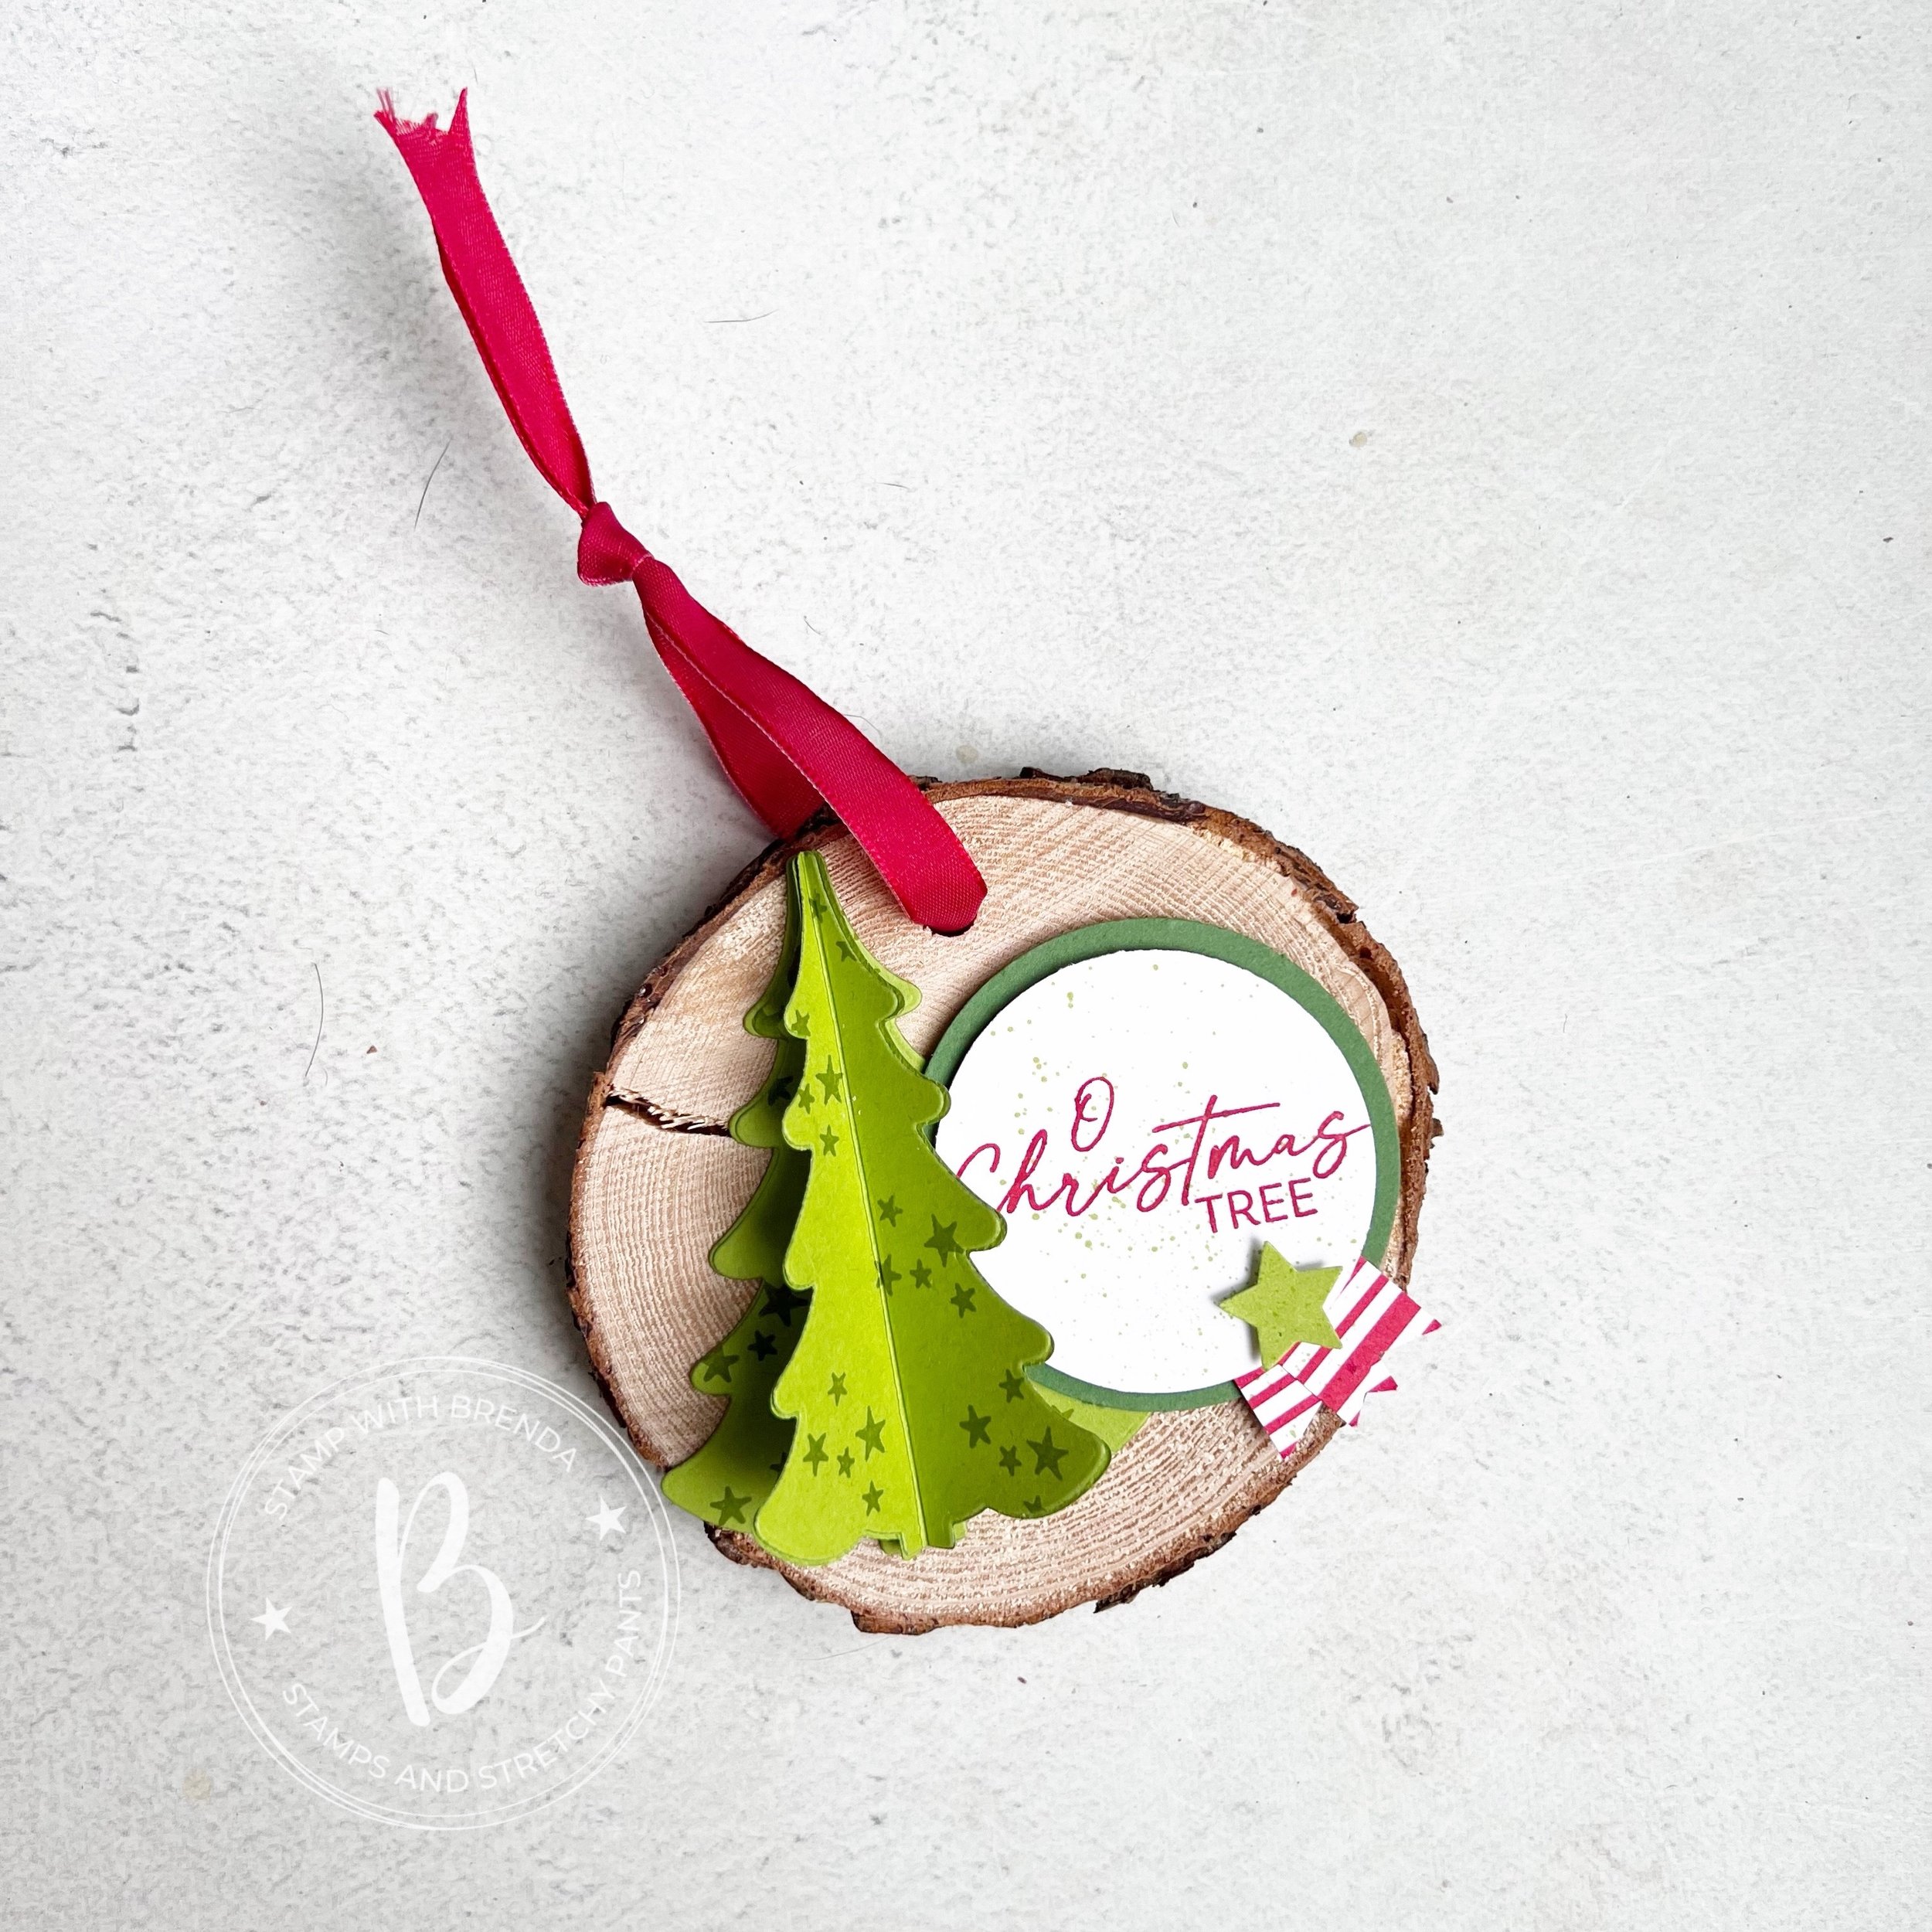
Every year I make some sort of wood slice Christmas ornament or gift topper. I do hang these on my tree or tie them on a gift bag or use them on a gift. I love using a wood slice or tree cookie as my base. These are fun inexpensive gifts that you can use in a variety of ways. The coordinating card makes it a fun little gift!

To make this fun 3D tree for my ornament, I cut out 4 trees in Granny Apple Green. One is the base and three will be scored right down the middle of the tree. You could stamp on these 3 layers, like I did here, or even run them through an embossing folder for some texture.
I used the little star shapes from the Decorative Tree dies on these ones. Fold the 3 trees in half along the score line. Add some Tombow to the base tree and add one tree (one folded side) to the left half of your base tree, then add the next tree with Tombow to the back of the first tree and so forth, attaching the third tree to the base. I love when we can take a shape and make it 3D!
Because the Decorative Trees stamp set has the sentiment ‘Oh, Christmas Tree’ I knew that I had to use it on this project. It is stamped in Real Red ink with a spray of Granny Apple Green over top. I added a couple little banners from the Take a Bow DSP and a star from the die set.
I hope you are inspired to make a fun card and coordinating ornament yourself this holiday season!
Make sure you are checking Melanie’s blog on the days opposite of me so you don’t miss any of our awesome projects!
Thanks for joining in our 12 Days of Christmas Hop!


")
 Designer Series Paper & Sticker Sheet (English)")
 Circle Punch")
")


 Mix & Match Specialty Designer Series Paper")
")

 Cardstock")


 Trim Combo Pack")