Twelve Days of Christmas --with Brenda and Melanie!

Hi friends! Welcome to the third annual blog hop between myself and friend Melanie, from Mels Inky Fingers! For the next twelve days you can toggle between our blogs for some fun holiday inspiration! I will be sharing a mix of scrapbooking and card inspiration with you over the next twelve days on a rotating schedule with Melanie. I am so happy you are here and please feel free to leave me comments!

Of course I want to kick off our 12 Days with a fun scrapbooking project! I love to scrapbook and I am getting a jump on some holiday page designs. After Christmas I will be able to simply pop some photos on my pages and it will feel so rewarding!

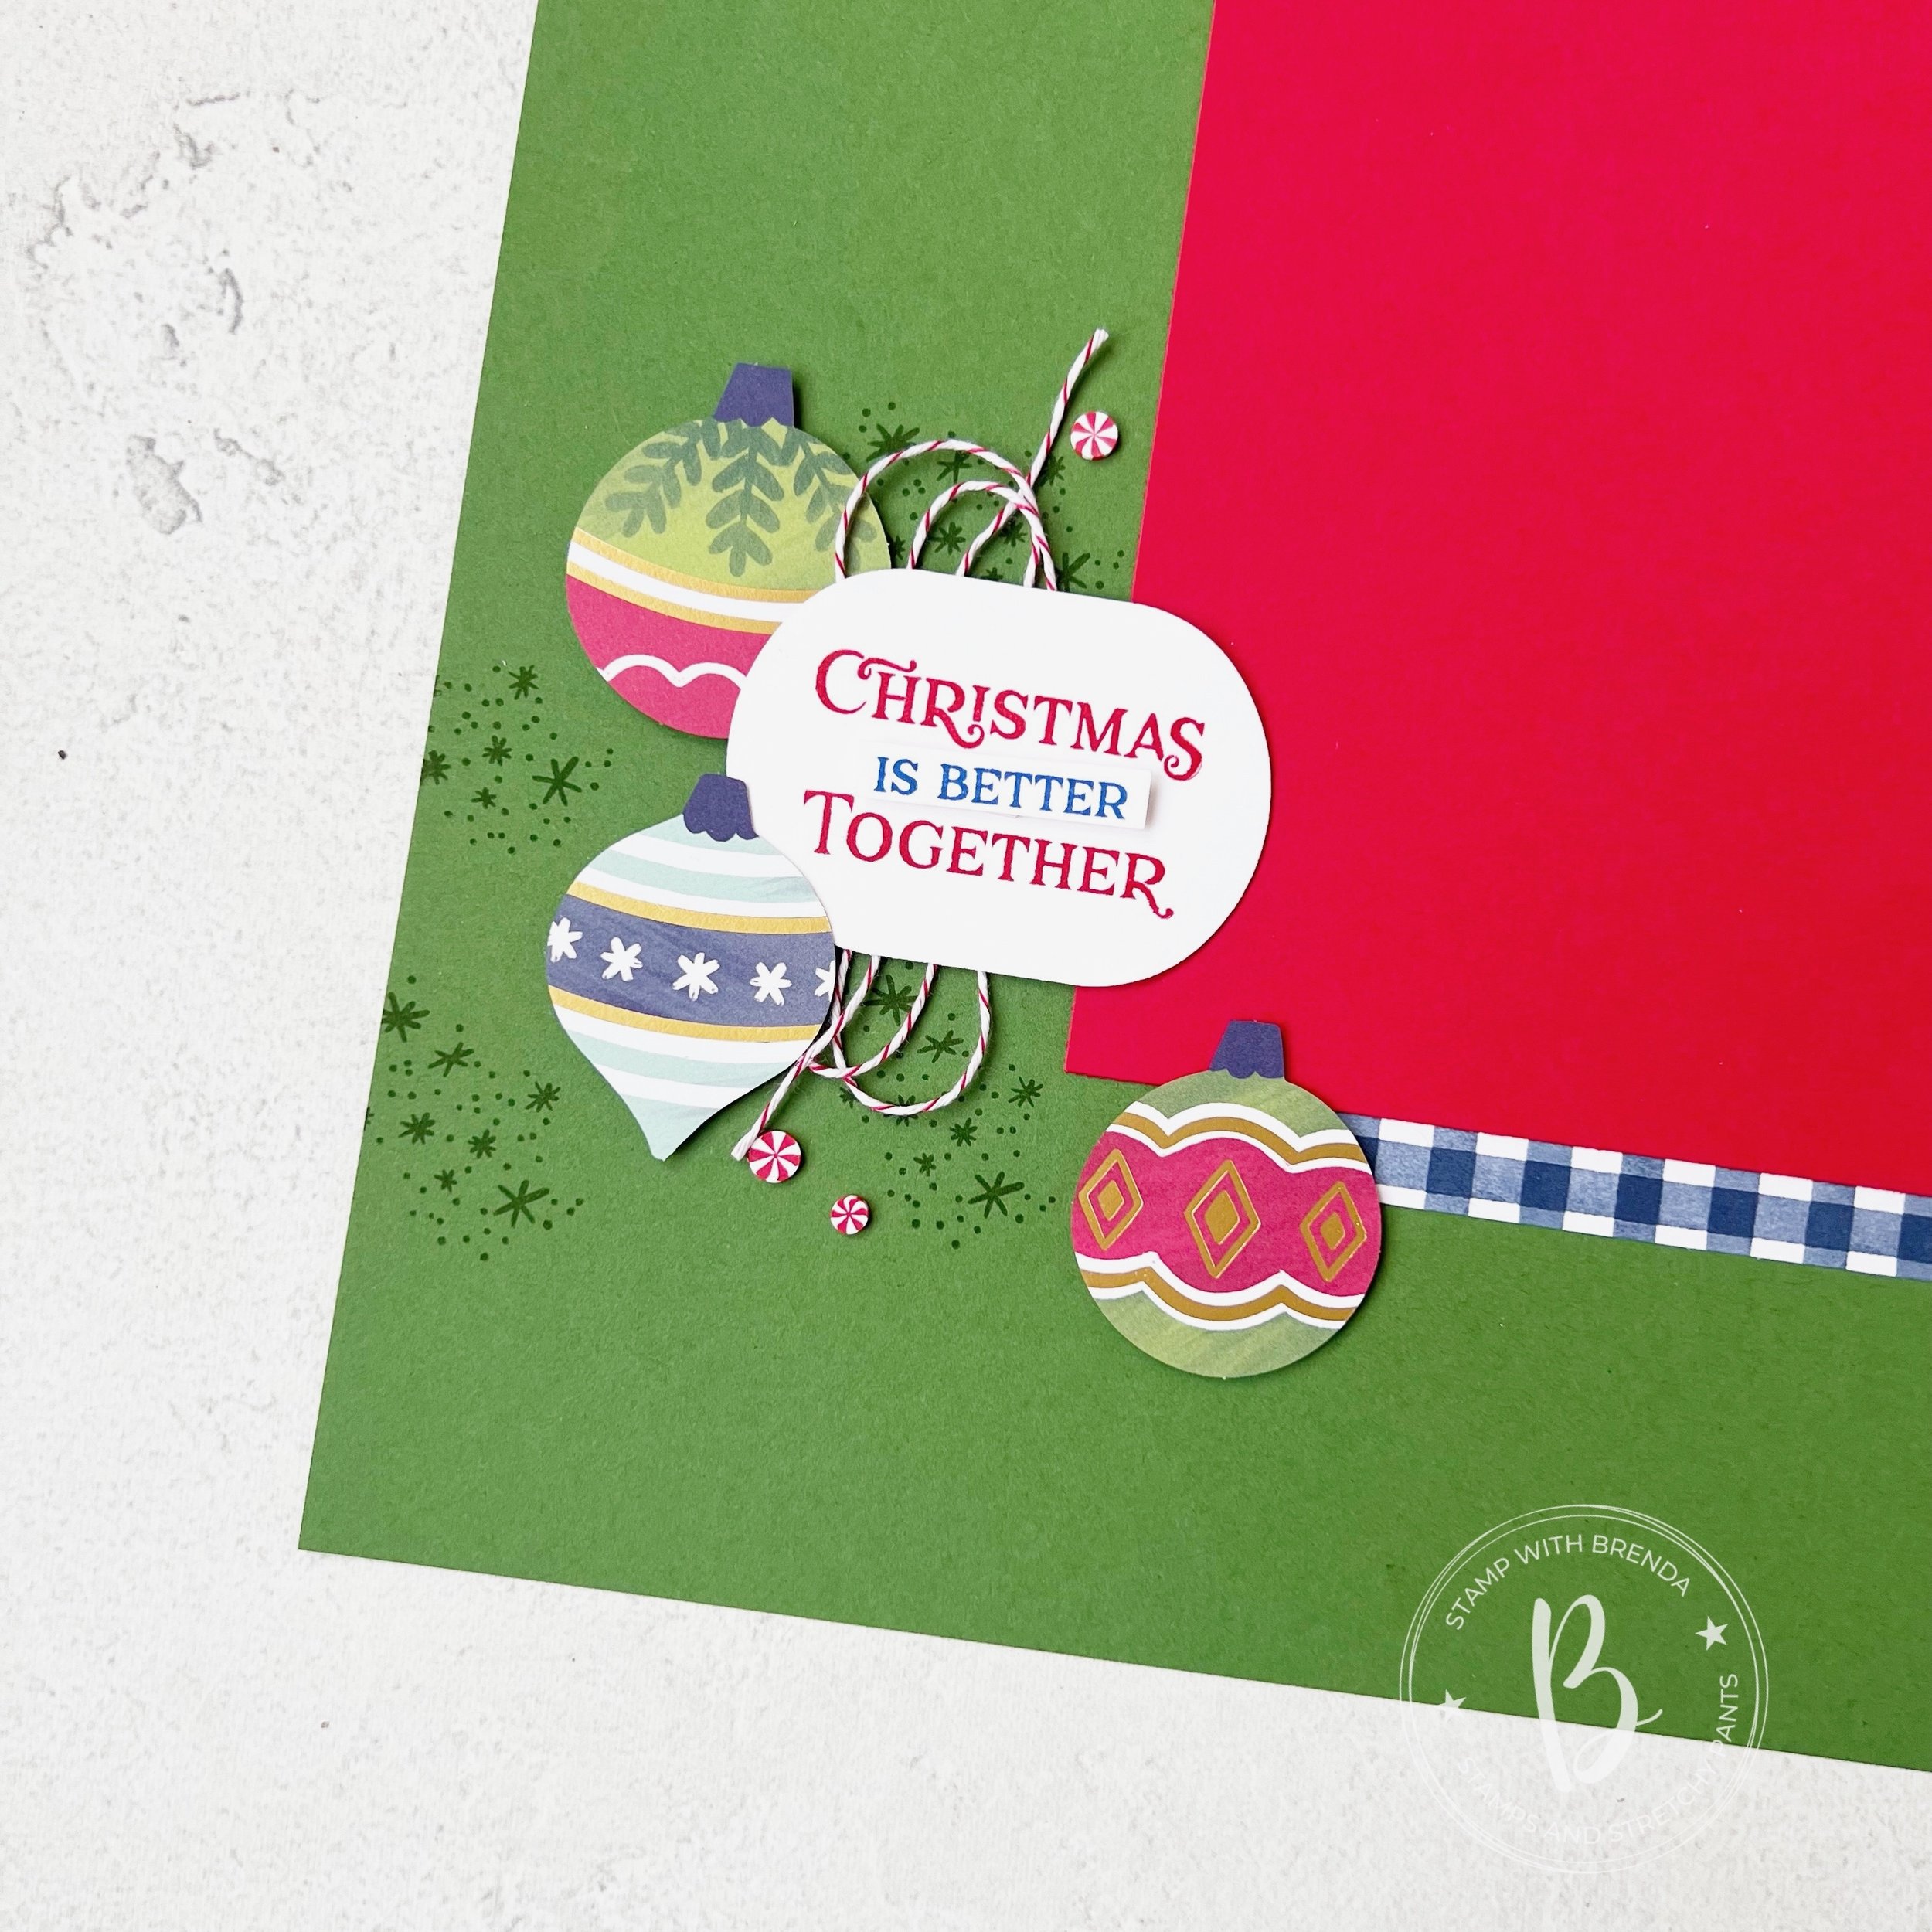
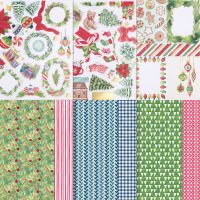
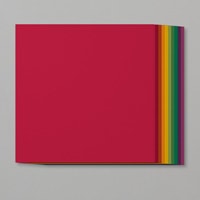
Many of the scrapbook pages I am going to share over our 12 Days, use the A Little Bit Festive Specialty Paper found in the Holiday Catalogue. This is such a fun and economical way to scrapbook as you can create so many different layouts with the pieces found in this collection.

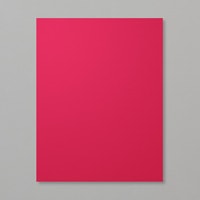
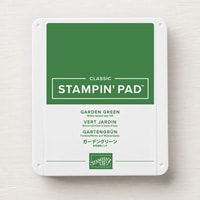
I started with a base of Garden Green (probably my favorite holiday green if I had to pick) and used a pieces of Real Red as a photo mat for a 5 x 7 picture.

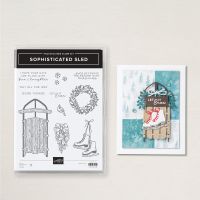
This paper collection has a bunch of shapes that you can pop out and a sheet of six 4 x6 cards. I chose the card with the ornaments and actually fussy cut these out for the top right corner of my page. I stamped the little snowflake image around and under the ornaments using the Happiest Day stamp set. The phrase ‘Good Tidings’ is from the Sophisticated Sled stamp set.

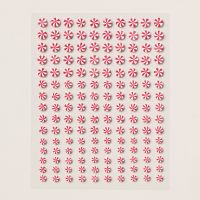
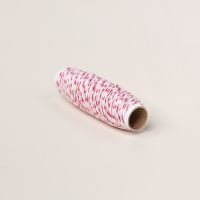
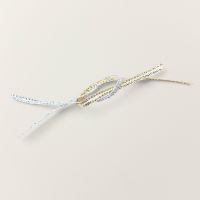
A little Real Red & White bakers twine and some Gold Ribbon through the Good Tidings tag and some Peppermint embellishments finished off this little section of my page.

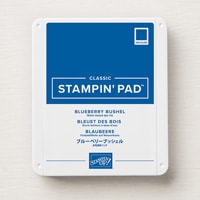
For the bottom section of my page, I stamped the same image again in the background and popped up the three ornaments from the collection. I added a bit of the Blueberry Bushel gingham pattern from the DSP underneath the top and bottom of my photo mat.

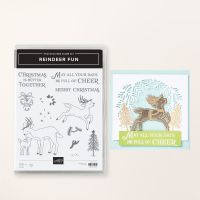
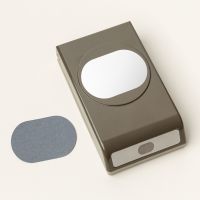
The sentiment is from the Reindeer Fun stamp set that I punched out with the Modern Oval Punch. A added a little more Red & White twine behind it and some more Peppermint Embellishments.

I hope this page inspires you to do some holiday memory keeping. Now its time to head over to Melanie’s blog to see what project she is kicking our 12 Days of Christmas off with! Click the image below to visit Mel’s Inky Fingers!

Please consider shopping my online store if this page has inspired you. Your support helps me continue to love what I do!

Color Fusers--April Color Challenge!

Hello friends and HAPPY APRIL! We are slowly inching our way to summer time and I just cannot wait. I do love spring, however, where I live I find we ‘endure’ spring because we get to experience all 4 seasons again in ONE! It is true!

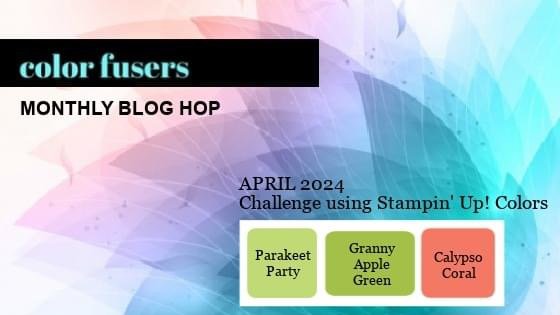
This month the Color Fusers team is designing with a soon to be retired In Color—Parakeet Party along with Granny Apple Green and Calypso Coral.

Now I will be honest here, this is a unique color combo and I wasn’t quite sure what direction things would go. However, I absolutely LOVE what I have designed with this color combination! I am curious to know what you think!

I started with a base of Parakeet Party and added two 6x6 pieces of coordinating DSP to act like a full 6 x 12 piece. I think you need to look really close to see that it is actually two pieces of DSP.

I chose a fun family photo of my daughter with all of her cousins from our annual lake trip. We take these pictures every year and I want to preserve these moments for my daughter. Paper legacy for the WIN!

The title ‘The Girls’ is cut out of Calypso Coral card stock using the Alphabet A la Mode Dies and mounted on the Foam Adhesive Sheets.

Now the lovely flowers on this page are from an upcoming new catalogue bundle called Layers of Beauty. It has coordinating masks and dies. I cannot stress enough how much I love this bundle. The masks make coloring with Blending Brushes so quick and easy. I used both Parakeet Party and Granny Apple on the leaves and only Calypso Coral on the roses.

I think it is amazing what you can achieve with these masks by just blending!

The photo is on a double photo mat and if you look close you can see the first layer was run through an embossing folder. I also added some Parakeet Ombre gems around the flowers too.

On the left side of the page I used the Taylor Made Tags dies to cut out some Granny Apple Green card stock and a card base from the Sweet Thoughts Memories & More Cards & Envelopes. I added some coordinating retired ribbon because #usethatstash!

Both of the stamped sentiments are from the Layers of Beauty stamp set. The teeny tiny tag die is from the coordinating die set and it worked so perfectly with the Taylor Made Tag dies.

I stamped the main floral image from the stamp set twice, using Pebbled Path ink. Its an amazing alternative to Memento which I sometimes feel is too harsh. Once of the images remained ‘as is’ and the other one I cut apart after die cutting it to add in various spots on my layout. I love how this stamp set allows you to modify it!

I am so happy with how this project turned out! This is definitely a color combination I probably wouldn’t have put together myself!

I cannot wait to see what the rest of the team has created using Parakeet Party, Granny Apple Green and Calypso Coral! Following behind me on the ‘hop’ is an amazing Canadian friend of mine Kim! I love her style and I know you will be amazed with what she has made.

You can always flip it and reverse it to head over to my other former Artisan teammate Tami!

I would love your feedback on what you think of my scrapbook page! And if I have inspired you, please consider shopping my online store so I can keep loving what I do!

You can shop current items below!

Be Inspired Blog Hop--Friends & Family!

Hello friends! I am so happy to be back after taking a little creative break last month! I could not resist this awesome theme of Friends & Family!

Do you ever find that you are using a color or color palette on repeat? For me the past few weeks its been Fresh Freesia—I mean, seriously, the color goes with EVERYTHING! I even found myself buying some Fresh Freesia inspired running shoes!

I decided to make a scrapbook page that features a picture of one of my fav friends who was up in Canada for a visit this past summer. The last time I saw her was when I went to visit right before Covid! I flew home to Canada on a Monday and on Wednesday they made the announcement that if you arrived back that day you would have to quarantine for 2 weeks. Doesn’t this all seem like a million years ago? So its been a LONG TIME coming for a visit and I am happy we got to have one this summer! So of course I had to make a scrapbook page for our Friends & Family themed blog hop this month!
This is my and my buddy Brett enjoying a coffee together and a canadian coffee house!

Was I the only one who stockpiled the Dandy Designs 12x12 paper? I absolutely LOVED the color palette of that paper collection and its perfect for scrapbooking!

I started with a Fresh Freesia pattern and then added a layer of Fresh Freesia card stock over top that is trimmed to 11 1/2 x 11 1/2. I had recently made a different card project with some triangles and that inspired me to cut our 6x6 DSP (here I used 4 colors from the Subtles Family—Highland Heather, Fresh Freesia, Petal Pink and Bubble Bath) into a triangle. Its such a cool way to layer DSP on a page and to think about using this paper size in your scrapbook designs!

I love the flowers in the Darling Details stamp set. I stamped them here with Pebbled Path ink (a nice alternative to Momento) and colored them with coordinating Stampin’ Blend colors. I used the Darling Details dies to cut out some floral images from the set with the Vellum Basics. I love to use vellum on scrapbooking projects. I decided to use Highland Heather as my photo mat as its the color furthest away from where I was placing my photo and it helps to tie in the DSP and the photo mat by anchoring them on each side of the layout.

You can find the sentiment “Fabulous Friend” in the Bold Bouquet stamp set. I trimmed it down from its original format and added a bit of Linen Thread behind. I added a few retired gems as well, because, Why Not? Why am I hoarding things…

One of my favorite dies is the heart from the Radiating Stitches Dies—these are an Online Exclusive. You definitely need #addtocart if you do not have these dies! The little tiny ‘love’ is from the Best Family Ever stamp set. It has such a great collection of descriptive words, it is really a set worth having in your long term collection.

‘Oh, Happy Day!’ can be found in the Kindest Expressions stamp set. This is a fabulous set for memory keeping because the sentiments are oversized which I love. I cut it out with the Stylish Shapes Dies—another craft room must have!

I hope this page encourages you to pull out some of your 6x6 paper in your favorite color combination or give this one a try:

Highland Heather, Fresh Freesia, Petal Pink and Bubble Bath!

I would love to see what you can come up with and I am excited to see what the rest of the team created with our them of Family & Friends. Make sure to ‘hop’ all the way around and please leave me a comment! I really look forward to them. And if I have inspired you to order anything, please consider using this button to shop with me!

Up next on the Hop we have my amazing former Artisan teammate Janneke! I know you will love what they have created!

I hope you visit everyone on our blog hop and please feel free to leave us some encouraging comments! I love to know what you think of my projects! And if you are not following me on Instagram, please do @stampwithbrenda

Hooray for the New Year!

Don’t you love when you find inspiration for a project? Especially if it comes from something you have already designed? I frequently get scrapbook page inspiration from cards that I have made and I have said several times that I look at a scrapbook page as a larger card canvas!


I made this super fun New Years card to mail out and I just LOVED the color combination of Petal Pink with Pool Party, Coastal Cabana etc.

I have this card sitting in my craft room and it inspired me to scrapbook some pictures we took shortly in the New Year with my son who was home from college.

This card uses the new Alphabet A La Mode dies which I really love and the Big Hooray stamp set!

I kept the color palette of the card the same for my scrapbook page and I think its such a fun color combo to celebrate kicking off a new year!

I started with a base of Whisper White 12x12 card stock and then added a piece of DSP from the Favored Flowers Sale a bration option. I really love the backside of the DSP in this collection. It is a lot less bold and this print was unassuming enough I could use it as a background layer for my scrapbook page.

My two pictures are on Coastal Cabana—on 2 occasions we were celebrating with my son! It was his 18th birthday back in November and my birthday at the start of January, we went out for a couple of dinners to celebrate.

I decided to keep the ‘Hooray’ a solid color (Bermuday Bay) versus the ombre effect I had on my card. I hand trimmed around it and used it to kick off the phrase I wanted to run across my page. You can find the ‘January’ stamp set in the Days to Remember stamp set—which everyone should own. In all the years I have been stamping, dating/date recording stamp sets, come around very infrequently so I keep them all in my permanent stamp collection. Its also cut out with a very old punch, one that I will also never ever part with.

2023 is die cut with the Alphabet A la Mode dies using Gold Foil Paper and the Foam Adhesive Sheets. I just love using these foam sheets with alphabet dies to pop them up off of the page.


The rest of the sentiments are from a previous Sale a bration set which I will also keep for all of its amazing potential! Some sets just make my permanent shelf!

I also added a few Stitched Star die cut shapes as I LOVE stars! These dies are some that I also will probably never part with! And I decided to keep the accents gold as well so I added in some Elegant Twine, Gold Shimmer Ribbon and new Pastel Adhesive Backed Sequins.

I hope this page inspires you to look at your cards in a new way and realize how they can spark an idea for a scrapbook page.

Wishing everyone all the #goodstuff2023

Scrapbooking with Memories & More cards!

If you are looking for an easy way to start scrapbooking, I would suggest Memories & More cards! I have several sets that I collect from every catalogue so my project share today is actually using a retired set of cards Flowers for Every Season. I do offer lots of classes featuring the Memories & More cards as they are just so user friendly!

Stampin’ Fancy Friday this month is featuring projects made with Memories & More cards so I knew right away I wanted to create a fun scrapbook page of a recent ‘pass through’ trip to Jasper, AB Canada with my friends Jessica. This was a nightly pit stop for us on our way to Vancouver for On Stage back in November!

What I love about Memories & More cards is that they have so many great images, sentiments or phrases that you can easily cut out. Often there are stickers and other fun elements that you can add onto your projects. You can stop there or you can add in other things from your craft supply.

For this page I started with a base of Crumb Cake 12x12 and I added a layer of Misty Moonlight behind my picture as a photo mat.

One of my favorite things to do with the Memories & More cards is cut them apart either with paper snips or with dies. The ‘Winter Wishes’ sentiment came from one of that cards that I used the Layering Circle Dies to cut out. ‘It’s Cold Outside’ and ‘Yay for Today’ are cut from another card that was full of different sentiments. I also trimmed out the flower tucked under the main sentiment from a card as well. See! So many options!

I jazzed up this page with some background stamping from Joyful Flurry.

TOP TIP: For background stamping with images, I like to add a bunch of stamps to a large block to stamp at once! This is an efficient way to stamp a large area!

I added some die cut snowflakes from the Celebrate Tags Dies and some of our new Pastel Adhesive Backed Sequins. I am also a hoarder of our gold and silver Metallic Thread that retired a few years ago so I added some on this page too. It is definitely a true mash up of stuff on this scrapbook page!

I like to use the cards to highlight my photo so you can see how I used them as some fun layers behind my photo. You can cut them apart and trick the eye into thinking you are using a much larger piece of paper than you really are. This really helps stretch the Memories & More cards even further!

I hope this project encourages you to look at some past or retired supplies you might have and give them some new life by pairing them up with some more current items. Or at the vary least you are inspired to create a scrapbook page.

Make sure you follow us @stampinfancyfriday on Instagram and Facebook. Each month Artisan Alumni members create with a different theme and share across social media!


Thanks for popping by my blog today! If you are interested in scrapbooking make sure to check out my gallery! I recently added 46 page layouts so there is alot of scrapbooking inspiration for you!

And if you create something that I have inspired you with, please tag me! I would love to see your take!