Hooray for the New Year!

Don’t you love when you find inspiration for a project? Especially if it comes from something you have already designed? I frequently get scrapbook page inspiration from cards that I have made and I have said several times that I look at a scrapbook page as a larger card canvas!


I made this super fun New Years card to mail out and I just LOVED the color combination of Petal Pink with Pool Party, Coastal Cabana etc.

I have this card sitting in my craft room and it inspired me to scrapbook some pictures we took shortly in the New Year with my son who was home from college.

This card uses the new Alphabet A La Mode dies which I really love and the Big Hooray stamp set!

I kept the color palette of the card the same for my scrapbook page and I think its such a fun color combo to celebrate kicking off a new year!

I started with a base of Whisper White 12x12 card stock and then added a piece of DSP from the Favored Flowers Sale a bration option. I really love the backside of the DSP in this collection. It is a lot less bold and this print was unassuming enough I could use it as a background layer for my scrapbook page.

My two pictures are on Coastal Cabana—on 2 occasions we were celebrating with my son! It was his 18th birthday back in November and my birthday at the start of January, we went out for a couple of dinners to celebrate.

I decided to keep the ‘Hooray’ a solid color (Bermuday Bay) versus the ombre effect I had on my card. I hand trimmed around it and used it to kick off the phrase I wanted to run across my page. You can find the ‘January’ stamp set in the Days to Remember stamp set—which everyone should own. In all the years I have been stamping, dating/date recording stamp sets, come around very infrequently so I keep them all in my permanent stamp collection. Its also cut out with a very old punch, one that I will also never ever part with.

2023 is die cut with the Alphabet A la Mode dies using Gold Foil Paper and the Foam Adhesive Sheets. I just love using these foam sheets with alphabet dies to pop them up off of the page.


The rest of the sentiments are from a previous Sale a bration set which I will also keep for all of its amazing potential! Some sets just make my permanent shelf!

I also added a few Stitched Star die cut shapes as I LOVE stars! These dies are some that I also will probably never part with! And I decided to keep the accents gold as well so I added in some Elegant Twine, Gold Shimmer Ribbon and new Pastel Adhesive Backed Sequins.

I hope this page inspires you to look at your cards in a new way and realize how they can spark an idea for a scrapbook page.

Wishing everyone all the #goodstuff2023

12 Days of Christmas--Day 12

For my final 12 Days of Christmas project I want to share a mini album with you. The cover of this mini album was actually one of my Artisan Design Team projects shared a couple months back. I decided to complete this album and offer it as a class! It is a pretty simple album idea that I have used repeatedly for different seasons and events!

The base of this album is an 8 1/2 x 11, cut in two pieces. I used 2 sheets to create this album and after it was all decorated I added two binder rings (found at any office supply store) with a variety of ribbons tied around the top ring. I have made several versions of this album, either designed to be horizontal (like this one) or vertical (to stand up on a shelf or table).

The base of this album is Smoky Slate which I thought was a nice neutral to pair up with the Santa Express Designer Series Paper.

I added a mix of patterns on the left side of the album along with a strip of Poppy Parade card stock to define an edge.

On the right side I stamped ‘Ho Ho Ho’ in Smoky Slate and added a DSP tag from the Santa Express paper along with the sentiments from the Santa’s Delivery stamp set. A bit of Iridescent Trim through the top completed the look of the tag. I used some of the Adhesive Backed Stars as a fun accent embellishment on the front as well.

This page is the inside of the cover. Now, do you ever have a boo boo? I do, I dropped an ink pad in the top left of this page and since I had already completed the front cover and didn’t want to start again, I just covered it with some DSP, hahaha! Sometimes you gotta do what you gotta do!

This album is pretty simple because I knew that I wanted kids in my studio to make it and my youngest stamper was 6! She did an amazing job. You can step up these pages if you like, but if not I think this is an all ages project.

Merry Christmas is cut from a retired punch and I added some Sweet Sorbet Bakers Twine and a Wonderful Snowflake behind it as an accent. The Mint Macaron scalloped border is from the Hand Penned Dies. I actually never put this die away, it just lives permanently on my magnet board beside my Stamp Cut & Emboss Machine.

I love the Joyful Flurry stamp set, especially when you can mount several stamps on a large block and stamp all at once, which is what I did for the boarder. I added a couple die cut snowflakes from the dies and the “let is snow” sentiment.

The next two pages feature the Spruced Up Dies and snowflakes once again. “Snowflake Wishes…” is a sentiment from the retired Snowflake Wishes stamp set/bundle. I will never part with it as I absolutely LOVE this sentiment!

And finally the last two pages in this easy mini album. Behind the “Falala" which is from the Framed & Festive stamp set, I added the other part of the trees from the Spruced Up Dies. I love how you get 2 trees cut at once with this set. Such a time saver and brilliant. I added more DSP and some Adhesive Backed Stars as well.

The “Ho Ho Ho” page is the last page in the book and the sentiment is from the Santa’s Delivery stamp set. I added some Basic White Bakers Twine behind the sentiment and on top of another Wonderful Snowflake.

I hope this quick and easy album inspires you to create your own! I have made them for all seasons and they are suitable for any age group!

I can’t wait to see what Melanie’s final project is today! THANK YOU SO MUCH for hopping along with us as we shared 12 Days of Christmas projects. I covered cards, treats, scrapbooking and a mini album within my 12 Days so I hope you enjoyed the variety—its the spice of life after all!


Dad--You're the Best!

This week I am going to be showcasing THREE awesome projects for the dads in your life! I wanted to share them early so you can use them for inspiration! So check back on Wednesday and Friday to catch all 3!

Up first is this awesome flip album that features pictures with Dad! You can use past photos or take some on Father’s Day to add to the album afterwards!

final 61.jpg

This is a fun Flip style album that I put together as a class. I always love to create a project that is kid friendly with a little help from mom.

Each page in the album is HALF of an 8 1/2 x 11 piece of Crumb Cake card stock. I used a total of 3 half sheets to make this which will give you 6 design surfaces or sides. You will need to stack them together and punch a hole to add the binder rings (available at any office supply store).

I used the Well Suited DSP as my color palette. I actually quite like this masculine themed designer paper! I cut ‘Dad’ using some retired alphabet dies as I never get rid of our alphabet offerings. I actually wish we would bring back a larger set again! Because I am an avid scrapbooker I do pull these out quick often. The Balmy Blue heart is from the Kiss Punch. Let’s Celebrate You can be found in the stamp set Itty Bitty Birthdays.

final (1) 33.jpg

Each page is designed to add a vertical 4 x 6 photo (the ‘selfie’ direction of most of our pictures). I added a photo mat on each page as well and then a few fun details. This page uses sentiments from the Thanks for the Laughs and Handsomely Suited stamp sets. The main sentiment is die cut using the Stitched So Sweetly dies.

final (1) 34.jpg

I also added in the Playful Alphabets dies with the Foam Adhesive Sheets (best combo ever!) and the sentiment on this page is from A Good Man and is a repeating sentiment throughout the album.

final 62.jpg

I am a big fan of our twine as it adds such a nice accent behind sentiments and I love that there is coordinating twine with this suite. I wanted to bring in a lighter touch to this page so I added hints of Balmy Blue with the top sentiment and by tucking a half circle under the bottom one.

The “You’re the Best” is from the A Good Man stamp set and the bottom one is from Handsomely Suited.

final 63.jpg

I thought adding in a the sentiment “We must be Related” was perfect for a page with a dad and his kid! I love the Grand Kid stamp set and am so happy it carried over into our new catalogue. It should not be overlooked, it has some awesome sentiments in it. Some retired twine also worked well along with our Matte Black dots. So happy they are sticking around too!

final 60.jpg

And of course we need to finish off this album with “You are Amazing” as Dad really is right? I love this sentiment and you can find it in the You are Amazing stamp set that coordinates with the project kit. I added a strip of DSP and some black twine from our twine combo package and some recently retired ribbon.

I love this little Flip album as it stands up fairly easy and makes a fun addition to Dad’s desk! Make sure to come back and visit on Wednesday so you can see the next project I created!

Flip & Pull Mini Album Project

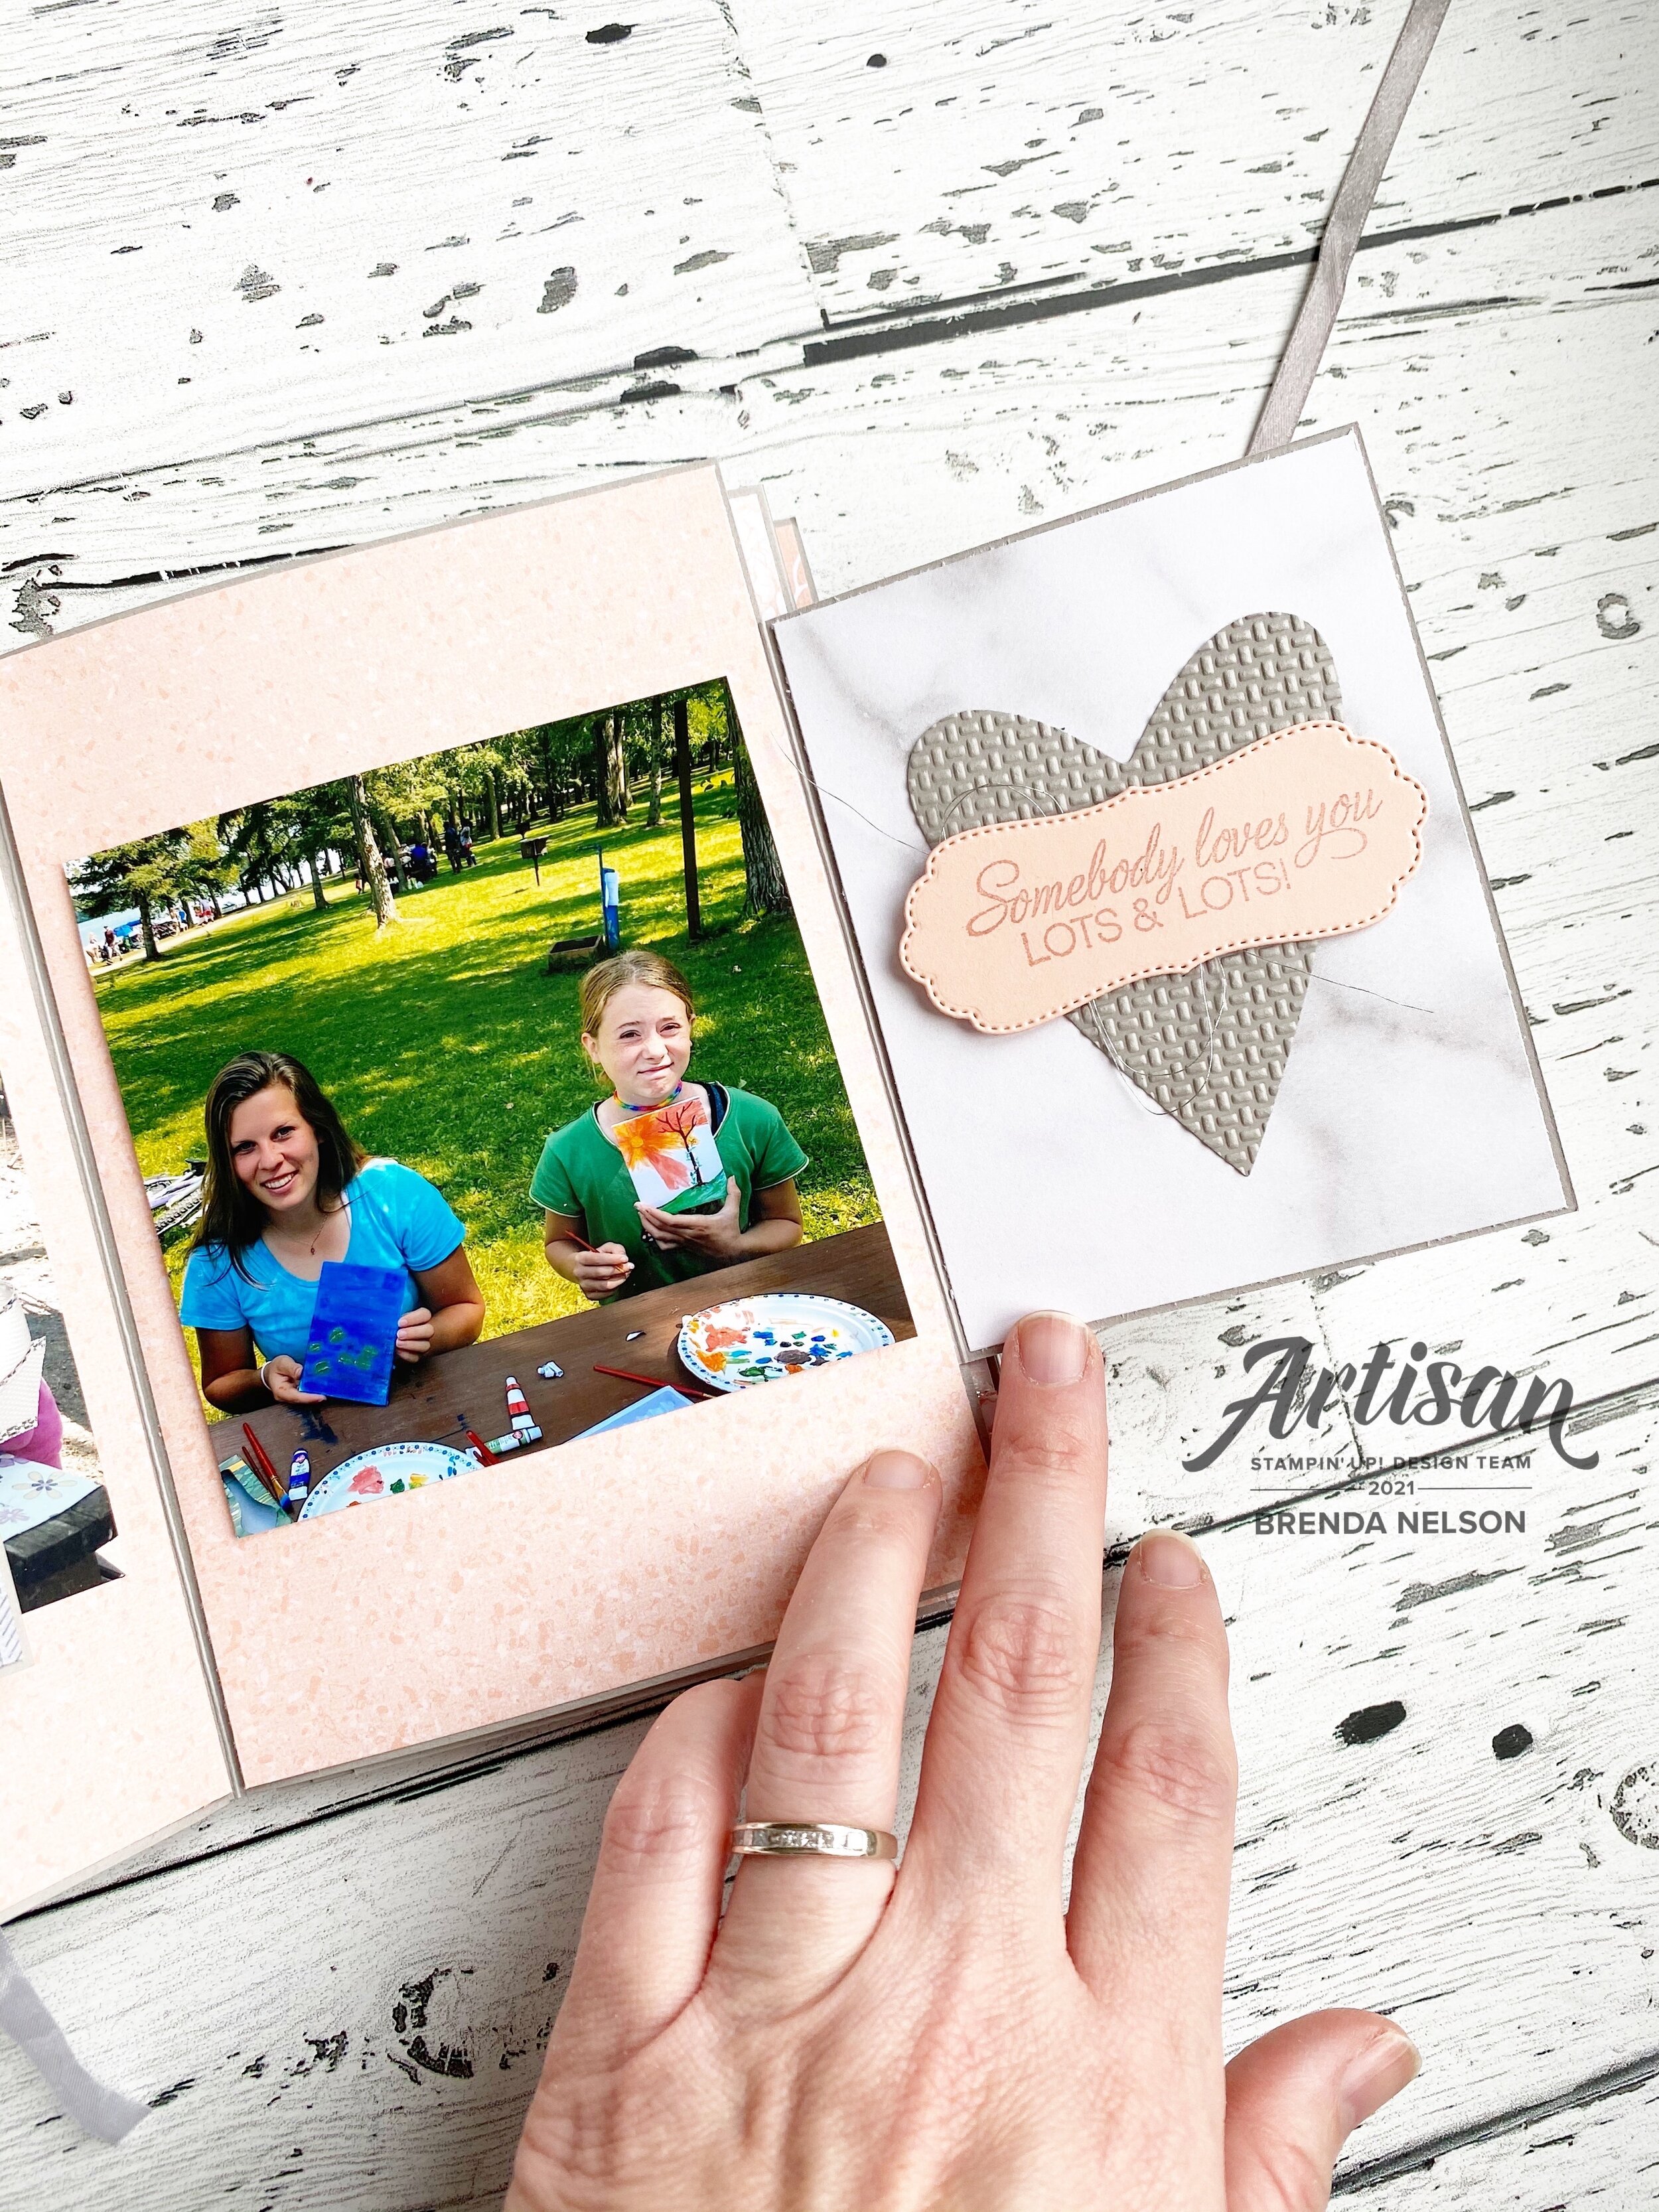
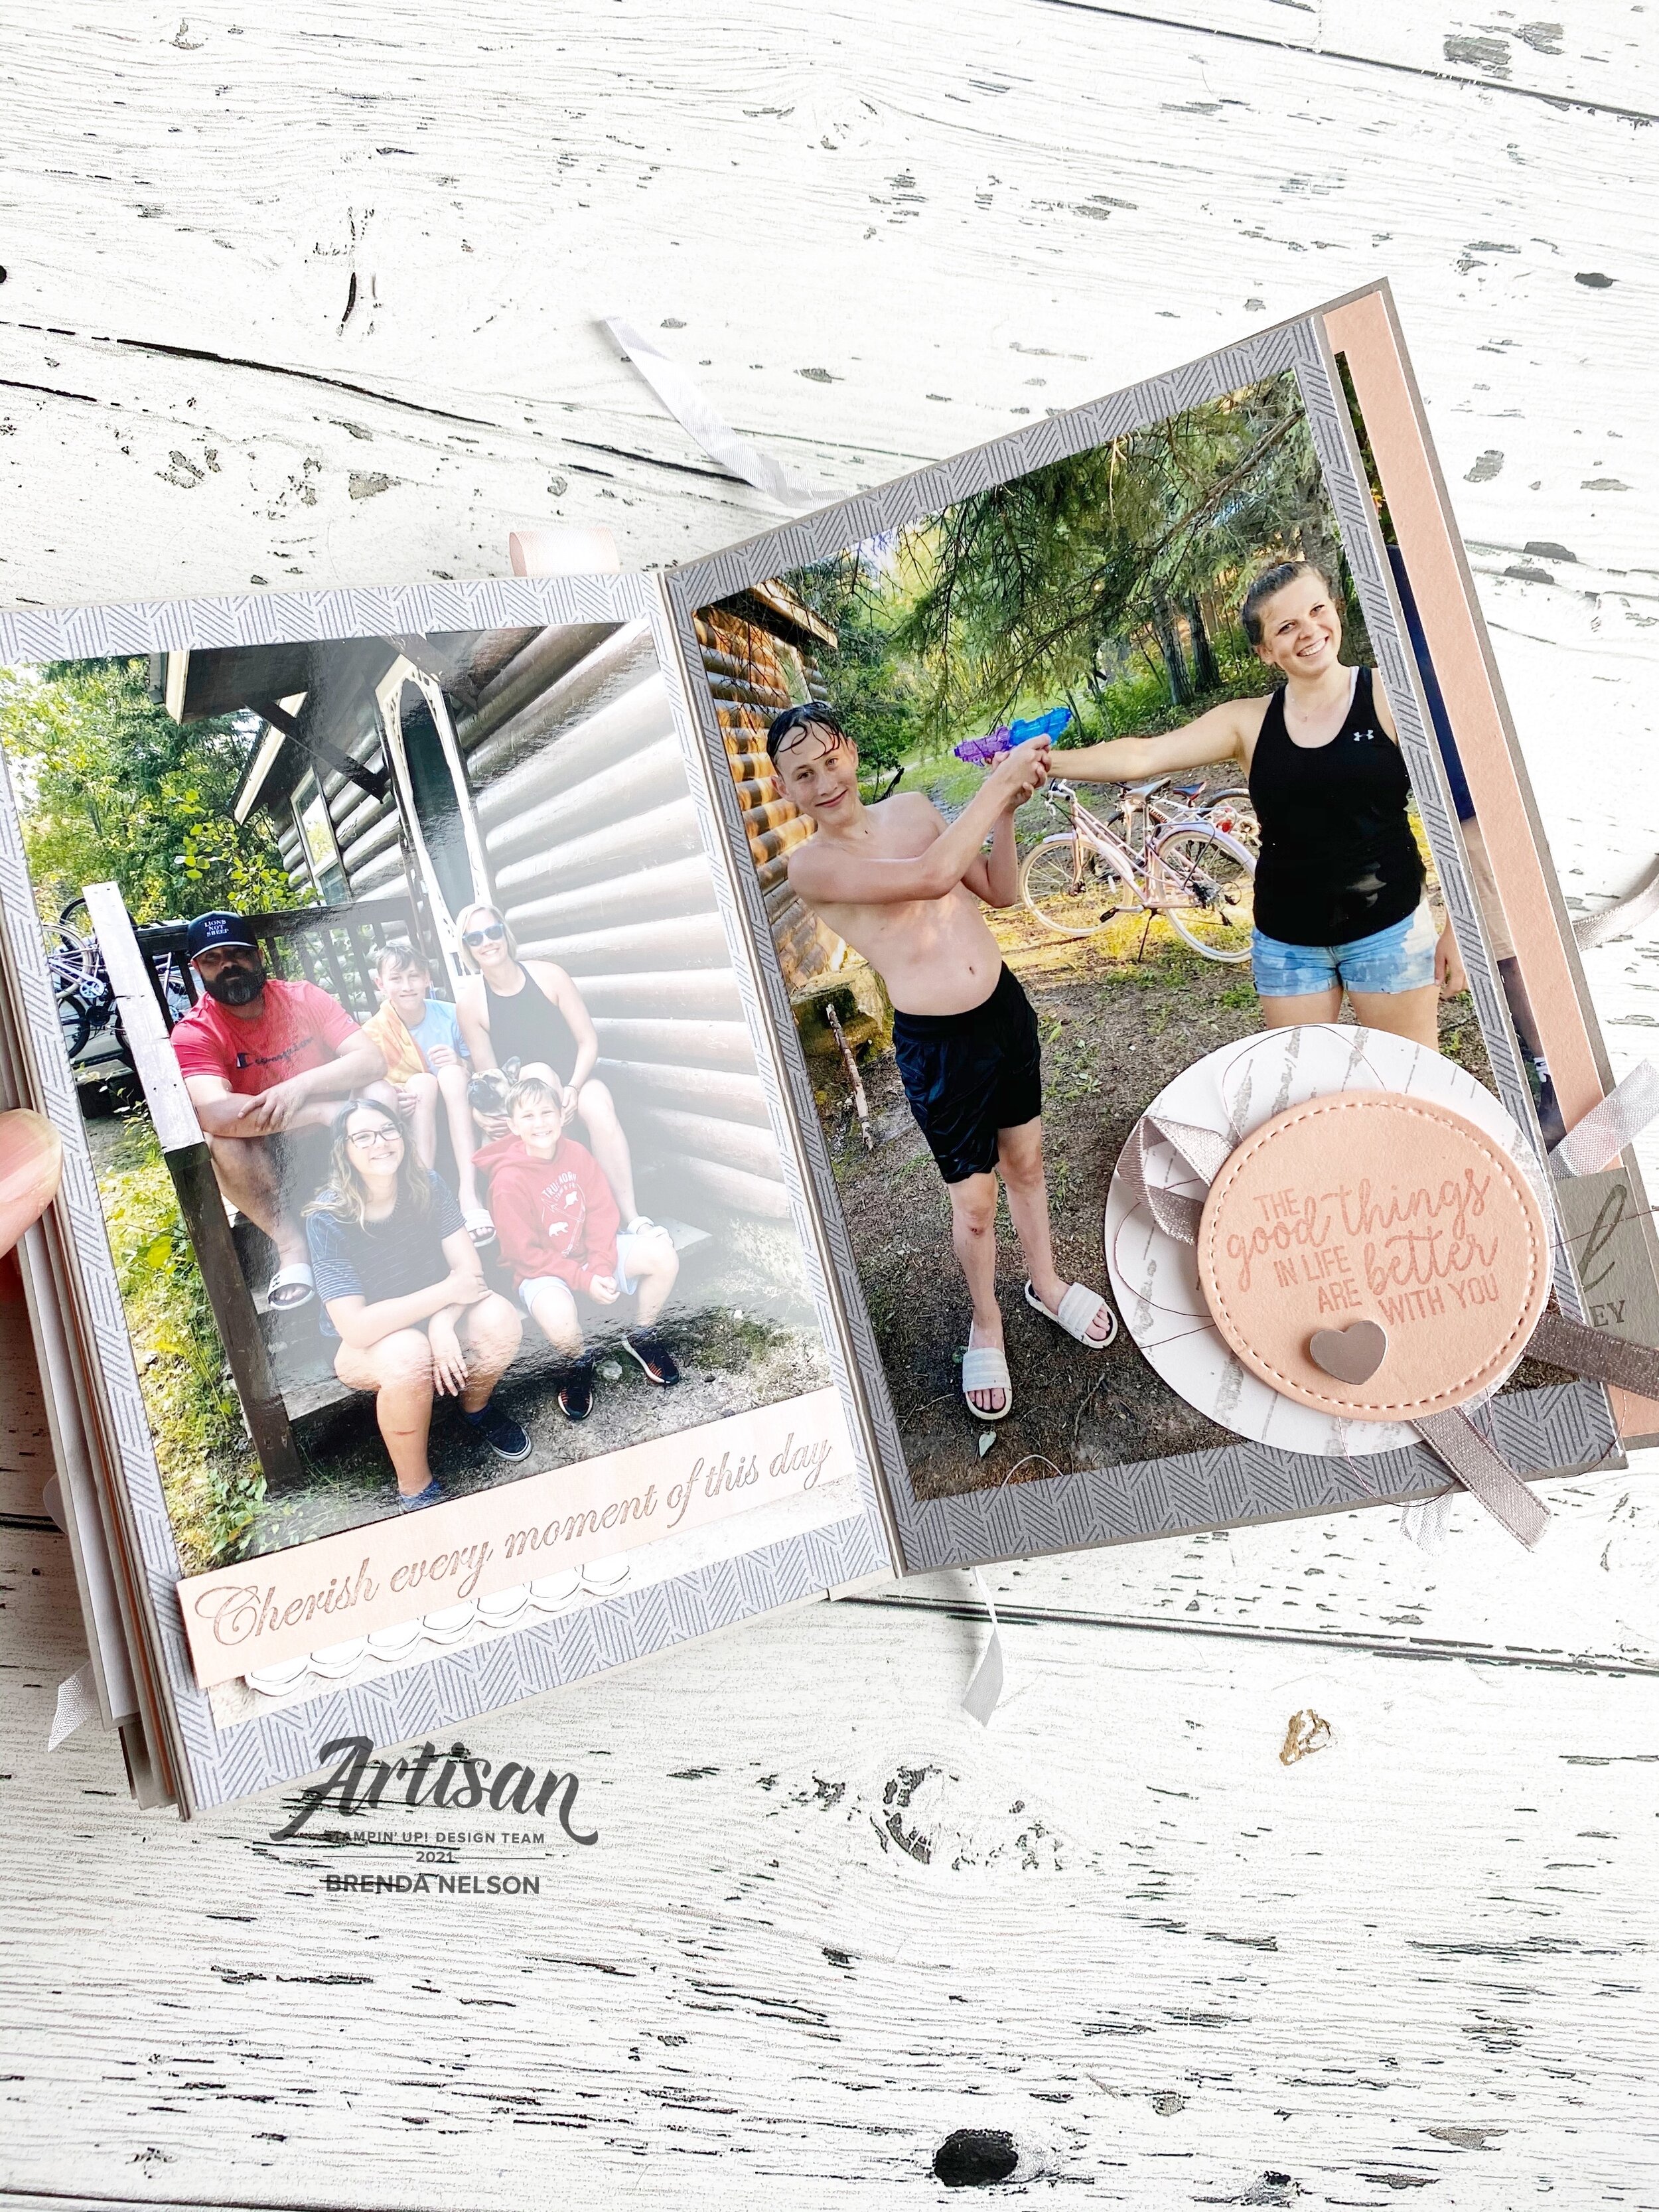
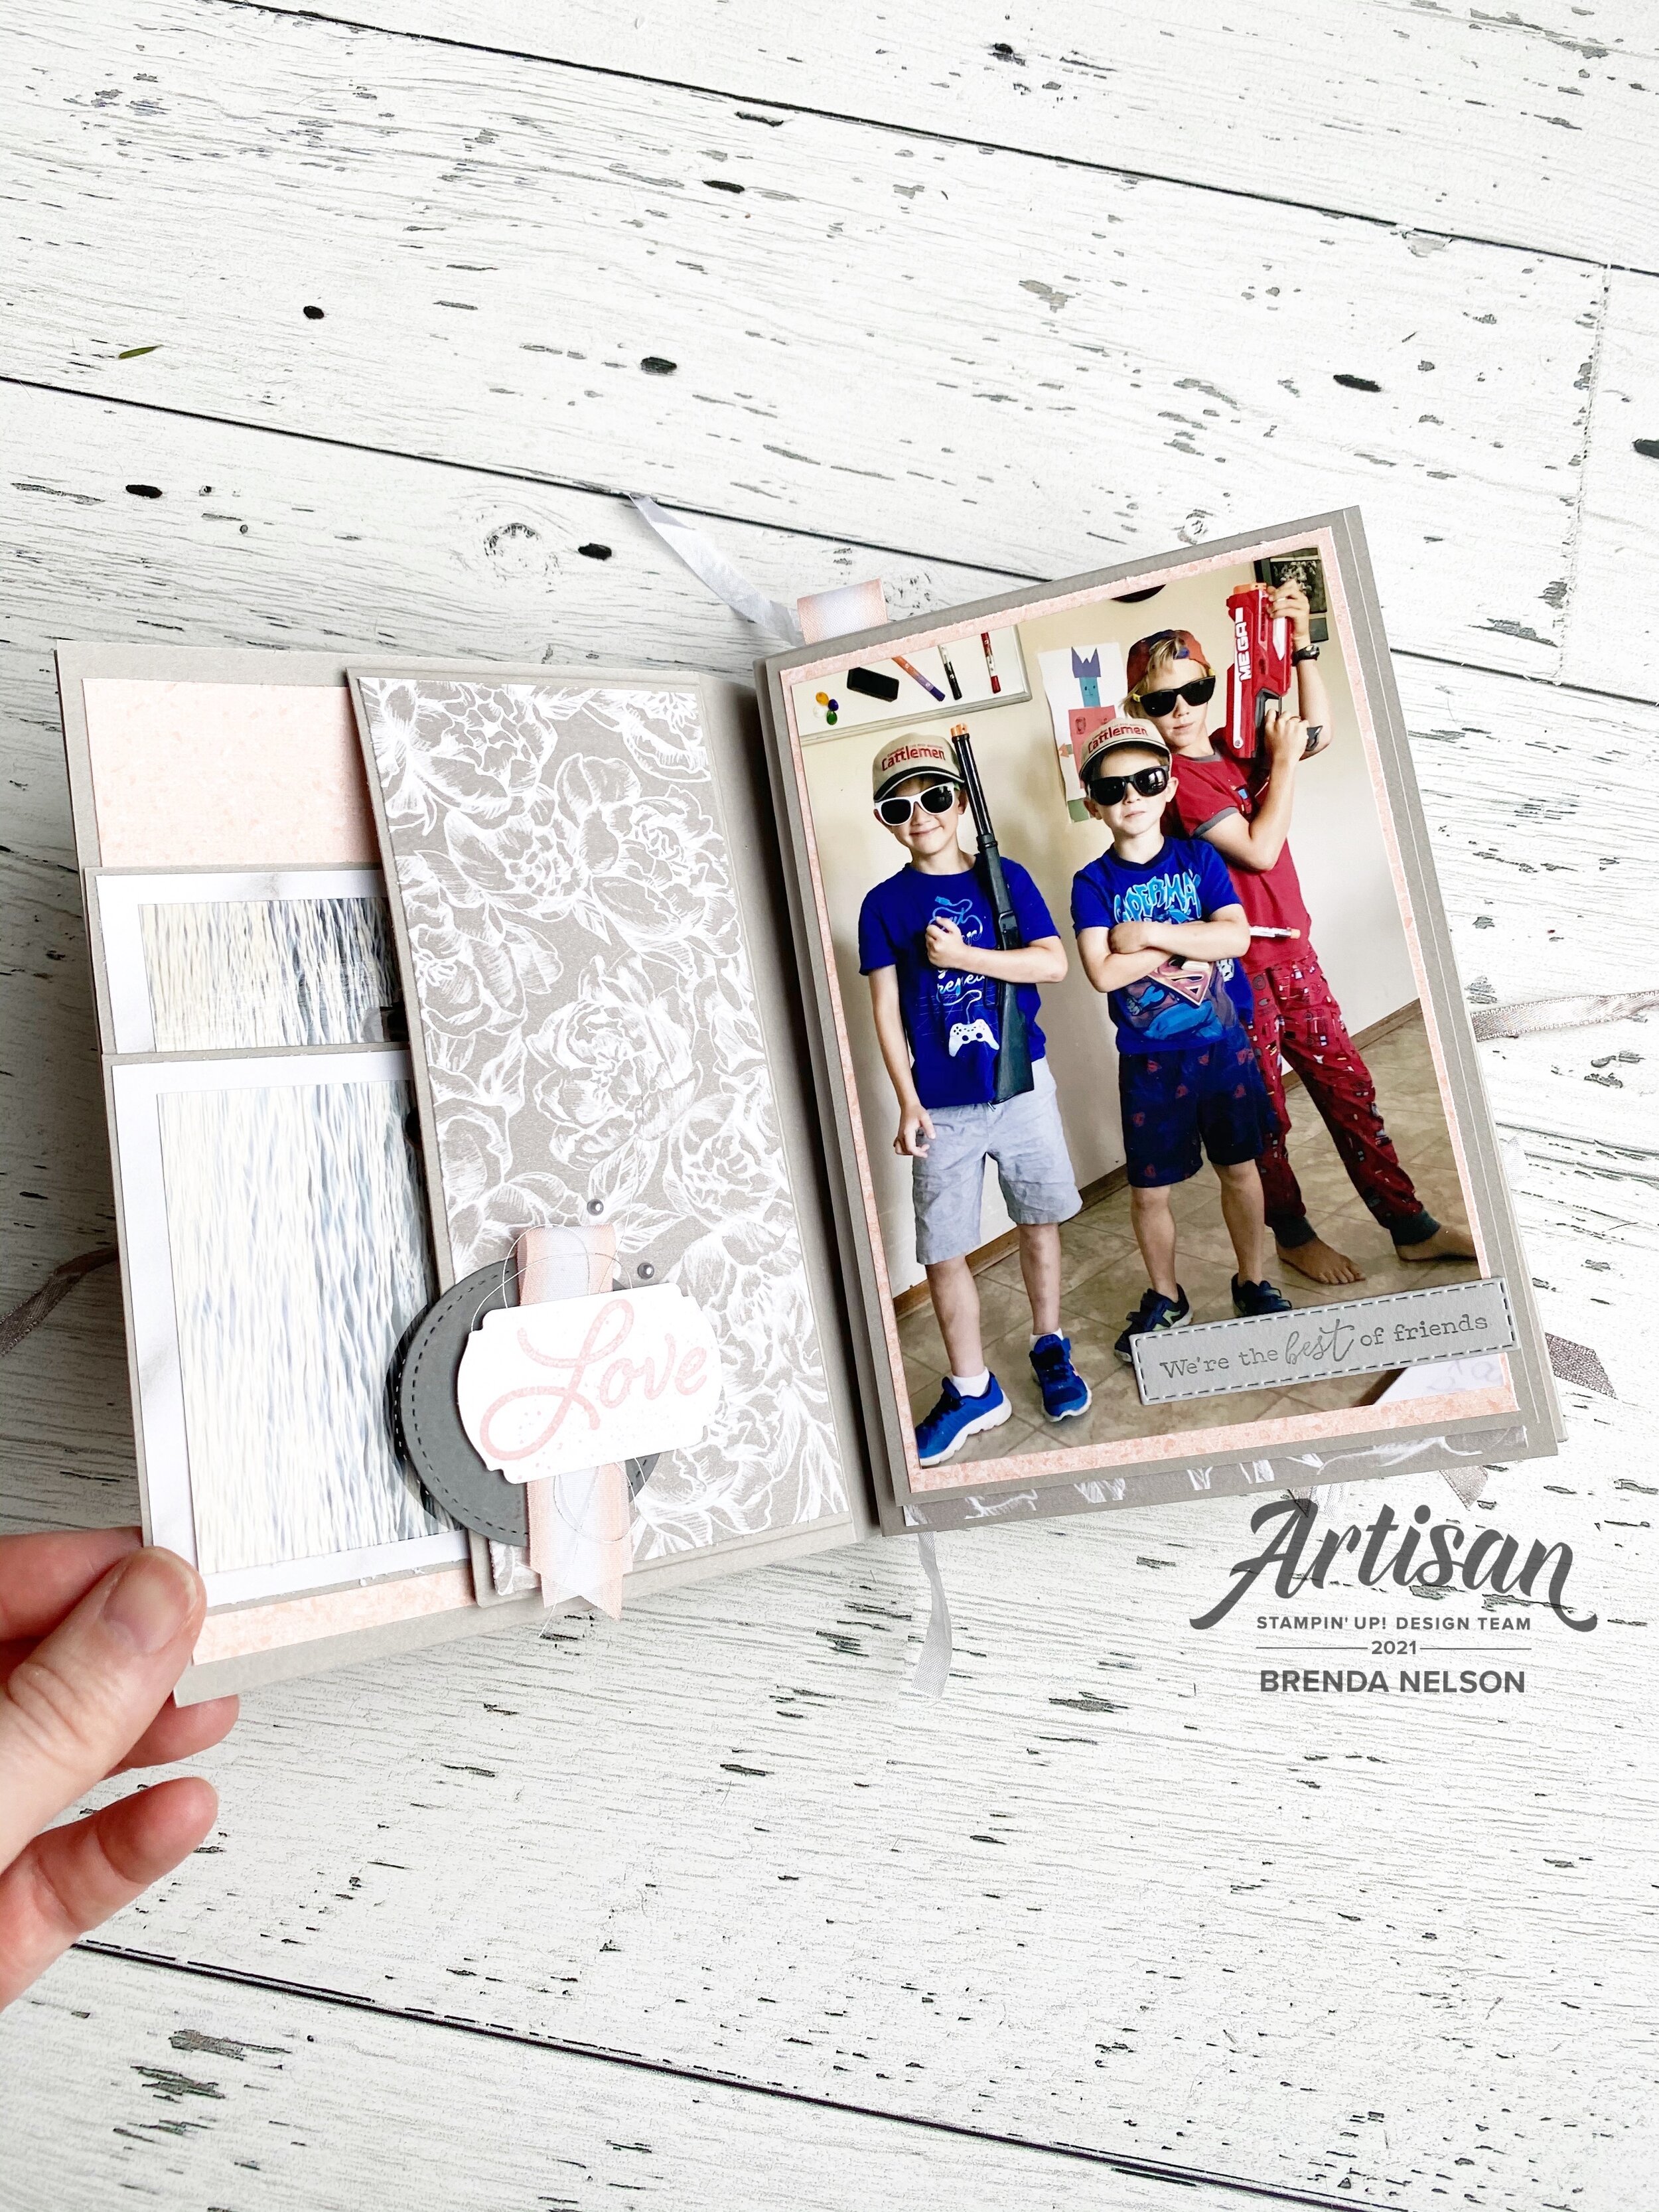
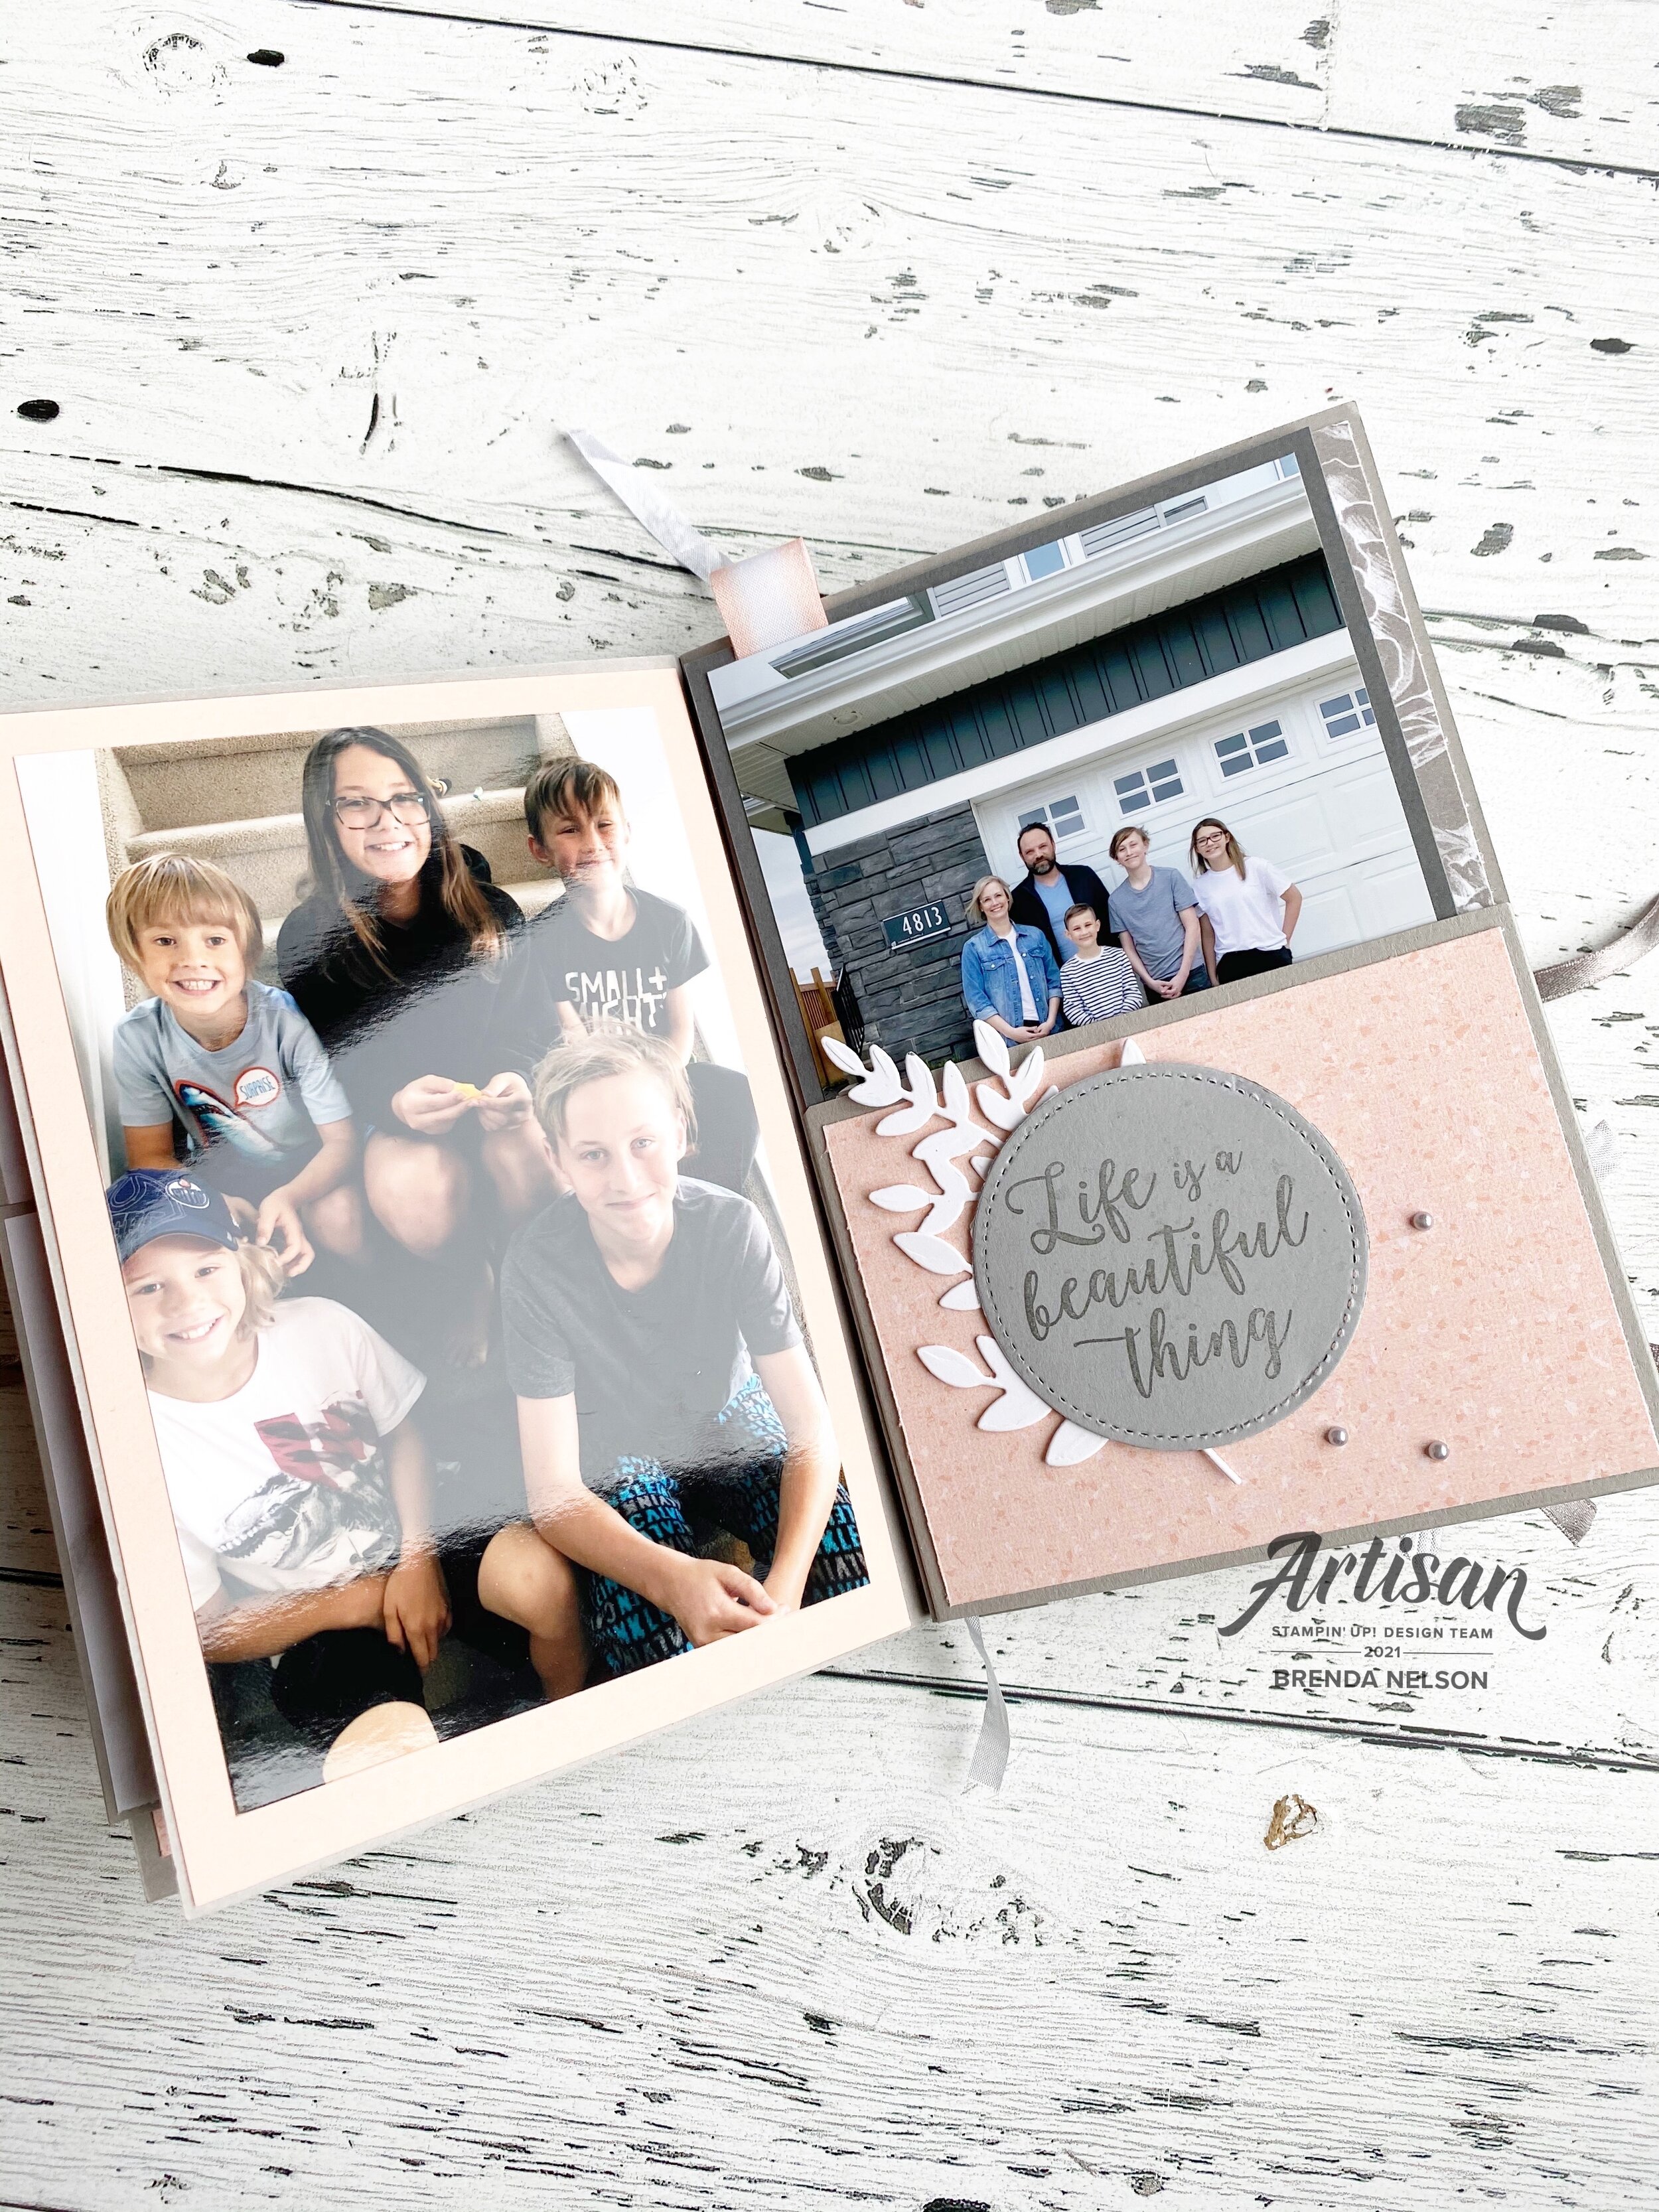
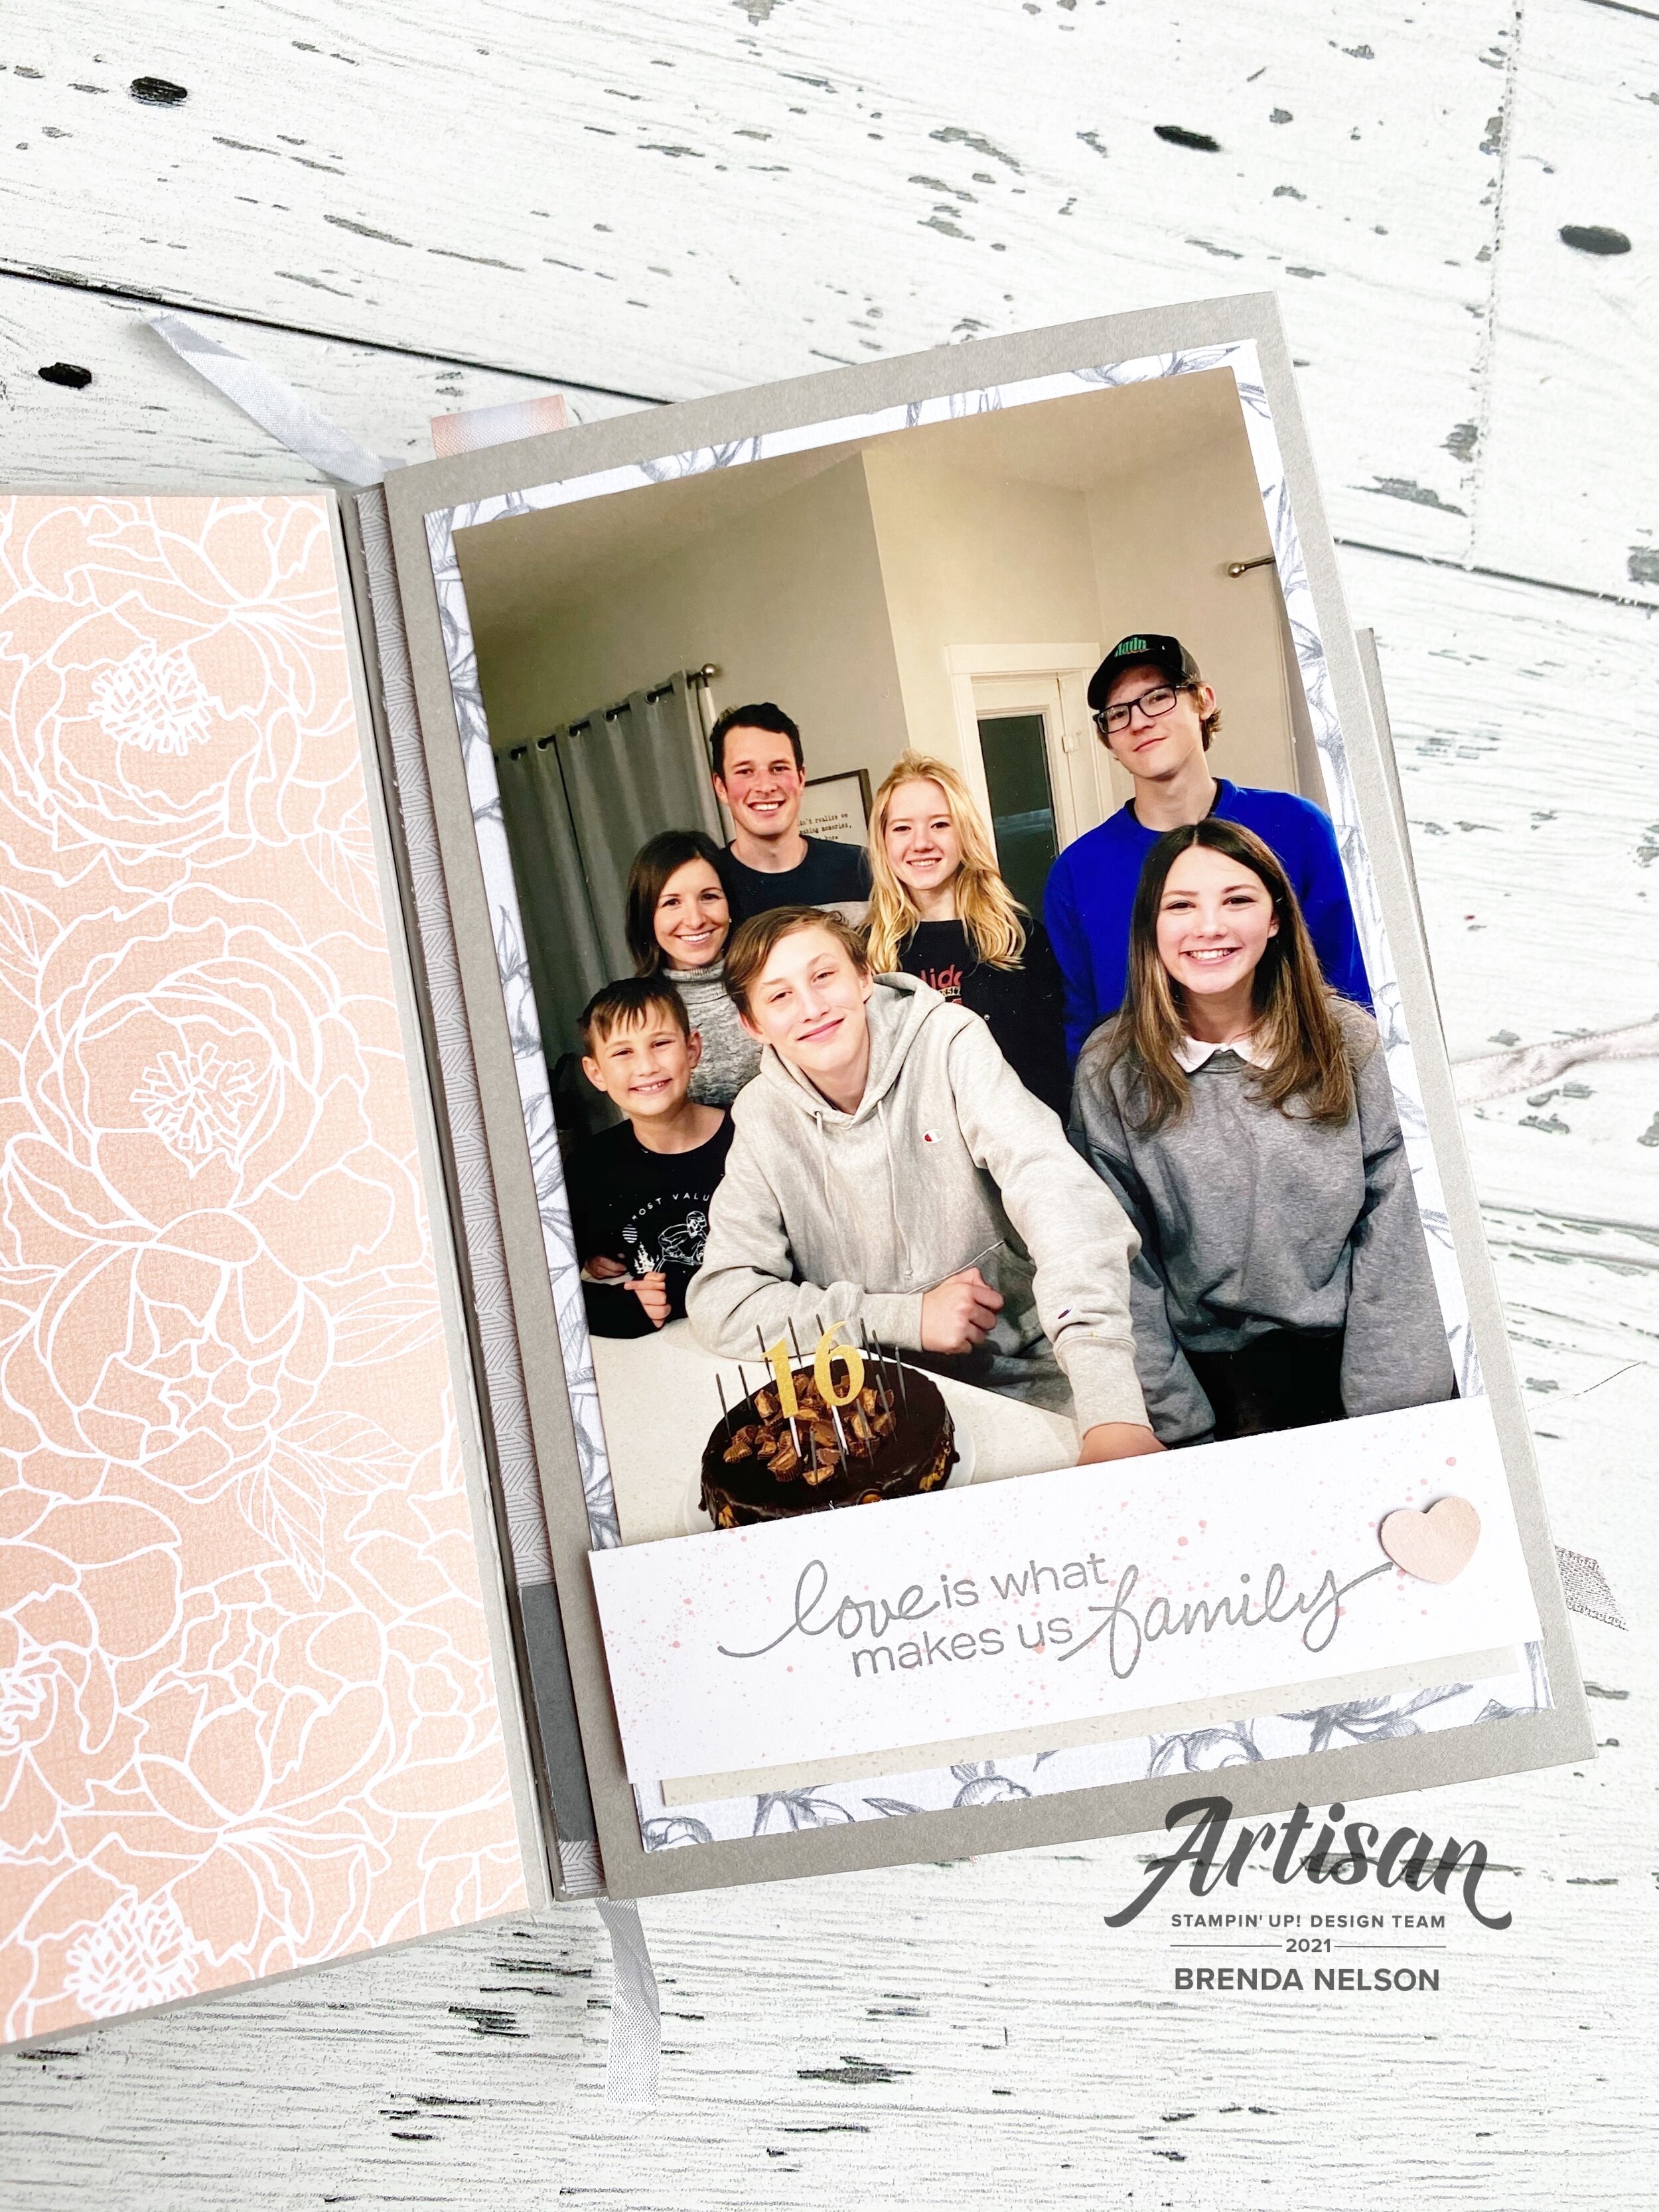
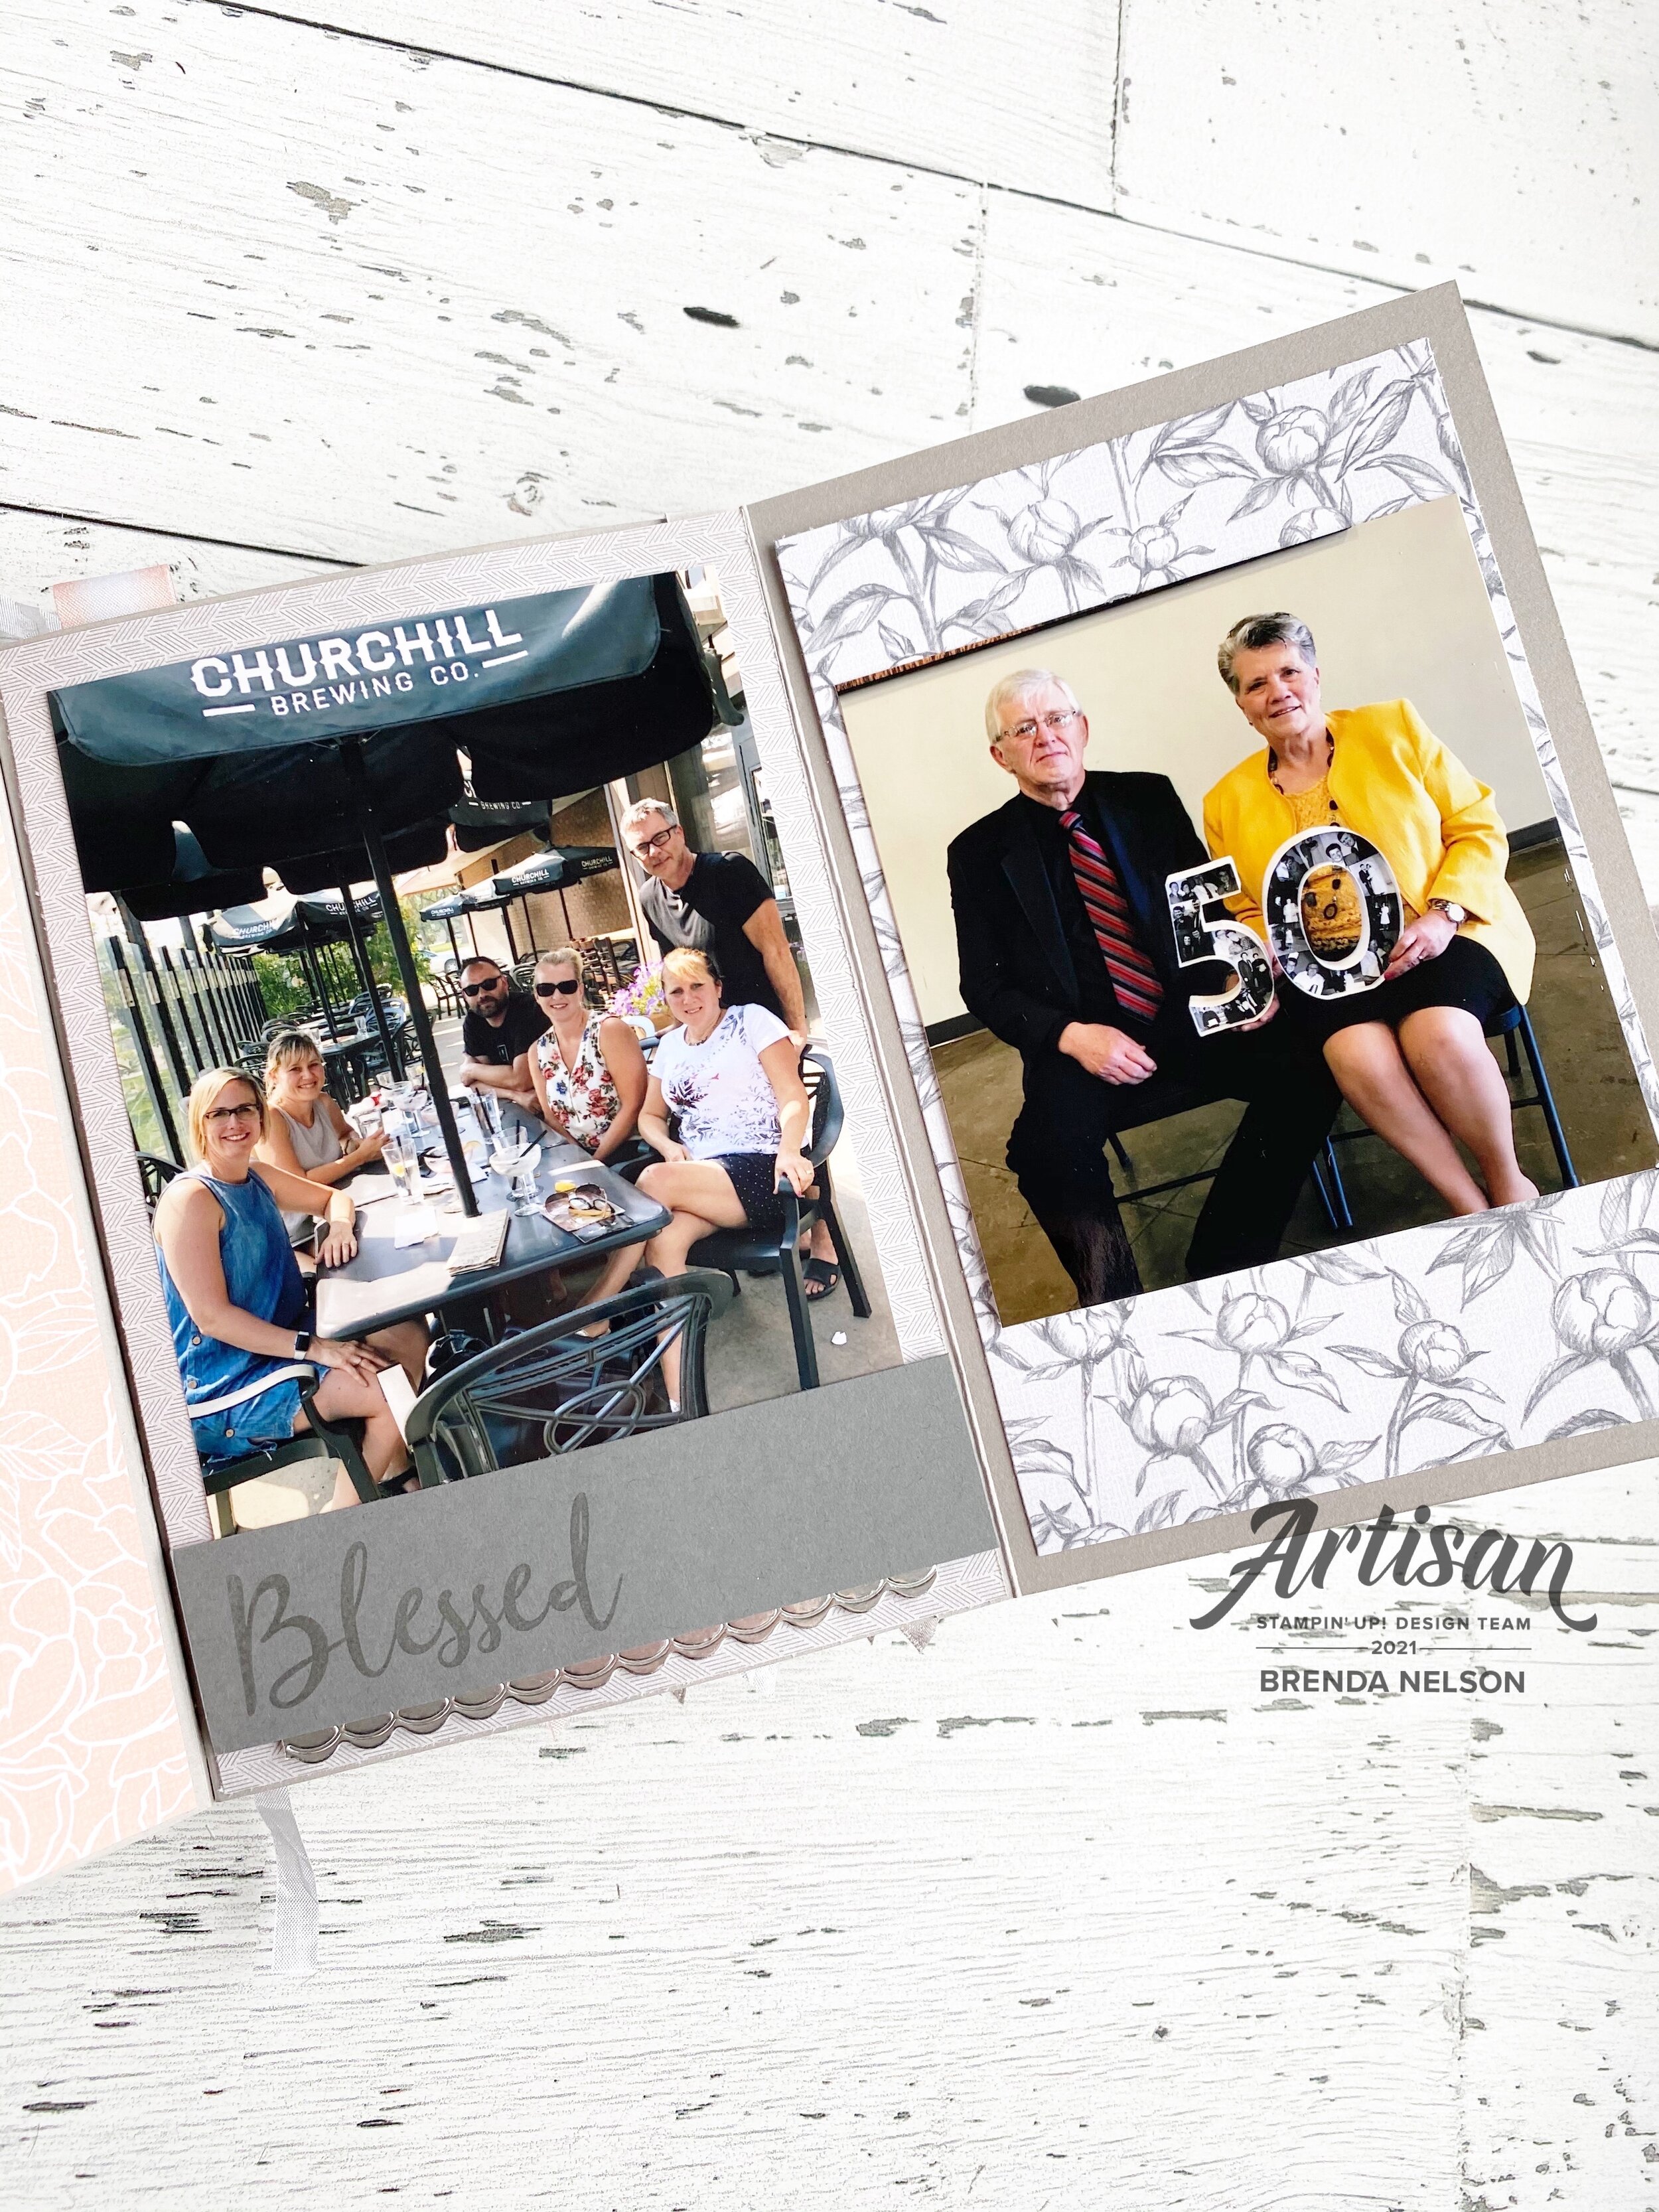
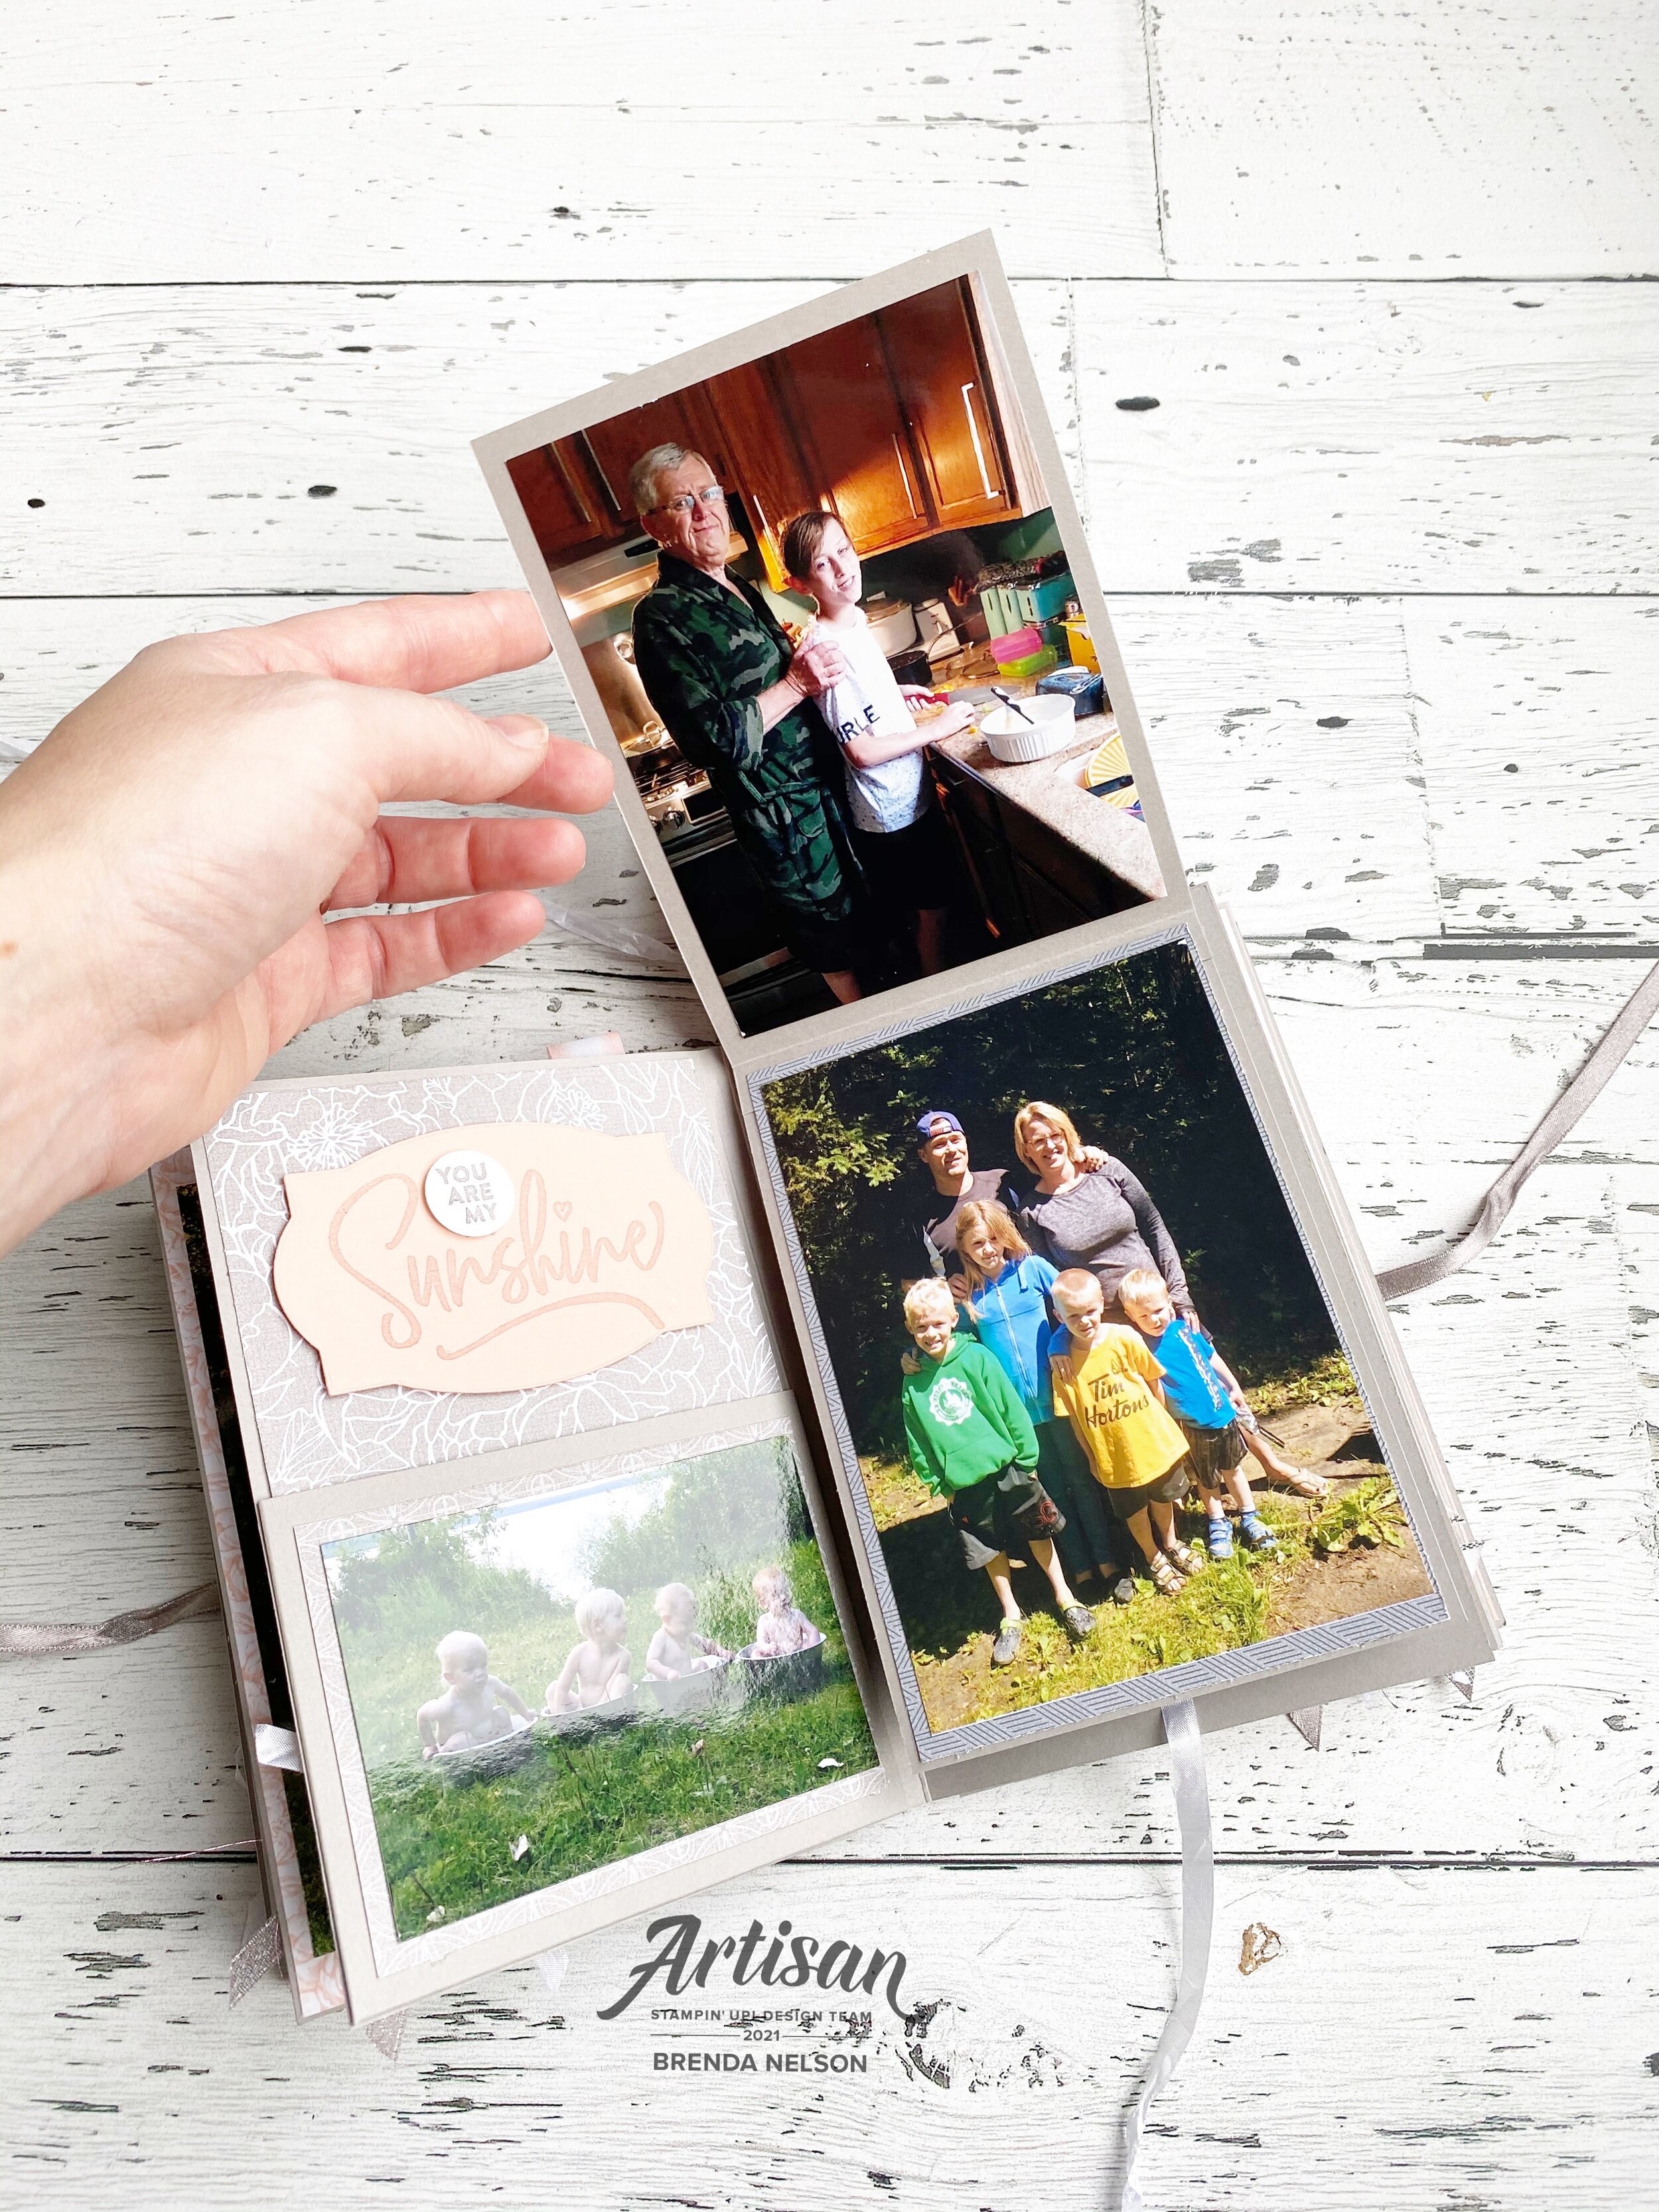
I wanted to share a mini album I made for my Mother in Law for this past Christmas. I took a class that my friend and fellow demonstrator Jessica, @jessbstamps, offered in November. We put this album together over 2 sessions and then were left to add photos and embellishments on our own. It truly is a one of a kind project and gift!

final 3.jpg

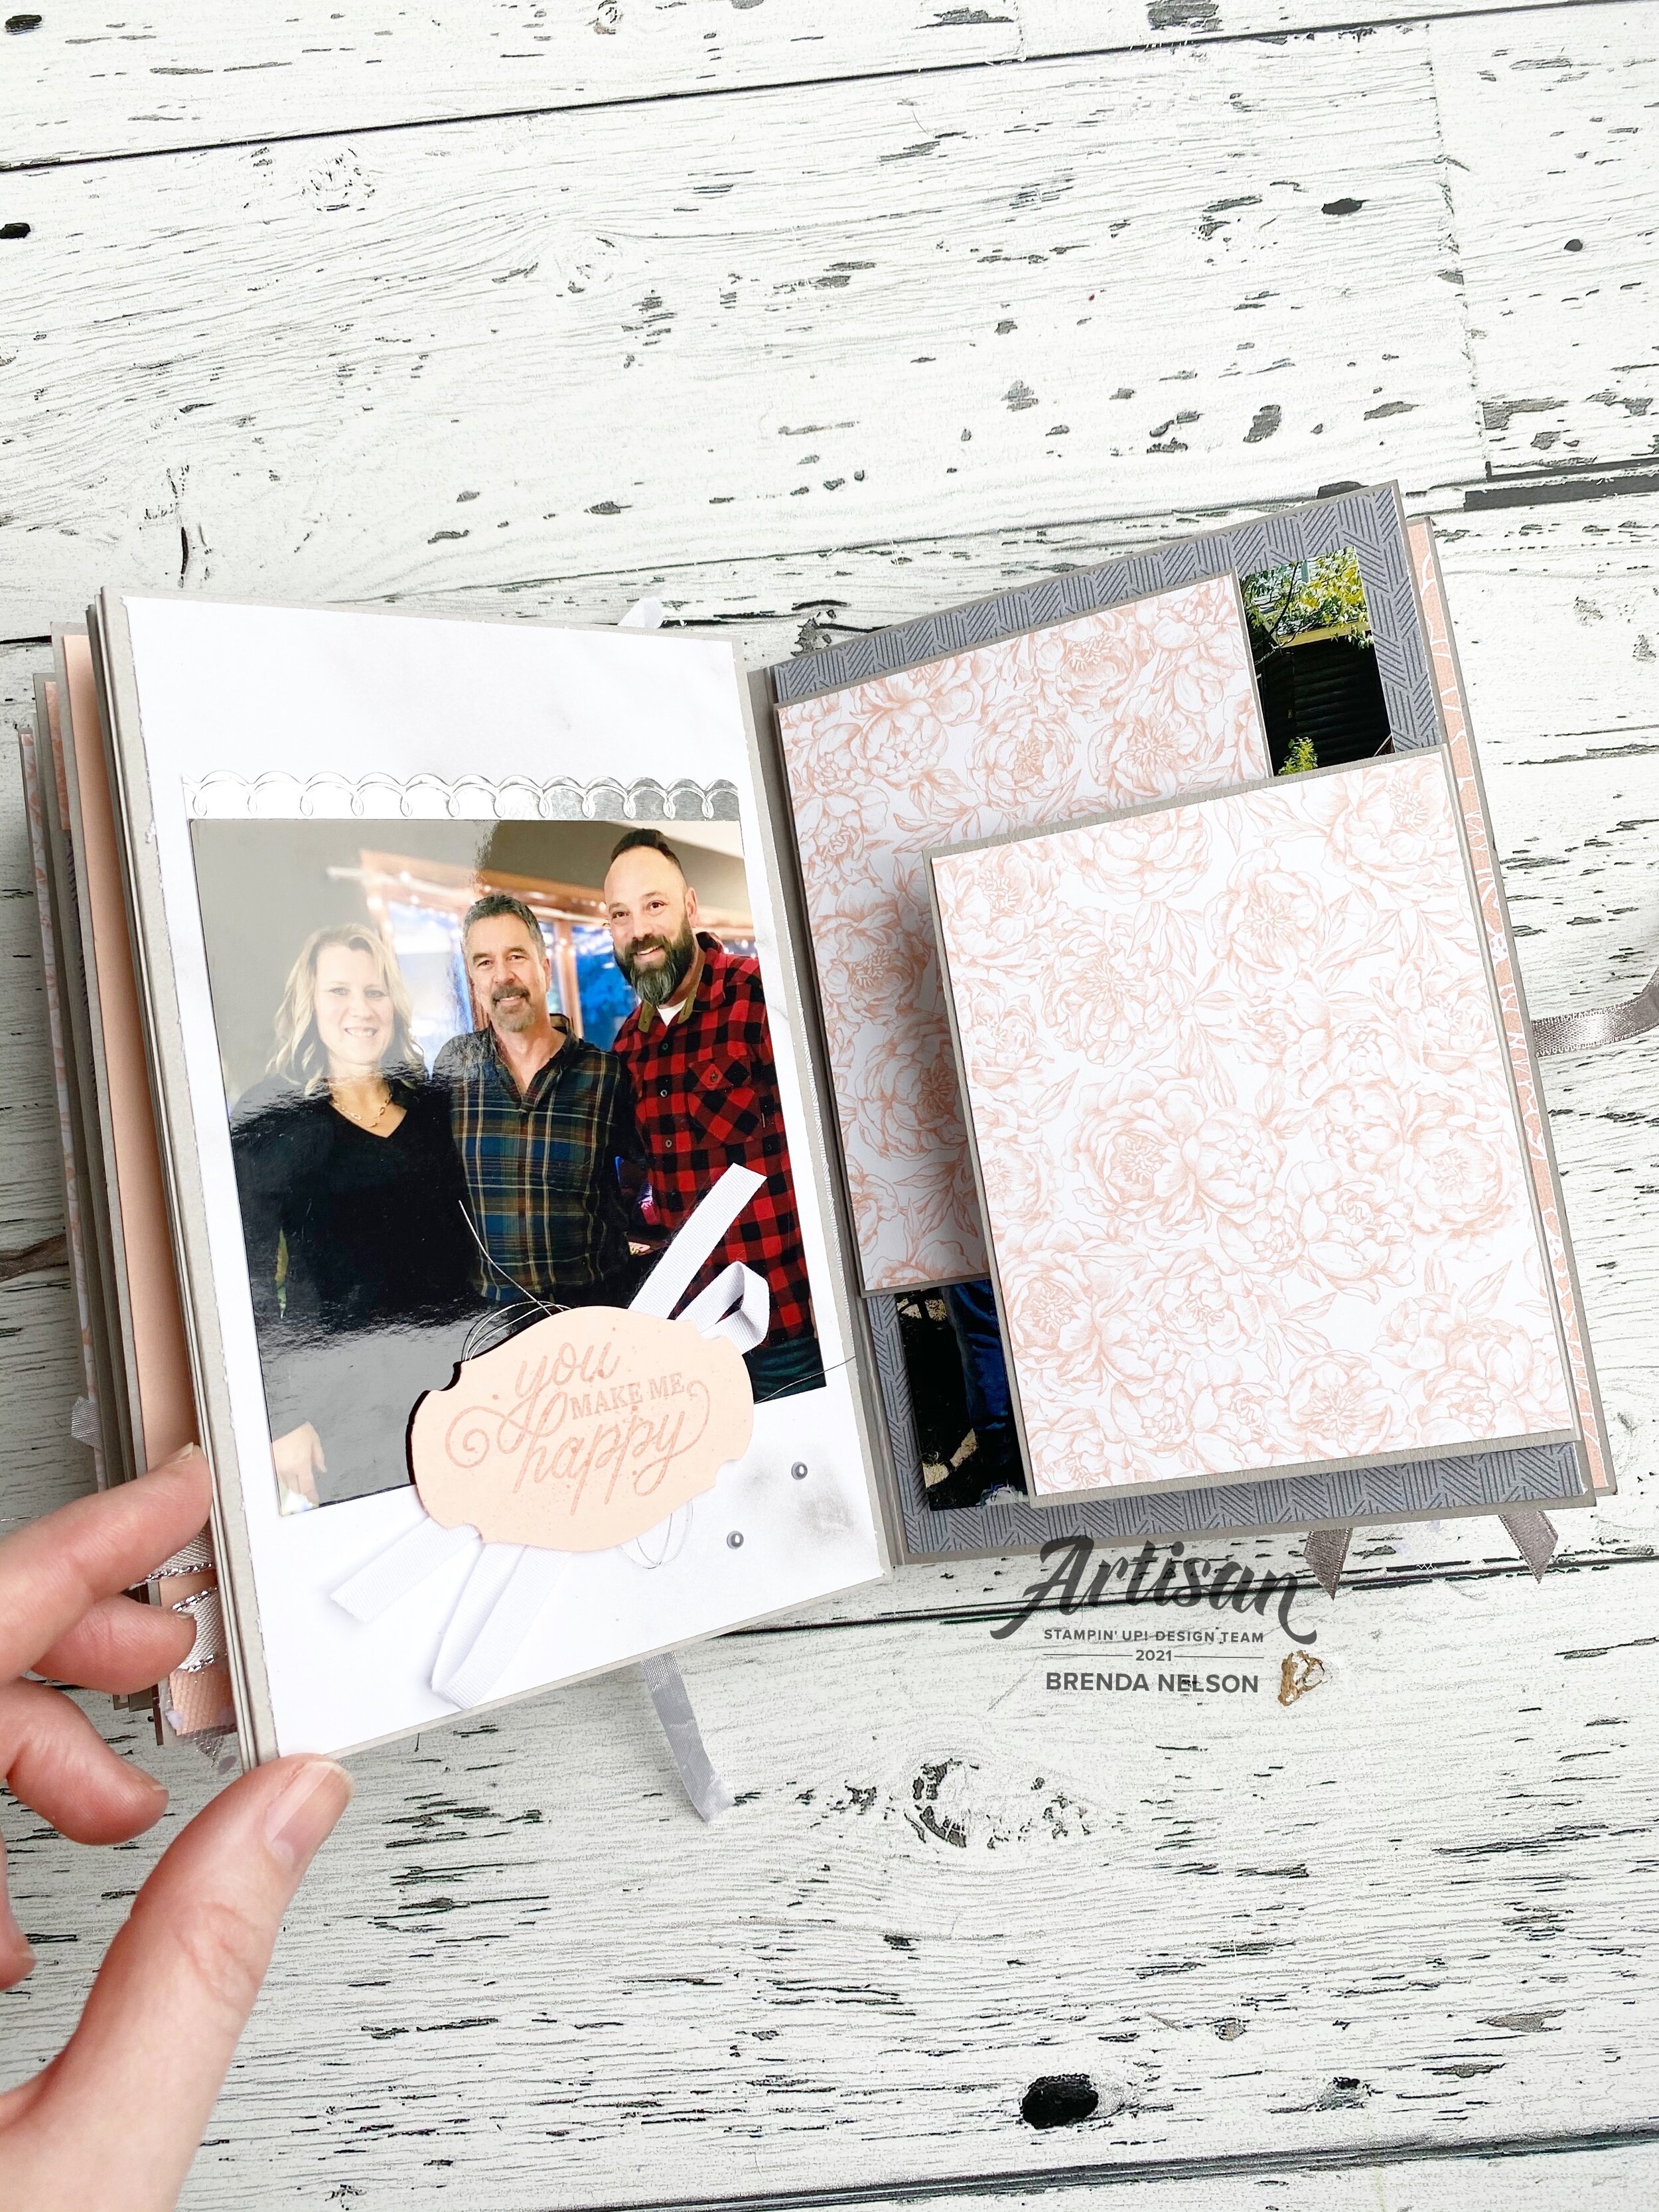
This completed album definitely has some weight to it. Because the album was so interactive with photo panels opening and flipping in every direction, I did have to be more aware of embellishing. So while I didn’t embellish to my typical avid standards I am happy with what I was able to add into the album. I think it will make a really great keepsake as it is pretty well constructed. We used a lot of Tear & Tape on this project!

I want to note that because I do not have this album in front of me anymore, I cannot exactly remember the order of the pages. So the way my photos are shared my not actually be how they are in the album! Disclaimer! And I have NO measurements or anything for you as I did not design this project.

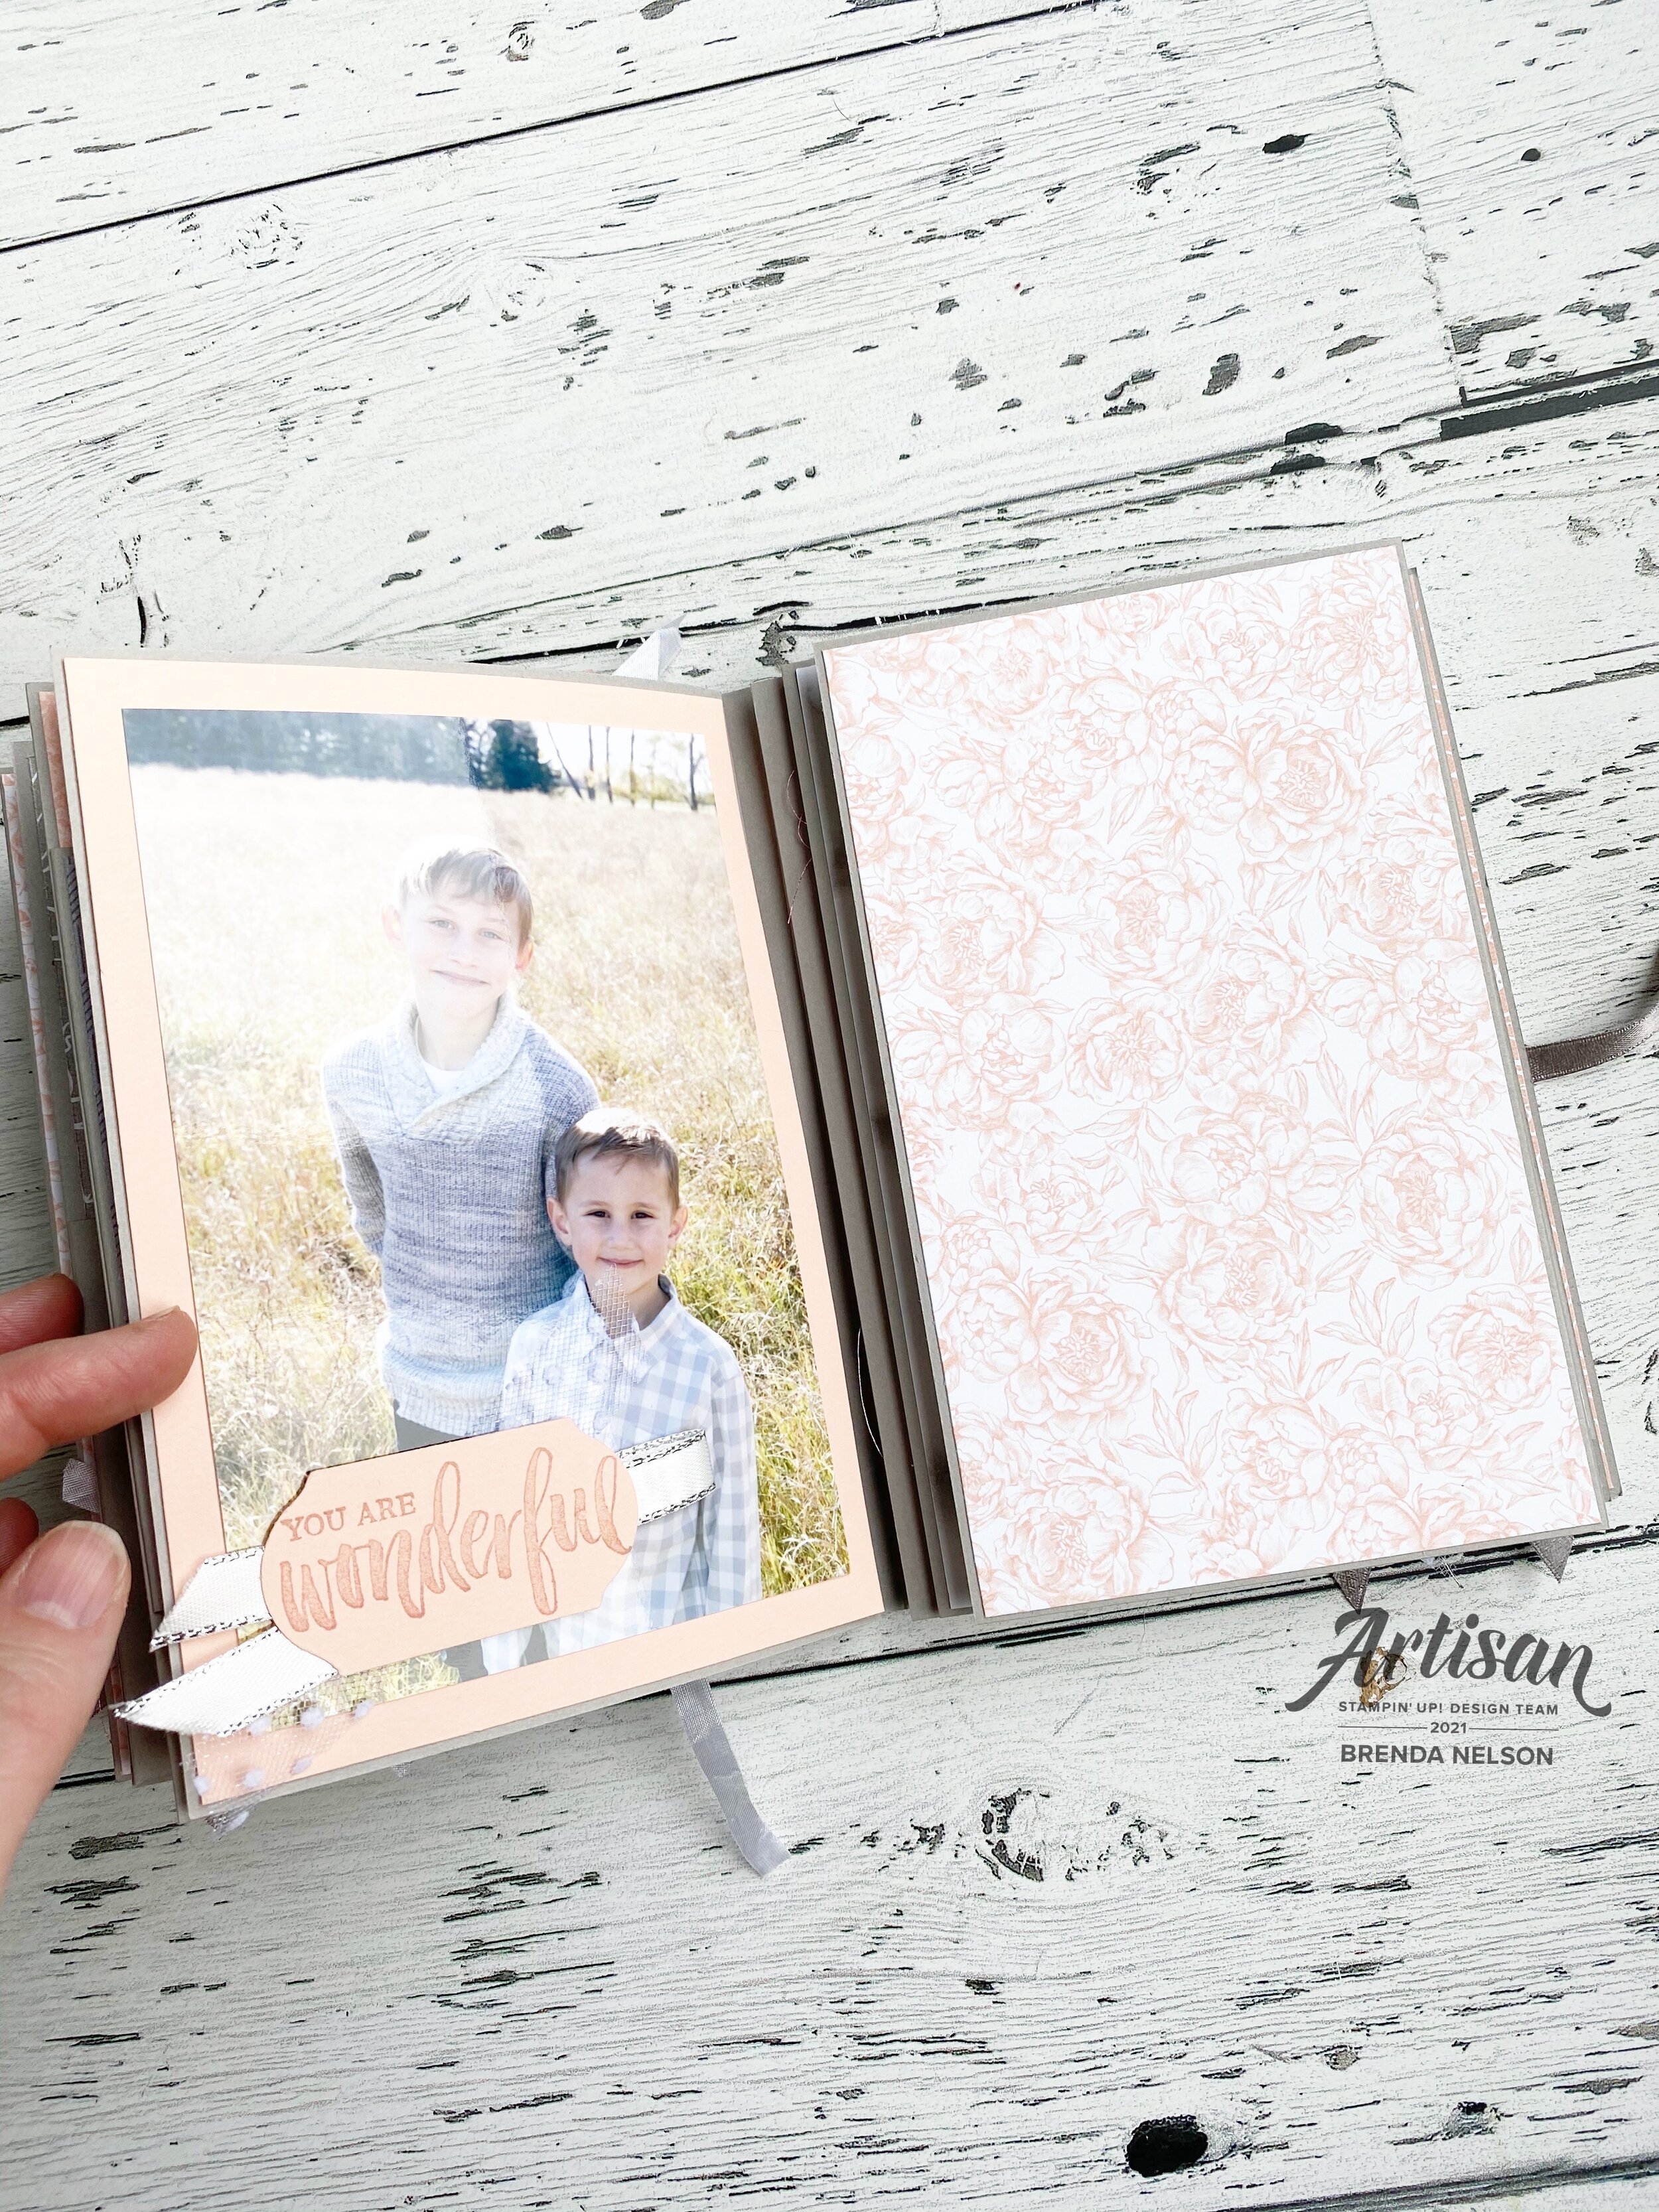
We have so many fantastic stamp sets to choose from that I had no shortage of inspiration to embellish this album. I added in a variety of ribbons and Silver Metallic Pearls through out and kept the colors true to the Peony Garden DSP. The base of the album is Smoky Slate card stock and we almost used an entire package to make this album and almost the entire package of Peony Garden DSP.

We have a very large family on the Nelson side. 19 grand kids! My nephew recently married so we are now at 20, plus all of the adult adults! So this project was a perfect way to showcase everyone and reflect on the many amazing family memories we ha…

We have a very large family on the Nelson side. 19 grand kids! My nephew recently married so we are now at 20, plus all of the adult adults! So this project was a perfect way to showcase everyone and reflect on the many amazing family memories we have made so far.

My favorite aspect to this album are all of the fun pullout pages and the pages that lift up in every direction possible. Some flip up, some flip down! Pages pull out and fold it. Its actually quite spectacular!

There is so much to explore and see while looking through this project.

One of the gals that took this class with me called these little panels ‘Saloon Doors’, we all thought that was the perfect way to describe them!

One of the gals that took this class with me called these little panels ‘Saloon Doors’, we all thought that was the perfect way to describe them!

final 21.jpg

I hope this project has inspired you! I would love to make another one and fill it with memories of my family, but for now I know my Mother in Law and extended family, who live a province away, will enjoy looking at this mini album!

Around the World on Wednesday--Favorite Inspiration

This month we are exploring where we get our inspiration from which I think is super interesting. Sometimes I have an idea, or want to use a specific color, but get stuck thinking about what other colors might coordinate. My number one go to tool are the Color Coach cards that Stampin’ Up! has developed. I know everyone who is participating in the Hop this month will have some fantastic tips and inspiration for us to get inspired when we are feeling stuck!

91442295_10216484369808661_2887014979863576576_n.jpg

The Color Coach cards are a Demonstrator resource found in the Printing Place. I am sure if you ask your own local demo she/he would be more than happy to share them with you. As a demo myself I have offered this as class project. We organized all of our Color Coach cards into one of our 6 x 8 albums with a card stock sample. I reference this book ALL THE TIME. Sometimes I just need a bit of color inspiration!

IMG_2295.jpg

So for our project today, I opened up my Color Coach and selected a Calypso Coral Color Coach Card (say that 5x fast!) and used the 3 colors to create my project—Calypso Coral, Petal Pink and Sahara Sand. I used gold as my accent color to add that glitz aspect.

IMG_2293.jpg

We have so many options to add gold to our projects—we can emboss with gold embossing powder, add gold foil paper to our projects, gold embellishments (so many options) or our brand new gold Gilded Leafing embellishment. The Gilded Leafing has a bit of a different look to it than gold embossing and I wanted to play around with it on this project.

final+%282%29+2.jpg

Because I wanted to incorporate all three colors from the Color Coach Card onto my project I reached for my Blending Brushes which are a brand new tool being offered by Stampin’ Up!. I started by blending the Petal Pink color first because I was then able to use the SAME brush to add in the Calypso Coral! These brushes are totally amazing.

The Petal Pink is blended across the mid section of the card. I then added in the Calypso Coral along the bottom left corner and brought the Sahara Sand in from the top right. The Sahara Sand just gives our paper a subtle color but you can see the difference when you add the sentiment which is on Whisper White/Basic White card stock.

The sentiment is from the stamp set Always in my Heart

The sentiment is from the stamp set Always in my Heart

I continued the gold theme by accenting my sentiment with some Gold Foil paper cut with the scallop die from the Peony die set and some Gold Metallic Pearls.

I stamped both opposite corners using the Sale-a-bration stamp set Corner Bouquet. To apply the Gilded Leafing to my image I started by stamping it with Versamark and then adding Heat’n Stick Powder over top.

HOT TIP: To use your Heat’n Stick Powder successfully only heat it until it starts to glisten. Once this happens it has become sticky and you can add another ingredient on top. If you over heat or cook it too long, it actually loses its stickiness

After heating the powder you can add your Gilded Leafing. I have dumped out my jar (which will explode in volume) into a large container. You can press your card right into the leafing in the bin or you can add it with tweezers. Either method works but I prefer pressing it into the container. Once you have it attached it, it will look like a hot mess (trust me you are going to look at this and think ‘this ain’t pretty'), you need to use either a Stampin’ Sponge or the large Water Painter brush to brush away the excess and bring the detail to life. I was able to apply extra Gilded Leafing to my project in areas where I didn’t feel there was enough. You can use your finger to rub it with some pressure to your project as well.

In the end, I think it turned out pretty spectacular!

final (1) 3.jpg

I am so curious to see where everyone else gets their inspiration from. I hope you enjoy our hop this month and if you live in Canada you can shop with me anytime by using the hostess code. Gratitude and thanks in advance! Up next on the hop is the amazing Tricia Butts from the United States!