Create with Connie and Mary-Valentine's Favors!

I am super excited for Valentine’s Day this year and I plan on spoiling some of my favorite Galentine’s with a super cute project! Valentine’s favors happen to be the theme for this week’s Create with Connie and Mary challenge!

Design Team.jpg
final 15.jpg

I was super excited about the Hearts & Kisses stamp set in the January to June catty as I loved the sentiments “Happy Galentine’s Day” and “You go, Girl!. I knew right away I wanted to make a special gift with this set.

I honestly think the stand out feature of this card is the True Love Designer Series Paper—don’t these hand trimmed flowers look AMAZING when paired agains the blended Flirty Flamingo background? This paper has unlimited potential as you can feature black & white imagery on literally anything or color this paper with thet variety of color tools we have at our disposal.

For the background, sentiment tag, and heart border (cut with the Floral Heart Dies) I used Flirty Flamingo ink with our new fabulous Blending Brushes.

I tied Blushing Bride twine around the front panel with a Heart Charm attached (LOVE!) and added some Matte Black Dots. This entire product suite is phenomenal!

final+%281%29+8.jpg

My coordinating Love You Always Treat Box is my favorite of this duo. I am going to fill this box with some of my Reese’s Valentines Surprise Cookies that I shared on my blog last Valentine’s Day! You can click this link to go to my recipe or click on my Lifestyle Tab and then Favorite Recipes and you will find it there! Your welcome in advance, these cookies are AMAZING!

I wrapped the box with another pattern from the DSP and added some more of the flowers that I hand trimmed from the paper. This time I also used my Blending Brush to add a pop of color with the Flirty Flamingo ink.

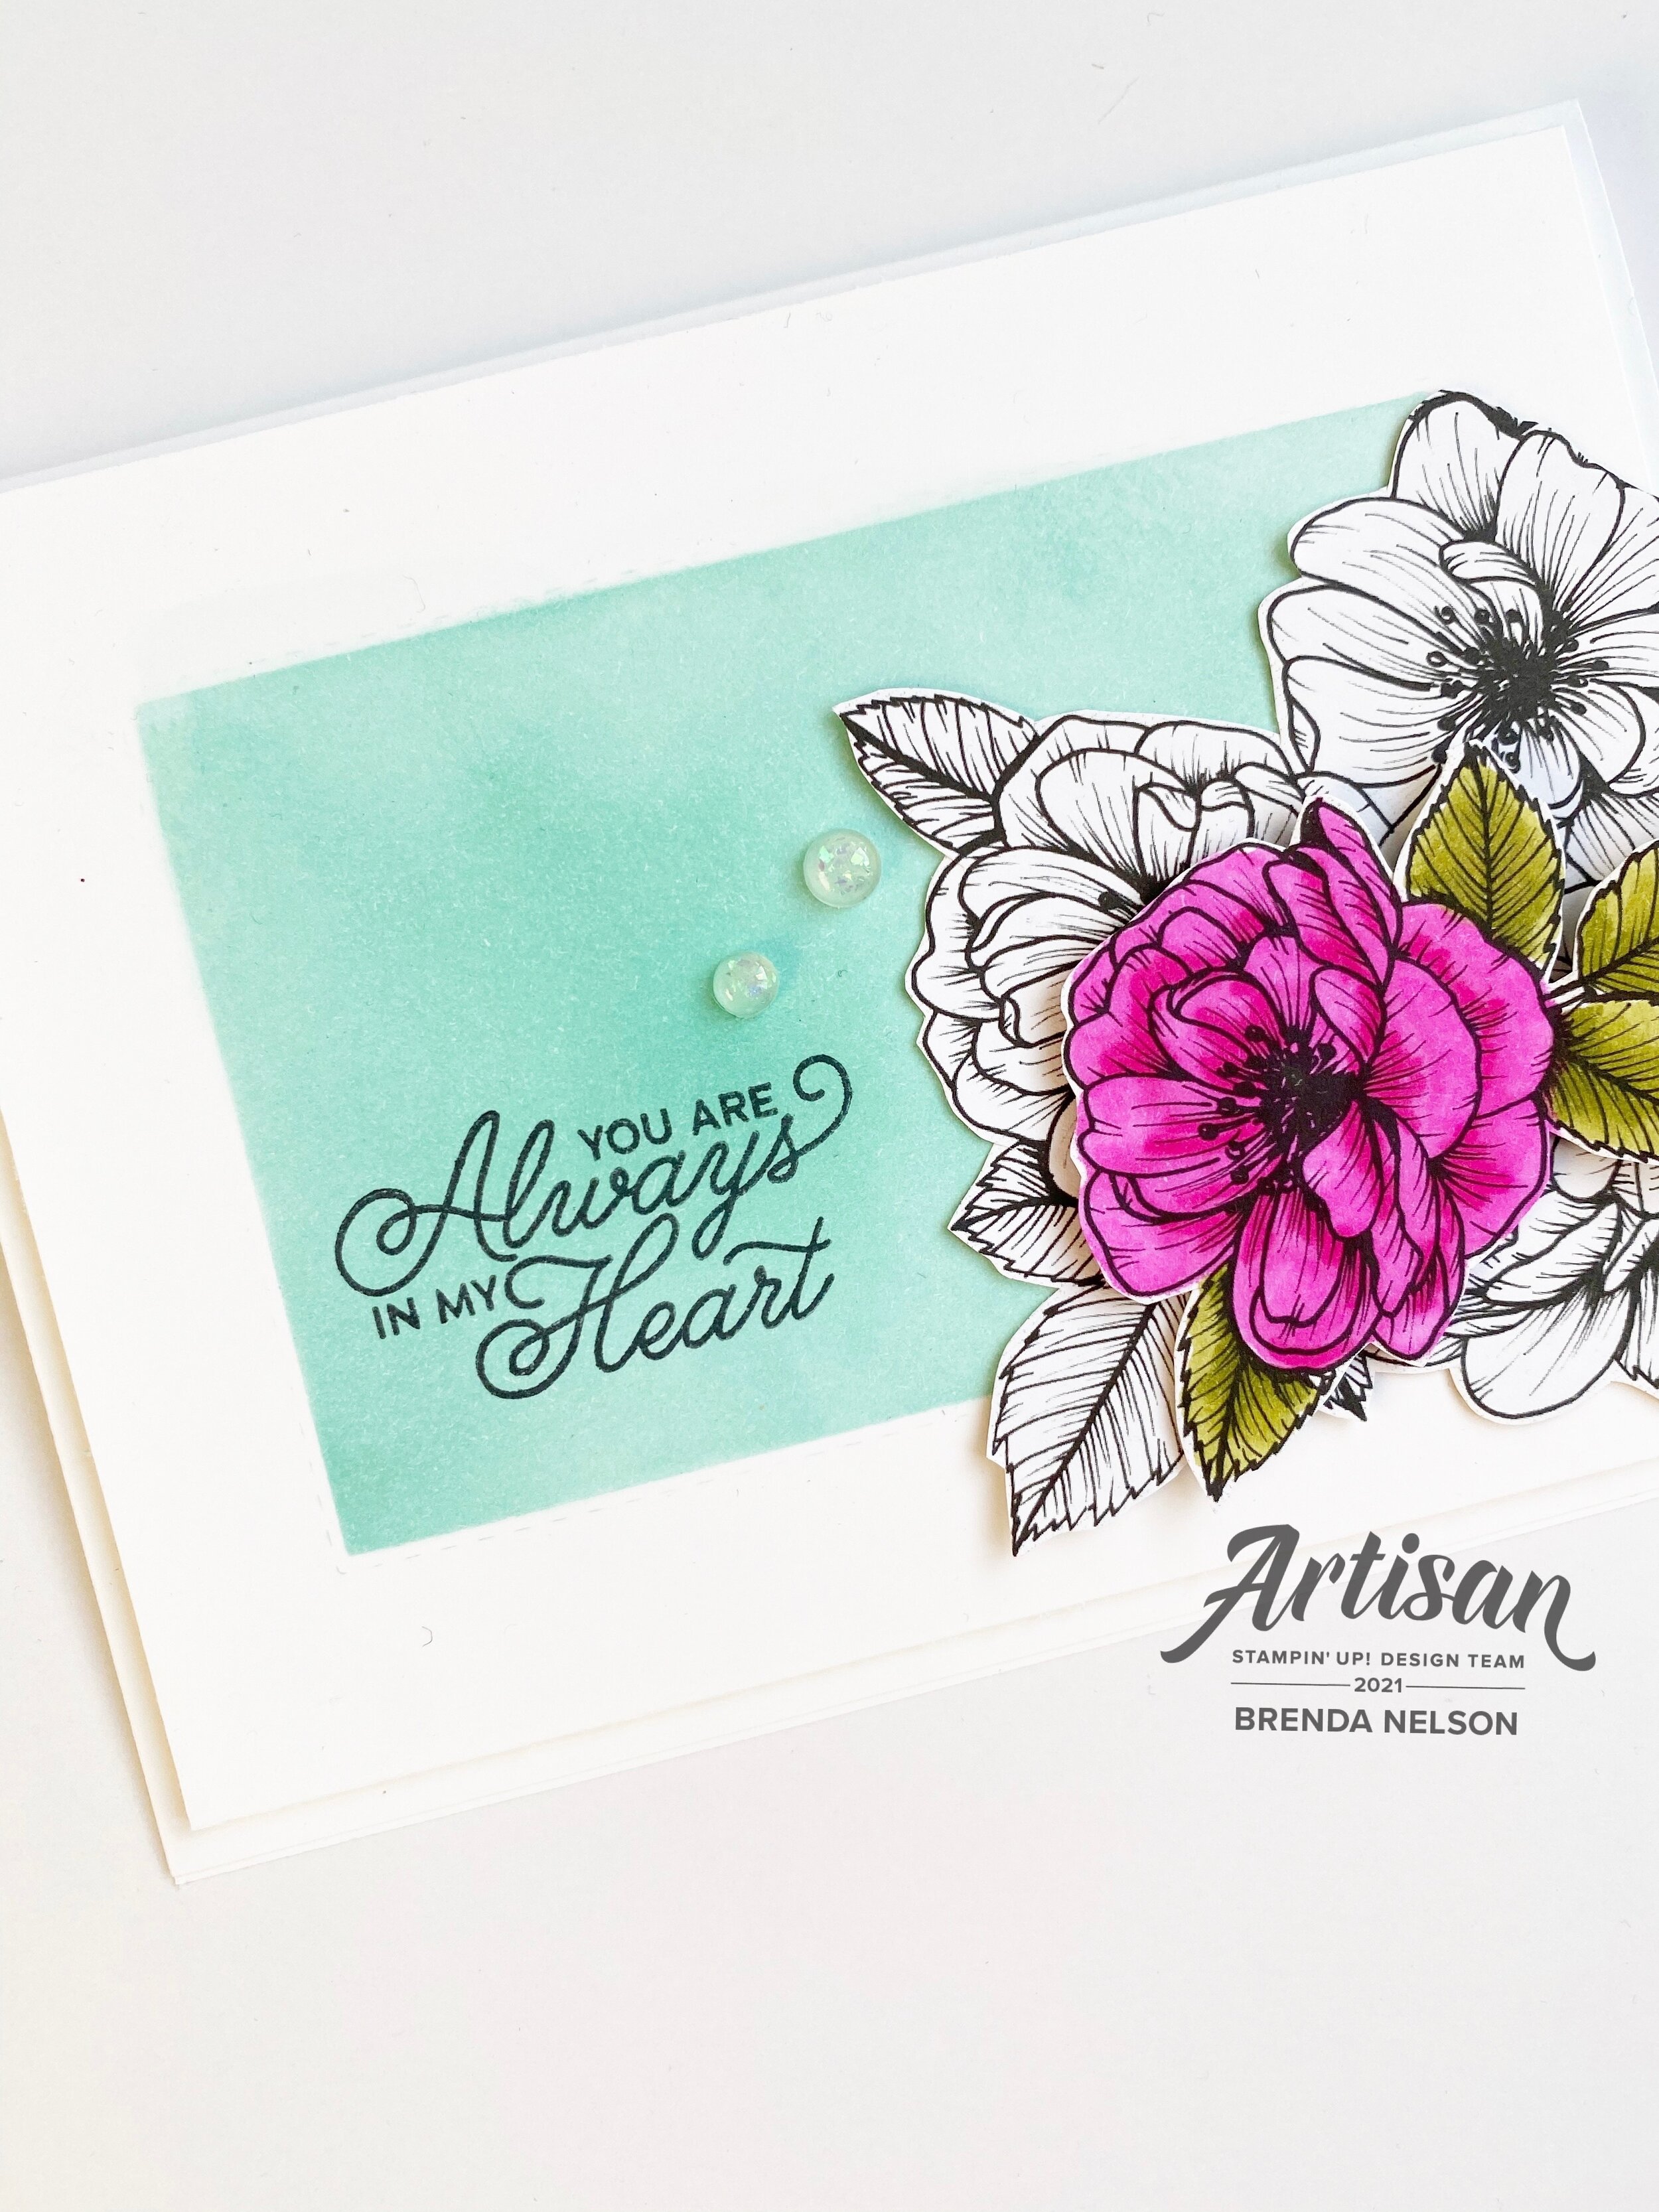
I added some Blushing Bride Metallic Ribbon and some sliver metallic thread to the back of my label. The sentiment is from the Always in my Heart stamp set and the tiny heart is cut using the Kangaroo dies.

I love this project combo and cannot wait to deliver these to some of my special Galentine’s this year!

I love this project combo and cannot wait to deliver these to some of my special Galentine’s this year!

To see what Melissa has created you can click BACK and to see what Connie designed this week you can go NEXT. I hope you hop the whole way through so you don’t miss anything!

Create with Connie and Mary--Love is in the Air!

Can you believe it is the end of January already? Happy that this month is done as it hopefully it means we are another month closer to ‘normal’ life! Where I live, things are still pretty strict and we are in the middle of a cold snap, so its a bit of a rough patch. Luckily I have my stamping hobby to keep me occupied!

This week our theme is Love is in the Air so I wanted to make a card that has a ‘love’ theme but feels airy and light. I hope you enjoy what I designed!

Design Team.jpg
final (1) 4.jpg
 

For my project this week I decided to experiment again with the new Blending Brushes. Playing around is honestly the best way to learn about a new product. The Blending Brushes are actually so user friendly, I am seriously impressed!

The only stamp on this card is from the Always in my Heart stamp set found in the January to June catalogue.

final (1) 5.jpg

The feature of this card is the box I created with my Blending Brush and stencil I made using two Stitched Rectangular dies to create the box/frame. I used Coastal Cabana for that ‘airy’ bright feel I was wanting. I used the Blending Brush to create the Coastal Cabana box. The sentiment is then stamped on top with Momento Ink.

final 10.jpg

The flowers on this card are from the True Love Designer Series paper. I cut them by hand and then isolated a second flower on top after coloring it with the Magenta Madness and Old Olive Stampin’ Blends.

I added in a few Opal Rounds as a finishing touch. I love how they are almost translucent but have a bit of flecking to them for interest.

I really really love how this card turned out and think its an awesome way to showcase off the Blending Brushes!

Can’t wait to see what Melissa has shared (you can go BACK) or what Connie has desgined (NEXT). Enjoy the upcoming month!

Create with Connie and Mary--Valentine's with a Twist!

Welcome friends! Thanks for checking in this week to see what we are creating! This week we are making valentines projects with a color twist or untraditional colors. I immediately thought of using the color blue as we have so many fabulous blue shades to choose from! And I felt like blues would lend themselves to making a more masculine feeling valentine.

Design Team.jpg

If you have been following along on my recent crafting journey (please follow me on Instagram—@stampwithbrenda) than you would know I have been having a lot of fun with our new fantastic Blending Brushes. I decided to use three shades of blue to create a background to cut with the Floral Heart Dies and unexpectedly ended up with an idea to create a partner card!

final (1) 15.jpg

My original idea was for the card on the left. I used my Blending Brushes with Seaside Spray, Balmy Blue and Misty Moonlight. Once I cut out the floral heart I was left with this amazing free floating heart that I couldn’t waste—so I used it to create the card on the right.

final 22.jpg

I ended up using a variety of products to create these two cards. I wanted smaller sentiments that wouldn’t take away from the floral or heart dies. The Valentine Keepsake stamp set was a perfect fit as the “Be Mine” and the “With Love” phrases fit perfectly in a 1 inch circle punch. Both sentiments are stamped on Balmy Blue card stock with Misty Moonlight ink.

final 23.jpg

I really wanted this card to showcase the Pearlescent Specialty Paper too. You can see how it looks when added to a white card base and the blended die cut background really pops on this clean canvas. The accent hearts on the bottom of the card are stamped in Seaside Spray and are found in the Always in My Heart stamp set.

final (2) 5.jpg

I made this second card because I had this amazing blended heart cut out and couldn’t waste it. This card base is Misty Moonlight with the same little hearts stamped along the bottom. The designer series paper layer is from the Flowers for Every Season collection. The floral heart die is used to cut out the Seaside Spray card stock and the banner on this card is also cut from the same die set using the Pearlescent Specialty Paper. I really love how both of these cards turned out!

I can’t wait to see what amazing creations Melissa and Connie have designed for this week. You can go BACK to visit Melissa if you are starting here and NEXT to continue on the hop and see what Connie has created.

Around the World on Wednesday--Favorite Inspiration

This month we are exploring where we get our inspiration from which I think is super interesting. Sometimes I have an idea, or want to use a specific color, but get stuck thinking about what other colors might coordinate. My number one go to tool are the Color Coach cards that Stampin’ Up! has developed. I know everyone who is participating in the Hop this month will have some fantastic tips and inspiration for us to get inspired when we are feeling stuck!

91442295_10216484369808661_2887014979863576576_n.jpg

The Color Coach cards are a Demonstrator resource found in the Printing Place. I am sure if you ask your own local demo she/he would be more than happy to share them with you. As a demo myself I have offered this as class project. We organized all of our Color Coach cards into one of our 6 x 8 albums with a card stock sample. I reference this book ALL THE TIME. Sometimes I just need a bit of color inspiration!

IMG_2295.jpg

So for our project today, I opened up my Color Coach and selected a Calypso Coral Color Coach Card (say that 5x fast!) and used the 3 colors to create my project—Calypso Coral, Petal Pink and Sahara Sand. I used gold as my accent color to add that glitz aspect.

IMG_2293.jpg

We have so many options to add gold to our projects—we can emboss with gold embossing powder, add gold foil paper to our projects, gold embellishments (so many options) or our brand new gold Gilded Leafing embellishment. The Gilded Leafing has a bit of a different look to it than gold embossing and I wanted to play around with it on this project.

final+%282%29+2.jpg

Because I wanted to incorporate all three colors from the Color Coach Card onto my project I reached for my Blending Brushes which are a brand new tool being offered by Stampin’ Up!. I started by blending the Petal Pink color first because I was then able to use the SAME brush to add in the Calypso Coral! These brushes are totally amazing.

The Petal Pink is blended across the mid section of the card. I then added in the Calypso Coral along the bottom left corner and brought the Sahara Sand in from the top right. The Sahara Sand just gives our paper a subtle color but you can see the difference when you add the sentiment which is on Whisper White/Basic White card stock.

The sentiment is from the stamp set Always in my Heart

The sentiment is from the stamp set Always in my Heart

I continued the gold theme by accenting my sentiment with some Gold Foil paper cut with the scallop die from the Peony die set and some Gold Metallic Pearls.

I stamped both opposite corners using the Sale-a-bration stamp set Corner Bouquet. To apply the Gilded Leafing to my image I started by stamping it with Versamark and then adding Heat’n Stick Powder over top.

HOT TIP: To use your Heat’n Stick Powder successfully only heat it until it starts to glisten. Once this happens it has become sticky and you can add another ingredient on top. If you over heat or cook it too long, it actually loses its stickiness

After heating the powder you can add your Gilded Leafing. I have dumped out my jar (which will explode in volume) into a large container. You can press your card right into the leafing in the bin or you can add it with tweezers. Either method works but I prefer pressing it into the container. Once you have it attached it, it will look like a hot mess (trust me you are going to look at this and think ‘this ain’t pretty'), you need to use either a Stampin’ Sponge or the large Water Painter brush to brush away the excess and bring the detail to life. I was able to apply extra Gilded Leafing to my project in areas where I didn’t feel there was enough. You can use your finger to rub it with some pressure to your project as well.

In the end, I think it turned out pretty spectacular!

final (1) 3.jpg

I am so curious to see where everyone else gets their inspiration from. I hope you enjoy our hop this month and if you live in Canada you can shop with me anytime by using the hostess code. Gratitude and thanks in advance! Up next on the hop is the amazing Tricia Butts from the United States!