Yay! Happy Birthday to Me!
/Hey everyone! Wow, its been a hot minute since I have shared a blog post! Life has been really busy, I started a new job this past year as the Learning Support Teacher at a high school (a job I love and its perfectly suited to my skill sets), I still work at lululemon because I love my work friends and the product and YES—I am still stamping! Keeping up with my monthly groups, classes and events!
I miss sharing on here and I am going to try to be more committed to sharing on this platform because I do like to share projects that I am passionate about, especially scrapbooking. I make a lot of pages a month and I find they do not get the same kind of love over on Instagram (I hope you are following me there @stampwithbrenda).

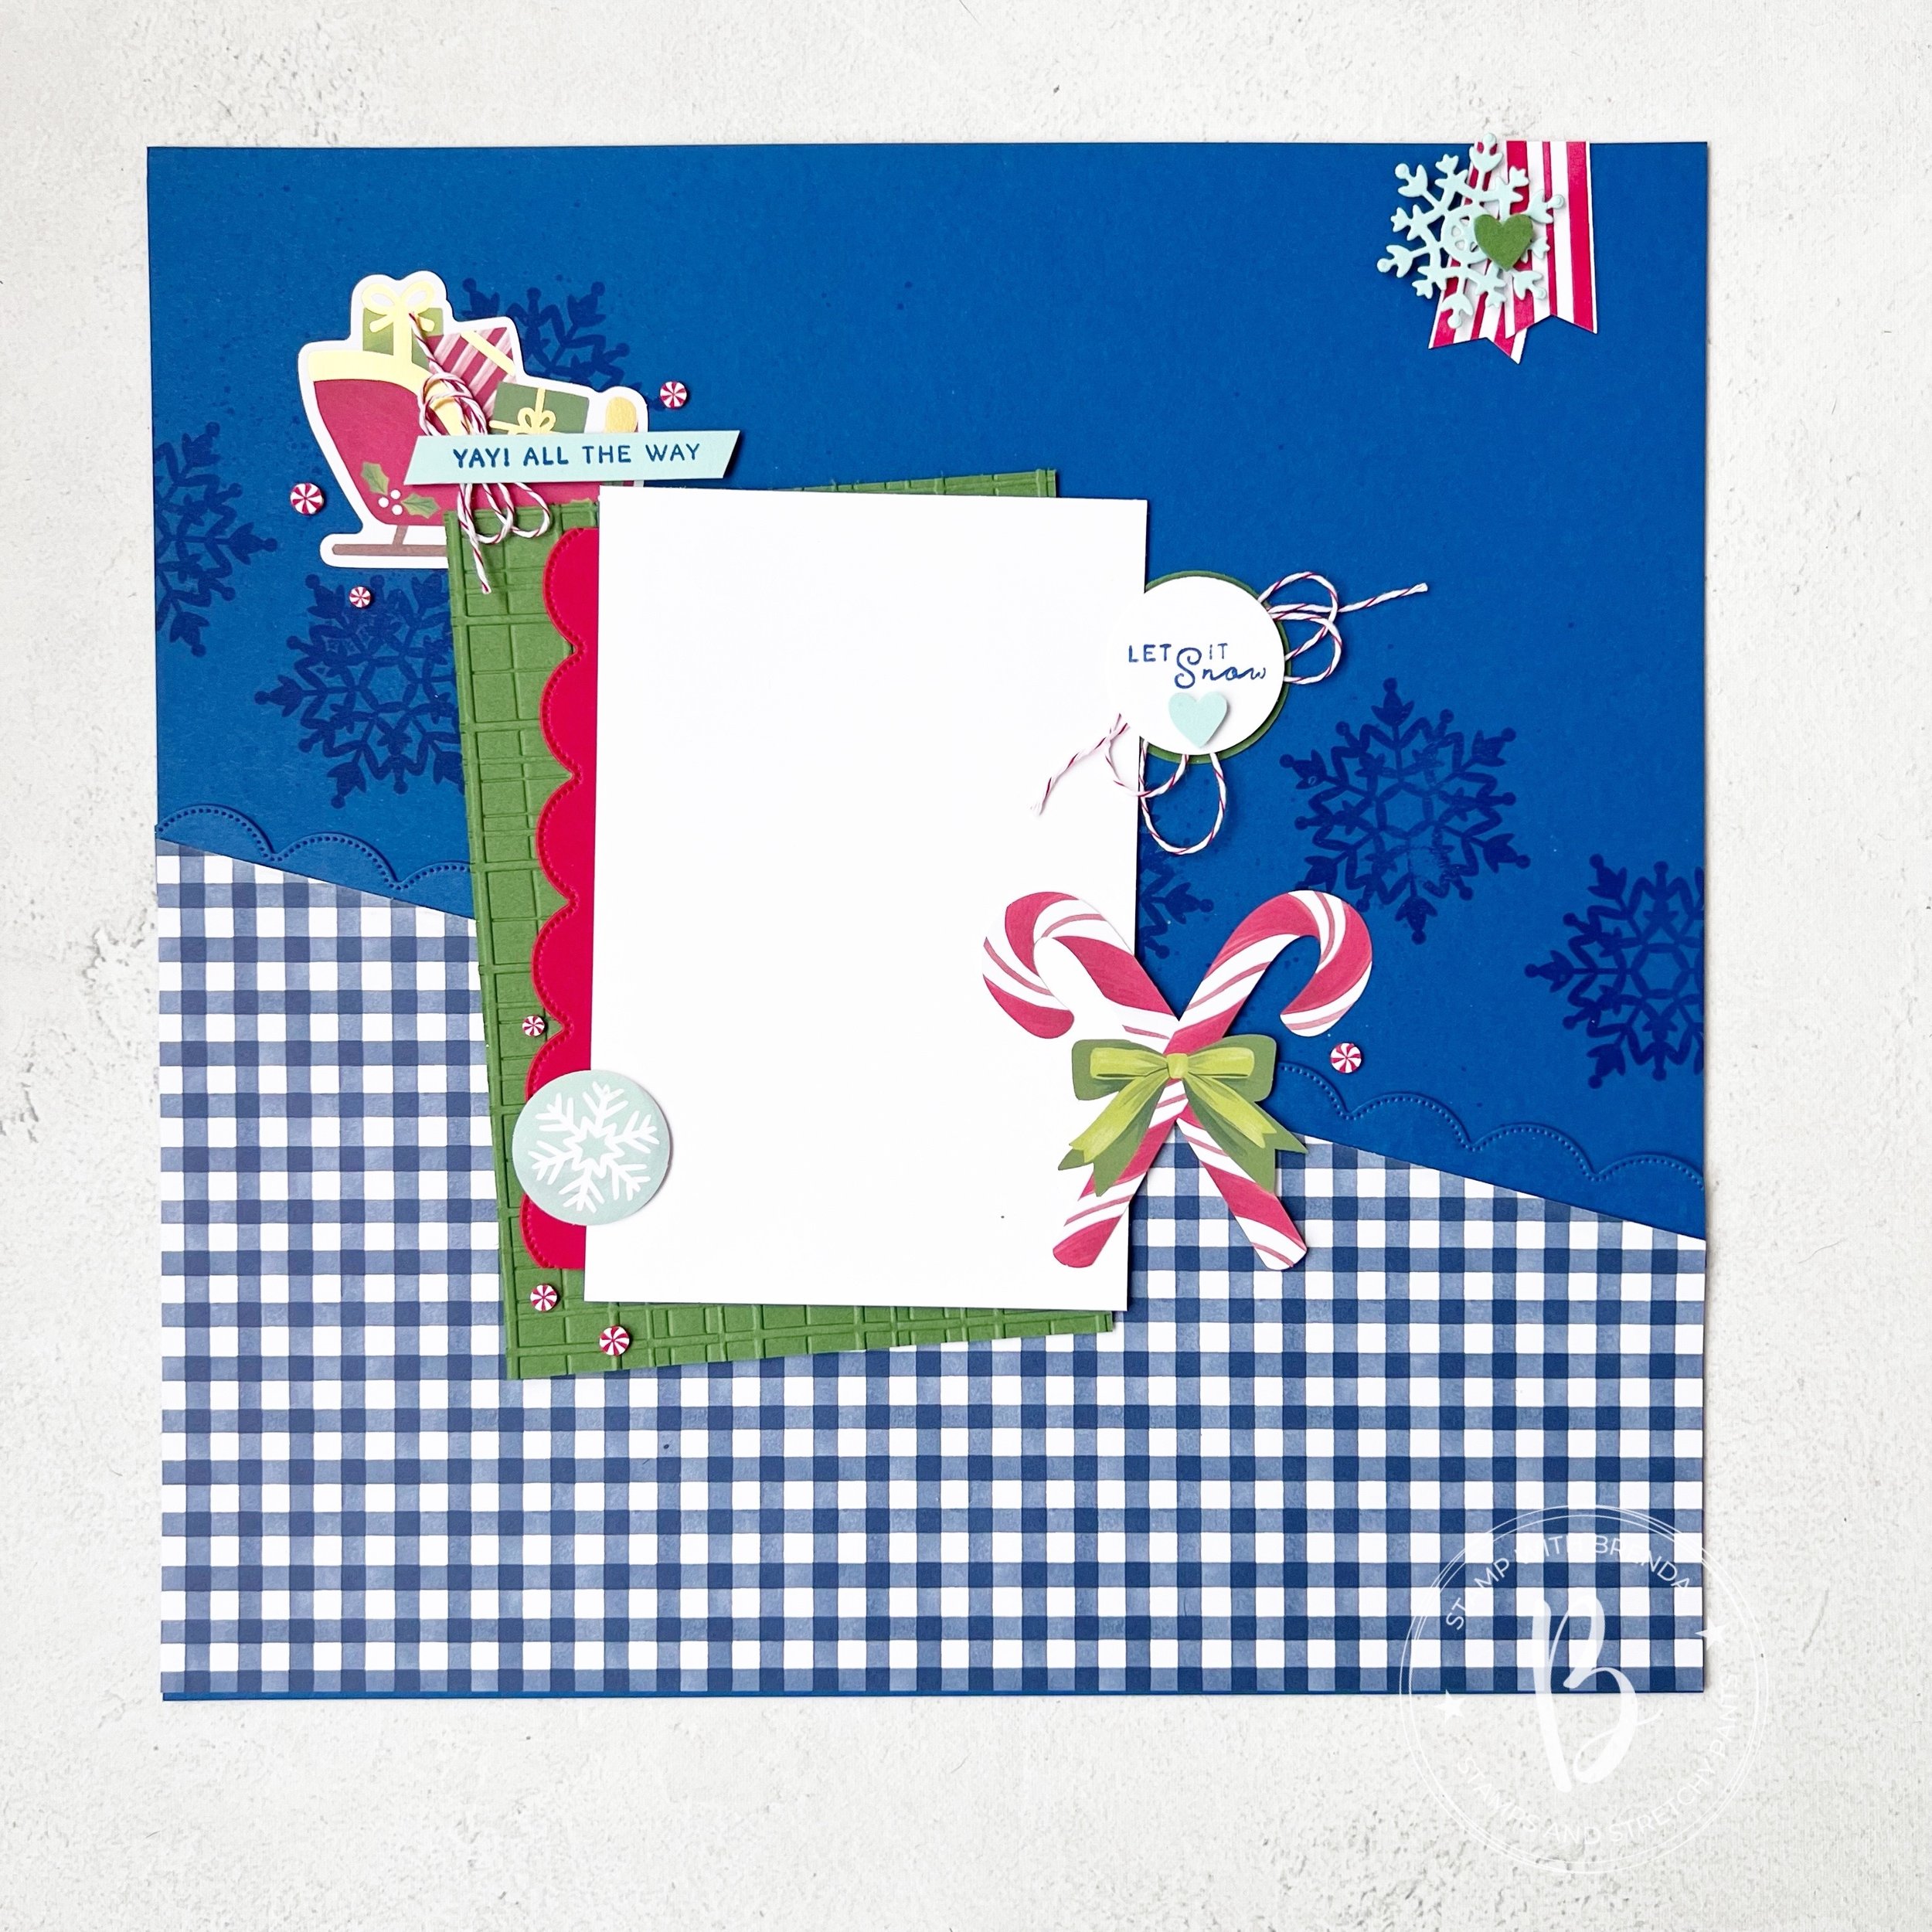
This is me and some of my favorite people celebrating my birthday this year!
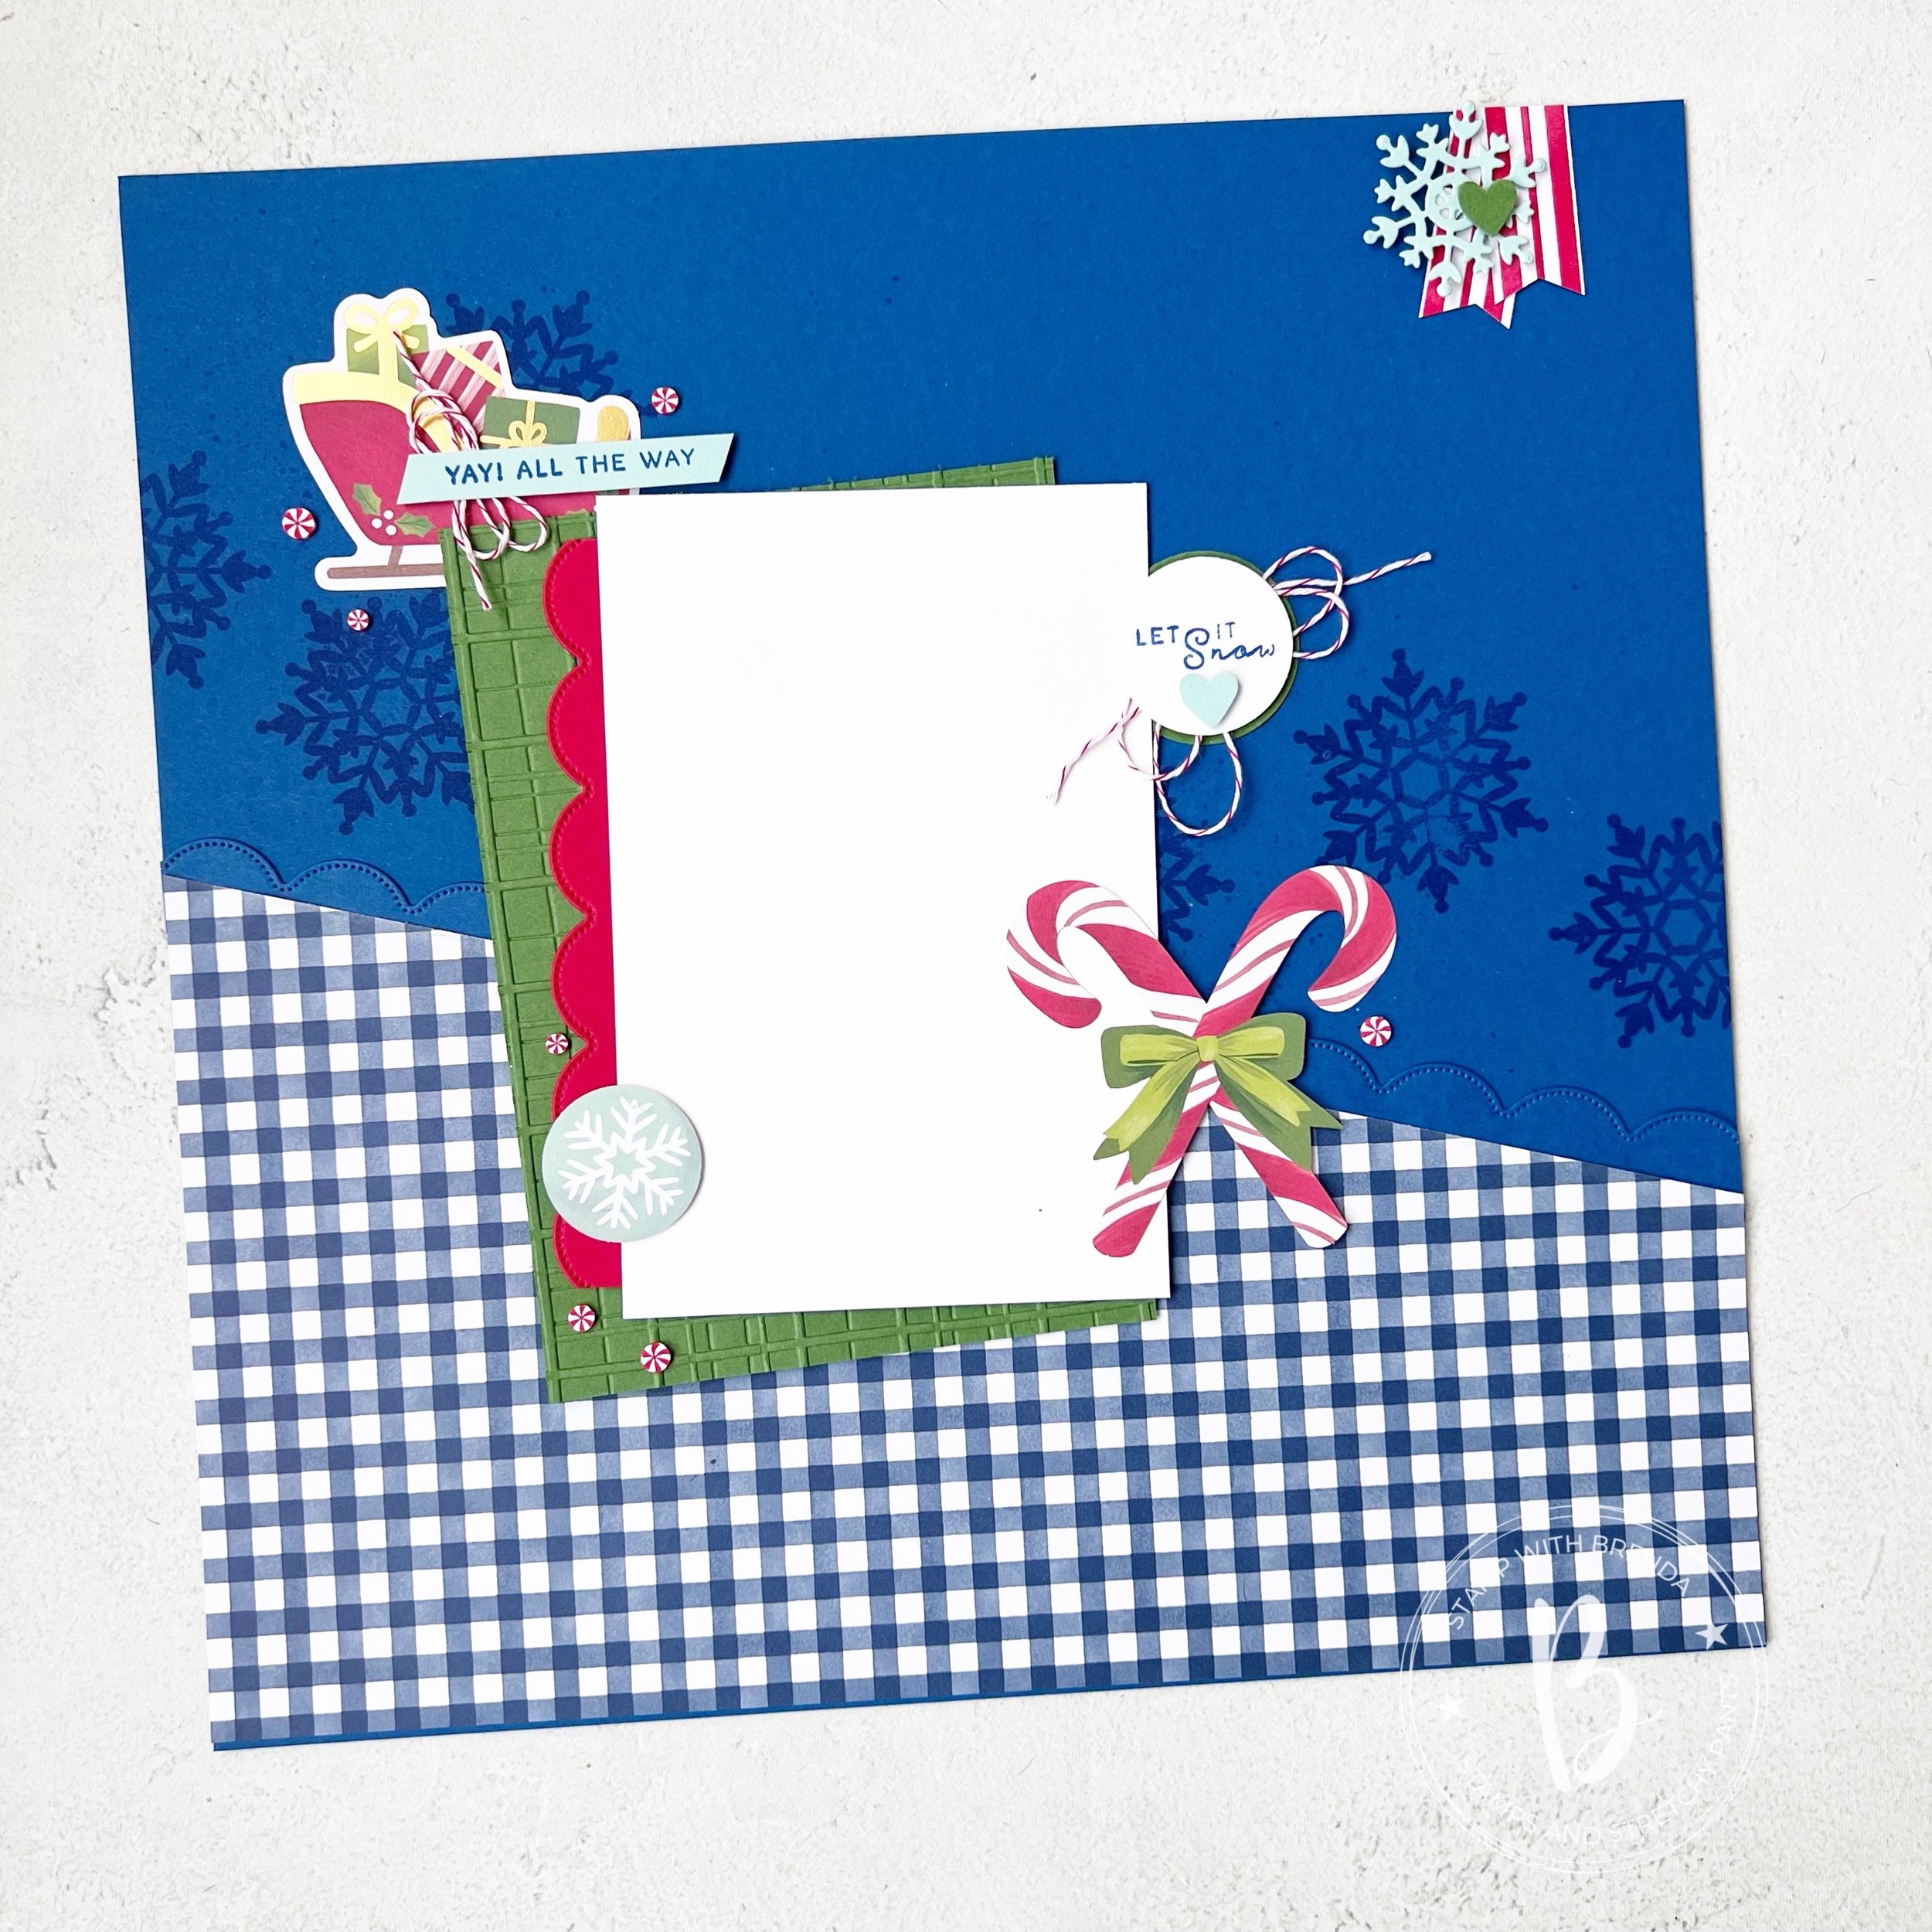
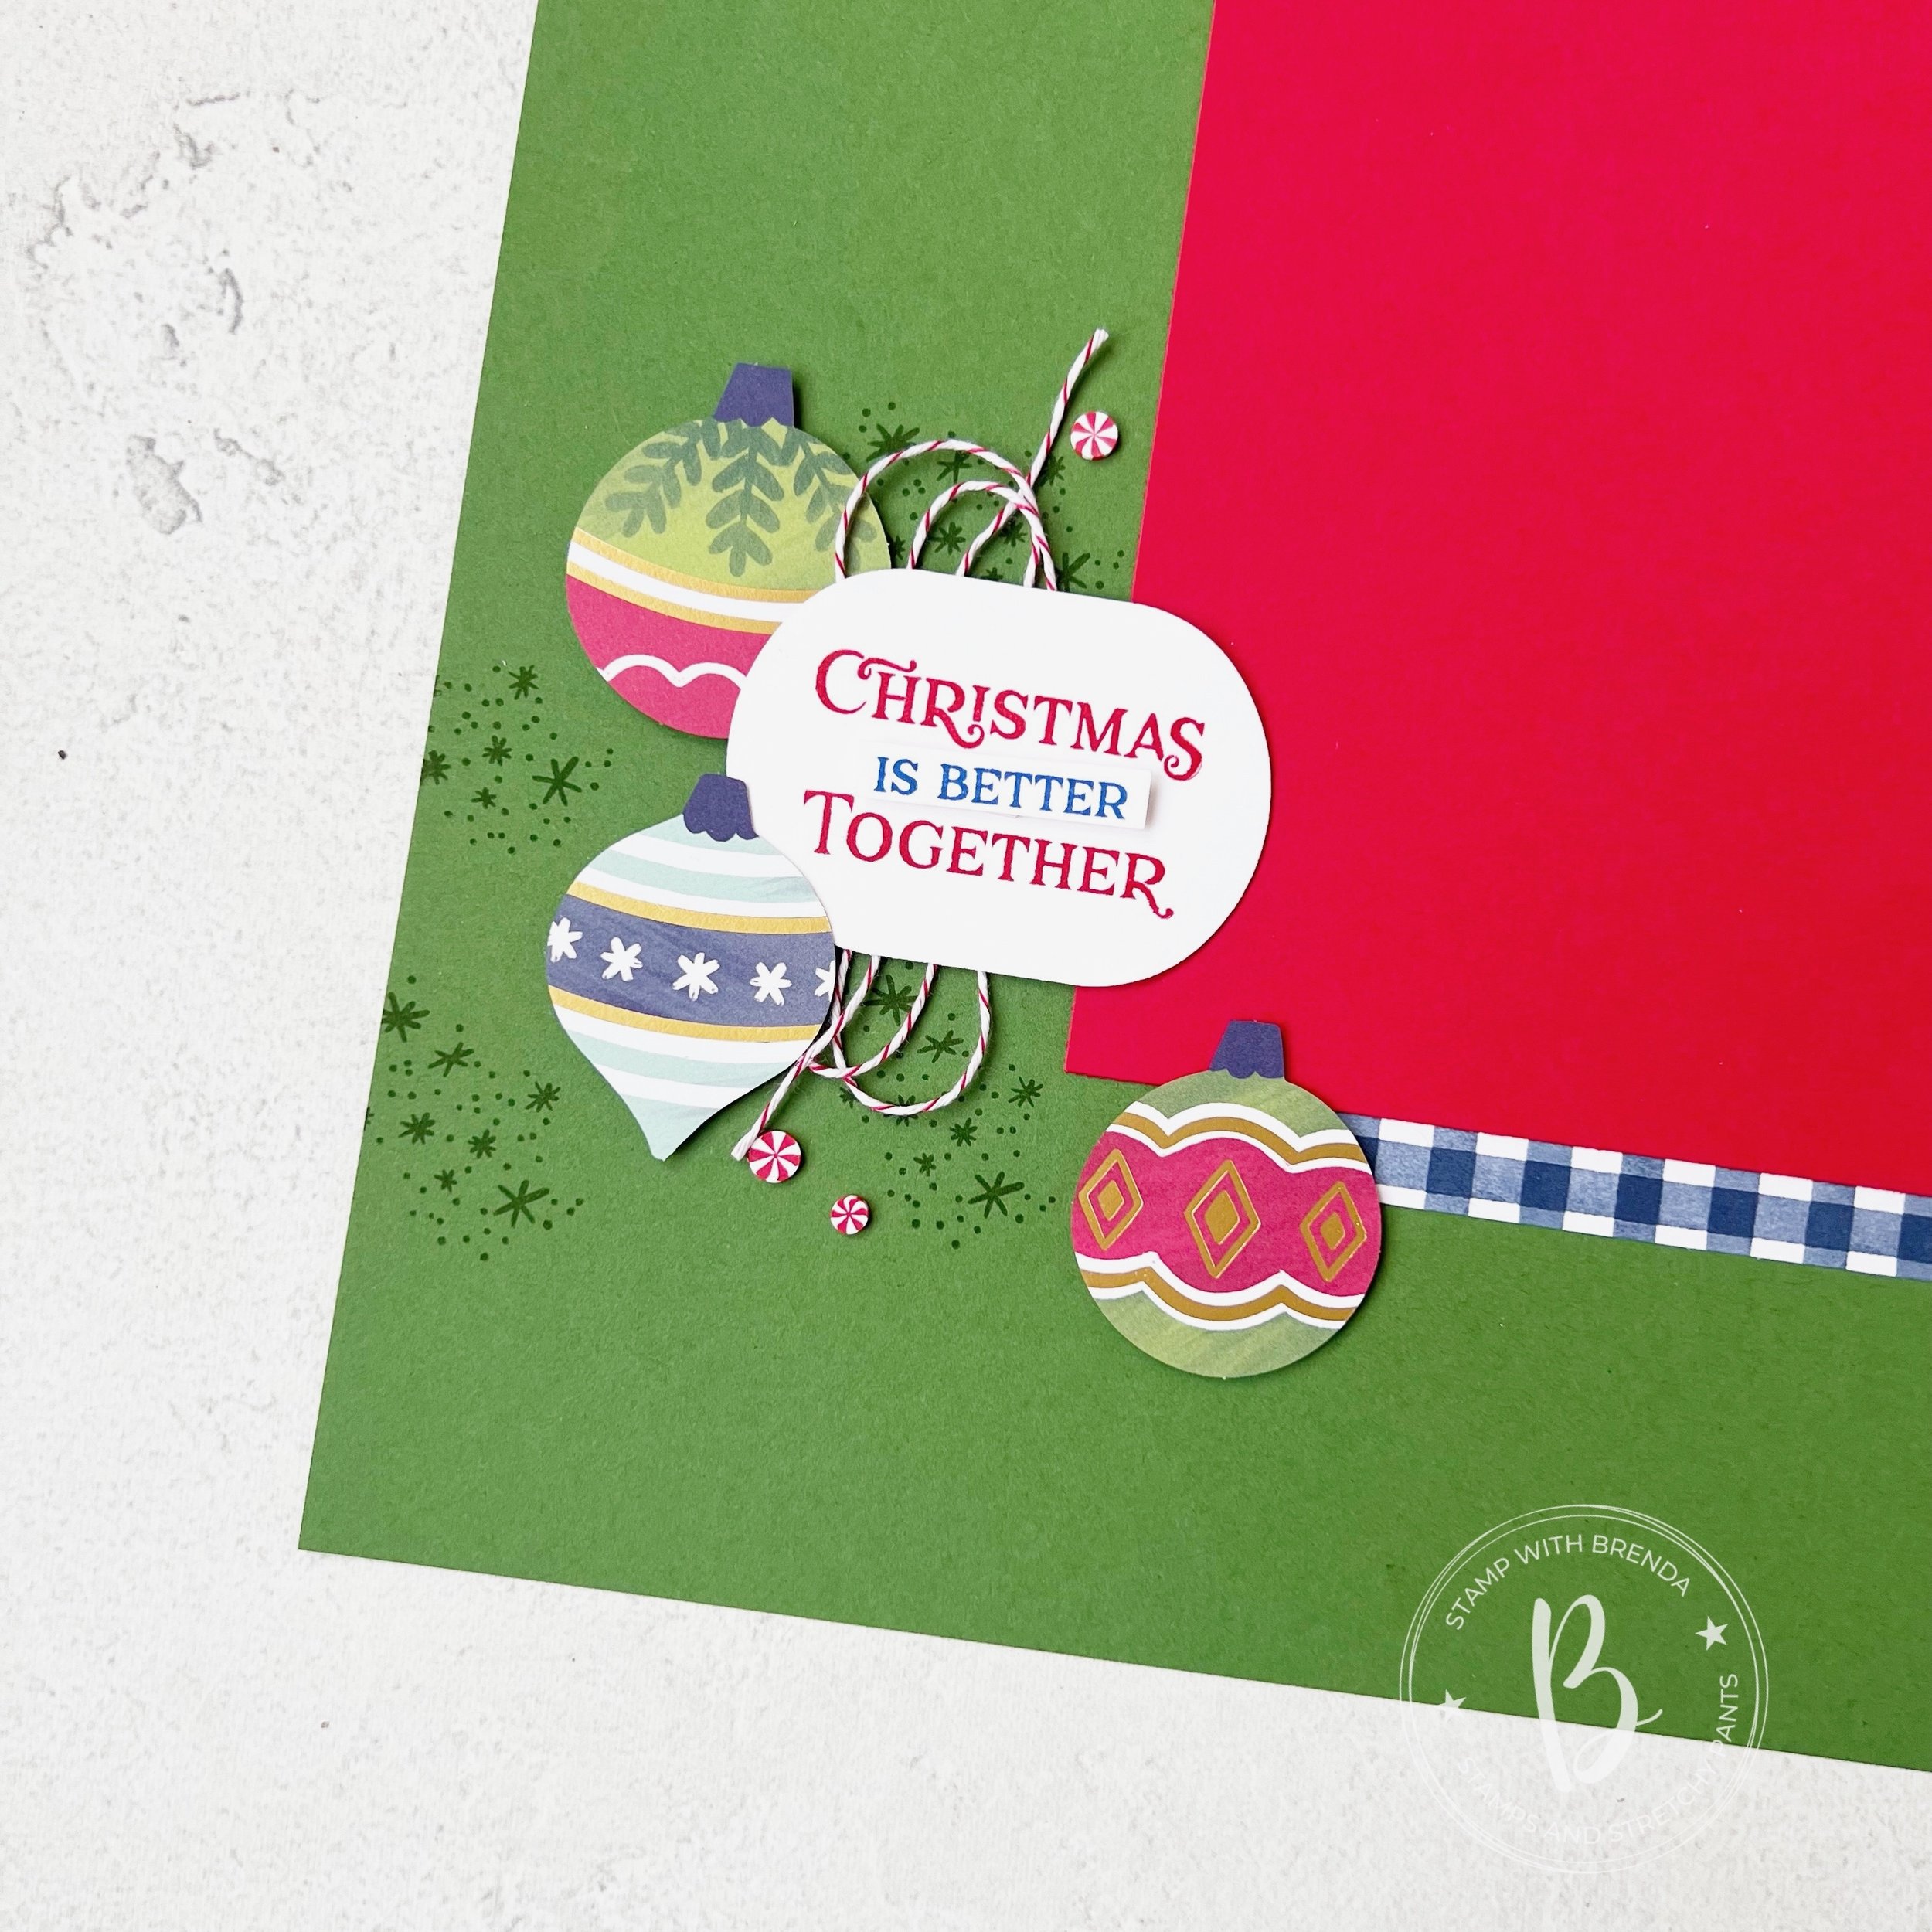
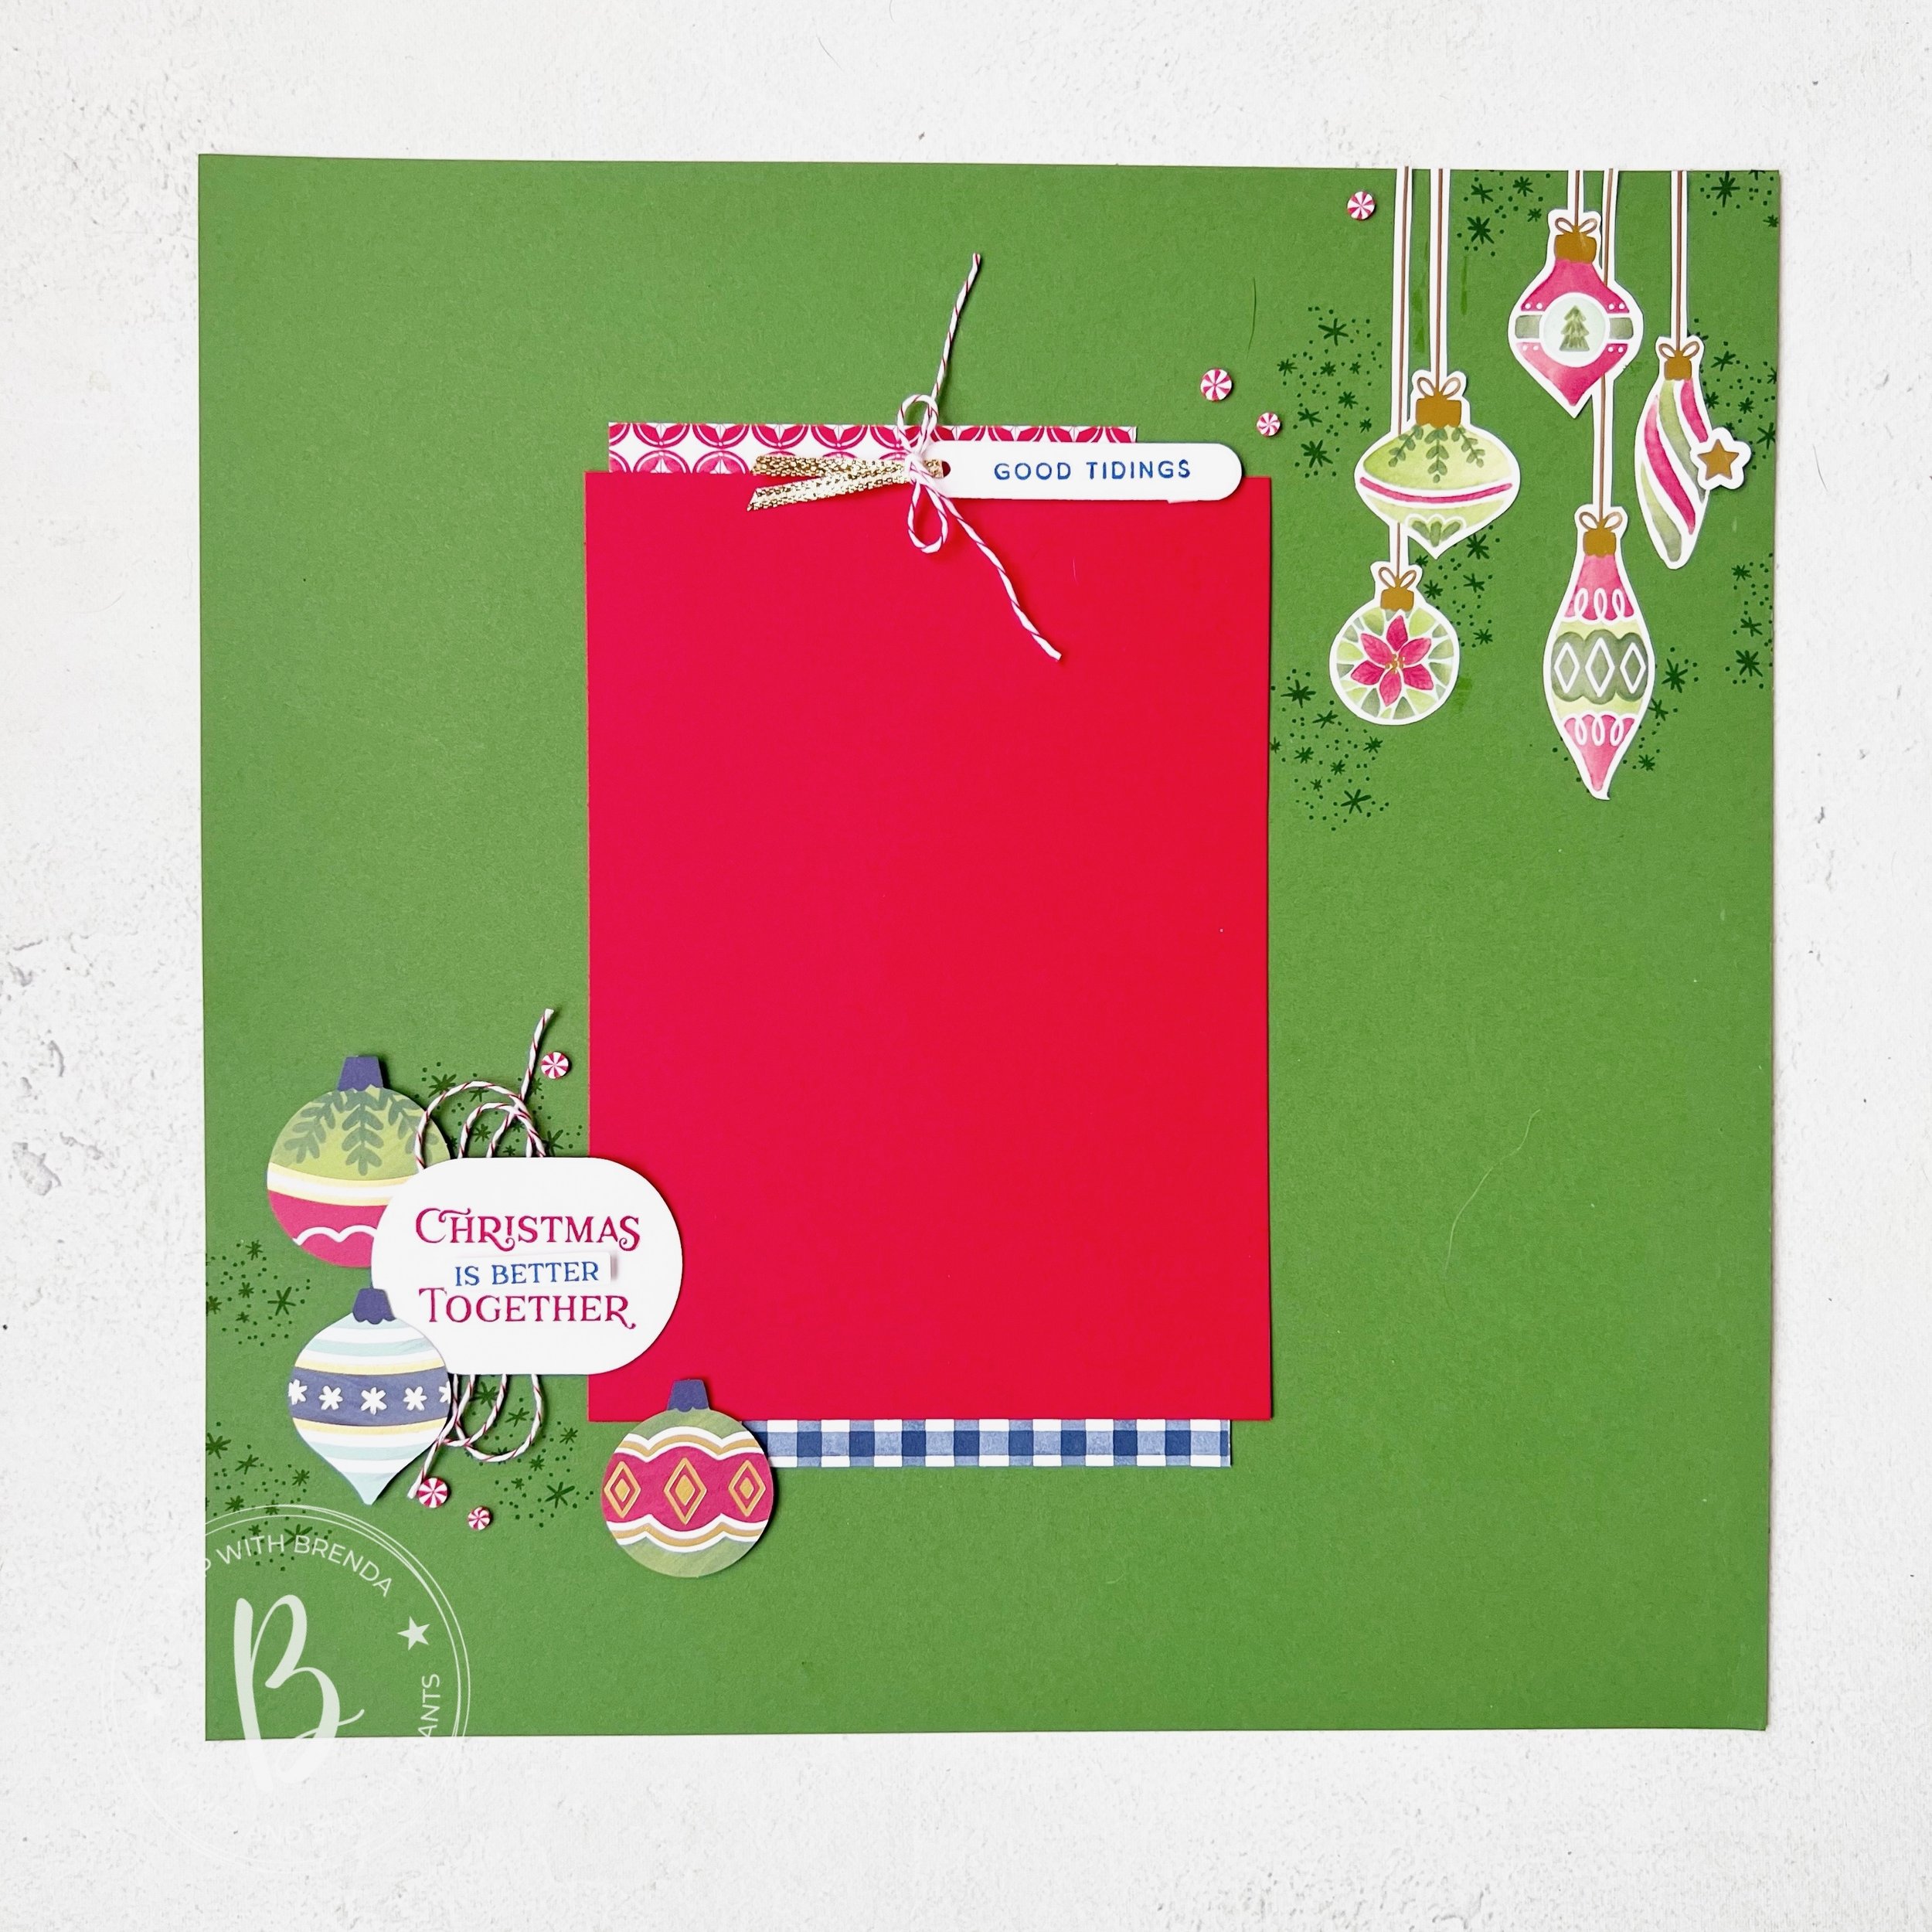
I wanted to share this fun page I made for a page class I teach as I am so happy with how it turned out. You know when you have a ‘vision’ and it comes to life? That is how I felt about this page!
I started with a base of Whisper White (as you know we can only order White Willow from this point on) and I cut myself a stencil using a Window Sheet and the Around it All dies. Using Blending Brushes and ink pads in Pretty in Pink, Coastal Cabana, Peach Pie and Lemon Lime Twist, I created a fun pattern along the side making sure to overlap the ‘bubbles’ so they felt connected.
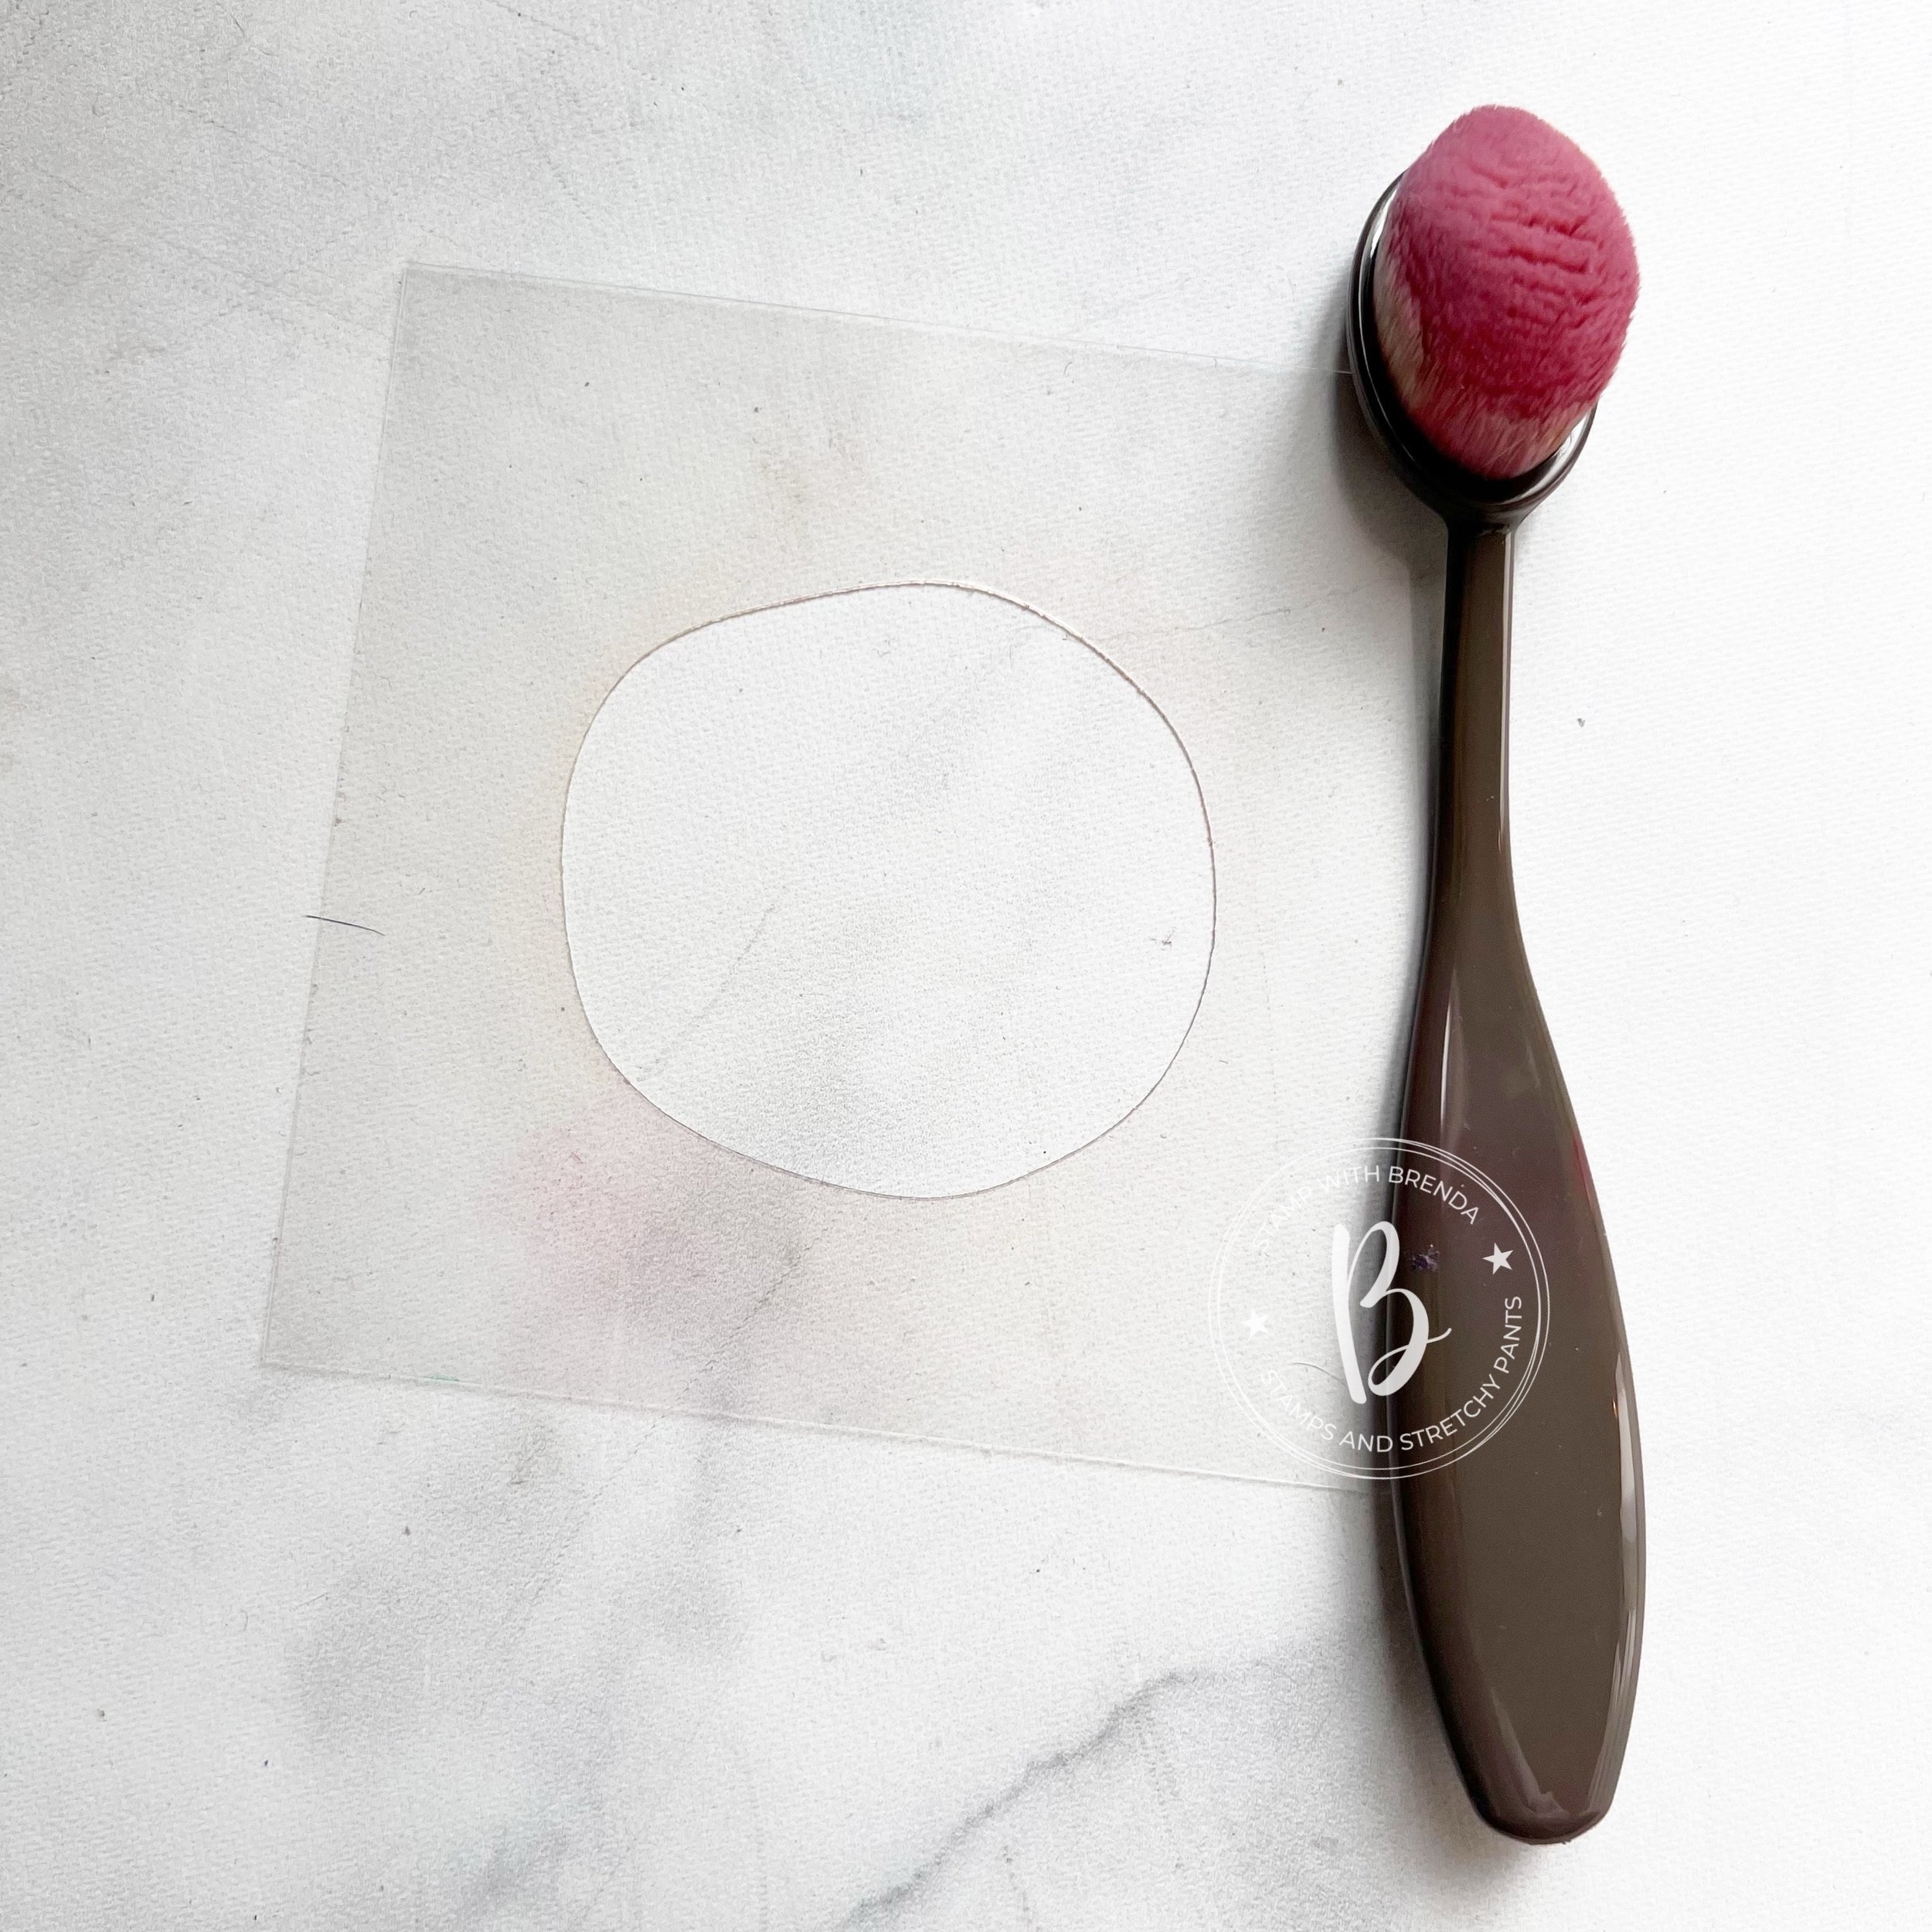
The benefit of a window sheet is you can see through it, which makes placement a breeze—plus you can wipe it off to use over and over again! And don’t throw out the pieces or shapes that cut out—save them to use on another project as a fun element!

I used another die from the set in a slightly smaller size to stamp my sentiment ‘Make a Wish’ from the Birthday Celebrations stamp set. I absolutely LOVE this bundle and it will stay in my ‘keep me’ pile, especially because of the number dies included in the bundle.
I used the banner shape from the Mixed Labels die set to add behind my sentiment with some banners from the Lily Pond Lane DSP and some Linen Thread. The little tiny heart is from the Humble Home Builder Punch that was out during holiday season.
Adding some tone on tone embellishments also makes this a fun little area on my scrapbook page.

I stamped out ‘hooray’ from the Birthday Celebrations stamp set in Lemon Lime Twist to add overtop of that bubble—just like how I used the embellishments. As you can see on the page, anything added over top of the bubble coordinates with the bubble color—like the Peach Pie heart from the Hearts of Elegance Dies (a MUST HAVE—seriously #addtocart).
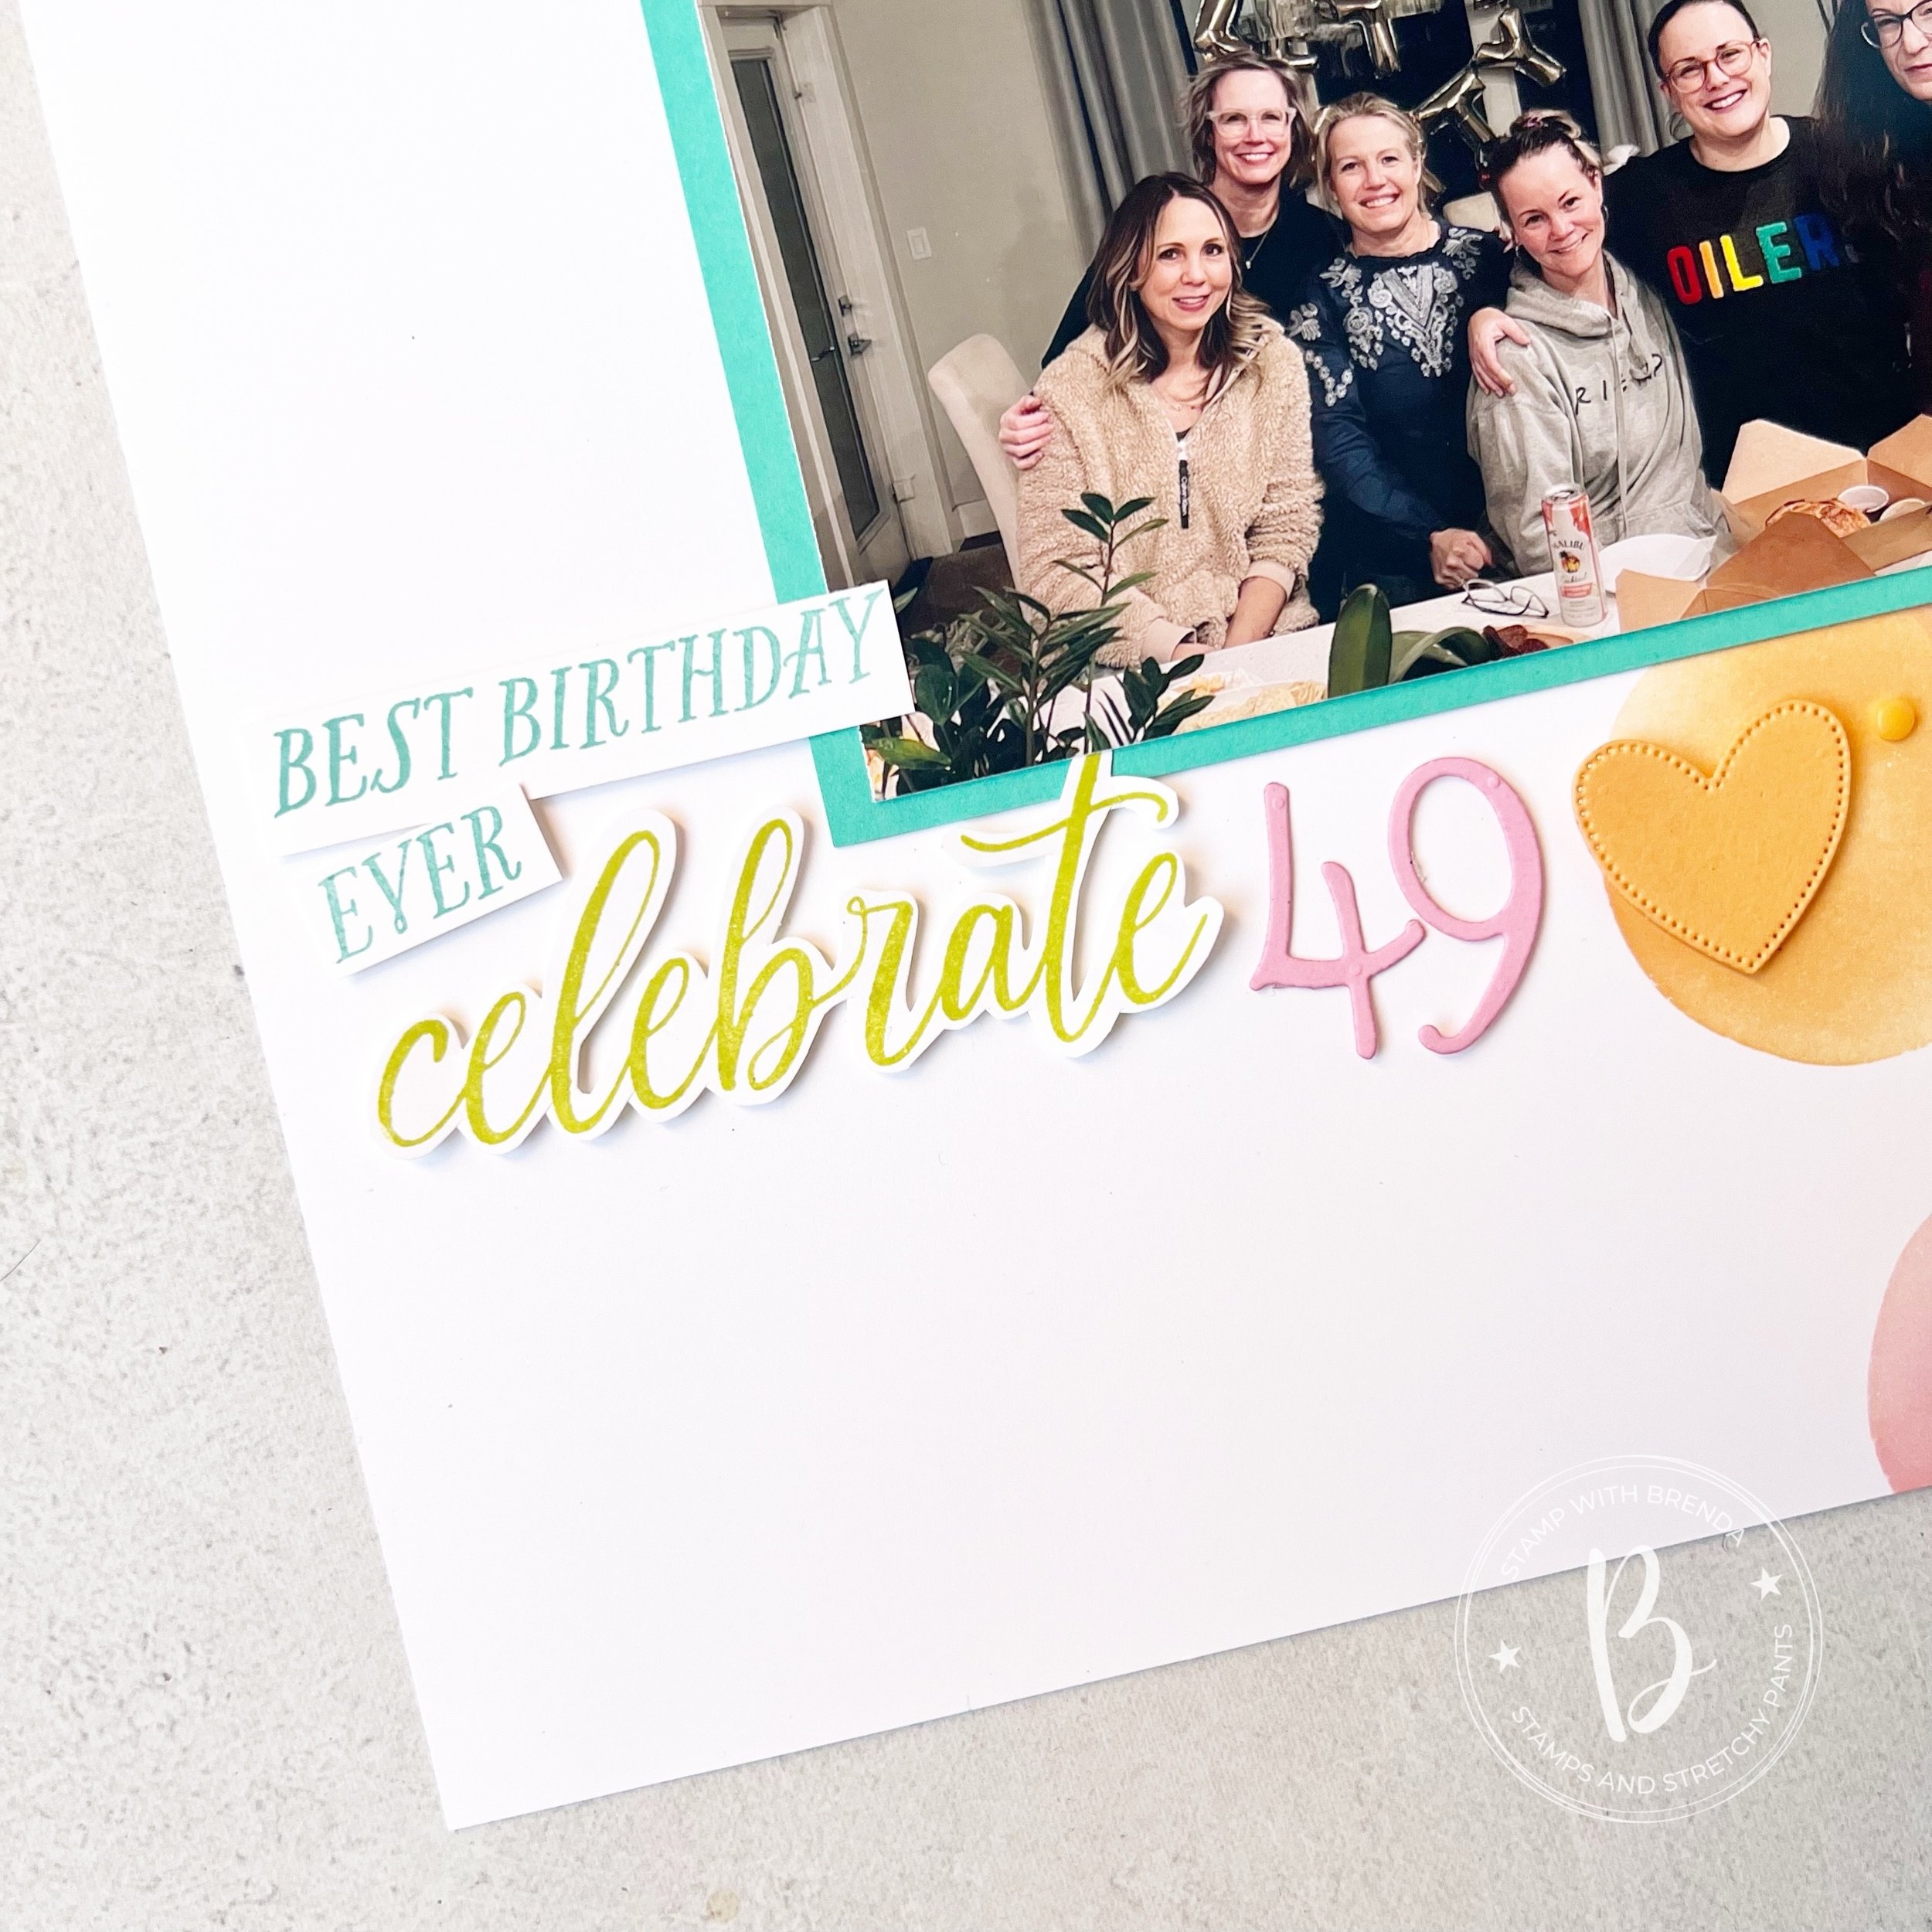
The remaining sentiments on this page are from the Wildflower Celebrations stamp set, which can be found in the Scrapbooking Brochure. I fussy cut them out and added them with a Pretty in Pink 49 to celebrate this birthday. Last one in my 40’s!

If you are inspired by this page, please help me keep loving what I do by shopping with me! I would be sincerely grateful—and if you are interested in joining my Making Memories Membership Program to learn how to scrapbook—get in touch!
Shop with Me!
Product List")
")


 Cardstock")


Farewell for now friends! I would love to hear from you, so please leave me a comment!


 Mix & Match Specialty Designer Series Paper")
")
")

 Cardstock")


 Trim Combo Pack")


