Be Inspired Blog Hop-Holiday Time!

Hi friends! Welcome to the Be Inspired Blog Hop! We have added some new members to our monthly Blog Hop and I am so excited! So make sure you go and visit all of the wonderful projects being shared and leave us some happy comments!

The theme for our Hop this month is HOLIDAY TIME and of course that meant that I had to share something Christmas related in the form of a scrapbook page. As much as I love to make cards, I really do love to scrapbook as my first passion.

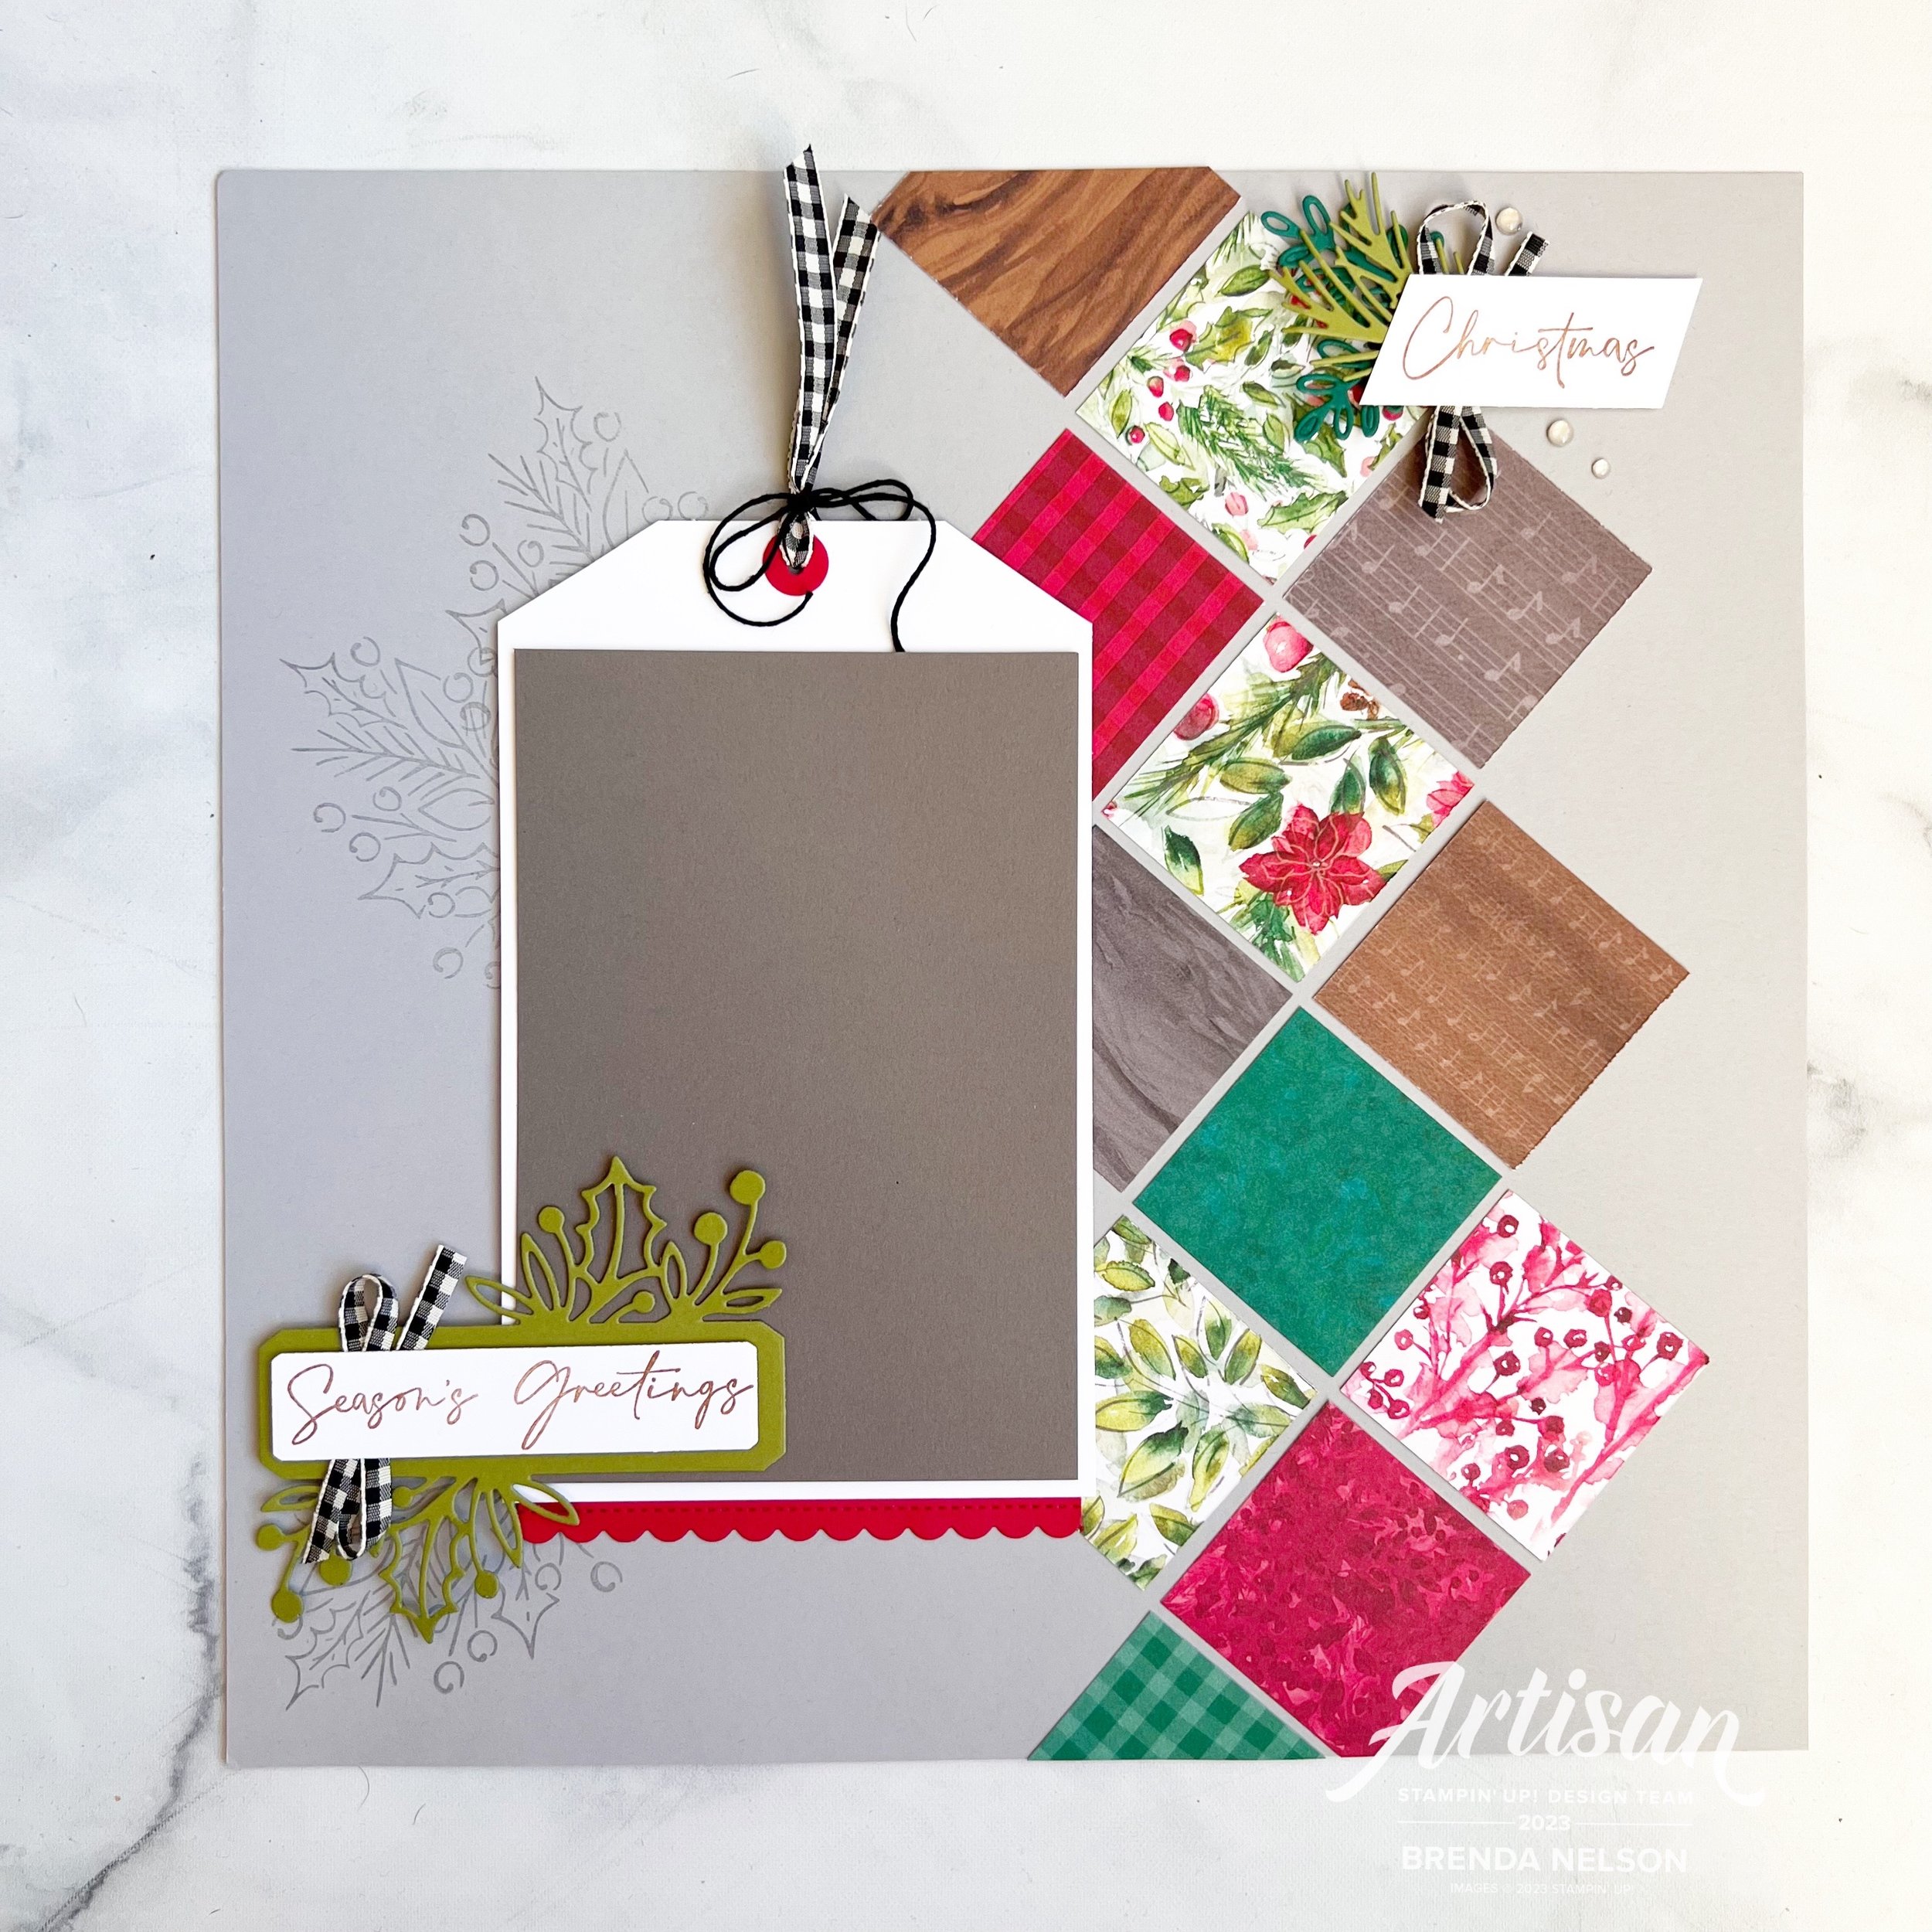
When thinking of Christmas I was thinking of gift tags so I decided to make an oversized gift tag as a photo mat, and I am so happy with how it turned out!

I cut my standard 4 1/4 x 6 1/4 photo mat in Pebbled Path—this color choice was a direct result of the Joy of Christmas DSP—I LOVE this paper! I love the unconventional use of grey and brown tones in with classic Christmas colors.

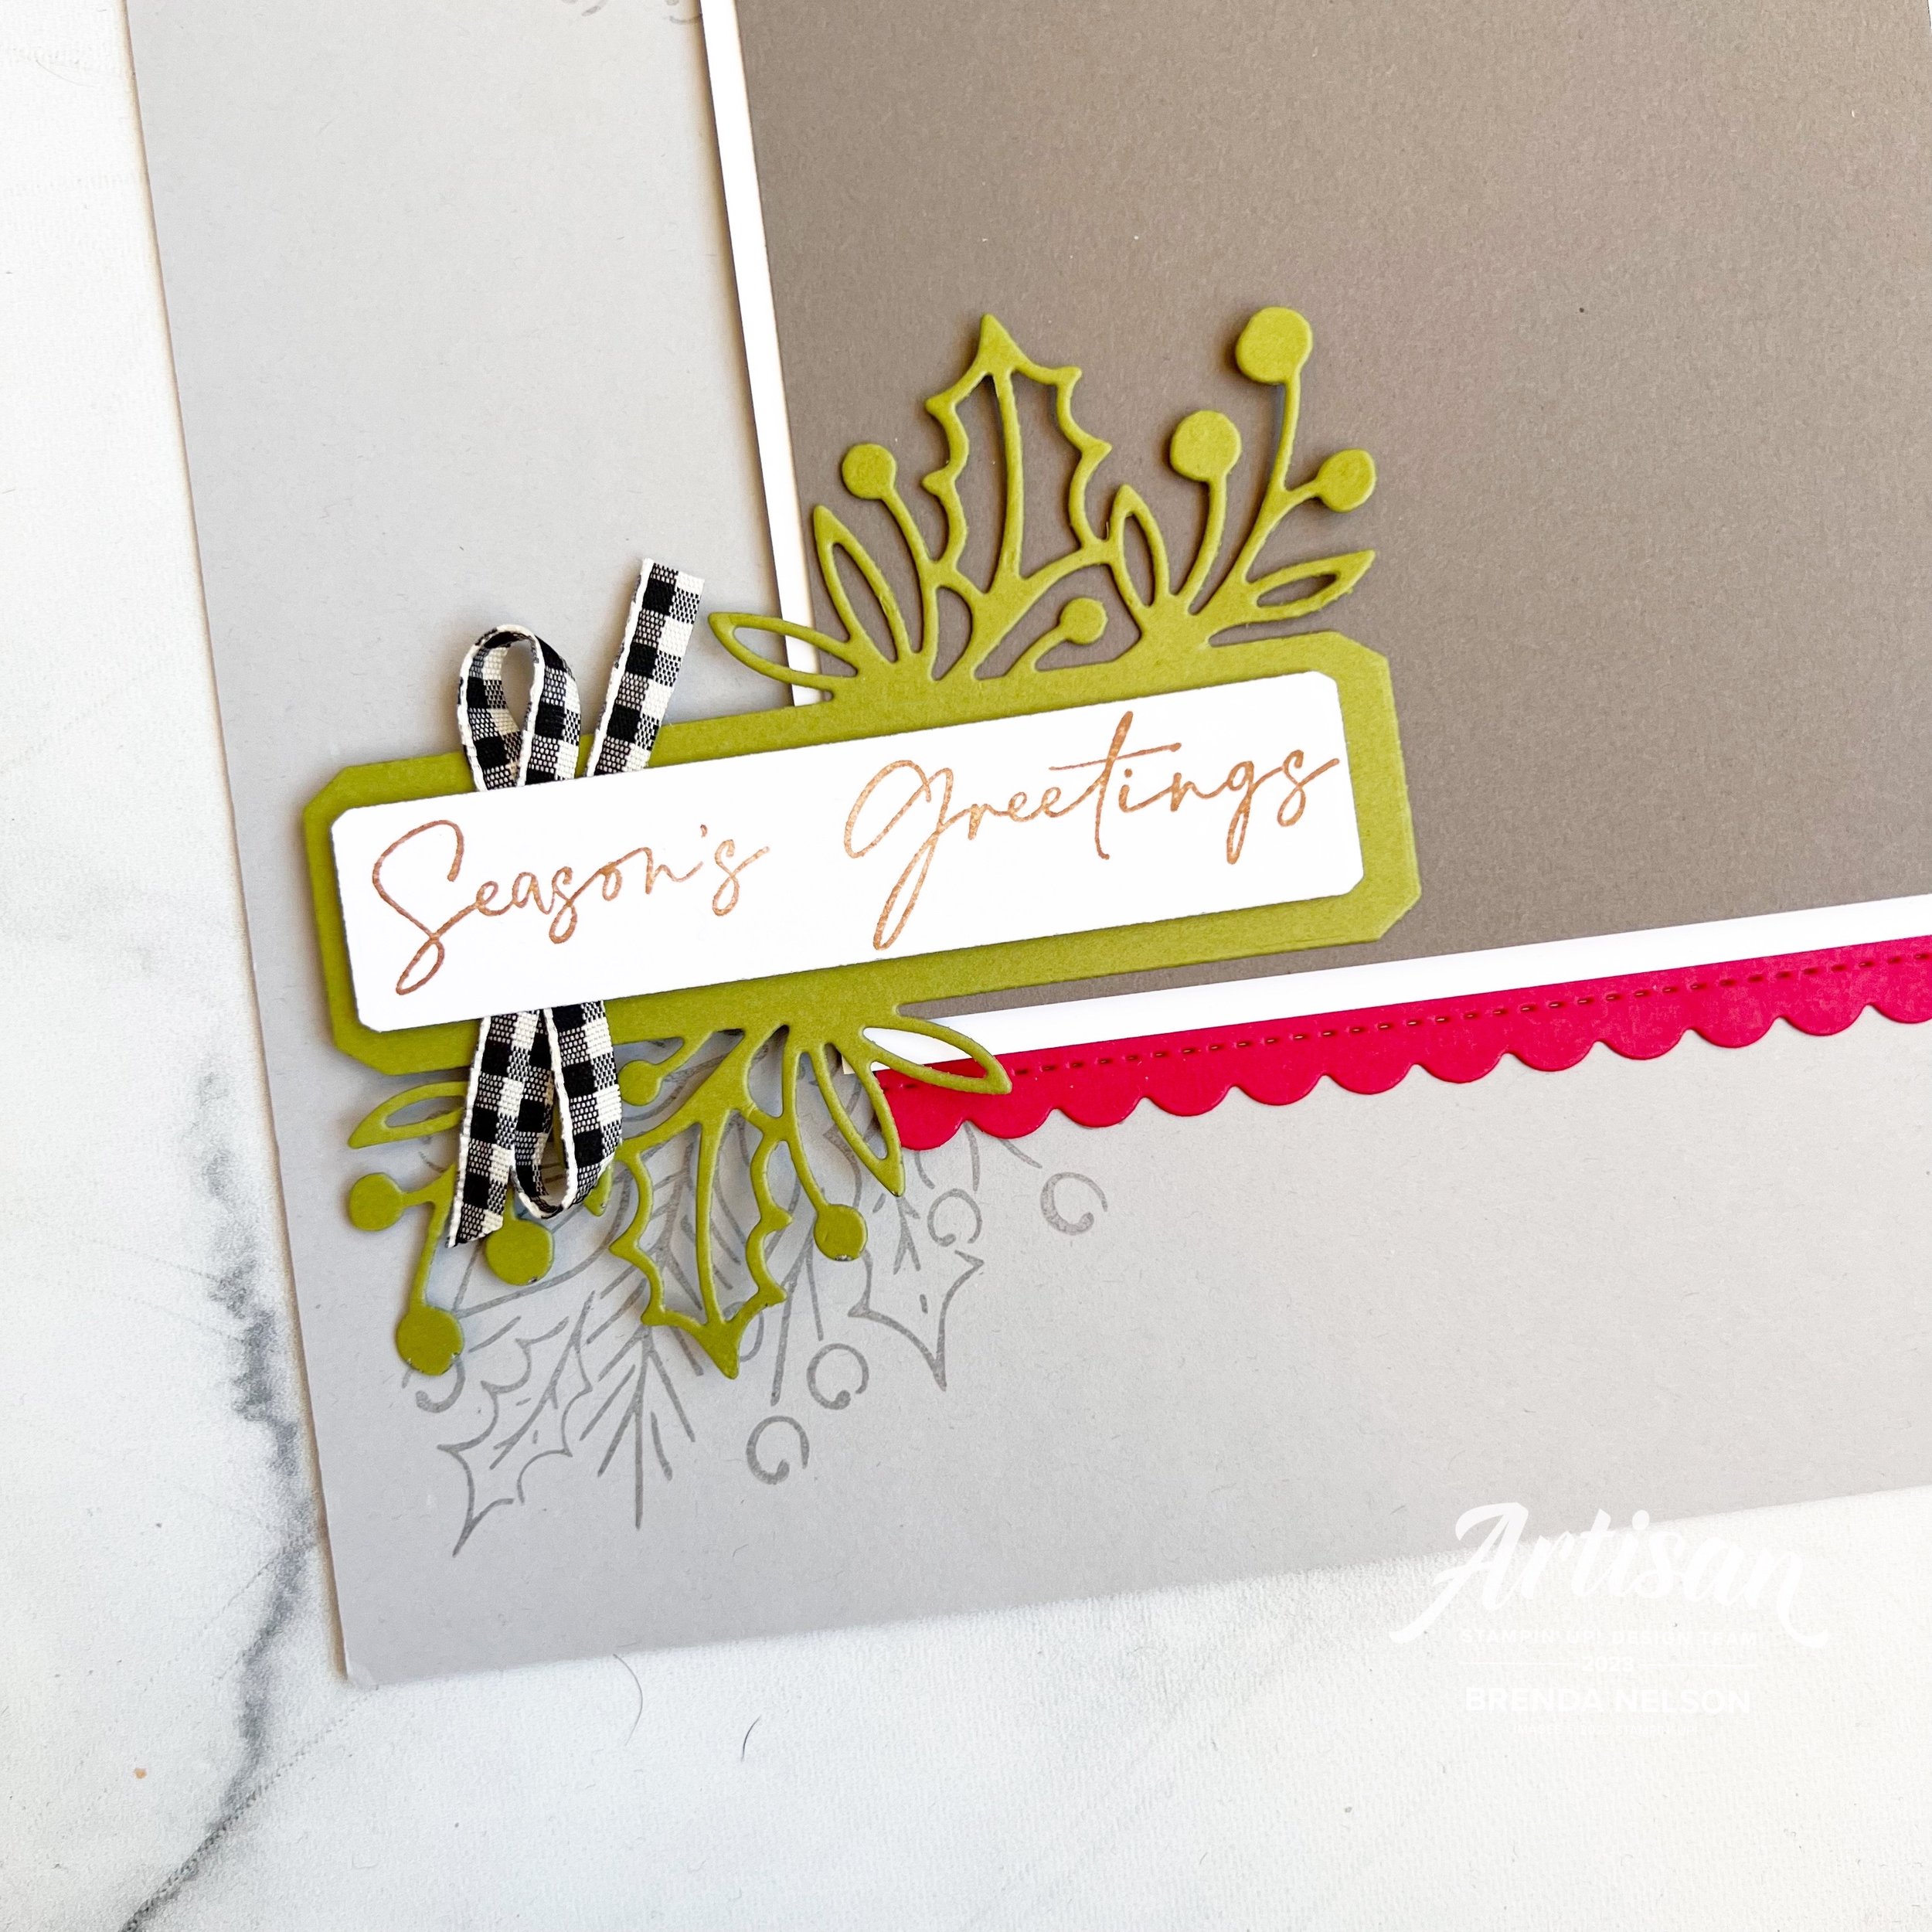
I cut the tag portion of my photo mat after gluing the Pebbled Path layer to some Basic White. I added a scallop border to the bottom with Real Red and some Black & Very Vanilla Gingham ribbon to the top portion.

I used the Classic Christmas Dies to add in ‘ Season’s Greetings’, stamped in Pecan Pie ink. I used the large image from the Joy of Noel stamp set, to add some background stamping in Smoky Slate at is the base of my scrapbook layout.

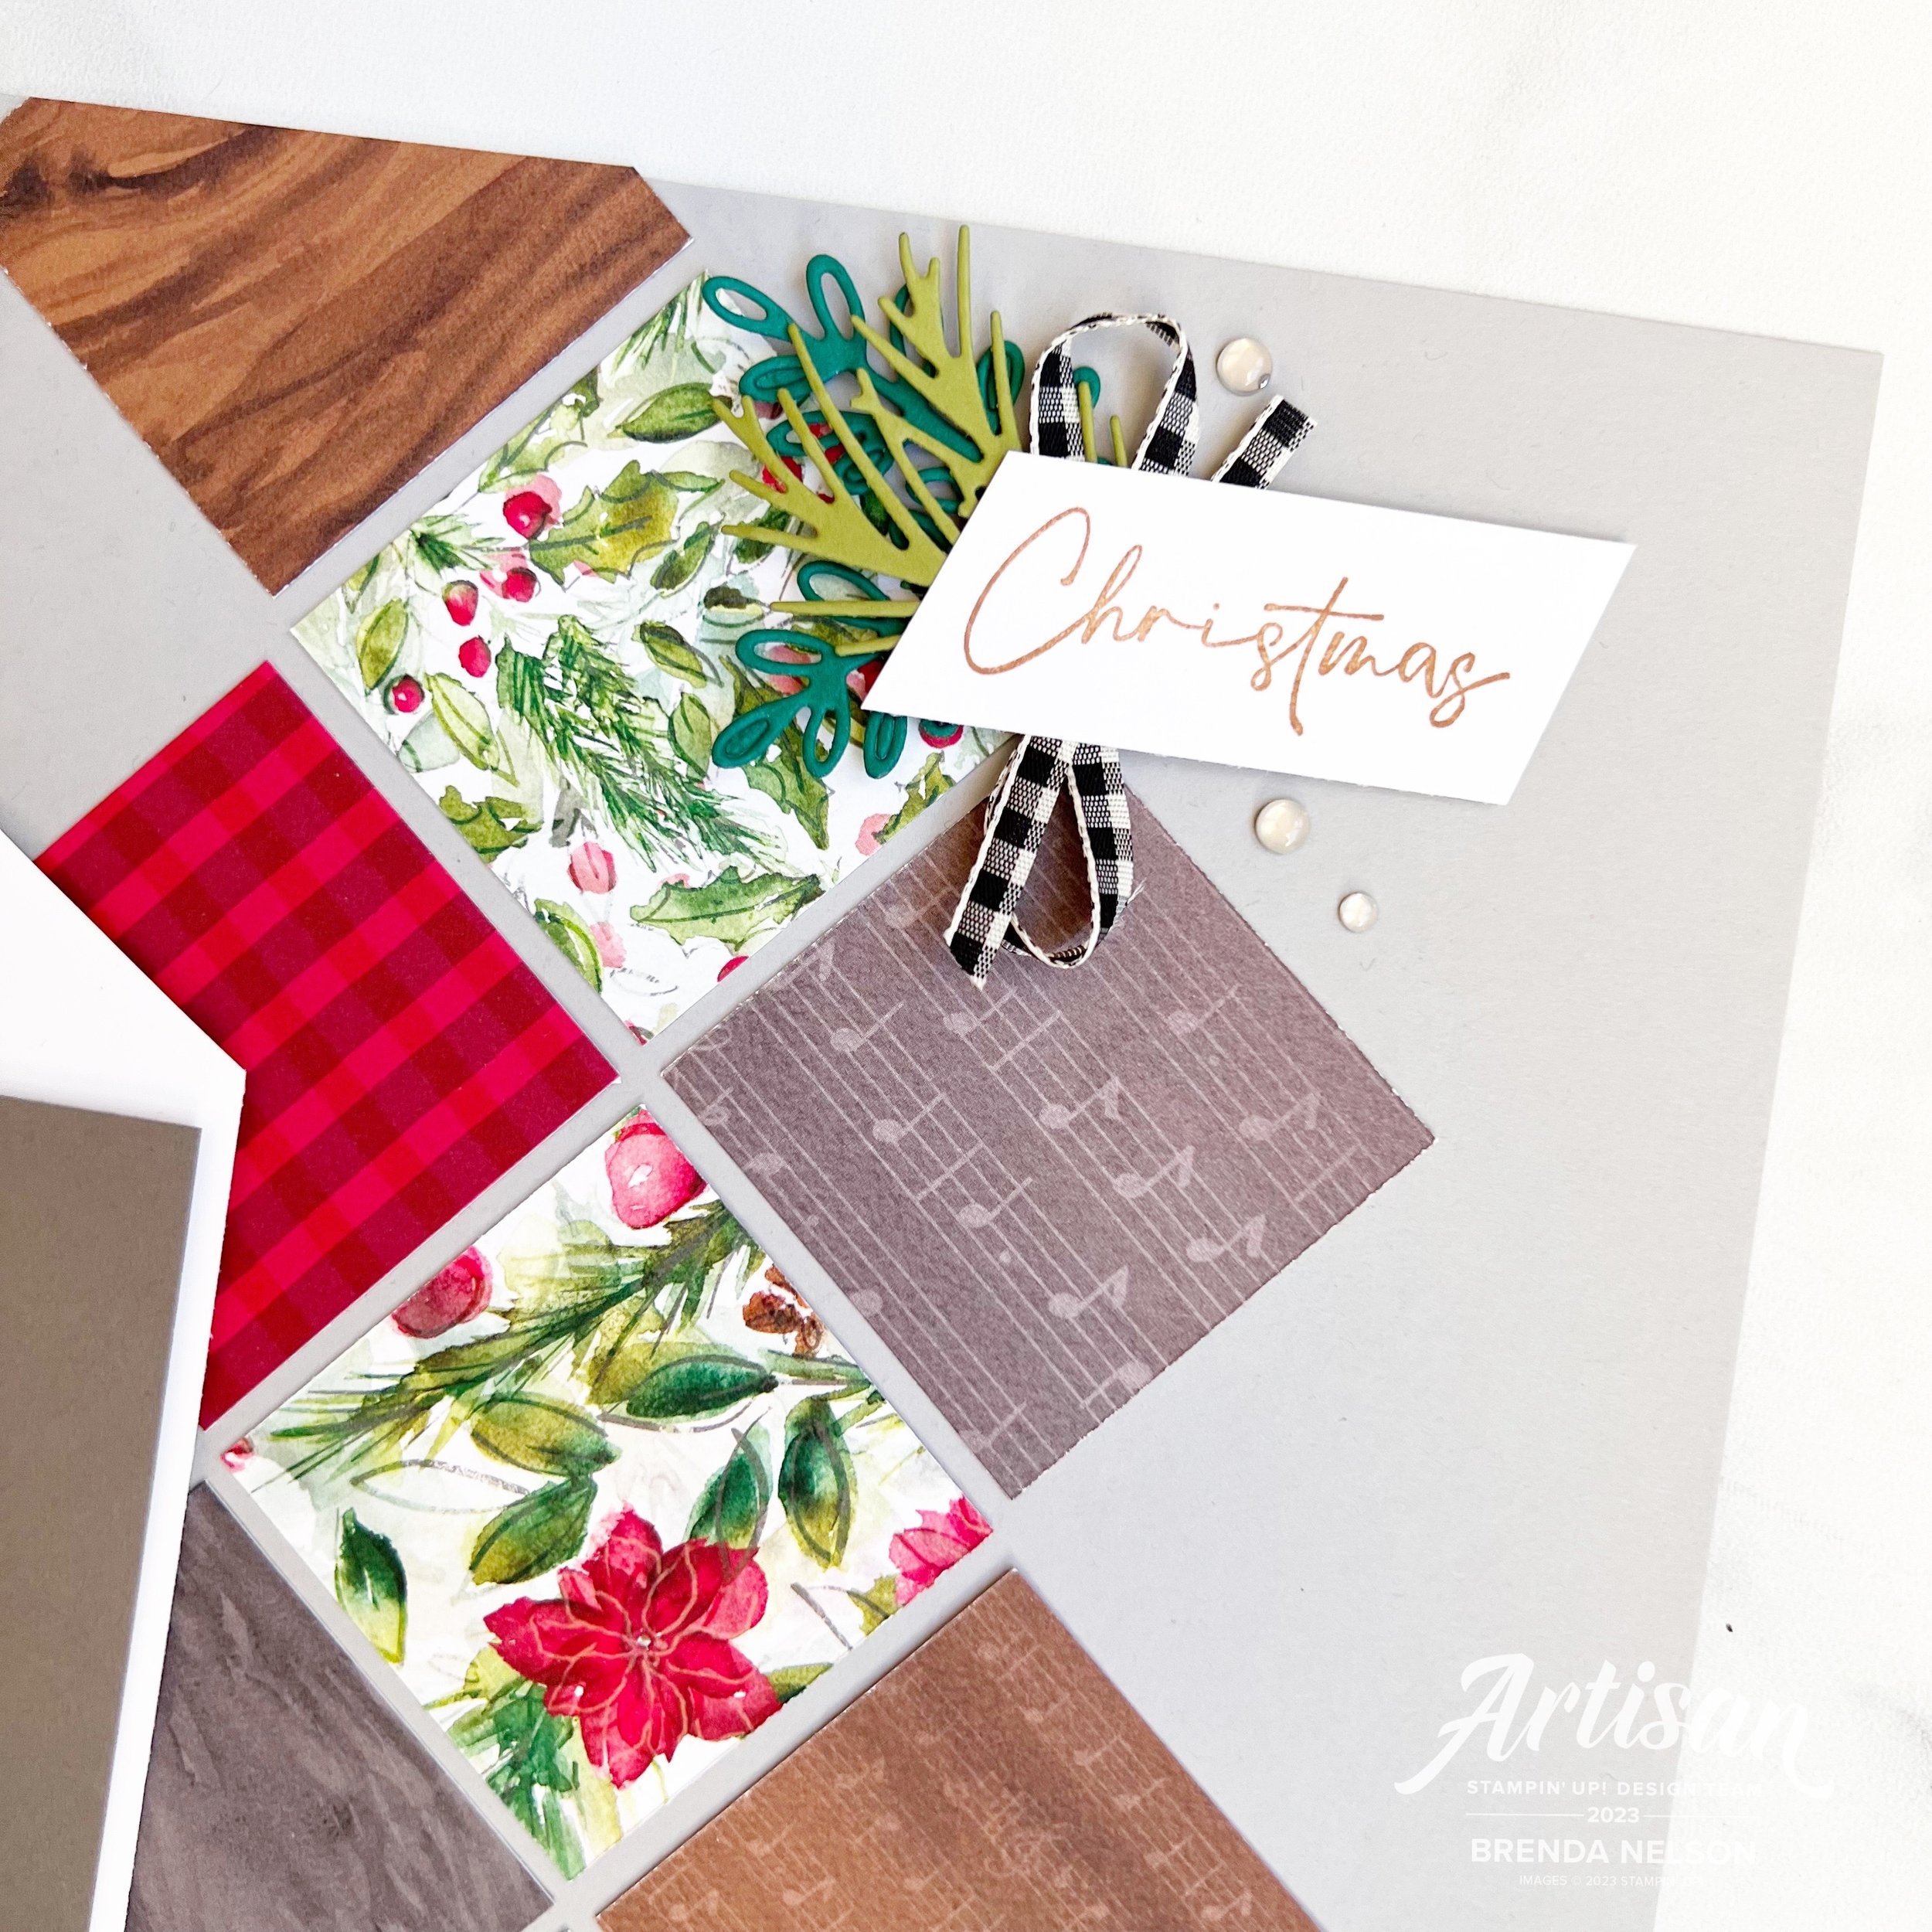
I cut a variety of 2x2 squares of the Joy of Christmas DSP to add in a diamond format to the base of my page. This is such a good way to highlight and incorporate DSP into your page designs.

It also gave my another opportunity to add a sentiment and I decided to focus on ‘Christmas’ also stamped in Pecan Pie ink for continuity. Some greenery in behind in Shaded Spruce and Old Olive helps tie in the color scheme found in the DSP.

I used a little more gingham ribbon behind both sentiments as well so that everything feels connected on the page.

I love how this page is a mix of modern with the grey tones and traditional with the red and greens. Its one of my favorite scrapbook pages I have made lately and I can’t wait to add a holiday photo to it!

I am so excited to see what the rest of the Be Inspired Blog Hop team has created with our theme of ‘Holiday Time’!

You can get to Janneke’s project by clicking the link below!

If my project has inspired you, please consider shopping my online store! You can do so by clicking any image below!

Color Fusers--July--Hello Summer!

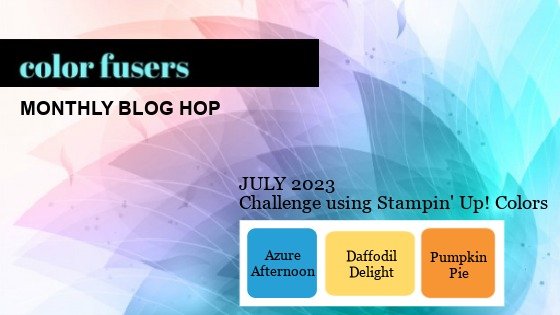
Hello friends! It is OFFICIALLY SUMMER—Whoo Hoo! I love summer time, I love to water my flowers and I see it as a personal challenge to keep them alive ALL season long, which is a challenge as I do not have a green thumb. Our Color Fusers Blog Hop this month is featuring these 3 colors:

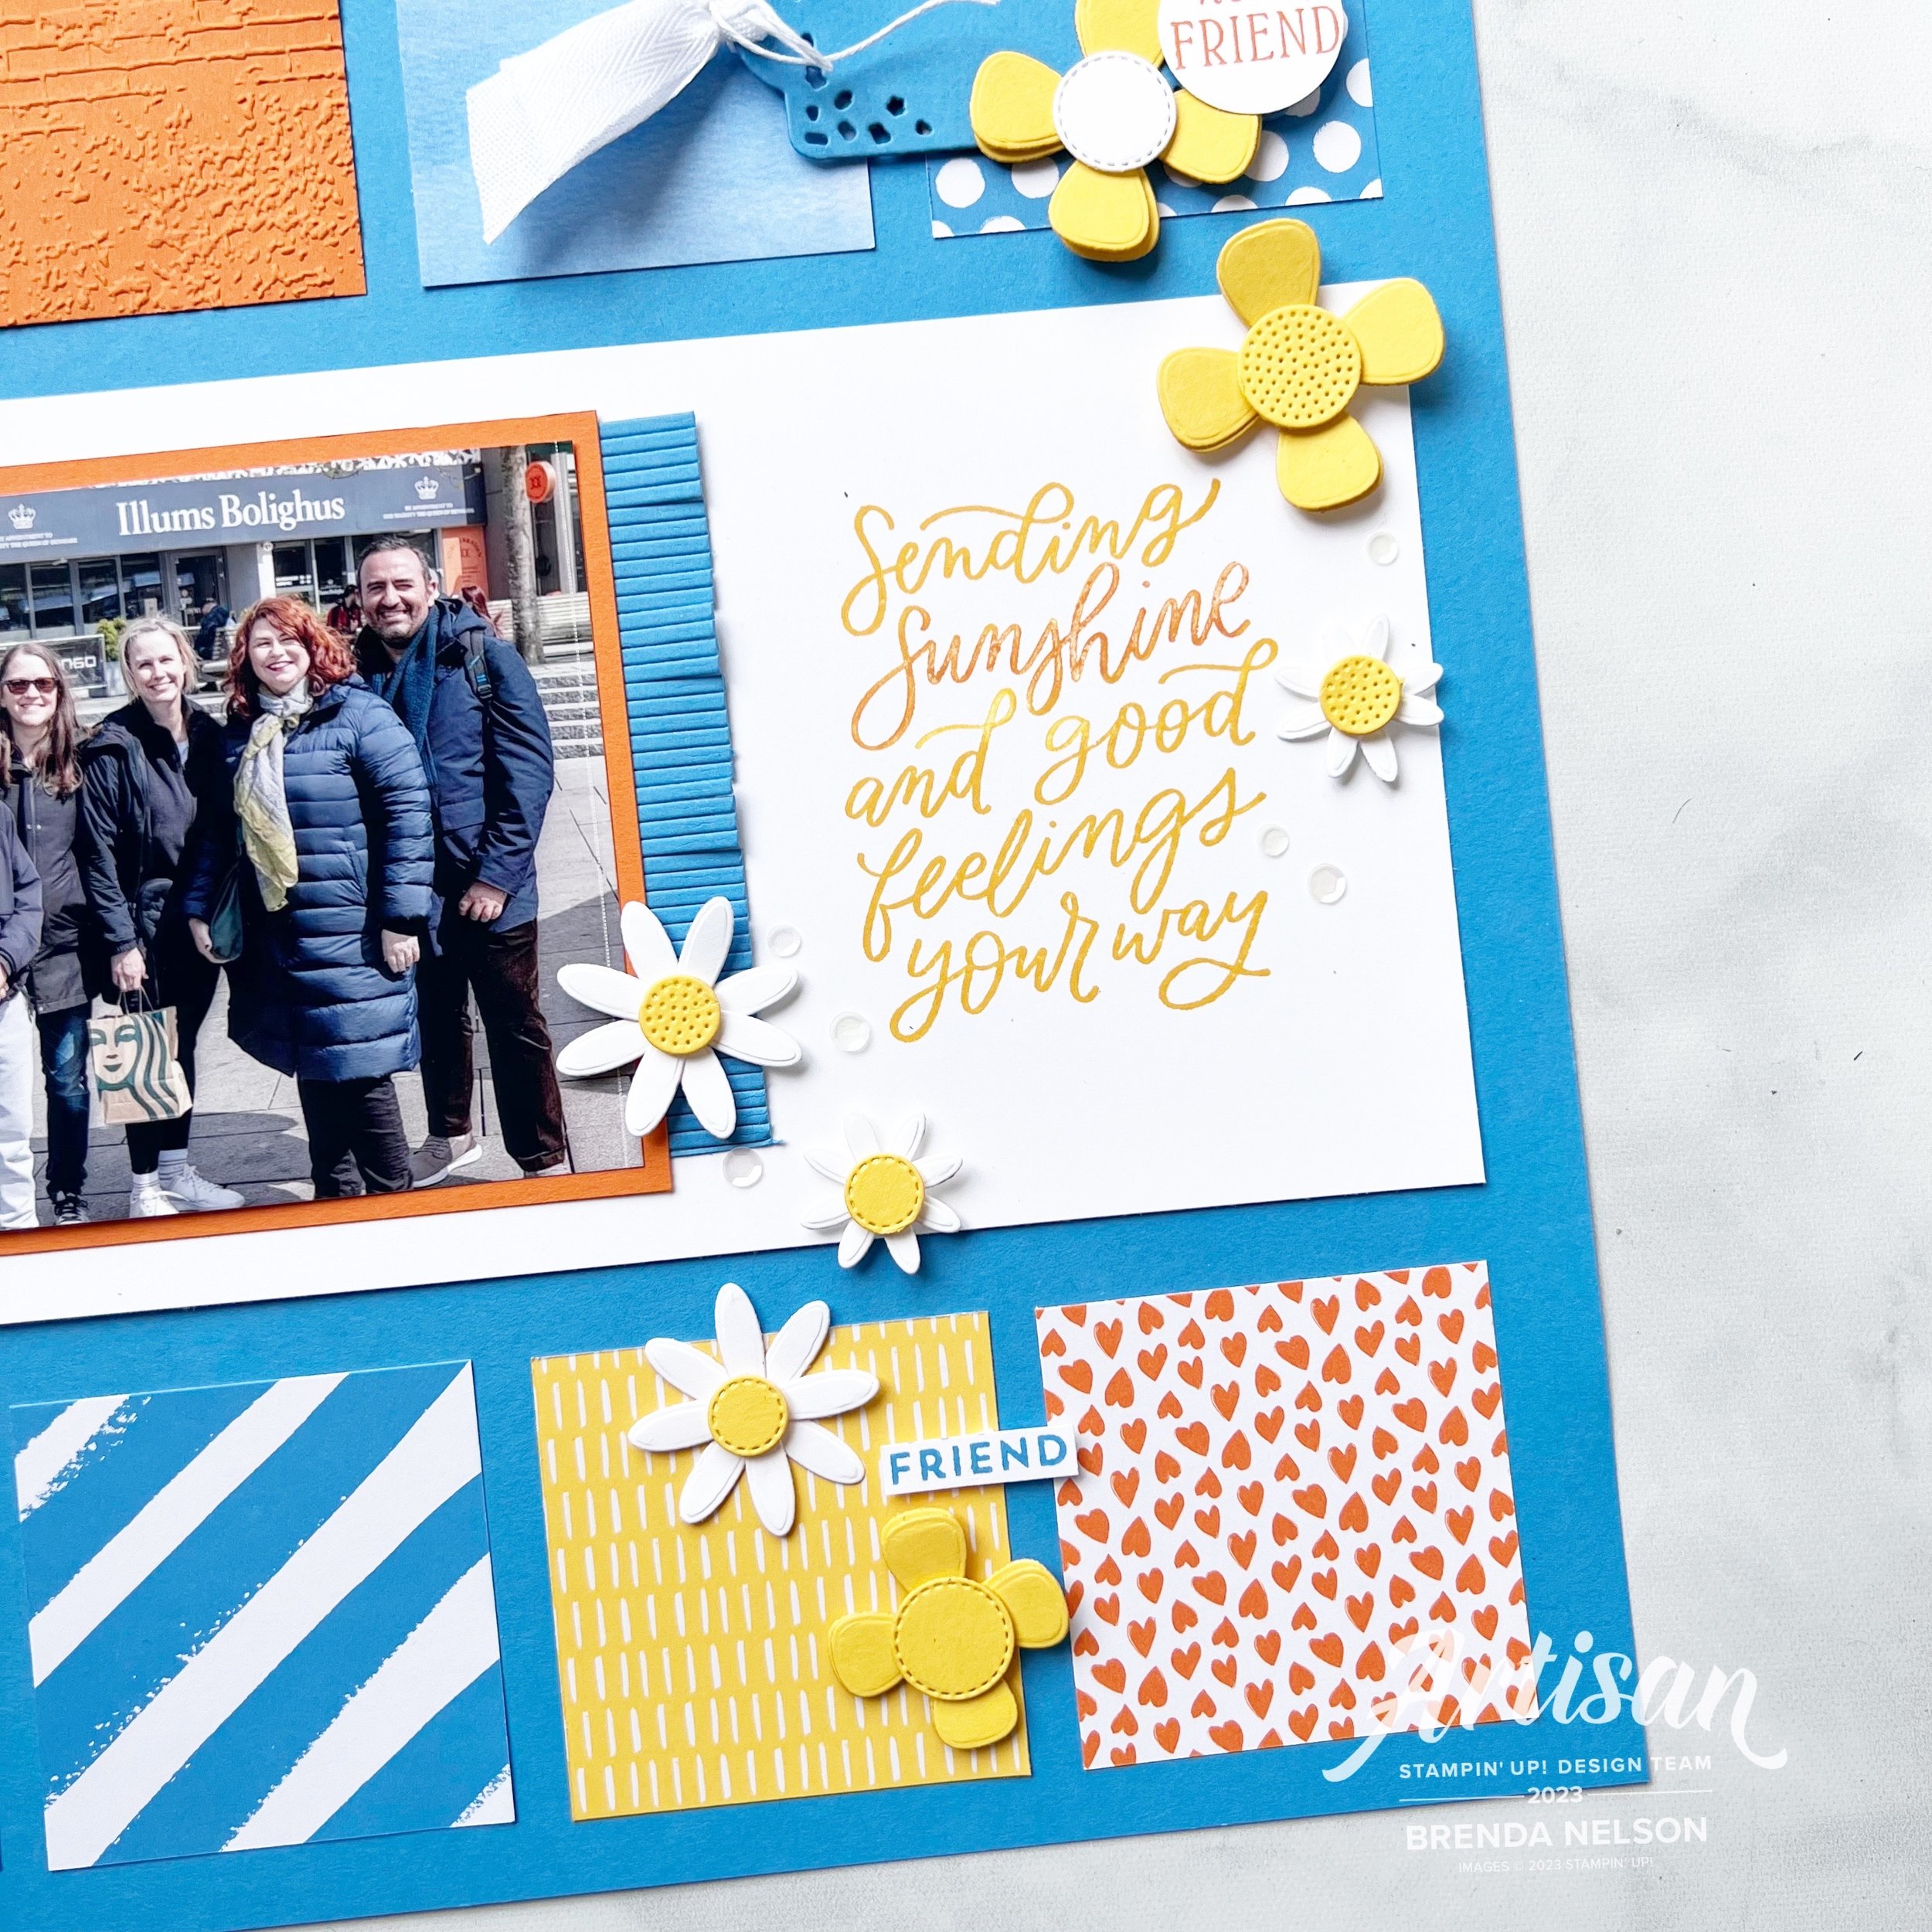
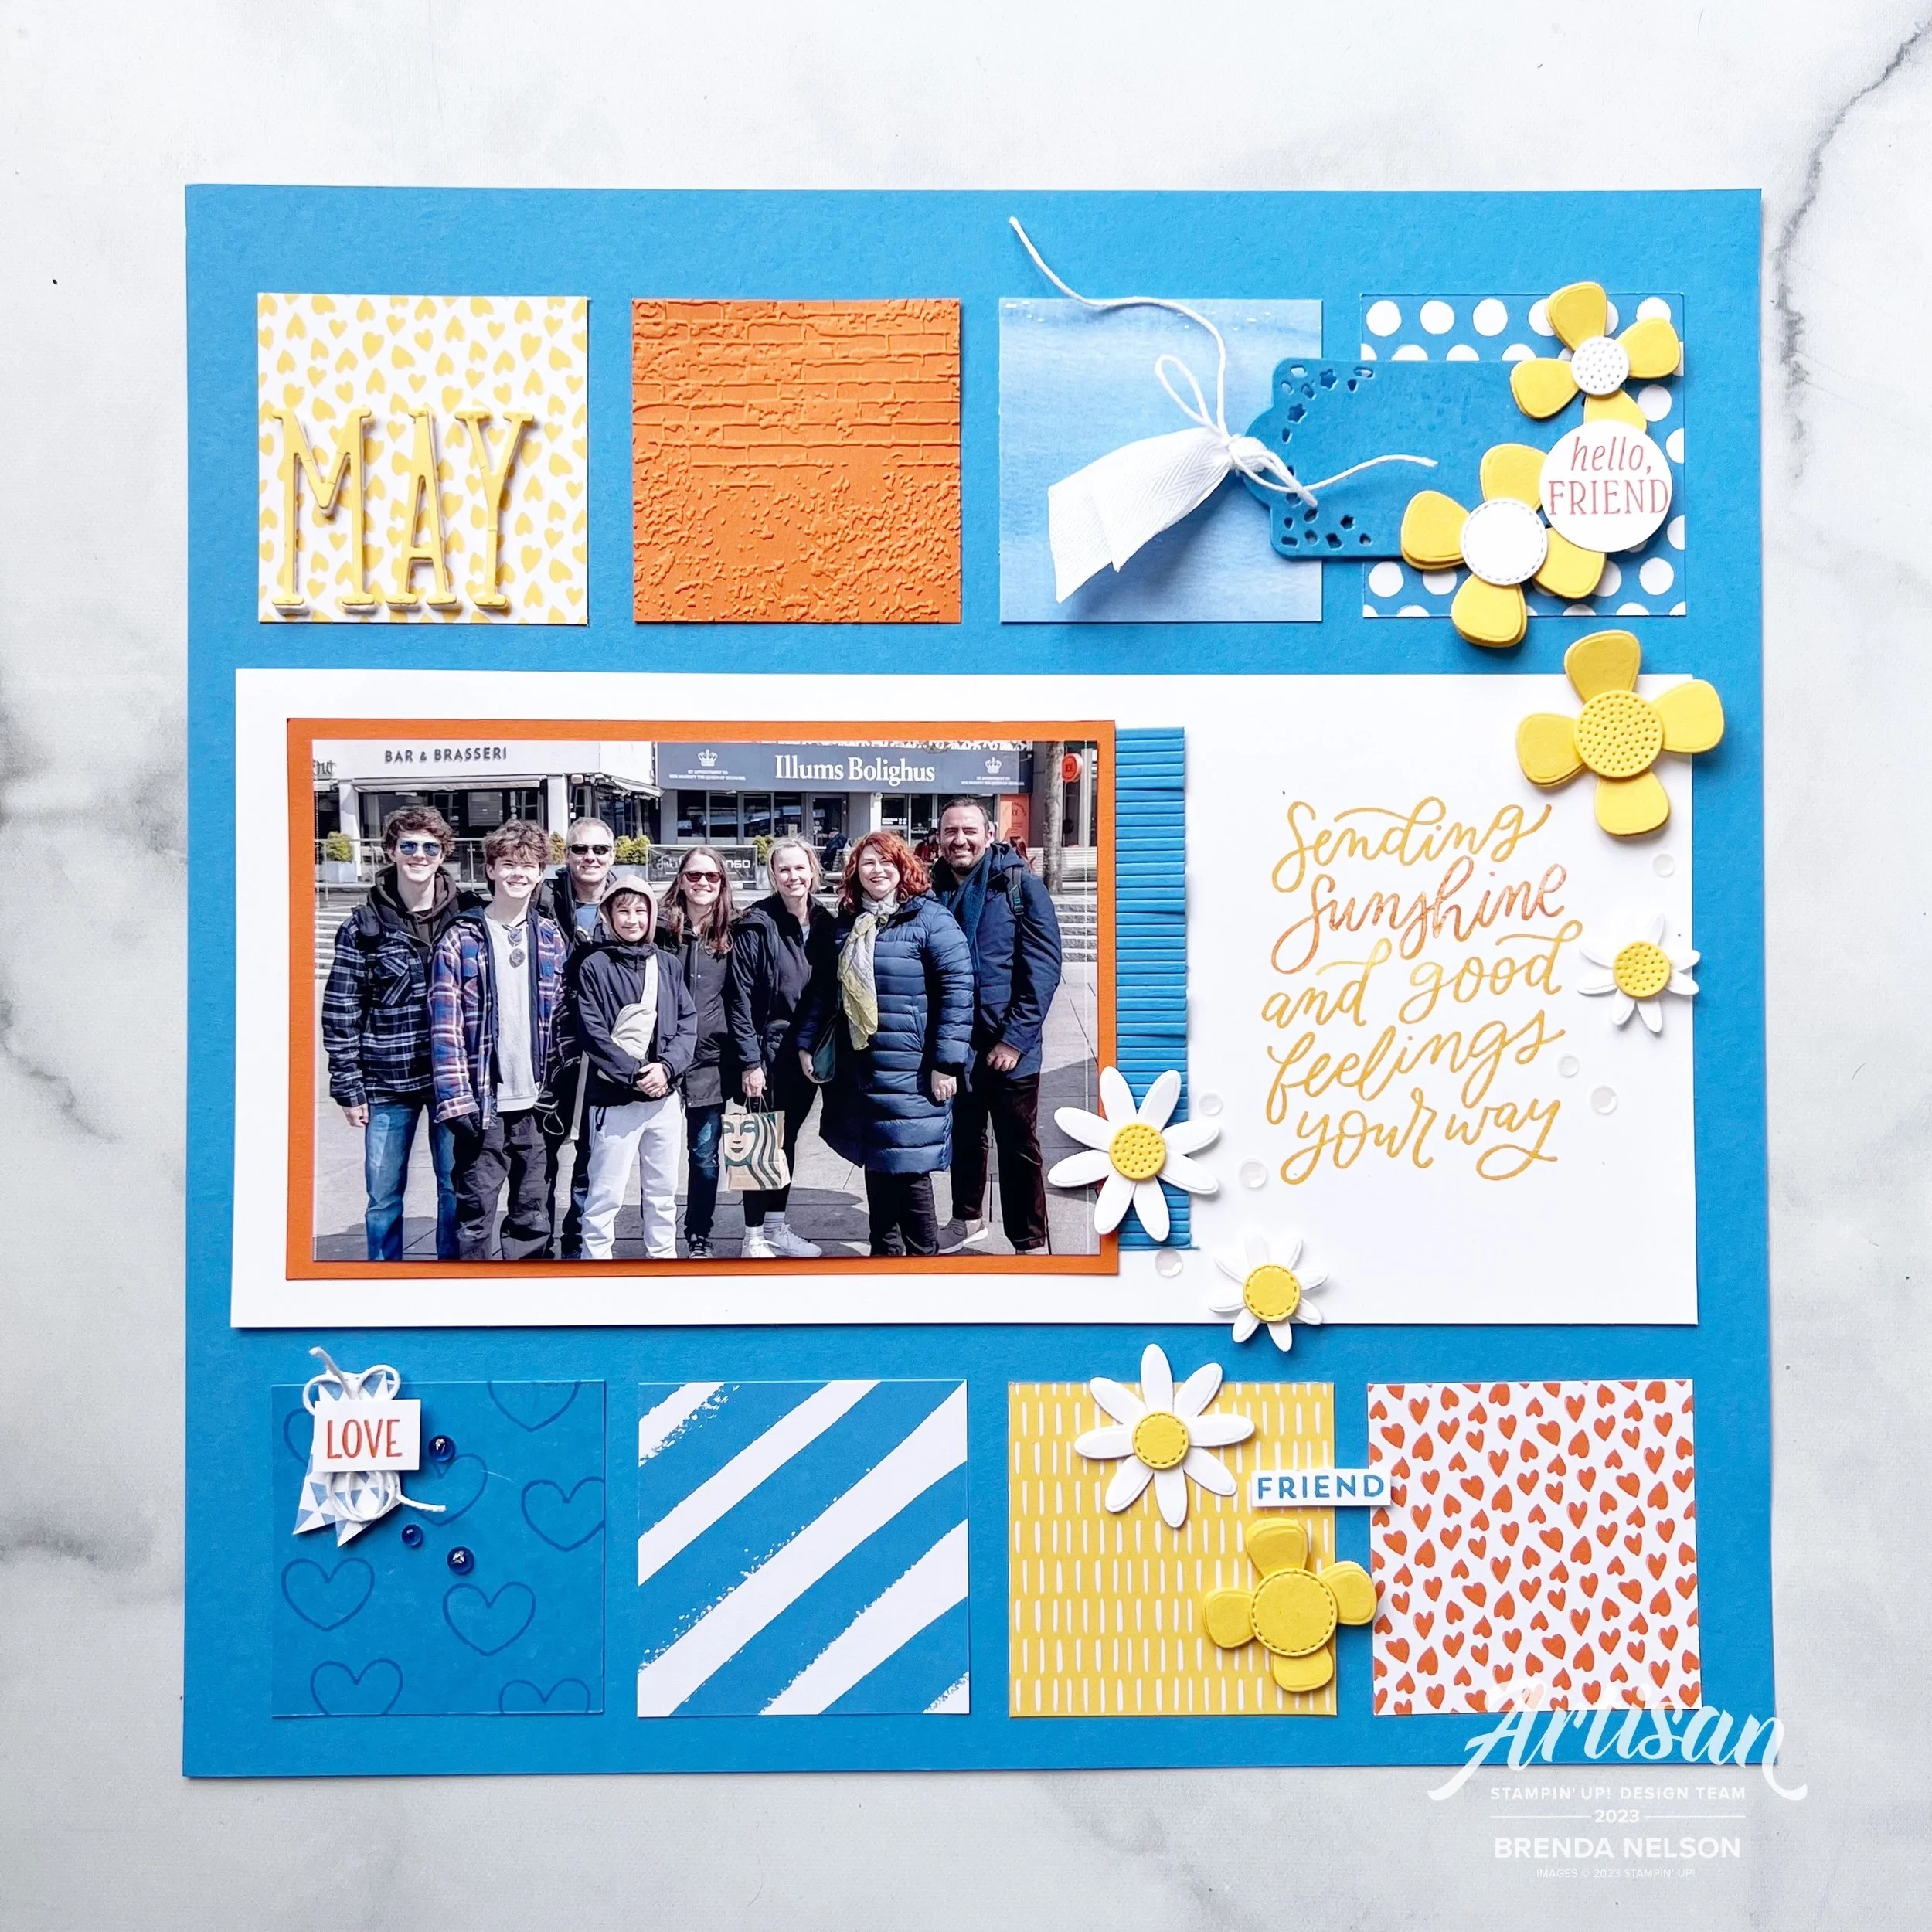
And because I have flowers on the brain, I knew that I had to incorporate the new Paper Florist Dies into my design. I also knew that I wanted to create a scrapbook page with one of my favorite pictures taken on the Norway trip. So here you go!

This awesome picture was taken in Stavanger, Norway

I decided to use Azure Afternoon as my base. Now if you have been following me on Instagram I have made a couple of comments about how this is currently my new favorite blue! I think it looks great paired with two classics—Daffodil Delight and Pumpkin Pie. All three of these colors are also in the Brights Family as well.

The main sentiment on this page is from the Good Feelings stamp set and I felt it was appropriate because none of us live in the same area in the world. Kylie and Bruno on the right, live in Australia and Alanna and her family, while fellow Canadians, live a couple provinces away from me. So it is true, I do send sunshine and good feelings to all of my friends no matter where they are :)

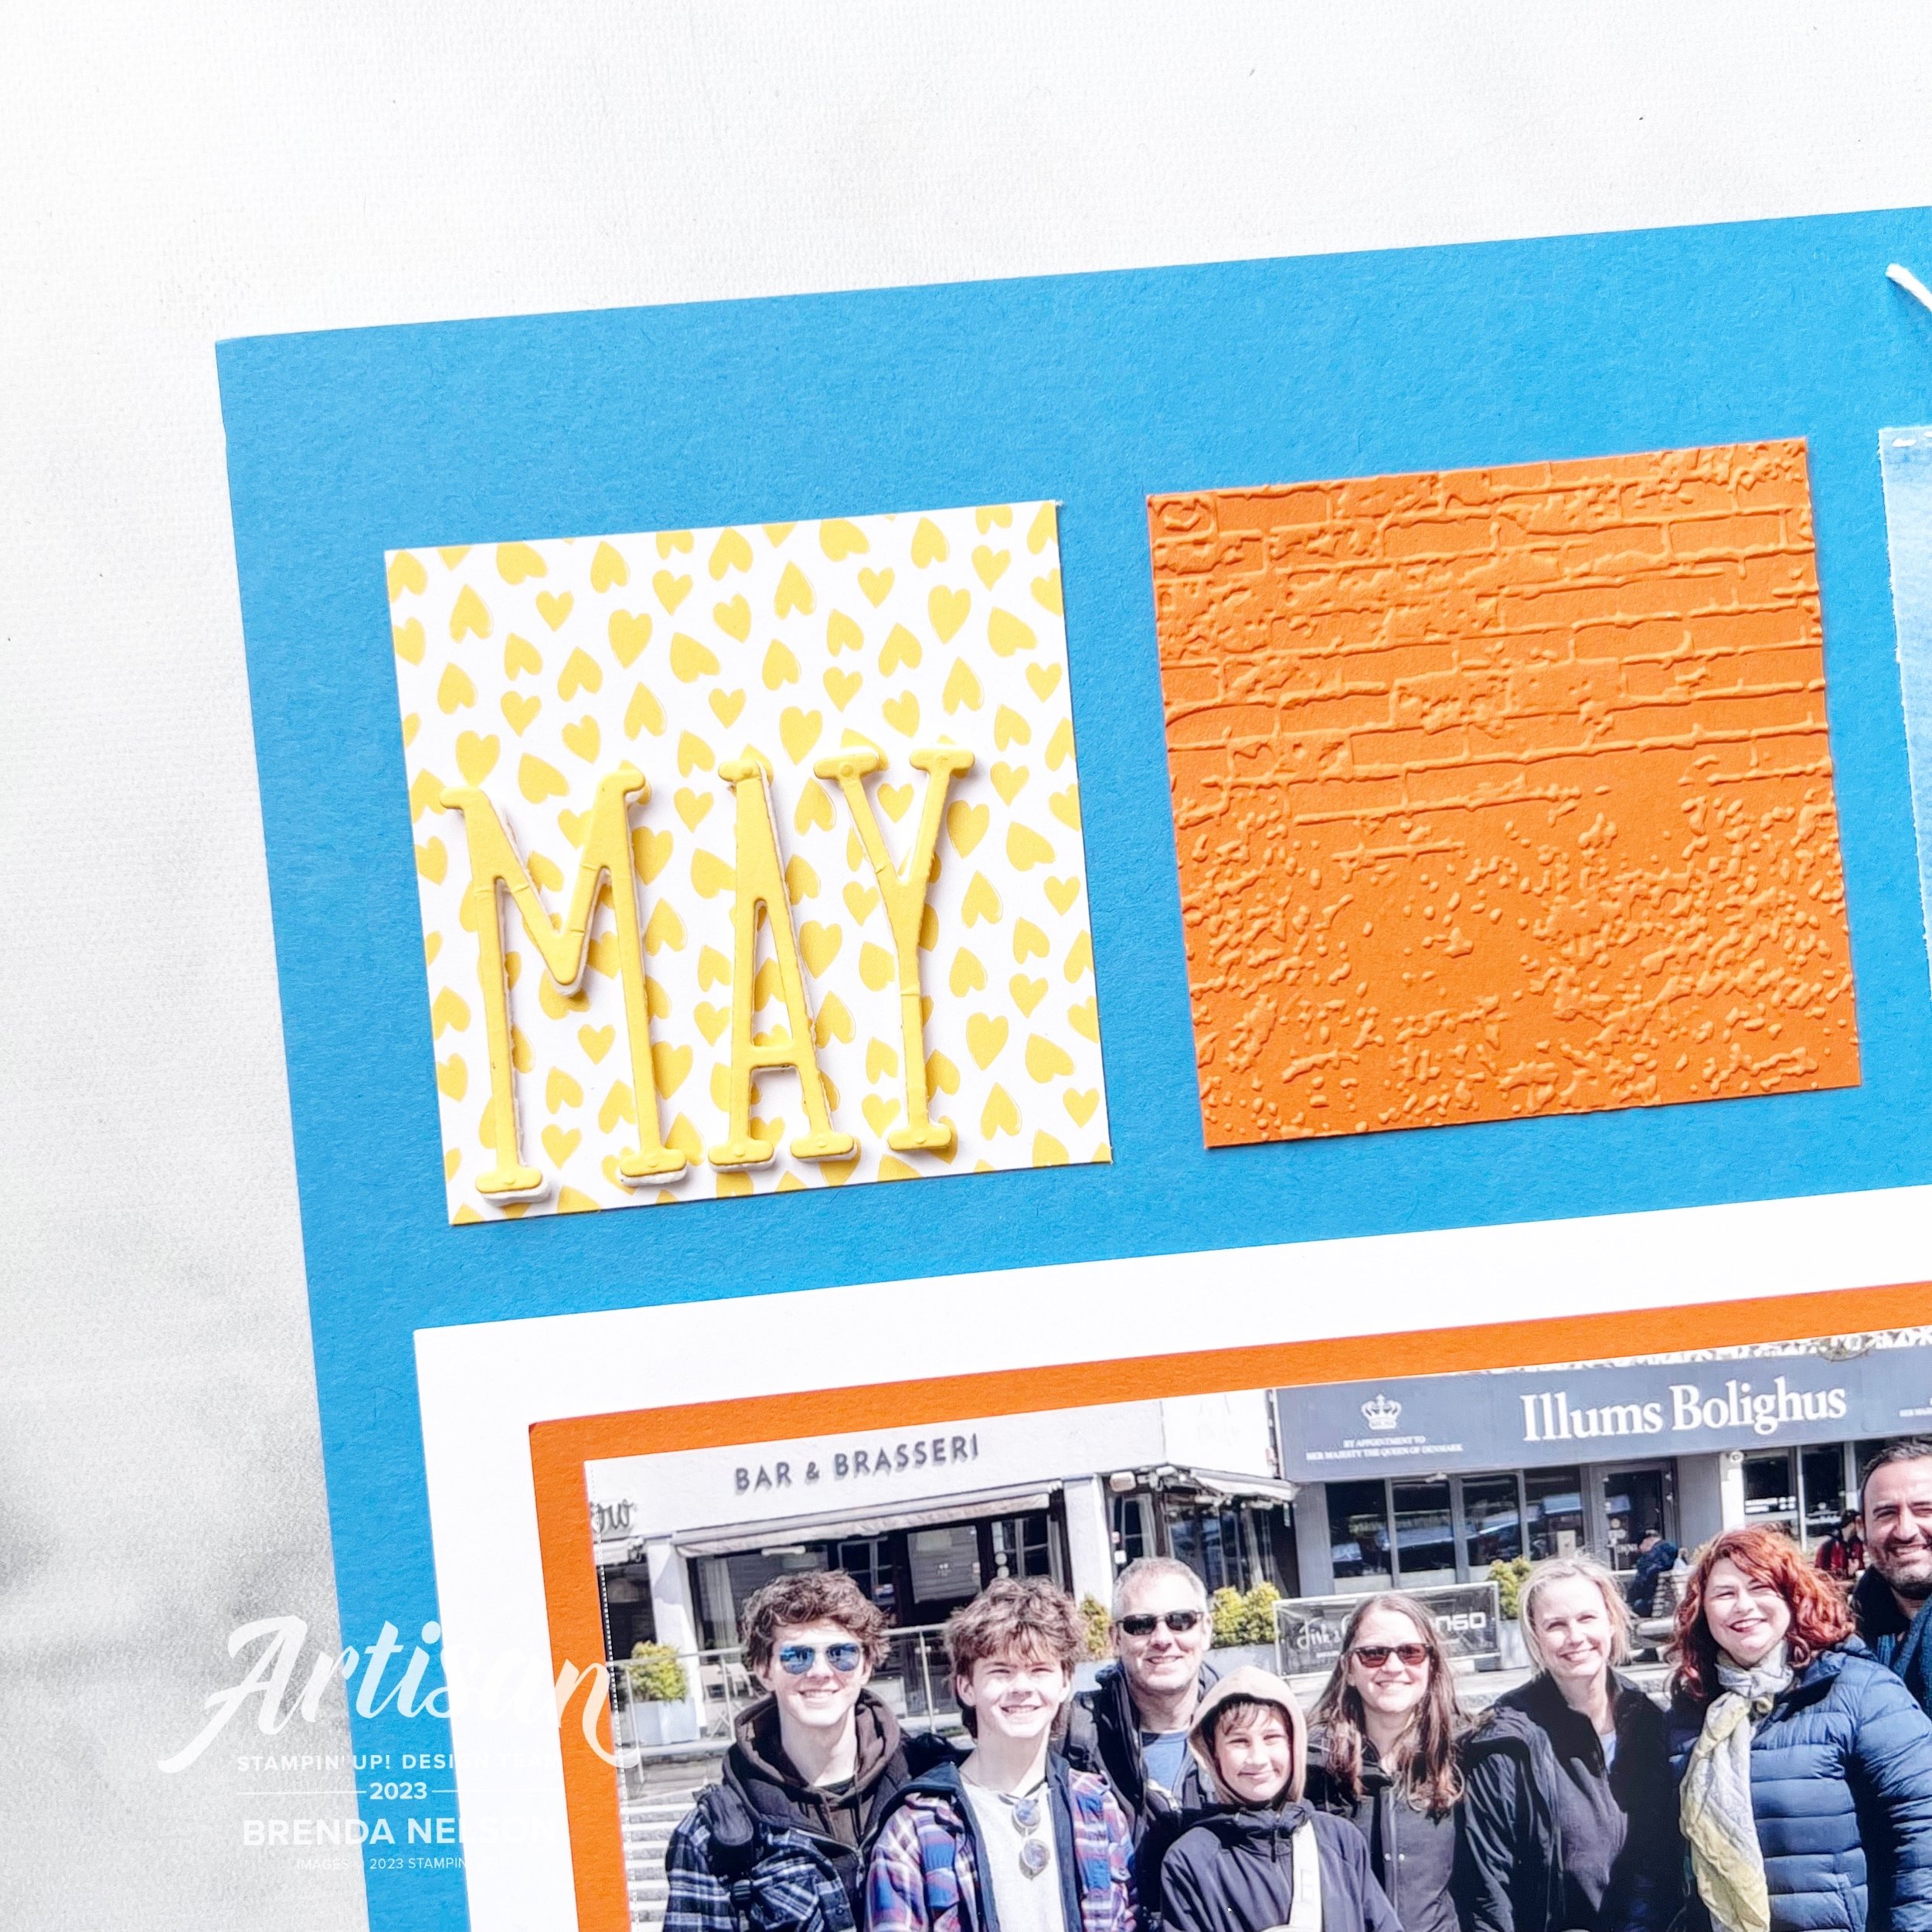
I used Designer Series Paper from the Bright & Beautiful and the Brights 6x6 stack to add interest to my page along with a square ran through the new Exposed Brick 3D folder and a square stamped with hearts from the Little Monkey Stamp set.

The flowers are all from the amazing Paper Florist Dies which you need to serious #addtocart if you have not already!


I found a bunch of single words to add to my page such as ‘Love’ which is from the Seasonal Branches stamp set. A few Tinsel Gems and some Bakers Twine finished off this little vignette.

The cute tag and fringe are from the Beautiful Balloons dies. I love this die set and I thought they made the perfect addition to this layout. I added some of the new white Herringbone Ribbon through the tag and you can find ‘Hello, friend’ in the Inked & Tiled stamp set. The white sequins are from the Adhesive-Backed Sequins Trio and just added a little something to this area.

This page is really quite eclectic, which is what I love about Stampin’ Up! I really disagree with those who say you cannot scrapbook with our products. YES YOU CAN!

May is die cut using the Alphabet A la Mode dies and added using the Foam Adhesive Sheets. Look how awesome the Exposed Brick folder looks beside it! This new folder is definitely a must have.

I can’t wait to see what the rest of the team has designed with these three amazing colors—Azure Afternoon, Daffodil Delight and Pumpkin Pie. I know you will be inspired and if you haven’t purchased Azure Afternoon yet, then I encourage you to give it a go. It is a really lovely blue.

My amazing friend and fellow Artisan teammate Tami Hewlett is up next on our blog hop—you can visit her by clicking the image below.

If you want to go in reverse or a link gets broken, you can visit the uber talented Stacey Marsh by clicking the Previous image.

Please feel free to comment, it makes me happy to hear that you have enjoyed stopping by my blog. If you do not have a Canadian Demonstrator, I would love to get crafty with you! You can reach out to me or shop with me by clicking any link in my supplies section or by using the monthly host code. Thank you in advance!

Scrapbooking with Memories & More cards!

If you are looking for an easy way to start scrapbooking, I would suggest Memories & More cards! I have several sets that I collect from every catalogue so my project share today is actually using a retired set of cards Flowers for Every Season. I do offer lots of classes featuring the Memories & More cards as they are just so user friendly!

Stampin’ Fancy Friday this month is featuring projects made with Memories & More cards so I knew right away I wanted to create a fun scrapbook page of a recent ‘pass through’ trip to Jasper, AB Canada with my friends Jessica. This was a nightly pit stop for us on our way to Vancouver for On Stage back in November!

What I love about Memories & More cards is that they have so many great images, sentiments or phrases that you can easily cut out. Often there are stickers and other fun elements that you can add onto your projects. You can stop there or you can add in other things from your craft supply.

For this page I started with a base of Crumb Cake 12x12 and I added a layer of Misty Moonlight behind my picture as a photo mat.

One of my favorite things to do with the Memories & More cards is cut them apart either with paper snips or with dies. The ‘Winter Wishes’ sentiment came from one of that cards that I used the Layering Circle Dies to cut out. ‘It’s Cold Outside’ and ‘Yay for Today’ are cut from another card that was full of different sentiments. I also trimmed out the flower tucked under the main sentiment from a card as well. See! So many options!

I jazzed up this page with some background stamping from Joyful Flurry.

TOP TIP: For background stamping with images, I like to add a bunch of stamps to a large block to stamp at once! This is an efficient way to stamp a large area!

I added some die cut snowflakes from the Celebrate Tags Dies and some of our new Pastel Adhesive Backed Sequins. I am also a hoarder of our gold and silver Metallic Thread that retired a few years ago so I added some on this page too. It is definitely a true mash up of stuff on this scrapbook page!

I like to use the cards to highlight my photo so you can see how I used them as some fun layers behind my photo. You can cut them apart and trick the eye into thinking you are using a much larger piece of paper than you really are. This really helps stretch the Memories & More cards even further!

I hope this project encourages you to look at some past or retired supplies you might have and give them some new life by pairing them up with some more current items. Or at the vary least you are inspired to create a scrapbook page.

Make sure you follow us @stampinfancyfriday on Instagram and Facebook. Each month Artisan Alumni members create with a different theme and share across social media!


Thanks for popping by my blog today! If you are interested in scrapbooking make sure to check out my gallery! I recently added 46 page layouts so there is alot of scrapbooking inspiration for you!

And if you create something that I have inspired you with, please tag me! I would love to see your take!

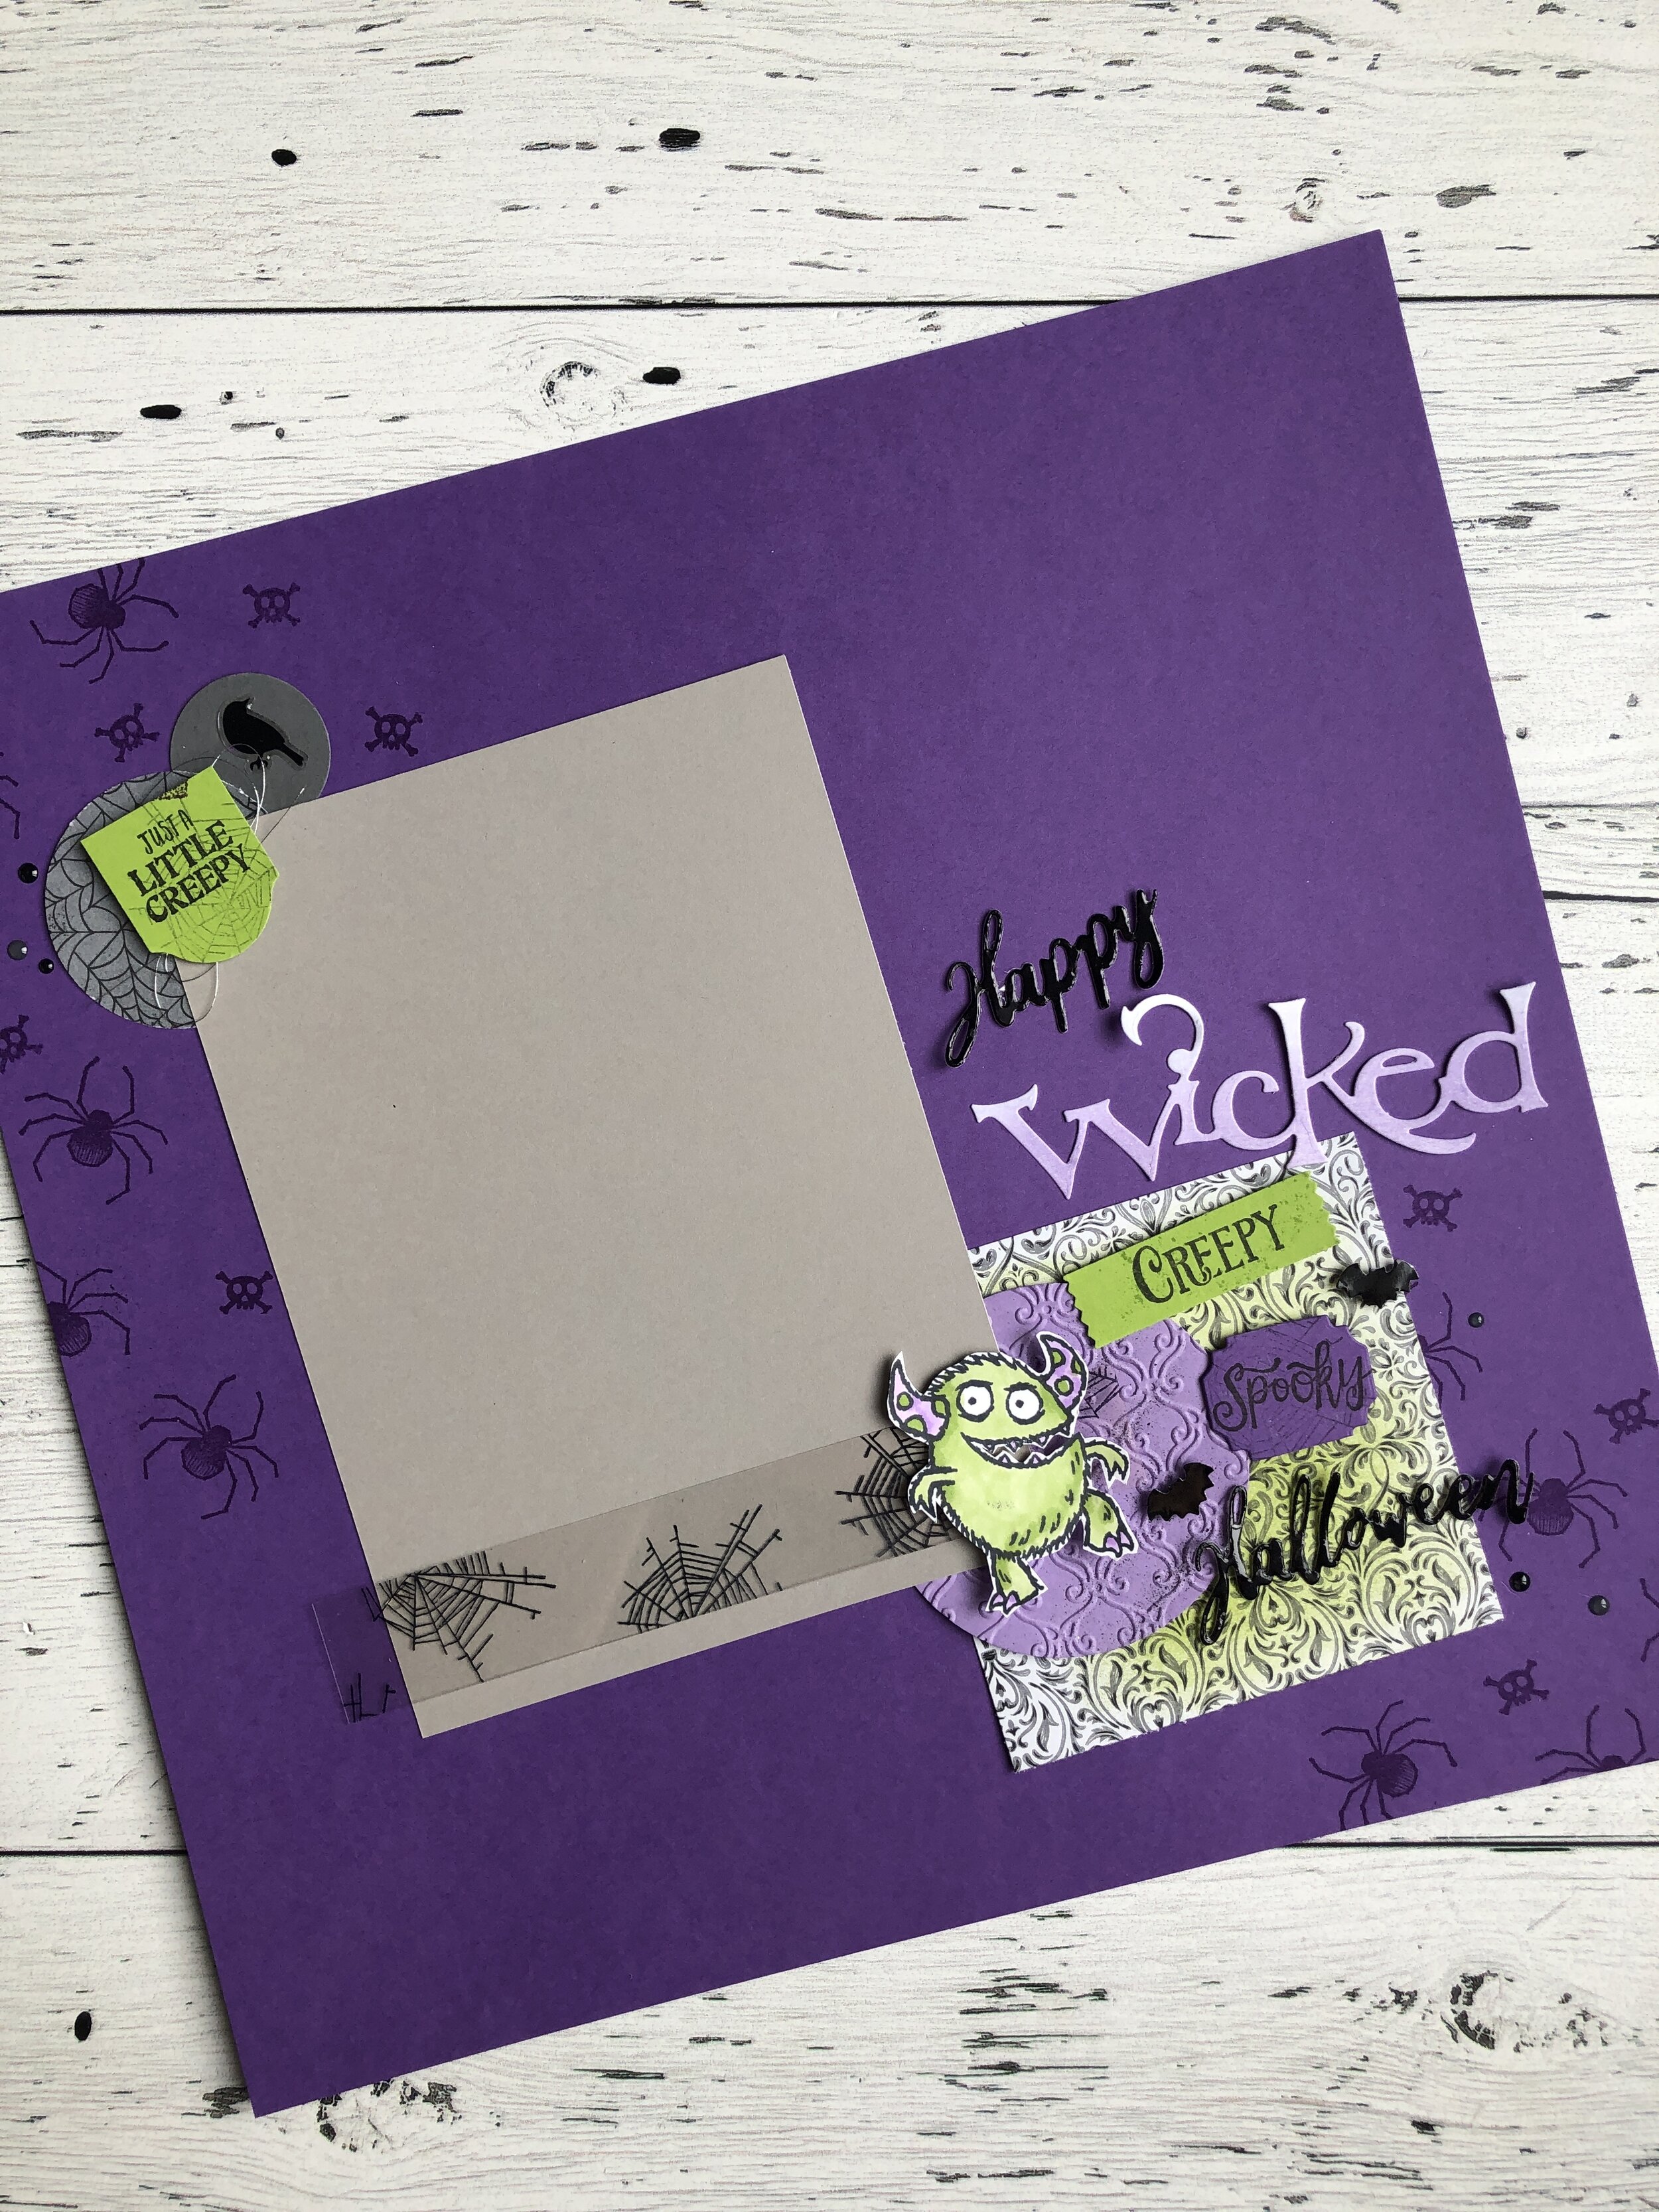
Happy Wicked Creepy Spooky Halloween

I pulled out all the stops to create this fun and bright Halloween page! I included sentiments from the Word Wishes dies (from the last few posts you can tell I am really into this set of dies!), the Wicked dies and the Spooktacular Bash stamp set. I had to add a cute little monster, he is just a ‘little creepy’ from the Boo to You stamp set plus some spooky spiders and itsy bits bats! I hope you have a fun day celebrating with your families today!

IMG_3611.JPG
IMG_3612.JPG