Color Fusers--July--Hello Summer!

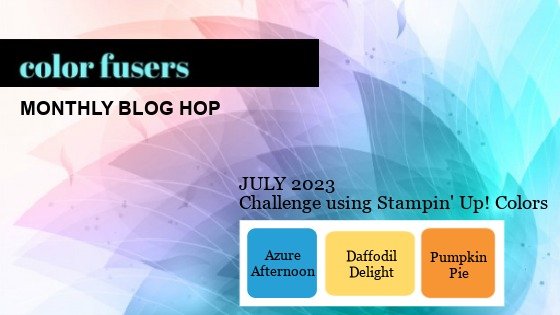
Hello friends! It is OFFICIALLY SUMMER—Whoo Hoo! I love summer time, I love to water my flowers and I see it as a personal challenge to keep them alive ALL season long, which is a challenge as I do not have a green thumb. Our Color Fusers Blog Hop this month is featuring these 3 colors:

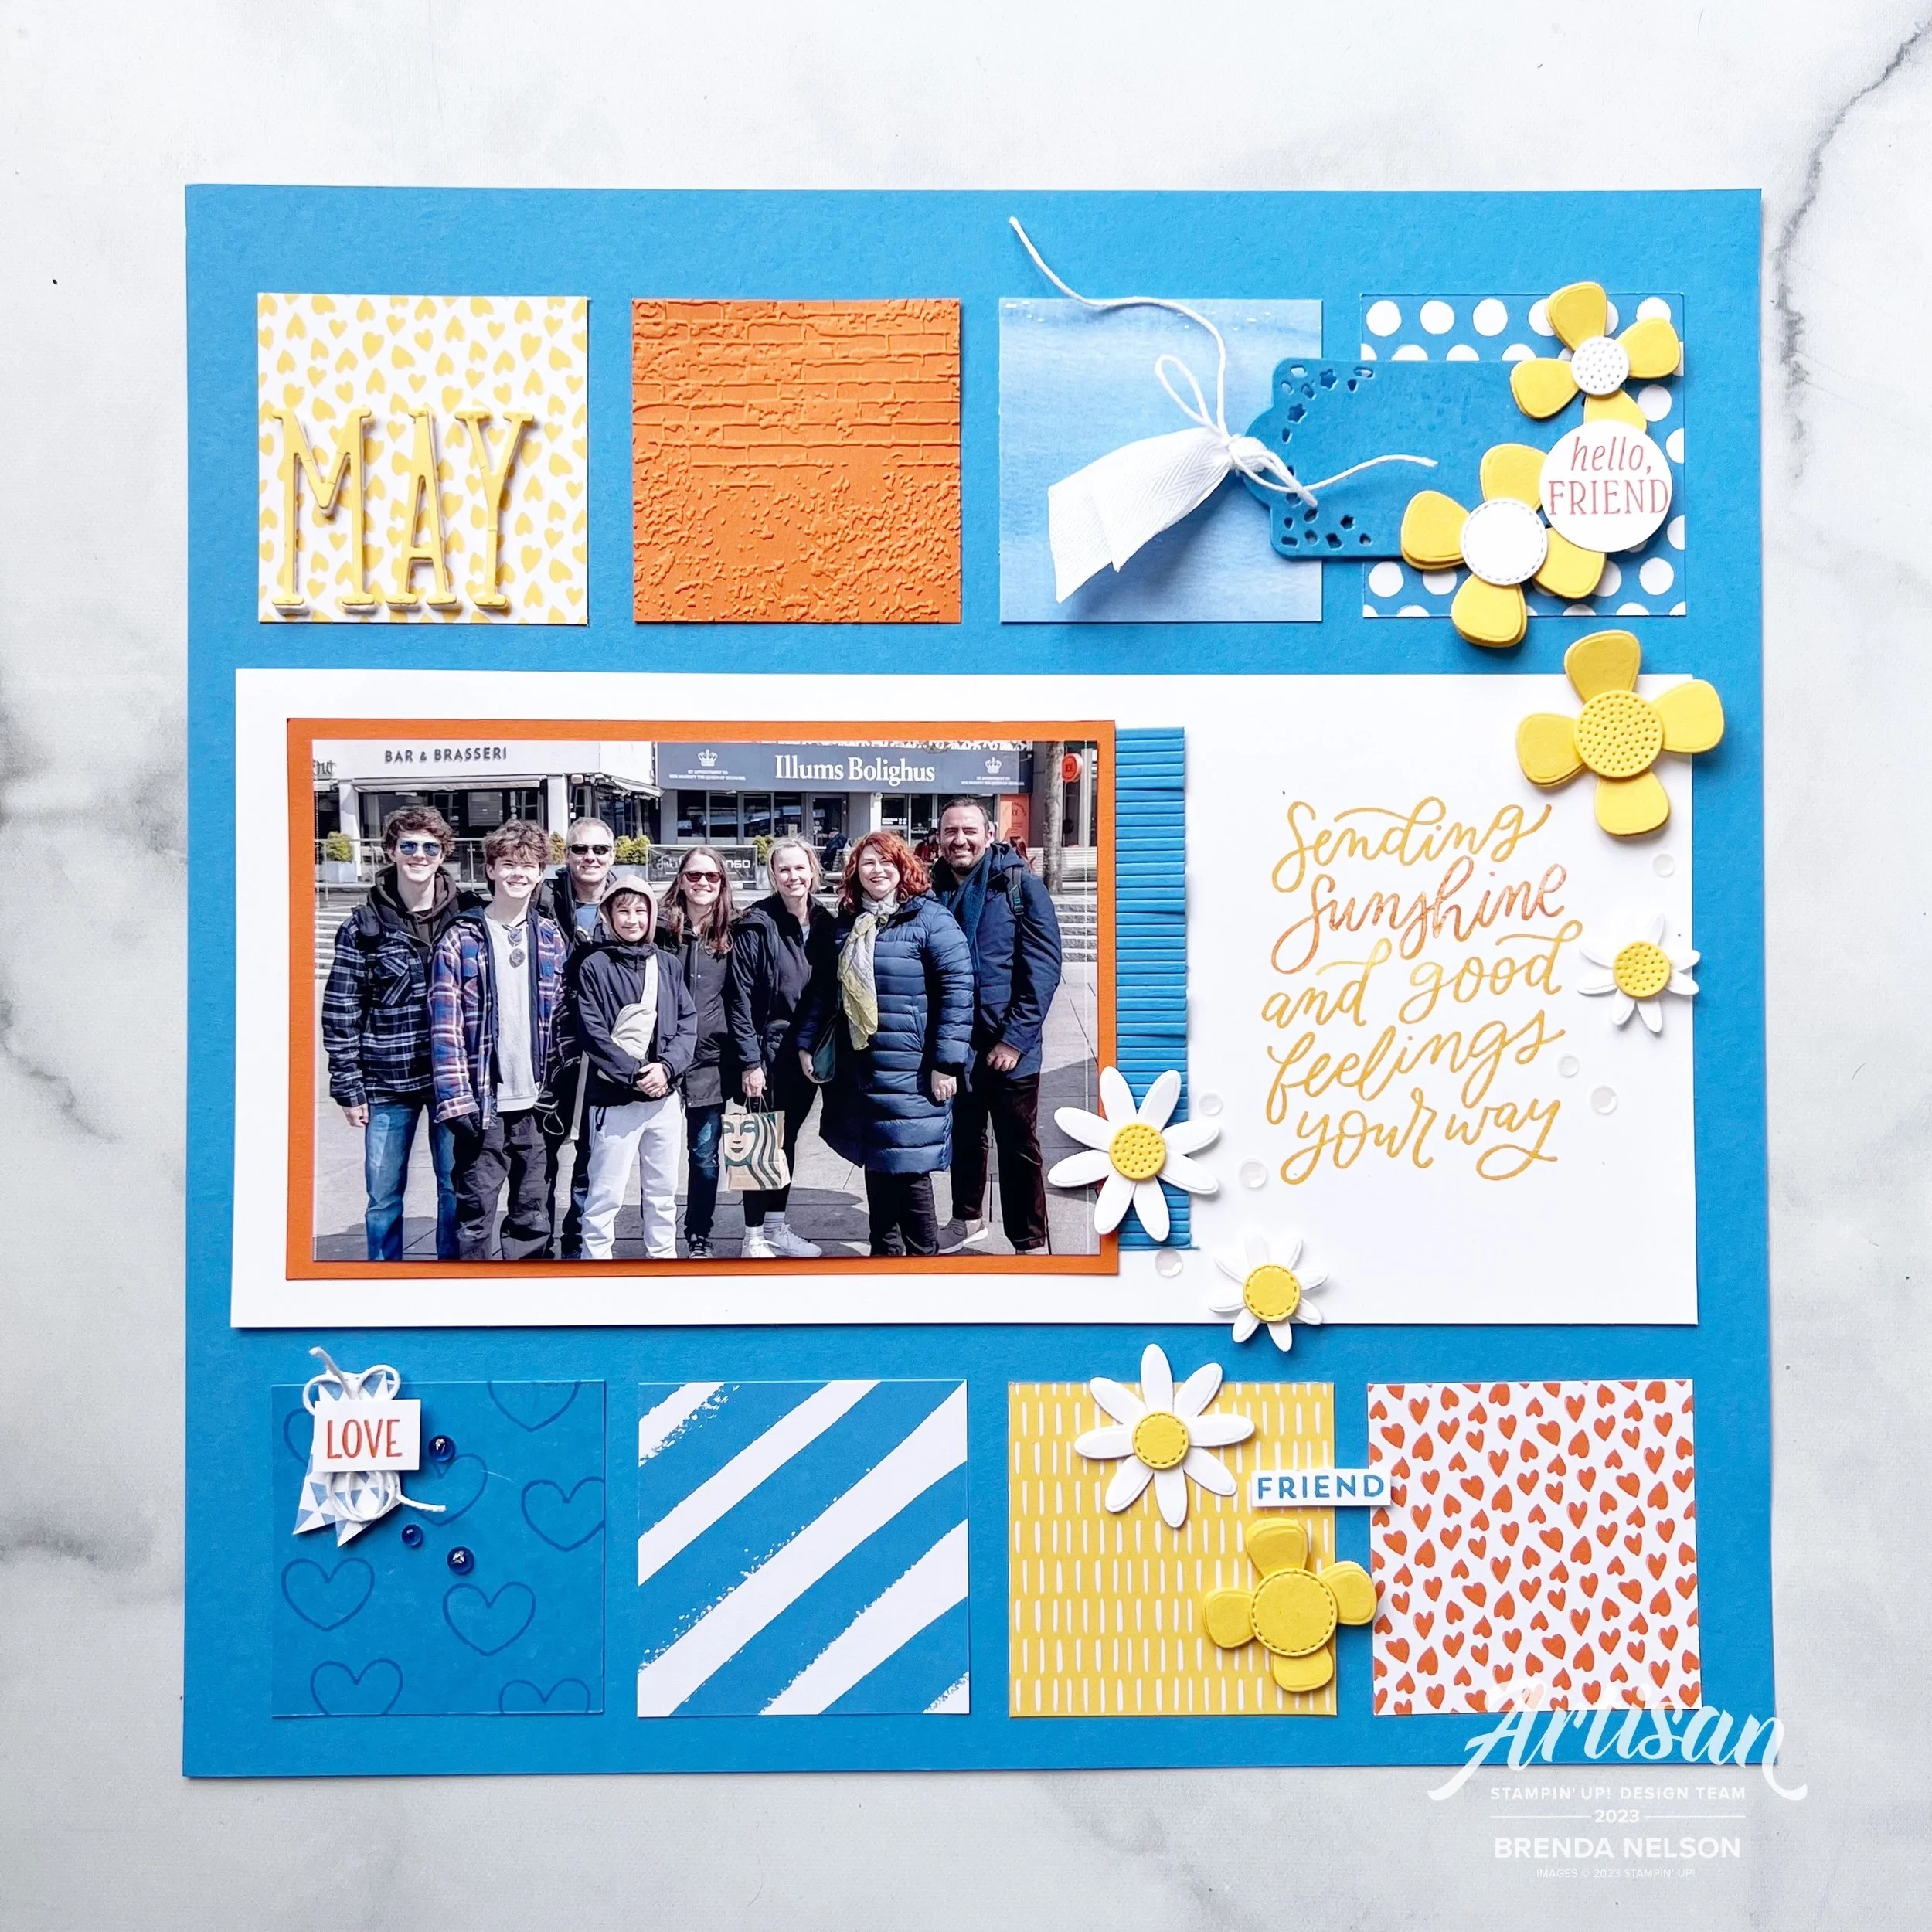
And because I have flowers on the brain, I knew that I had to incorporate the new Paper Florist Dies into my design. I also knew that I wanted to create a scrapbook page with one of my favorite pictures taken on the Norway trip. So here you go!

This awesome picture was taken in Stavanger, Norway

I decided to use Azure Afternoon as my base. Now if you have been following me on Instagram I have made a couple of comments about how this is currently my new favorite blue! I think it looks great paired with two classics—Daffodil Delight and Pumpkin Pie. All three of these colors are also in the Brights Family as well.

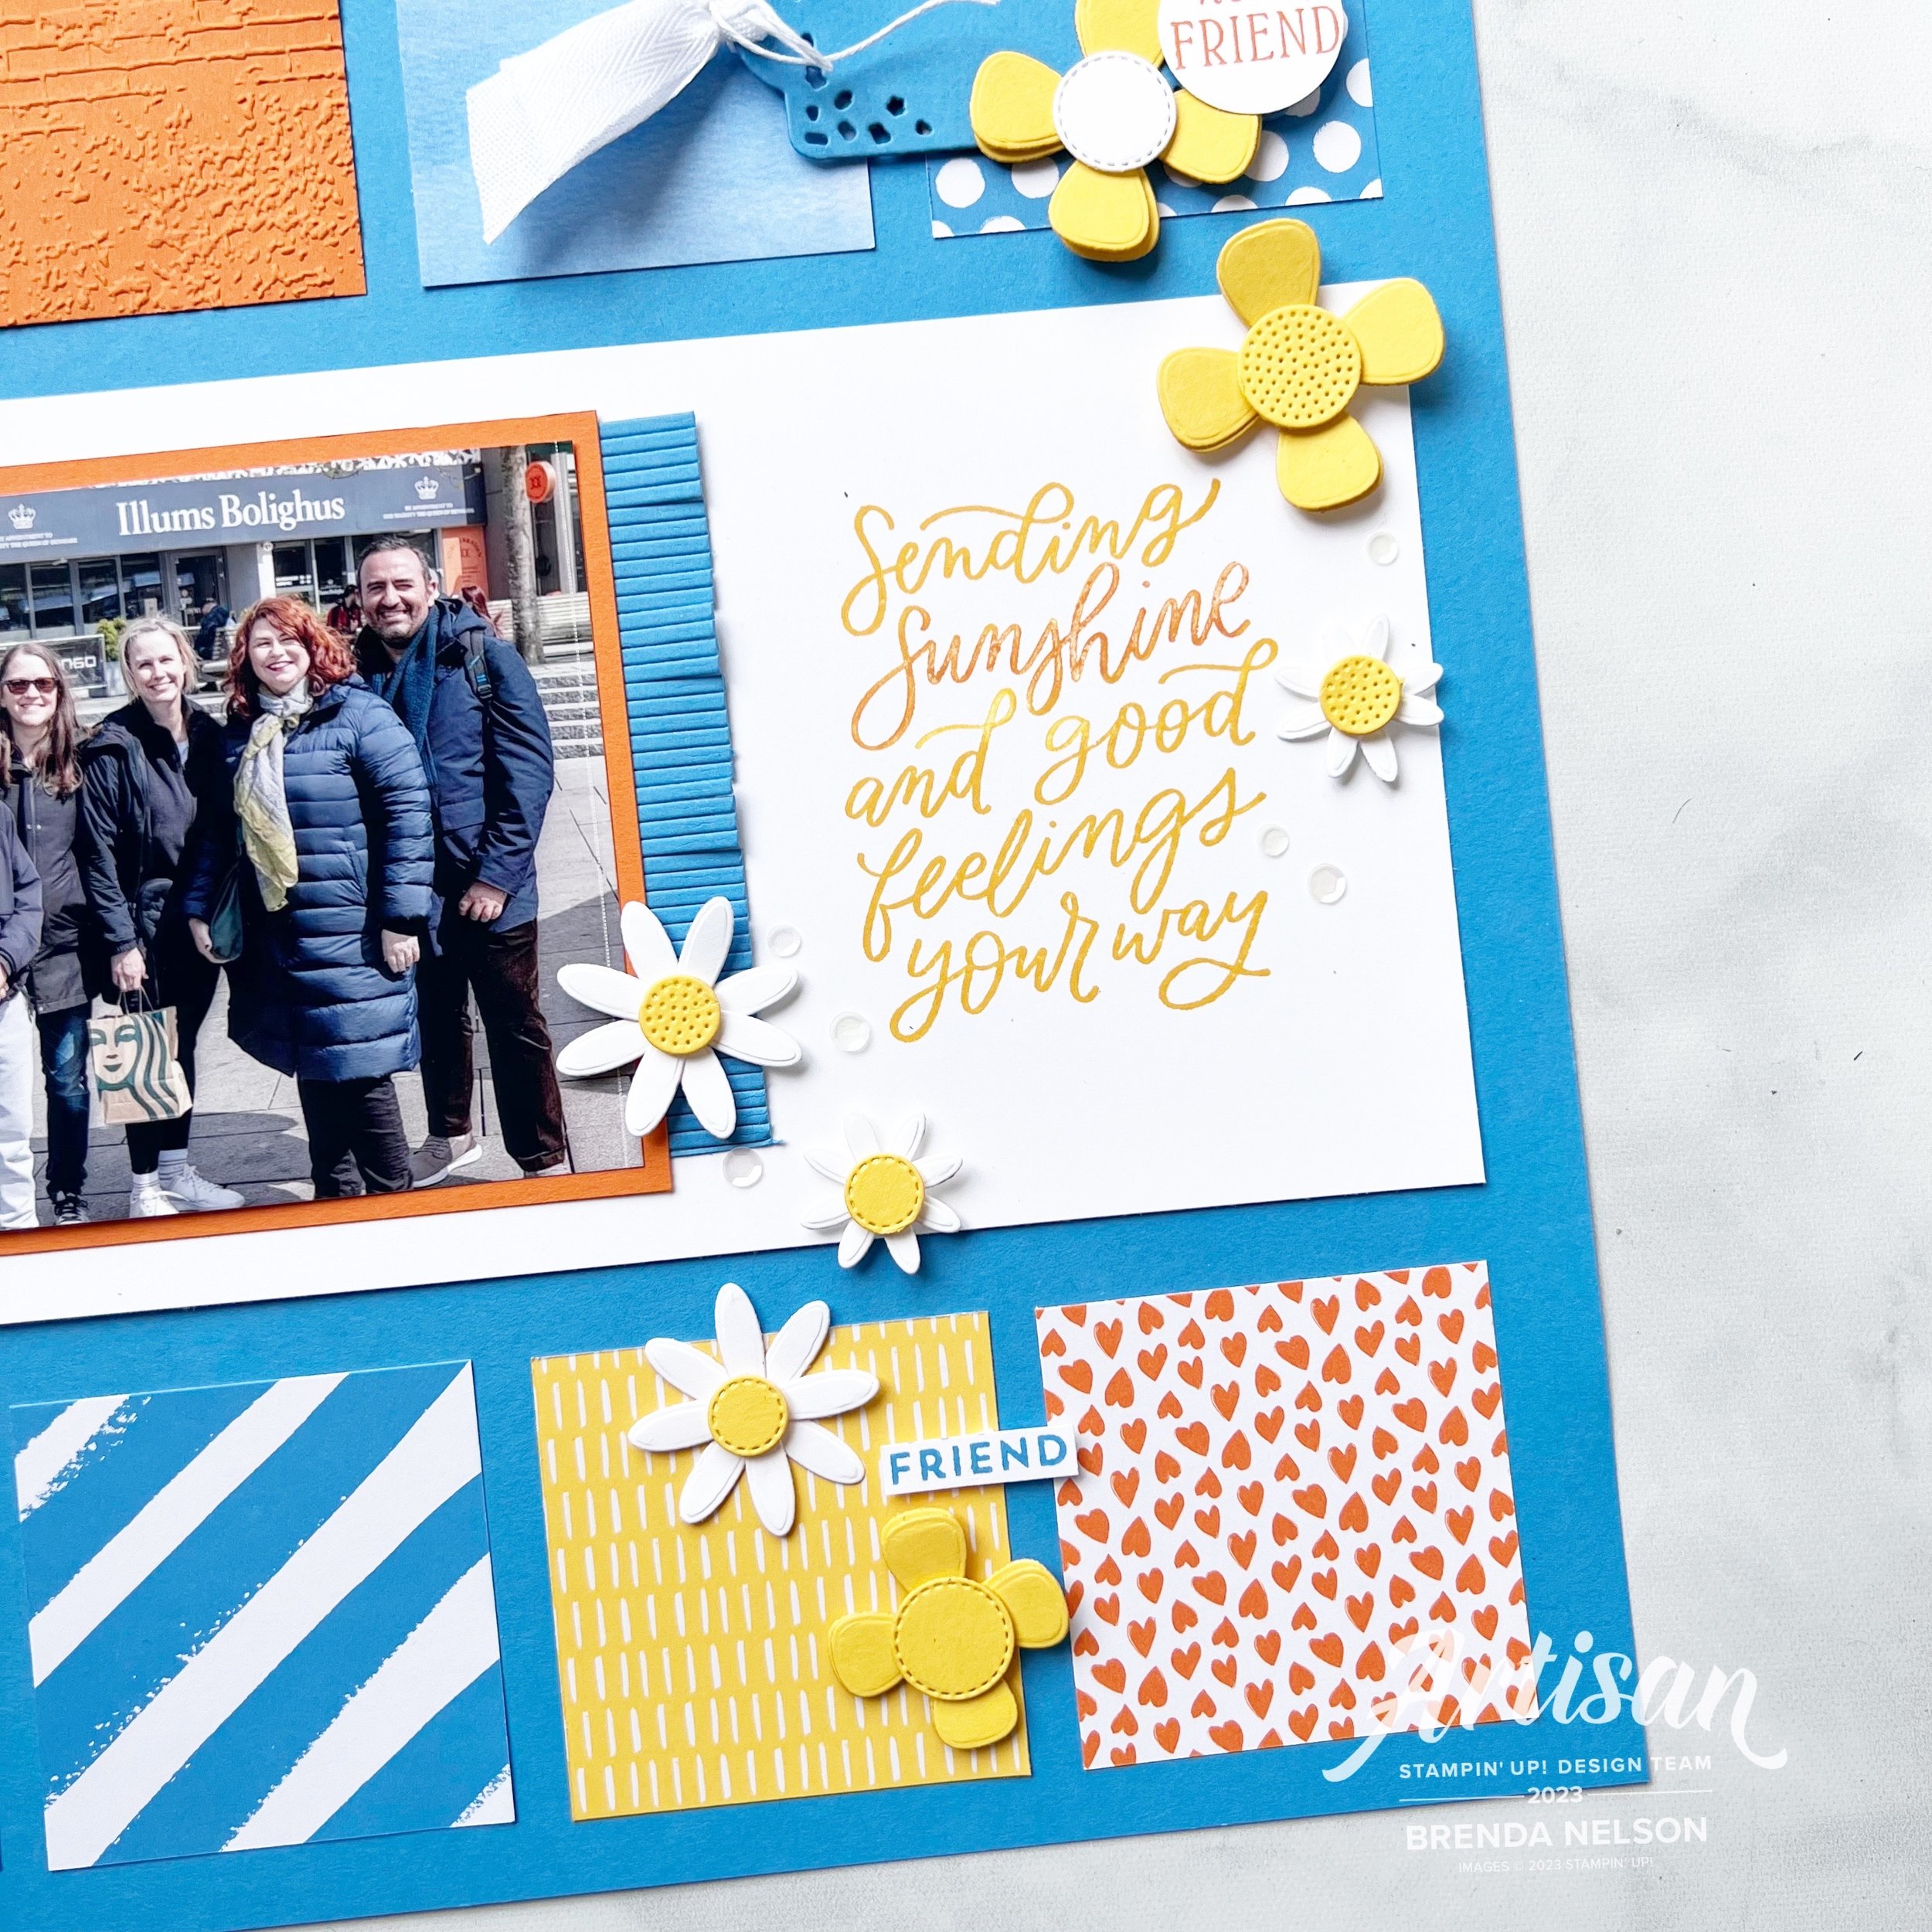
The main sentiment on this page is from the Good Feelings stamp set and I felt it was appropriate because none of us live in the same area in the world. Kylie and Bruno on the right, live in Australia and Alanna and her family, while fellow Canadians, live a couple provinces away from me. So it is true, I do send sunshine and good feelings to all of my friends no matter where they are :)

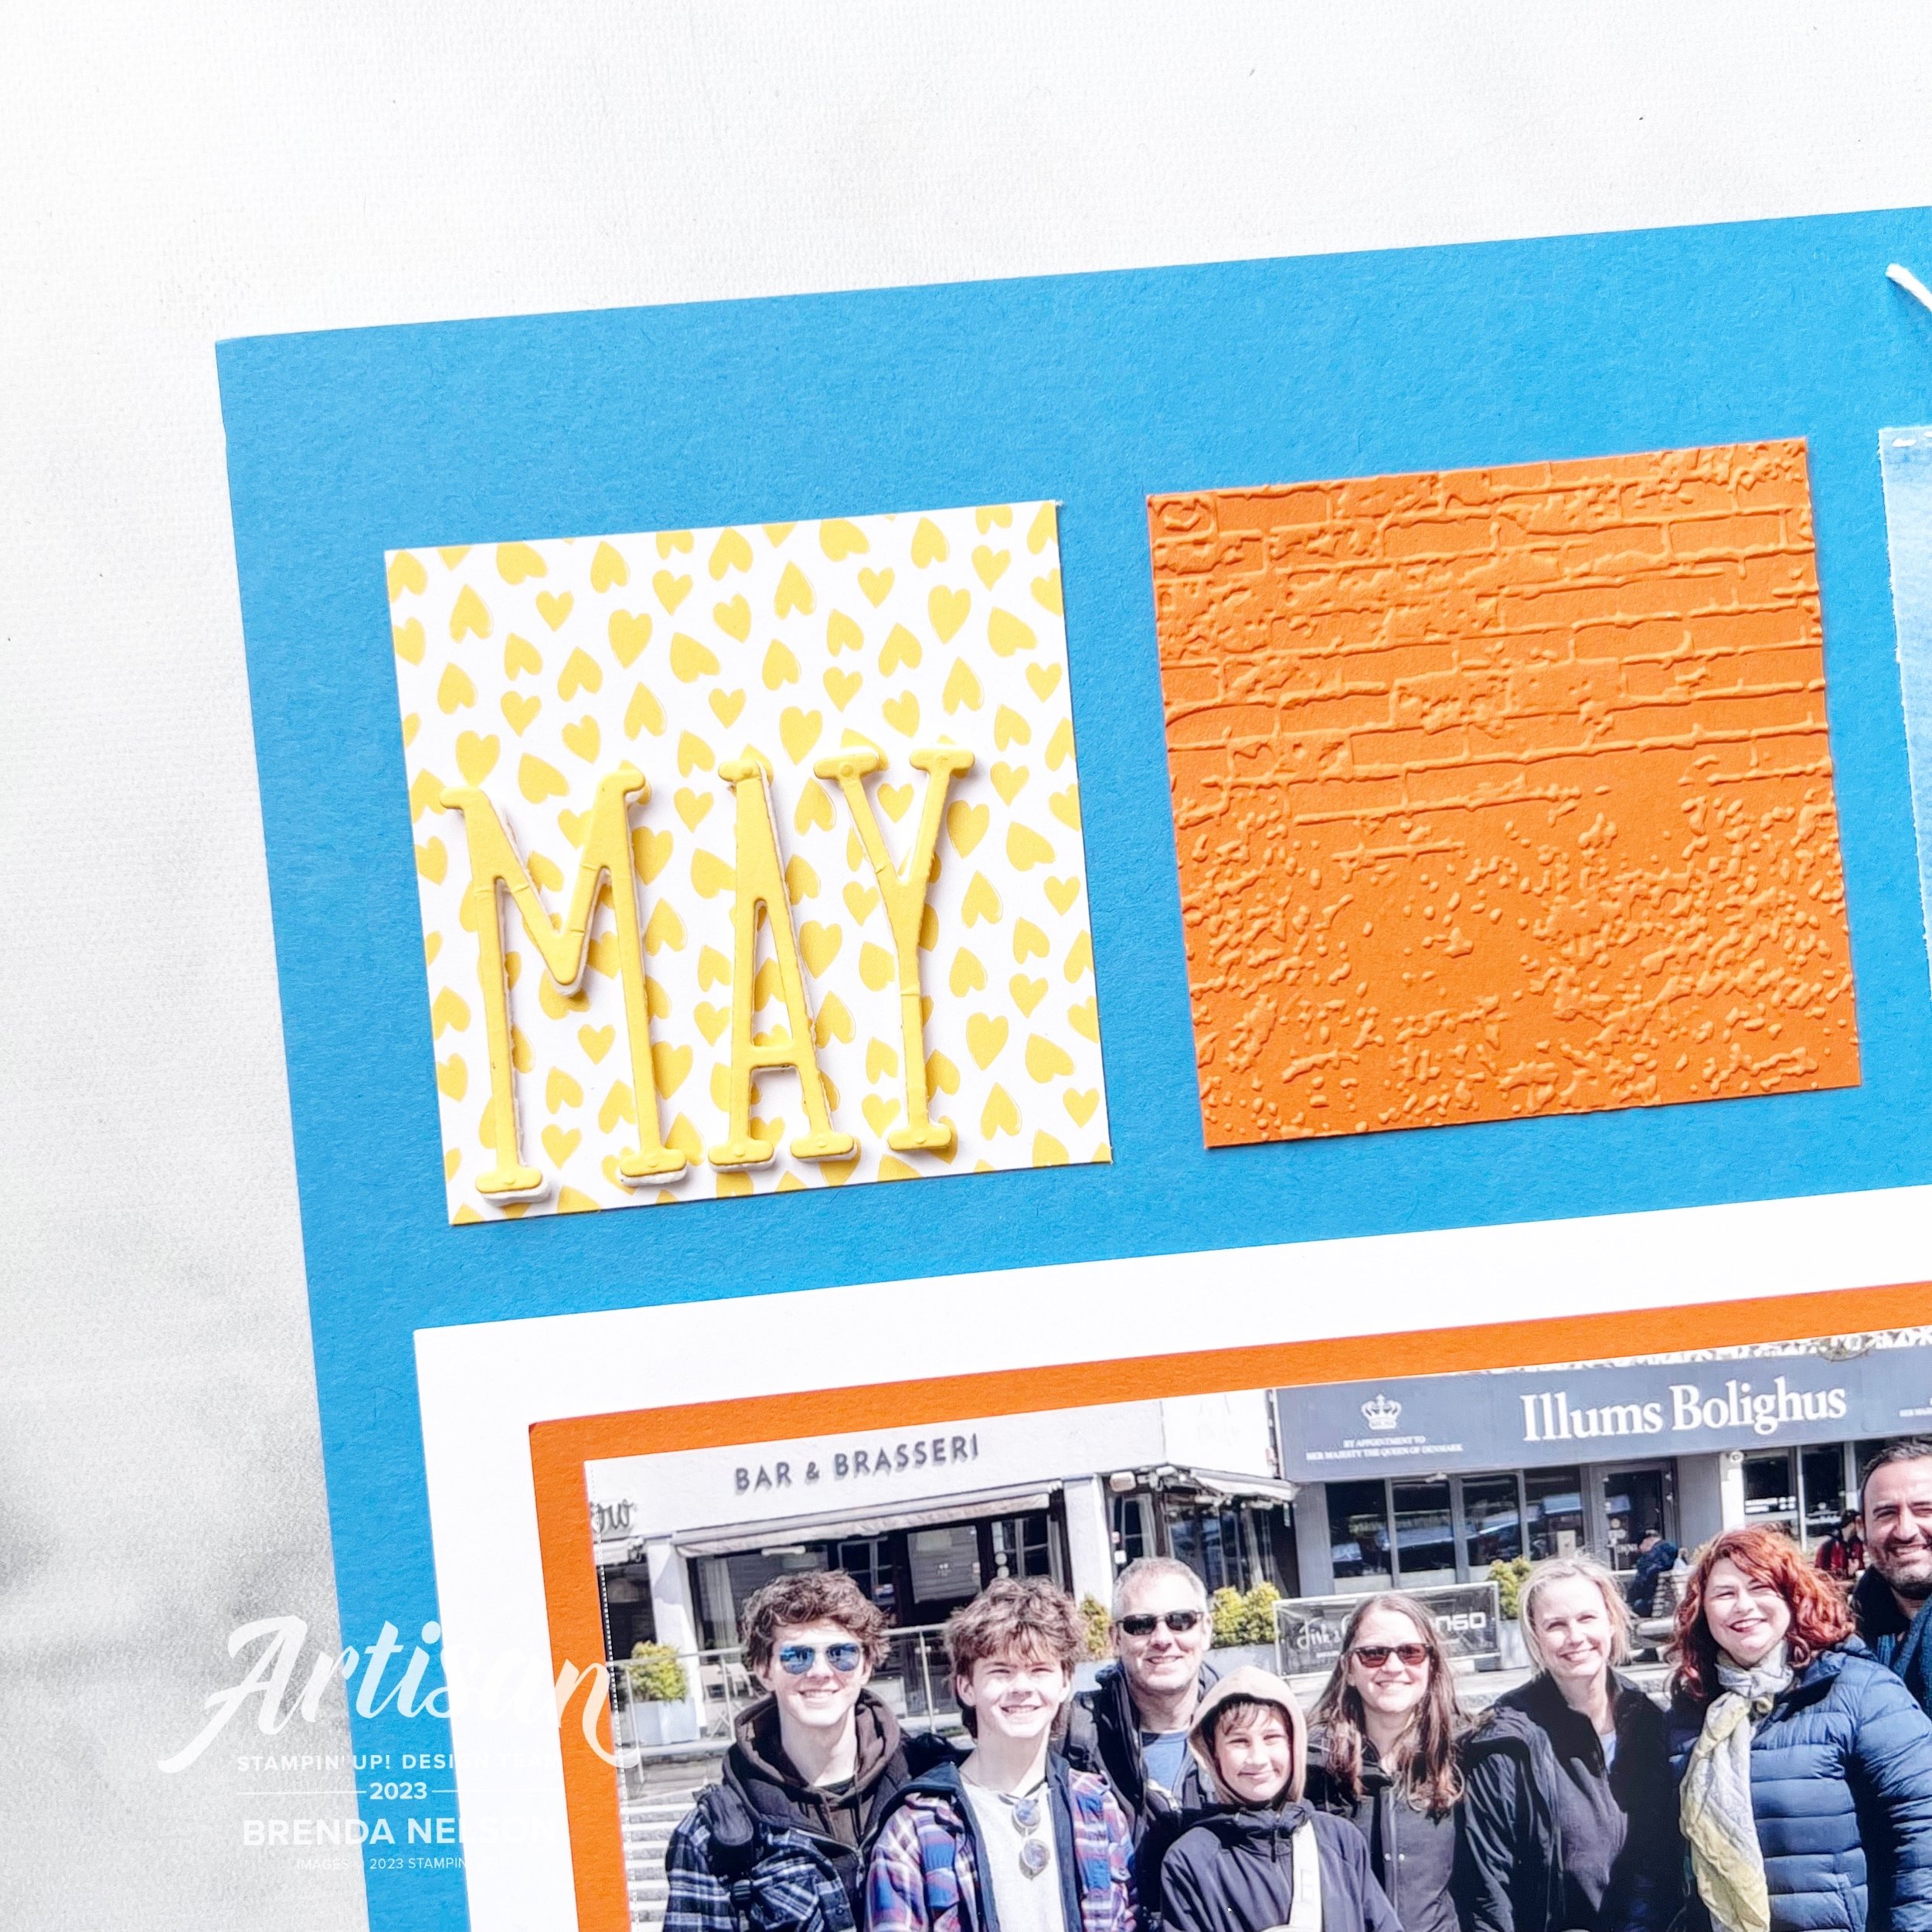
I used Designer Series Paper from the Bright & Beautiful and the Brights 6x6 stack to add interest to my page along with a square ran through the new Exposed Brick 3D folder and a square stamped with hearts from the Little Monkey Stamp set.

The flowers are all from the amazing Paper Florist Dies which you need to serious #addtocart if you have not already!


I found a bunch of single words to add to my page such as ‘Love’ which is from the Seasonal Branches stamp set. A few Tinsel Gems and some Bakers Twine finished off this little vignette.

The cute tag and fringe are from the Beautiful Balloons dies. I love this die set and I thought they made the perfect addition to this layout. I added some of the new white Herringbone Ribbon through the tag and you can find ‘Hello, friend’ in the Inked & Tiled stamp set. The white sequins are from the Adhesive-Backed Sequins Trio and just added a little something to this area.

This page is really quite eclectic, which is what I love about Stampin’ Up! I really disagree with those who say you cannot scrapbook with our products. YES YOU CAN!

May is die cut using the Alphabet A la Mode dies and added using the Foam Adhesive Sheets. Look how awesome the Exposed Brick folder looks beside it! This new folder is definitely a must have.

I can’t wait to see what the rest of the team has designed with these three amazing colors—Azure Afternoon, Daffodil Delight and Pumpkin Pie. I know you will be inspired and if you haven’t purchased Azure Afternoon yet, then I encourage you to give it a go. It is a really lovely blue.

My amazing friend and fellow Artisan teammate Tami Hewlett is up next on our blog hop—you can visit her by clicking the image below.

If you want to go in reverse or a link gets broken, you can visit the uber talented Stacey Marsh by clicking the Previous image.

Please feel free to comment, it makes me happy to hear that you have enjoyed stopping by my blog. If you do not have a Canadian Demonstrator, I would love to get crafty with you! You can reach out to me or shop with me by clicking any link in my supplies section or by using the monthly host code. Thank you in advance!

On Stage Vienna Presentation

Hello friends! I wanted to share some of the super fun projects that I was able to design and share in a video that was streamed in Vienna at our On Stage Conference earlier this month! I was so excited when Stampin’ Up! reached out to me as an extension of my role on the Artisan Design Team. I am just finishing my second term on the team and I was blessed to asked to return for another year in 2023. I have loved every creative challenge and opportunity that has came my way with my role as an Artisan Team Member.


It was really excited to get to create with a NEW upcoming bundle called Conversation Bubbles. It is so whimsical and fun! The dies are spectacular!

I was asked to create a variety of projects with this bundle and the new Alphabet a la Mode dies that are also coming out in the January-April Mini Catalogue!

This is my cute bestie Hawkins—where I go, he goes

My first project was a scrapbook page and this is not only because I love scrapbooking (if you follow me on Instagram @stampwithbrenda or my Artisan journey) you know I create a lot of memory pages. So this was actually the basis for my presentation—how to create a scrapbook page from a card design or vice versa!

I used a fun technique on the back ground where I cut a stencil with one of the dies from our Window Sheets. I used a Blending Brush in Pool Party ink to create some ‘thought' bubbles on my page. I then used a Pool Party Stampin’ Blend to DOODLE on top of the designs. Yes DOODLE!!! Doesn’t that take you back to sitting in class, doodling away! You can see I used a variety of stamps and dies from this bundle on this page!

This card was the result of the inspiration provided by my scrapbook page. You can see how many of the same elements carried over. This project is so fun as I love the mixing and matching of stamped images, dies and the negative die opportunity!

TOP TIP: When you #addtocart the Alphabet a la Mode Dies (as I know you all will) please make sure to add the Adhesive Sheets. They will keep your project mess and glue free as essentially you will be creating a ‘sticker’ out of the die cut letters. Trust me, you won’t be sorry to add this to your order!

My favorite project that I made for this presentation was this adorable shaker card. I love me a good shaker card and this one is relatively easy to create! Its a square card with a large circle cut and covered with a Window Sheet. I used the same stencilling technique on the base in Blushing Bride ink and this time and I added ‘YAY’ right to the top of the Window Sheet. I used some of the little hearts and stars from the dies plus a pinch of sequins for the ‘shaker’ aspect of the card.

Then I embellished the front with more stamps, dies and some Iridescent Pearls. Who wouldn’t LOVE to get this in the mail?

Who does’t love a good slimline card! this card is perfect with the little speech bubble at the bottom

Have you been noticing the ADORABLE Designer Series Paper used on my projects—spoiler alert—you can get it for FREE during Sale a bration as a Level 2 Reward. Yep, you know it! It is called the Dandy Designs 12x 12 DSP. Make note!

This slimline card is just the best to showcase how much fun you will have with the Conversation Bubbles Bundle. You can layer and mix and match the sentiments and dies to create a variety of catchy fun phrases. And I LOVE LOVE LOVE the color palette of my projects—all driven by the DSP!


And as my final project, I knew I needed to make an adorable little treat holder using the Mini Pocket Envelope Die. Clearly we need to utilize a stamp that says YUM and what is better than tucking a cute chocolate or take ou gift card inside this treat holder?

I cannot wait util this bundle is available for you to all order! I had so much fun creating with it and I know you will too! Bookmark this post so you can come back to it in January!

Make sure to visit my blog on Thursday as I am starting a 12 Days of Christmas project share with my friend @melsinkyfingers!