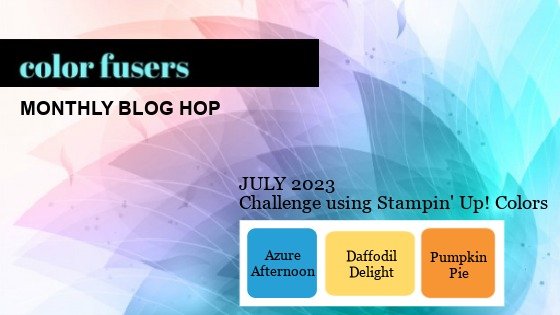
Color Fusers--May Color Challenge!
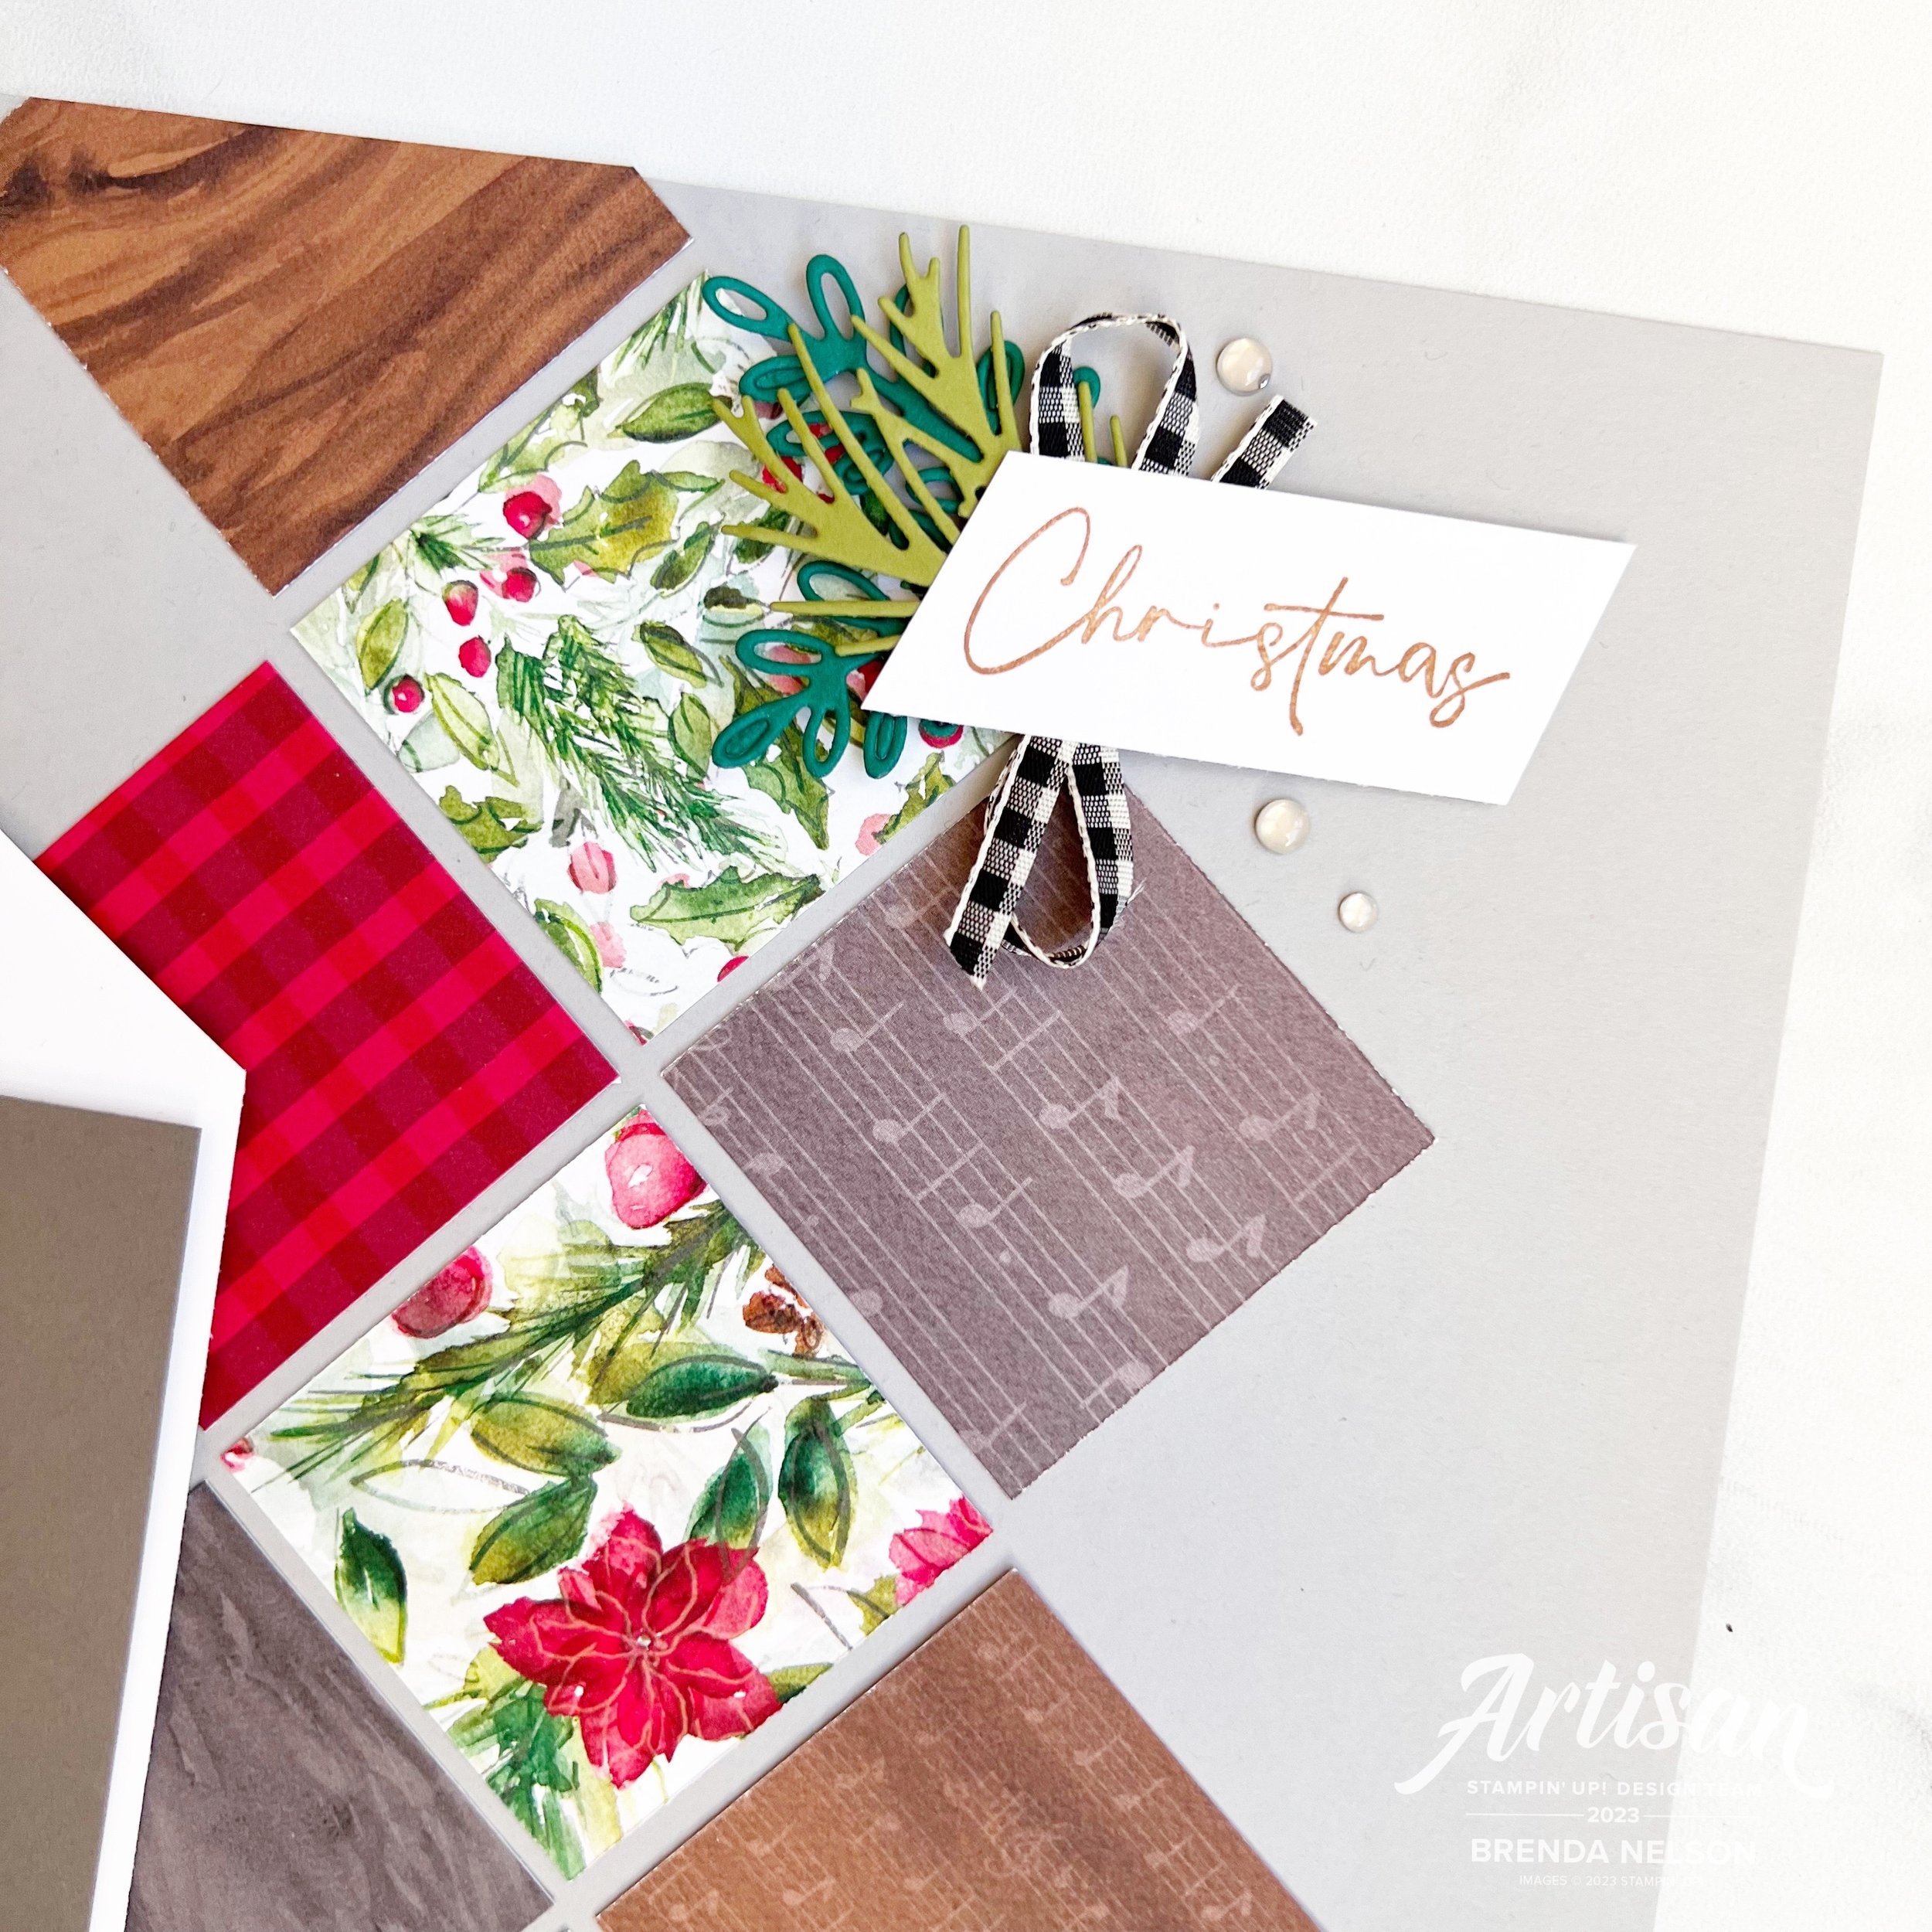
Hi friends! Welcome to another fun Color Fusers Blog Hop! We are so happy you are here. Each month our Blog Hop team creates projects with our monthly color challenge—sometimes it really is a challenge! But its a fun way to create with a color combos that are unique and different, and this month is no exception as we are crafting with Pebbled Path, Bubble Bath and Moody Mauve!

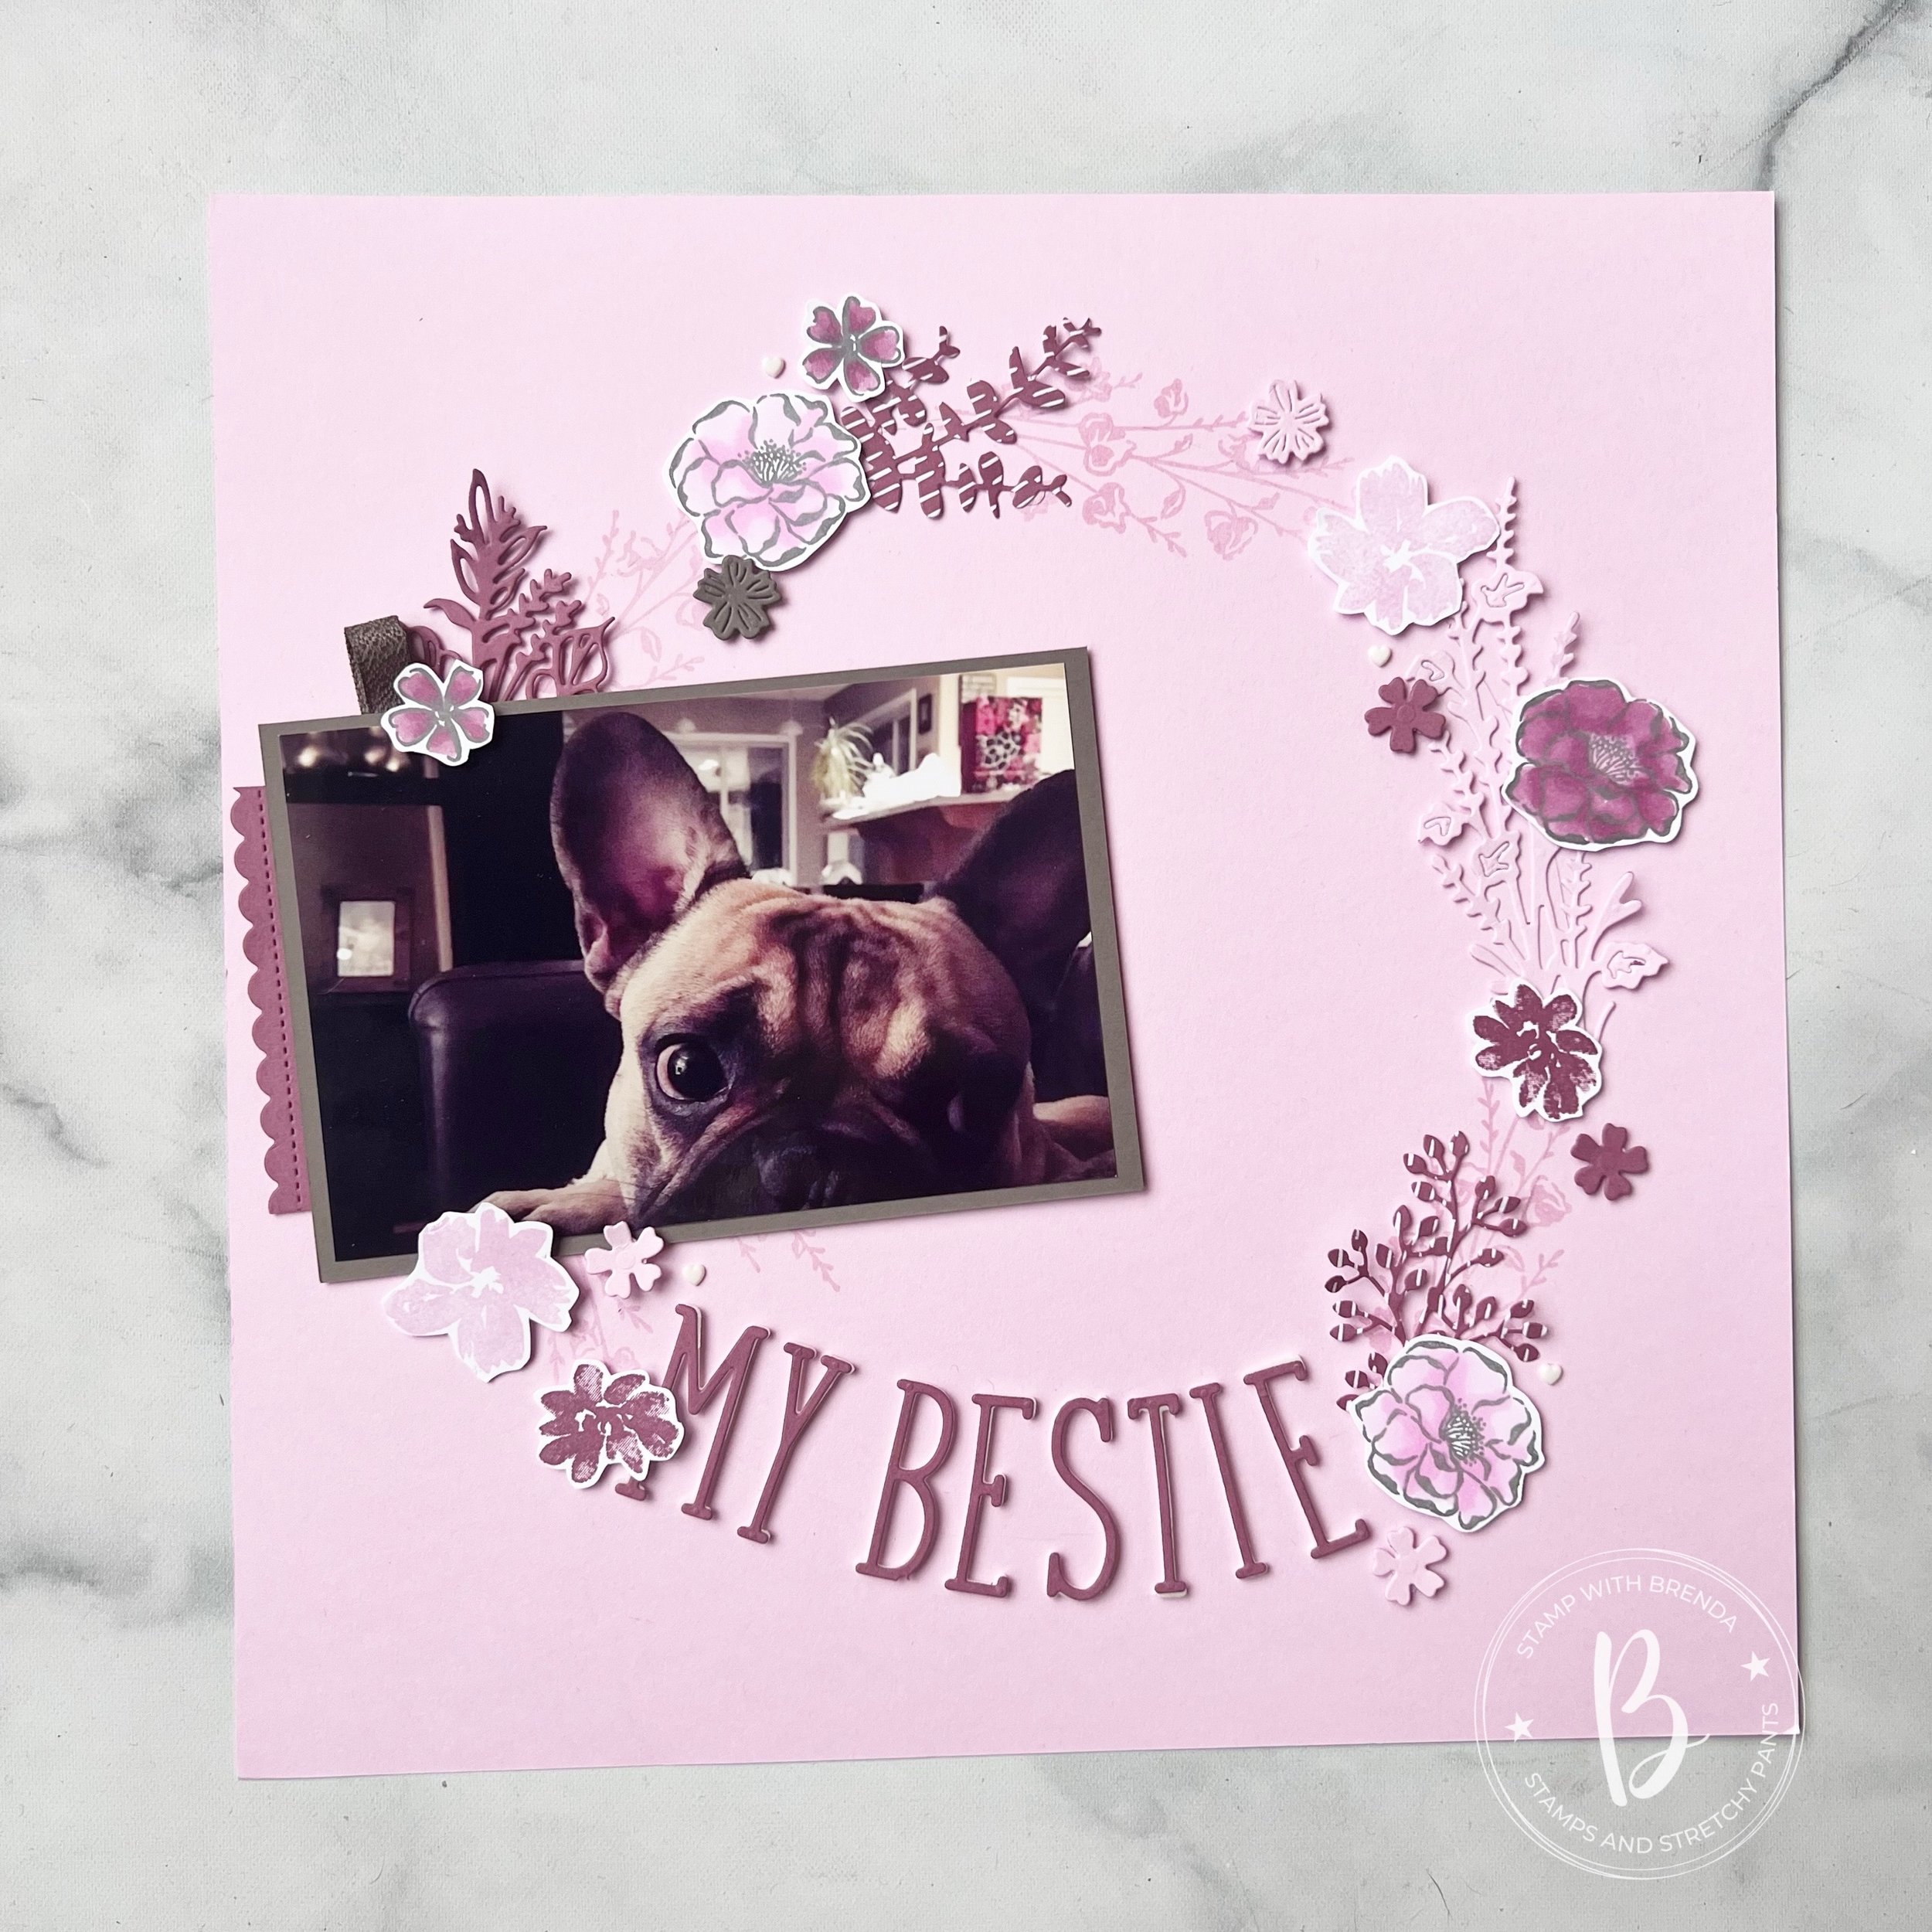
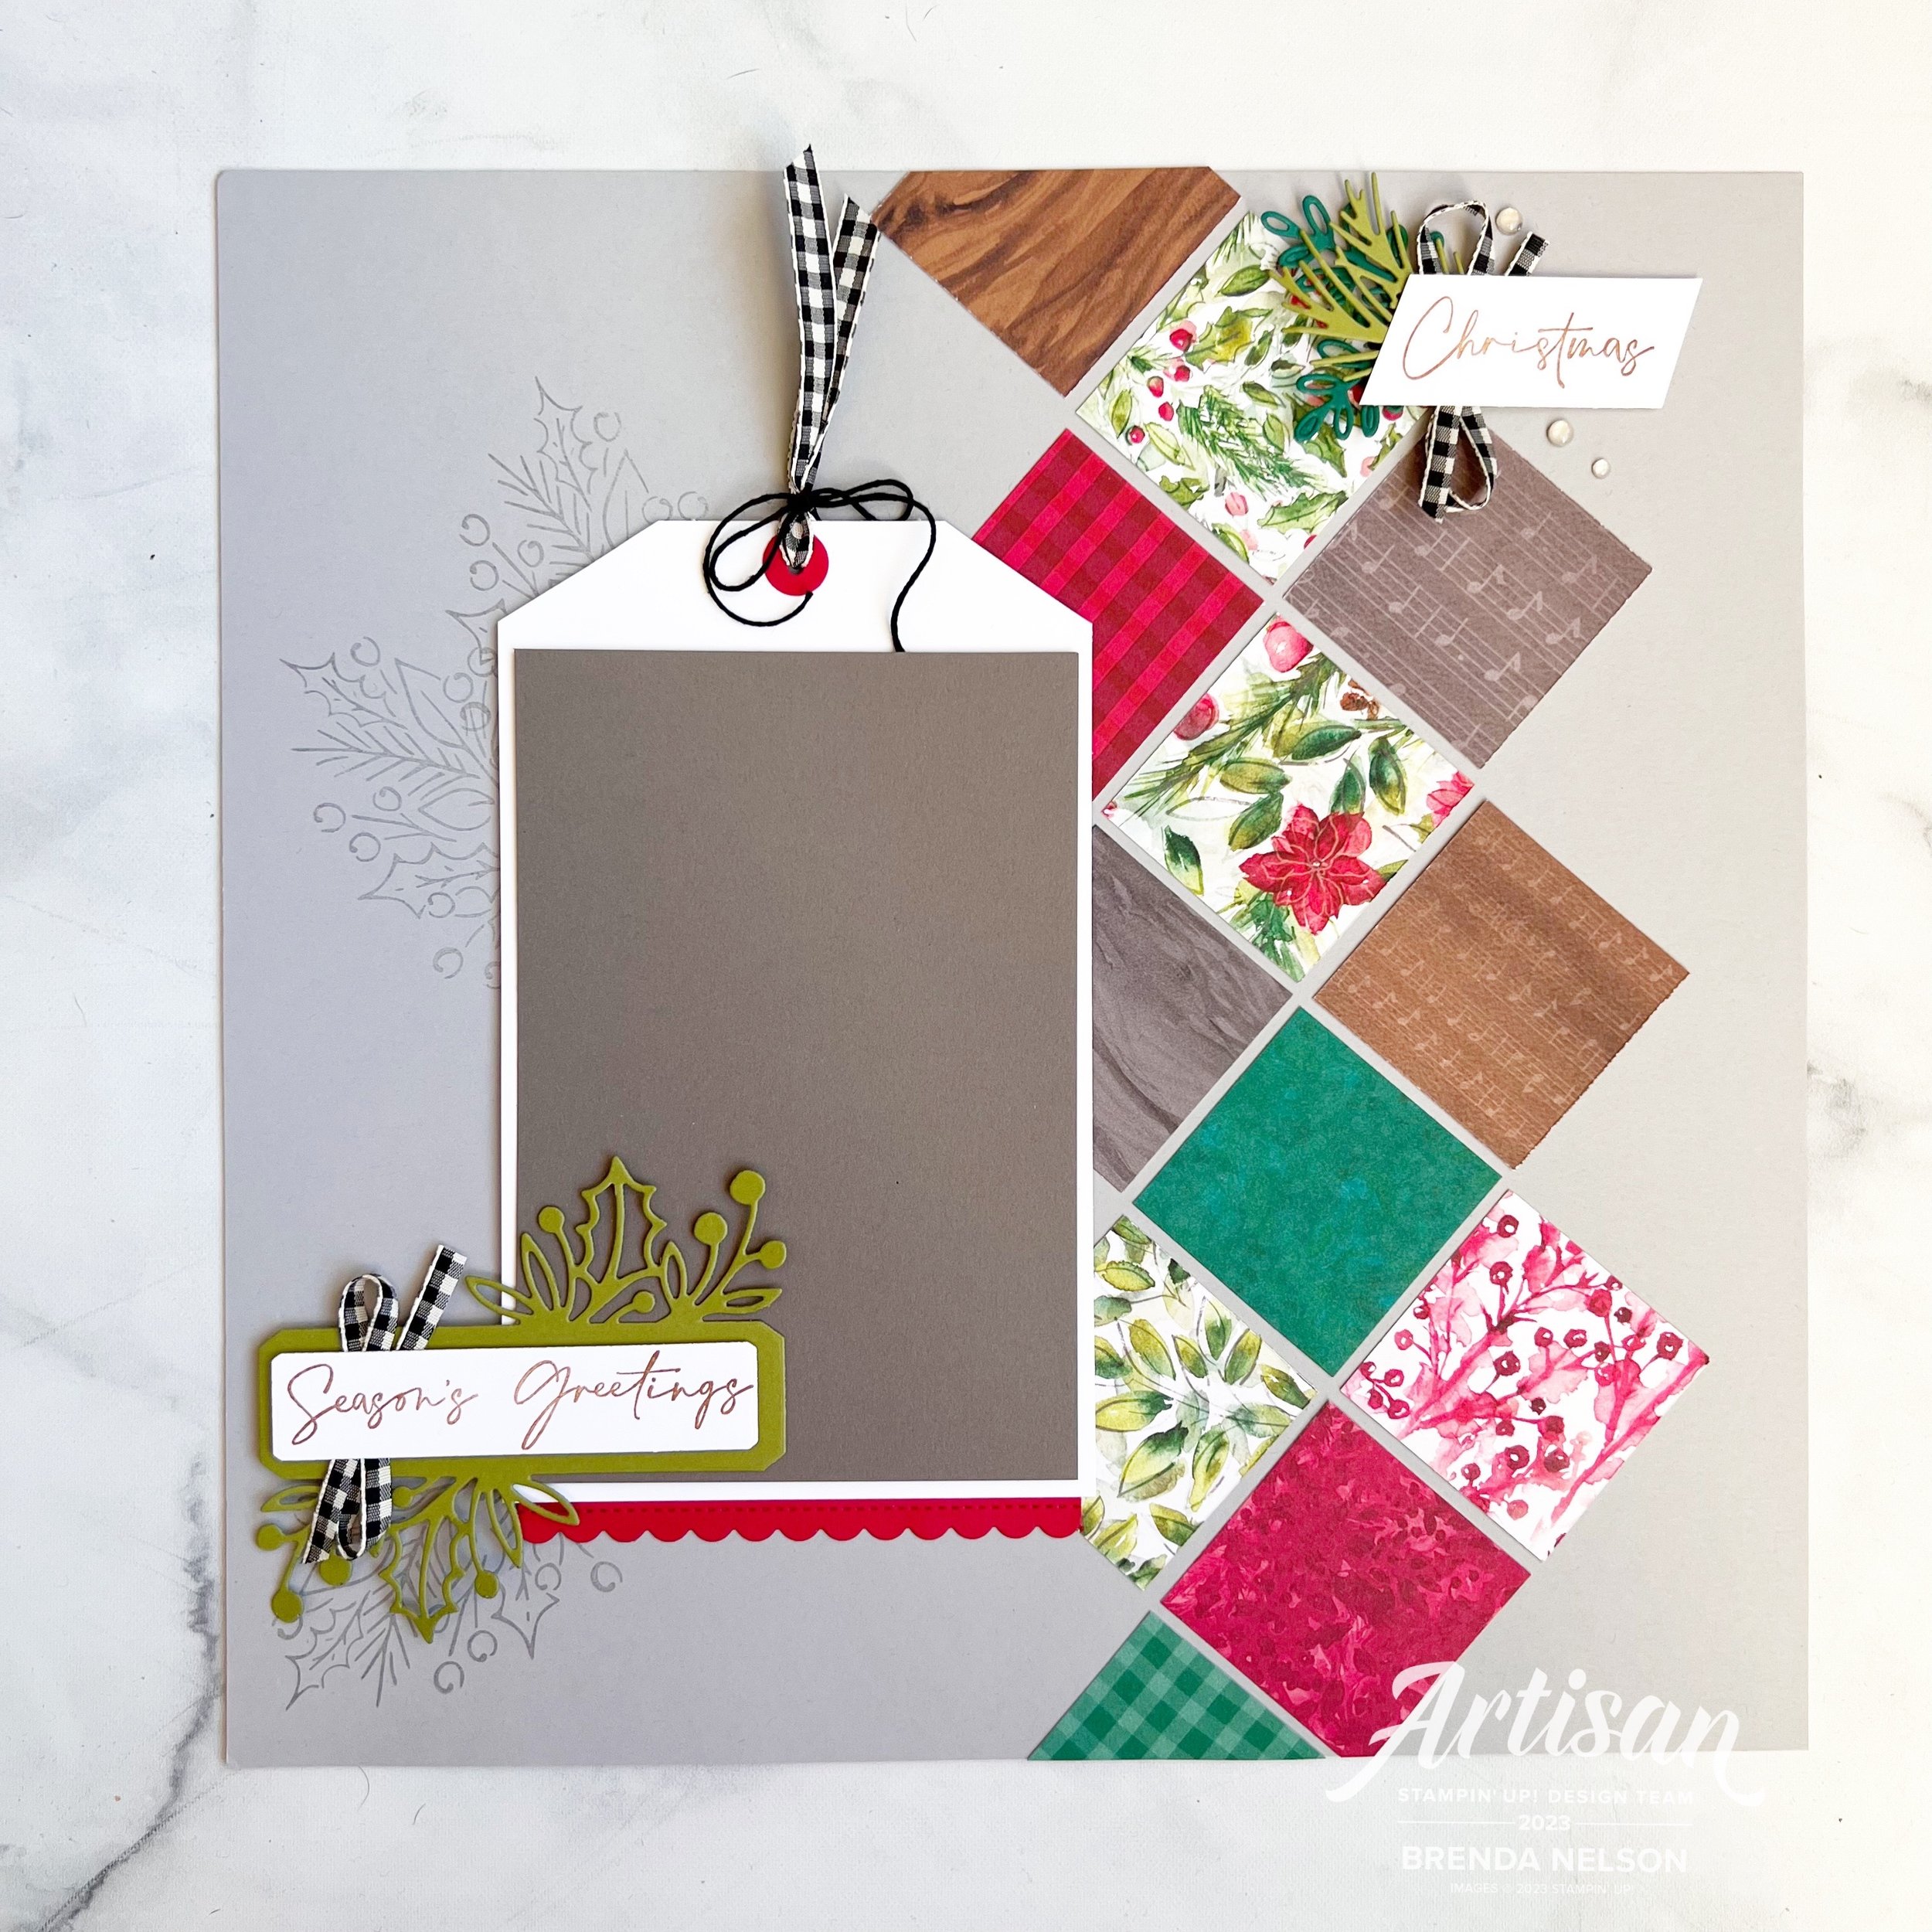
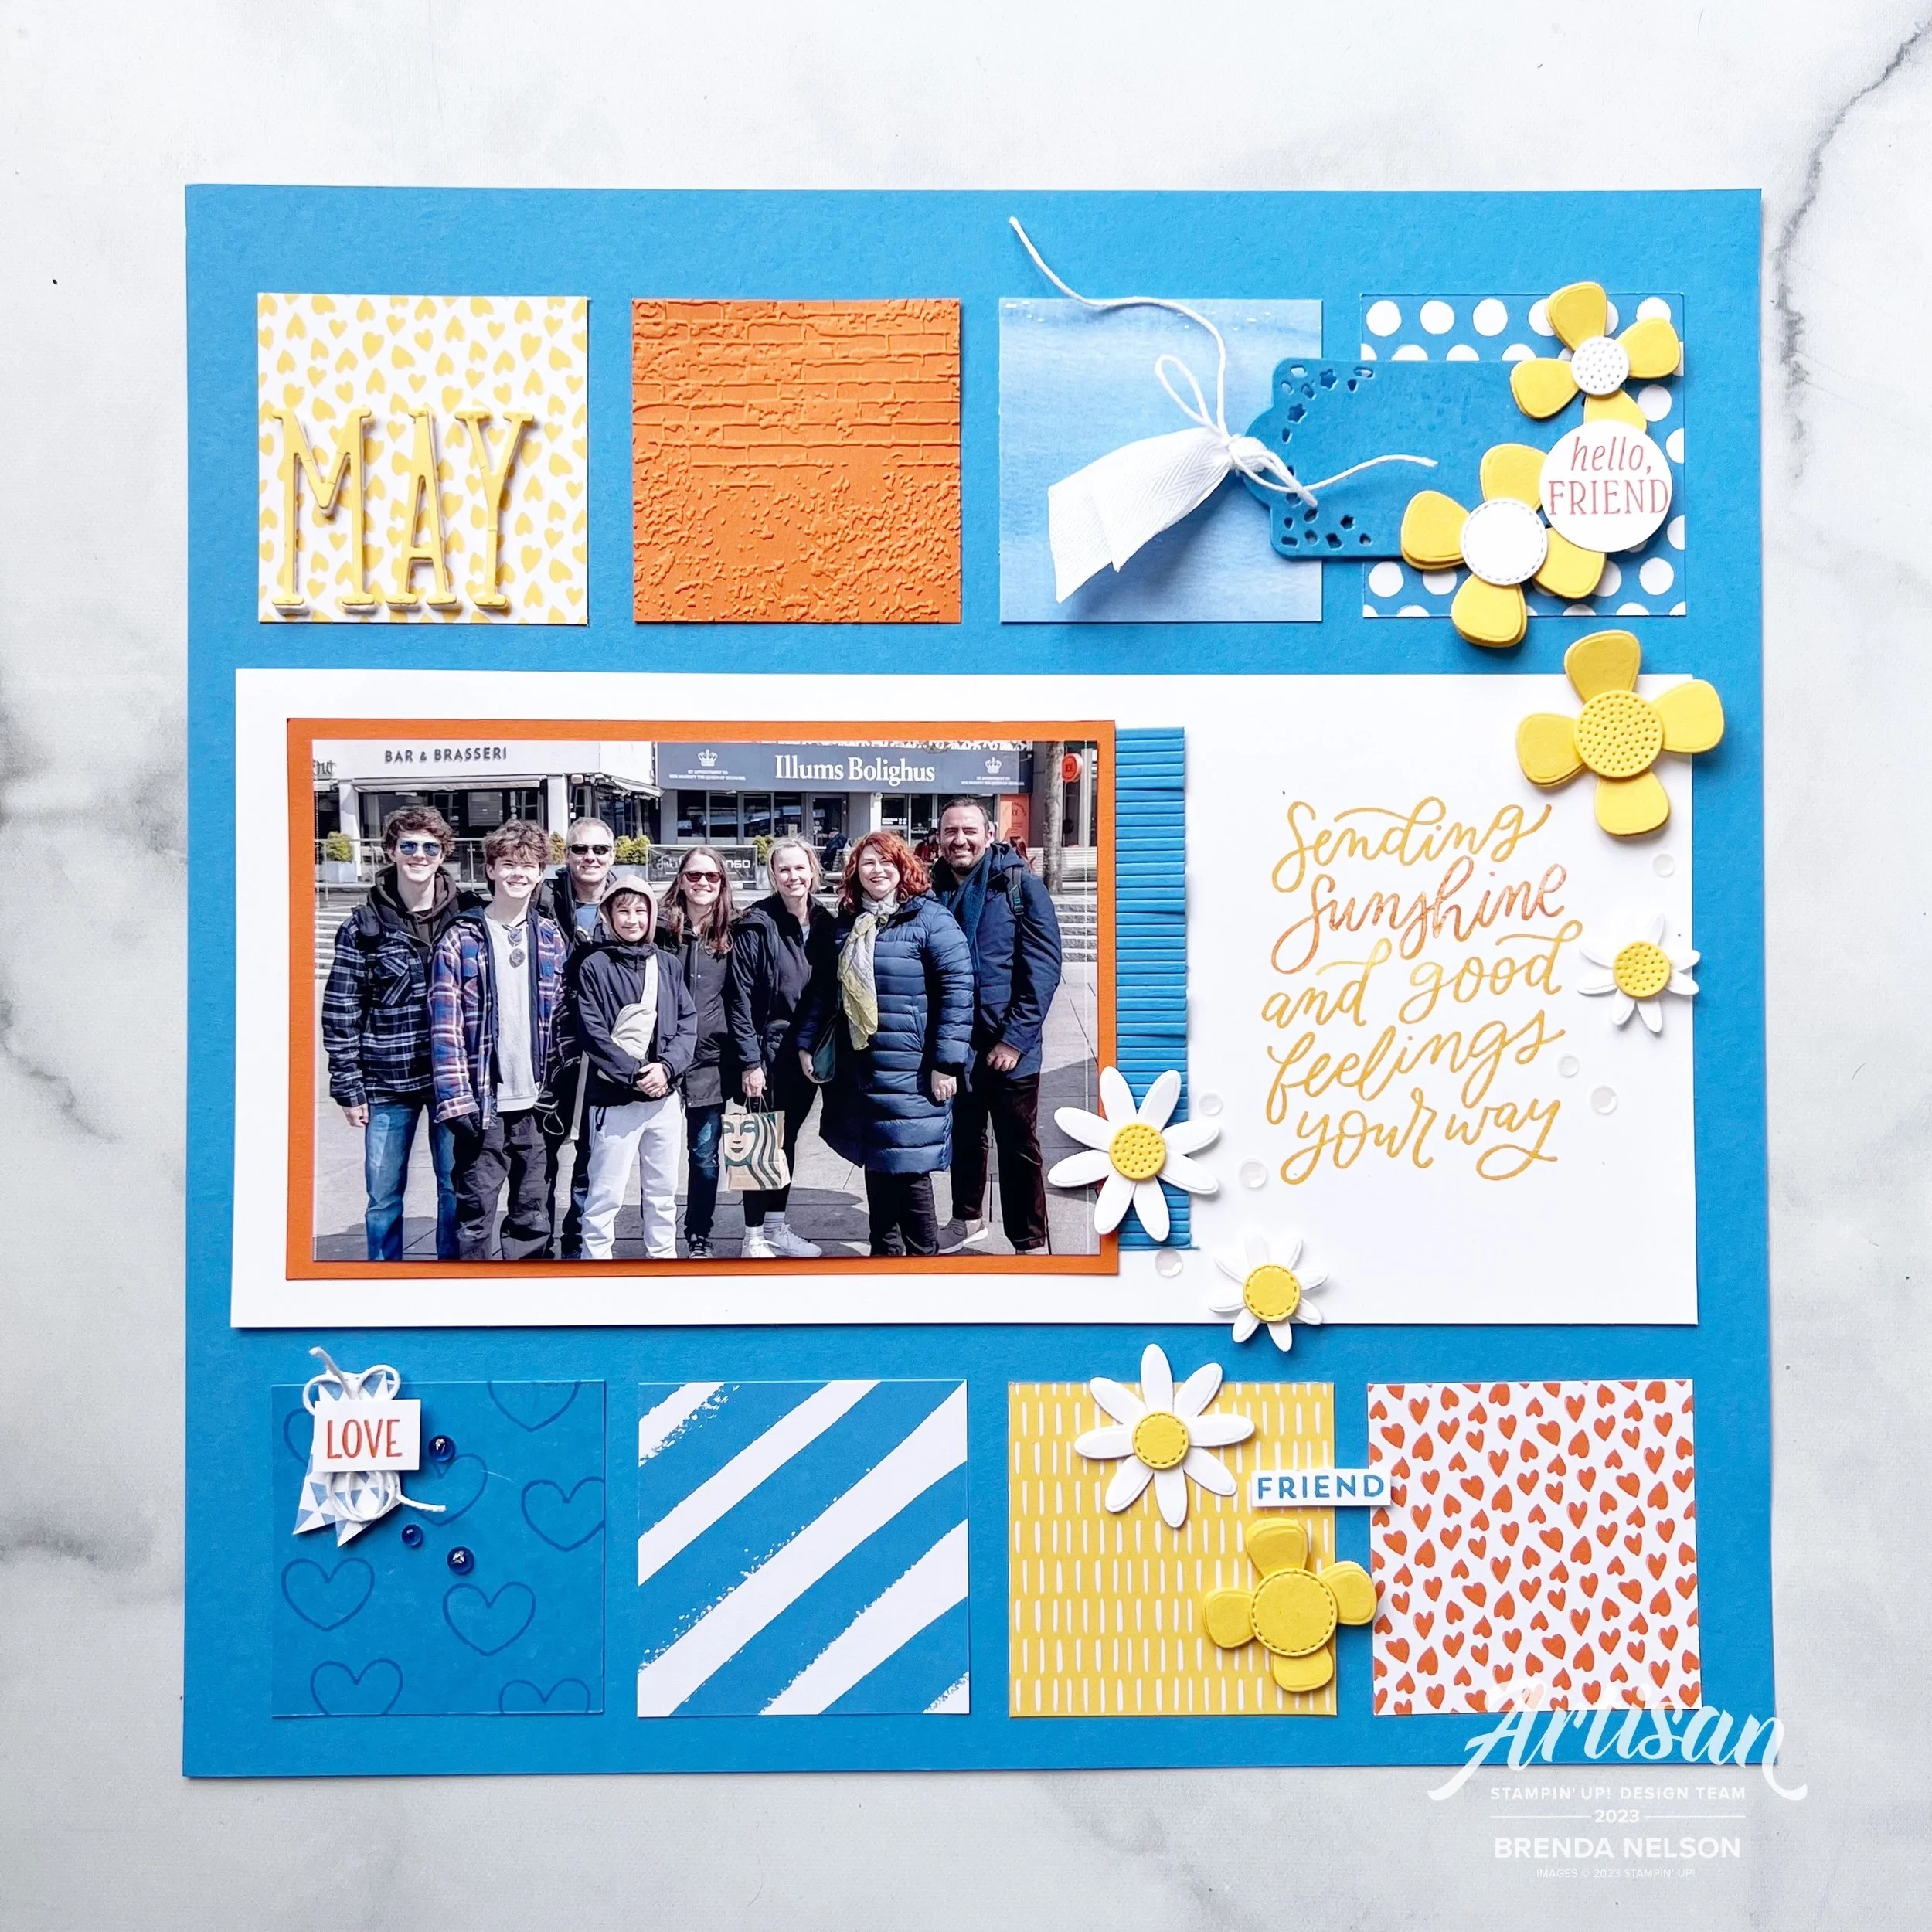
This past weekend was National Scrapbook Day so in honour of that, I have created a scrapbook page with this color combination for May.

I won’t lie, I actually found this a tough color combination as Moody Mauve isn’t necessarily a color I gravitate too.

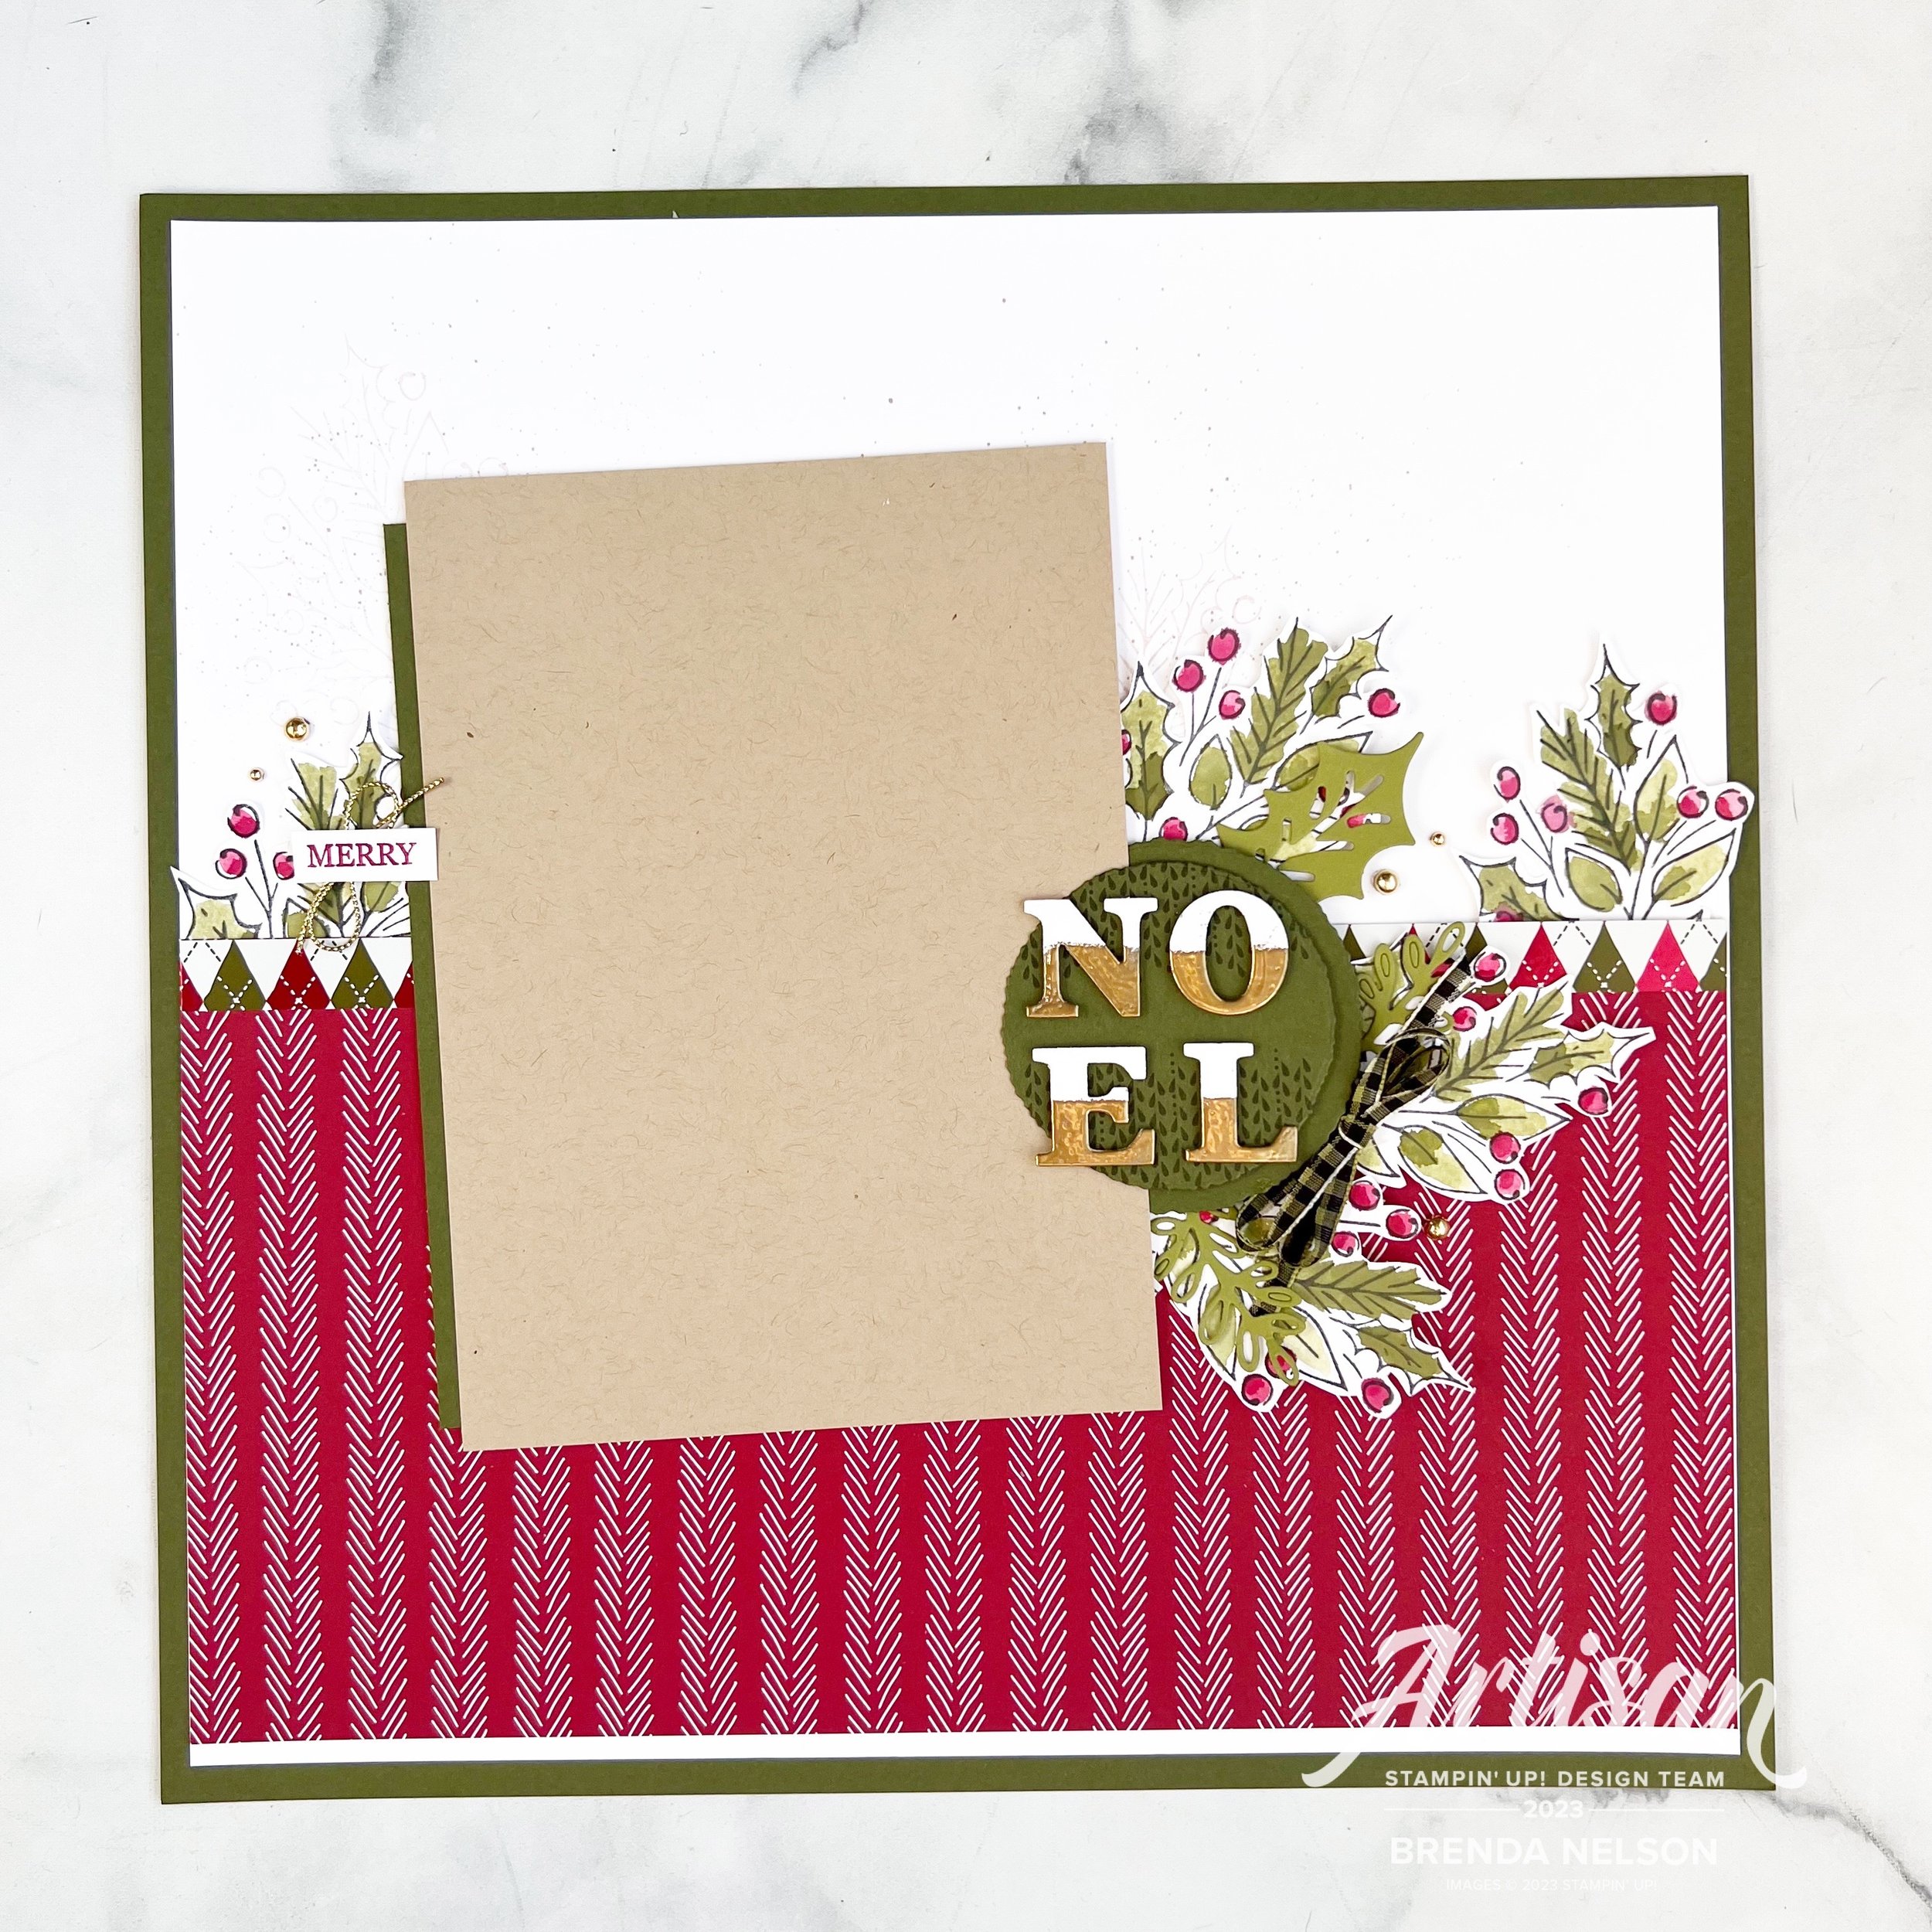
I started with Bubble Bath as my base and I traced a paper plate with pencil onto the middle of my 12x12 page. This gave me the ‘cicle’ shape to use as guideline for my design.

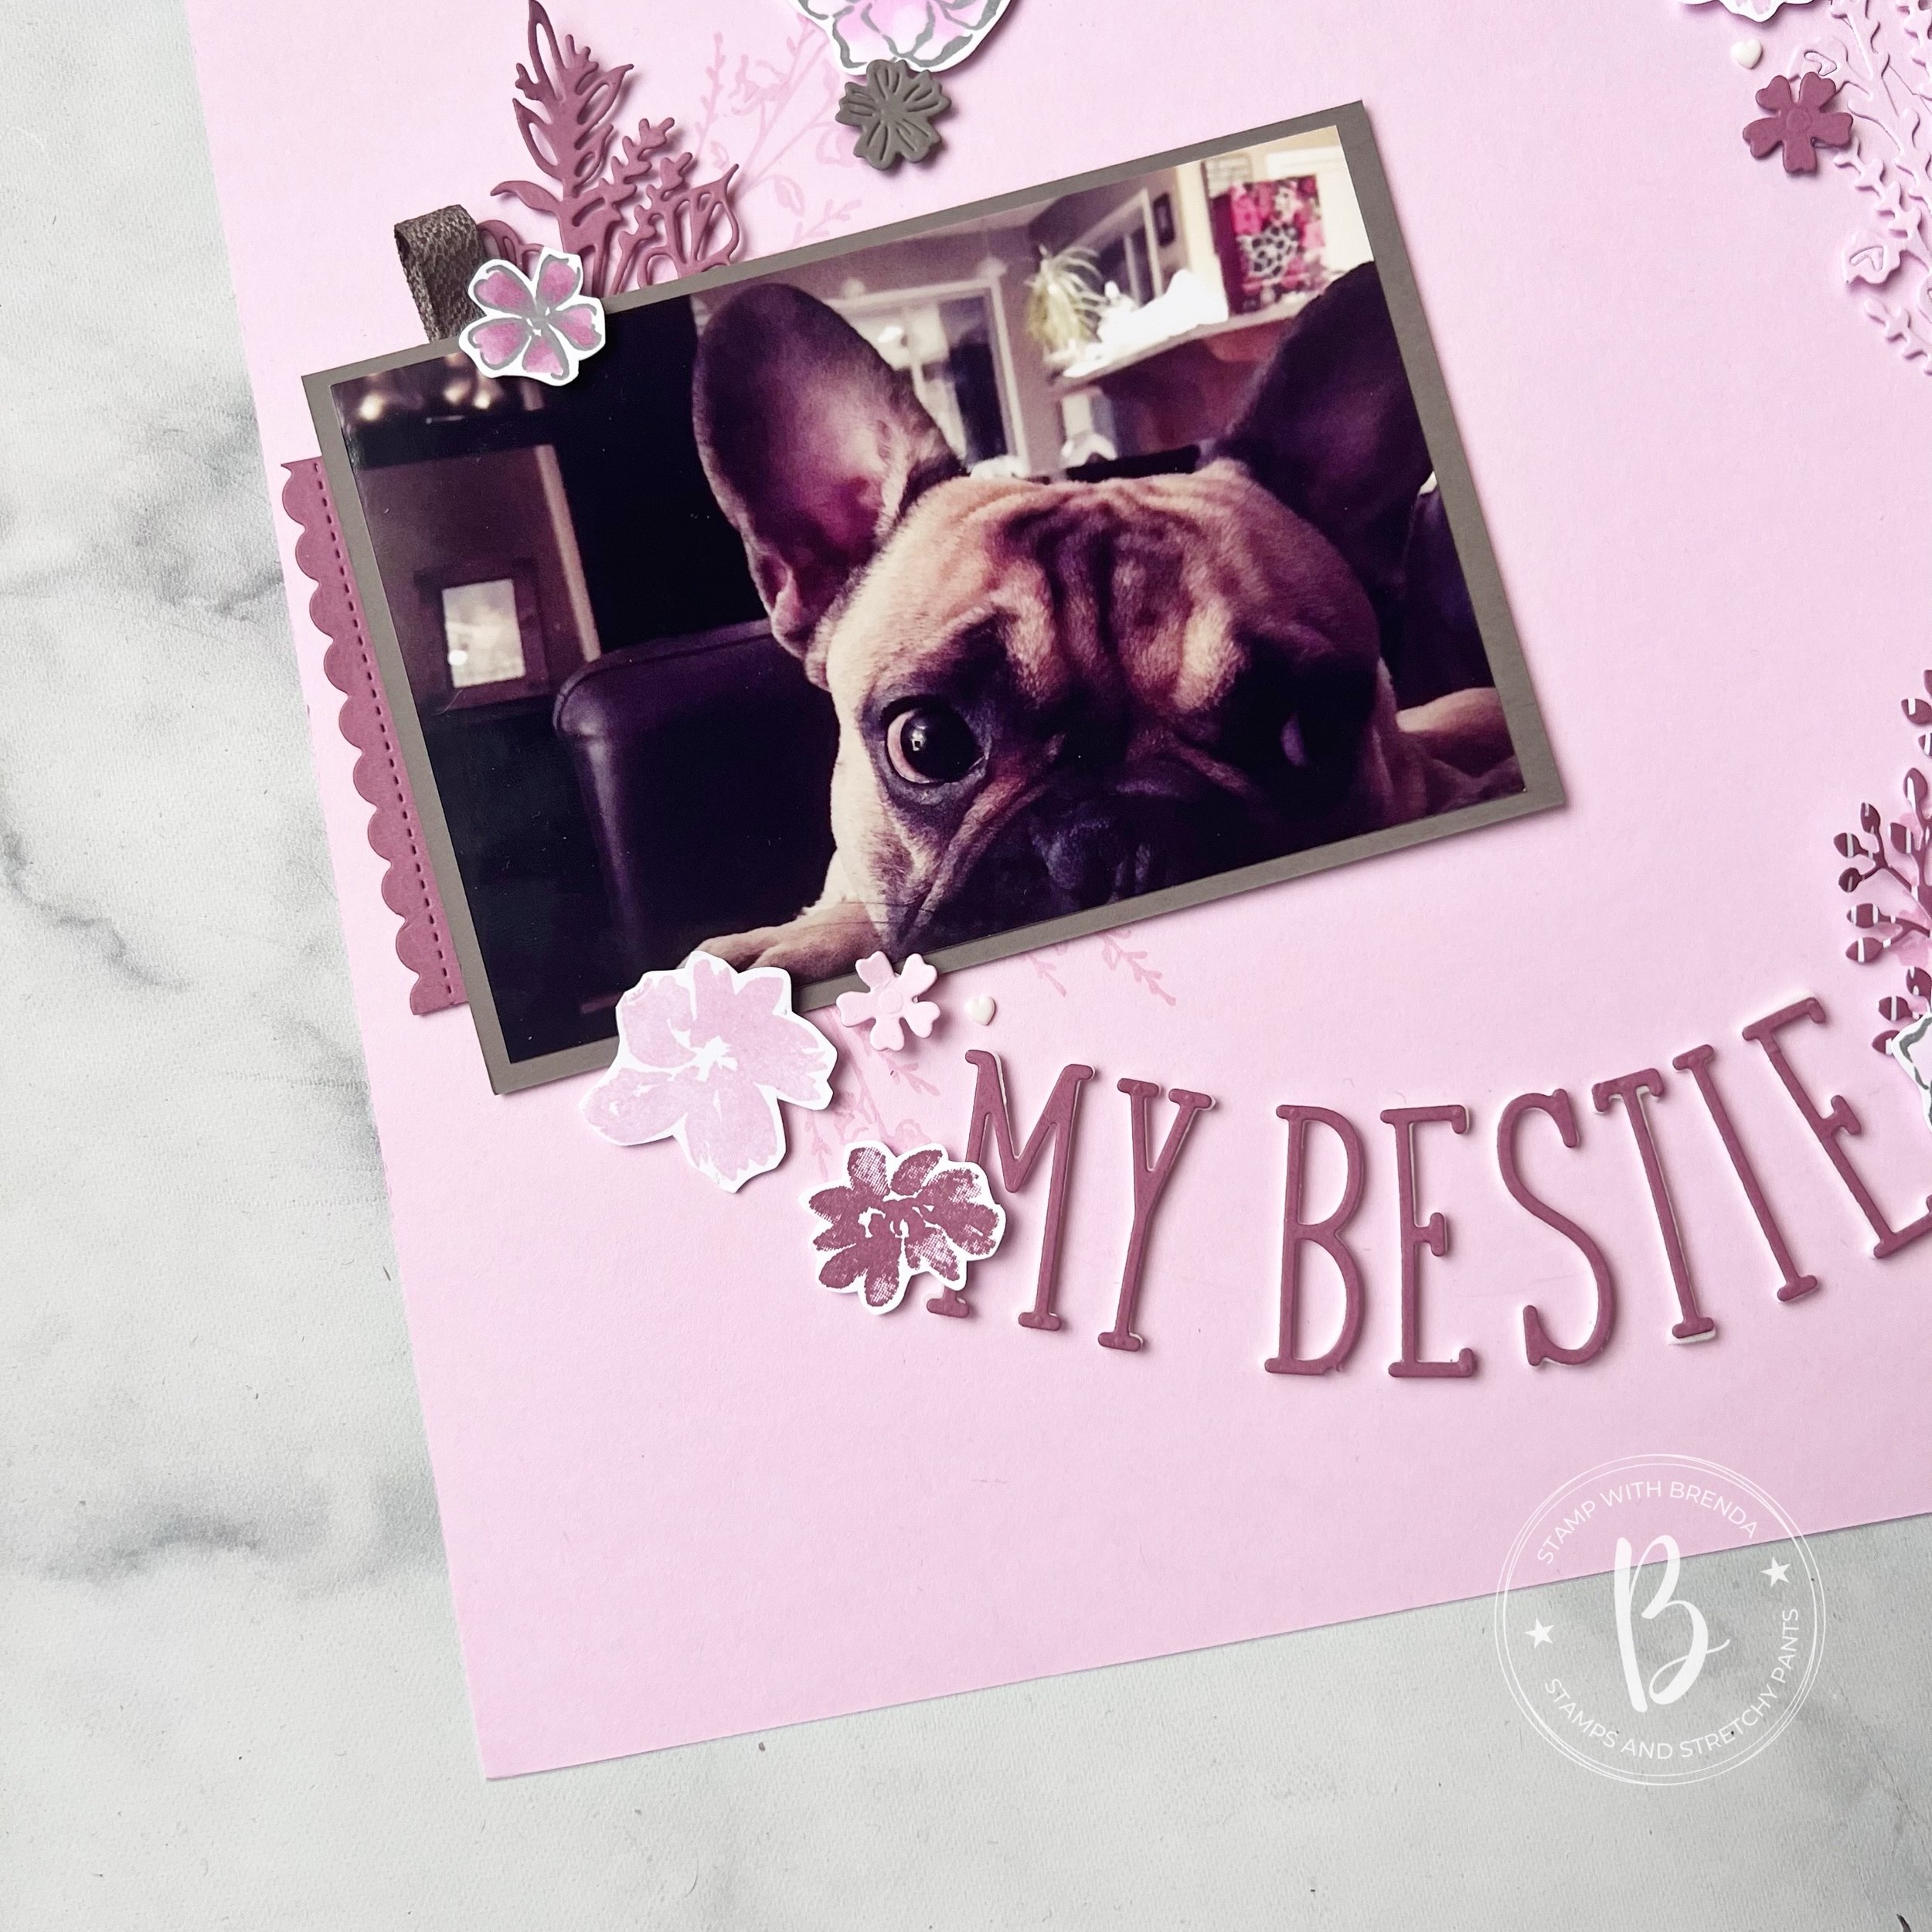
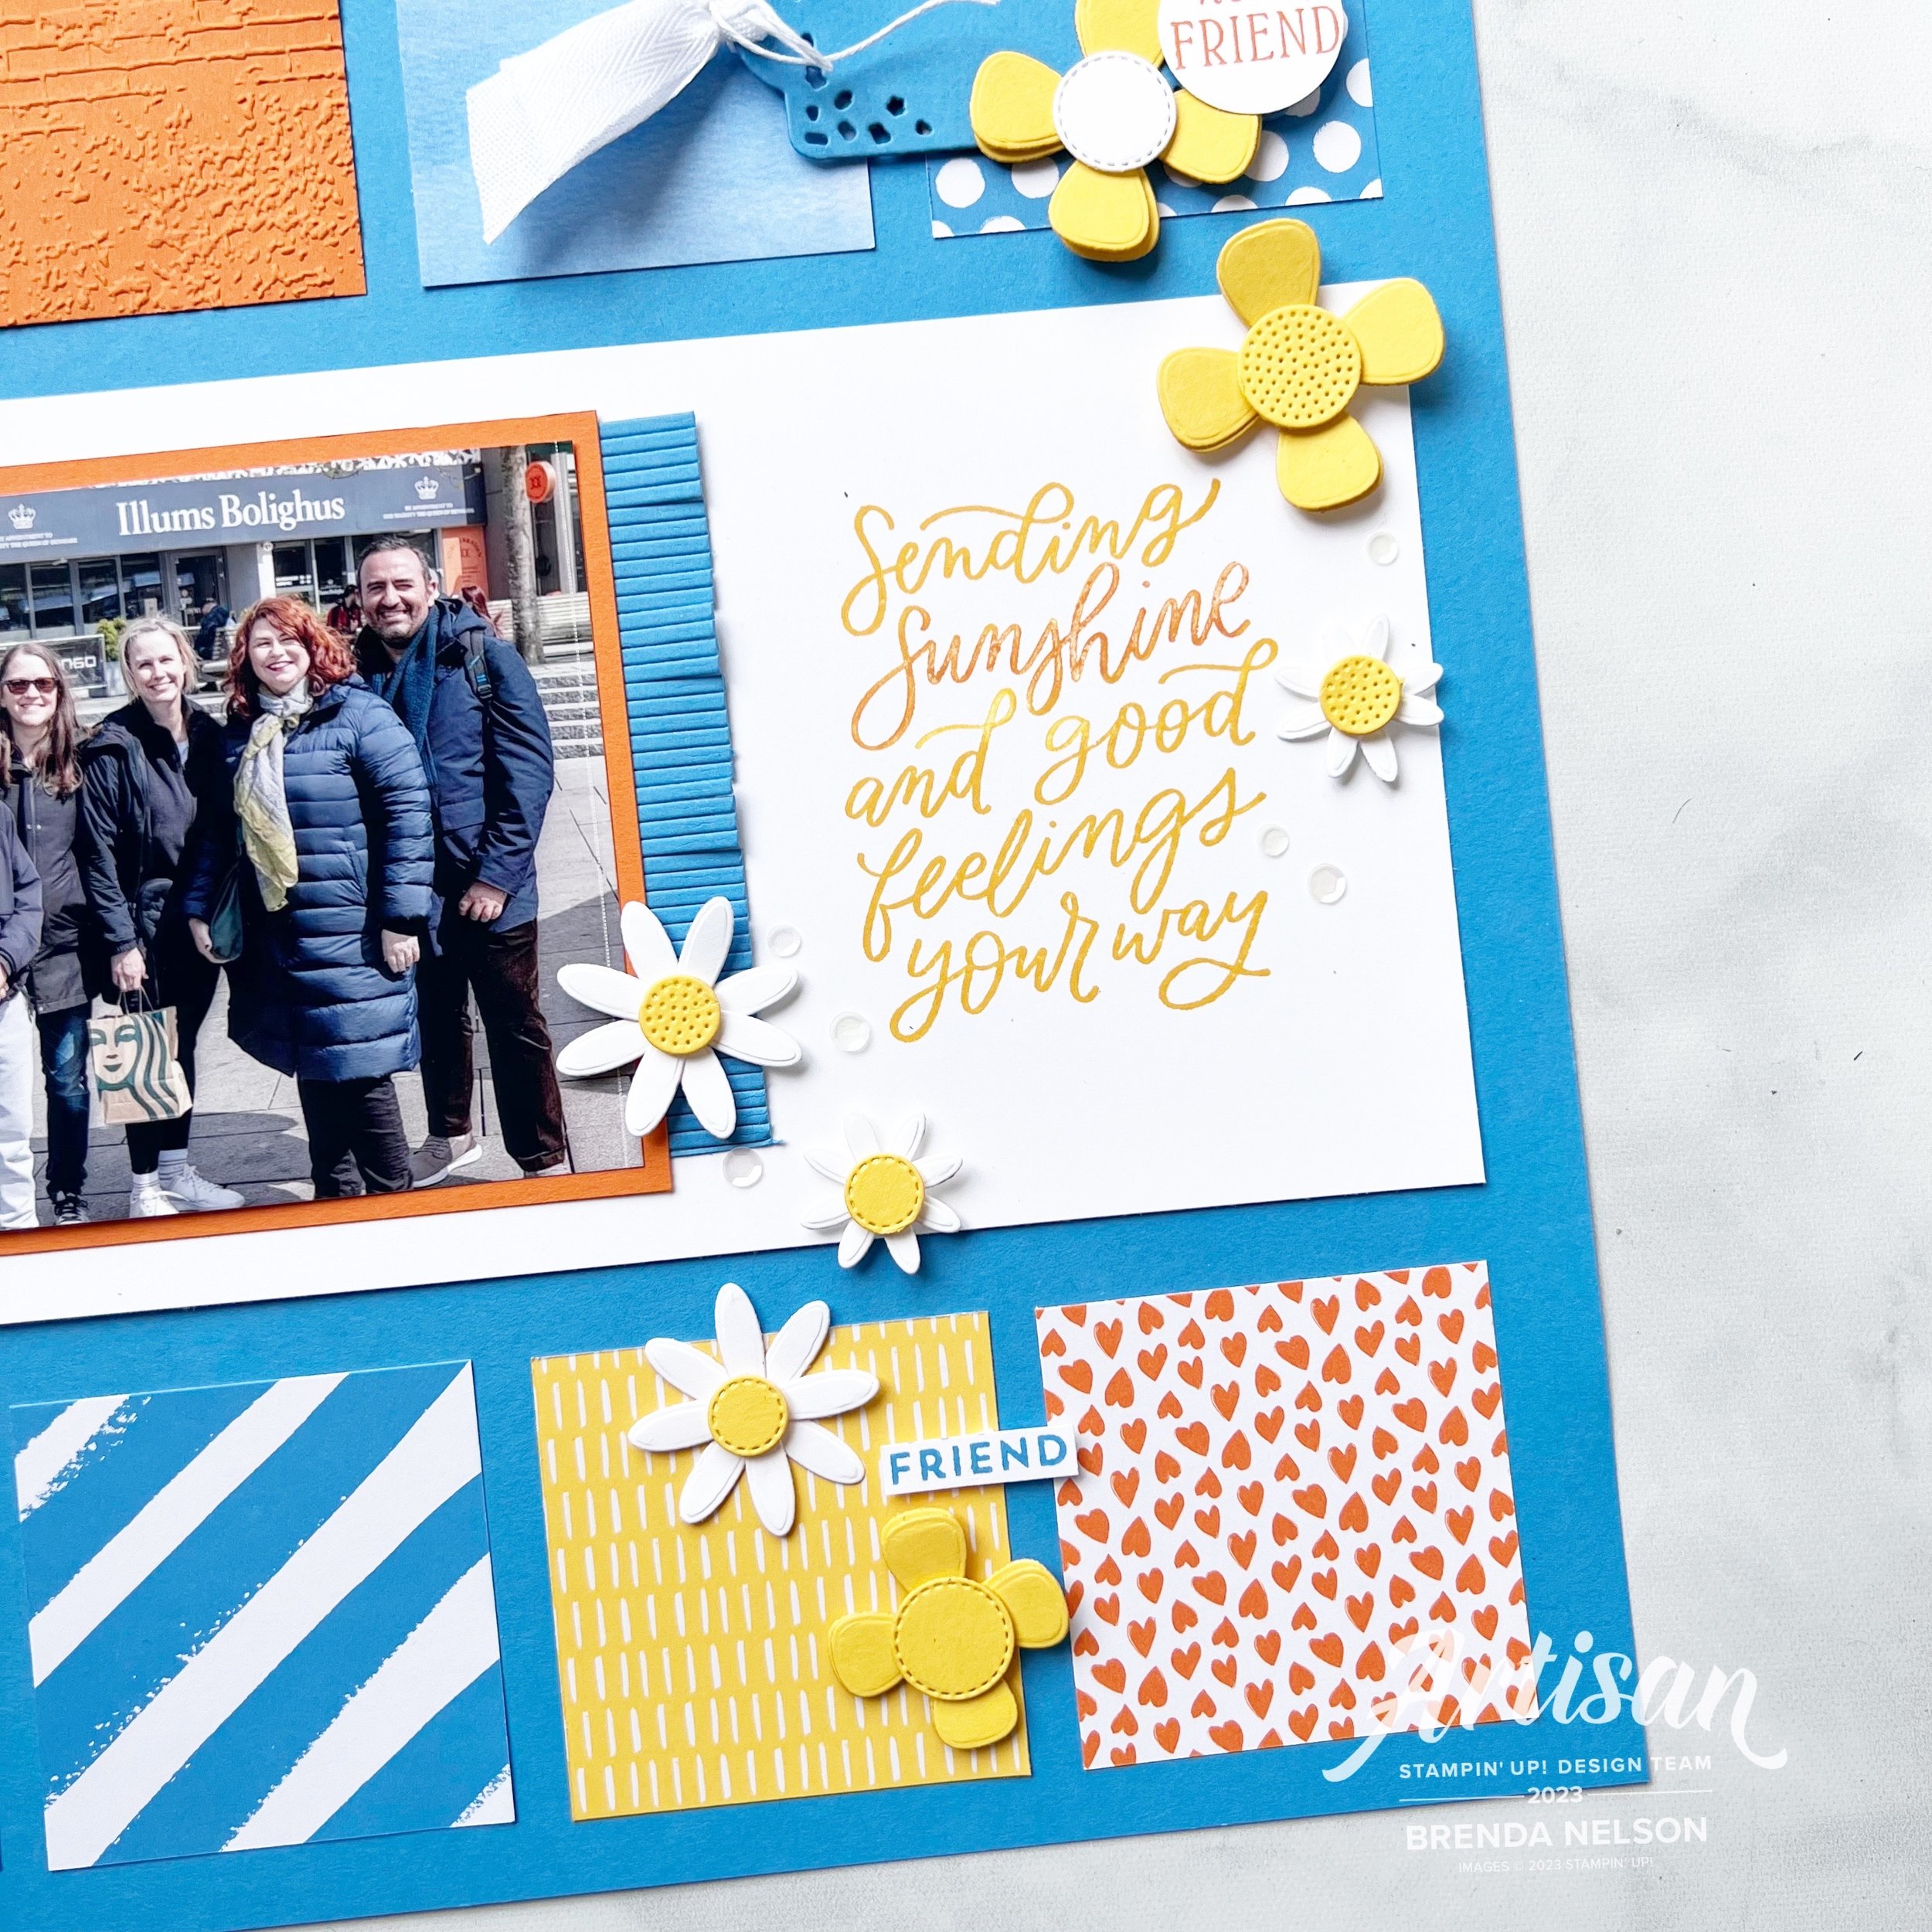
Isn’t this a cute picture of Hawkins? I came across it recently and I thought it was pefect for this page

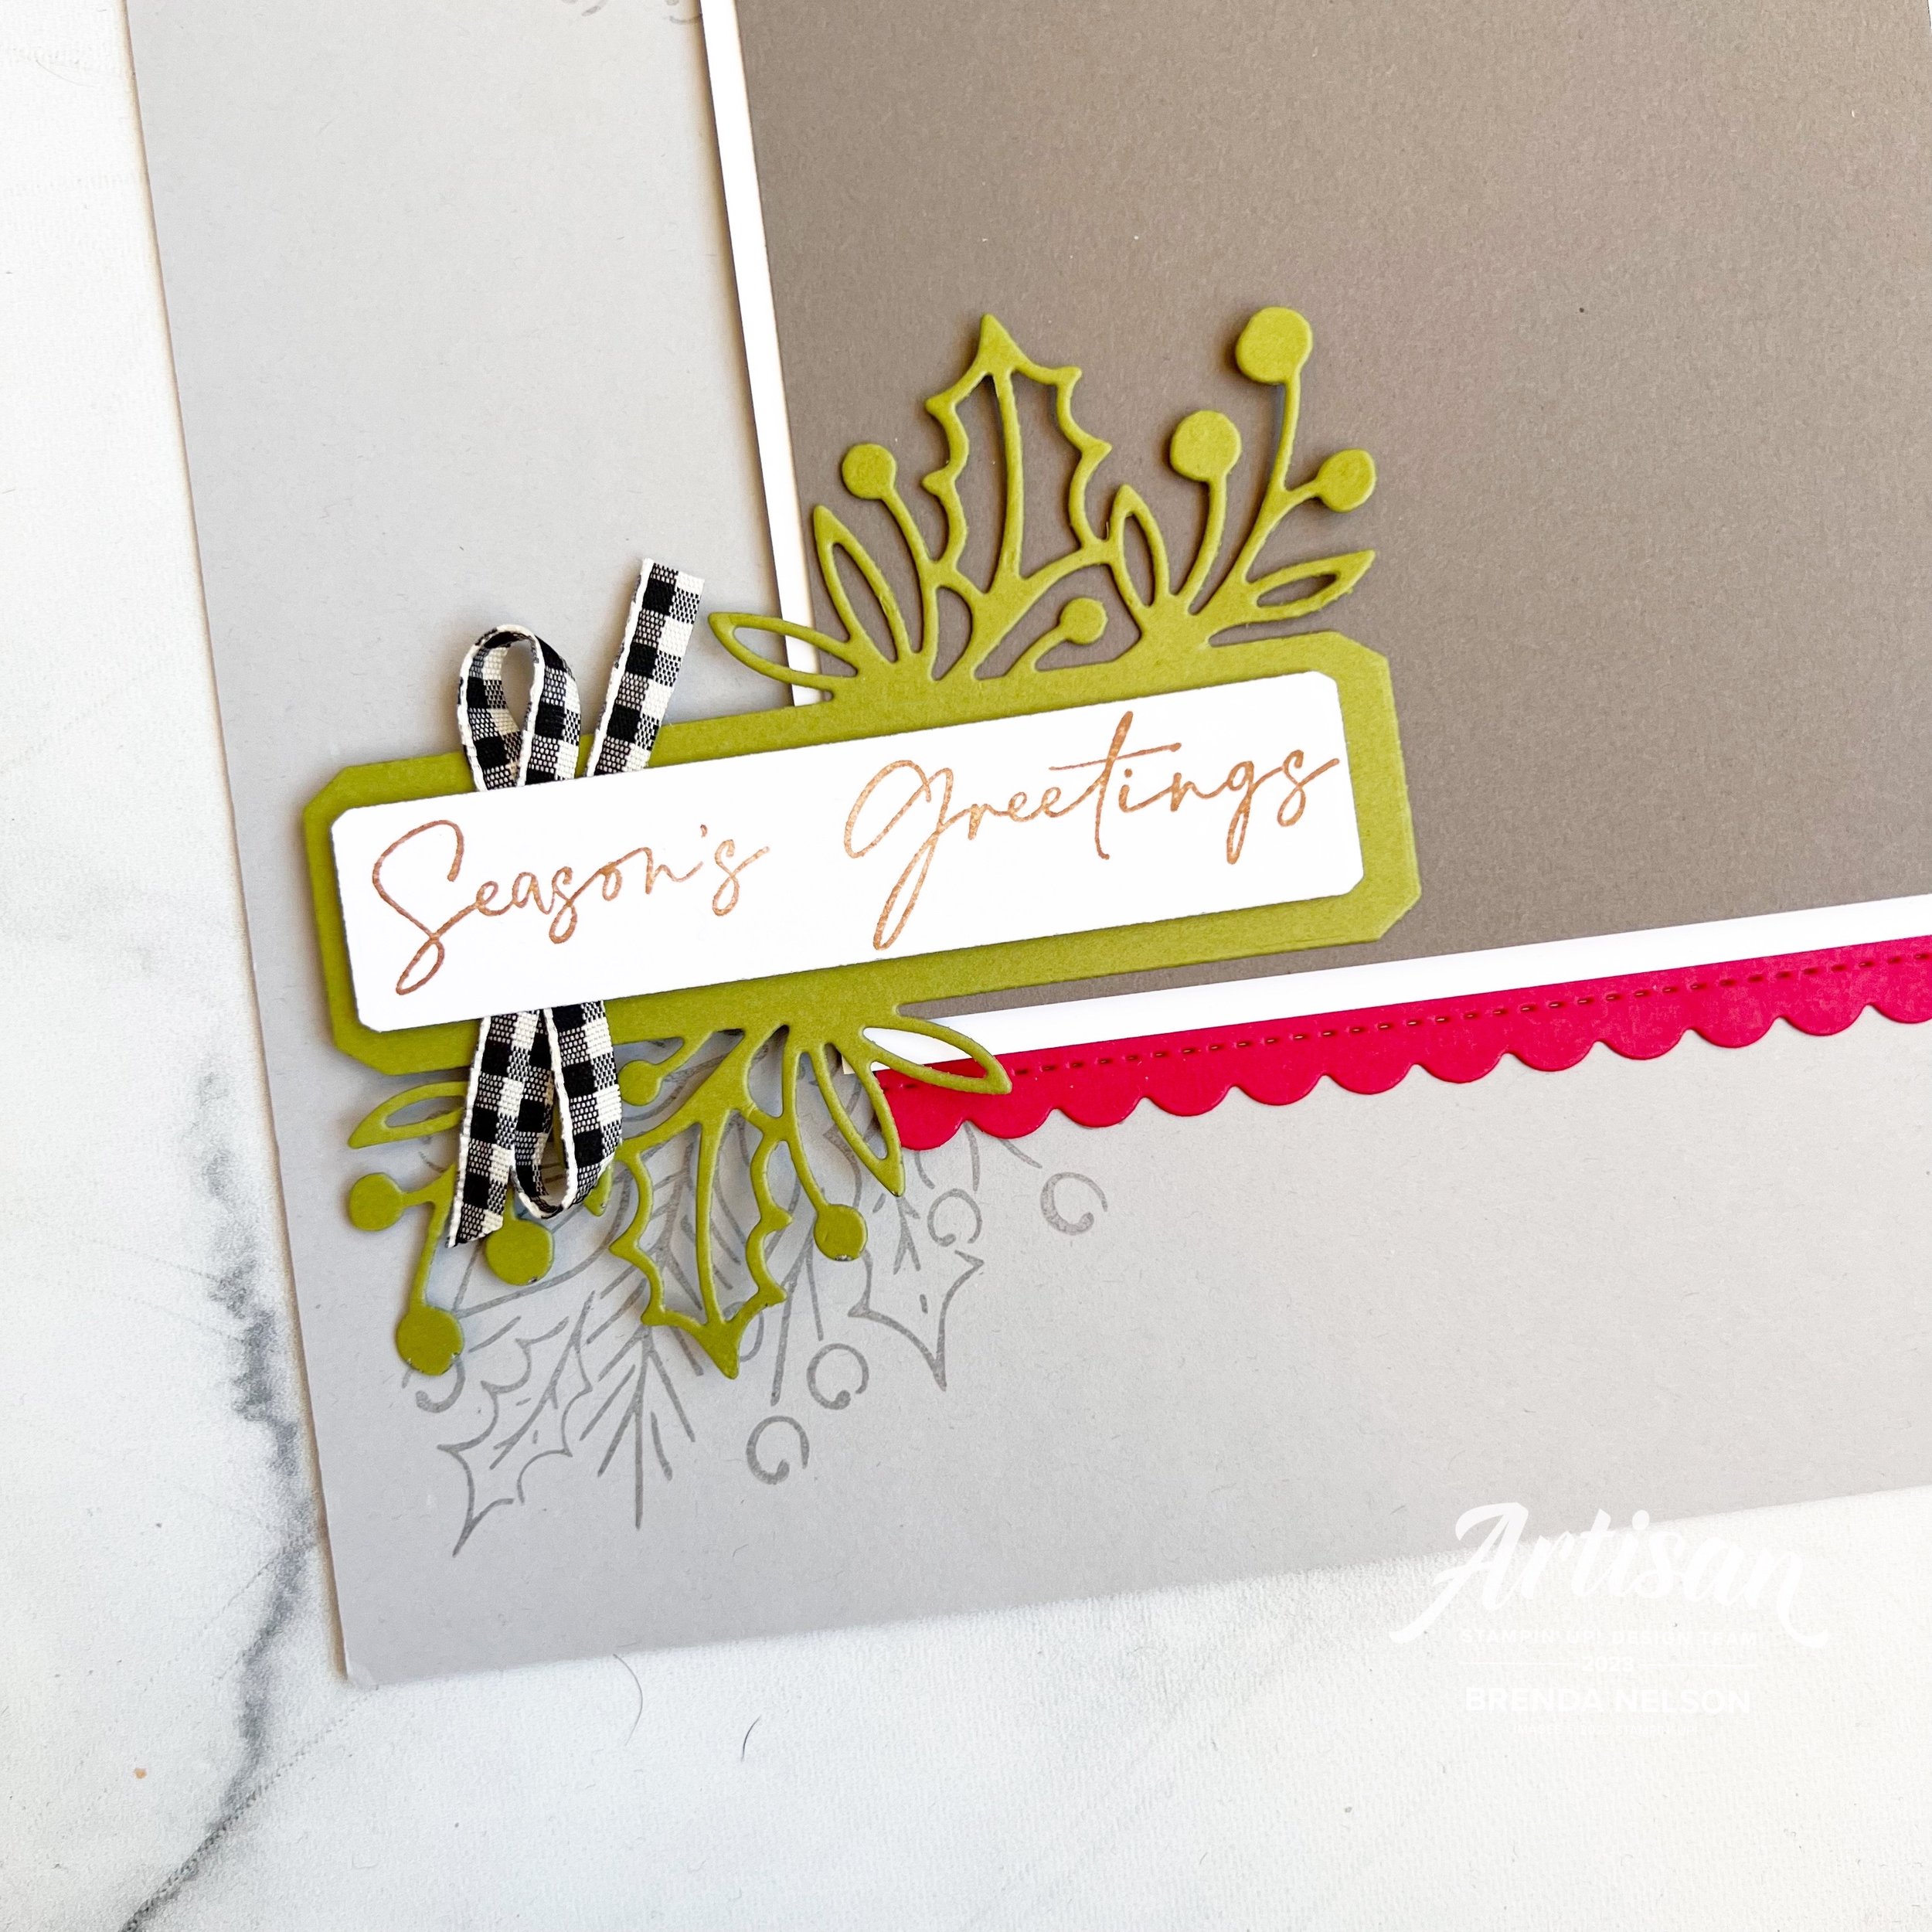
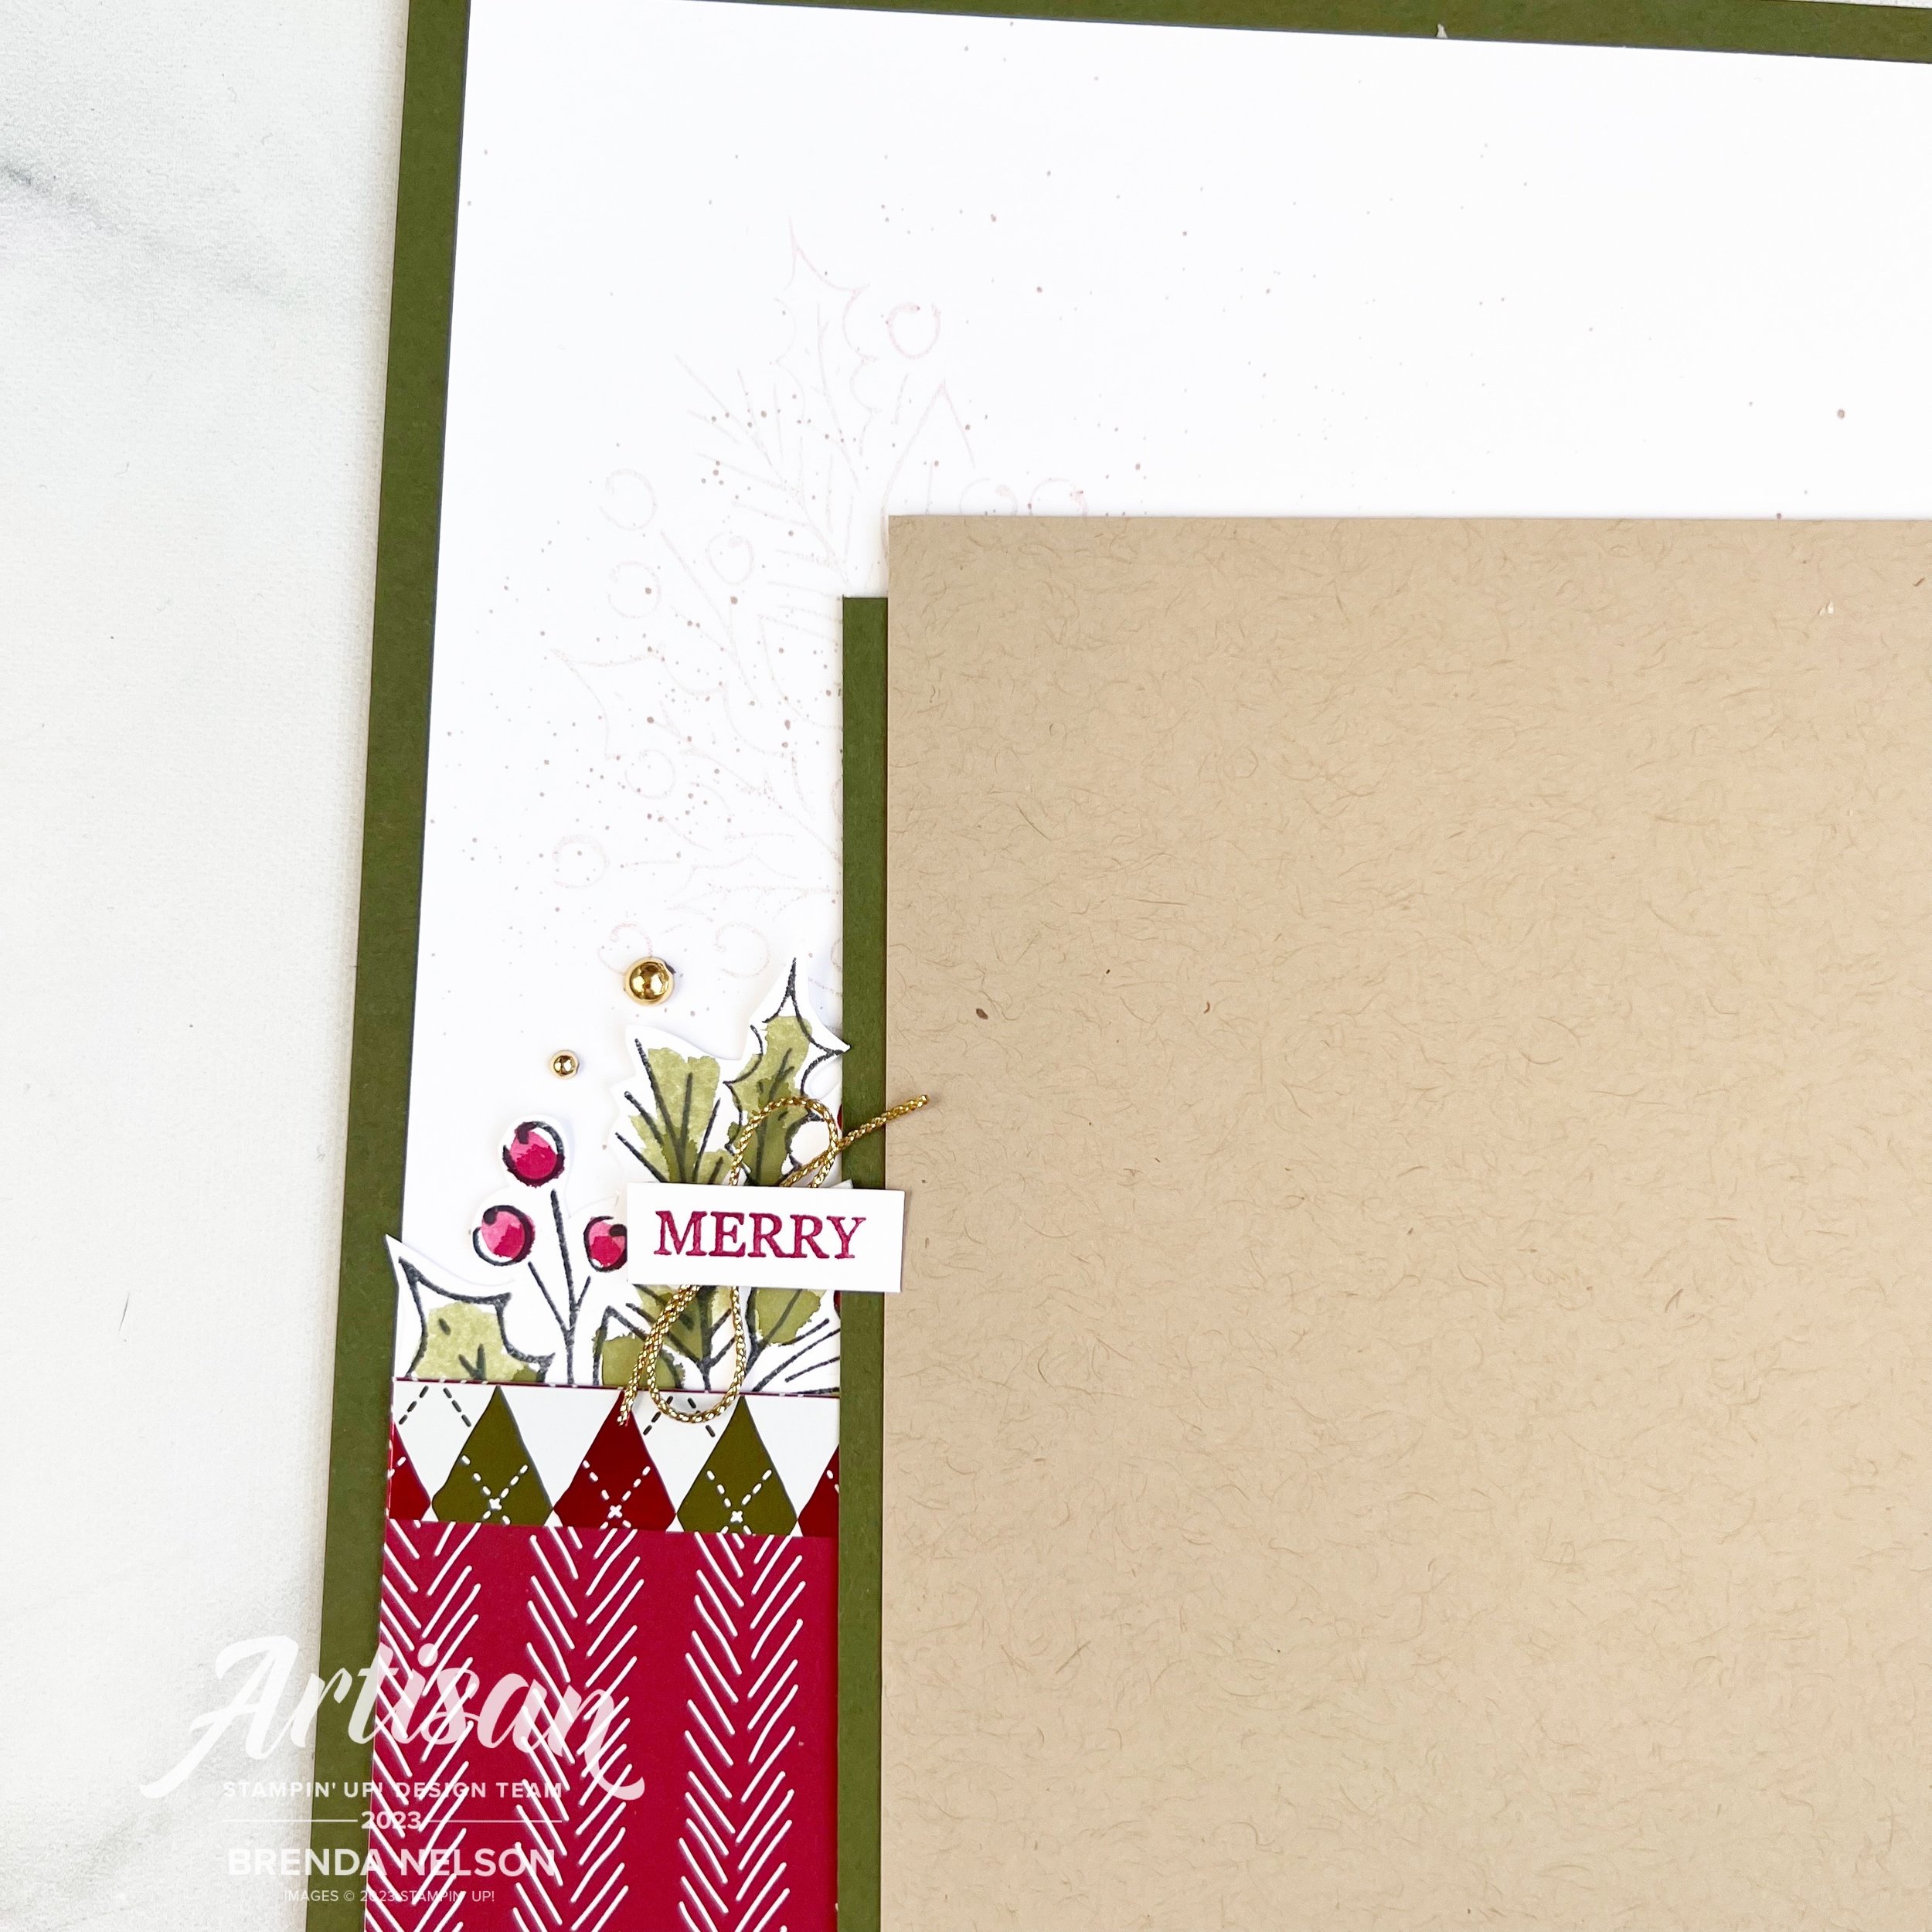
My picture is matted on Pebbled Path and offset to the left. From here I did some stamping to poke out from underneath the picture following the circle that I traced. I added a little tab of Pebble Path ribbon at the top of the picture and a scallop border along the edge.

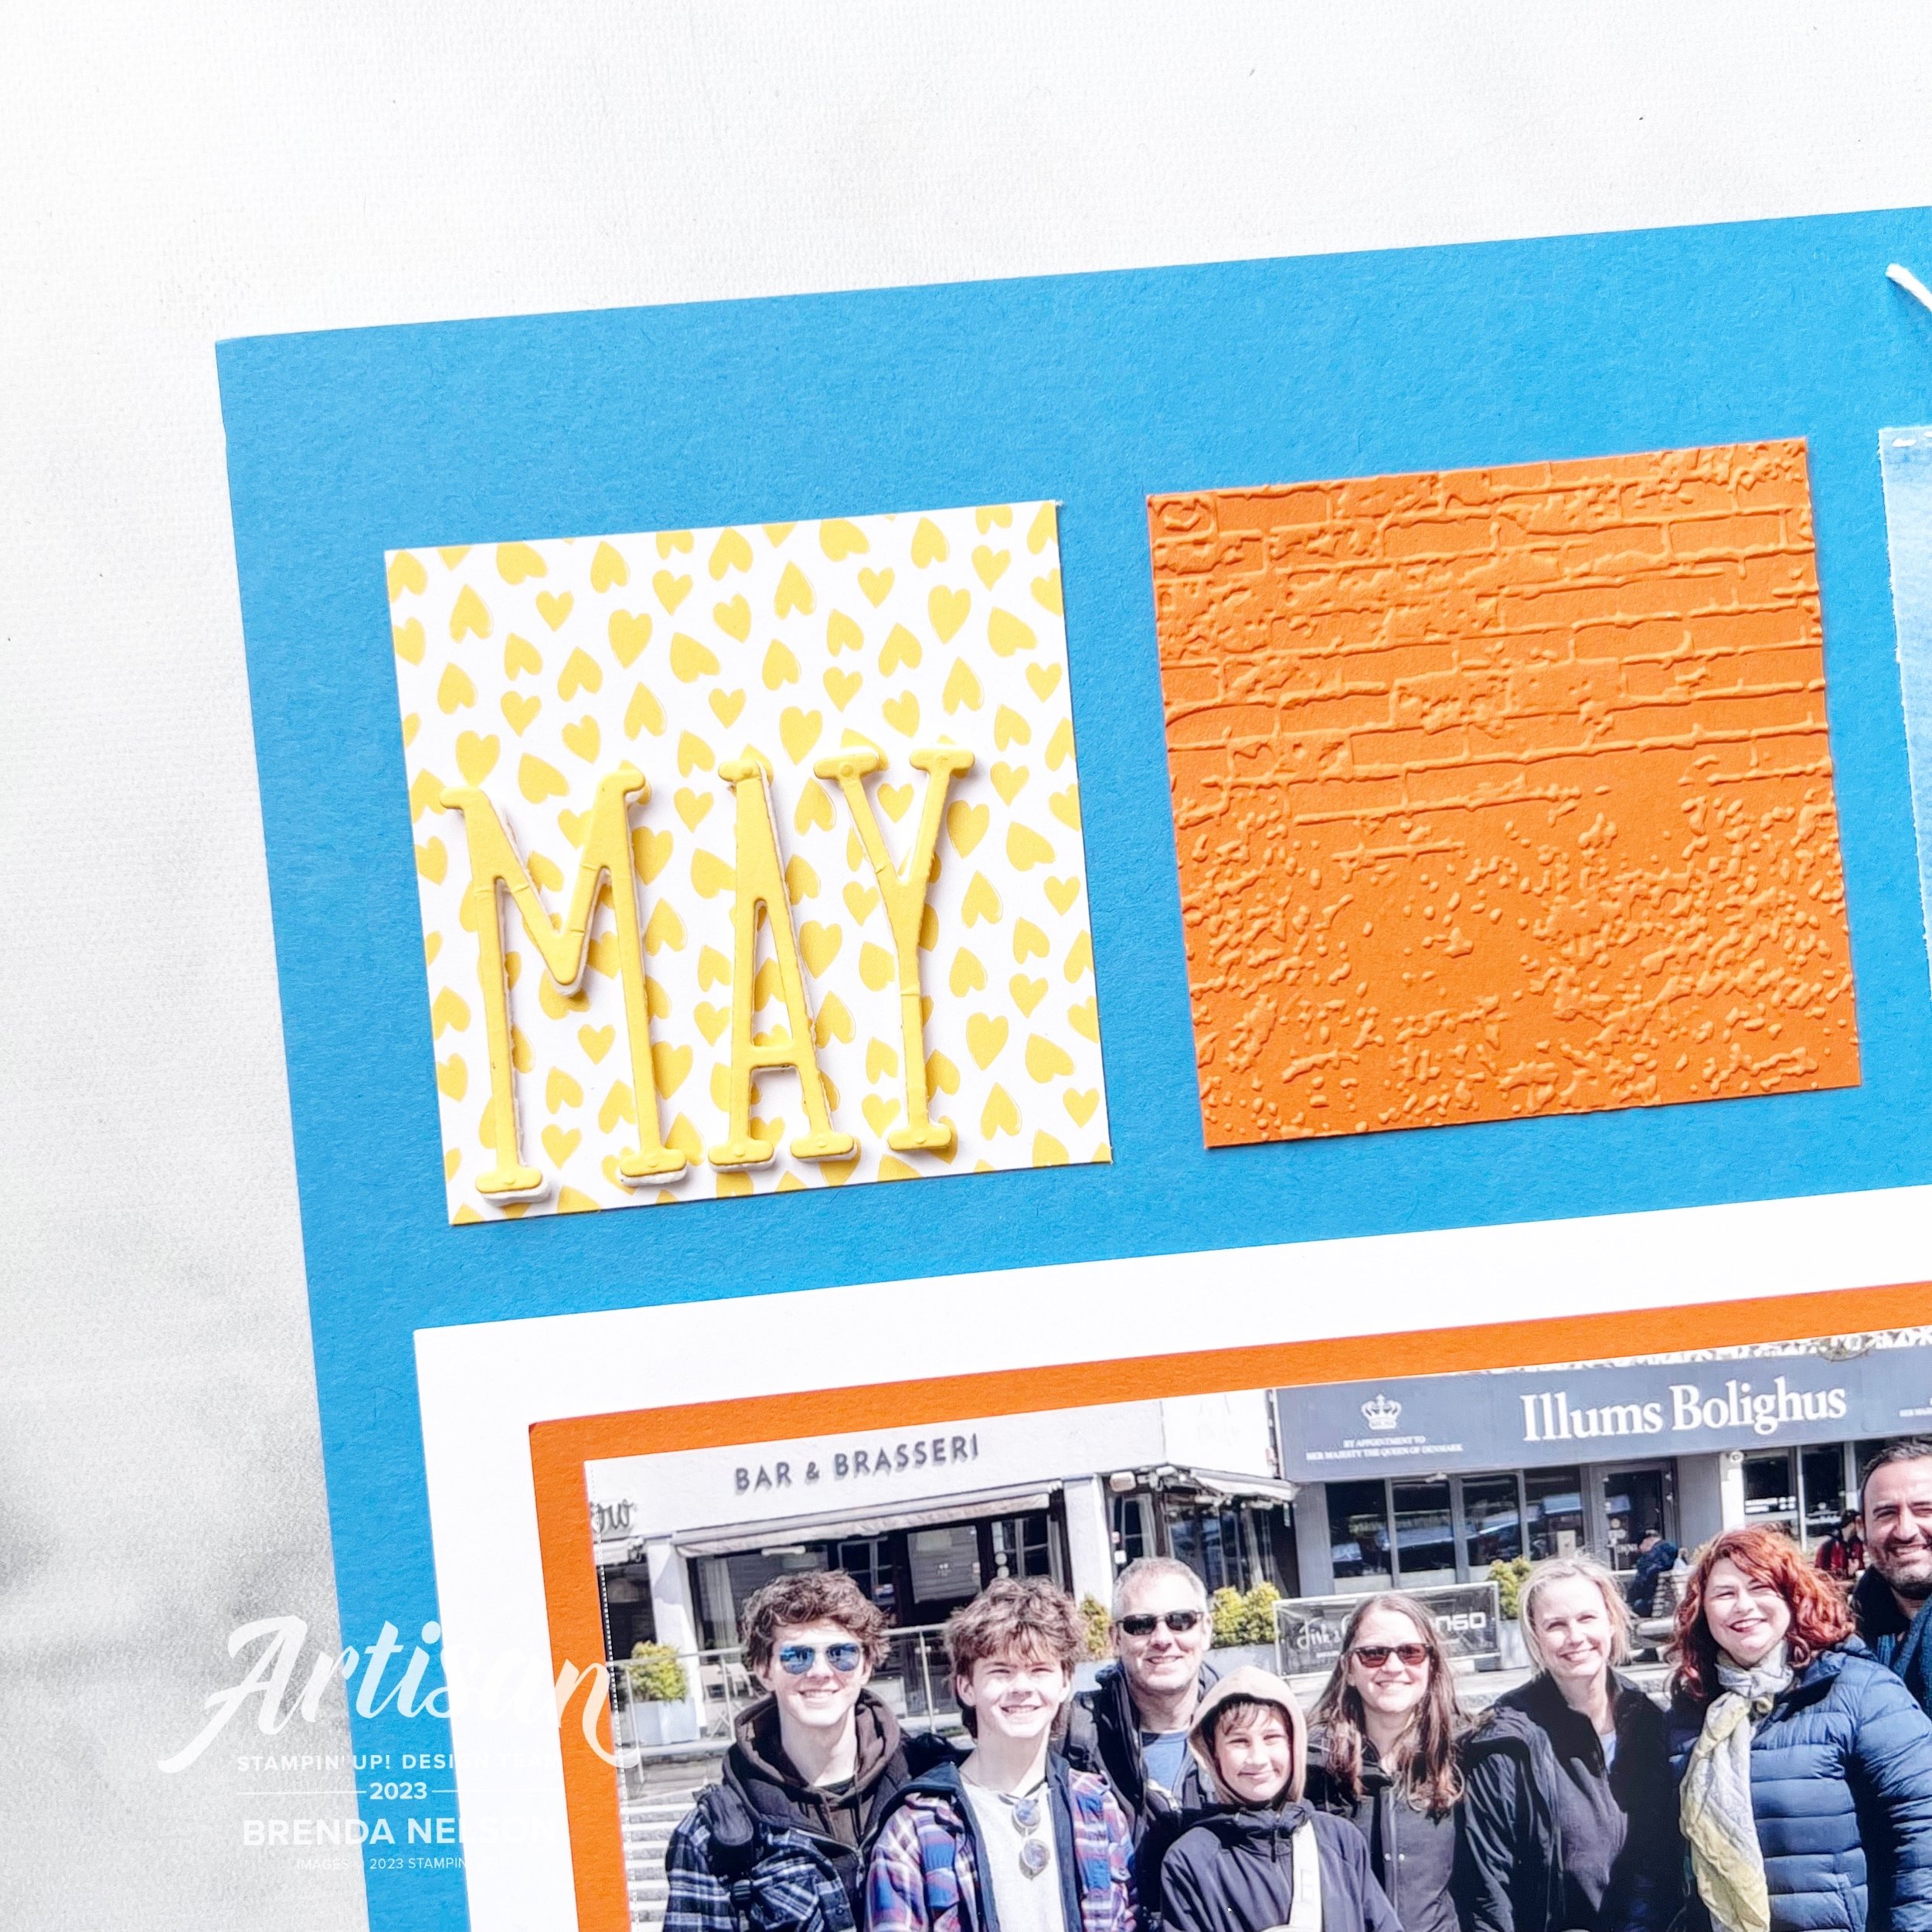
I cut ‘My Bestie’ out with the Alphabet a la Mode Dies with a Foam Adhesive Sheet underneath to give them some lift. After that I just started stamping and collaring a variety of flowers to place around my traced circle, erasing the pencil as I went.

I used a combination of dies with card stock and DSP to help create my page. I even pulled out some retired heart embellishments that I have been hoarding!

I really love the design of this scrapbook page and I will probable recreate it with a different picture and color combination in the future. YES! I often use my own pages for inspiration, especially when I am feeling stuck. Plus, I have 3 kids—so eventually all of these pages will be divided up amongst then, so why not use a design you love more than once?

The stamp sets I used to create this layout were:

  1. Flowers of Beauty

  2. Textured Floral

I found that they worked really well together!

I can’t wait to see what the rest of the Team has created with Bubble Bath, Moody Mauve and Pebbled Path this month. I do know that you will find lots of inspiration throughout the blog hop. Next up you can visit former Artisan Design Teammate, Janneke, to see what she has designed. Just click on the link below:

If my scrapbook page has inspired you, please consider shopping my online store to help me love what I do!

Be Inspired Blog Hop-Holiday Time!

Hi friends! Welcome to the Be Inspired Blog Hop! We have added some new members to our monthly Blog Hop and I am so excited! So make sure you go and visit all of the wonderful projects being shared and leave us some happy comments!

The theme for our Hop this month is HOLIDAY TIME and of course that meant that I had to share something Christmas related in the form of a scrapbook page. As much as I love to make cards, I really do love to scrapbook as my first passion.

When thinking of Christmas I was thinking of gift tags so I decided to make an oversized gift tag as a photo mat, and I am so happy with how it turned out!

I cut my standard 4 1/4 x 6 1/4 photo mat in Pebbled Path—this color choice was a direct result of the Joy of Christmas DSP—I LOVE this paper! I love the unconventional use of grey and brown tones in with classic Christmas colors.

I cut the tag portion of my photo mat after gluing the Pebbled Path layer to some Basic White. I added a scallop border to the bottom with Real Red and some Black & Very Vanilla Gingham ribbon to the top portion.

I used the Classic Christmas Dies to add in ‘ Season’s Greetings’, stamped in Pecan Pie ink. I used the large image from the Joy of Noel stamp set, to add some background stamping in Smoky Slate at is the base of my scrapbook layout.

I cut a variety of 2x2 squares of the Joy of Christmas DSP to add in a diamond format to the base of my page. This is such a good way to highlight and incorporate DSP into your page designs.

It also gave my another opportunity to add a sentiment and I decided to focus on ‘Christmas’ also stamped in Pecan Pie ink for continuity. Some greenery in behind in Shaded Spruce and Old Olive helps tie in the color scheme found in the DSP.

I used a little more gingham ribbon behind both sentiments as well so that everything feels connected on the page.

I love how this page is a mix of modern with the grey tones and traditional with the red and greens. Its one of my favorite scrapbook pages I have made lately and I can’t wait to add a holiday photo to it!

I am so excited to see what the rest of the Be Inspired Blog Hop team has created with our theme of ‘Holiday Time’!

You can get to Janneke’s project by clicking the link below!

If my project has inspired you, please consider shopping my online store! You can do so by clicking any image below!

12 Days of Christmas--Day 11!

Hello friends! We are down to just the last 2 days of 12 Days of Christmas! It has really flown by and I hope you are feeling festive and inspired by our projects!

For Day 10, I decided to share another scrapbooking page with you! I want all my crafty friends, whether you make cards, projects or scrapbook to find something to inspire you during this 12 Days of Christmas Blog Hop that Melanie and I are putting on for you!

This fun and colorful layout is perfect for a couple of holiday photos—I can’t wait to add some! I am going to feel so ahead post Christmas when I can just print and add some pictures!

I started with a base of Coastal Cabana and added a layer of Basic White over top with a couple strips of paper from Merry Bold & Bright. I love this color combination of Pool Party, Starry Sky, Granny Apple Green, Lemon Lime Twist and Shaded Spruce!

I did a little blending with Pool Party ink in the top left and bottom right corners of my Starry Sky photo mats. I then stamped some little stars from the Merry & Bright stamp set over top of the blended area. It creates such a nice background.

The Christmas bulbs are stamped in Pool Party and Shaded Spruce with the toppers cut from the Holographic Specialty Paper. This paper is absolutely perfect for these bulbs!

The sentiment is from the Merry & Bright stamp set and I added a little bit of the Parakeet Party Twine in behind the sentiment. A couple of the Ombre Matte Decorative Dots were the perfect little touch to this area.

I love how this stamp set has two different bulb designs and also includes a die for the filament inside and a string! So clever. These bulbs are stamped in Shaded Spruce and Starry Sky and you might notice the tops are a bit different—I love that the die set includes two options as well!

I stamped out HAPPY MERRY AND BRIGHT in Coastal Cabana, Shaded Spruce and Granny Apple Green and then trimmed them down. I added a couple more Ombre Dots to this area as well.

I love this page and I hope it has given you some ideas on how to use the Merry & Bright bundle beyond cards! Now head on over to Melanie to see what she has to share with us today!

If this page has inspired you and you are in the need of supplies, please consider shopping my online store! Every purchase helps me continue to do what I love!

12 Days of Christmas--Day 10!

Day 10 already! This means the month of November is really zipping past! I hope you have been enjoying everything so far!

Today I am going to switch things up a bit and share a holiday layout or scrapbook page with you. I am happy to have this page completed so all I need to do is add a holiday photo to it!

I started with a base of Mossy Meadow and added a panel of Basic White that I trimmed to 11 1/2 x 11 1/2. In Crumb Cake ink that I stamped off, I added the large image from the Joy of Noel stamp set to the background, framing the photo mat. I also gave a spray of Crumb Cake ink with my Stampin’ Blend marker.

I added a really generous 6 x 11 1/2 piece of DSP from a recent Online Exclusive and smaller strip of the argyle pattern in 1/2 x 11 1/2 to create a division between the DSP and the Basic White.

The 5x7 photo mat is Crumb Cake with a small strip of Mossy Meadow card stock on the left.

I stamped in Memento ink several of the large holiday sprigs from Joy of Noel and used my favorite coloring technique—lazy watercoloring with Old Olive, Mossy Meadow and Cherry Cobbler inks. I die cut them using the coordinating dies and then added them as accents throughout my page.

I also die cut a few leaf/sprig shapes from the Classic Christmas Dies and added those in as well.

My favorite part of the layout is the NOEL—I started by die cutting two Deckled Circles in Mossy Meadow. On the smaller top layer I stamped the sweater like image from Joy of Noel along the top and bottom of the circle.

I die cut the NOEL and then using my Versamark, I covered just the bottom half of each letter and then covered them in Gold Embossing Powder. I love how it elevated these letters! The touch of gold is perfect for this page.

I also used my Old Olive Stampin’ Blend to color some of the Black & Very Vanilla Ribbon (after trimming it in half so it wasn’t as wide).


I added a little ‘Merry’ to this side of the page using the Christmas Classics stamp set and Cherry Cobbler ink. A bit of Gold Elegant Trim and some gold pearls from the Blooming Pearls was perfect for this little area.

I hope the page inspires you to do some holiday scrapbooking for yourself. And if you can get a few pages done before the holidays begin, it will be so easy to add a photo after the season!

I am excited to see what Melanie is sharing today, so make sure to click on this image to go and visit her blog! Thank you for stopping by and if you are in need of supplies, please consider shopping my online store so I can continue to do what I love!


Color Fusers--July--Hello Summer!

Hello friends! It is OFFICIALLY SUMMER—Whoo Hoo! I love summer time, I love to water my flowers and I see it as a personal challenge to keep them alive ALL season long, which is a challenge as I do not have a green thumb. Our Color Fusers Blog Hop this month is featuring these 3 colors:

And because I have flowers on the brain, I knew that I had to incorporate the new Paper Florist Dies into my design. I also knew that I wanted to create a scrapbook page with one of my favorite pictures taken on the Norway trip. So here you go!

This awesome picture was taken in Stavanger, Norway

I decided to use Azure Afternoon as my base. Now if you have been following me on Instagram I have made a couple of comments about how this is currently my new favorite blue! I think it looks great paired with two classics—Daffodil Delight and Pumpkin Pie. All three of these colors are also in the Brights Family as well.

The main sentiment on this page is from the Good Feelings stamp set and I felt it was appropriate because none of us live in the same area in the world. Kylie and Bruno on the right, live in Australia and Alanna and her family, while fellow Canadians, live a couple provinces away from me. So it is true, I do send sunshine and good feelings to all of my friends no matter where they are :)

I used Designer Series Paper from the Bright & Beautiful and the Brights 6x6 stack to add interest to my page along with a square ran through the new Exposed Brick 3D folder and a square stamped with hearts from the Little Monkey Stamp set.

The flowers are all from the amazing Paper Florist Dies which you need to serious #addtocart if you have not already!


I found a bunch of single words to add to my page such as ‘Love’ which is from the Seasonal Branches stamp set. A few Tinsel Gems and some Bakers Twine finished off this little vignette.

The cute tag and fringe are from the Beautiful Balloons dies. I love this die set and I thought they made the perfect addition to this layout. I added some of the new white Herringbone Ribbon through the tag and you can find ‘Hello, friend’ in the Inked & Tiled stamp set. The white sequins are from the Adhesive-Backed Sequins Trio and just added a little something to this area.

This page is really quite eclectic, which is what I love about Stampin’ Up! I really disagree with those who say you cannot scrapbook with our products. YES YOU CAN!

May is die cut using the Alphabet A la Mode dies and added using the Foam Adhesive Sheets. Look how awesome the Exposed Brick folder looks beside it! This new folder is definitely a must have.

I can’t wait to see what the rest of the team has designed with these three amazing colors—Azure Afternoon, Daffodil Delight and Pumpkin Pie. I know you will be inspired and if you haven’t purchased Azure Afternoon yet, then I encourage you to give it a go. It is a really lovely blue.

My amazing friend and fellow Artisan teammate Tami Hewlett is up next on our blog hop—you can visit her by clicking the image below.

If you want to go in reverse or a link gets broken, you can visit the uber talented Stacey Marsh by clicking the Previous image.

Please feel free to comment, it makes me happy to hear that you have enjoyed stopping by my blog. If you do not have a Canadian Demonstrator, I would love to get crafty with you! You can reach out to me or shop with me by clicking any link in my supplies section or by using the monthly host code. Thank you in advance!