12 Days of Christmas--Day 10

Do you love to give out treats? I always make special thank you treats for my stamping friends and team members, especially around the holiday season. Recently, I got to go on a girls trip to Target visiting 7 different Target stores in Washington and Montana! haha! It was a lot of fun and I made sure to bring home some exclusive snacks to share!

I found these chocolate toffee pretzel rods at target and created a fun tag for them to add to my team members holiday bags!

Taking the time to make a cute tag is an easy way to jazz up a little treat or gift! I used some Sale a bration DSP that I had laying around in my scrap bin and paired it up with the Garden Green ribbon from the Real Red & Garden Green combo package in the holiday catalogue. The little tags are cute using the Tailor Made Tags Dies. A definite craft room must have!

The sentiment and stamped snowflake are from the Joyful Flurry stamp set and the die cut snowflake in Coastal Cabana is from the Celebrations Tags dies.

I also flicked Wink of Stella over top of my tag for a little bit of shimmer! Sometimes things don’t have to be uber fancy to surprise and delight people! Most people in our crafting circle will appreciate the fact that you took the time to make them something fun. I know I do!

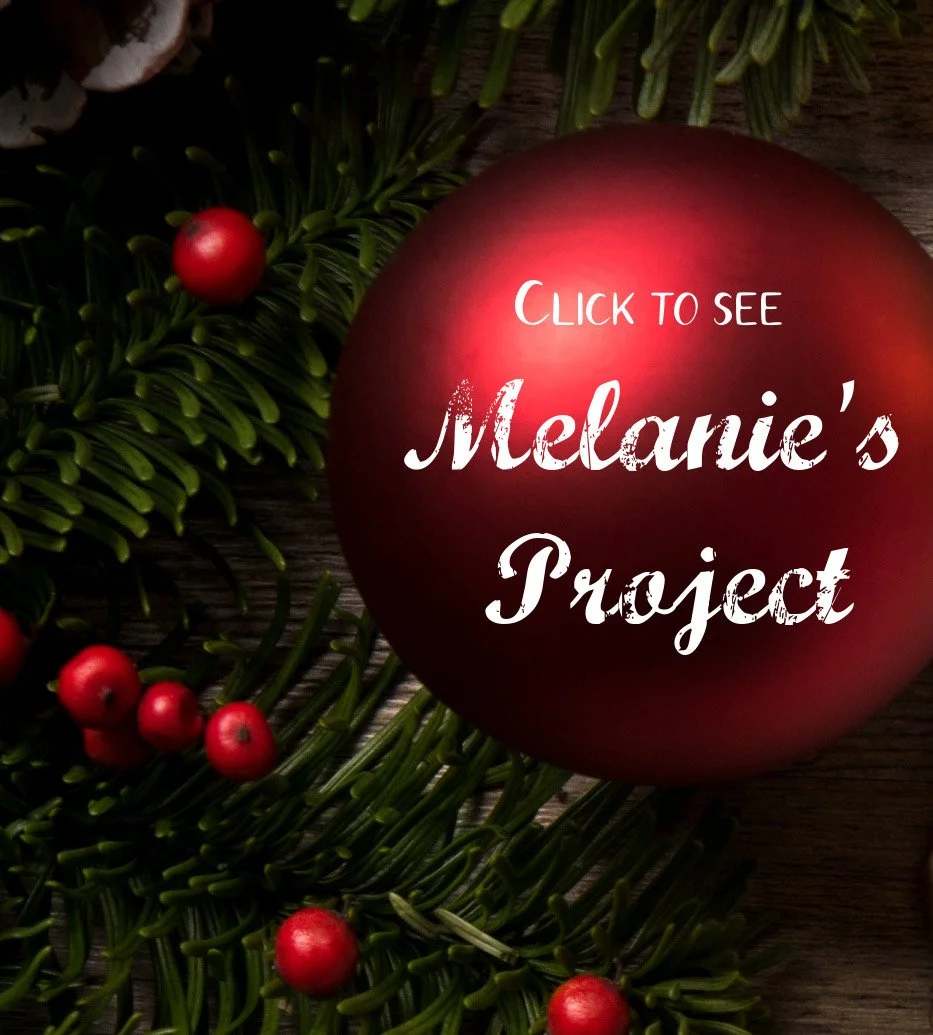
Let’s see what Melanie has created for us today—after today we each only have 2 more projects to share with you!


Color Fusers April 2022

FRIENDS!! I cannot tell you how excited I was about this month’s color combination challenge! I say challenge, because some months they really are, but not this month! I had instant inspiration for this project. Don’t you LOVE when that happens?

Look at this awesome combination of Crumb Cake, Bermuda Bay, Old Olive and Bumblebee. Let’s have a moment of silence for Bumblebee as it is heading into retirement. In Disney speak we would say ‘The Vault’. Hahaha! But you never know, previous In Color’s have returned as permanent Stampin’ Up! colors—like Coastal Cabana!

As soon as I saw this combo I thought of this amazing photo of my daughter Summer on the Thailand Incentive Trip in 2017. I absolutely LOVED sharing this experience with Summer. The travel to arrive in Thailand tested me beyond belief and often when I think something is hard, or “I can’t do this”, I actually think of that experience! If you know, YOU KNOW! The travel was like nothing else and I hope to NEVER repeat it again!

And because of that, the moments we spent together on that trip, have even more value to me. As a mom, I will never ever forget being able to share that with Summer.

This picture of Summer was taken at Ao Bang Thao right off the shore by our hotel

I started with a base of 12x12 Bumblebee card stock and layered a nice big piece of Designer Series Paper from the Daffodil Afternoon Sale a bration collection. This pattern was PERFECT for these pages! The strip of Bermuda Bay stripe is from the Sunshine & Rainbows SAB DSP too. Who does not LOVE free paper!

My photo mat is Crumb Cake and then I incorporated all of the colors from our challenge into my design using the Artfully Layered Bundle. I have created so many projects with this bundle, its just amazing!

The Tailored Made Tags are a must have in my craft room. I use them consistently on scrapbook pages and of course in card design. I would suggest #addtocart if you haven’t already!

“You are Amazing” is die cut using the Amazing Thanks Dies and they are just the perfect accent to this page. Layered on a Tailor Made Tag with a bit of ribbon and twine is such a great way to incorporate a sentiment onto your scrapbook page.

I used a mix of die cut elements, some stamping and coloring with Old Olive Stampin’ Blends and just basic stamping to create texture and dimension to help tell the story of this tropical adventure we had together. My design style always incorporates embellishments and the Playing With Patterns Resin Dots were perfect for this page.

Happy & Heartfelt is another stamp set I have barely put back on my shelf! I love the variety of sentiments and this one was just right for the top left of this page. I added a little heart from the Sweet Hearts Dies and the sentiment is cut from a new up and coming die set called Stylish Shapes. These will be another #addtocart item I will suggest once the new Annual Catalogue begins in May.

When I designed Stamps & Stretchy Pants a few years ago it was to serve two purposes. The most important was to create this digital legacy for my kids. I wanted them to be able to go some place to see our Favorite Family Recipes (yes, I have a whole recipe section under Lifestyle) and be reminded of my passion for scrapbooking and card making. I think it will help them get to know ME beyond just being their MOM and that is really important to me. Secondly, I really really really wanted to apply for the Artisan Design Team so I needed a blog!

And because my blogs spirit is to record in a digital aspect, my life, I have chosen to add a few fun photos of our trip to Thailand together! I hope you don’t mind! :)

I hope you are inspired by this amazing color combination! I would love to see what you create so share it on Instagram and tag me! You can find me @stampwithbrenda

I cannot wait to see what the rest of the Color Fusers Team has created this month with the bold fun color combination!

Next up is one of my former Artisan Teammates from the 2021 year. You will absolutely LOVE what Janneke has designed, I have no questions about it. She is so talented and has such a lovely style! Just hit 'NEXT STOP’ to check out her creation.


If you would like to go in reverse or jump back, click on the button below and you will find yourself directed to my fellow Artisan Design Team member Tami! I cannot say enough about how kind and generous and amazingly talented Tami is, so please make sure to go all the way around the Hop. You do not want to miss any of the creativity on this team!

If you are inspired to create anything based on my scrapbook page, please do! And if you need any supplies and live in Canada, you can easily shop with me by hitting any of the product images below!

Create with Connie and Mary--Borders and Tags!

Hello and happy Saturday (orr whichever weekday it is when you are reading this!) and welcome to this weeks Hop! Our theme is borders and tags…so I used tags to make a fun border on a scrapbook page! I am absolutely in love with the new Tailor Made Tags dies (in fact they have become a permanent friend beside my Stampin’ Cut & Emboss Machine) and I think I have used them in a unique way!

21SUSatHopWelcome.png

As soon as I saw this design theme I knew I wanted to create a ‘border’ using ‘tags’…and with Father’s Day coming up I couldn’t resist the idea of creating yet another Father’s Day page. I have started a scrapbook gallery here on my blog so feel free to check it out if scrapbooking is your jam!

final (4) 22.jpg

I started my page on a base of Basic White because I knew I wanted the ‘tags’ to really pop off the page and I added a layer of Basic White over top that I trimmed to 9x12. I wanted to be able to slip my tags underneath this piece.

I chose the colors of Calypso Coral, Crumb Cake, So Saffron, Soft Succulent and Night of Navy to cut the largest tag from the die set.

I was also intrigued by the Hats off Bundle to create something without the ‘hat’ and I found this bundle has some really really awesome sentiments! I am so happy that I recently ordered this set as it really made this page come alive. I wanted everything to feel crisp so I did all of my stamping on Basic White.

final (19).jpg
 

Because the focus of this design challenge was on borders and tags which I nailed with the border of tags, I wanted to make sure that I had a few ‘tags’ on my layout too.

For the top of the page I cut a mid sized tag from Soft Succulent and then I stamped the phrase “You’re the Best” and layered it over the tag for a bit of a different look.

final 80.jpg

It is easy to chance up the look of your stamps by eliminating certain things—-for example the outline on the #1. I also like to keep some shapes flat to the page and pop some up on Dimensionals for a little bit of interest. I also love that this is just a ‘DAD’ page so it doesn’t have to be Father’s Day or a birthday, it’s just a great page to celebrate dad.

I am excited to see what the rest of the team comes up with this week! You can go BACK to see what Melissa has created or NEXT to see what Connie has made. And remember to check out my scrapbook gallery or previous blog posts for more memory keeping inspiration.

Scalloped Sunshine Box

Hello friends! I am so excited about this cute little project that I created to share with members of my Glitter Girls team at our monthly team meeting. When our team reaches 10,000 CSV I reward everyone with a fun gift. Since the Pale Papaya & White ribbon is one of my new favorites I thought I would treat everyone with something that I love in hopes they will too.

final (17).jpg
 

This cute little sunshine is stamped with Daffodil Delight ink and can be found in the Sharing Sunshine stamp set. The center is actually its own stamp and makes really great polkadots!

To stamp the ‘rays’ , I stamped it once full strength and then rotated it slightly and stamped again to get that two tone yellow.

The cheeks are stamped in Magenta Madness for a real pop!

The sentiment is from the Sweet Strawberry stamp set and I added some of the new Just Jade and Gold Ribbon behind the sun with some of the recent Butterfly Bijou DSP.

You can see how I used the center of the sun to create a sunny polkadot base for the box on Daffodil Delight card stock. I love that these Scalloped Treat Boxes can hold a roll of ribbon!

You can see how I used the center of the sun to create a sunny polkadot base for the box on Daffodil Delight card stock. I love that these Scalloped Treat Boxes can hold a roll of ribbon!

final (14).jpg

Of course I also had to make a cute tag to go ON the roll of ribbon because you know, CRAFTERS GONNA CRAFT!! This cute tag is made using the Tailored Made Tags Dies and the Handmade for You stamp set.

And since I decorated the bottom of the box I needed to decorate the inside of the lid too with an inspiring message!

I really fell in love with this BRIGHT color combination of Magenta Madness, Daffodil Delight and Just Jade!

I really fell in love with this BRIGHT color combination of Magenta Madness, Daffodil Delight and Just Jade!

The sentiment, You Are Amazing, is from the stamp set of the same name and it is stamped with Just Jade ink and punched out with a retired punch. Behind it is stamped another shape from Sharing Sunshine stamp set.

I just love these fun boxes and I have so many ideas on what I can fill them with! I hope you are inspired to add them to your cart! You can hit the SHOP WITH ME button to go directly to my store or use my HOST Code shared on the side bar. Either way, if you do place an order with me thank you in advance and you are helping me get one step closer to my goal!

Dad--You're the Best Card

I don’t know about you but making masculine cards always feels a bit more tricky. I really do love how this one turned out especially as the Tailored Made Tags Dies did all the work to make it awesome!

final (1) 35.jpg

I started with a base of Soft Suede and layered a large piece of the True Love DSP on top as my first layer. I always love a good black & white DSP and I will be sad when this one retires at the end of June. I then die cut 3 different sizes of tags from the Tailor Made Tags Dies in Misty Moonlight, Soft Suede and Smokey Slate.

The Playful Alphabet dies are a craft room must have in my opinion as they are the perfect size for card making and memory keeping. I added them to this project with the Foam Adhesive Sheets behind to give them a little pop off the base.

I added in You’re the Best on a piece of Basic Grey card stock for all the man colors on one project!

final 64.jpg

I decided to also do the inside of this card as well so I added another piece of DSP from the True Love paper this time in a stripe. I cut another tag in Misty Moonlight and stamped the sentiment from the Handsomely Suited stamp set. This is also where the “You’re the Best” on the card front came from.

Behind the sentiment I added a little bit of Misty Moonlight ribbon. Voila! A pretty eye catching yet simple Father’s Day card!