Color Fusers April 2022

FRIENDS!! I cannot tell you how excited I was about this month’s color combination challenge! I say challenge, because some months they really are, but not this month! I had instant inspiration for this project. Don’t you LOVE when that happens?

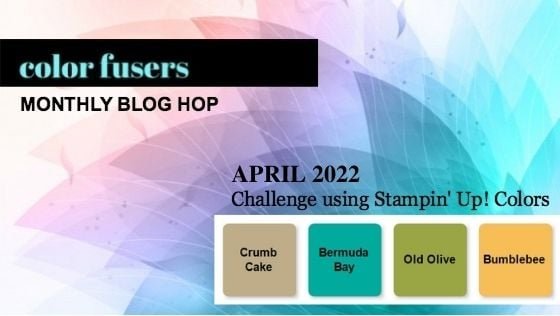
Look at this awesome combination of Crumb Cake, Bermuda Bay, Old Olive and Bumblebee. Let’s have a moment of silence for Bumblebee as it is heading into retirement. In Disney speak we would say ‘The Vault’. Hahaha! But you never know, previous In Color’s have returned as permanent Stampin’ Up! colors—like Coastal Cabana!

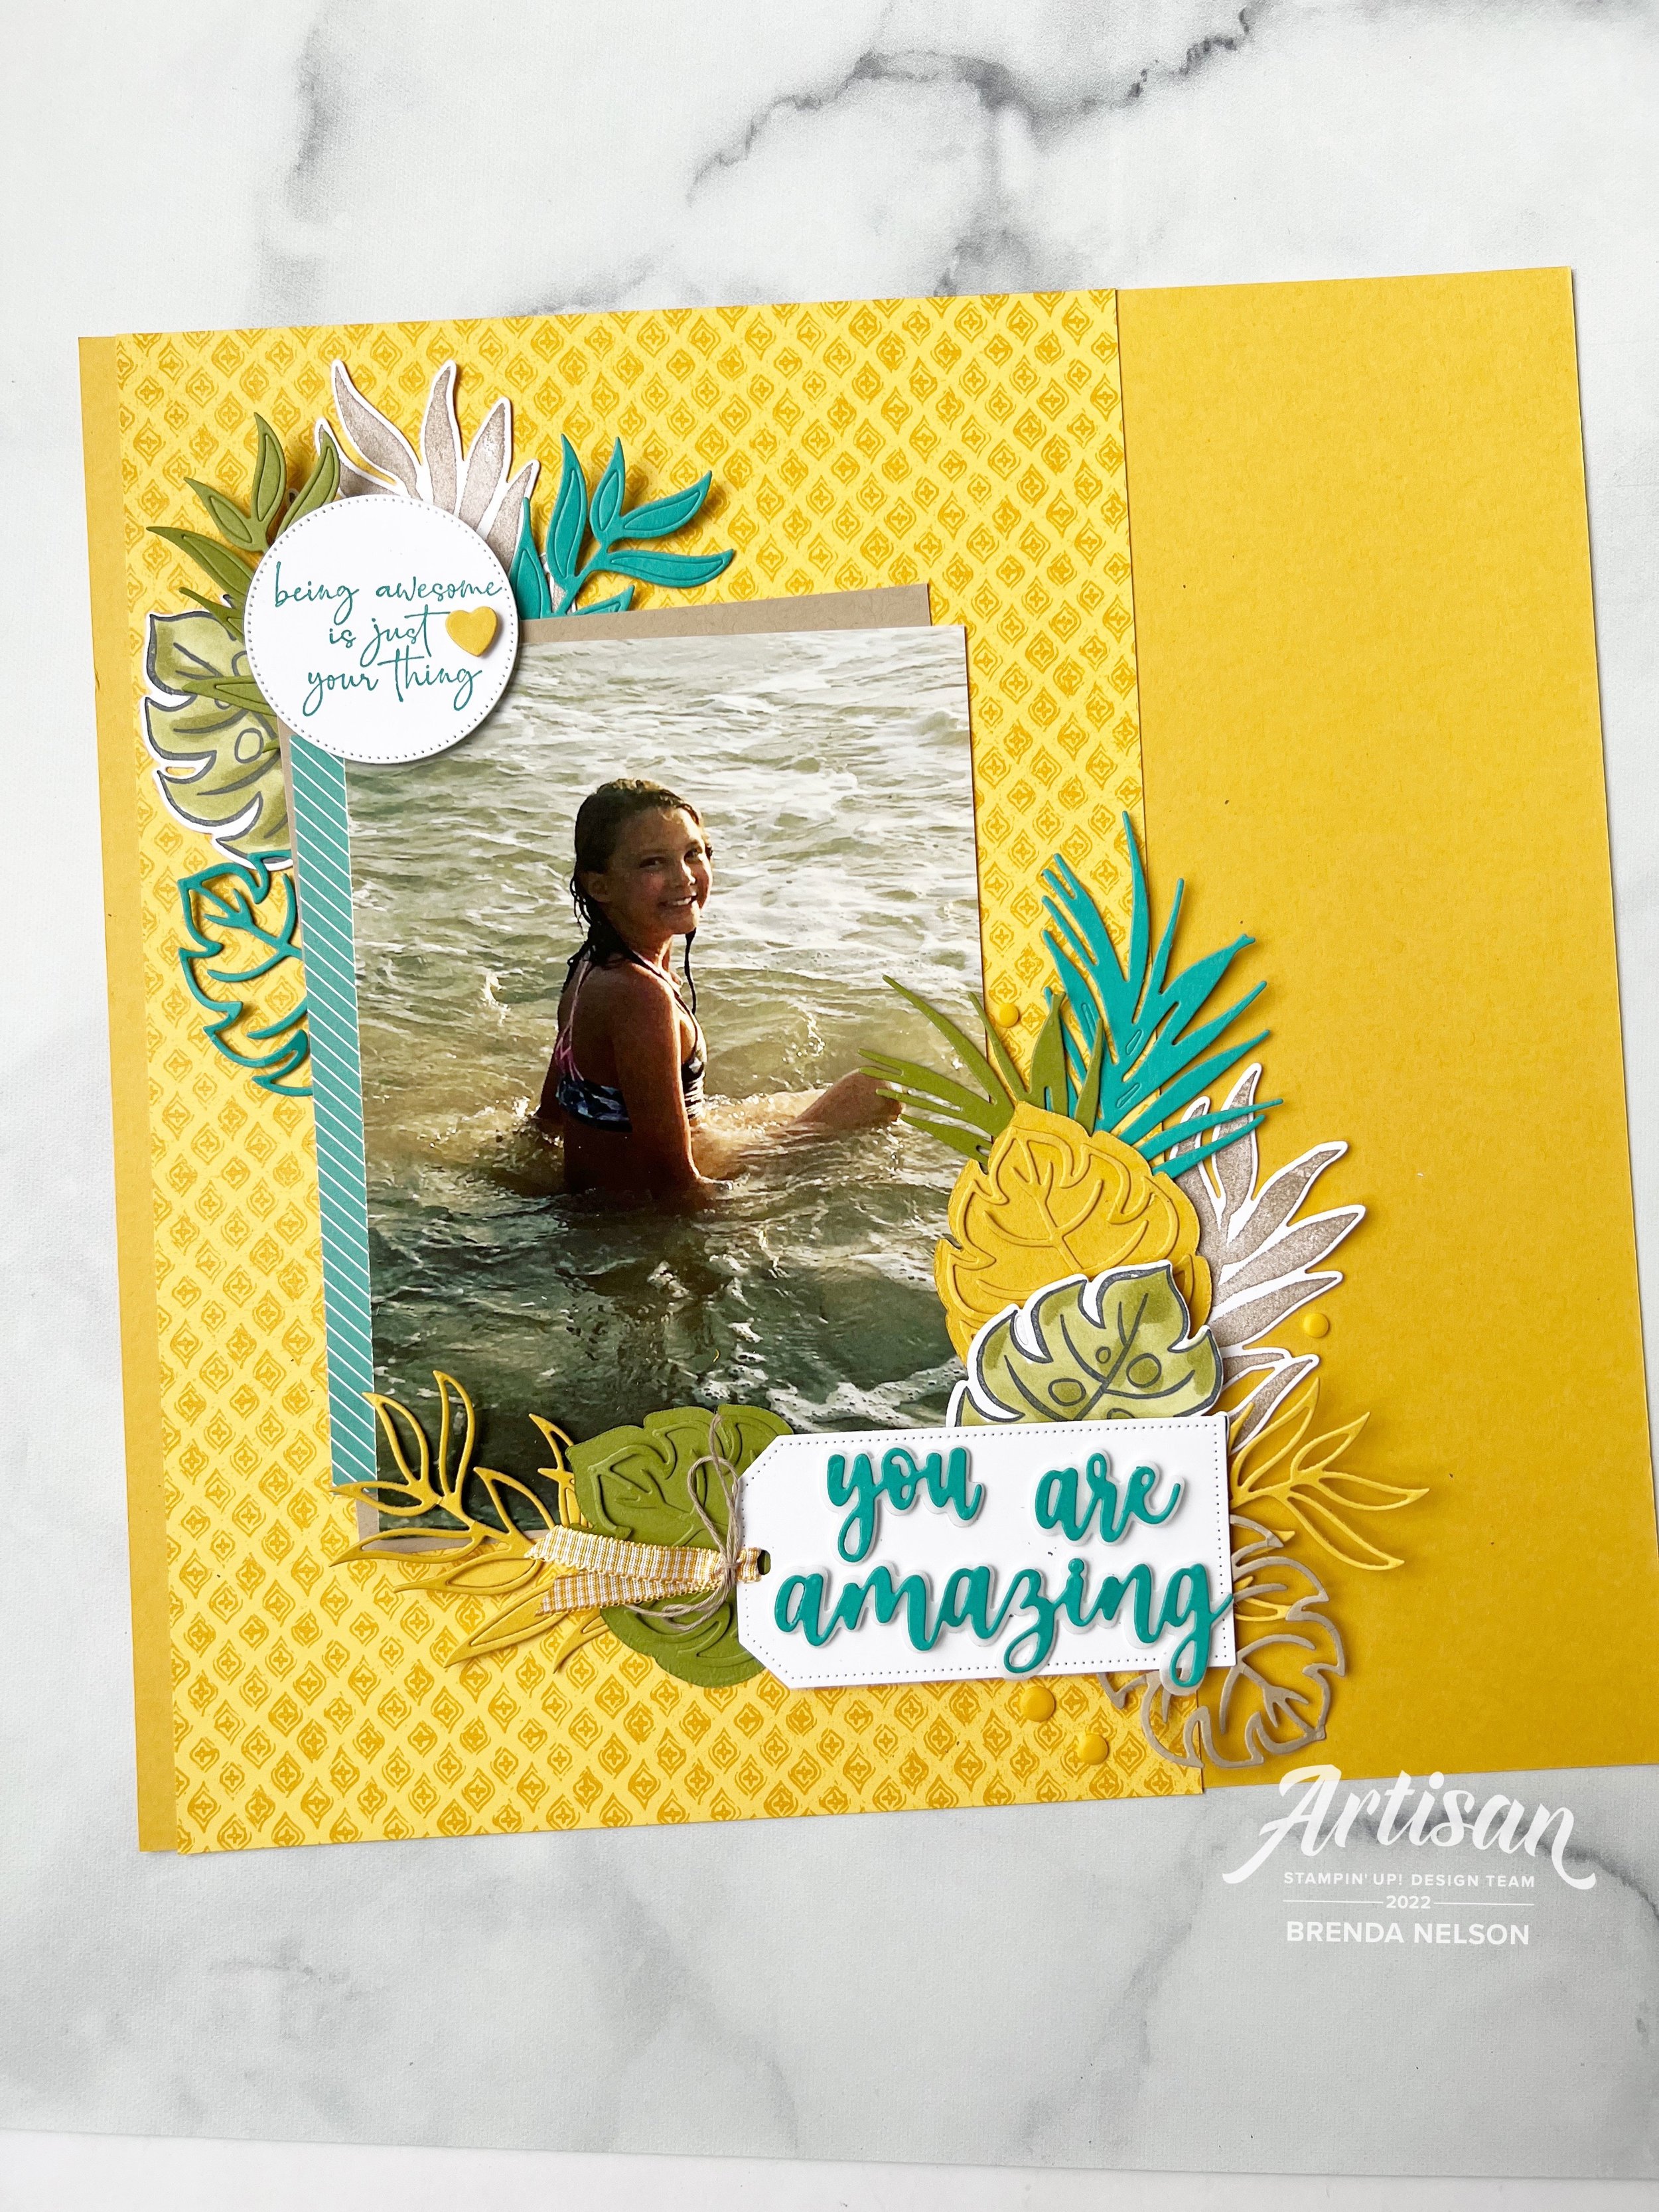
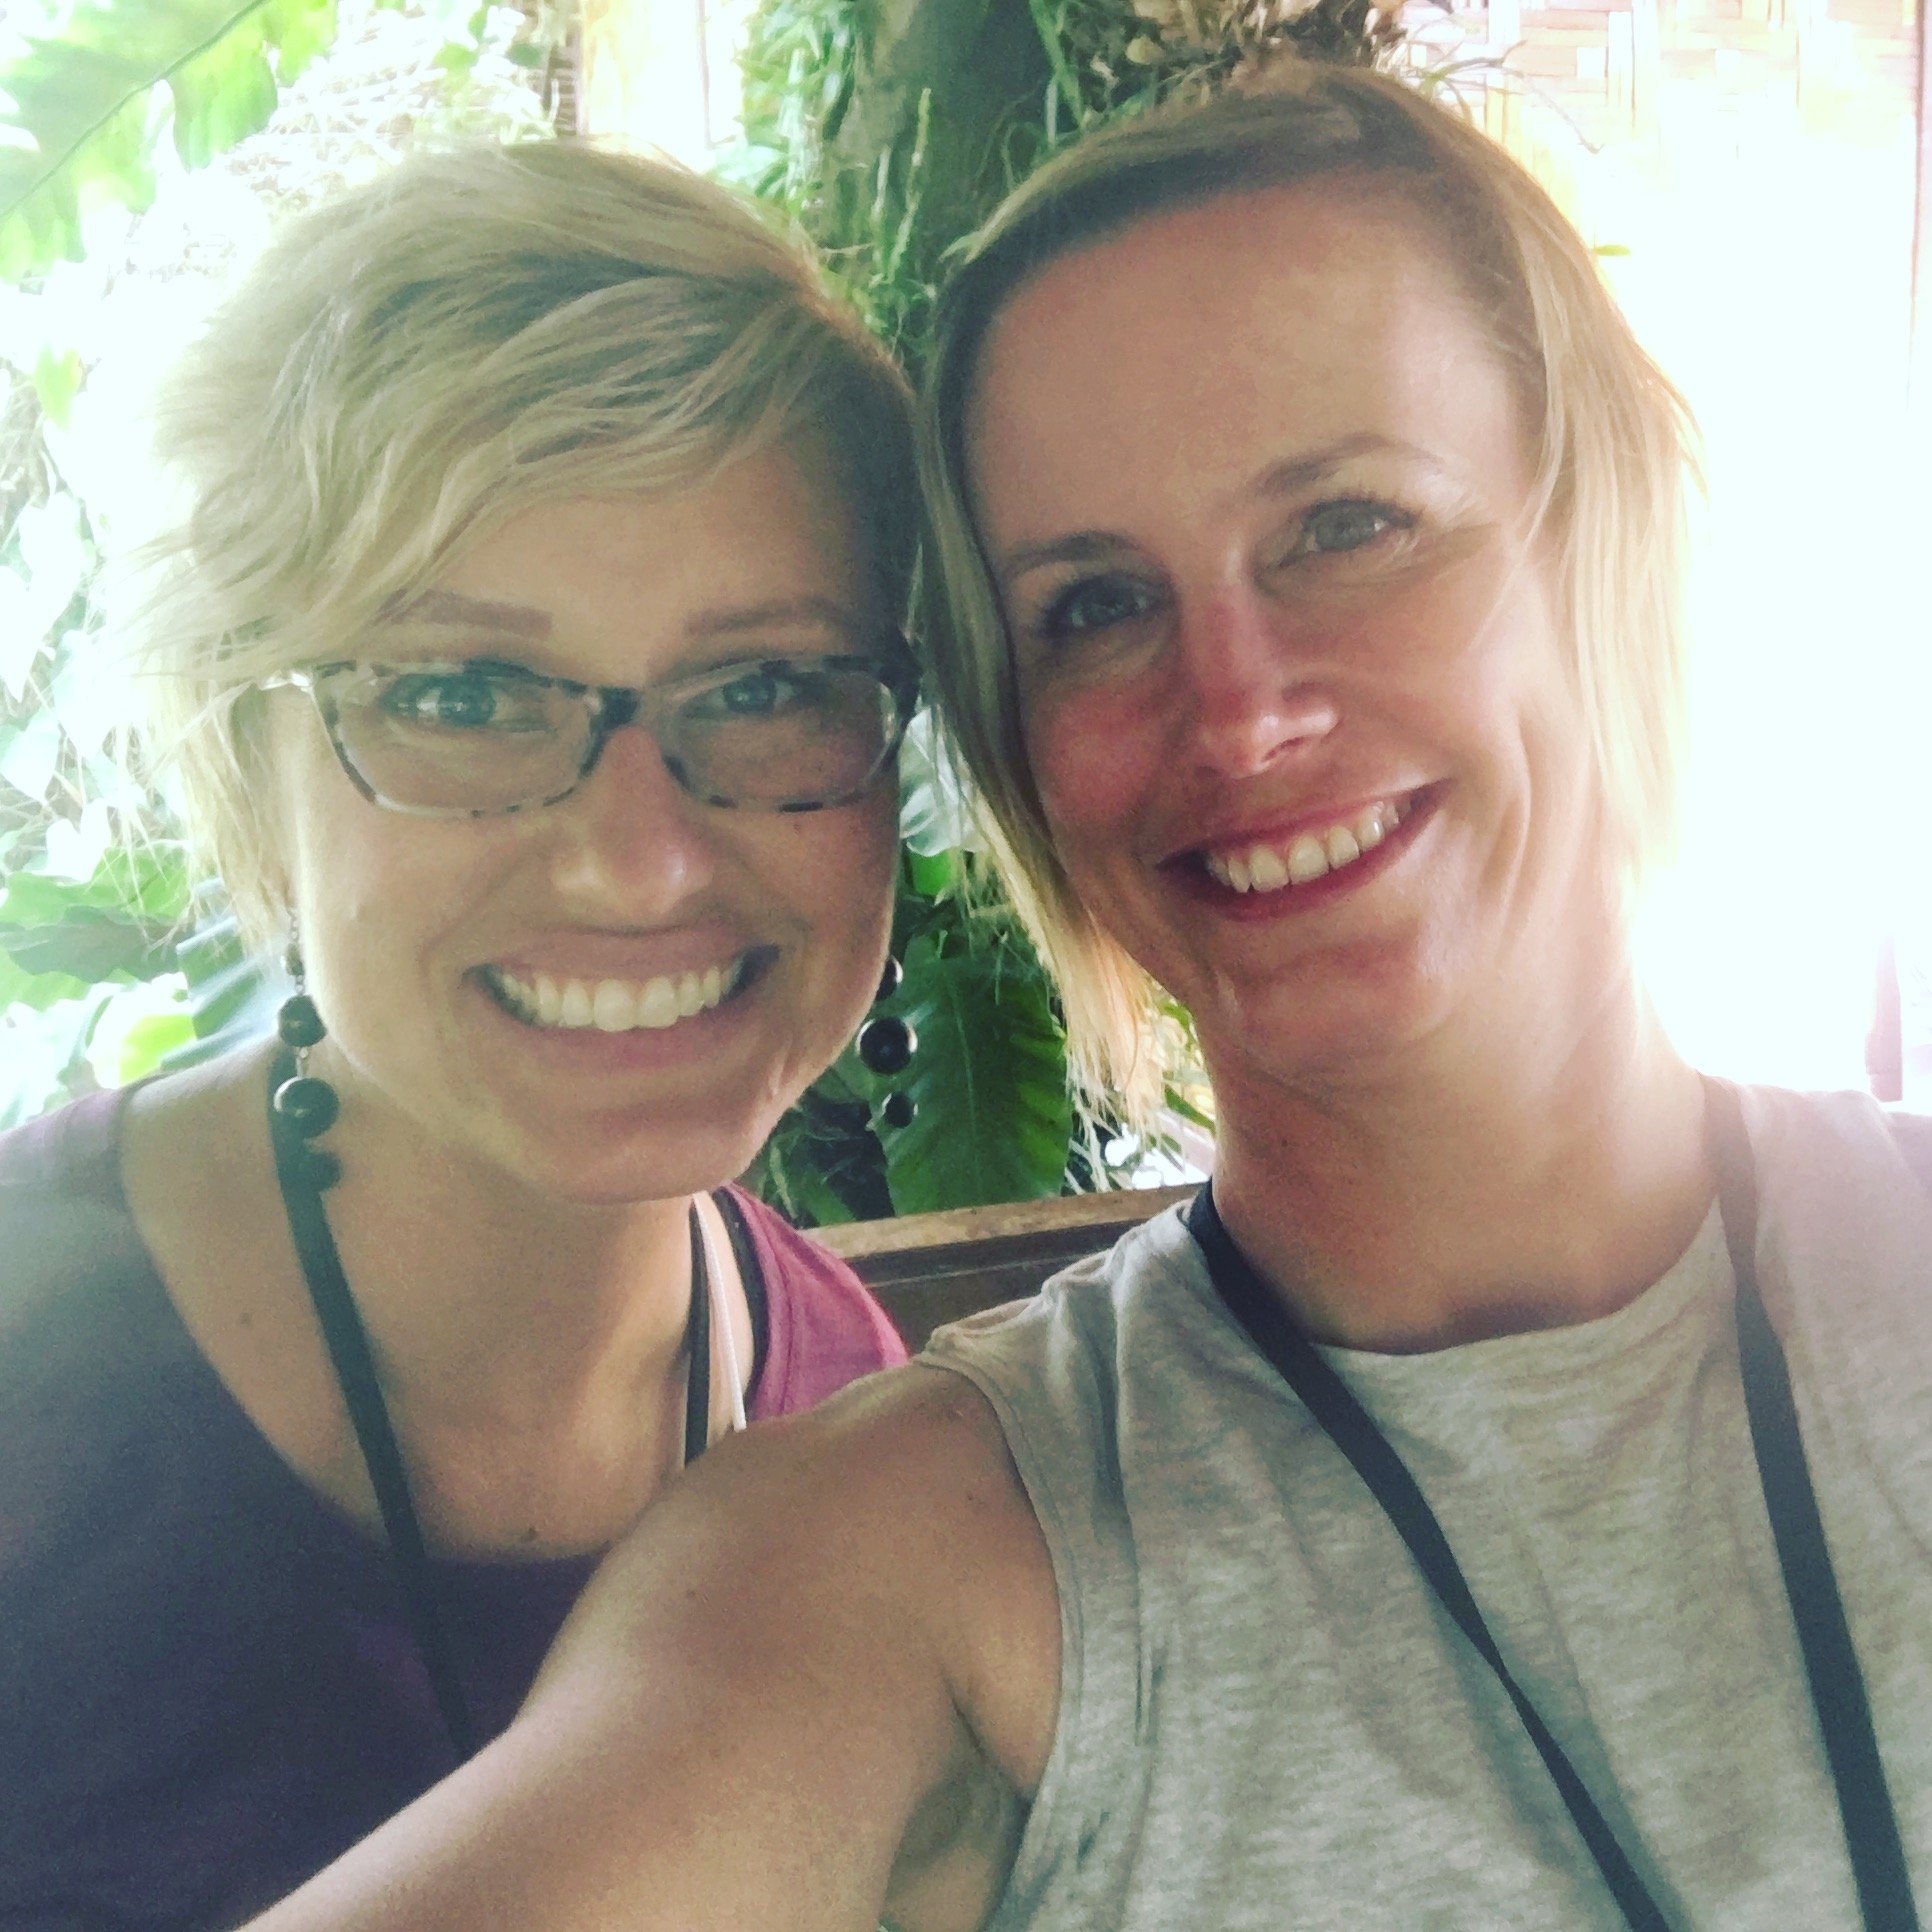
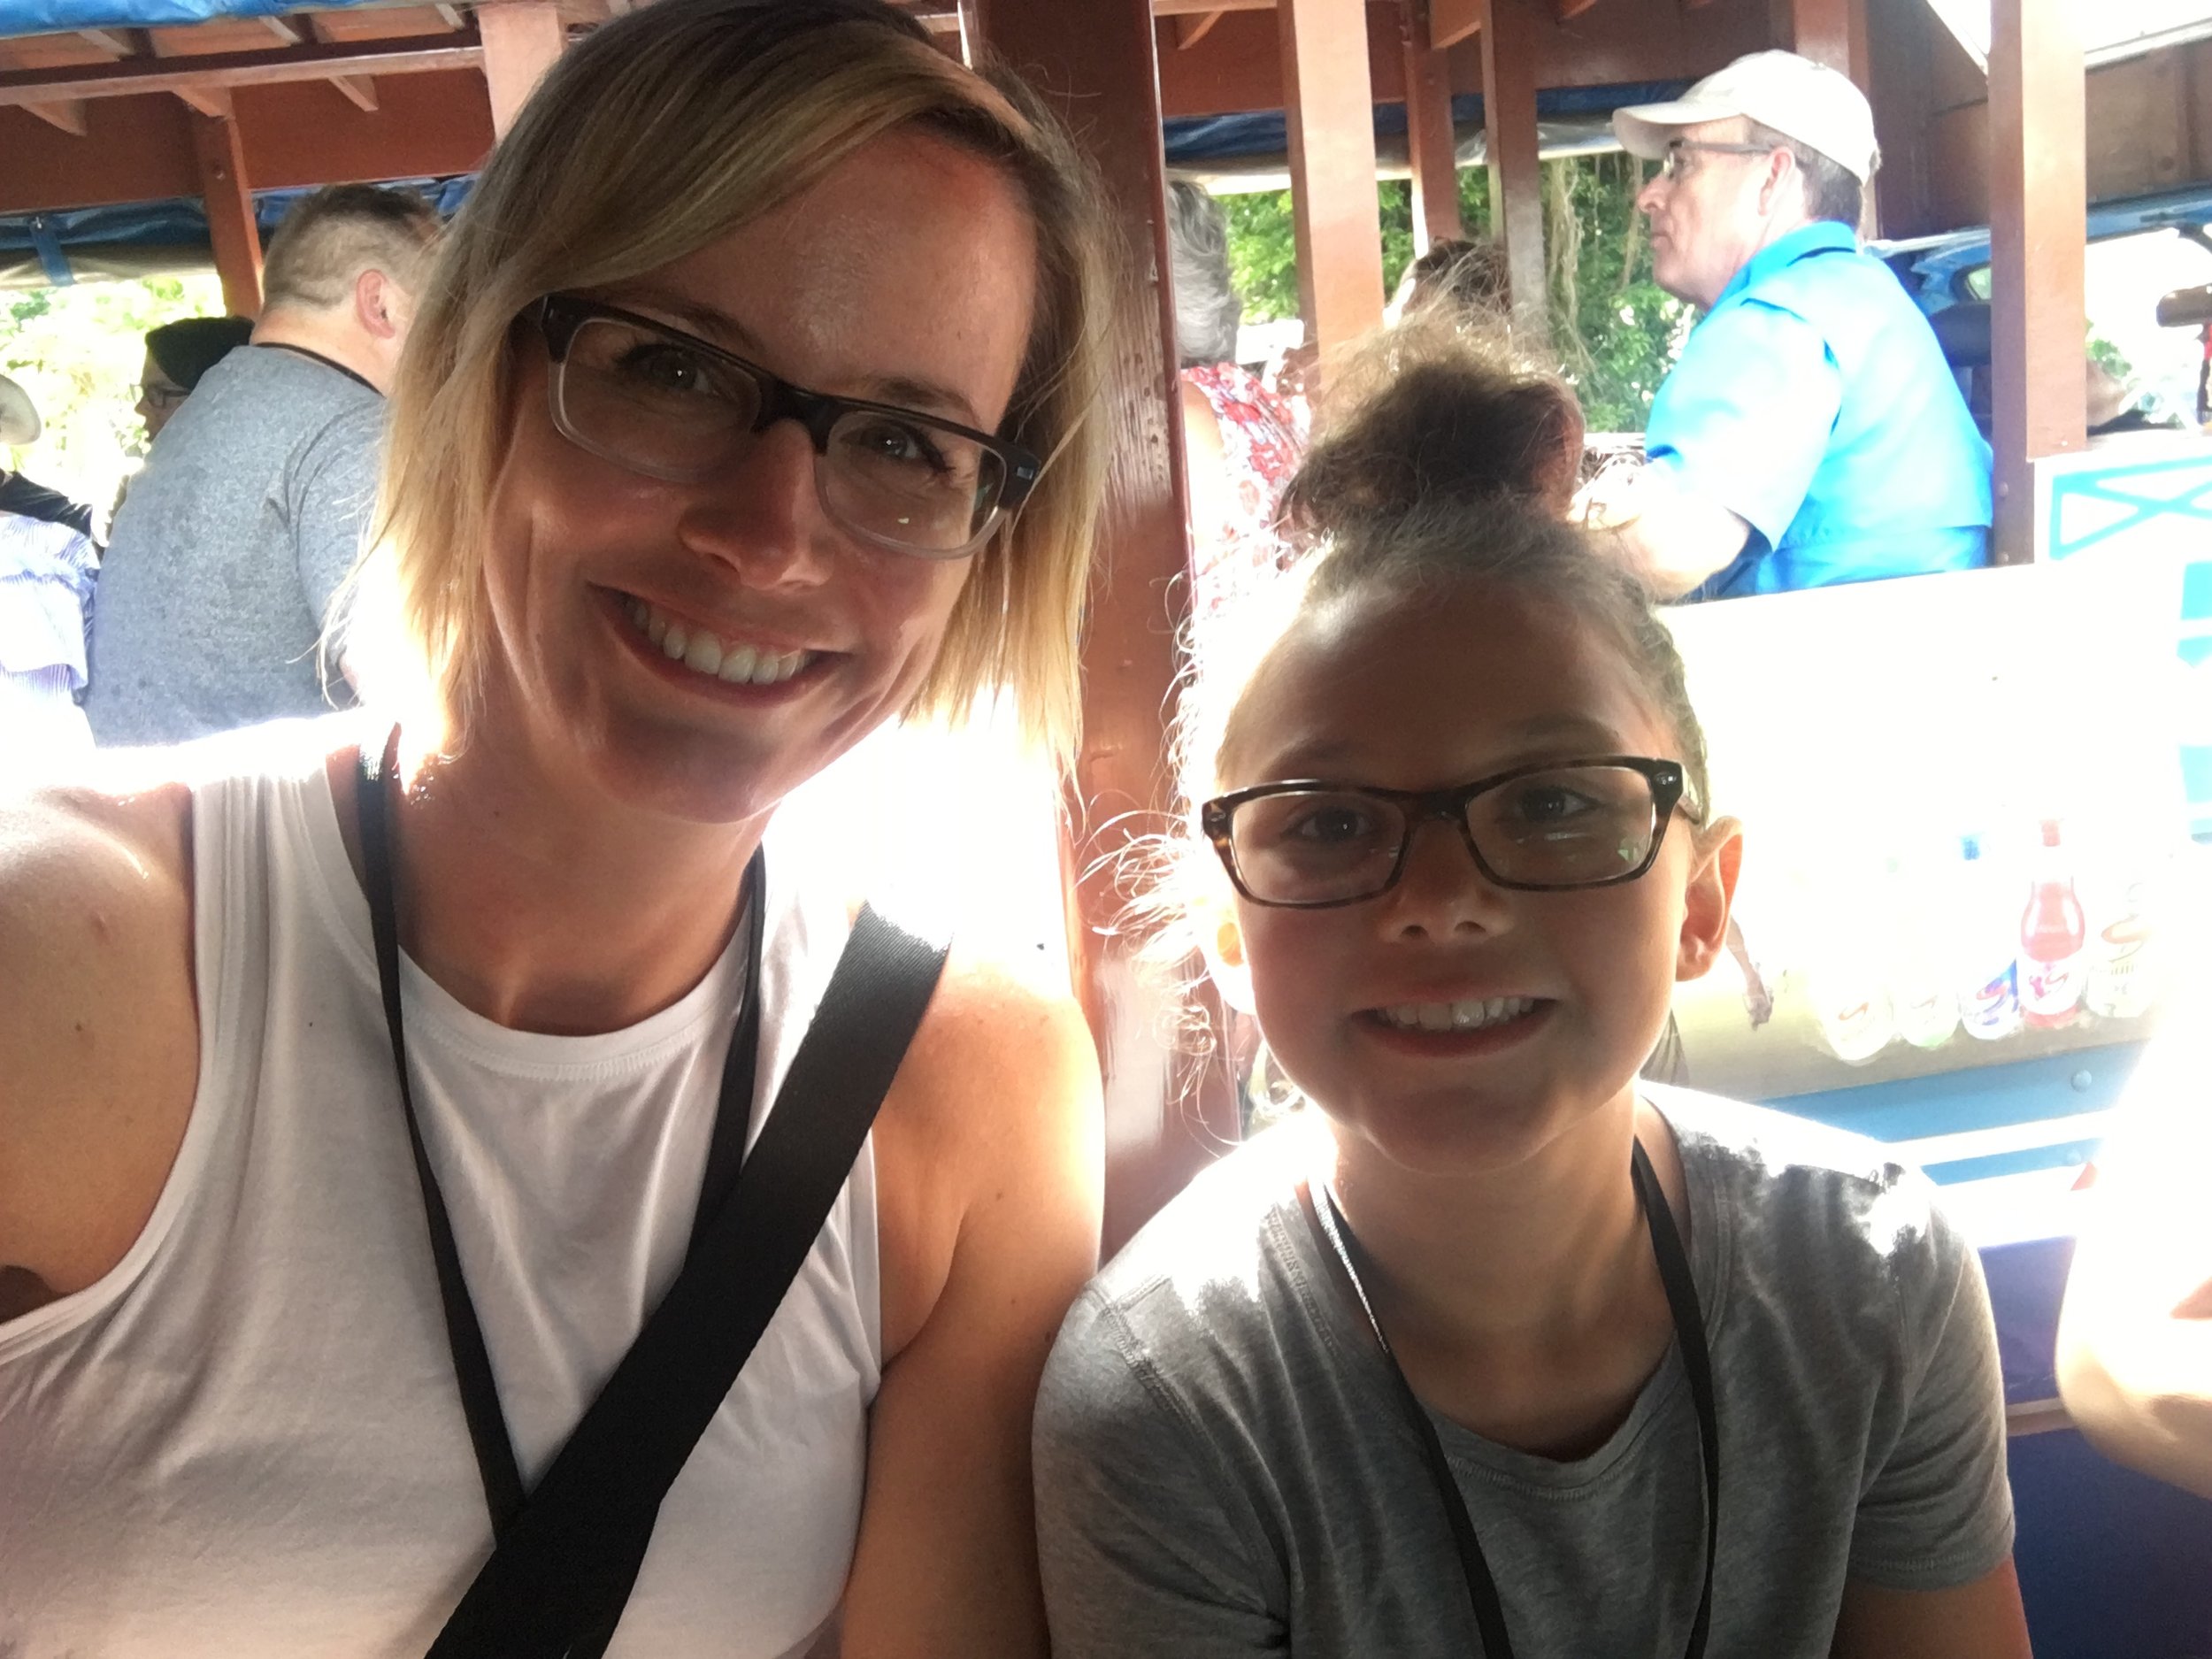
As soon as I saw this combo I thought of this amazing photo of my daughter Summer on the Thailand Incentive Trip in 2017. I absolutely LOVED sharing this experience with Summer. The travel to arrive in Thailand tested me beyond belief and often when I think something is hard, or “I can’t do this”, I actually think of that experience! If you know, YOU KNOW! The travel was like nothing else and I hope to NEVER repeat it again!

And because of that, the moments we spent together on that trip, have even more value to me. As a mom, I will never ever forget being able to share that with Summer.

This picture of Summer was taken at Ao Bang Thao right off the shore by our hotel

I started with a base of 12x12 Bumblebee card stock and layered a nice big piece of Designer Series Paper from the Daffodil Afternoon Sale a bration collection. This pattern was PERFECT for these pages! The strip of Bermuda Bay stripe is from the Sunshine & Rainbows SAB DSP too. Who does not LOVE free paper!

My photo mat is Crumb Cake and then I incorporated all of the colors from our challenge into my design using the Artfully Layered Bundle. I have created so many projects with this bundle, its just amazing!

The Tailored Made Tags are a must have in my craft room. I use them consistently on scrapbook pages and of course in card design. I would suggest #addtocart if you haven’t already!

“You are Amazing” is die cut using the Amazing Thanks Dies and they are just the perfect accent to this page. Layered on a Tailor Made Tag with a bit of ribbon and twine is such a great way to incorporate a sentiment onto your scrapbook page.

I used a mix of die cut elements, some stamping and coloring with Old Olive Stampin’ Blends and just basic stamping to create texture and dimension to help tell the story of this tropical adventure we had together. My design style always incorporates embellishments and the Playing With Patterns Resin Dots were perfect for this page.

Happy & Heartfelt is another stamp set I have barely put back on my shelf! I love the variety of sentiments and this one was just right for the top left of this page. I added a little heart from the Sweet Hearts Dies and the sentiment is cut from a new up and coming die set called Stylish Shapes. These will be another #addtocart item I will suggest once the new Annual Catalogue begins in May.

When I designed Stamps & Stretchy Pants a few years ago it was to serve two purposes. The most important was to create this digital legacy for my kids. I wanted them to be able to go some place to see our Favorite Family Recipes (yes, I have a whole recipe section under Lifestyle) and be reminded of my passion for scrapbooking and card making. I think it will help them get to know ME beyond just being their MOM and that is really important to me. Secondly, I really really really wanted to apply for the Artisan Design Team so I needed a blog!

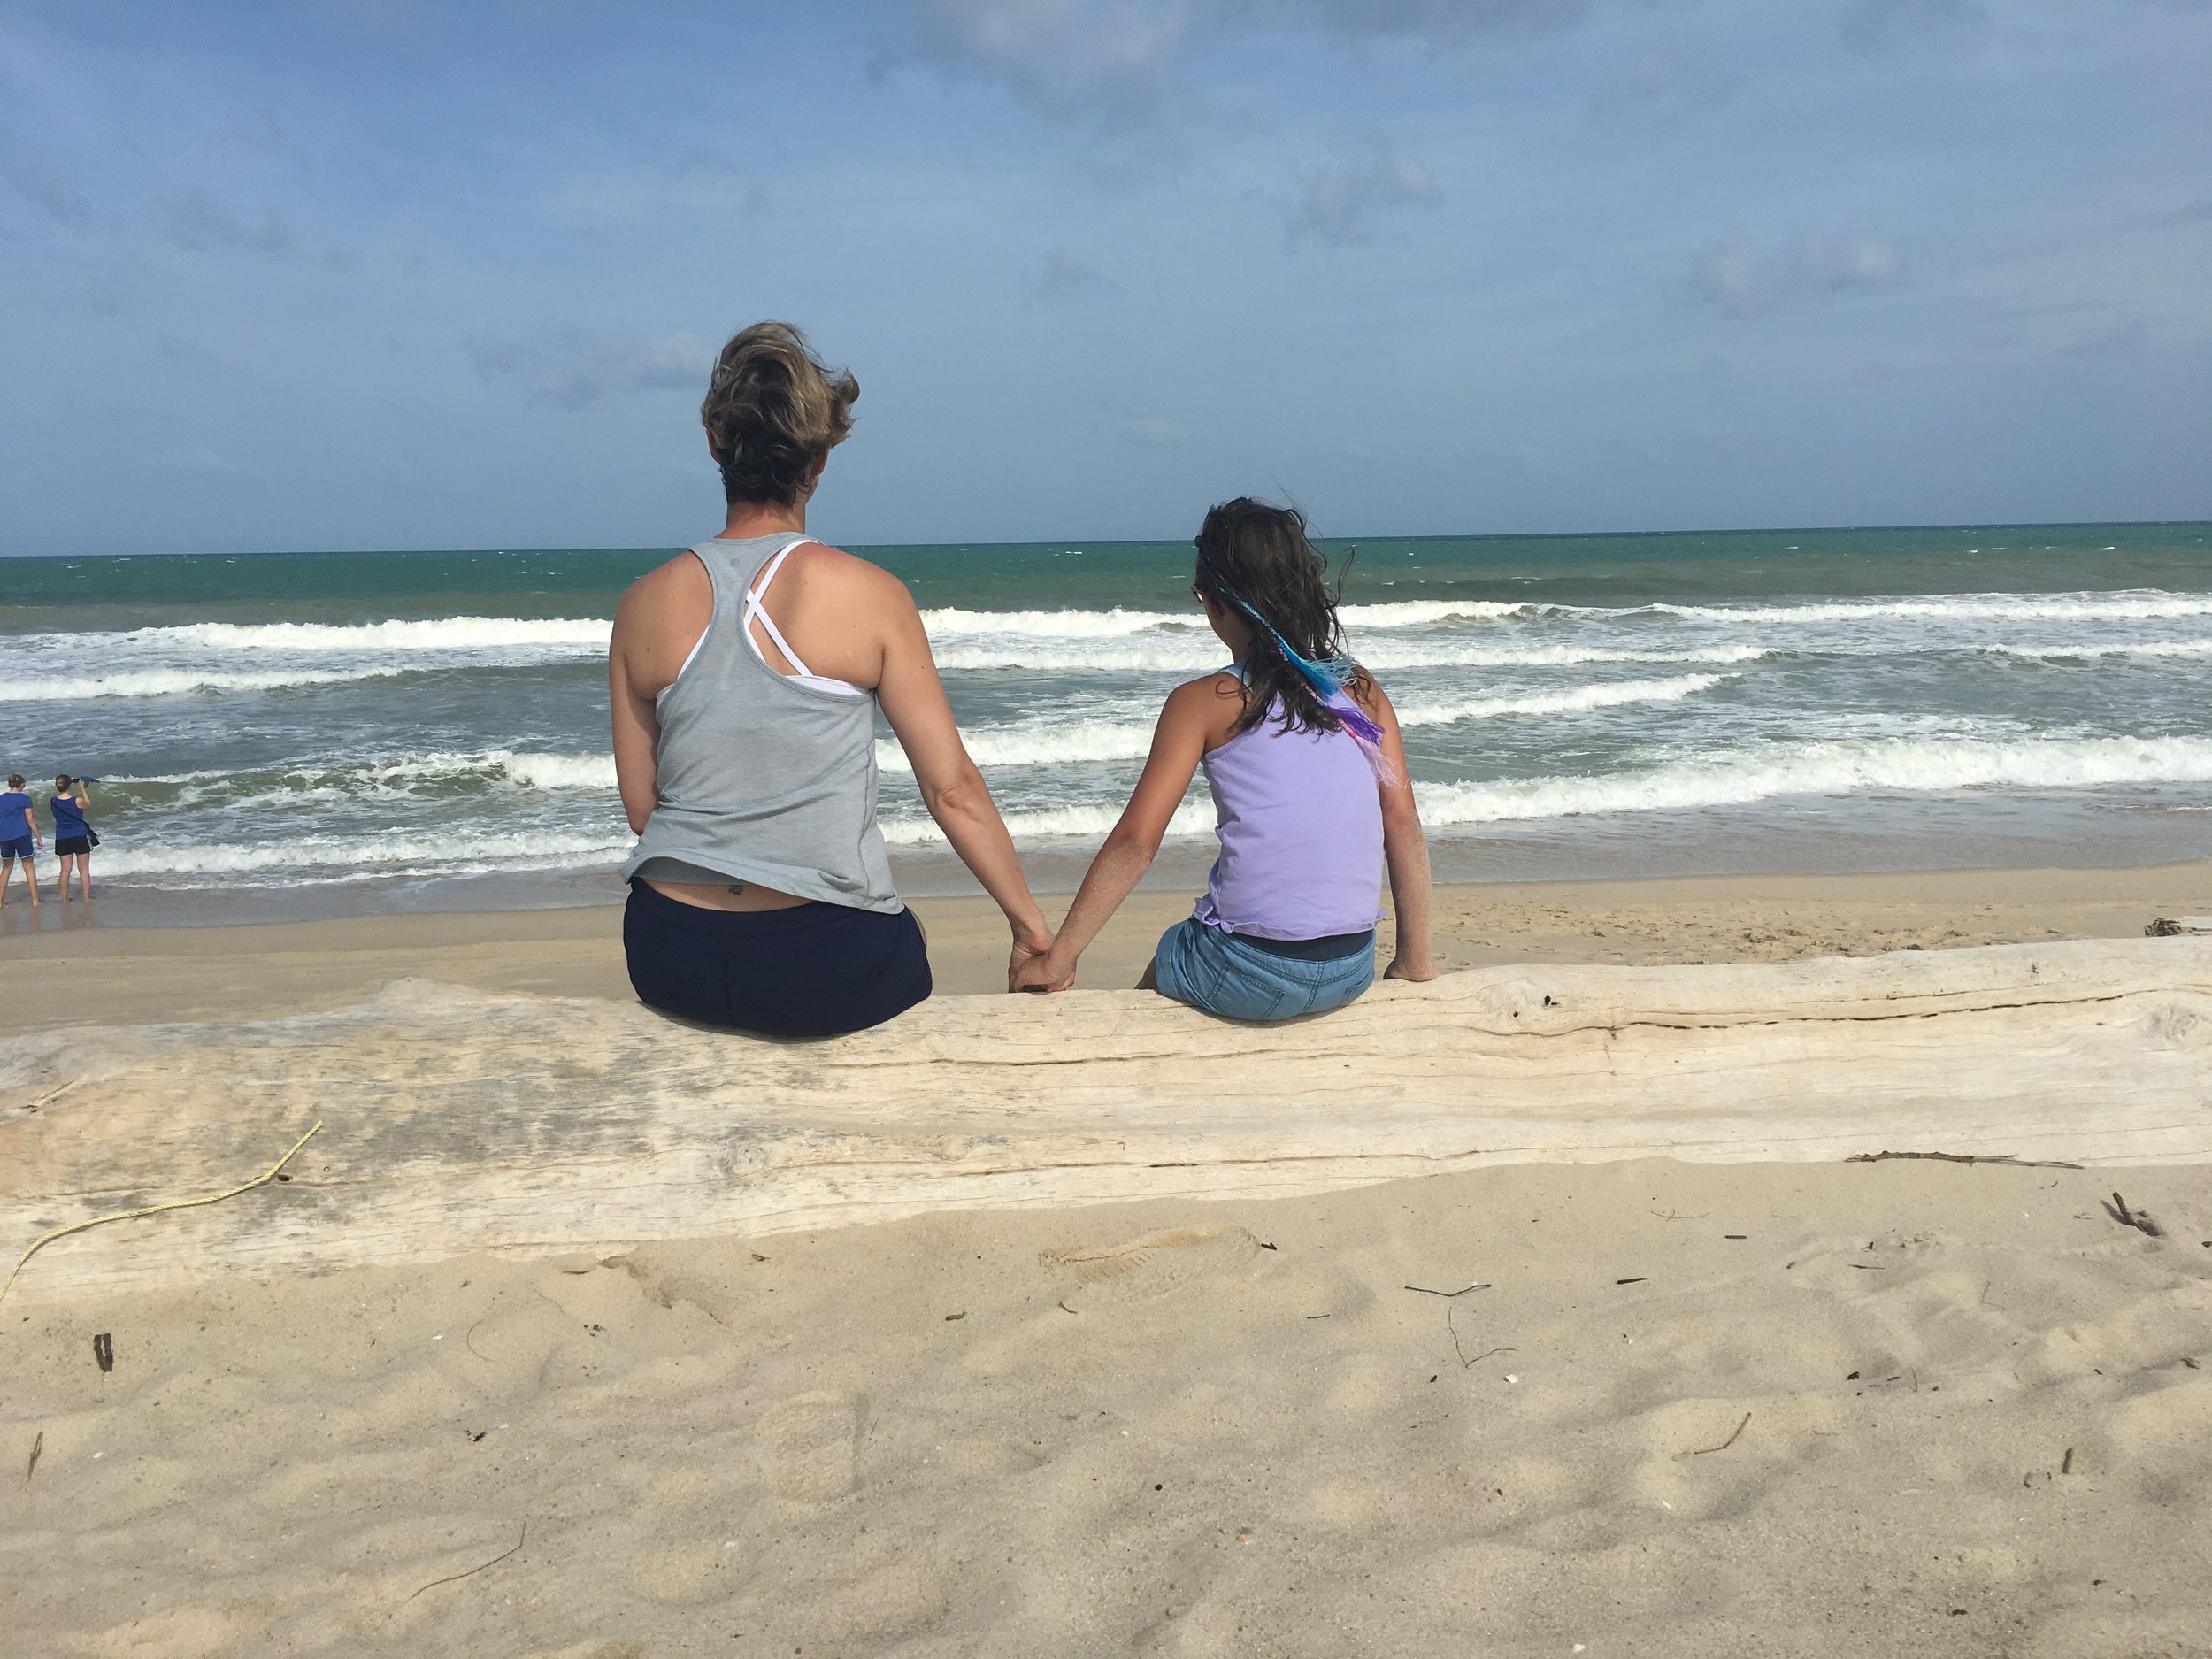
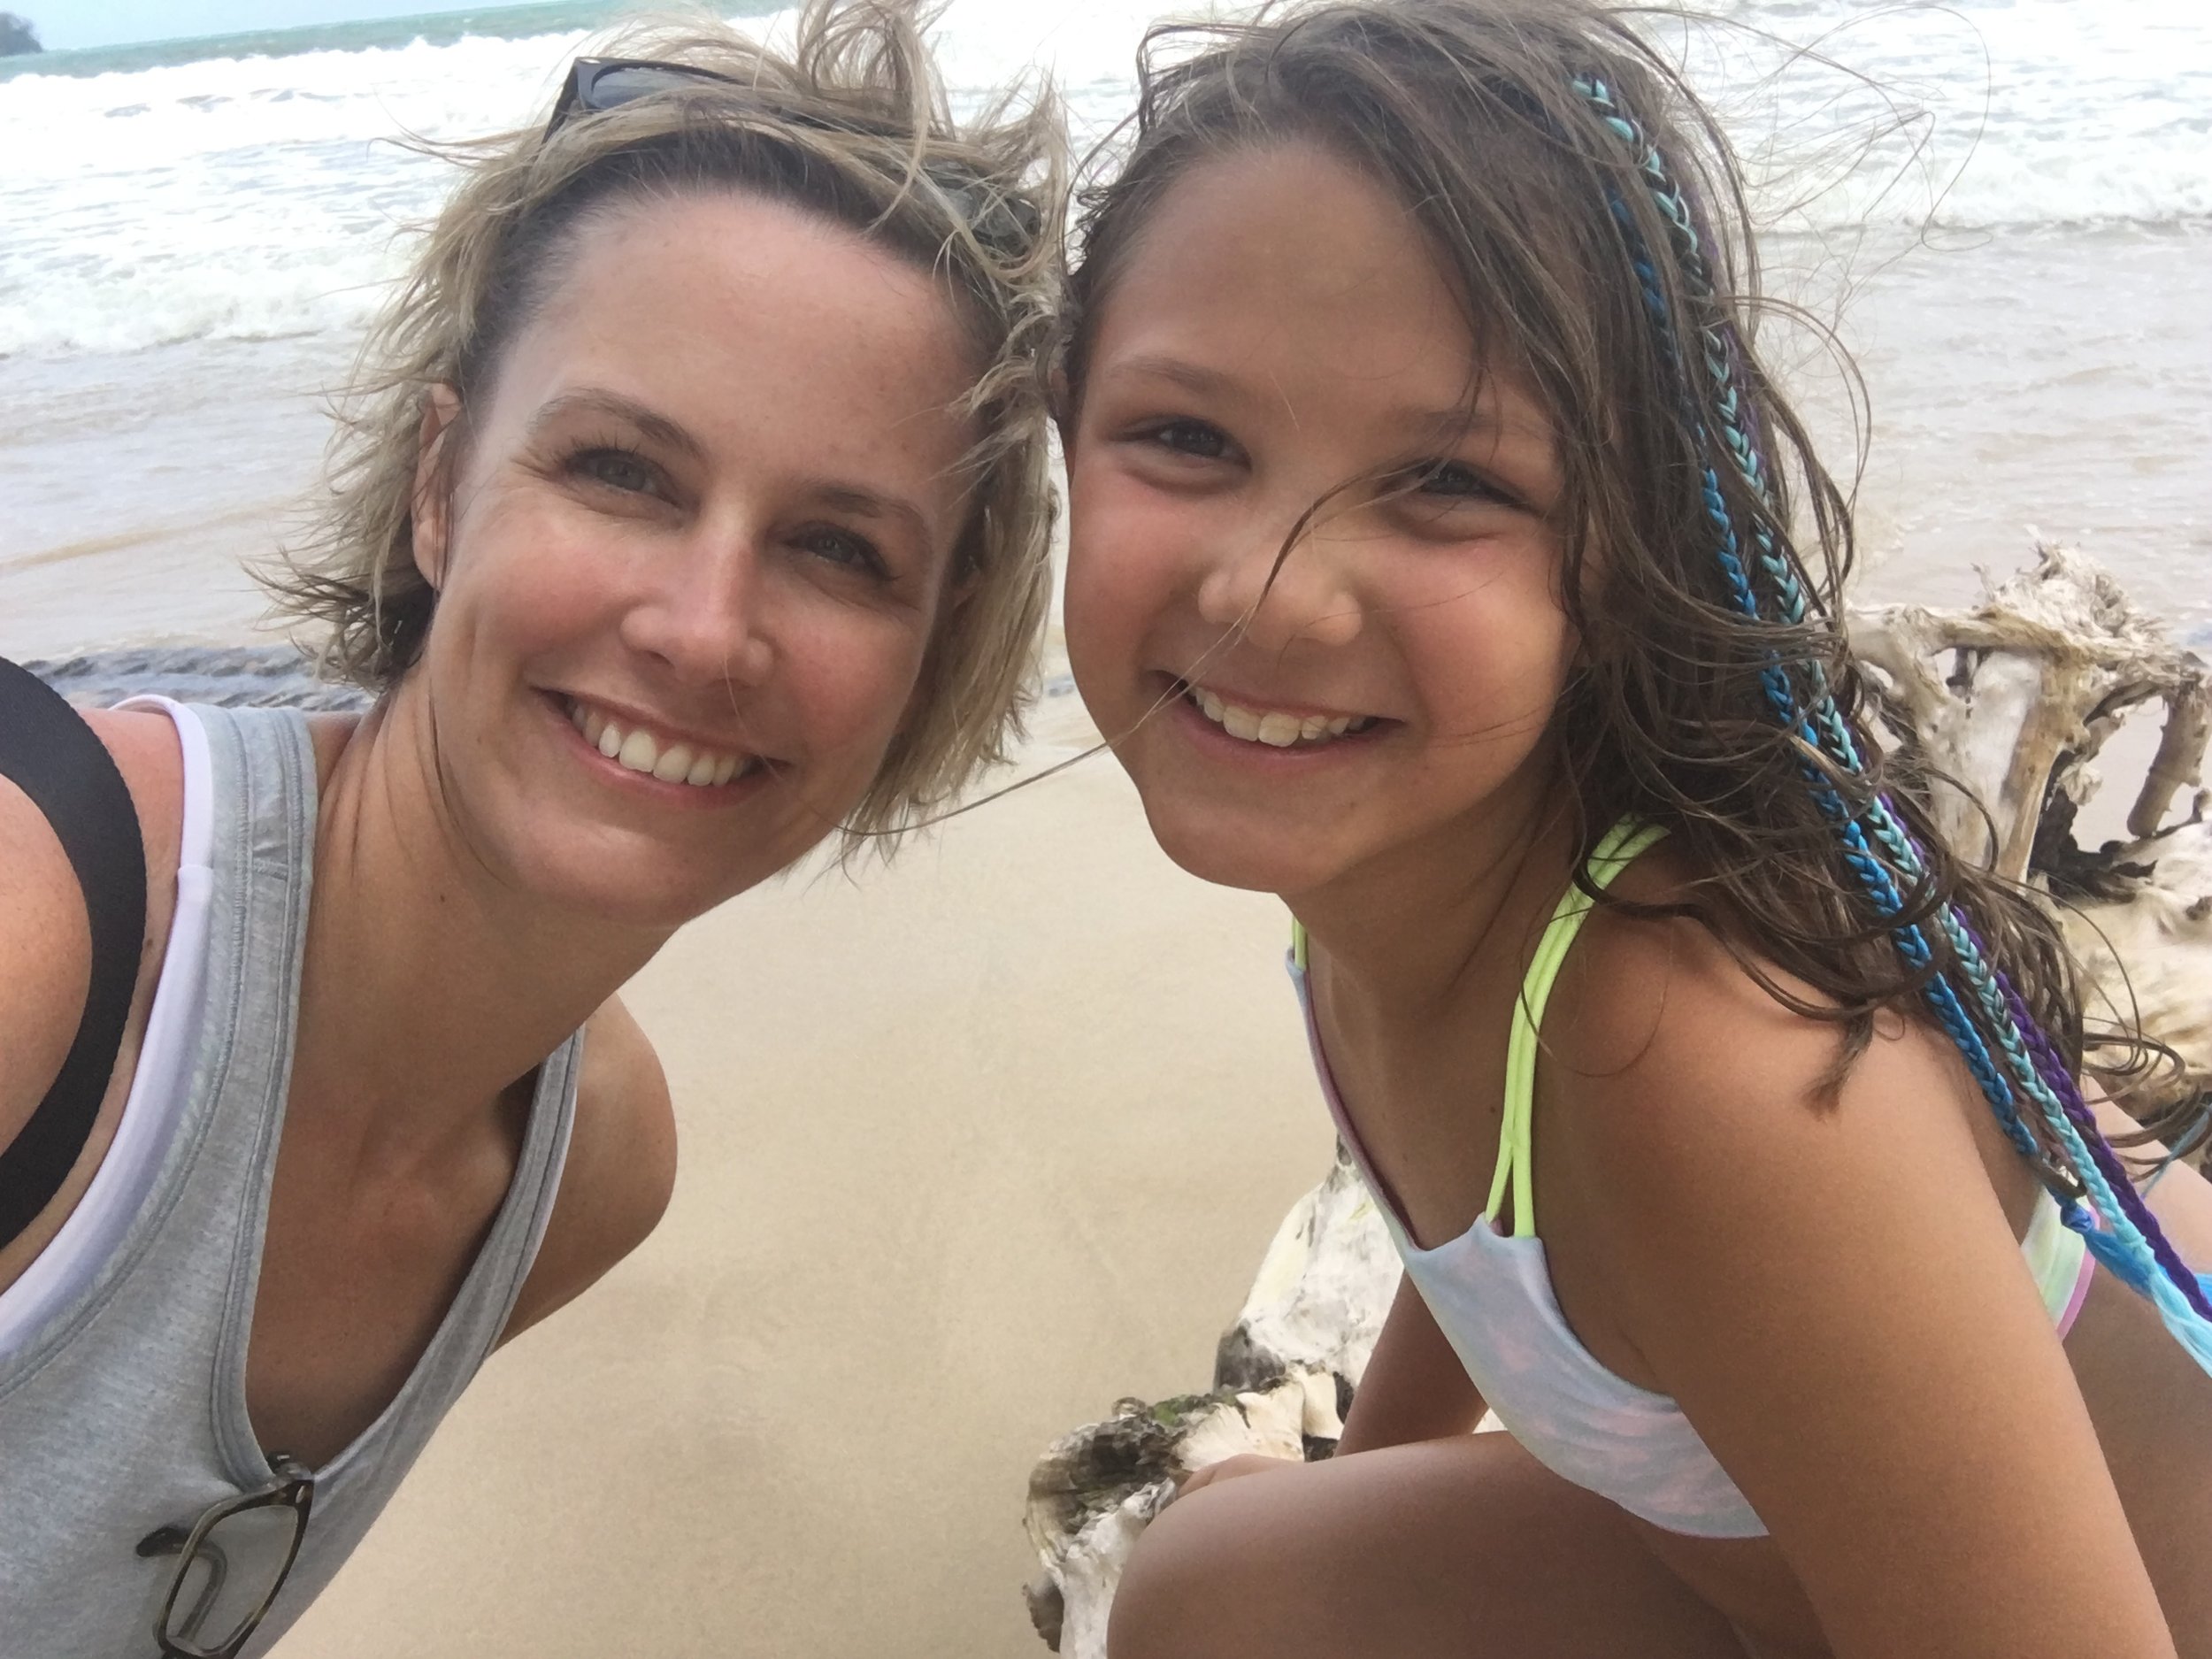
And because my blogs spirit is to record in a digital aspect, my life, I have chosen to add a few fun photos of our trip to Thailand together! I hope you don’t mind! :)

I hope you are inspired by this amazing color combination! I would love to see what you create so share it on Instagram and tag me! You can find me @stampwithbrenda

I cannot wait to see what the rest of the Color Fusers Team has created this month with the bold fun color combination!

Next up is one of my former Artisan Teammates from the 2021 year. You will absolutely LOVE what Janneke has designed, I have no questions about it. She is so talented and has such a lovely style! Just hit 'NEXT STOP’ to check out her creation.


If you would like to go in reverse or jump back, click on the button below and you will find yourself directed to my fellow Artisan Design Team member Tami! I cannot say enough about how kind and generous and amazingly talented Tami is, so please make sure to go all the way around the Hop. You do not want to miss any of the creativity on this team!

If you are inspired to create anything based on my scrapbook page, please do! And if you need any supplies and live in Canada, you can easily shop with me by hitting any of the product images below!

Tombstone Treat Boxes

Have you seen these amazing Tombstone Treat Boxes yet? They are so fantastic! They are easy to assemble as they have areas with adhesive strips already built in! So you do not need to add in any of your own adhesive! YAY! And they actually fit a decent amount of stuff inside! I decided that I could add some treats AND a little mini card!

final (1) 5.jpg

I wanted the feeling of a halloween spooky sky to anchor the little black tree so I die cut a Pumpkin Pie circle with the Layering Circles Dies. I added it to the box and then snipped off the edge. I took my Rich Razzleberry Stampin’ Write Marker and flicked it across the circle and box.

The trees are cut from Basic Black cardstock using the Frightful Tags Dies. I added one on the circle and one poking out from the top. I then tied a length of the Bumblebee Gingham Ribbon around the box.

Over top I added the sentiment, Happy Haunting, on Highland Heather cardstock, stamped with Momento Black Ink. I added a marker spray with my Highland Heather marker over top and added this circle with a Dimensional.

The happy bat is from the Banner Year stamp set and is stamped with Momento Black Ink on Bumblebee cardstock. You will need to hand trim this little bat and add it with a mini Black Dimensional to the tree.

Lastly some Cute Stars Adhesive-Backed Sequins were added to the box! Voila! A fun Tombstone Treat Box!

final (22) 3.jpg

I measured the dimensions of the inside of the Tombstone Treat Box to create the little mini card. I thought it was a neat way to add a little message on top of your treats!

final (45).jpg

The base of the mini card is Basic Black and I added a layer of Basic White over top. I used my Blending Brush with Bumblebee ink to create a little halo for my tree to rest on. The little bats are from the Little Delights stamp set and are stamped using Momento Black Ink.

The sentiment, Batty for You, is from the Frightfully Cute stamp set on Highland Heather cardstock. And this time for the inside, I stamped the happy bat on Pumpkin Pie cardstock to add to the tree!

If you are loving this Tombstone Treat box—stayed tuned! I have some other projects designed to share with you this month! However, I definitely encourage you to order them sooner than later! You don’t want to miss out on these!

Create with Connie and Mary--Spring Flowers!

Well this week we are focusing our design efforts on Spring Flowers! There is still snow on the ground where I live so I don’t think I will be seeing any actual flowers for a while, nonetheless I was still excited to create a scrapbook page of a photo I did take last spring!

21DesignTeamBadge.png

I wanted to use a bundle that I knew was carrying forward into our new catalogue being released in May. This is a set I was happy to see return as I have not had as much time to play with it as I was hoping, so I am glad I will have another catalogue run to be creative with it!

There are a couple things on this page that are retiring…have you seen the list? Can you spot them?

There are a couple things on this page that are retiring…have you seen the list? Can you spot them?

The base of my page is classic Basic White. Because this was a spring layout, I wanted a crisp background to start with. I began by blending some Balmy Blue into the background and I stamped the large from image from the Blossoms in Bloom stamp set in the same ink color. This created a bit of tone on tone imagery.

What I love about this die set is you get TWO large dies that match the stamped image. I used the more solid one up top, cutting it from Basic White card stock. The second more delicate one is die cut from Balmy Blue card stock. When you lay both of these over top of the stamped image you just get a peek a boo look at the stamping and blending beneath. LOVE!!

final (1) 3.jpg

The small stamped flowers are hand cut as there is not a die that just cuts the perimeter out in the Many Layered Blossoms Dies. I used Bumblebee, Highland Heather (on Purple Posy card stock) and Petal Pink as to me these feel like spring colors. I love the soft pastel tones of this season.

I added small die cut flowers in Basic White to contribute to the crisp feel of this page.


I created two focal points on this page, the top right corner where I added in Happy (which is hand trimmed from the entire phrase of Happy Birthday). I used Flirty Flamingo ink on Petal Pink card stock so the sentiment would be a little more vibrant.

Opal rounds were the perfect embellishment for this page as they add texture without being distracting.

The Pinewood Planks 3D folder also add alot of natural texture to the photo mat.

final (1) 5.jpg
final 2.jpg

This bottom second focal point highlights one of my favorite ribbons, the Bumblebee Gingham ribbon! I have gone through several rolls of this ribbon!

I thought the sentiment “I like you a lot” was perfect for this page and I am happy that this whole design used a single bundle! This is not something that I can say happens for me very often.

I love how this page turned out, especially because I was able to piece it together in less than 30 minutes! By focusing on a single stamp set or bundle it can make your designs come together a lot faster than trying to mix and match and incorporate…

I love how this page turned out, especially because I was able to piece it together in less than 30 minutes! By focusing on a single stamp set or bundle it can make your designs come together a lot faster than trying to mix and match and incorporate other stamps . This bundle is definitely a winner for me!

I can’t wait to see what the rest of the team has designed with the theme SPRING FLOWERS! There are so many great stamp sets to choose from that the possibilities are endless. You can go BACK to see Melissa’s project or you can go NEXT to see what Connie has created this week for us. Either way, visit the whole hop and please feel free to leave me a comment. I really enjoy reading them.

Around the World on Wednesday--3D projects!

Hello friends! I love when I can participate in a 3D Design Challenge because I loosely interpret 3D as anything but a card—-so the sky is the limit with what you can create! I can’t wait to see what everyone has designed this month!

91442295_10216484369808661_2887014979863576576_n.jpg

The days are getting sunnier and the snow is melting here in Edmonton, where I live! So I have definitely been feeling those spring vibes and I wanted to create a wreath for my front door to welcome in the change in season!

IMG_4631.jpg
 

I picked up a twig style wreath from my local craft store. Typically these are pretty inexpensive wreaths that have a lot of creative options.

I used hot glue to pretty much assemble the entire project from the flower construction to adhering everything to the wreath itself.

IMG_4625.jpg

The Butterfly Brilliance Bundle is really exciting and new right now so I knew that I wanted my spring wreath tot have some butterflies on it. I stamped them with Momento Ink and colored them with a light hand using the Water Painters and the following ink colors—Calypso Coral, Mango Melody, Just Jade and Mint Macaron. I also added Wink of Stella over top of the butterflies to give them a little glimmer.

I love that you can stamp all these butterflies ONE TIME and then die cut them all in one go! It makes creative projects like this so much faster to put together.

IMG_4628.jpg

I cut the word SPRING out using the Playful Alphabet Dies and the Foam Adhesive Sheets. The letters are cut from the Butterfly Bijou Designer Series Paper and are placed on a Stitched Oval that is stamped with some of the butterflies from the Butterfly Brilliance stamp set in Soft Seafoam. Behind the sentiment I created an oversized bow with the Fine Art Ribbon from the Art Gallery Suite.

The large Calypso Coral flower is created using the Heart Builder Punch. The inside is just a strip of Bumblebee card stock that I cut little slits into and rolled up to add to the center. When its rolled you just fan it out!


I used both of the daisy punches (original and medium) along with the Perennial Petals Dies to fill in my wreath. I stamped some medium daisy’s in Pool Party from the Daisy Lane stamp set.

The Blushing Bride and Calypso Coral flowers shown beside are created by cutting the flower 5 times and then stapling them together. You can then fold and squish them together and add a smaller flower into the center to hide the staple.

IMG_4626.jpg
IMG_4627.jpg

I love how the Perennial Petals Dies layer up so well to create so much dimension! The Pool Party flower shown here has 4 layers with an Elegant Faceted Gem in the center.

I am really happy with how this spring wreath project turned out and I can’t wait until I can display it on my door full time. Living here you never know when 3rd, 4th or 5th winter might kick in again! Hahaha! Probaby after May long weekend we should be safe.

Next up on the hop you will be visiting the awesome Tricia Butts in the United States! I love how our hop takes you all around the world!


Create with Connie and Mary--Welcome Fall!

I believe the first official day of fall is September 21st, so we are almost there officially! Unofficially, I think as soon as September ONE hits we are bringing out blanket scarves, drinking our Pumpkin Spice Lattes and crafting with all things fall colors and pumpkins! At least that is what I am doing as there has been a definite chill in the air, especially on those early morning school drop offs!

That is why this weeks theme is Welcome Fall! I hope you don’t mind but I am on a scrapbooking ROLL so be prepared to see another page layout this week from me!

fullsizeoutput_12d57.jpeg
 
final.jpg
 

Out of all the seasons, crafting and home decorating for Fall and Halloween, are my absolute favourites! I especially love making layouts because there are just so many awesome ways to stamp and cut out leaves. This page looks so crisp with the white background and the medley of leaves, pumpkins. leaves and wheat sheaves.

For the color palette I cut or stamped leaves out in Crushed Curry, Soft Suede, Crumb Cake, Old Olive with Mossy Meadow edges, Cajun Craze with Merry Merlot edges, Crushed Curry with Merry Merlot edges, Terracotta Tile and of course, Pumpkin Pie.

We have so many fantastic options for fall creating! I used the Love of Leaves Bundle, Gather Together Bundle and the Autumn Essentials dies from the Handmade for You catalogue. I did sneak in one retired leaf too as I just can’t part with it…can you see it?

Notice that big leaf on the left? I cut it from the Festive Felt and then spritzed it with a mix of Crushed Curry and rubbing alcohol. I quick blast with my heat tool and it was dry.

Notice that big leaf on the left? I cut it from the Festive Felt and then spritzed it with a mix of Crushed Curry and rubbing alcohol. I quick blast with my heat tool and it was dry.

I wanted to create sort of a fun boarder running underneath my pictures with all my favourite fall images, leaves, pumpkins and wheat sheaves. When I was mixing two colors together, like on the green leaves, I stamped in Old Olive first and then used a finger dauber in Mossy Meadow around the edges. I used the same technique with the Cajun Craze, Crushed Curry and Merry Merlot leaves. And I want to give a shout out to Merry Merlot, its definitely getting a good work out in my craft room as it is perfect leaf tone!

I added in a little splatter with Crushed Curry ink and my Water Painter across the background of both pages. I love the feel it gave, softening up the crisp white a bit.

I added in a little splatter with Crushed Curry ink and my Water Painter across the background of both pages. I love the feel it gave, softening up the crisp white a bit.

This page had so many highlights with the leaves and pumpkins that I found it didn’t need much in the way of embellishments. I bit of Bumblebee Gingham ribbon and some Gilded Gems were all I added to this page.

I like to create little focal points on my pages, I often say “Its all in the details”, which is reflected here with the ‘friendship’ and ‘So glad to have you in my life’ areas. I used the same maple leaf on each, with a gem, and twine to create continuity between the pages.

I hope you have enjoyed my fall pages! I will probably have more to share with you over the coming weeks so make sure you check back! And if you are in Canada and need to shop for any supplies you can follow the link on the side bar to my store!

If you are starting here on our blog hop you can go BACK to see what Melissa has designed for us this week and NEXT to see what Connie has created for us! Thank you for hopping by!