12 Days of Christmas--Day 7!

Hello friends! And welcome back to Day 7 of 12 Days of Christmas with myself and Melanie @melsinkyfingers! Really, you are getting 24 awesome projects for inspiration!

Today I have something fun and on trend to share with you—some cards made with the Stack Cut & Shuffle technique! It is so fun and such a great way to use our amazing Designer Series Paper!

To create these cards using the Stack Cut & Shuffle technique you will need 3 standard card bases. I cut my bases to be the ‘tent’ style option of 4 1/4 x 11 (score at 5 1/5). I decided to keep my card bases all uniform, although you certainly could mix up the base colors.

You also need a base layer that is 4 x 5 1/4 —for all 3 of my cards, I used Basic White.

Your DSP layers are 3 3/4 x 5—-you can choose 3 different DSP’s and mix and match for endless possibilities.

The idea is you ‘stack’ your DSP, cut once and mix up the patterns, layering them down almost like putting a puzzle together! This particular method of Stack Cut & Shuffle is great because you can just start along the 3 3/4 inch side, angle your DSP outwards towards the right and cut.

TIP: Start with the 3 3/4 side rough along the 1 inch mark and angle the bottom right corner out. This piece stays as is.

The second piece, which is a bit larger, can be cut from the bottom left corner through the middle

I decided to cut the large tree from the Merriest Trees dies and stamp some little stars on top for two of the three cards.

The light bulb stamp is from the Merry & Bright bundle as are the little stars and the sentiment on each of the cards, ‘Oh, What Fun!’

I think these two bundles work so well together!

The fun, bright and cherry DSP is from Merry Bold & Bright.

For the third card option, I cut the large tree from Shaded Spruce and ran it through one of the 3D Basics Embossing Folders for a bit of texture.

Each one of the cards uses some ribbon behind the sentiment as well for a little extra touch.

TOP TIP: The Holographic Trio paper in the Annual Catalogue is perfect for making toppers for the light bulbs!

If you haven’t given this fun technique a try, you really should! It is easier than it looks and quite a bit of fun to mix and match up the DSP pieces to create some unique cards!

I can’t wait to see what Melanie is sharing with you today! Make sure to check back tomorrow and each day until Nov 12th!

If my projects have inspired you, please consider shopping my online store!

12 Days of Christmas--Day 1!

Hello friends! I am so excited to welcome you back to our 2nd 12 Days of Christmas event! Melanie and I started this last year and have decided to make it a tradition! Each day for the next 12 days you can visit both of our blogs for some Holiday Inspiration! We plan on sharing some great card, project, 3 D and scrapbook inspiration with you!

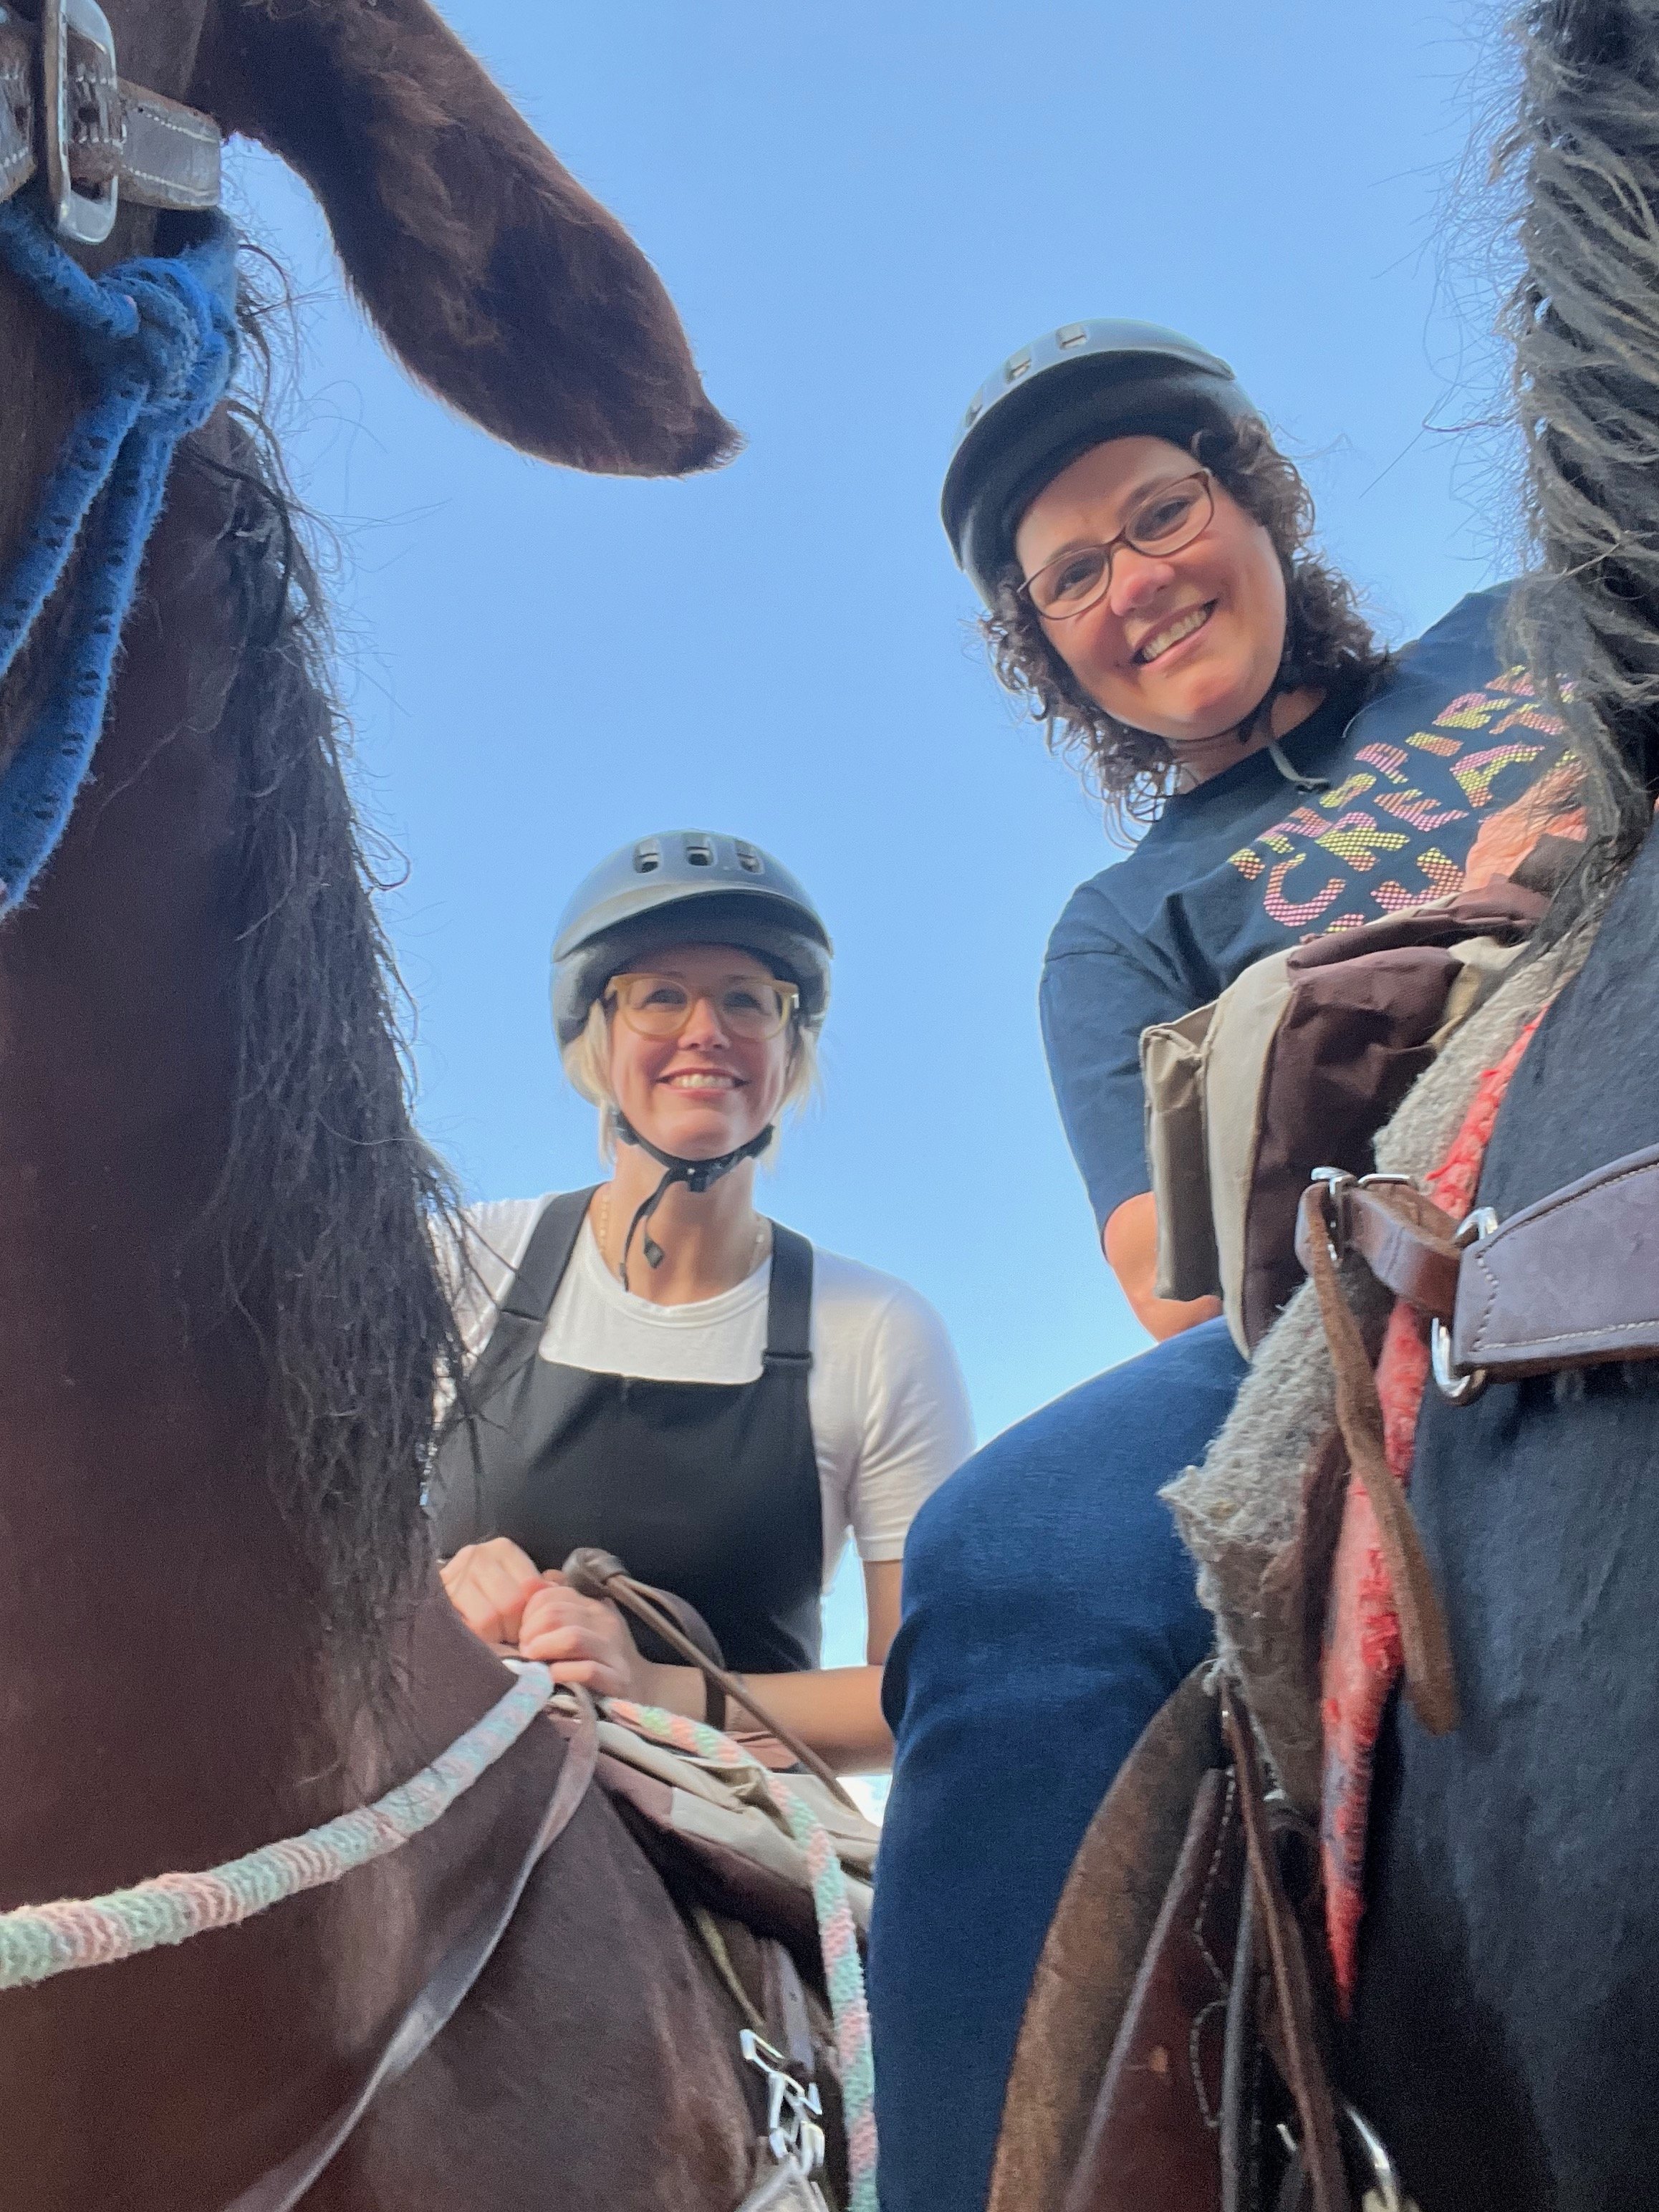
Melanie and I finally got a chance to meet each other in person this past August when we attended Backstage (a leadership conference held by Stampin’ Up!) and here are a couple of my favorite pictures!

We went on a really awesome horseback ride in the desert and of course had to exchange some gifts with each other!

And here we are a few months later gearing up for the holidays!

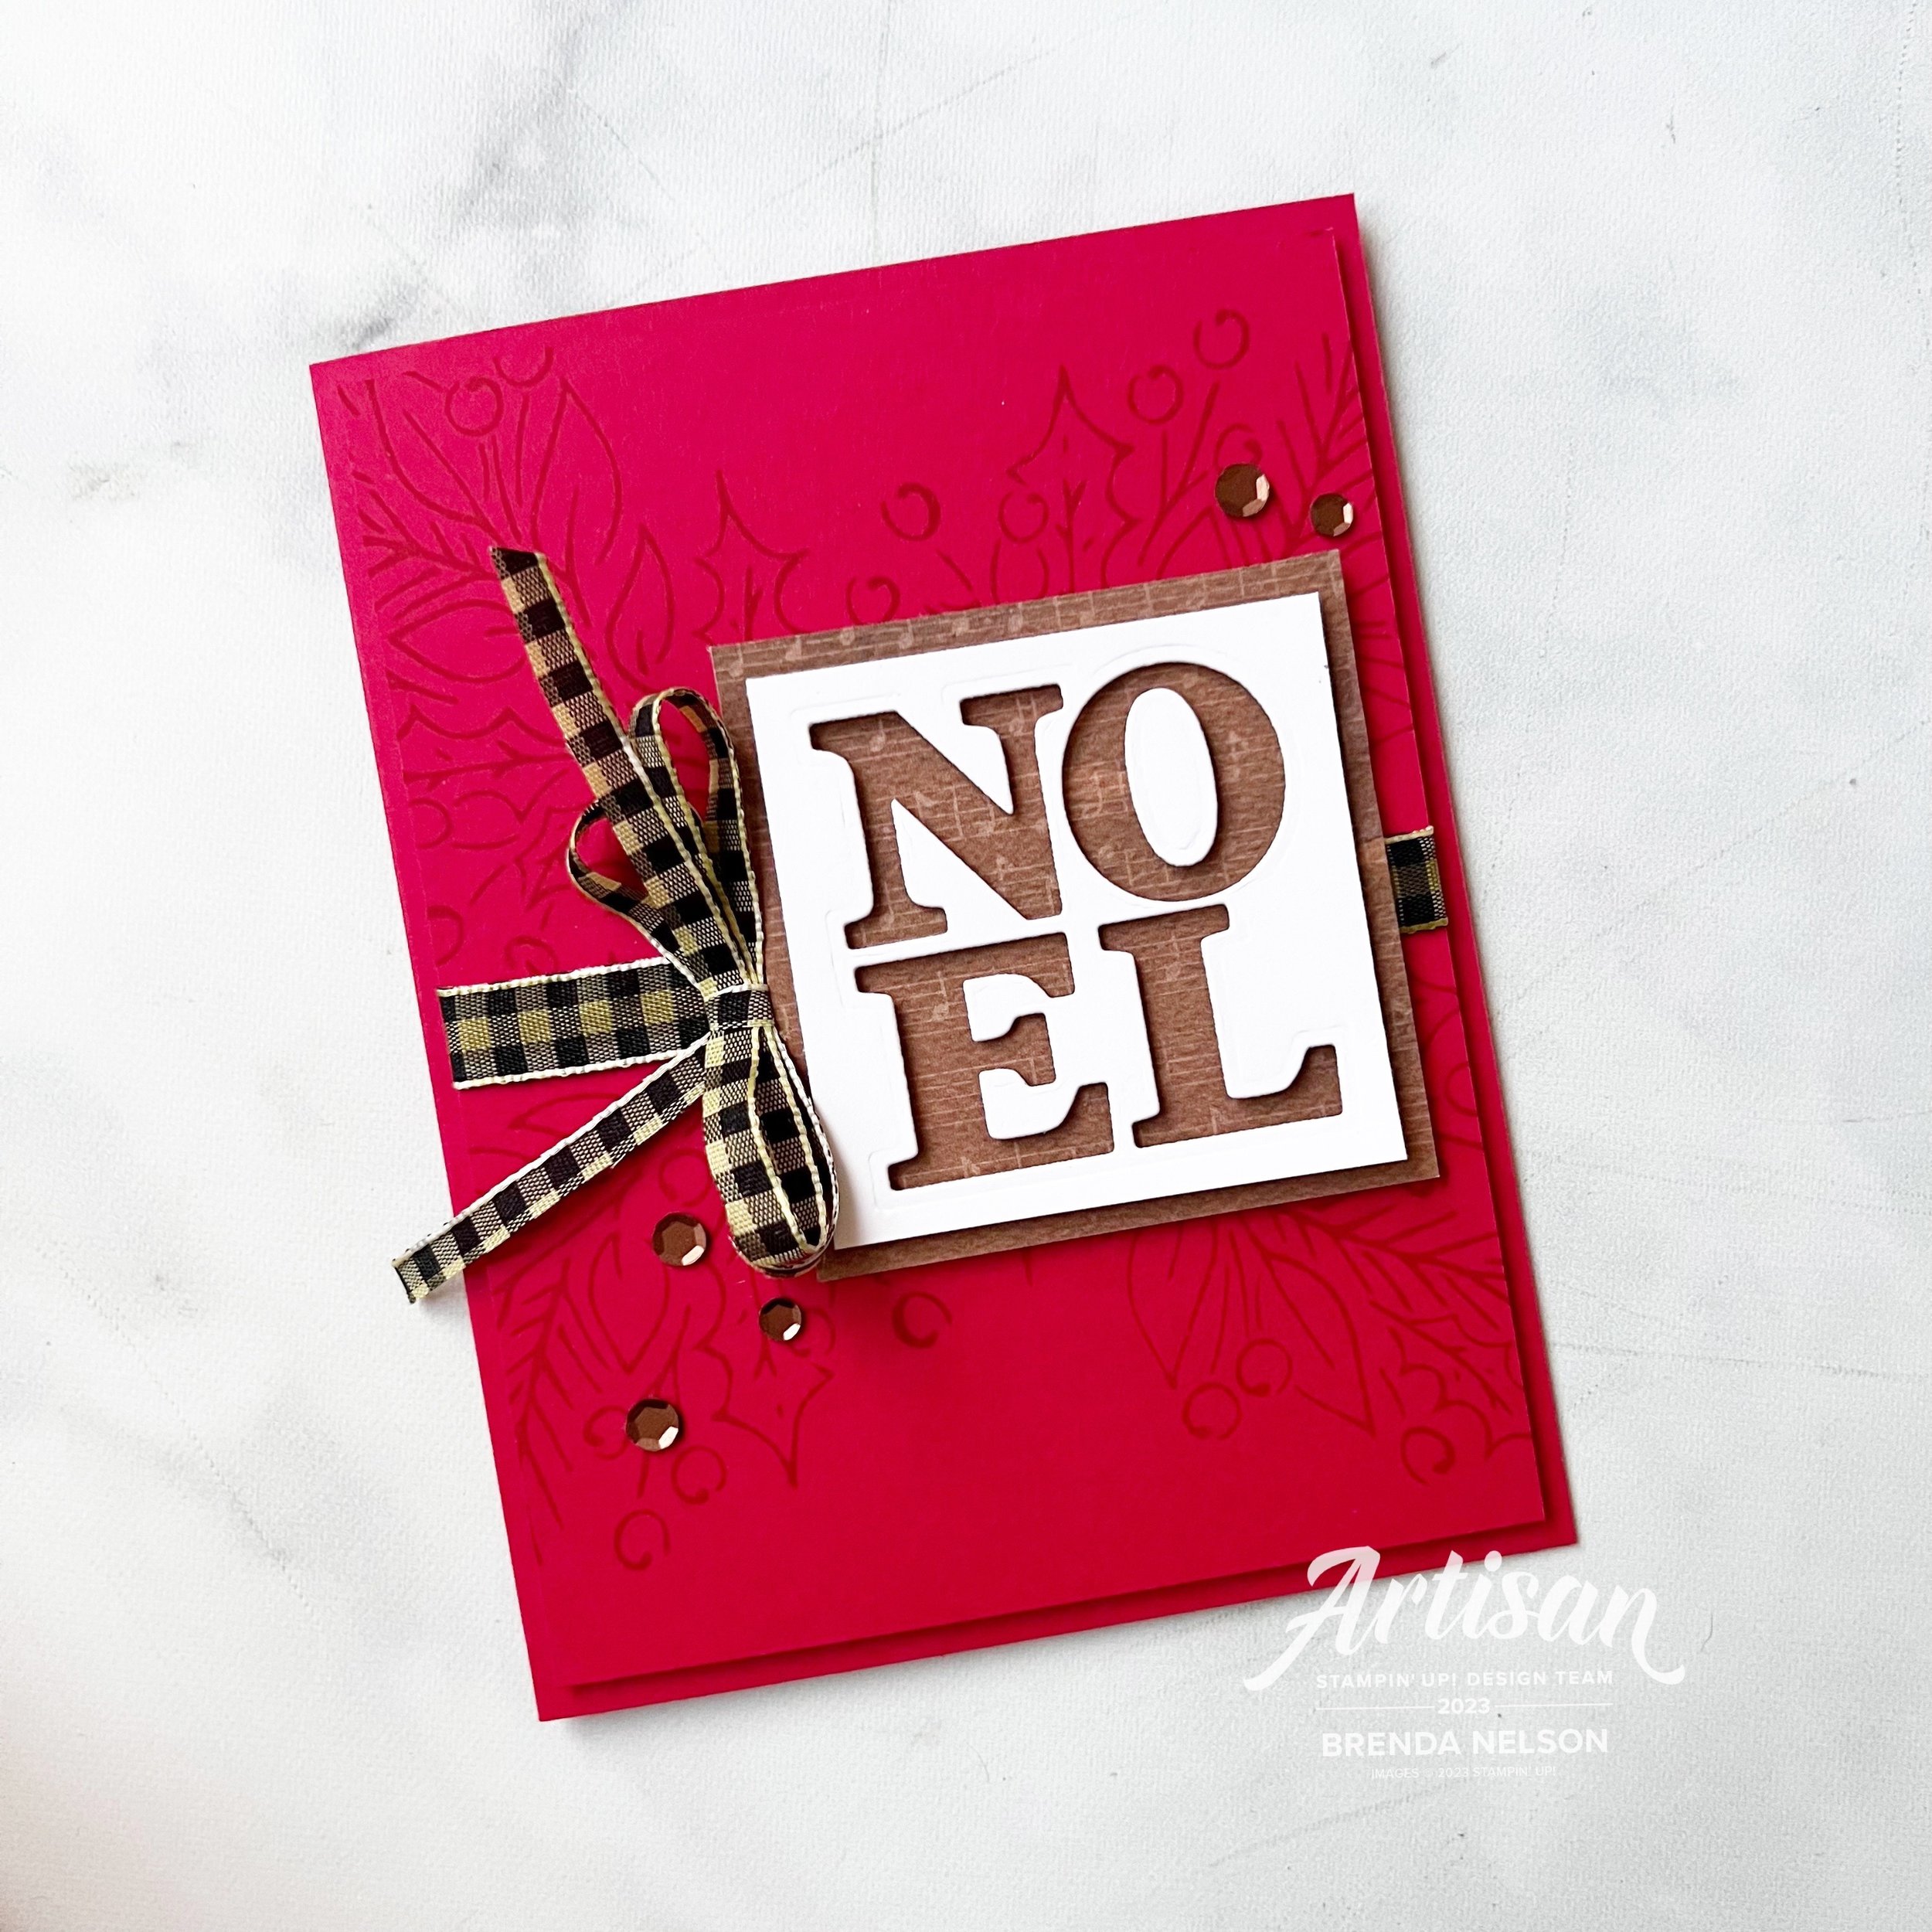
It was actually really hard to decide what project to kick the 2023 edition of 12 Days of Christmas off with but I finally decided to share a card made with the Joy of Noel Bundle.

I decided to create a holiday card with a classic color palette of Real Red, Pecan Pie, some Old Olive on the ribbon and crisp Basic White.

I stamped the large image from the Joy of Noel stamp set in Real Red ink on the background/first layer. I colored in the Very Vanilla & Black Gingham ribbon with my Old Olive Blend Marker to give the ribbon a green hue. This is such an easy trick to incorporate or match a color to your project with the ribbon.

I thought it would be fun to use the negative image from NOEL as the focal point for this card. I layered it on top of a piece of DSP from the Joy of Christmas in the Pecan Pie music print using Dimensionals.

I cut the ribbon in half to. make a double bow to tuck in beside the NOEL and give the illusion of it being tied around the card. A few Neutrals sequins and this card was perfect!

I can’t wait to see what Melanie has created and I am looking forward to sharing some amazing things with you over the next 12 days! Click this image to visit Melanie’s blog—Mel’s Inky Fingers!

12 Days of Christmas--Day 8

Today I want to share a Christmas inspired scrapbook page with you. It uses a little bit of new, a little bit of old and a little bit of current! It is always my favorite things to do, mash up a bunch of products that I love and enjoy!

The base of this page is Real Red which is just classic Christmas and I paired it up with Crumb Cake, Early Espresso and Basic White elements for a really awesome holiday feel. The Gingerbread & Peppermint DSP from holiday 2021 was some of my favorite DSP and I still have a couple of packages to use on some projects for this holiday season.

I almost always add DSP to my scrapbook pages and often that color dictates the rest of my page design. I wanted to go with a winter Christmas feel so I added some snowflakes from the Joyful Flurry stamp set to the background in Real Red ink.


Top Tip: when stamping background images, mount as many of the stamps onto a large block as you can. This way you can ink up the stamp and efficiently fill in your background!

I added some of the Wonderful Snowflakes to both of my scrapbook pages. This is one of the main elements that connect these two pages to each other along with the coordinating photo mats in Early Espresso and Crumb Cake.

I used a variety of sentiments from Snowflake Flurry and Framed & Festive for my pages.

Have you been seeing sneak peeks of the Alphabet A La Mode Dies around the internet? I love love love these dies and knew that I wanted to incorporate them into my page design. The word ‘JOY’ fit perfectly on the tag from the Celebration Tags Dies.

I love these dies and have used them so many times over this holiday season! A few classic Rhinestones are the perfect bling for these pages!

The North Pole Sacks are the perfect scrapbook page accessory! I added one to my page with a little pull out that you could use to journal or tuck Christmas momento’s inside.

I really love how this page layout came out and I can’t wait to share it with my scrapbook group later this month. If you are local to YEG and are interested in scrapbooking, please let me know! I would love to share in some creativity with you in 2023.

Click on the link below to see what Melanie has shared today over on her blog!