Happy Halloween MONTH!
/Self proclaimed Halloween LOVER over here! In fact I have created so many things that I am going to share 3 projects per week with you this whole month and an extra special post on Halloween! This means you can expect 14 amazing awesome and unique Halloween projects this month—ALL featuring our Amazing Stampin’ Up! products!

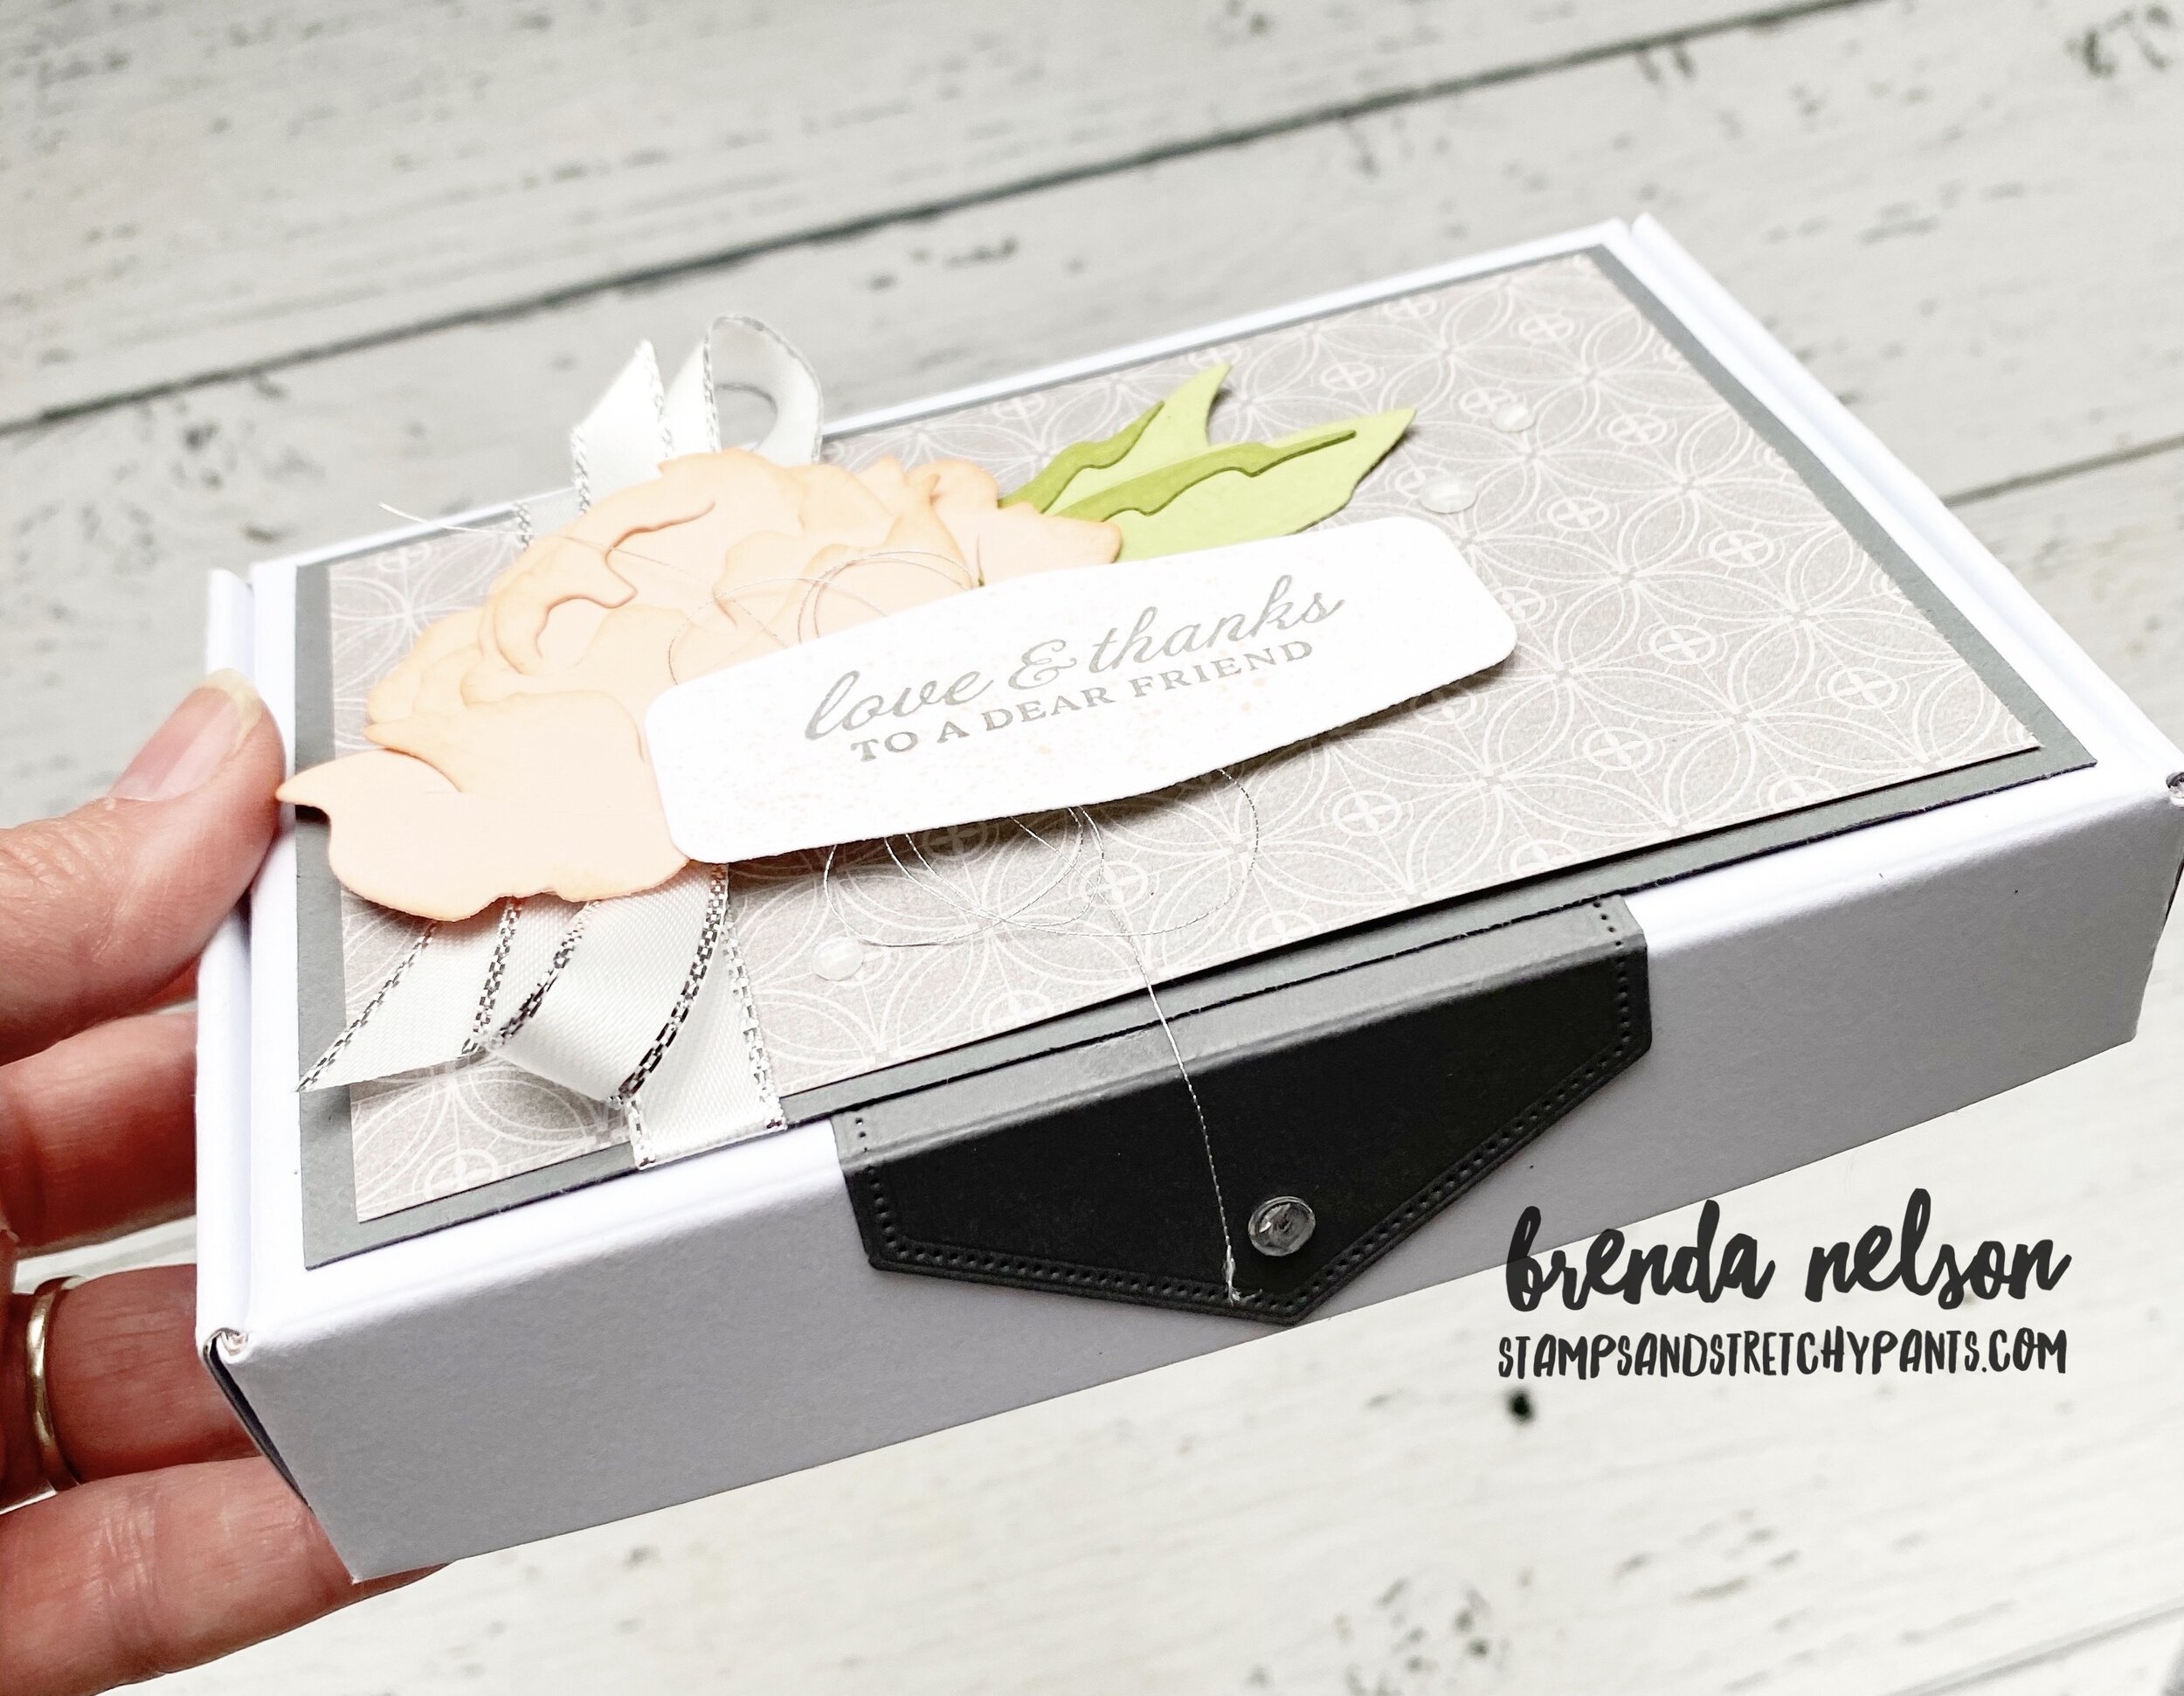
I want to kick things off with this super fun BOO BOX or a Halloween Happiness Box—you decide what you want to call it! It uses one of our Mini Paper Pumpkin Boxes that I spritzed with Pumpkin Pie reinker mixed with Rubbing Alcohol. I used one of our Stampin’ Spritzers to cover the top and sides of the box. I really love how it turned out and it was SO FAST to change the outside look of this box!
I created a belly band to go around the box using a 2 x 12 strip of the gingham print from the Hostess DSP stack—Pattern Party! This is one of the best Hostess Rewards Stampin’ Up! has ever offered in my opinion! And I love the fact that a belly band can be slipped off of the box so after the recipient has gotten to all of the treats inside they can fill it up again, slide on the belly band, and give this fun BOO BOX to someone else! That is the whole purpose of what we create, to brighten as many lives as possible!

I decorated the belly band with a fun spider web cut with the Frightful Tags Dies. You will notice how many times I used these dies in creating my projects this month! I would highly recommend adding them to your next order! You can always use my Monthly Hostess Code or shop my online store if you live in Canada!
The spiderweb is also cut from the Black Glitter Paper for that extra little pop of fun. The Highland Heather label is also from the Frightful Tags dies and the mini spider webs stamped on top are from the Banner Year stamp set. You can find this amazing stamp set in the Annual Catalogue. It also has a sentiment inside saying “Happy Fall Y’all”…just saying…you need it! Behind the label is some black twine from the Baker’s Twine Essentials Pack, also in the Annual Catalogue.
I finished off my BOO BOX but cutting the letters BOO using the Playful Alphabet Dies in Pumpkin Pie cardstock. i used the Foam Adhesive Sheets to cut the letters again and add the cardstock letters to it. The Foam Adhesive Sheets are like one giant Dimensional. And to jazz up the BOO a little bit, I took my Pumpkin Pie Stampin’ Blend to the bottom half of the letters. Its such an easy way to add some interest to your letters!
Well that is my first awesome Halloween project to share with you this month! I hope you will visit me on Monday, Wednesday and Fridays as I continue to share Halloween projects, cards and scrapbook pages with you this month!