Happy Haunting!

Hello friends! I offer 3 different scrapbook classes each month so of course for October we had to make some spooky layouts! I wanted to share one with you today that is a little more traditional Halloween than my pink and gold pumpkin page!

final.jpg

The base of this page is Pear PIzzazz and when I think of this color I picture the Wicked Witch of the West from the Wizard of Oz! Hahaha! I love how a color can evoke certain memories!

In a few select spots on the background I stamped some bats from the Sparkle of the Season stamp set in Pear Pizzazz ink.

Happy Haunting is from the Banner Year stamp set and is on a label found in the Pretty Pillow Box Dies. When you go through your dies you never know what you might find! Behind the sentiment I layered some Linen Thread and some of the Black & White Gingham ribbon! I just love that ribbon!


The Trick or Treat area is actually my favorite on the page as I incorporated ‘October’ from the Days to Remember stamp set is a really unique and subtle way that I love.

I die cut a label from the Seasonal Labels Dies and I ran it through a retired spiderweb folder, I just can’t part with it! Behind it I added a spooky black wreath from the Seasonal Swirls Dies.

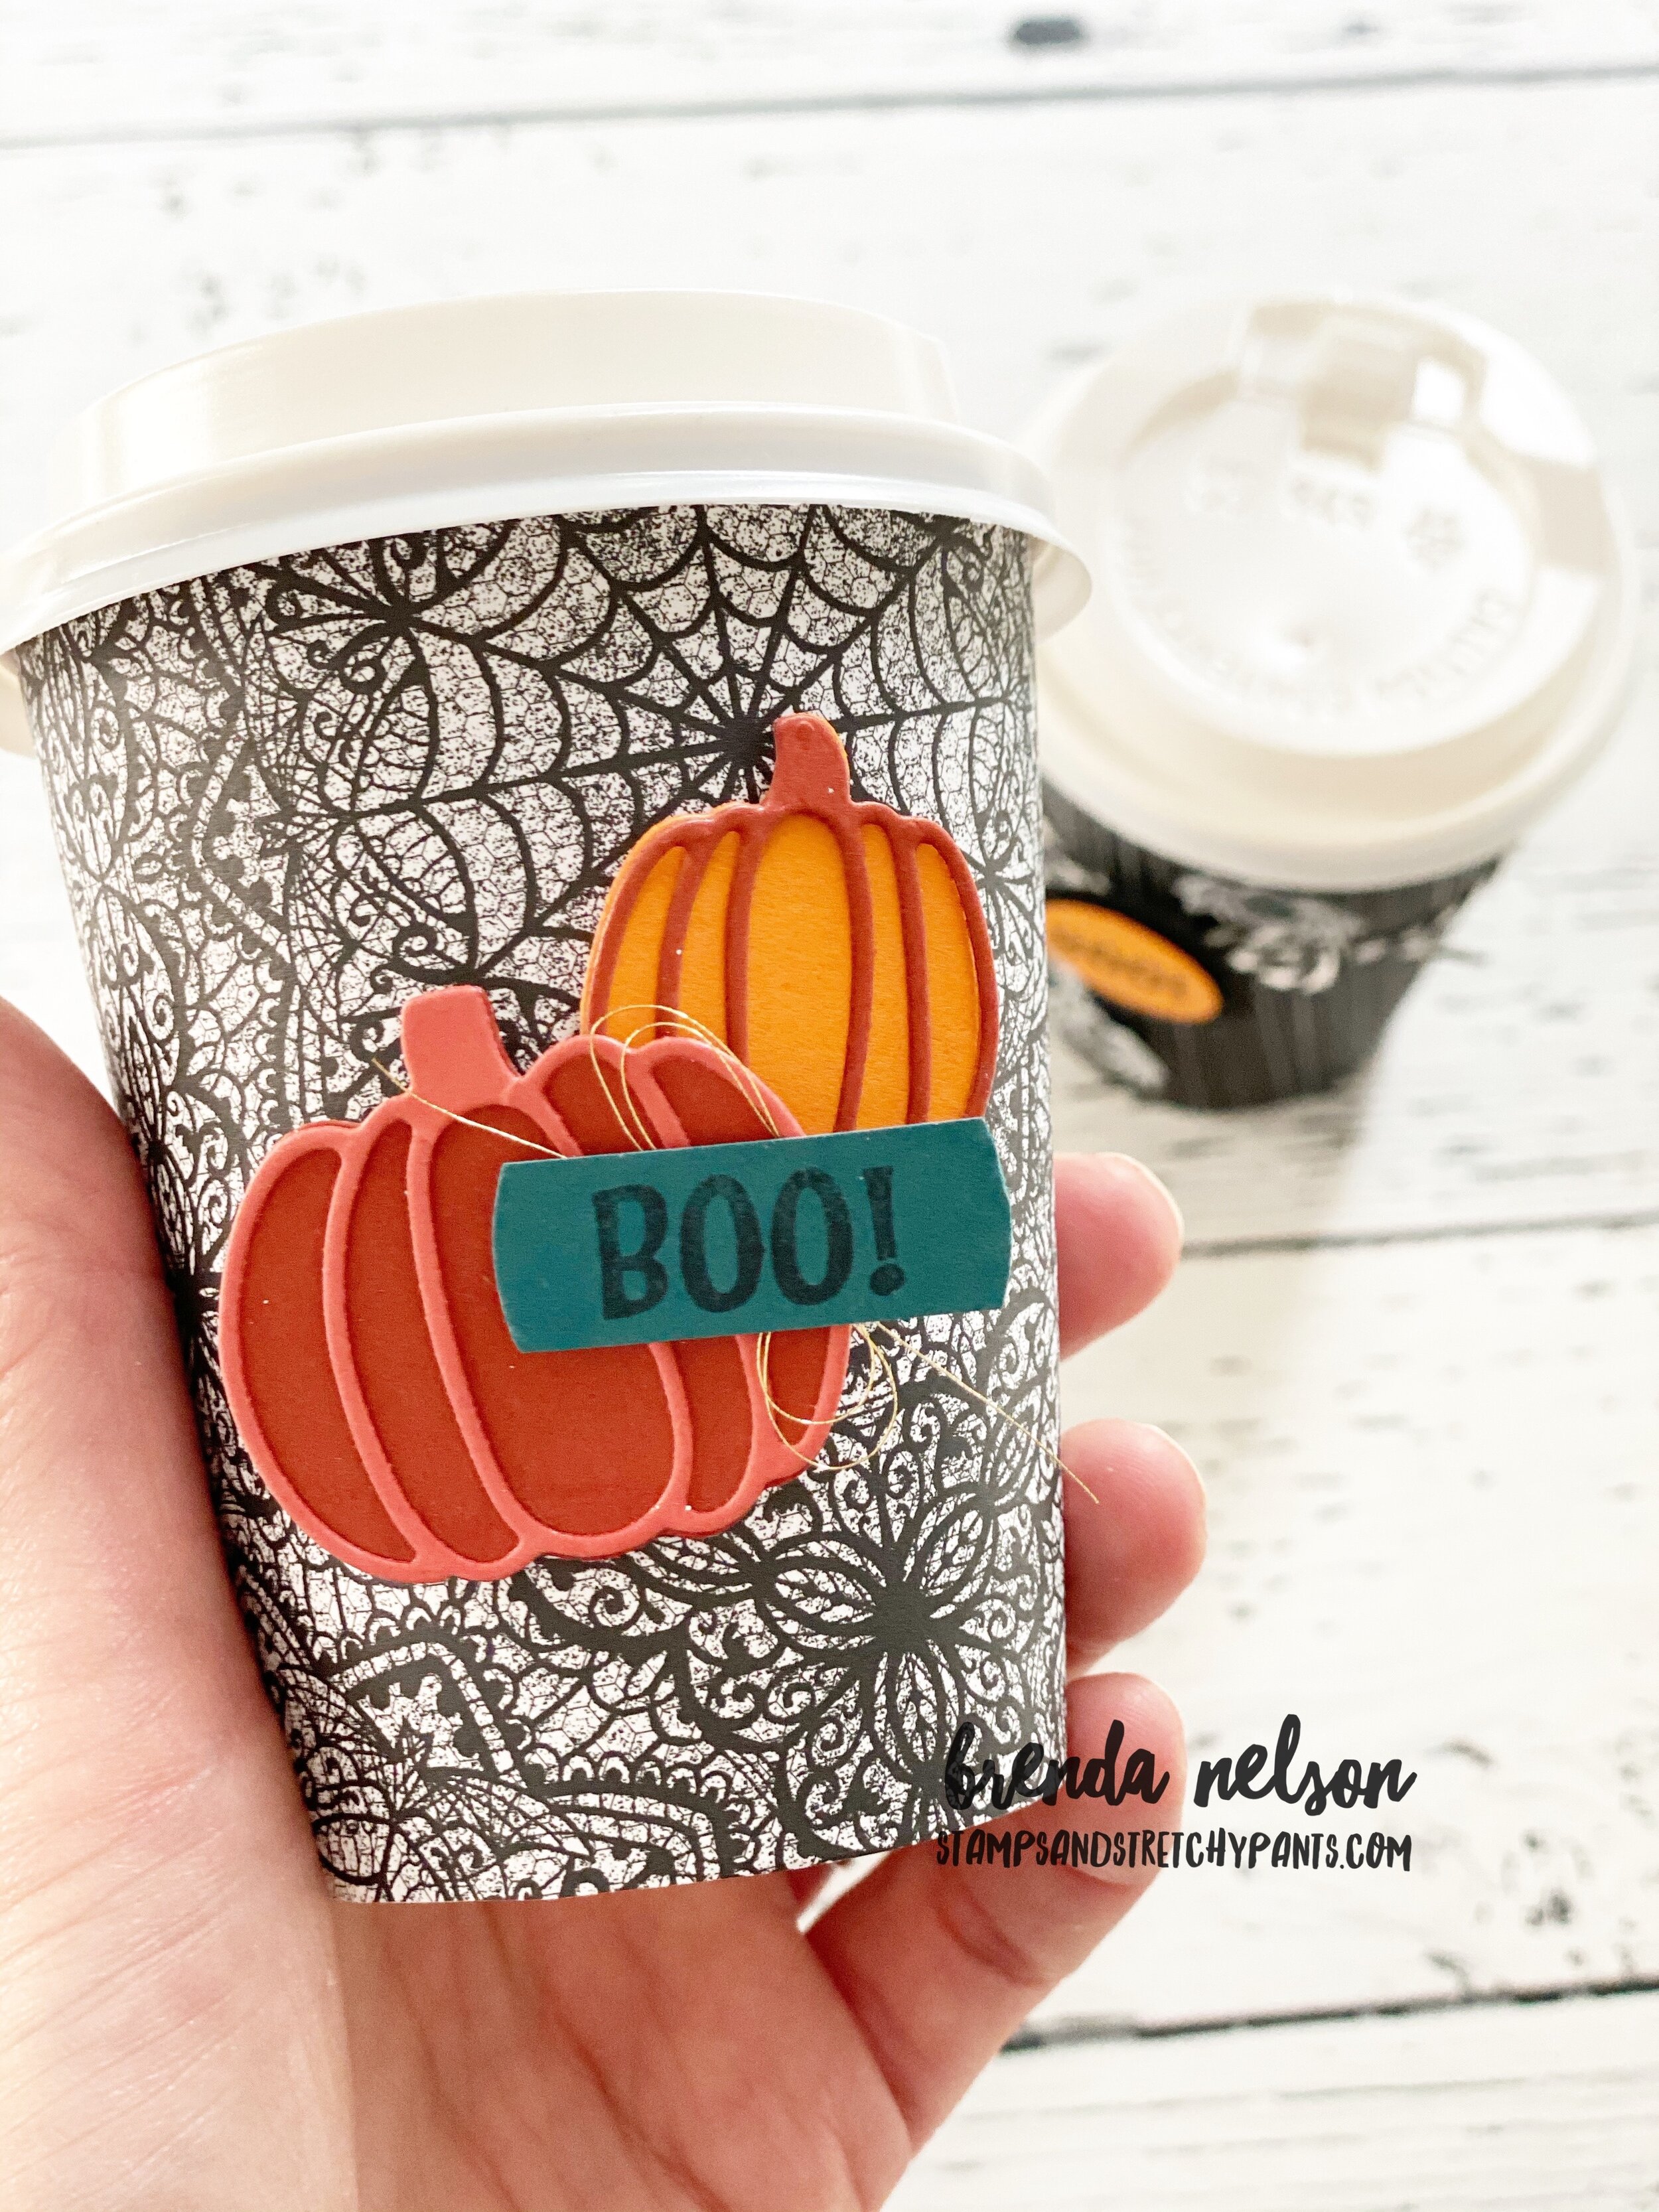
The pumpkin is die cut using the Detailed Pumpkins Dies and I brought the sentiment to life by stamping mini spiderwebs on it (from the Banner Year stamp set) and adding some Black Glittered Organdy Ribbon.

final.jpg

Because I am obsessed with the spider web from the Frightful Tags Dies I had to add it onto this page too with a little “Happy Halloween” found in the Sparkle of the Season stamp set.

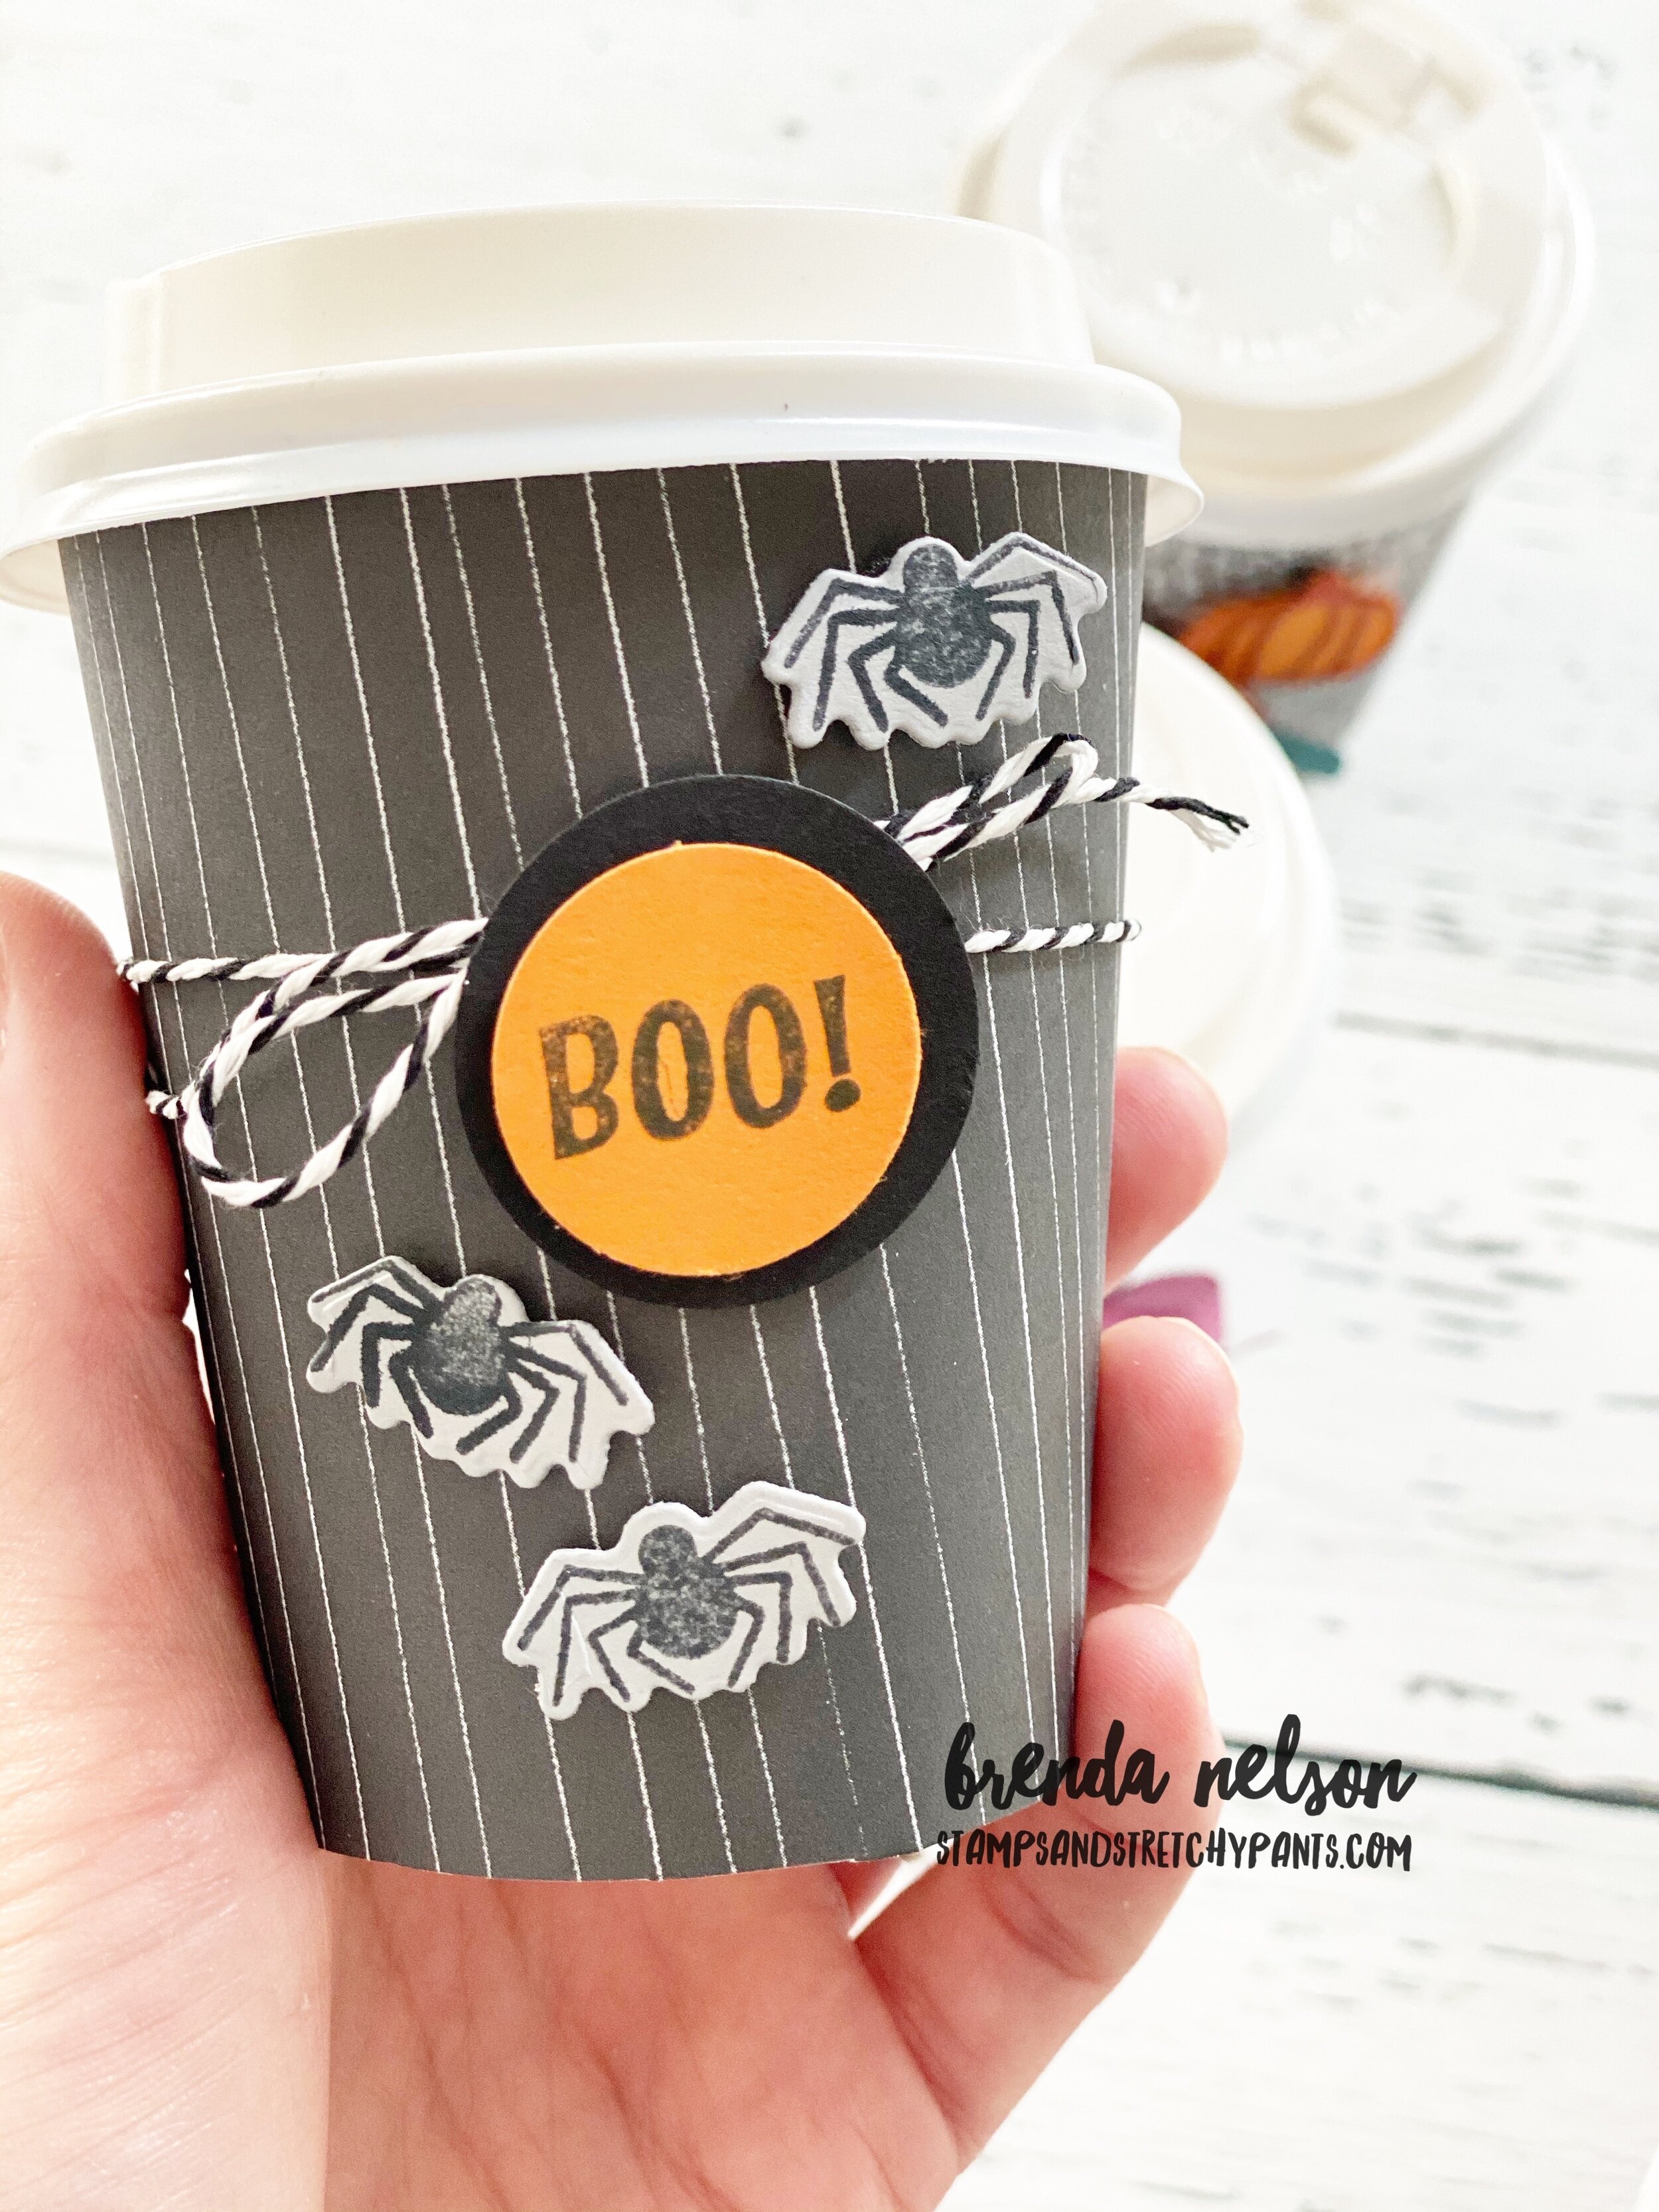
I added some Cute Halloween elements too—Trick or Treat and the little strip of DSP! And by having two placed to add photos I can snap two Halloween selfies!

If this page has inspired you at all, please reach out to me to see how you can join in my scrapbook classes! They are my absolute favorite and I am always excited to stamp with new friends!

You can message me at stampsandstretchypants@gmail.com

Eyeball Jam, in a Jar of Course!

Who doesn’t love a jar of eye balls? Only in October though right? I couldn’t resist finding some fun things to put into our Jam Jars for Halloween. And it is actually surprising how much you can fit into one of these little jars!

final (21) 3.jpg

Let’s talk about the jar first! Once I had filled it with my eyeball jam, I decided to cover the lid with some DSP from the Cute Halloween 6x6 DSP stack in the polkadot pattern. This pattern allowed me to introduce a variety of colors into this project as well. I add the topper to the jar with Tombow Adhesives so it was really sealed down.

“Witch Way to the Candy” is from the Frightfully Cute stamp set. I just love a good play on words, don’t you? I stamped the sentiment in White Craft Ink and embossed it with White Embossing Powder on Basic Black cardstock.

I added some of the Black & White gingham ribbon around the lid of the jar. I colored it with the Old Olive Stampin’ Blends! So easy and fun!

I wanted my jar to be in a little holder so I created a really easy box bottom——

After making the little box for the Jam Jar to sit in, I added a second back piece to give me an area or surface to add in a sentiment. I attached this to the inside back of the box with Tear & Tape so it was really secure. I covered this panel with another print from the Cute Halloween DSP. I love all of the different fonts of the ‘boo’ printed on this DSP.

final (21) 3.jpg

I leaned into my trusty spiderweb again—seriously, I have gotten my money’s worth from the Frightful Tags Dies!! This time, I cut it from Highland Heather cardstock.

The sentiment, Happy Haunting, is stamped in Old Olive ink and is from the Banner Year stamp set. The little webs are from the same stamp set and are stamped with Smoky Slate ink with a marker spray of Calypso Coral over top! Behind the sentiment I added some Black twine from the Bakers Twine Essentials Package. Both the stamp set and twine are in our Annual Catalogue. The spooky bat is also from this stamp set and needs to be hand trimmed. A mini Black Dimensional fit perfectly behind the bat to add it to the web.

Now, this happy spider is from the Cutest Halloween stamp set and he also fits a mini Black Dimensional behind his body!

final (41).jpg

I think this project would make such a cute gift for a teacher or a coworker who loves Halloween! It can sit on their desk like a bit of a display piece until their willpower gives out and they need to eat their eyeball jam!

Happy Halloween MONTH!

Self proclaimed Halloween LOVER over here! In fact I have created so many things that I am going to share 3 projects per week with you this whole month and an extra special post on Halloween! This means you can expect 14 amazing awesome and unique Halloween projects this month—ALL featuring our Amazing Stampin’ Up! products!

final (44).jpg

I want to kick things off with this super fun BOO BOX or a Halloween Happiness Box—you decide what you want to call it! It uses one of our Mini Paper Pumpkin Boxes that I spritzed with Pumpkin Pie reinker mixed with Rubbing Alcohol. I used one of our Stampin’ Spritzers to cover the top and sides of the box. I really love how it turned out and it was SO FAST to change the outside look of this box!

I created a belly band to go around the box using a 2 x 12 strip of the gingham print from the Hostess DSP stack—Pattern Party! This is one of the best Hostess Rewards Stampin’ Up! has ever offered in my opinion! And I love the fact that a belly band can be slipped off of the box so after the recipient has gotten to all of the treats inside they can fill it up again, slide on the belly band, and give this fun BOO BOX to someone else! That is the whole purpose of what we create, to brighten as many lives as possible!

final (42).jpg

I decorated the belly band with a fun spider web cut with the Frightful Tags Dies. You will notice how many times I used these dies in creating my projects this month! I would highly recommend adding them to your next order! You can always use my Monthly Hostess Code or shop my online store if you live in Canada!

The spiderweb is also cut from the Black Glitter Paper for that extra little pop of fun. The Highland Heather label is also from the Frightful Tags dies and the mini spider webs stamped on top are from the Banner Year stamp set. You can find this amazing stamp set in the Annual Catalogue. It also has a sentiment inside saying “Happy Fall Y’all”…just saying…you need it! Behind the label is some black twine from the Baker’s Twine Essentials Pack, also in the Annual Catalogue.

I finished off my BOO BOX but cutting the letters BOO using the Playful Alphabet Dies in Pumpkin Pie cardstock. i used the Foam Adhesive Sheets to cut the letters again and add the cardstock letters to it. The Foam Adhesive Sheets are like one giant Dimensional. And to jazz up the BOO a little bit, I took my Pumpkin Pie Stampin’ Blend to the bottom half of the letters. Its such an easy way to add some interest to your letters!

Well that is my first awesome Halloween project to share with you this month! I hope you will visit me on Monday, Wednesday and Fridays as I continue to share Halloween projects, cards and scrapbook pages with you this month!

Create with Connie and Mary--Halloween Favors!

Halloween is definitely my favourite holiday, I just love the home decor and seeing all the little kids dressed up, and making fun treats! This year we are still hosting our annual halloween party and I have been making some special treats for the MOMS to take home! Why should kids get all the fun?

I can’t wait to see what everyone creates this week as I know there will be some good ideas I can use too!

fullsizeoutput_12d57.jpeg

I am absolutely LOVING the mini coffee cups! The possibilities are endless with what you can create featuring these fun cups and the carrier! So I knew that I wanted to use them to create a spooky treat!

I think this project is just so fun and the cups can be filled with so many things! Candies and chocolates or for a more mature audience mini alcohol bottles :)

I think this project is just so fun and the cups can be filled with so many things! Candies and chocolates or for a more mature audience mini alcohol bottles :)

I used the Magic in this Night Designer Paper to decorate the coffee carrier and the cups. You can deconstruct a coffee cup and use it as a tracer to get the shape right to wrap around the cups. And we literally have a plethora of options we can use to decorate these cups Halloween style!

final.jpg

I used a variety of stamp sets to decorate a literal TOWER of cups! Once I got started I couldn’t stop! I used the Celebration Tidings, Festive Post and Banner Year stamp sets plus a variety of dies to decorate and embellish these cups. I used the Autumn Essentials, Playful Alphabet and Celebration Labels dies.


The black glitter spider is cut using the Little Treat Box dies and is just the perfect little touch. I also added some rhinestones from the Holiday Rhinestones beside the BOO (which is cut from Gold Foil paper and the Foam Adhesive Sheets)

final.jpg
 

You can see from my tower how much fun I was having decorating all of these cups. I used twine from the Playful Pets trim combo and coloured (with Stampin’ Blends) the Crinkled Seam Binding ribbon along with some wraps cut using the Warm Wraps dies to help dress up the cups. I even cut some bats right from the Magic in this Night DSP!

final.jpg

I can’t wait to share these with my friends at Halloween! I have turned the carrier option into a kids class, and I am so excited to have some kids back in my studio stamping and being creative! I hope you are inspired to see what you can create with these cups! I have some awesome ideas in mind for Christmas too!

Enjoy the rest of the Blog Hop today! Thanks for stopping by. You can head BACK to see what Melissa has created and NEXT to see what Connie has created.

Create with Connie & Mary--Thinking of Fall!

I will admit, as much as I don’t want it to be so, there is a little fall chill in the evening air! I am so blessed to live in a part of the world where we experience 4 distinct seasons. I love summer so much, but the beauty of fall is just spectacular here in Alberta. I love when all the leaves start to change and that is what influenced the design of my scrapbook page for this weeks theme—Thinking of Fall!

fullsizeoutput_12d57.jpeg
I love this photo of my two friends Donna and Karina.  For the past several years we have worked together to offer 3 large group events each year called Creative Day Getaway, to local demonstrators and stampers.  We are hosting our 20th event this S…

I love this photo of my two friends Donna and Karina. For the past several years we have worked together to offer 3 large group events each year called Creative Day Getaway, to local demonstrators and stampers. We are hosting our 20th event this September so I thought featuring them on this page was perfect!

fullsizeoutput_12dbb.jpeg

I used a really fun and easy watercoloring technique to create these leaves! Something similar was shared on the Stampin’ Up! Instagram page recently as well. I love how our Stampin’ community shares and inspires each other!

I chose the colors Cajun Craze, Rich Razzleberry, Merry Merlot and Pumpkin Pie. You will need a piece of water color paper, the large Water Painter Brush (I used the same one moving from light ink to dark ink), a Stampin’ Spritzer and the Stitched Leaves Dies.

Start by spritzing the water color paper with water and starts adding in your color. It may look a little weird but after you spritzer it one more time at the end and either let dry or use your heat tool it blends all the colors together. Cut out your desired leaf shapes for your project.

fullsizeoutput_12dc2.jpeg

I also wanted to play off of the grey tone in the Plaid Tidings DSP with the photo mat and some grey leaves. The photo mat has little leaves stamped on it in Smoky Slate ink to coordinate with the paper. The stamp set I used is Banner Year, don’t overlook it at the back of the Handmade for You catalogue! pg 65! It has tons of potential!

I used the old school Rock’n Roll technique on my grey leaves. Stamp them in Smoky Slate and then ‘roll’ the edges in Basic Grey Ink.

I also pulled in the large maple leaf image from the Gather Together stamp set for some background stamping. And I love the stitched look of the leaves so I decided to use the Hippo & Friends dies to cut out the sentiment with a stitched detail.


When I am creating scrapbook pages I find the magic is all in the details. Adding in different threads, textures, embellishments, layering stamps and colors. This little corner is a perfect example!

If you are in Canada and want to recreate this page you can order all the supplies from my online store! Just click below to head right there!


fullsizeoutput_12dbe.jpeg

Thanks for hopping along with us this week as we are wrapping up August and heading into September. You can go back to see what Melissa has made if you are just joining in here or continuing hopping forward to see what Connie has designed! See you next week!