Create with Connie and Mary--Fall Flowers
/
Hello my friends! So happy to see you again this Saturday, welcome back! And if this is your first time joining in on this weekly hop, please feel free to go back through my blog and see all of my weekly creations!
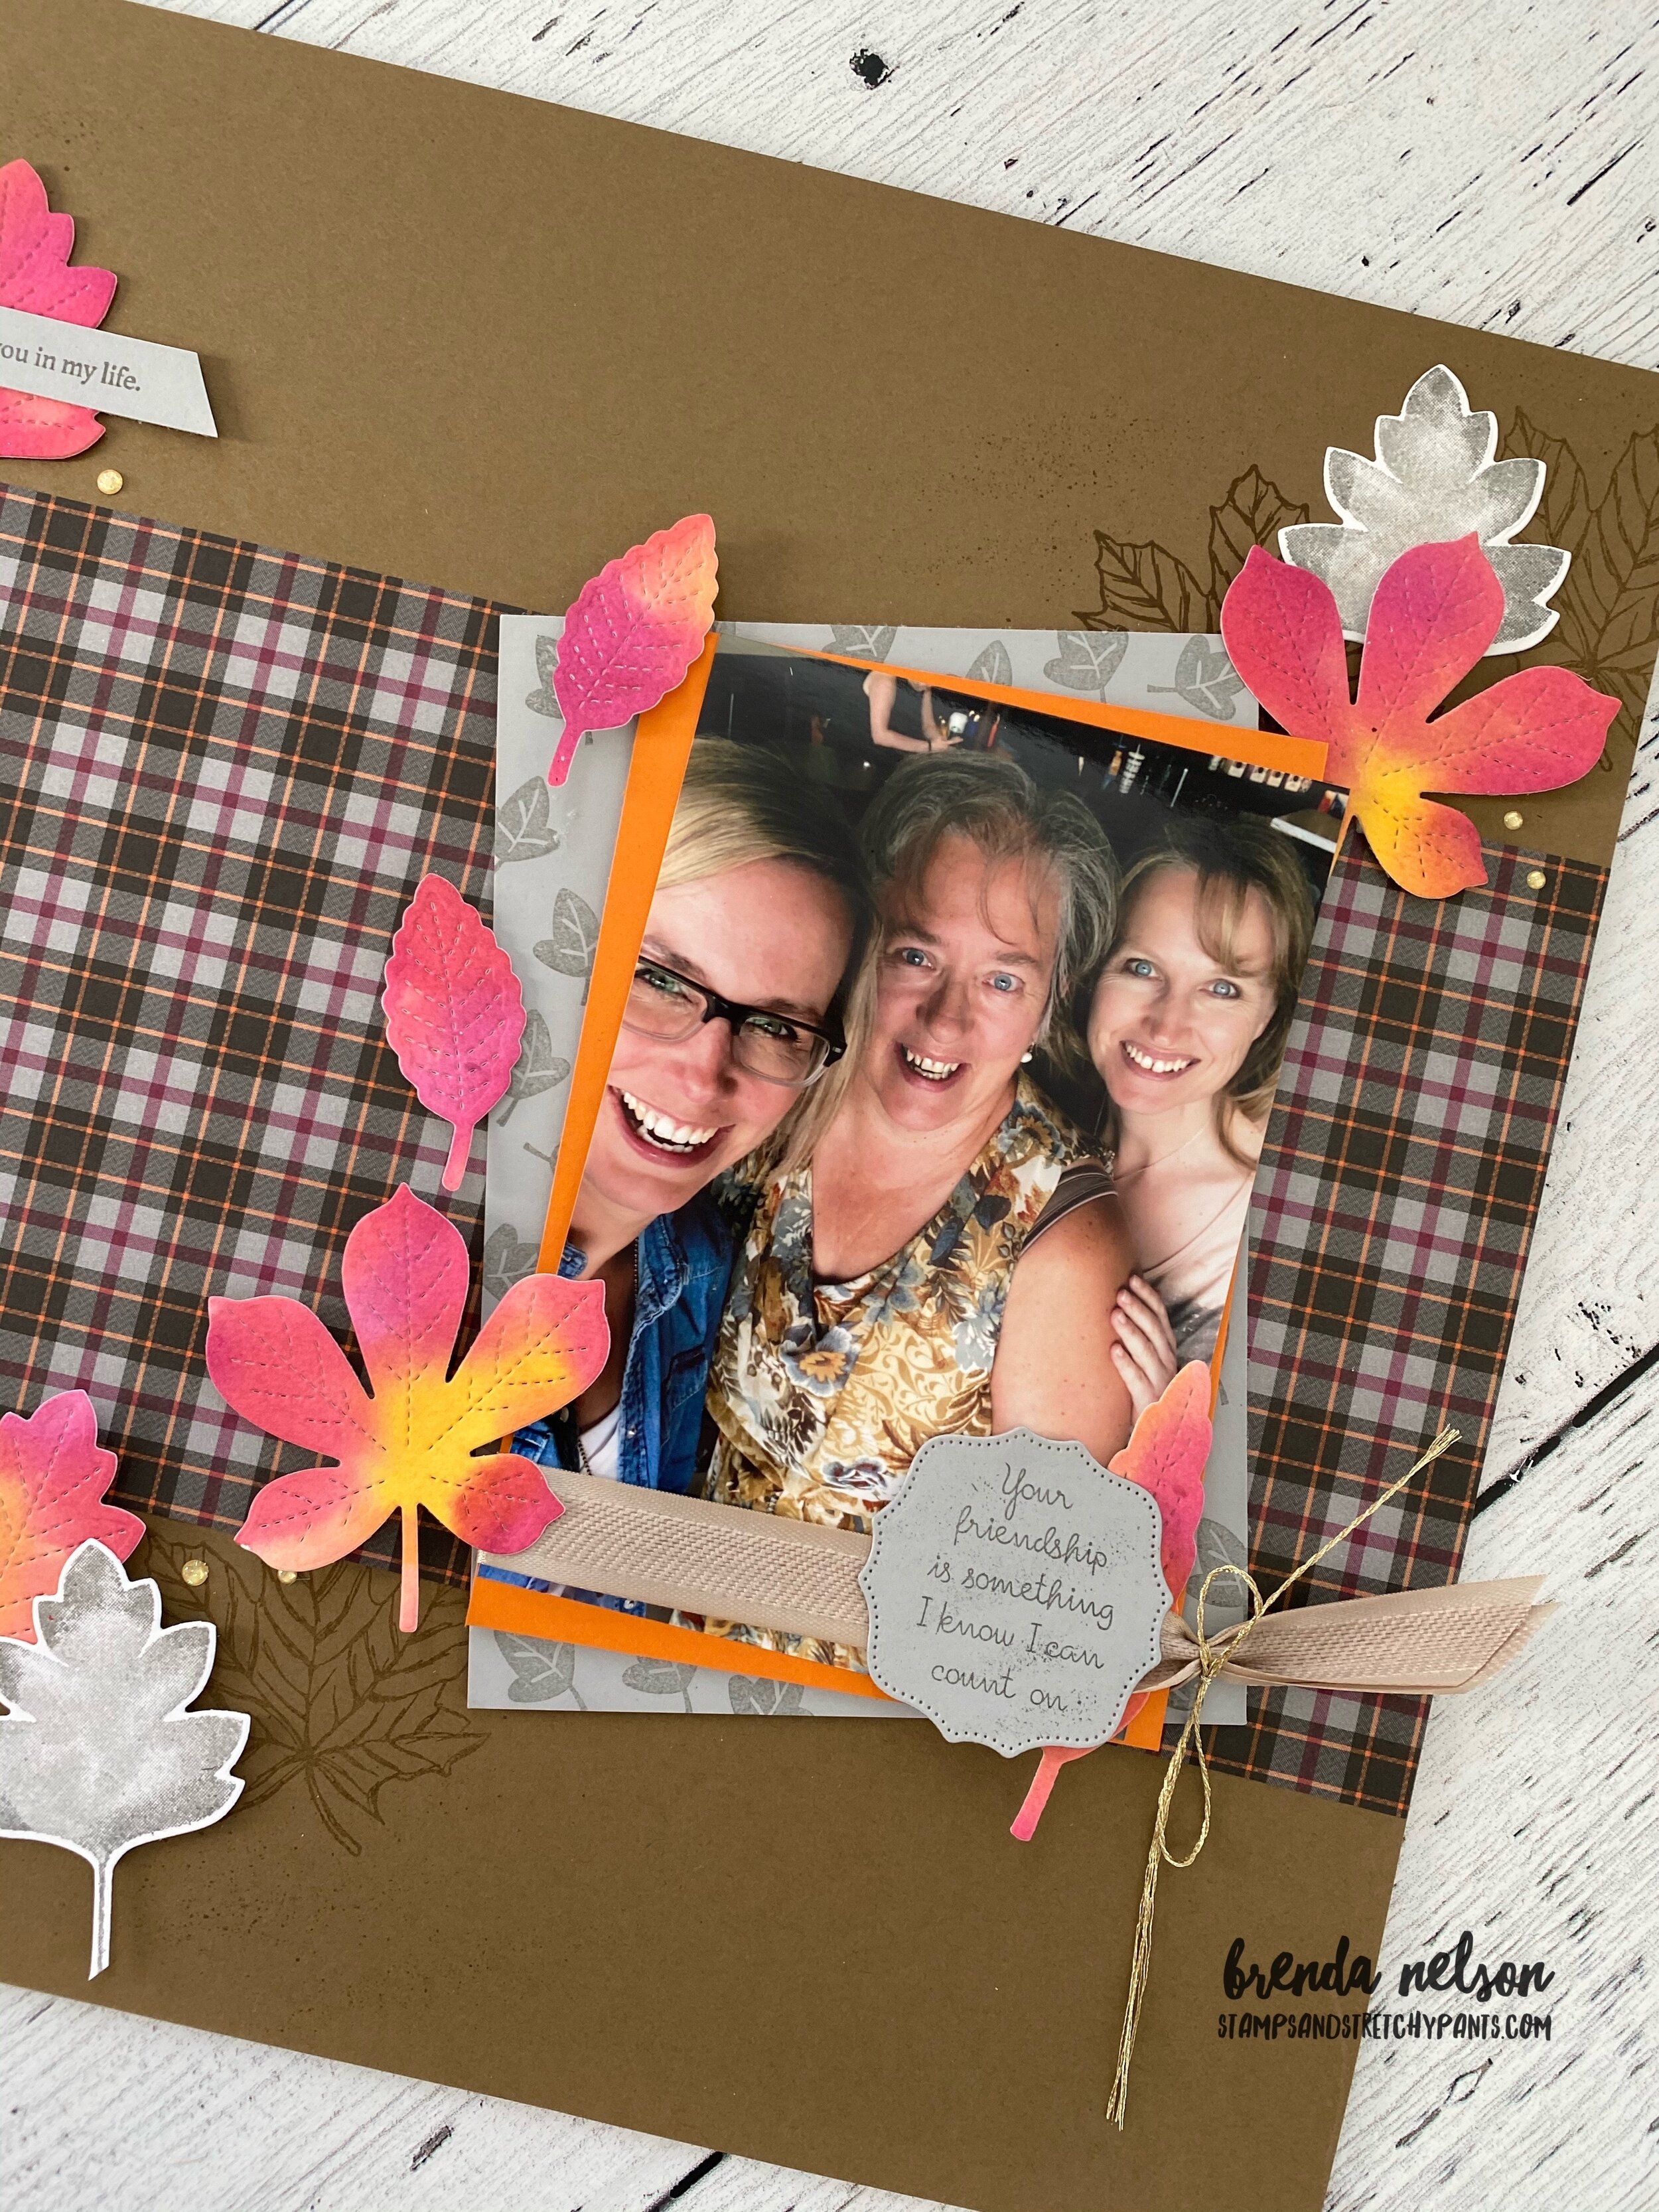
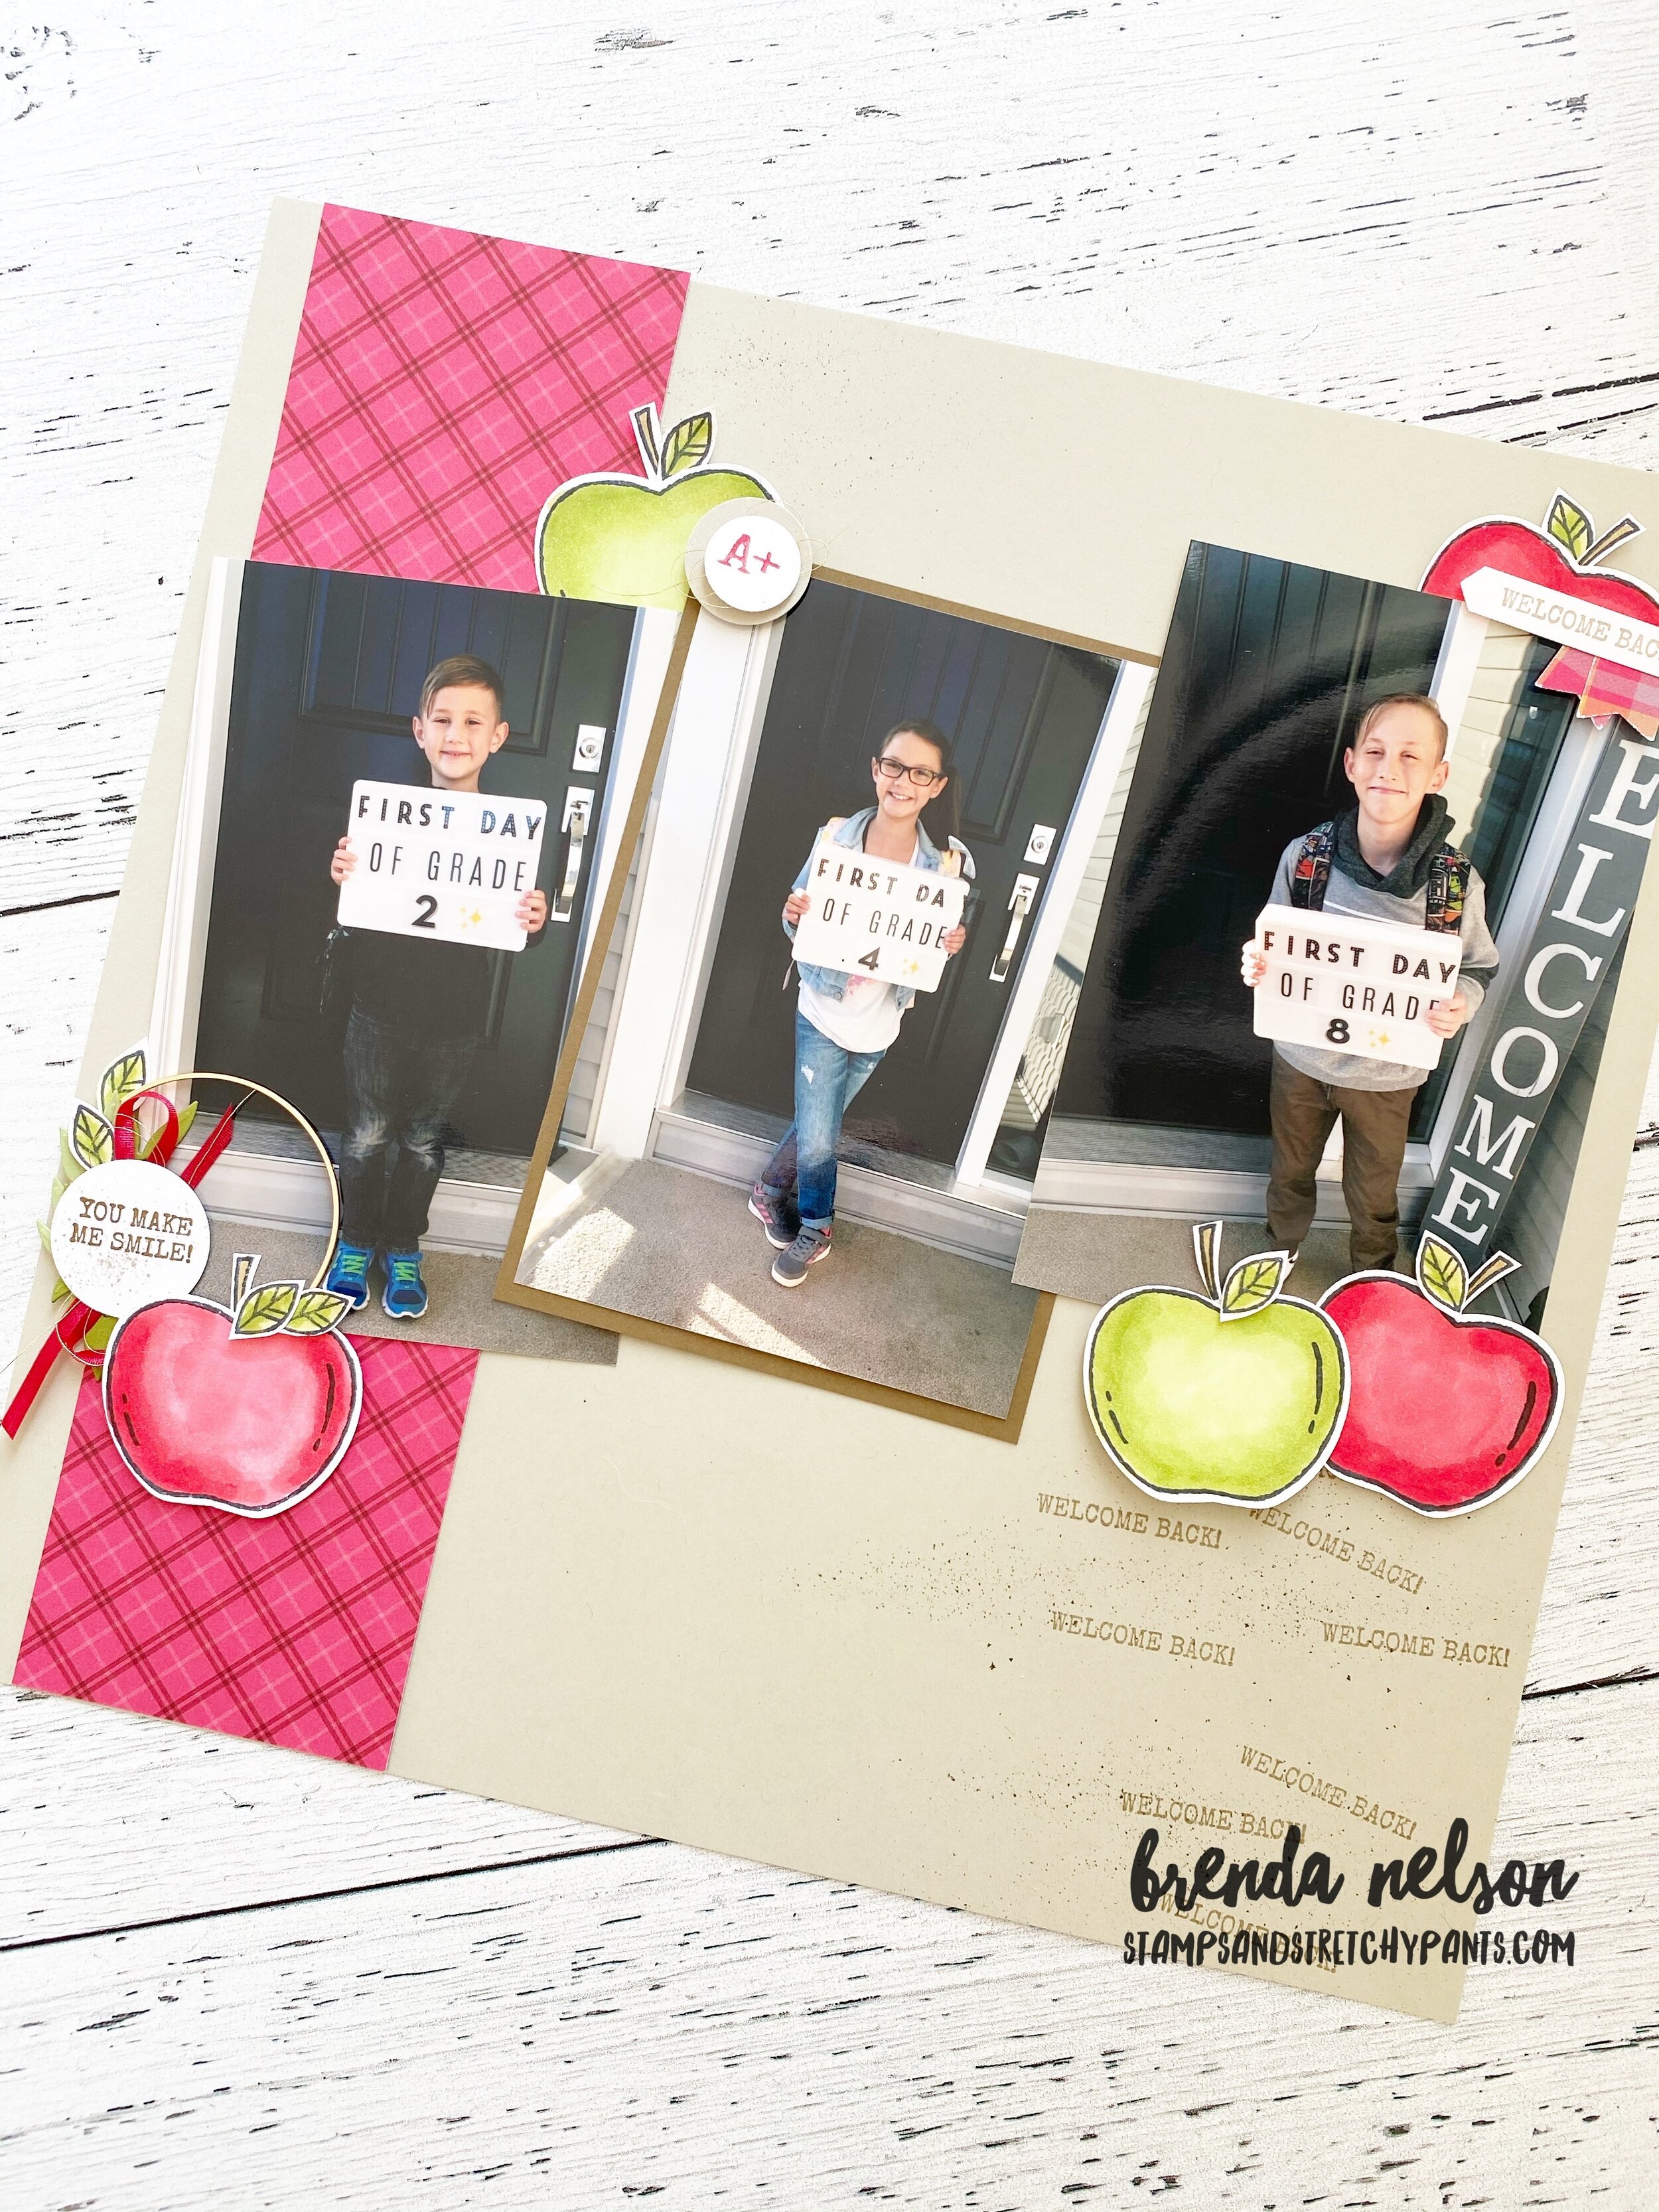
This week our theme is Fall Flowers and I knew right away I wanted to use the Autumn Greetings Bundle from the Handmade for You catalogue. What really sold me on this bundle was the Autumn Essentials Dies. I love the pumpkins and the wheat sheaves dies.

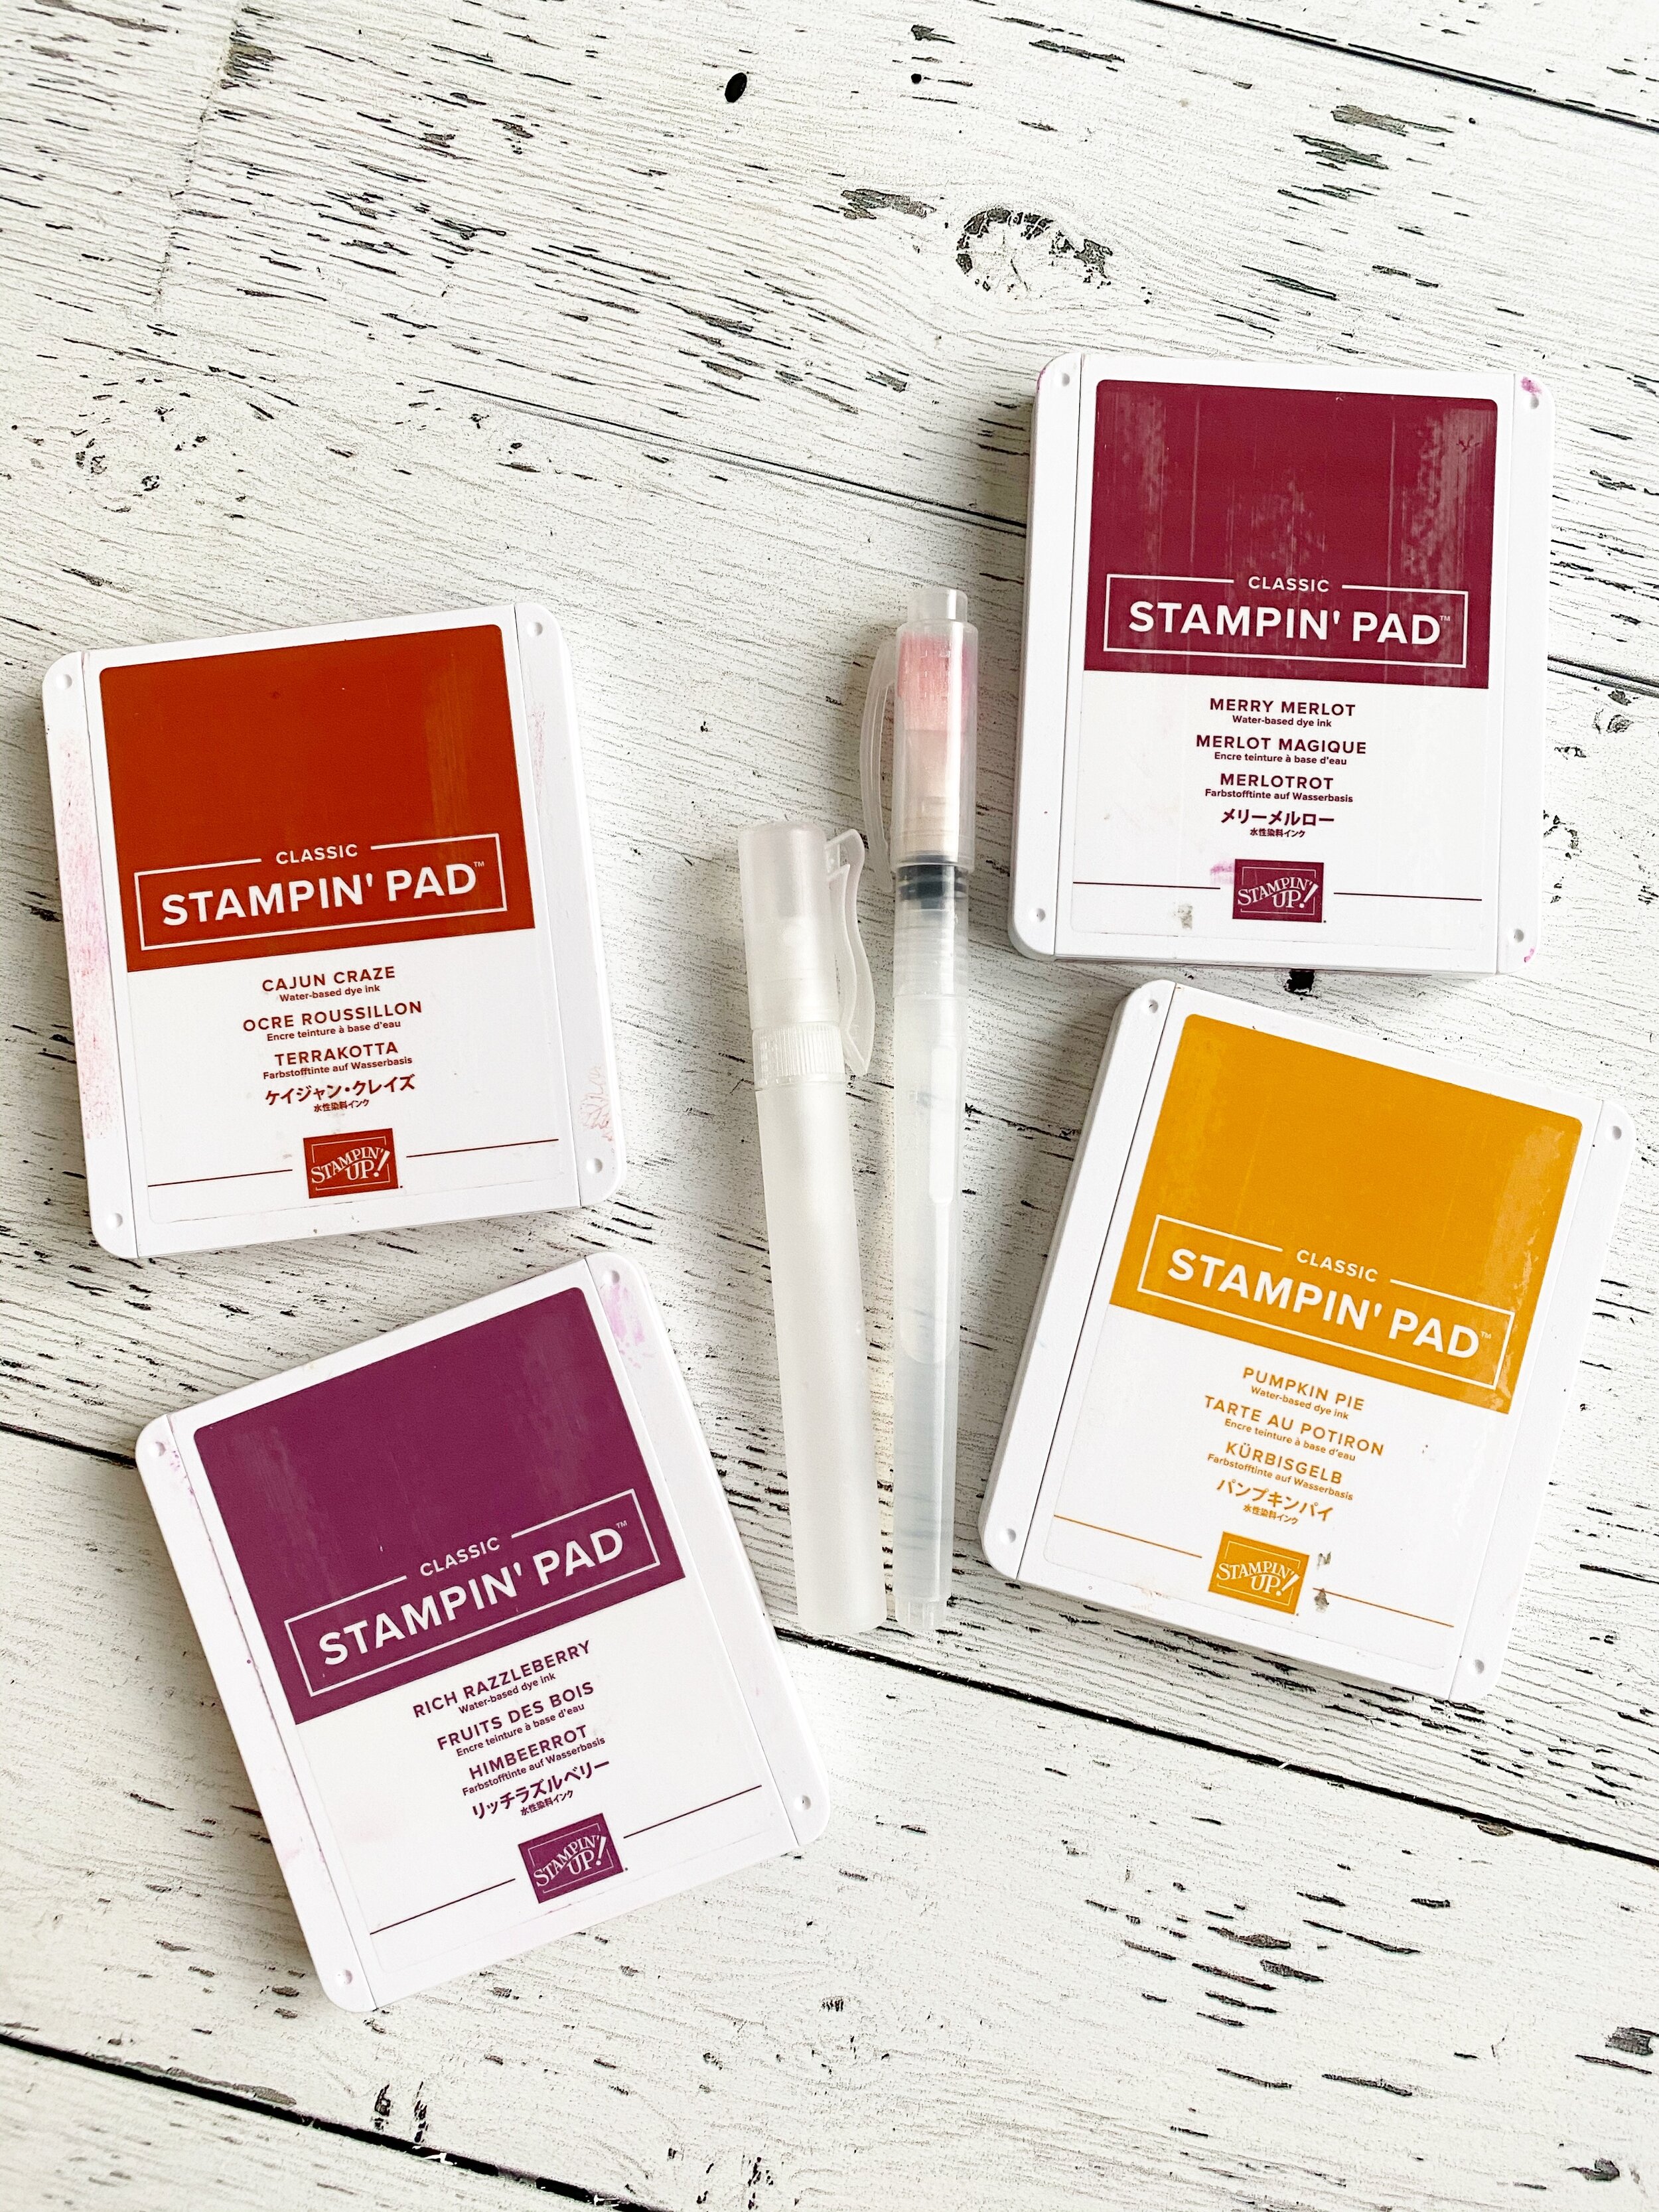
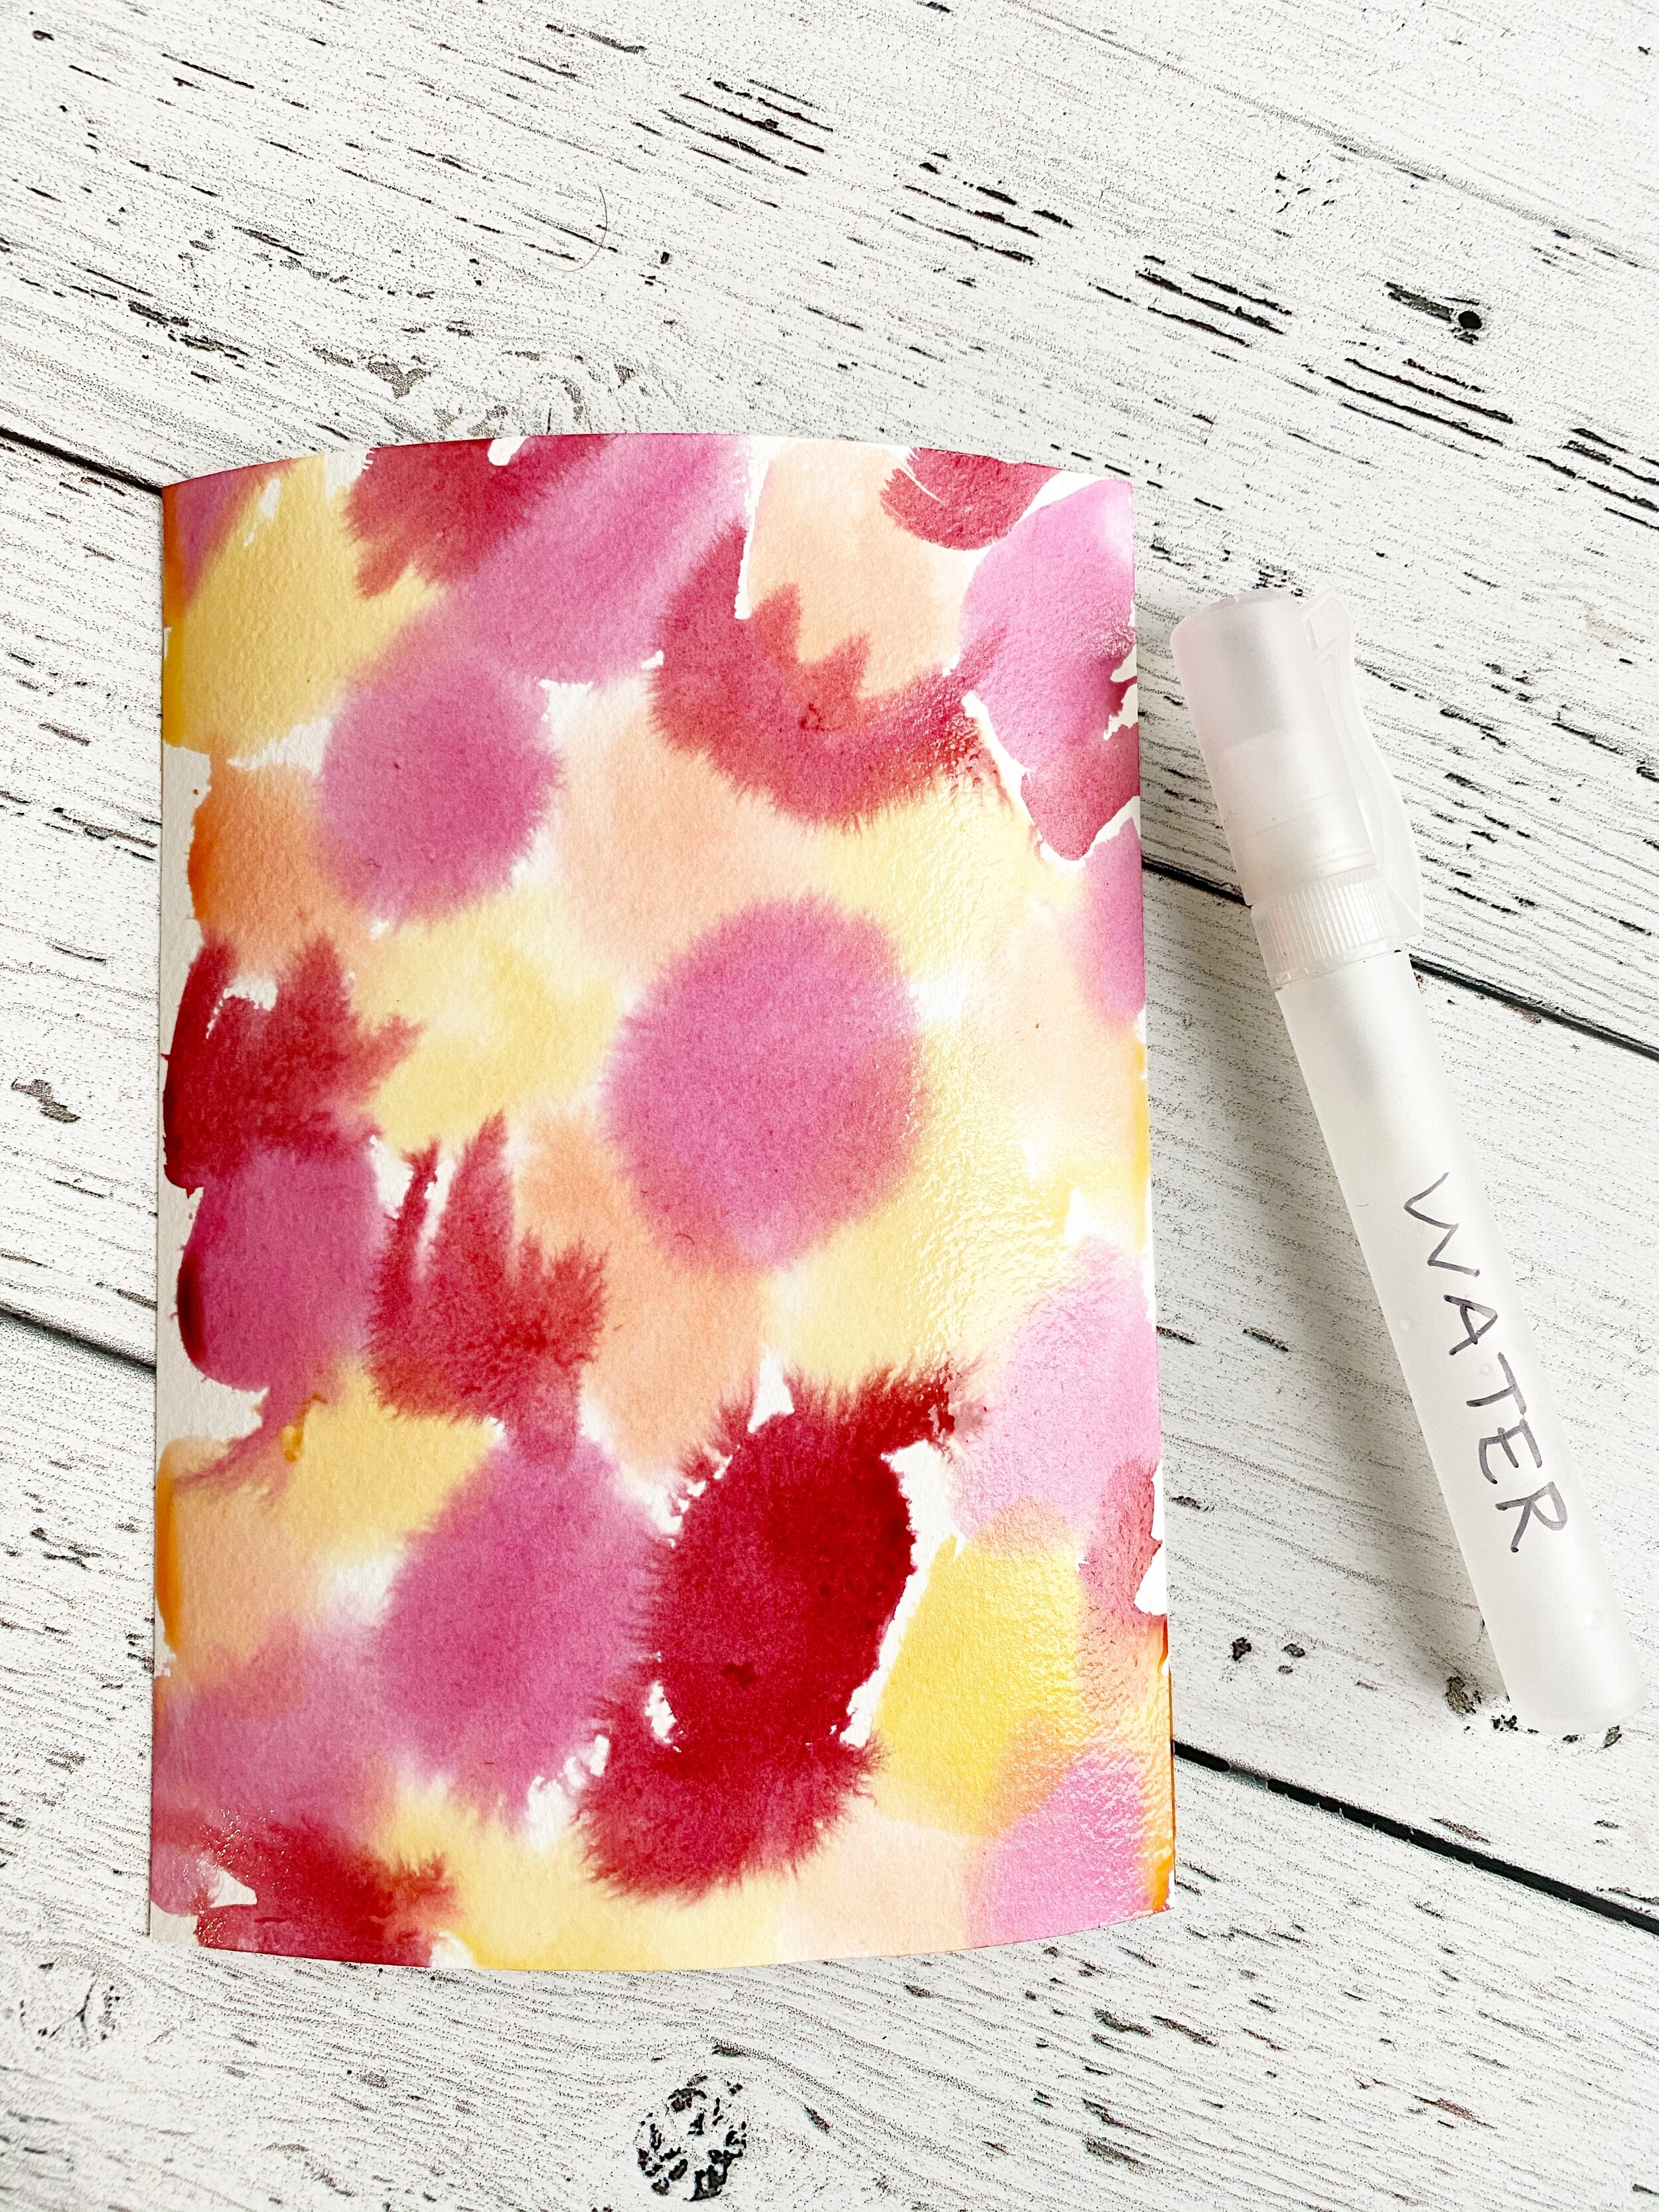
I decided to use my Stampin’ Blends to color the large image from the Autumn Greetings stamp set as we have so many beautiful fall colours that we can use.

I used the following Stampin’ Blends colors—Old Olive, Pumpkin Pie, Mango Melody, Rich Razzleberry, Cherry Cobbler and Cinnamon Cider.
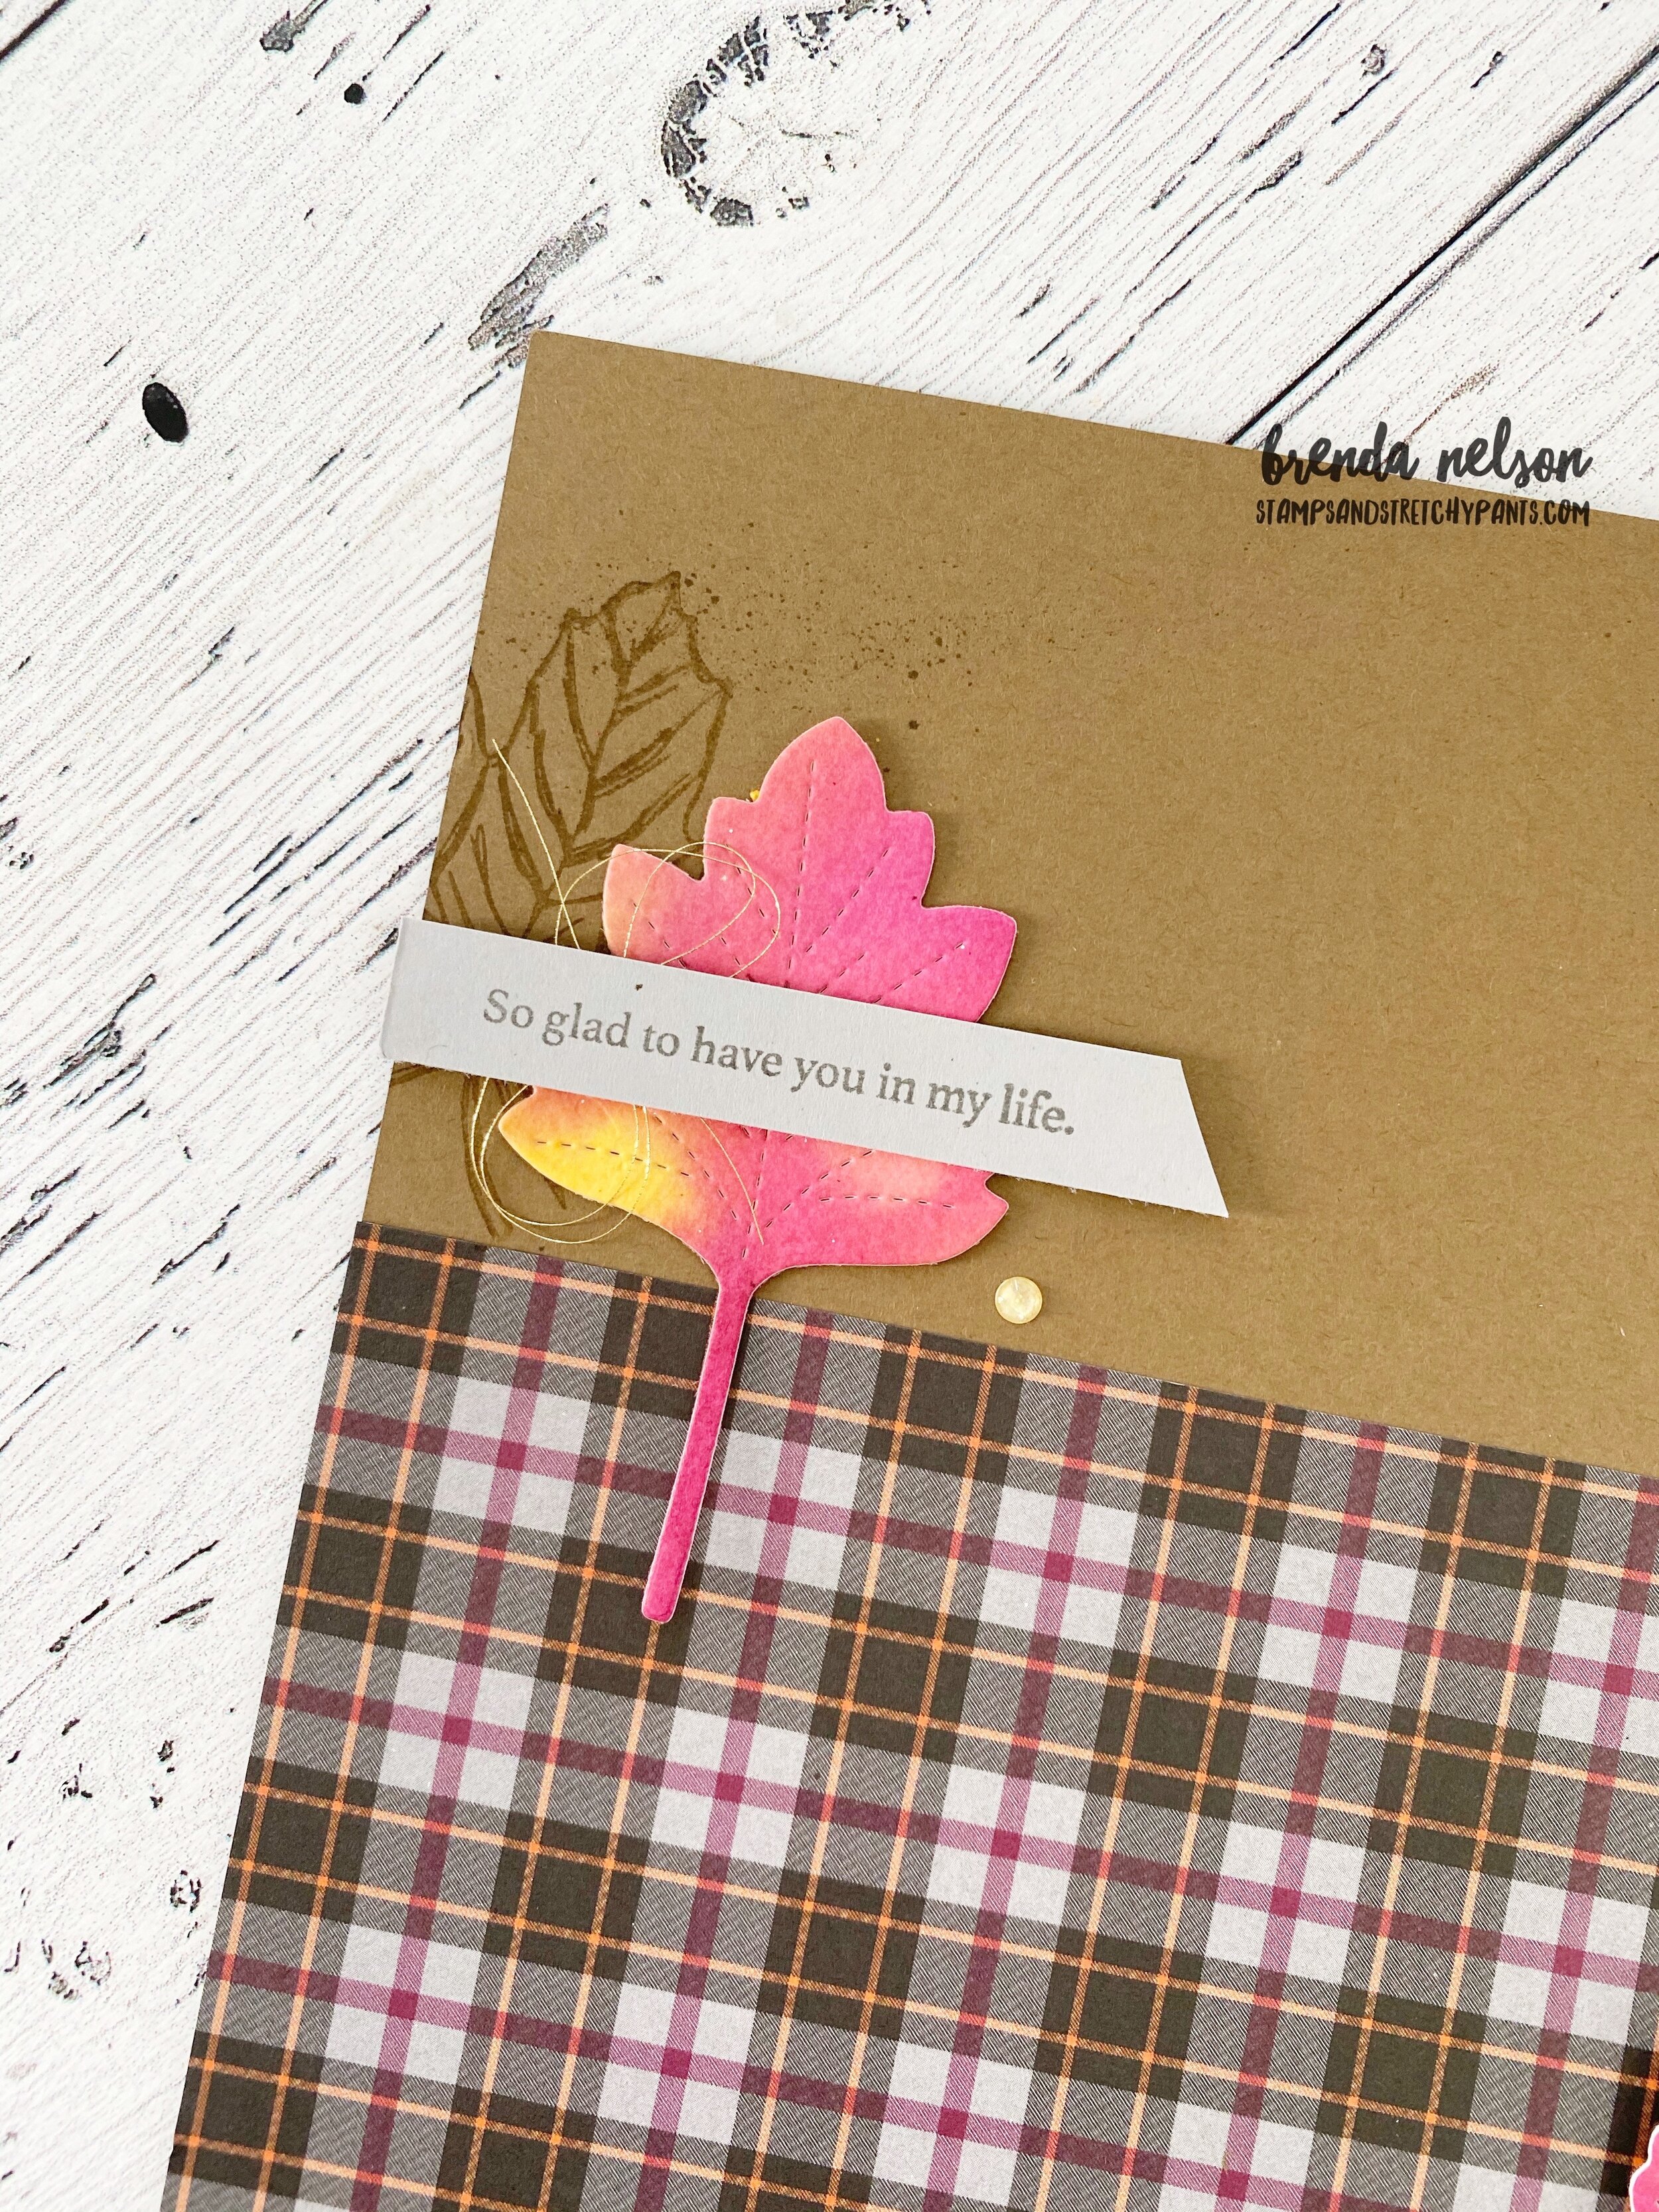
I also added in a bit of Designer Series Paper from the Plaid Tidings collection which has definitely been a fan favourite! The pumpkins are created using two dies from the set in Pumpkin Pie and Terracotta Tile and the wheat sheaves are cut in Bumblebee, Crushed Curry and Mango Melody to get a range of golden tones.
I started my page on an Early Espresso base and added in a photo mat of Cinnamon Cider. Adding in the Bumblebee tone brought out the fall leaves in my photo and added a brightness to the page. And I found the Champagne Rhinestones were the perfect tone of bling to add to the page. I love that I created this whole scrapbooking page using ONE bundle!

Remember how popular these were? Don’t forget about them, they are the perfect fall embellishment and will take you back to the Annual Catalogue!
I can’t wait to see what the other gals have created this week! You can go NEXT to visit Connie and BACK to visit Melissa! Enjoy your day and please feel free to leave a comment!
If I have inspired you with my page and you want to order any of these amazing products, please click on the Shop Now button to head directly to my store in Canada!