Skull Shaker Card

I love a good shaker card, but what I love even MORE is an EASY shaker card and this one delivers on both!

To make this EASY shaker card you will need one of our clear envelopes found in the Annual Catalogue. They are self sealing but I do add some tape to the back as you will need to fold over the edges a bit. The clear envelope is designed to fit a regular card so you can see how it is folded a bit smaller. Some tape on the back works perfectly when you get to that step!

The base of this card is Highland Heather and has Basic Black layer that is 4 x 5 1/4.

The ‘shaker’ layer is Grey Granite. I stamped the skull faces from the Cute Halloween set along with some little spiders.

 
final (5) 3.jpg

The stamp set has two different faces that you can stamp for the skull as well. I stamped them randomly in the background in the matching ink color along with some spiders. Once you have this piece stamped you are going to slip it into the clear envelope. Set it aside for now as you will need to make your filler!

You can really use whatever you like for a shaker card. For this one here I used some skulls that were stamped on Basic White and hand trimmed. I stamped a few Candy Corn as well (from the Cute Halloween Set) and added some Subtle Shimmer Sequins. Once you have added all of this to the clear envelope you will want to seal it up. Make sure you leave a little air so that things can shake around. If its too tight of a seal things won’t really move around freely.

final (5) 3.jpg

Every card needs a sentiment so I added ‘Hey, Boo!’ from the Cute Halloween set. I stamped a few Candy Corns in Pumpkin Pie ink on the same color of card stock and then used the Layering Circle Dies to cut it out along with a scallop circle in Highland Heather.

I layered a bit of the Black & White Gingham in between the layers too—since its such a fun ribbon! See wasn’t this easy to create? I really love this simple style of shaker cards!

If anything has inspired you to make a purchase I would love your support if you live in Canada. You can shop directly with my store by clicking this button!

Happy Birthday Summer!

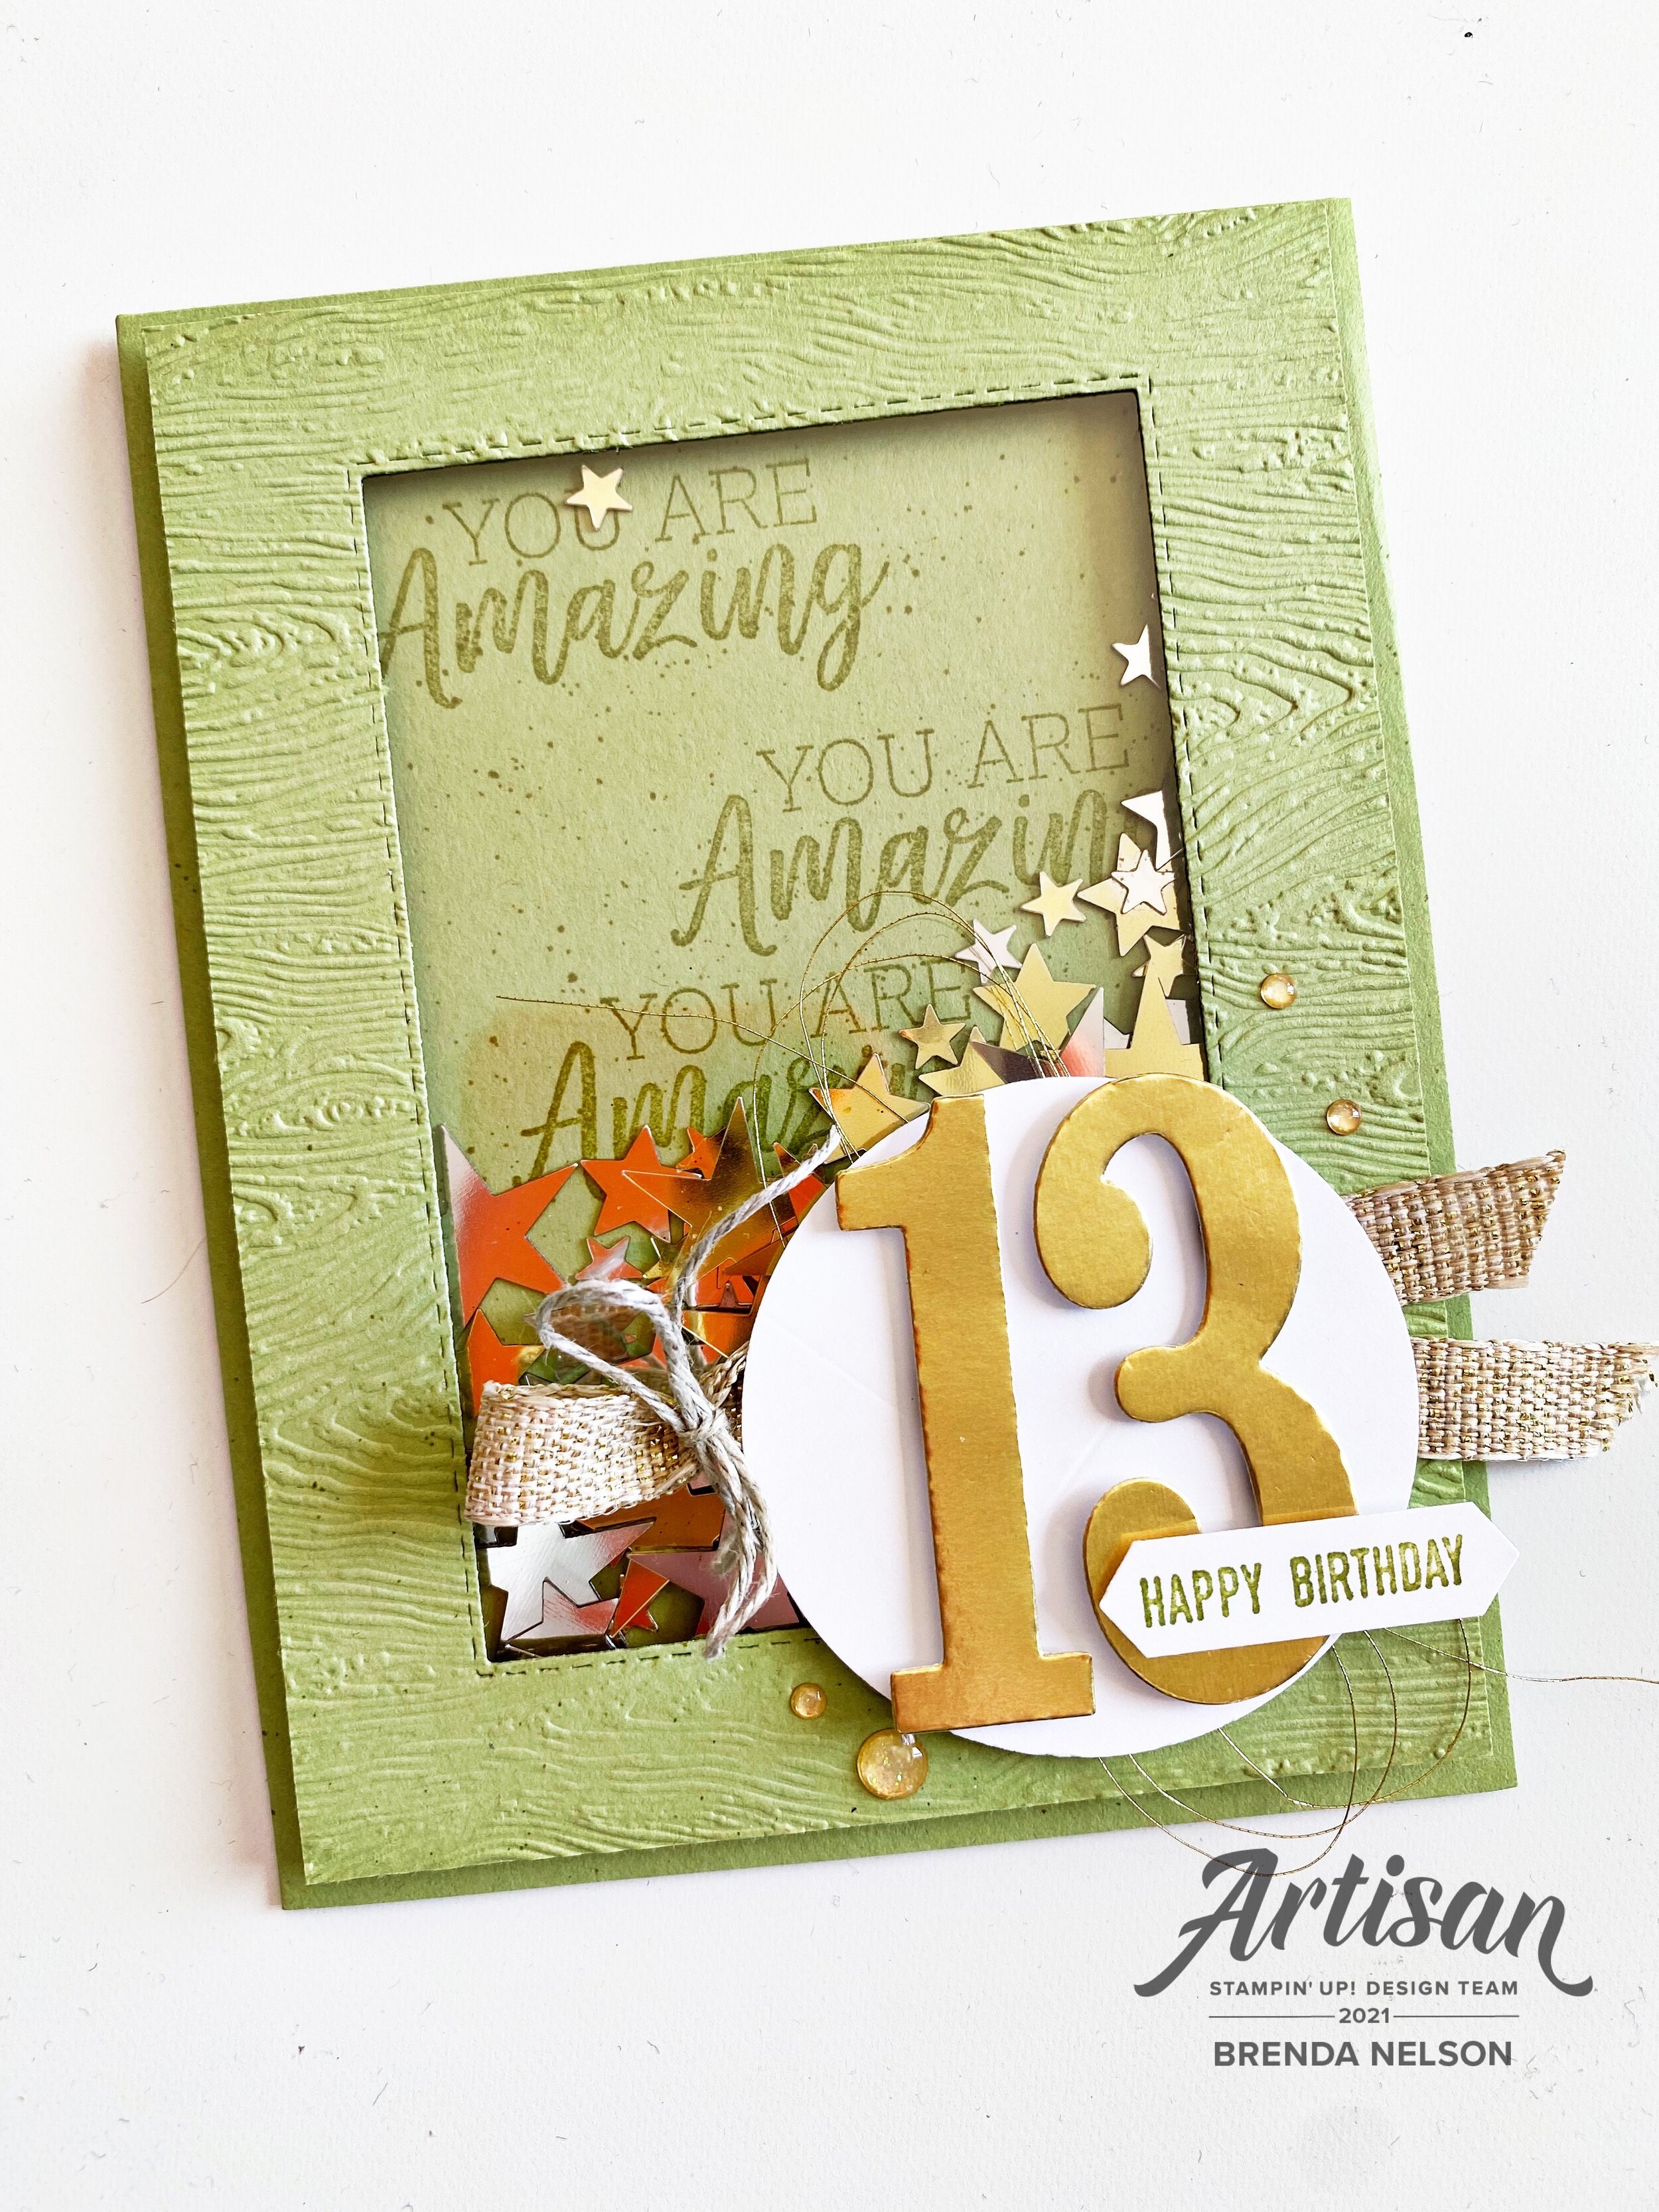
Yesterday we celebrated a milestone birthday at our house! My daughter Summer turned 13, which means I am the mom to two teenagers now! Honestly, how did that happen so fast?

So obviously I needed to make her a special card for her birthday. Pear Pizzazz was the perfect color to coordinate with her Baby Yoda birthday cake we had made and all of my birthday celebration decor was gold so that is where my color palette came from.

final (1) 2.jpg

I wanted to make a shaker card for Summer as something extra fun. The inside ‘shaker’ stars actually came from my wedding, which was 21 years ago! I recently came across some wedding decor I had stored in a box and I had a whole container of these stars which we had used to sprinkle on our head table. I am really glad that I saved them for so long! hahaha! They finally came in handy!

final (5) 2.jpg

As you can see, I used the Stitched Rectangles to cut the ‘window’ for my shaker card and layered a Window Sheet behind. I used the Foam Adhesive Strips to elevate the front panel.

On the base of the card I stamped “You Are Amazing” using the retired stamp set of the same name. The sentiment “Happy Birthday” is from Itty BItty Greetings and I used a retired punch that I modified to create just the perfect size for my greeting. I love punches that can work beyond what you initially see or think.


I ran the first window layer through the Timber 3D embossing folder before I put the shaker aspect together. I love this folder and find it so versatile.

My 13 is cut from the another retired die set that I will keep forever and ever! Sometimes you need to hang onto the dies that don’t come around very often, you never know when they might come in handy!

Behind the 13 I layered a Basic White circle and some Gold Fine Art Ribbon with some Linen Thread and Gold Metallic Thread. I finished off the front with some Gold Shimmer Gems.

final (9) 5.jpg

I was really happy with how this card turned out especially because I felt under pressure to make Summer a really special card to celebrate this milestone birthday!

Around the World on Wednesday--We Are Shaking Things Up!

Happy Wednesday! Thank you for travelling around the world on this virtual blog hop! I love how we have so many people participating from the many corners of the crafting world! So thank you for hopping along with us! I live in Edmonton, Alberta, Canada!

This month, our theme was SHAKE THINGS UP—-I took this literally, haha! To create a shaker card! Its actually been a while since I have played with this fun card style.

91442295_10216484369808661_2887014979863576576_n.jpg

I actually wanted to create a ‘simple’ shaker card and the easiest way to do this is to use our clear envelopes. You can find these in the catty with our medium envelopes on page 153. I use them for card pieces (my stampers have lovingly referred to these bags as their Brenda Bag!), as a glossy surface for water colouring techniques and to create shaker cards!

final 74.JPG

I took one of these clear envelopes and stuffed it with a piece of Whisper White card stock that was run through the NEW Stampin’ Cut & Emboss Machine with the Tasteful Textile 3D embossing folder. Ok, let’s stop right there! The NEW machine is a dream, its like butter! Even my stampers commented how smoothly things run through and how easy it is to use with all of the plaforms being labelled! So well done, SU, well done!

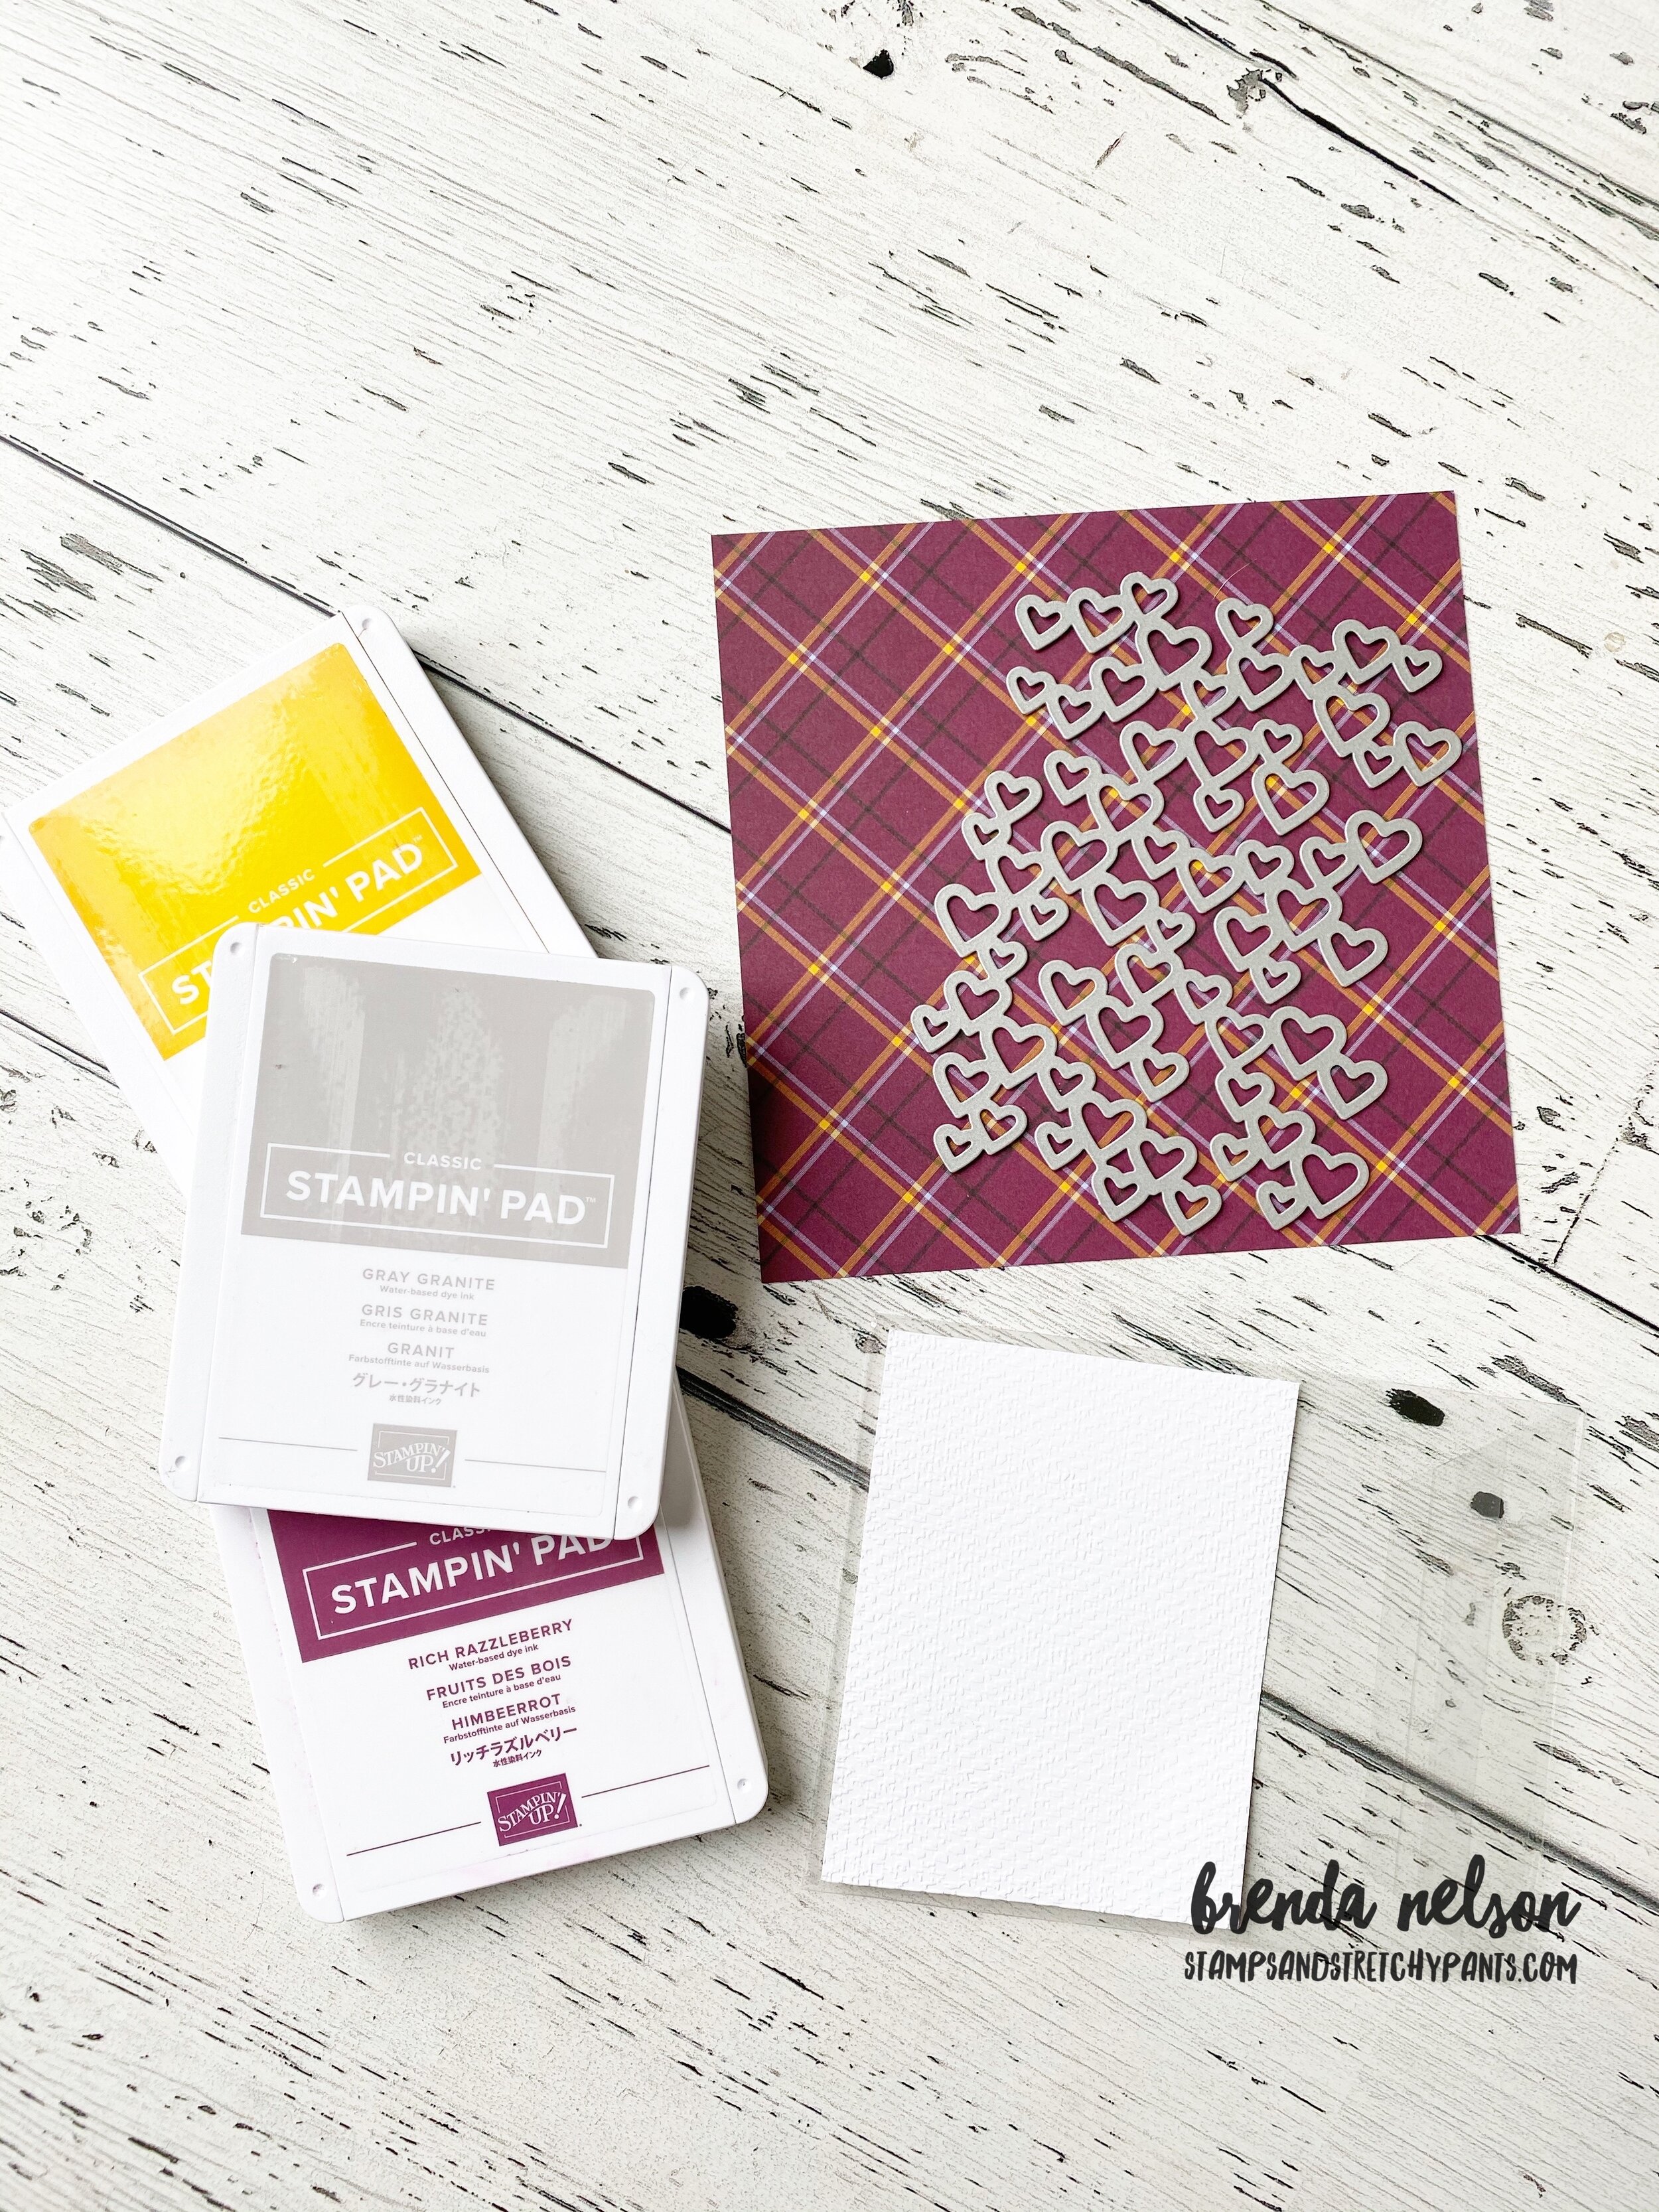
Now I knew I needed some filler for my shaker card and I ended up using the Detailed Hearts Die on some Gold Foil paper. I was thinking convenience people, haha! I knew this die would cut out a ton of hearts and would leave me with a fun piece I could use on a future project! I dropped all of my hearts into the clear envelope, folded it in half and sealed it shut. Seriously, this could NOT be easier and is such a fun way to create a shaker card, especially for new stampers!

I really wanted to play with some new stamps so I decided to embellish the front of my card with the Love of Leaves Bundle and the Plaid Tidings DSP. The little ‘hello’ is stamped and embossed in gold and is then cut out using the itty bitty tag that is a part of the Gift Bow Builder punch. Its literally too cute for words!

I love all of the texture you get with the Love of Leaves stamp set.  The dies are fabulous as you can use them to add a stitched detail to your leaves if you choose or just to cut out the image! You can use my Hostess Code if you want to add them t…

I love all of the texture you get with the Love of Leaves stamp set. The dies are fabulous as you can use them to add a stitched detail to your leaves if you choose or just to cut out the image! You can use my Hostess Code if you want to add them to an order!

Next up on your virtual world tour is to visit Tricia Butts from the United States. I can’ wait to see what she has created for us, I know you will be inspired! Just click on the Next Blog and it will take you there! Have a wonderful day!

Flowers for Every Season

I recently had a creative swap challenge with my Team, we needed to pick a suite from the catalogue and create a card project using the elements in that suite. I chose the Flowers for All Seasons Suite (pg 10-11 of Annual Catty) to create with because sadly, I have had all of these supplies and had not used them since I got them in May/June. Who can relate?

I will admit, when a new catalogue is released I go a little crazy ordering everything that inspires me! But there are only so many hours in the day to craft, so sometimes awesome stuff like this product suite sit on my shelf not getting any love!

I did add in a few elements from outside of this suite, the sentiment and the die to cut it out. The sentiment is from Lovely You (pg 22) and the dies are the Tasteful Labels dies (pg 179). I also used the Tasteful Textile 3D embossing folder on the white card front layer.

final 65.JPG

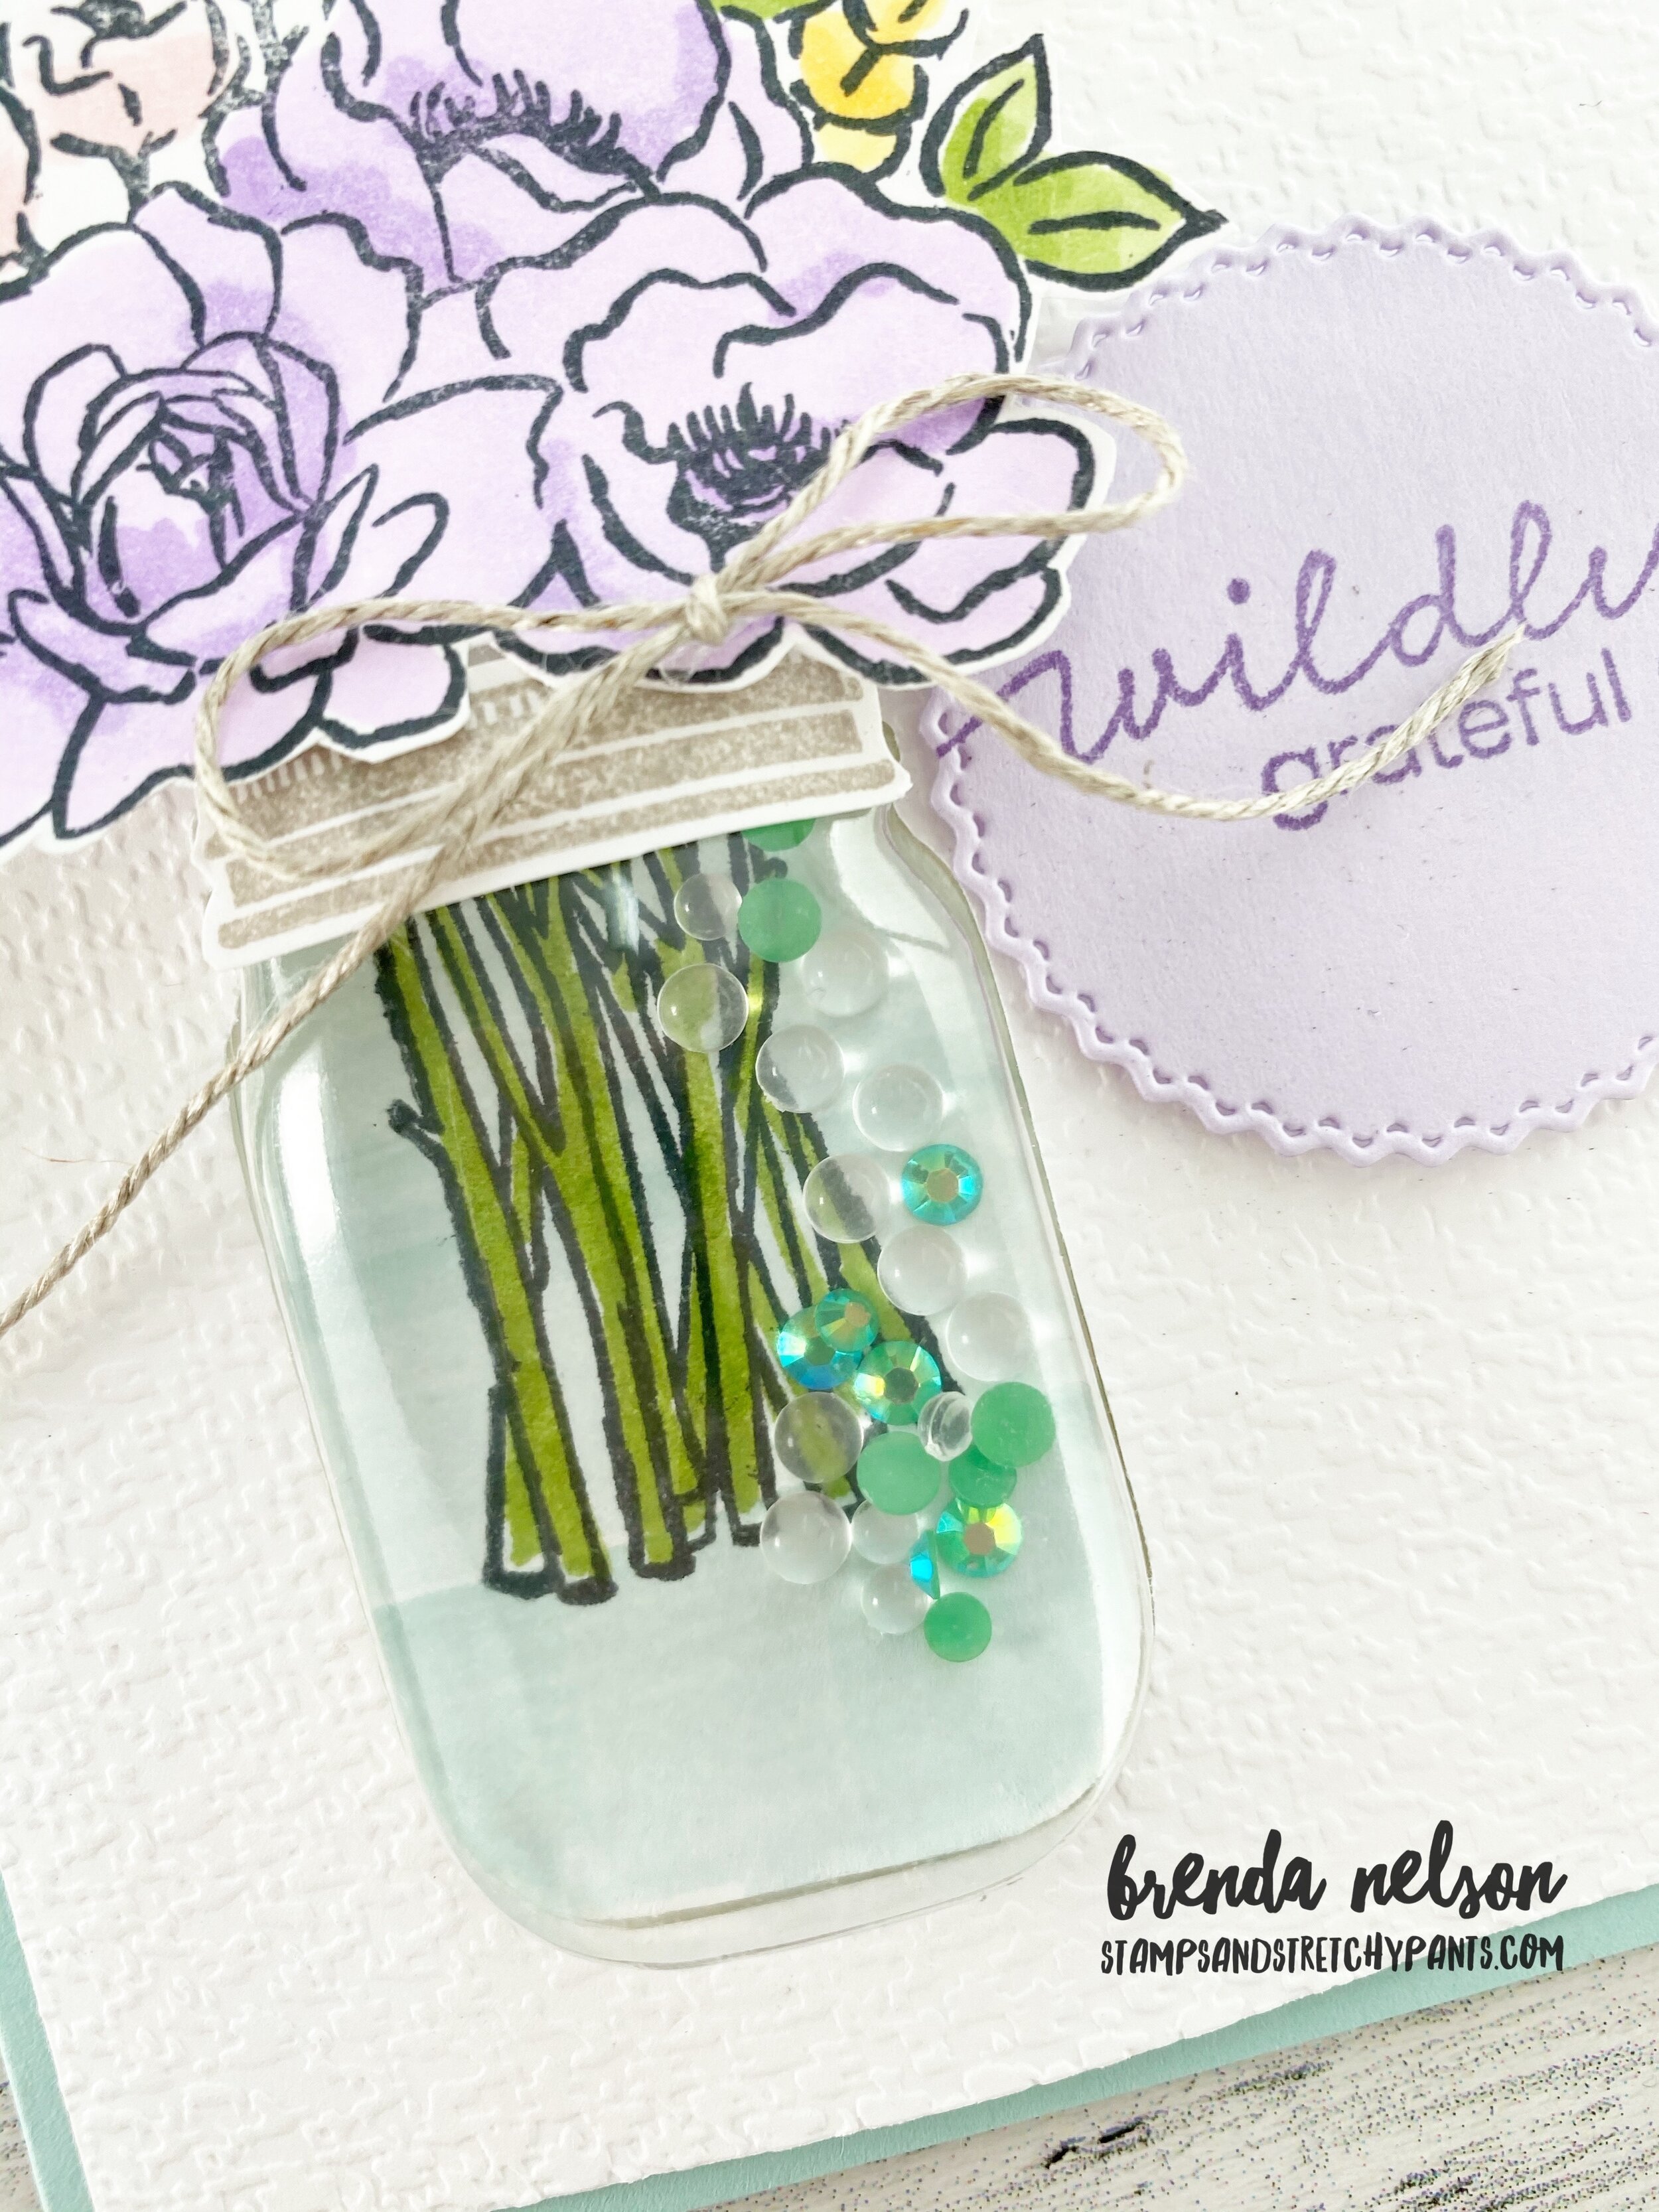
I actually chose a bit of a softer color palette as well for my card than what is showcased in the catalogue as well. I wanted something that felt peaceful and relaxing unlike the bold colors of the suite. I started by choosing the flower collection I liked in the Jar of Flowers stamp set. There are 4 options and I liked this one because it felt the fullest. I chose to color it with some soft Stampin’ Blends in Purple Posy, Highland Heather, Pink Pirouette (retired I know, sad face), Pool Party, Mango Melody and Granny Apple Green. There are no dies with this stamp set, just the cutest jar punch! So you will have to hand cut any of the bloom images.

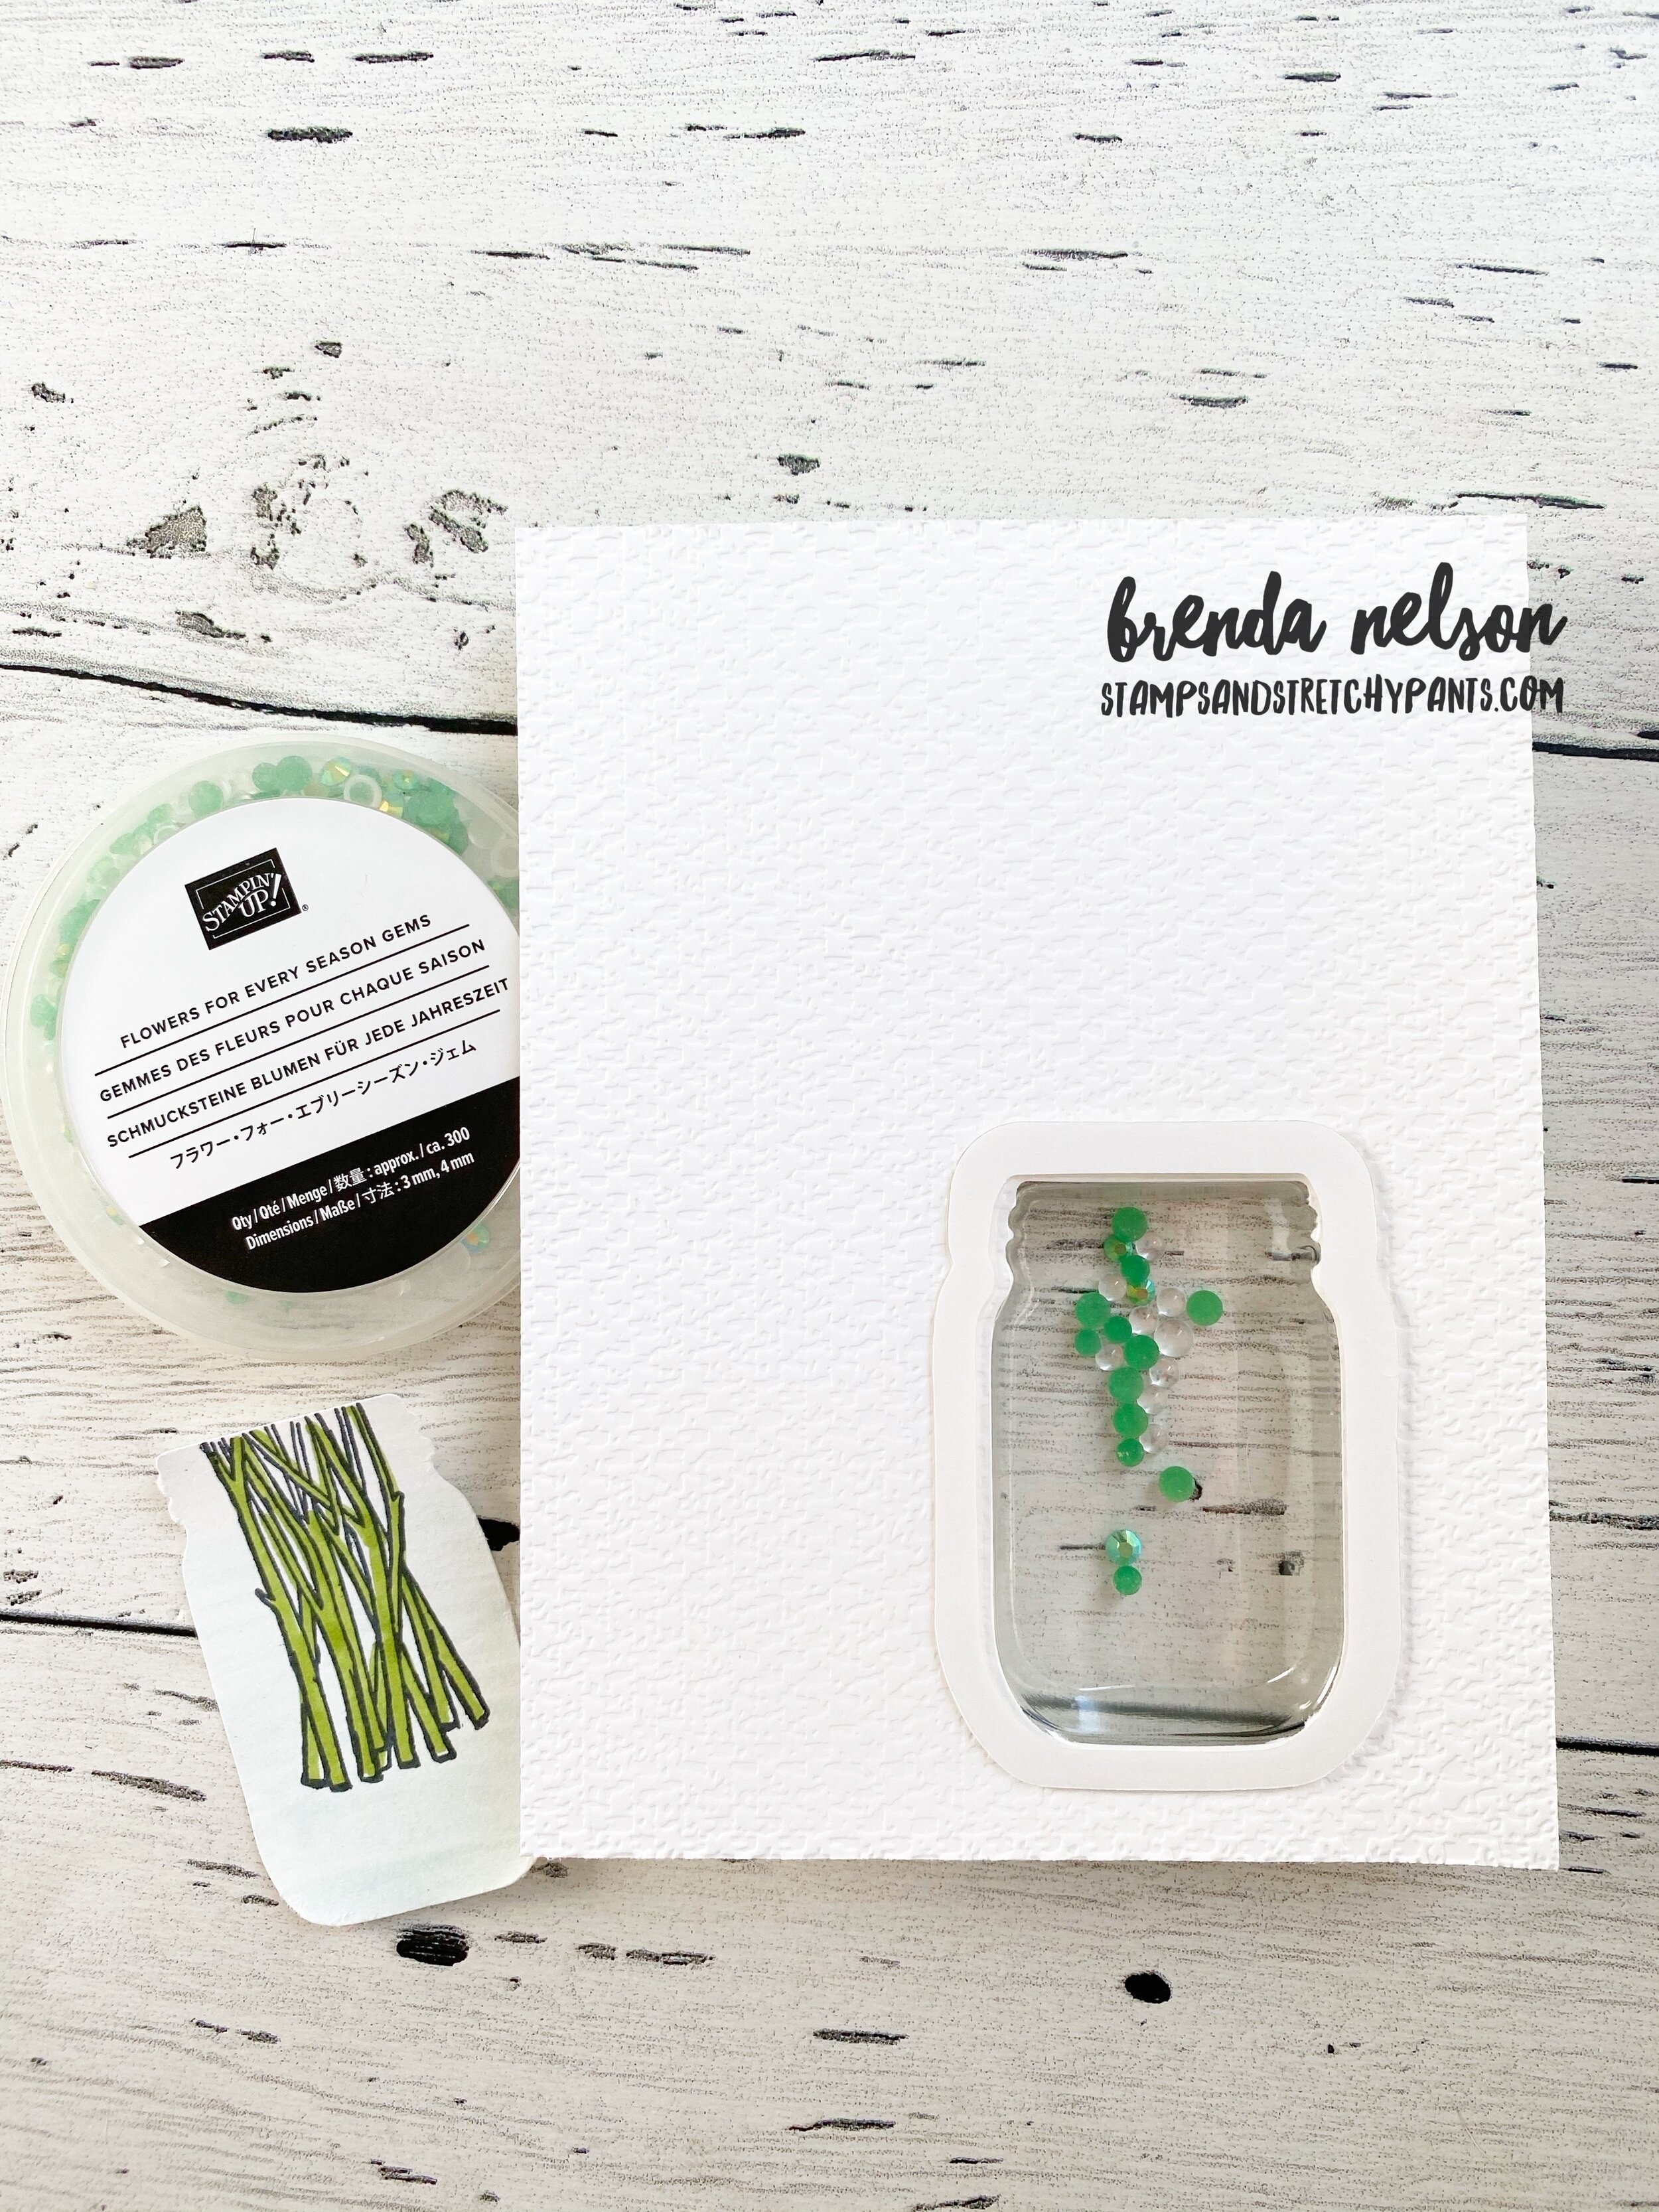
Creating the ‘shaker’ part of this card took a few steps. After I ran the Whisper White card stock through the Tasteful Textiles embossing folder I used the jar punch to create the shaker space. I added in the Mason Jar Shaker Dome (pg 158). I dropped a few of the Flowers for Every Season gems inside the dome. I wanted it to look like there was water in the shaker dome so I used my Water Painter brush and Pool Party ink to swipe some color on scrap white card stock. I then stamped the stems and coloured them with the Granny Apple Green Stampin’ Blends. I punched this out with the Jar Punch and added it into the space created by the dome. Now this will not seal this shaker dome up, you will need to use another piece of scrap paper (3 x 2.5 should do it) to seal this up after you take off the adhesive strip around the shaker dome.

final 66.JPG

I decided to add a few white sprigs from the Sunflowers dies as it helped fill in the flower arrangement. I also had to double stack my Dimensionals on the back of the flowers to get them to sit up high enough to match the Mason Jar dome. The rim of the jar is stamped in Grey Granite and hand cut. I added it on with Glue Dots.

I really really love how these cards turned out, especially because I had to make 14 of them! It was actually a relaxing way to spend my weekend, colouring and fussy cutting!