Color Fusers--July 2021 Blog Hop

Hello friends! I really appreciate you taking the time to pop by and enjoy our Color Fusers Blog Hop! I love color challenges as they help stretch my creativity! This month’s color challenge is amazing and I am so excited with the project I designed using Basic White, Basic Black, Petal Pink and Gold!

IMG_9468.jpg

When I was mentally toying around with this color palette, I had the idea to create something with stripes. I ended up including them but on the diagonal to create a focal point for my scrapbook page!

I also chose this particular picture because my mom and daughter are wearing black and white and call me crazy, but my photos have to coordinate somewhat with my page designs. In fact I hardly EVER create a page without my pictures first. I can make exceptions for specific holidays, like Father’s or Mother’s Day, but typically I always chose my picture first!

I also chose this particular picture because my mom and daughter are wearing black and white and call me crazy, but my photos have to coordinate somewhat with my page designs. In fact I hardly EVER create a page without my pictures first. I can make exceptions for specific holidays, like Father’s or Mother’s Day, but typically I always chose my picture first!

I decided to start off with a Basic White background for my scrapbook page and I added a spray of black using my Stampin’ Blends marker. I flicked the Blend across my page where I was intending to add in some flowers.

The flowers are from the Blossoms in Bloom stamp set and are stamped in Petal PInk. I pinched up the edges to give them a little more interest and depth. This page is quite minimalist for me but I am so happy with how it turned out!

final (22).jpg

The best part of this whole page is this 4 x 10 diagonal panel that I created to bring in the Basic Black, Petal Pink and Gold colors of this challenge. I cut a separate piece of Basic White card stock to 4 x 10. I then covered it with Tombow Glue—I think this is key, because there is wiggle time with this glue to get things perfect unlike Stampin’ Seal. I added in my strips which are 1 1/4 wide. Once I had them in place, I flipped over the Basic White and trimmed off the excess to create this fun panel.

The sentiment “Love is What Makes Us Family” is from the stamp set Lovely You.

I also added in a few Gilded Gems for a little extra pop of gold.

final (21).jpg

The sentiment “I like you a lot” is from the Blossoms in Bloom stamp set.

I cannot wait to see what the others in the Hop create with this color combo. If I am your first stop make sure you Hop all the way around and leave a comment! If you live in Canada you can shop with me using my Hostess Code or visiting my online store :)

You can go back to see what amazing project Melanie has created by clicking below,

To see what my fellow Artisan Design Team member Tami has designed please click below

Thank you so much and hope you all have an amazing JULY! Happy Stamping!

Flowers for Every Season

I recently had a creative swap challenge with my Team, we needed to pick a suite from the catalogue and create a card project using the elements in that suite. I chose the Flowers for All Seasons Suite (pg 10-11 of Annual Catty) to create with because sadly, I have had all of these supplies and had not used them since I got them in May/June. Who can relate?

I will admit, when a new catalogue is released I go a little crazy ordering everything that inspires me! But there are only so many hours in the day to craft, so sometimes awesome stuff like this product suite sit on my shelf not getting any love!

I did add in a few elements from outside of this suite, the sentiment and the die to cut it out. The sentiment is from Lovely You (pg 22) and the dies are the Tasteful Labels dies (pg 179). I also used the Tasteful Textile 3D embossing folder on the white card front layer.

final 65.JPG

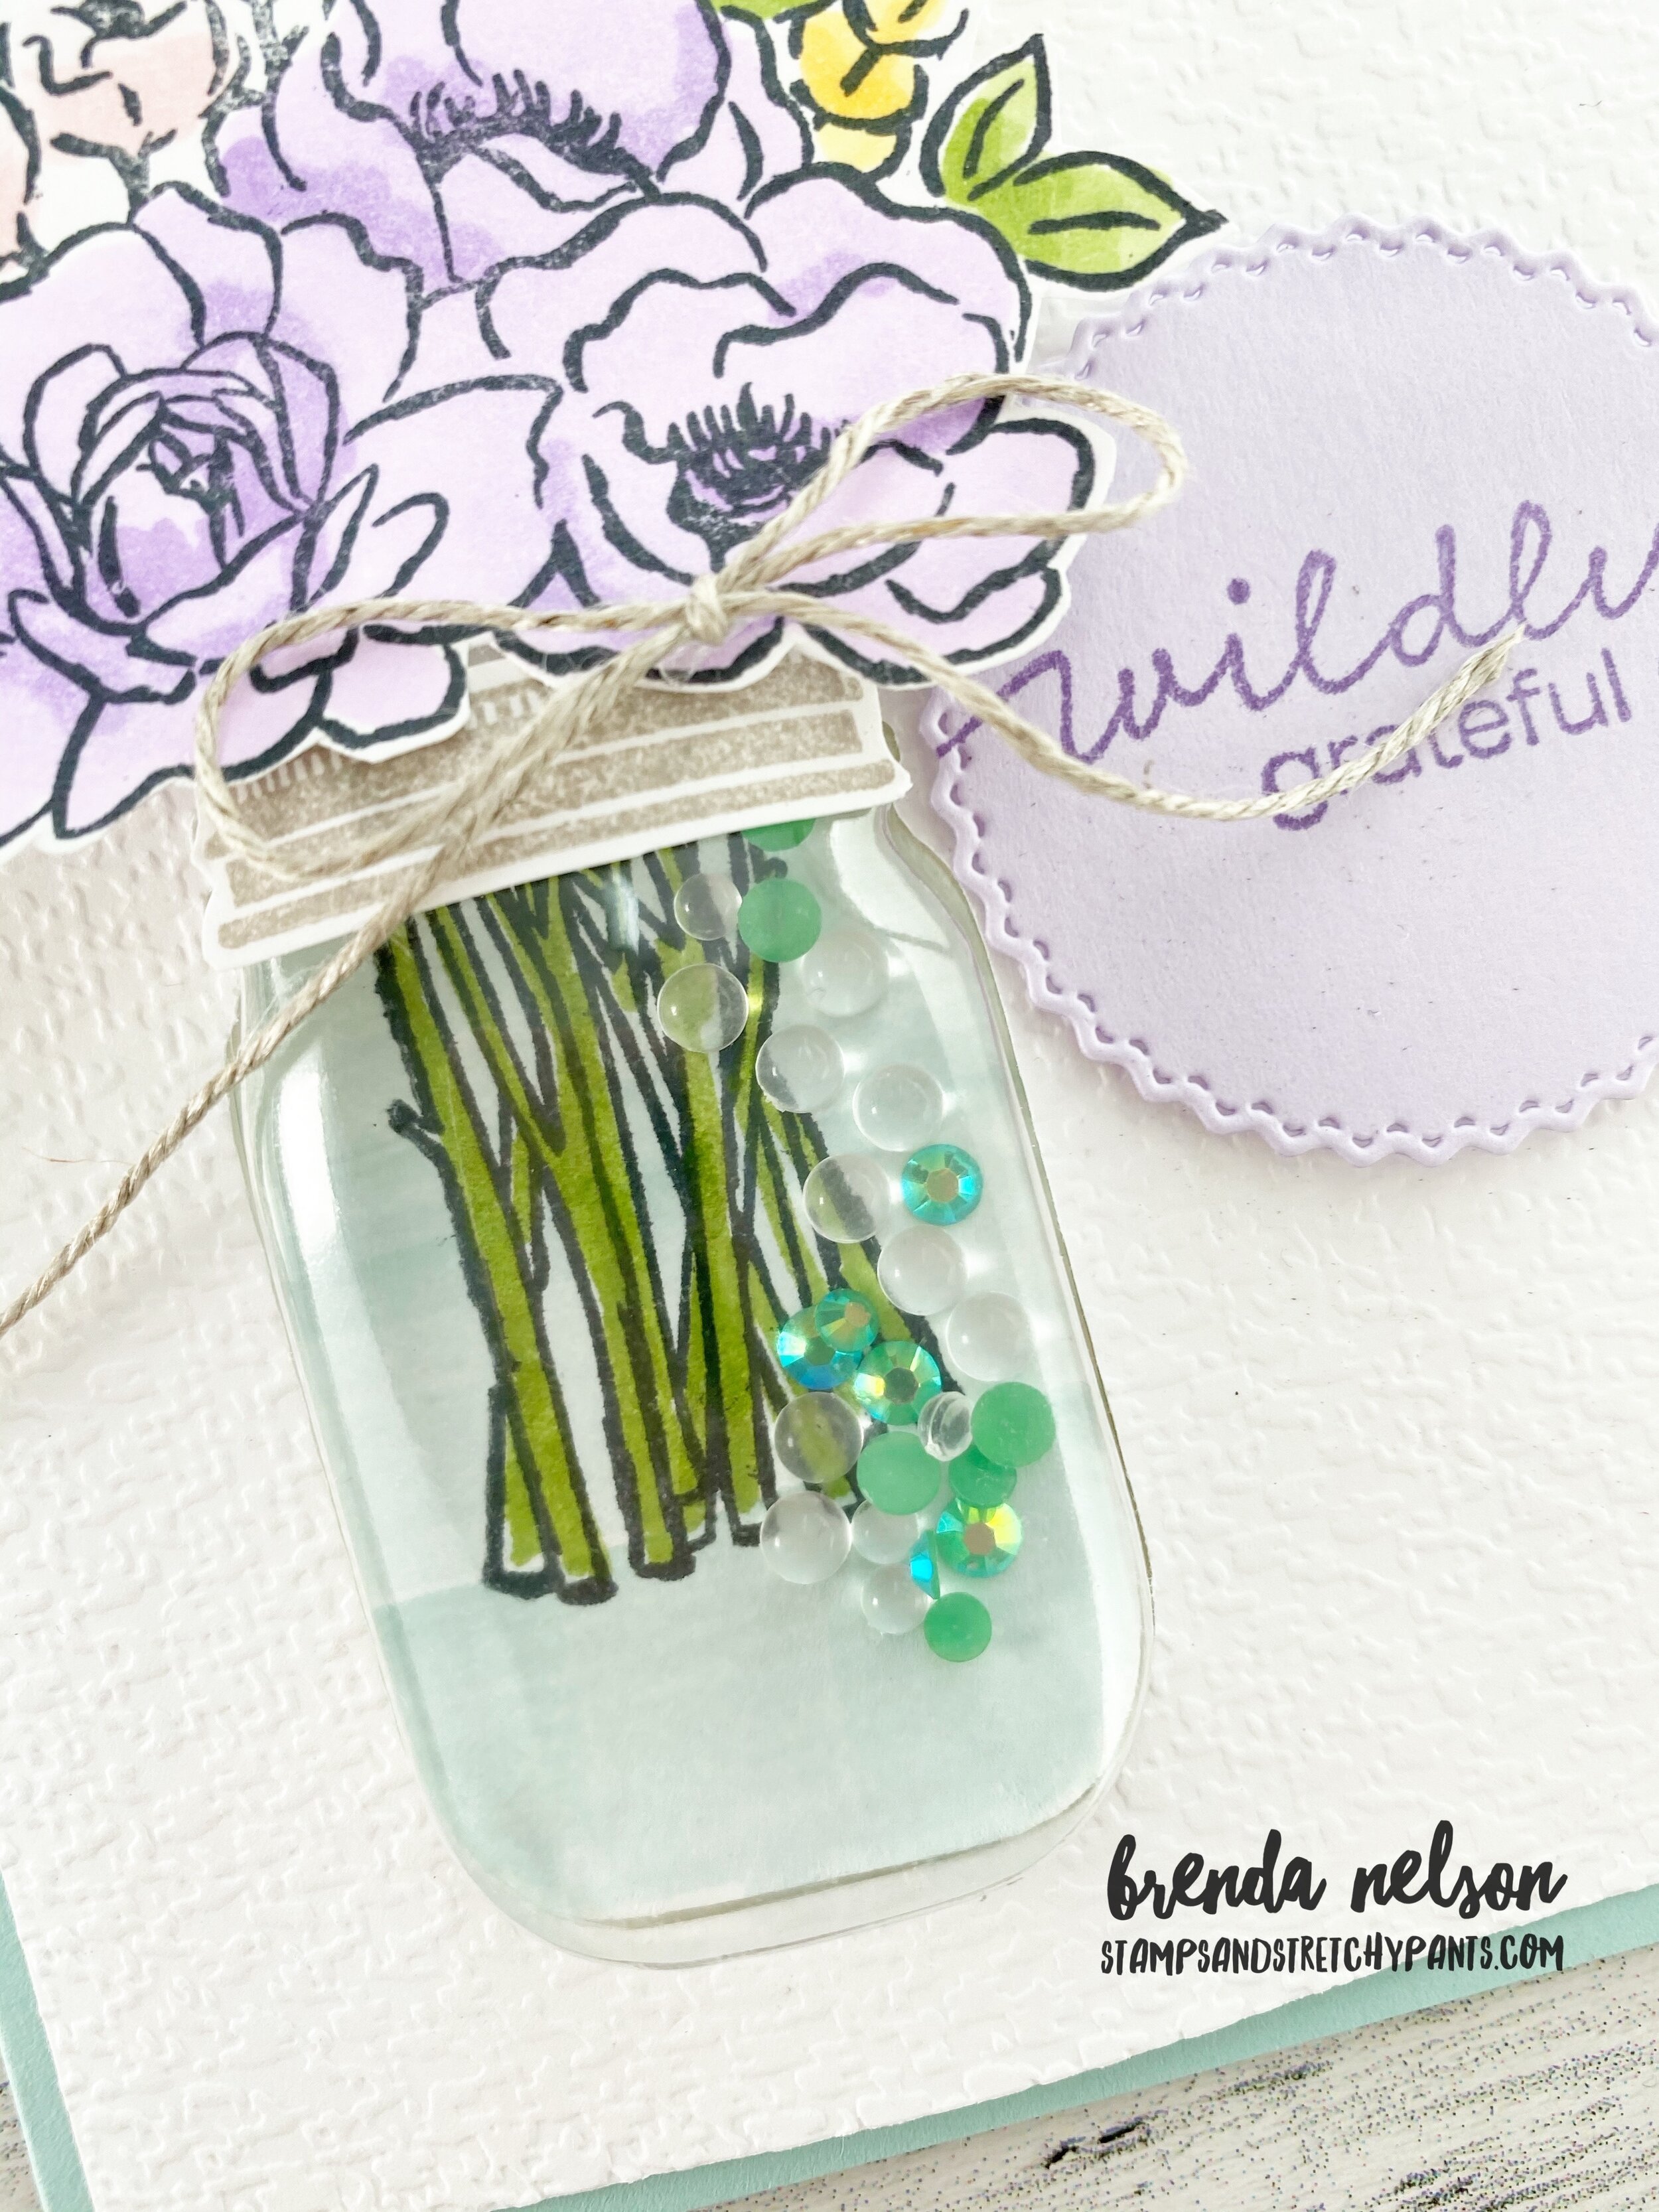
I actually chose a bit of a softer color palette as well for my card than what is showcased in the catalogue as well. I wanted something that felt peaceful and relaxing unlike the bold colors of the suite. I started by choosing the flower collection I liked in the Jar of Flowers stamp set. There are 4 options and I liked this one because it felt the fullest. I chose to color it with some soft Stampin’ Blends in Purple Posy, Highland Heather, Pink Pirouette (retired I know, sad face), Pool Party, Mango Melody and Granny Apple Green. There are no dies with this stamp set, just the cutest jar punch! So you will have to hand cut any of the bloom images.

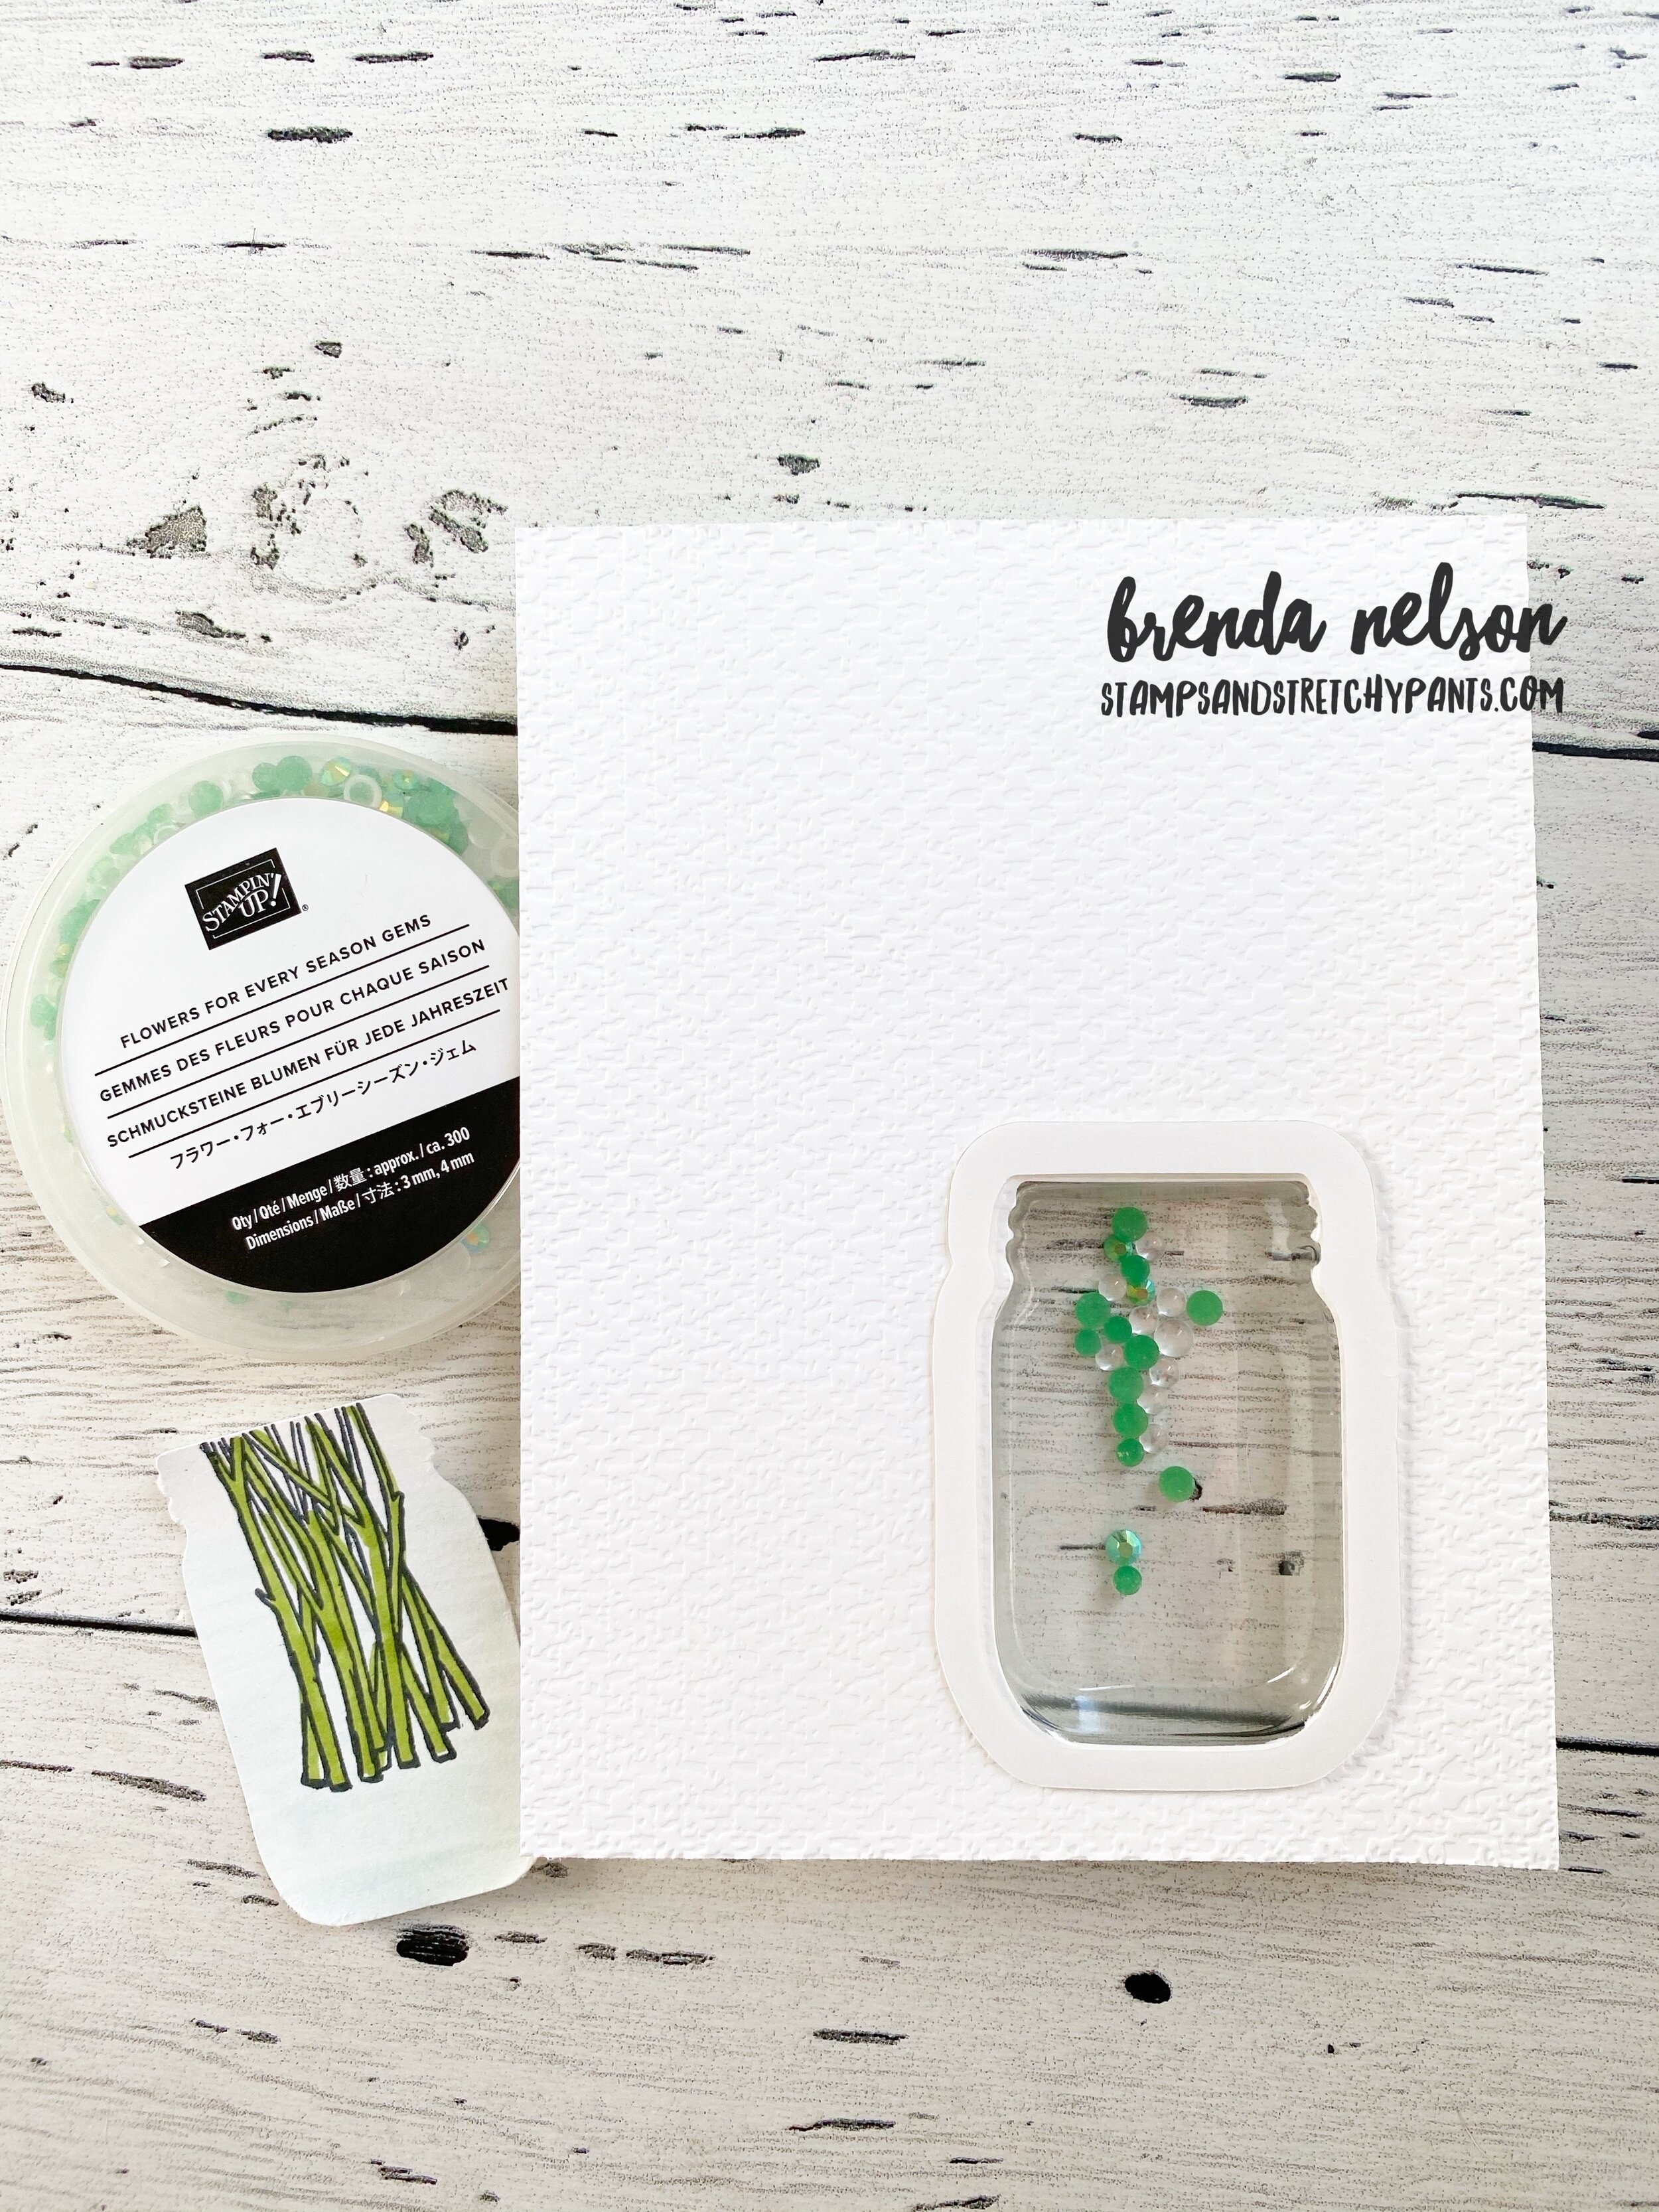
Creating the ‘shaker’ part of this card took a few steps. After I ran the Whisper White card stock through the Tasteful Textiles embossing folder I used the jar punch to create the shaker space. I added in the Mason Jar Shaker Dome (pg 158). I dropped a few of the Flowers for Every Season gems inside the dome. I wanted it to look like there was water in the shaker dome so I used my Water Painter brush and Pool Party ink to swipe some color on scrap white card stock. I then stamped the stems and coloured them with the Granny Apple Green Stampin’ Blends. I punched this out with the Jar Punch and added it into the space created by the dome. Now this will not seal this shaker dome up, you will need to use another piece of scrap paper (3 x 2.5 should do it) to seal this up after you take off the adhesive strip around the shaker dome.

final 66.JPG

I decided to add a few white sprigs from the Sunflowers dies as it helped fill in the flower arrangement. I also had to double stack my Dimensionals on the back of the flowers to get them to sit up high enough to match the Mason Jar dome. The rim of the jar is stamped in Grey Granite and hand cut. I added it on with Glue Dots.

I really really love how these cards turned out, especially because I had to make 14 of them! It was actually a relaxing way to spend my weekend, colouring and fussy cutting!

In Color Bookmarks!

Have you noticed all of the amazing inspiration in the new Annual Catalogue? One of my favourite things to do is CASE (Copy and Share Everything) the projects and the first one I chose are these amazing In Color Bookmarks to share with all of my group members in June.

 
final.jpg

These bookmarks are a great way to share the 5 new In Colours, ribbon, and a new bundle Lovely You. You can find Stampin’ Up!’s version on page 23 of the catalogue.

I started by stamping an entire sheet with my chose floral image and then I trimmed the card stock down into strips to fit into the Lovely Labels Pick a Punch. I used the smallest punch option which was 1/2 in width.

This project is the perfect example of making one sounds fun, making thirty is dirty! Hahaha! Who else can relate? It happens to me more than I would like to admit! But I know everyone who receives one will appreciate it :)

This project is the perfect example of making one sounds fun, making thirty is dirty! Hahaha! Who else can relate? It happens to me more than I would like to admit! But I know everyone who receives one will appreciate it :)


Happy Anniversary to Me!

ONE year ago today I started my blog process. I knew next to nothing and could not have gotten here 365 days later without the help of Pam Kriangum who took my amazing branding photos and helped me create my vision. Angie Mackenzie, bless your patience as you guided me along with all the behind the scenes aspects of creating blog hop posts!

Many of you have supported me along the way helping with proofreading (auto correct can really sneak things past you sometimes!) and giving me awesome content ideas, leaving comments and sending me personal messages. I feel a lot more confident now than I did in the beginning and I am so proud of myself for making the decision to step out of my comfort zone and expand my technological horizons! I am swearing and sweating a lot less than I was last June! Hahahaha!

I hope you have enjoyed the projects that I have shared over this past year! Not only do I share scrapbooking and card projects but the Lifestyle component of my blog has recipes, musings and family photos. This is a collective form of memory keeping for me and my kids. One day they will be able to go back through all of my posts and hopefully have a few laughs and gain a better understanding of their mom as a person. ‘Moms’ are often just that, MOM, until our kids mature and realize, my mom is also a woman, a friend, a spouse, a superpower, an influencer and the list goes on and on!

So thank you for being on this journey with me! Some of you have been following along since the beginning and some of you are new! I hope you keep checking back every so often and always feel welcome to leave a comment!

Happy Anniversary to ME!

 
Out of all the photos Pam took of me in my happy place, this one is my absolute favourite.  I felt like I was in a crafting magazine! I love everything about this photo!

Out of all the photos Pam took of me in my happy place, this one is my absolute favourite. I felt like I was in a crafting magazine! I love everything about this photo!

This page is mix of old, current and new supplies! The new would be the Just Jade DSP in the woodgrain option from the new DSP stack. Goal Crush is stamped with the Lined Alphabet stamp set and the # is from the Hand Lettered Prose dies. I added in …

This page is mix of old, current and new supplies! The new would be the Just Jade DSP in the woodgrain option from the new DSP stack. Goal Crush is stamped with the Lined Alphabet stamp set and the # is from the Hand Lettered Prose dies. I added in the Detailed Hearts dies as my heart is so full and happy!

Wildly Grateful is the perfect sentiment to how I feel and I realize how blessed I am to LOVE what I do and SHARE what I love! You can find it in the new Lovely You Stamp set.

Wildly Grateful is the perfect sentiment to how I feel and I realize how blessed I am to LOVE what I do and SHARE what I love! You can find it in the new Lovely You Stamp set.


Double Front Card

It has been a while since I have made a Double Front Card (at least that is what I know it as) and I thought I would kick off the last week of my “A Card a Day in May” challenge with something fun! I also used all new products on this card as well and am so happy with the end result!

The base of my card is the new In Color, Cinnamon Cider which is cut to 6 3/8 x 5 1/2. Score at 4 inches on the long side. I cut a layering strip of Cinnamon Cider card stock to 1 7/8 x 5 1/4 which I ran through the new Tasteful Textile 3D embossing folder. This adhered to the little flap on the base of the card front.

The base for the inside card, Whisper White, is 8 x 5 1/2 scored at 4 inches on the long side.

I cut two pieces of Misty Moonlight to 2 3/4 x 4 1/4 for the front and inside decorative panels.

Cut two pieces of Whisper White to 2 1/2 x 4 to layer on top. This is where I did my fun stamping!

On the inside flap I added some DSP from the Flowers for Every Season 6x6 stack. It is 2 x 5 1/4. I added a second little strip to the card base which peeks through when the card is closed. It is 1 x 5 1/4.

Adhere the Whisper White card base to the Cinnamon Cider base making sure to keep a little bit of space between the folds. You can then add the two Misty Moonlight panels making sure that the second one (attached to the Whisper White base) is hidden behind the first one. Embellish your card as desired!

I used the Lovely You and Field of Flowers stamp sets on my card. The sentiments on Just Jade are stamped with Versamark and embossed with Clear Embossing Powder. I cut both out using the Tasteful Labels dies.

I added threads behind my sentiments that I deconstructed from the open weave ribbon found in the Forever Greenery Trim Combo pack. It might just be my favourite new trick. I have to replace that Metallic Thread with something! And finally the little green gems on the front are from the Flowers for Every Season gems collection. They really do finish off the front panel.

 
final.jpg
This is the inside view of the first panel.  You can see how I added in the DSP and have attached the two Misty Moonlight panels so they line up.  The second one is hidden until you open the card.

This is the inside view of the first panel. You can see how I added in the DSP and have attached the two Misty Moonlight panels so they line up. The second one is hidden until you open the card.

And finally the next flip takes you to the back base of the card where I included another sentiment found in the Lovely You stamp set.

And finally the next flip takes you to the back base of the card where I included another sentiment found in the Lovely You stamp set.

Isn’t the detail in the thread and gems just the perfect touch? It really elevated the sophistication of this card!

Isn’t the detail in the thread and gems just the perfect touch? It really elevated the sophistication of this card!