Sale a bration Kick Off 2023!

Hello friends! I hope you had an amazing holiday season and I am so excited to be back again after a little crafting hiatus. I mean, I did craft, I just didn’t share as much on social! The theme of my post today is Sale a Bration—or the happiest time of year! Who doesn’t LOVE to get FREE stuff. I mean if you are spending money anyway…might as well get some free goodies!

Isn’t this little owl the cutest? He is actual one of three owls found in the new 2023 Sale a Bration stamp set Adorable Owls. And he truly is! I wanted to create a card that depicted an owl flying high in the sky and I think this turned out pretty close to my vision!

I started with a base of Basic White card stock and I used Balmy Blue ink and a Blending Brush to add the first layer of blue. I then added some Tranquil Tide in the corners. I feel like these two colors did a great job created dimension for the sky. I then took my Water Painted and flicked some water over top. Water acts like an eraser giving the illusion of moisture in the air.


The cute stitched clouds are die cut from the Give it a Whirl Die set in the annual catalogue. I love that you get 3 sizes of clouds to help design a scene!

I added a strip of DSP from the In Color DSP stack along the bottom to help ground the sentiment. And a little Linen Thread behind the sentiment (stamped in Tahitian Tide) with a little scallop border just makes it pop.

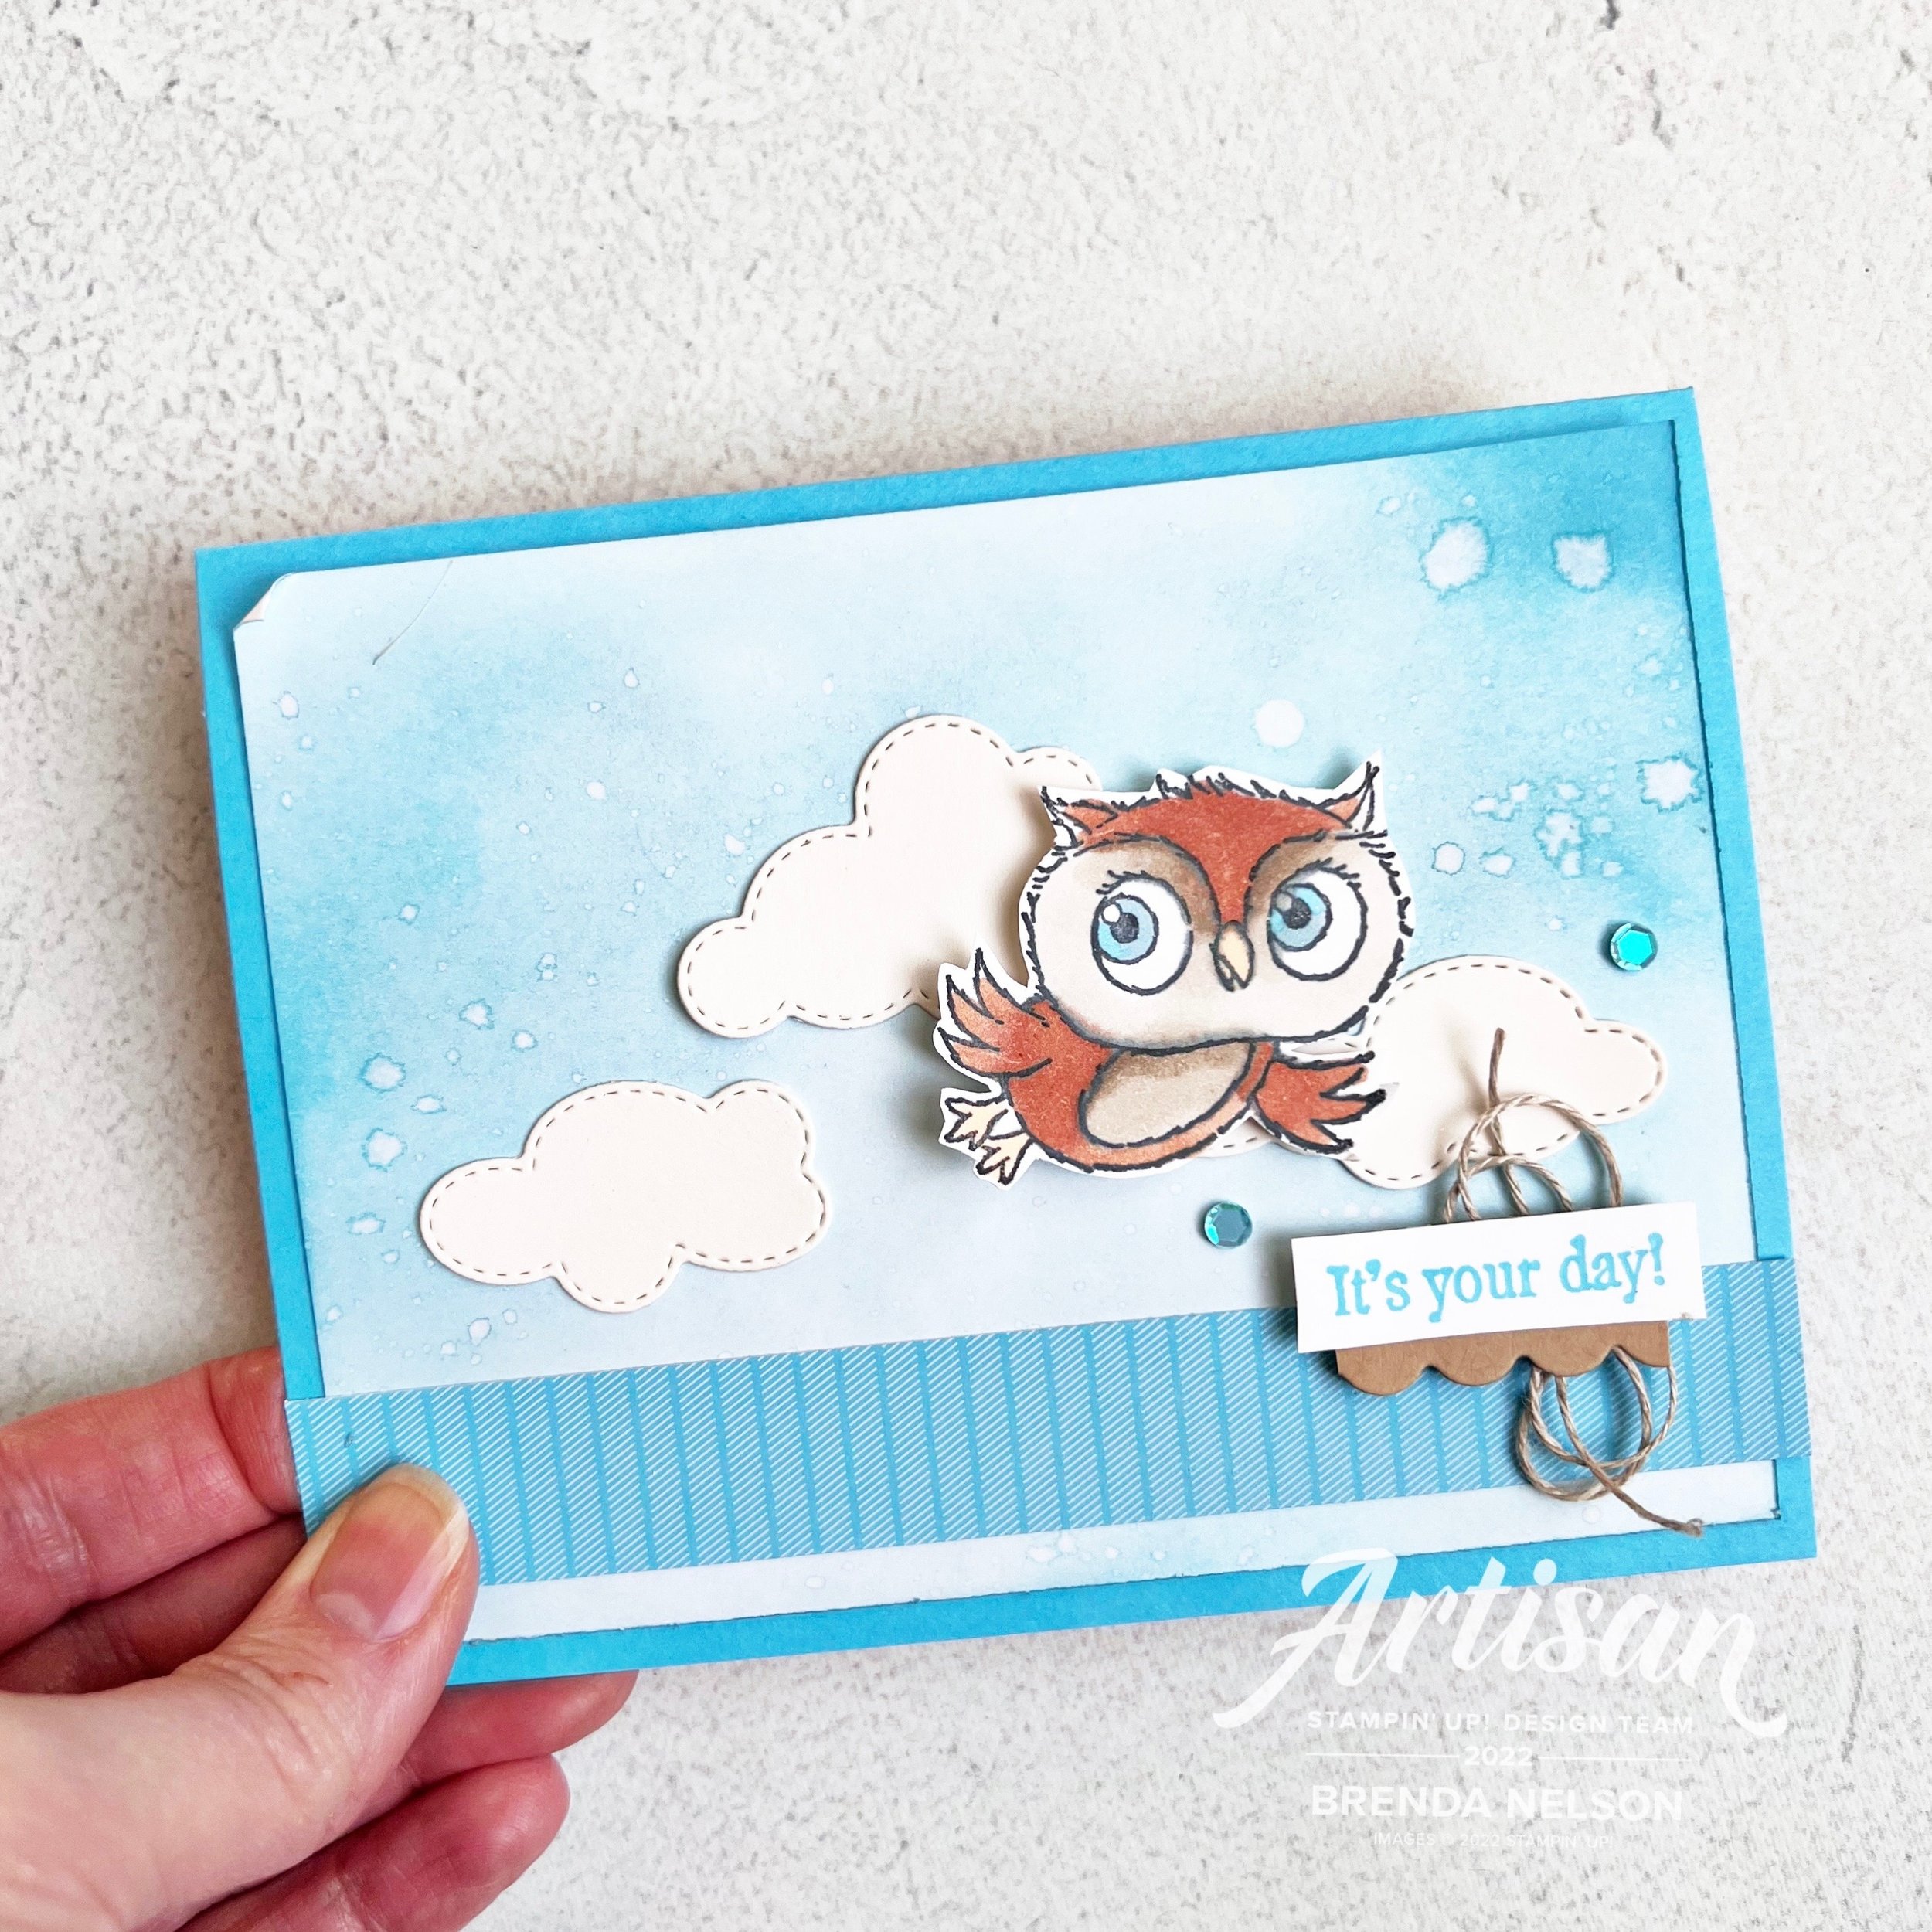
My flying owl is colored with a mix of Stampin’ Blends from the Neutral Tones collection plus some Crumb Cake and Tahitian Tide. I really feel that this owl has a lot of dimension and I really enjoy coloring with our Blends. I couldn’t resist adding some of the new Pastel Adhesive-Backed Sequins too. They might be my favorite new embellishment!


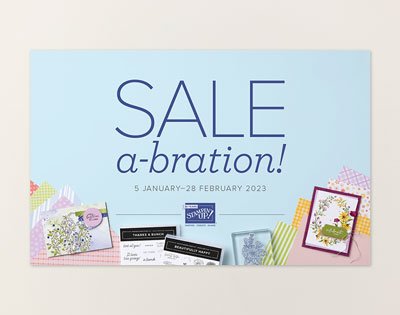
You can shop the Sale a bration catalogue, choosing a free item with your $60 CAN purchase by clicking on any image. This should direct you straight to my online store.

Look at all these fun choices you get during Sale a bration 2023! I love the Adorable Owls set, I think it has alot of potential to color with Stampin’ Blends, Watercolor Pencils, or lazy watercoloring!

31 Boo's to You

This is a little twist on Halloween because this card doesn’t actually say…Happy Halloween but its implied! Hahaha! I thought it would be fun to focus on ‘31’ as its the date of this fun holiday!

final (4) 3.jpg

The background of this card is created using the Alcohol Blends technique again and it really pops to have the vellum on a Basic White background! I used Rich Razzleberry, Basic Black and Night of Navy Stampin’ Blends to create this custom background.

I cut the glittery wreath and the tag using the Frightful Tags Dies. Have I ever gotten my money’s worth this holiday season! I have made countless projects using this die set!

The ‘31’ is cut using the Playful Alphabet Dies—-if you haven’t looked that closely at them, they do contain numbers as well. This is a great die set to have in your collection.

final (7) 4.jpg

I added the ‘Boo’ from the stamp set Thinking Thanks & Peace which is in the Holiday Catalogue. I love how the ‘Boo’ has a little ghost floating above. It reminds me of the ghosts in Pac Man!

The twine is from the Playful Pets Trim Combo Pack which also has a thin red and white ribbon—great for that upcoming other holiday!

If anything has inspired you today or on any of your other visits to my blog, please consider supporting me if you live in Canada! I would love to keep doing what I love! Thank you!

EEK! Happy Halloween!

Following up on my post from Wednesday, here is another look at that amazing technique with our Stampin’ Blends and Isopropyl alcohol!

final (28) 2.jpg

For this card I started with a base of Basic White. I used the same technique, coloring a squiggle with my Basic Black Stampin’ Blend marker in the bottom right corner of the vellum. Remember, you need vellum for this cool technique to work.

I added a few light droplets of the Isopropyl alcohol to this area and let it work its magic!

final (1) 13.jpg

I cut a glittery star wreath using the Seasonal Swirls Dies and added to my Stampin’ Blend area with a few Glue Dots. I cut out EEK from Rich Razzleberry card stock using the Playful Alphabet Dies and the Foam Adhesive Sheets.

Happy Halloween can be found in the Frightfully Cute stamp set and is stamped with Momento Black Ink on Pumpkin Pie card stock.

A few Matte Black Dots and this fun Halloween card is complete!

I really hope you will give this technique a try! Its super fun and easy!

If you are in Canada and are inspired by any of my Halloween projects, please consider shopping with me! I would love to be able to keep doing what I love, which is stampin’ in my stretchy pants!

Hey Boo!

Ya YOU! Hey BOO! Ok, I will stop it! But what I won’t stop is sharing some fun Halloween inspiration with you this month! This is my third project share and today I am sharing a really spooktacular Halloween card with you that uses a really cool technique!

final (32) 2.jpg

The base of this card is Fresh Freesia which is a color you might not think of when you think of Halloween. I think all the purples work for this holiday so I incorporated three of them onto this card project.

There is a base layer of Basic White behind the vellum layer to help the colors of the Stampin’ Blends pop. I used the dark Stampin’ Blend marker for all three—Highland Heather, Rich Razzleberry and Fresh Freesia. The technique is the popular Alcohol Blends technique. There are a million videos on how to make this so just do a quick search! Basically you need 3-5 things for this technique:

  1. Stampin’ Blends

  2. Isopropyl Rubbing Alcohol in 99%

  3. Vellum

  4. A straw

  5. A Waterpainter

The straw option is used to blow the rubbing alcohol around and I have created some projects with that look, so to speak, so watch for some future posts! For this card I used my Waterpainter to drop and spritz the rubbing alcohol on top of my blends.


I colored my Stampin’ Blends across my vellum, dividing it into 3 sections. I then dipped my Waterpainter into the rubbing alcohol and flicked it across the card. This is what created the speckled look.

Because you could see the lines between the colors, and I didn’t really like that, I took the Waterpainter to the edges to where the colors met and touched the vellum. This allowed the color to bleed into each other a little bit.

TOP TIP: A little rubbing alcohol goes a long way. Sometimes less is better

final (32) 2.jpg

After I had created this fun background it was easy to add some fun aspects to the card. We have such a great selection of Halloween stuff in our catalogues right now!

“Hey Boo” is from the Cutest Halloween stamp set and the sentiment is die cut with a label shape from the Frightful Tags Dies.

final (32) 2.jpg

I added a fun spiderweb cut from the Black Glitter Paper and the Frightful Tags dies. Over top I added our sentiment and a cute owl, cut from Bumblebee card stock, and cut with the same dies. Now when you cut the owl, his eyes and nose will be hollow, so I added a small scrap of Basic Black cardstock behind to fill them in.

The skull is stamped from the same stamp set, Cutest Halloween, and is hand trimmed. While there is a punch to coordinate with this stamp set, it only cuts out the cat, ghost and pumpkin.

I used my Stampin’ Blends again, this time in Daffodil Delight, to color the Black & White Gingham Ribbon. This ribbon is the BOMB! Its the perfect width and everyone loves gingham. And you can customize it by coloring it with Stampin’ Blends OR even with a Blending Brush and an ink pad!

I hope this card inspires you to make some spooktacular yourself!

Around the World on Wednesday--Let's Shake Things Up!

Our theme this month is NOT a shaker card, well it could be, but it is really to shake up your creativity by creating something new with a technique or such that you have not tried in the past. This was the perfect time for me to experiment with the Alcohol Stampin’ Blends technique that is super popular!

91442295_10216484369808661_2887014979863576576_n.jpg

I want to thank my friend Alanna Wharf as she shared how to create this technique during a recent Summer Stamp Camp that I was co-hosting and it inspired me to try it out! I wanted to use this Blends technique on a holiday card—tis’ the season! Okay, well it is still summer but you can never be too ahead for the holidays!

final (31).jpg

The base of my card is on Shimmery White and you must use Vellum to create this alcohol Blends technique. You also need a Stampin’ Blend in a color (s) of your choice, in my case I used Light Cherry Cobbler, and some Isopropyl Alcohol (or Rubbing Alcohol). I used an old Aqua Painter (I knew I kept those for some reason, haha!) to apply drops of the Isopropyl Alcohol. The internet is full of a ton of videos (not my specialty) on how you can execute this technique. It is surprisingly easy!

I created my little area and then cut the star shape from the Seasonal Swirls Dies in Cherry Cobbler card stock. I added some yellow stars from the Jolly Felt and Christmas Cheer Dies. I was so happy that felt returned to the Holiday Catalogue this year again!

“Jingle” is from the Holly Jolly Wishes stamp set—this is a fantastic stamp set full of holiday greetings!

Here is a close up of how fun this technique looks like.  I will definitely be experimenting with this technique again!

Here is a close up of how fun this technique looks like. I will definitely be experimenting with this technique again!

I wanted to create another fun little area at the top of my card and one of my favorite little dies as the moment is the ‘ticket’ die from the Bloom Dies in the Annual Catalogue. I used it to cut some of the Sweet Stockings DSP and then trimmed the ticket down in size. I found “Happy Christmas” in the Words of Cheer stamp set.

Another little felt star and some Matte Decorative Dots completed this fun little area!

Another little felt star and some Matte Decorative Dots completed this fun little area!

I don’t typically add anything to the insides of my cards, but I thought it would be fun in this case to add the complete ‘Jingle’ phrase and another star die cut.

final (32).jpg

I can’t wait to see what the rest of the Around the World Design Team creates based on this theme! I love how you can ‘Hop’ all over the world to see everyone’s unique styles! I live in Edmonton, Alberta, Canada! Tricia Butts is up next and resides in the United States. Click on the button below to hop to her page!