12 Days of Christmas--Day 9!

Hello! I am so excited about my cute projects to share today for Day 9 of 12 Days of Christmas! I hope you have been enjoying all of the fun things that Melanie and I are sharing with you!

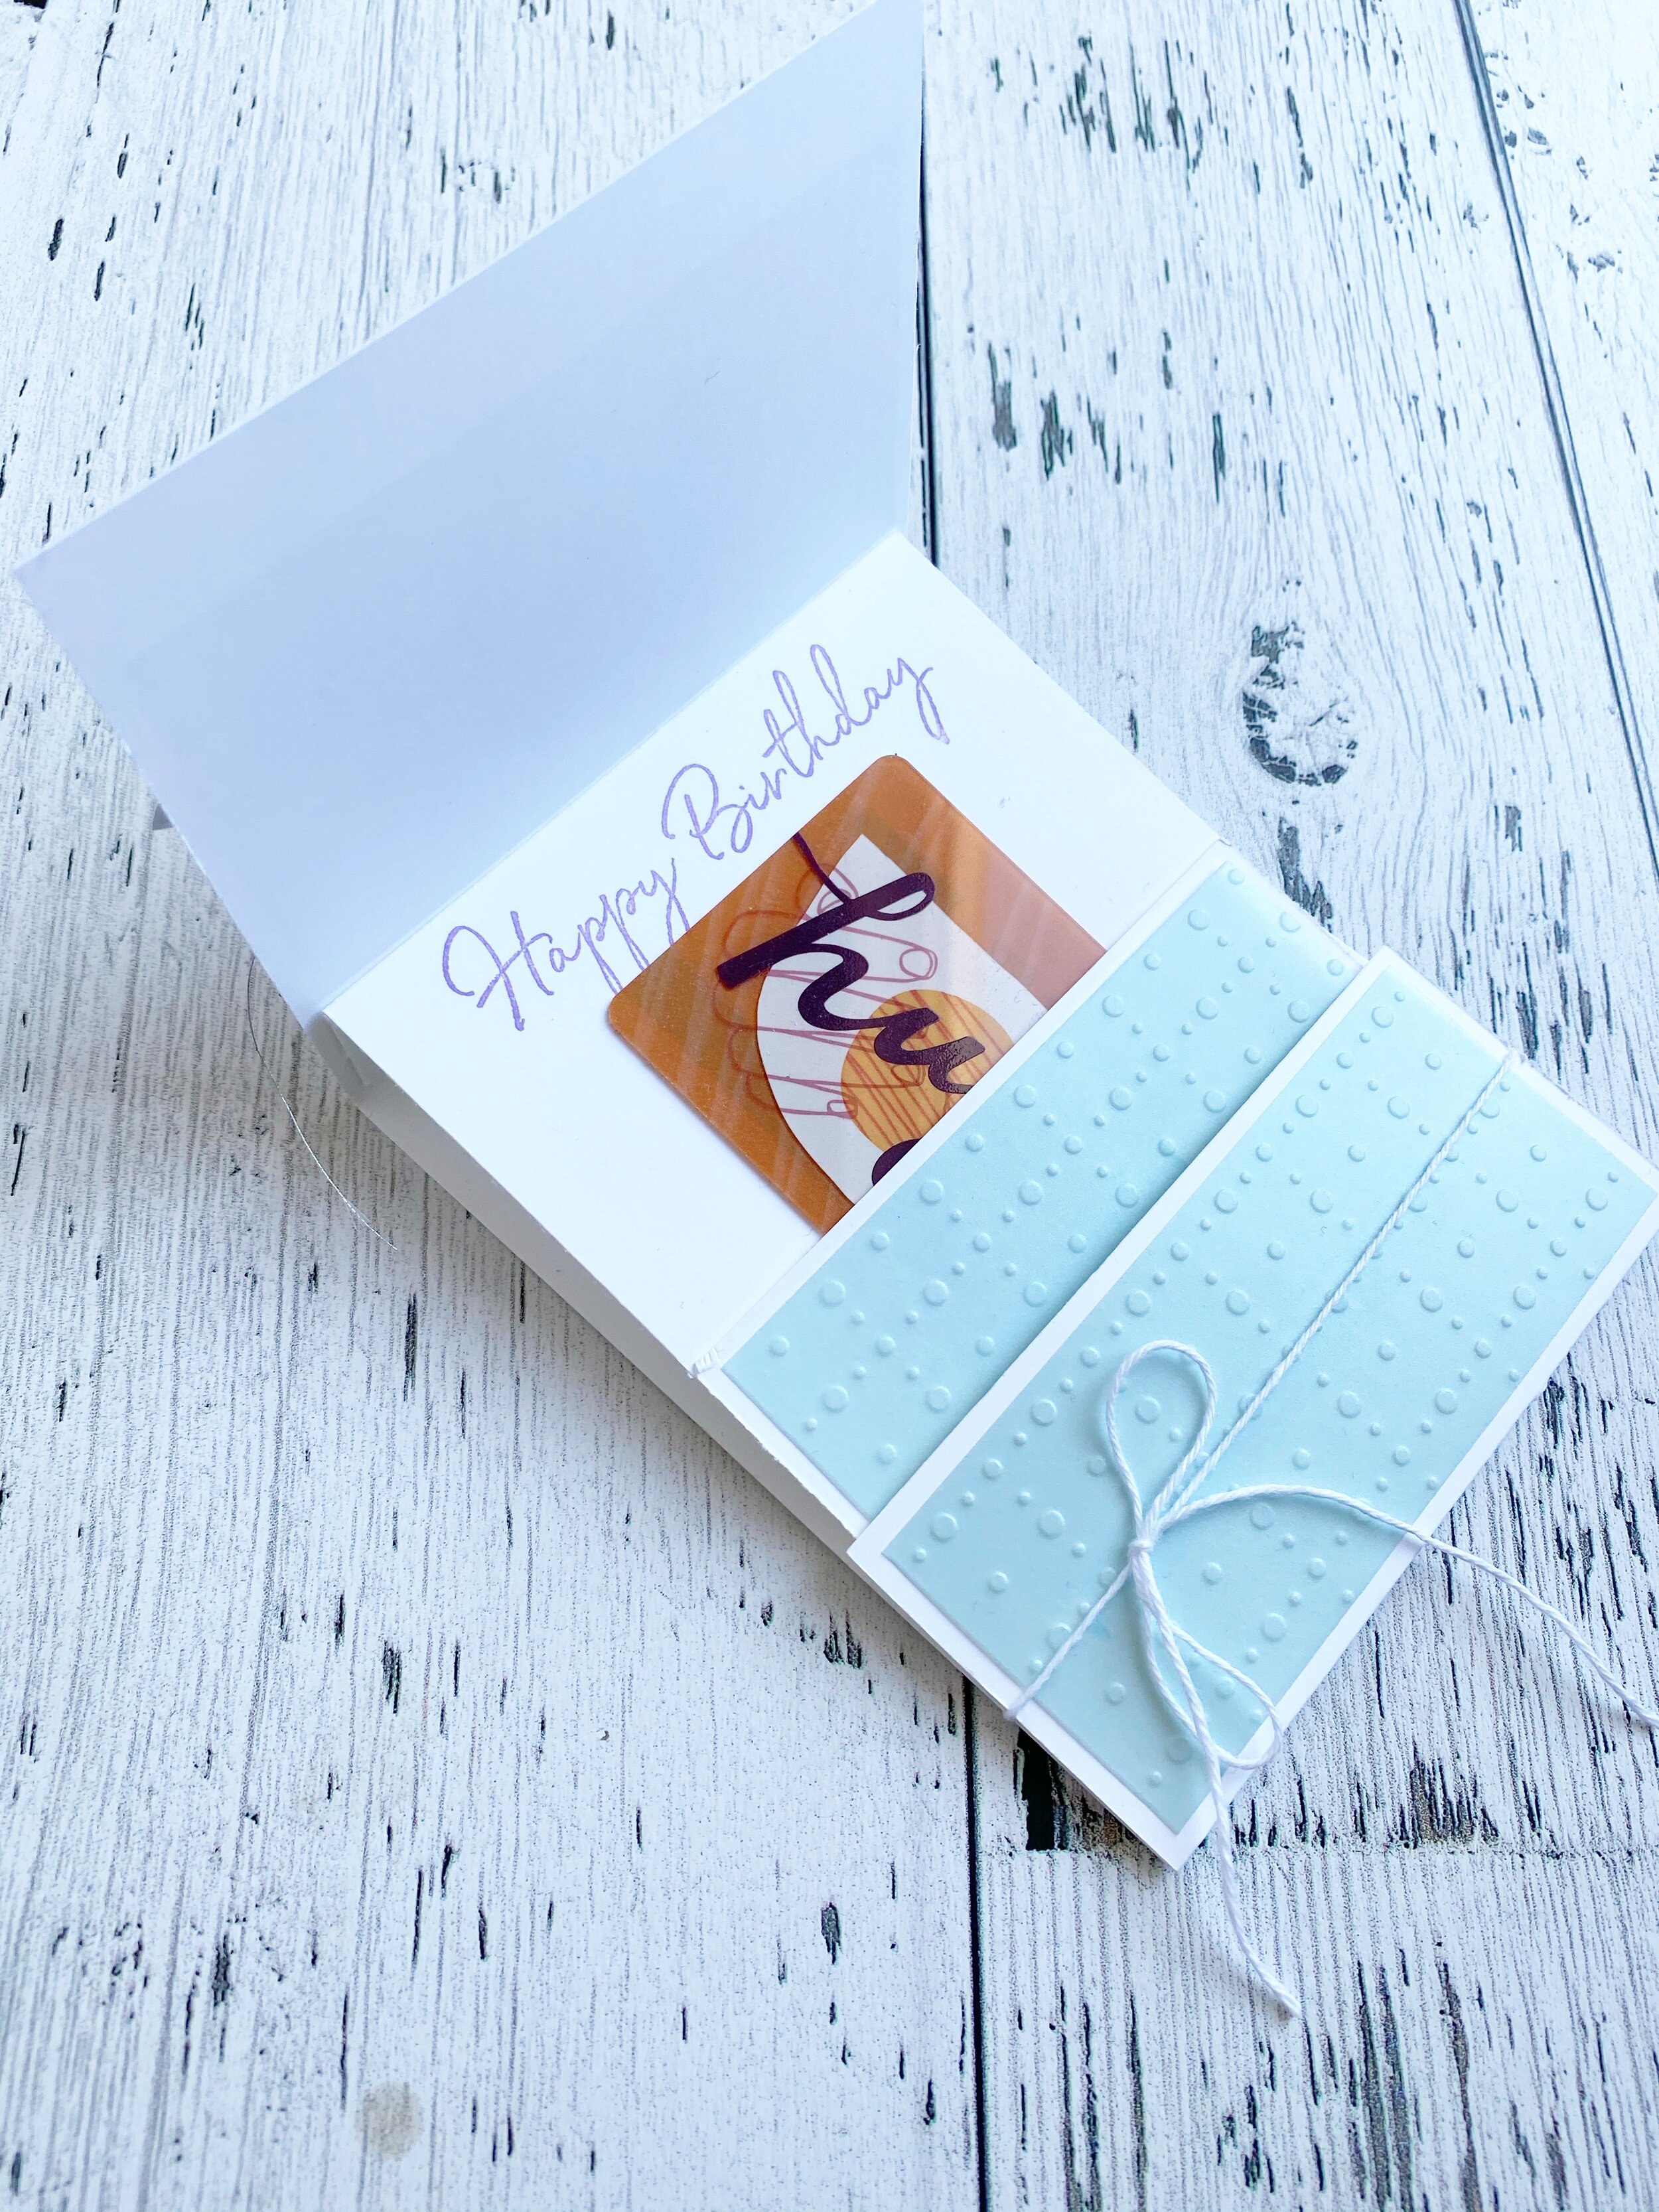
This is the season to send cards but its also the season of gift cards!

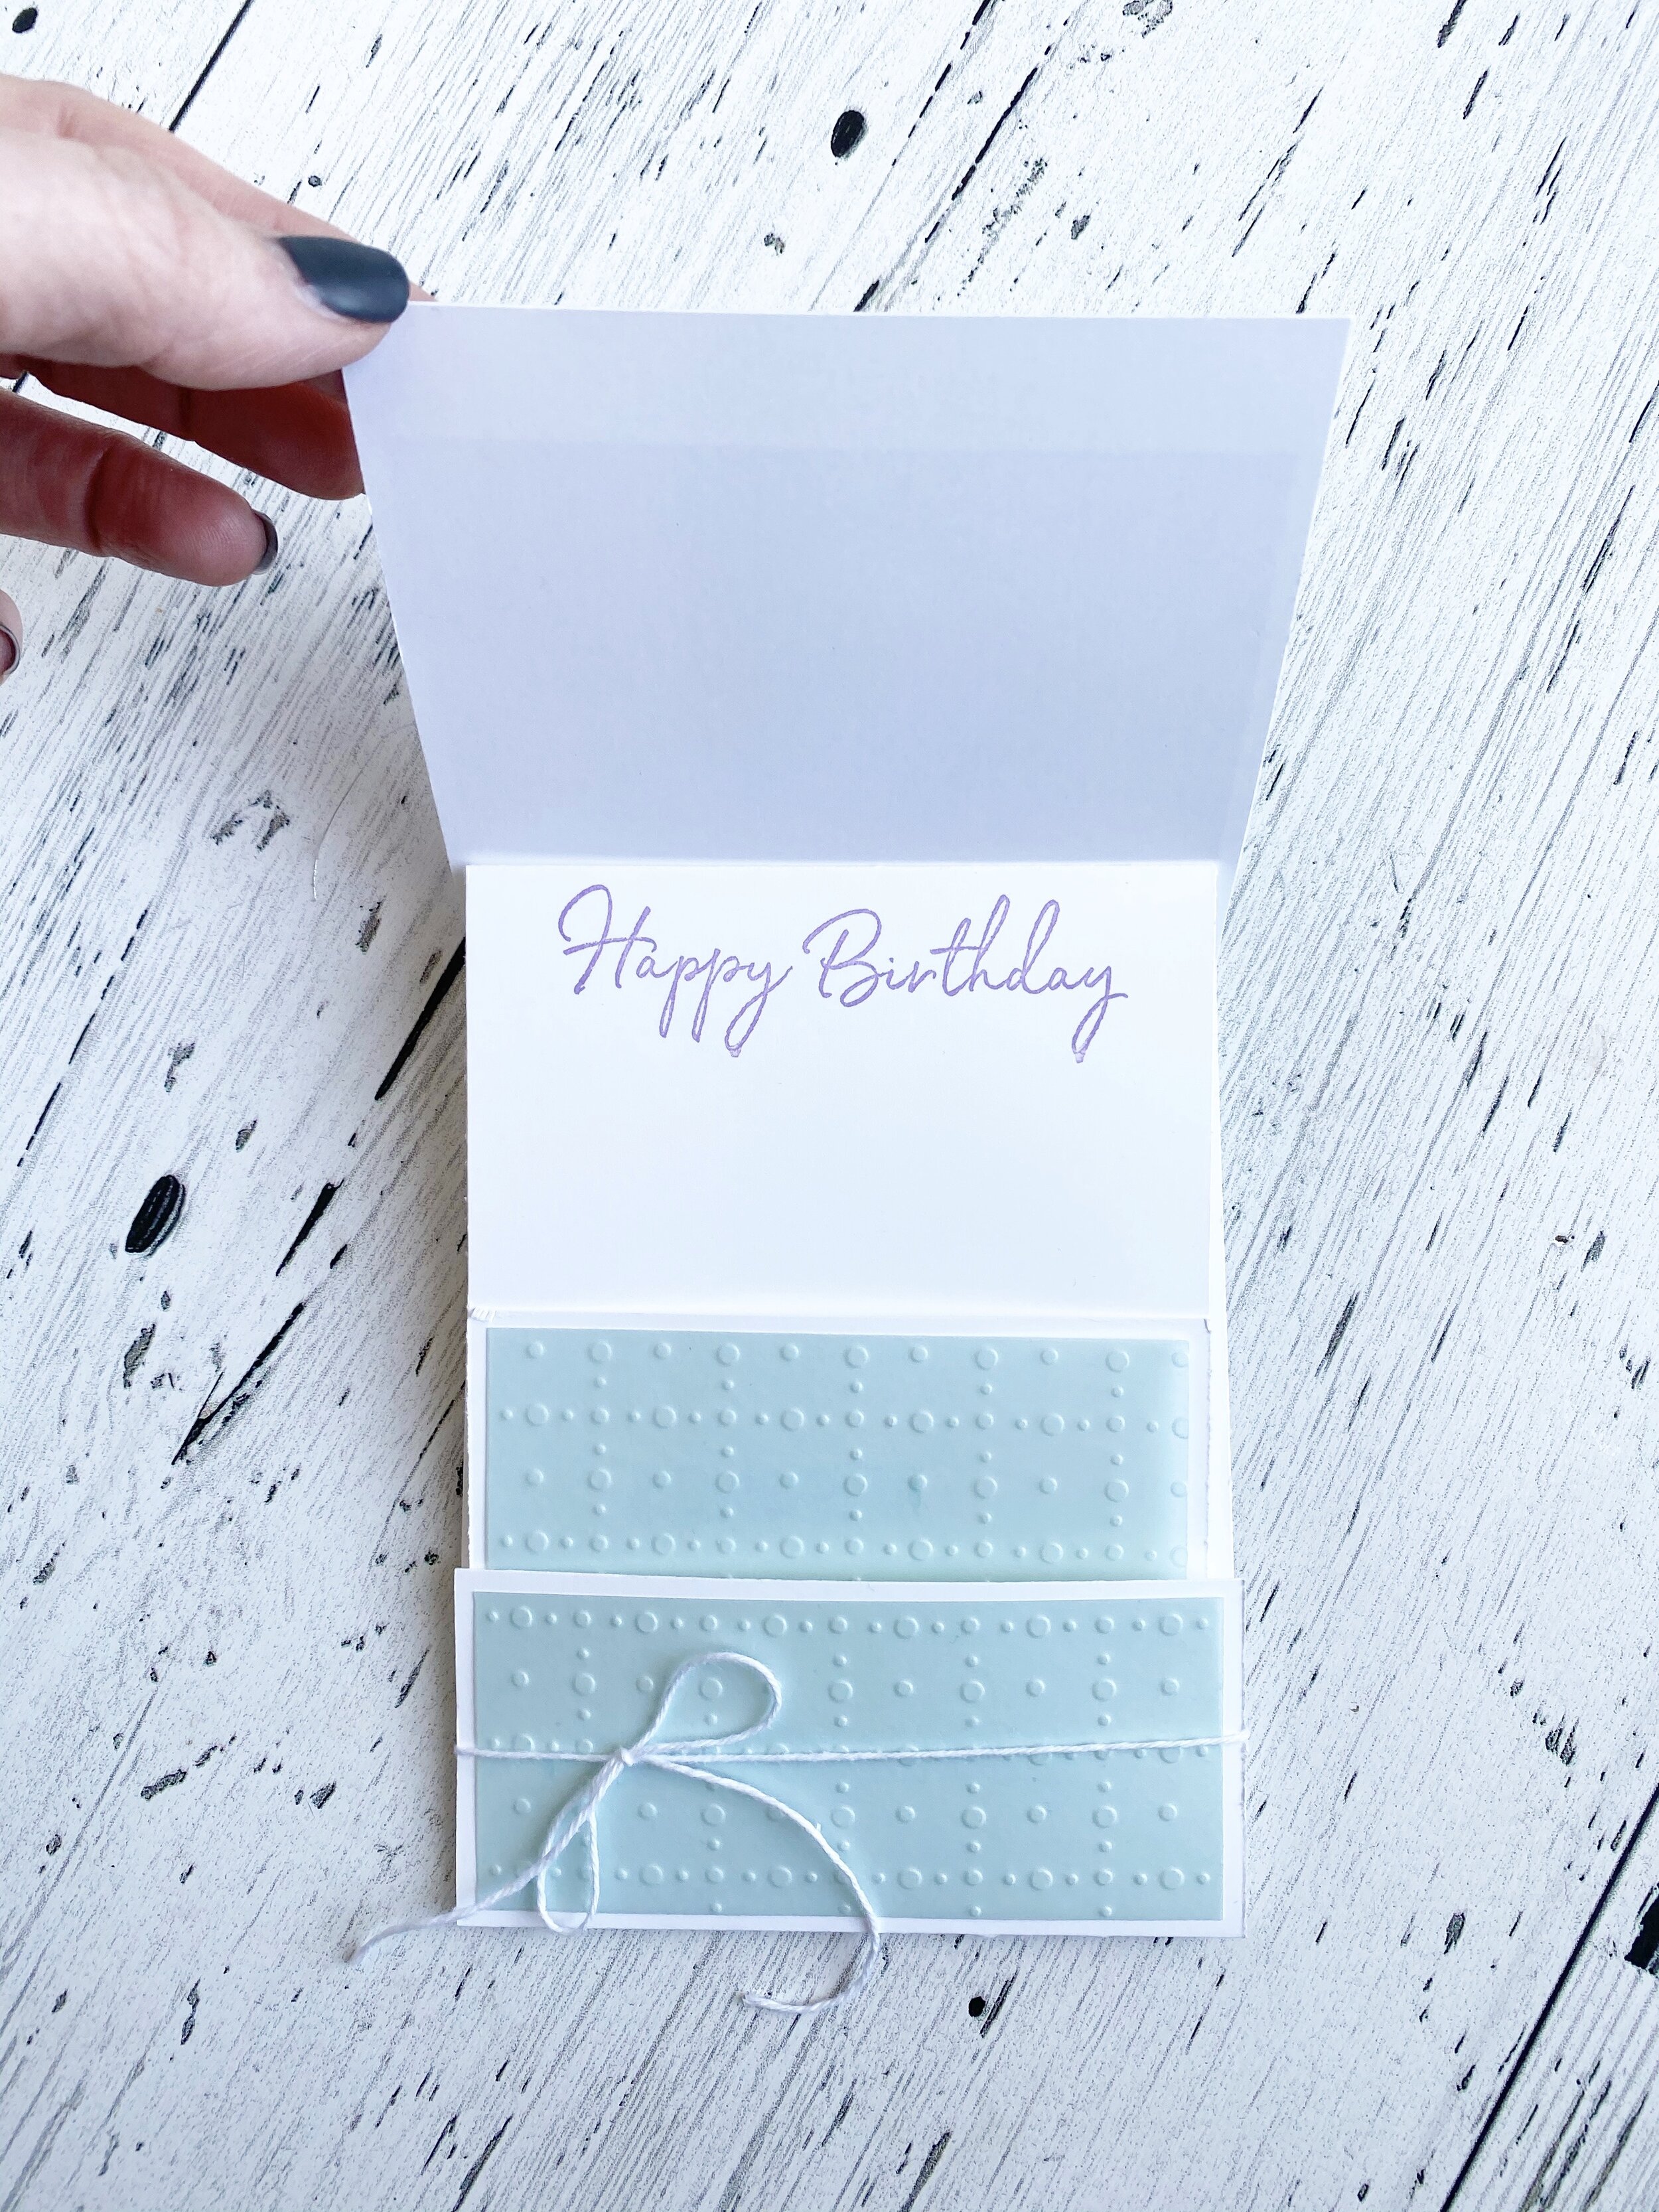
My project today is a fun cheery way to give a gift card. I have 3 teens in my house and lots of teenage nieces and nephews, so gift cards are a popular choice. I also make a cute little box for our holiday table each year that I place a gift card inside, so these little guys are going to be decorating my table for sure!

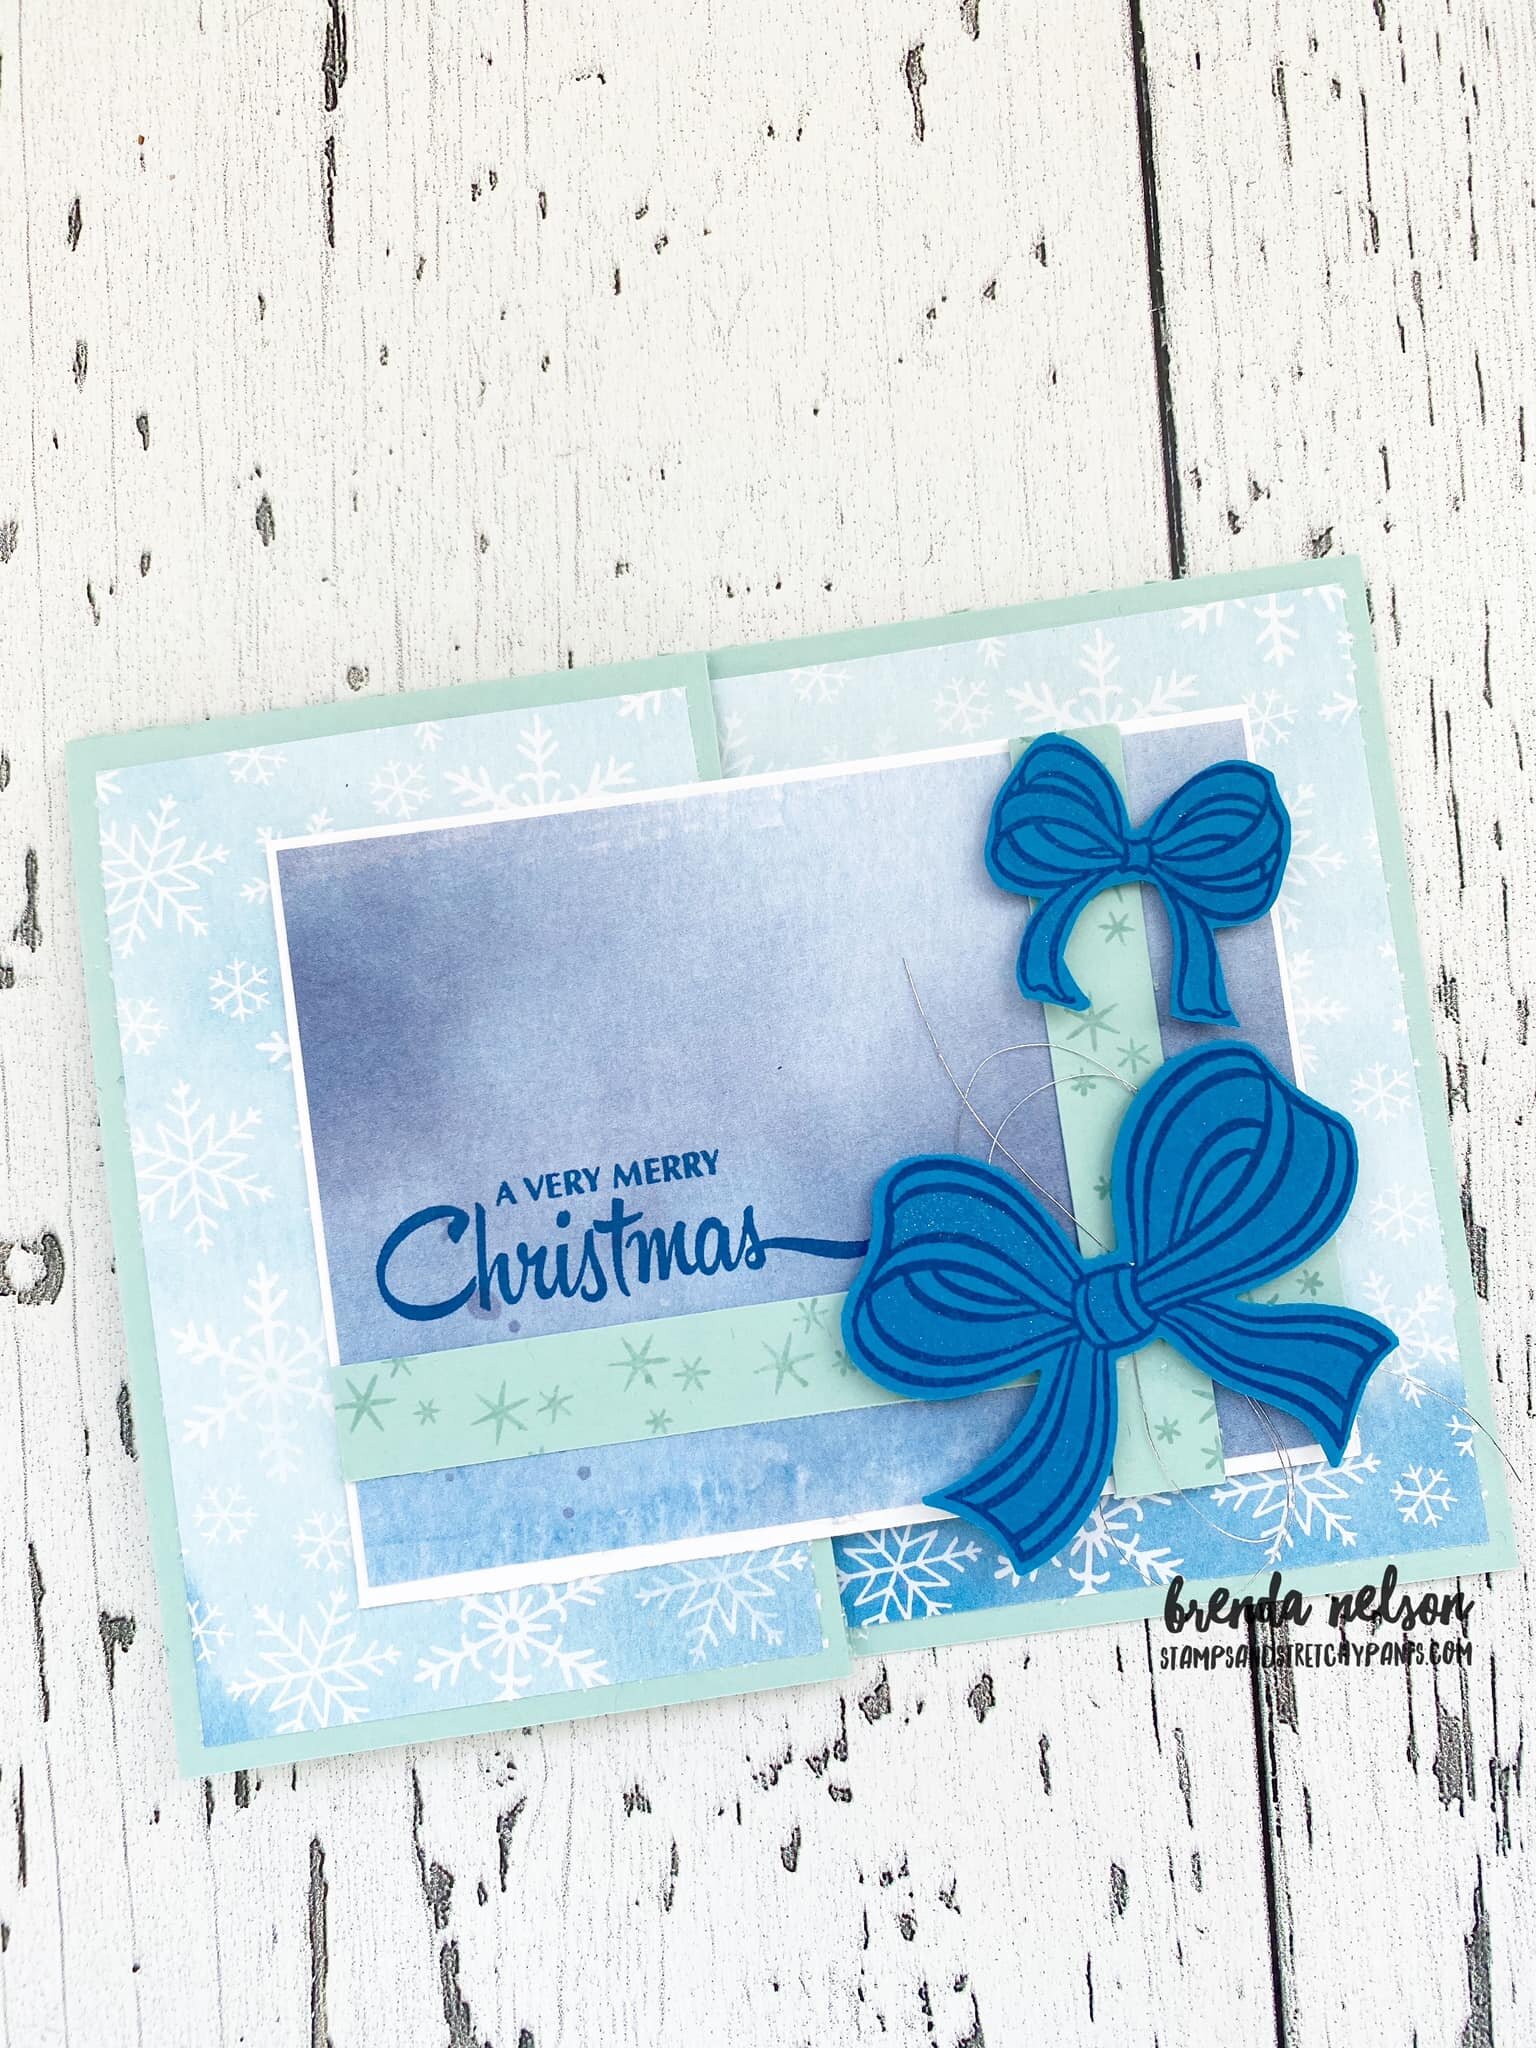
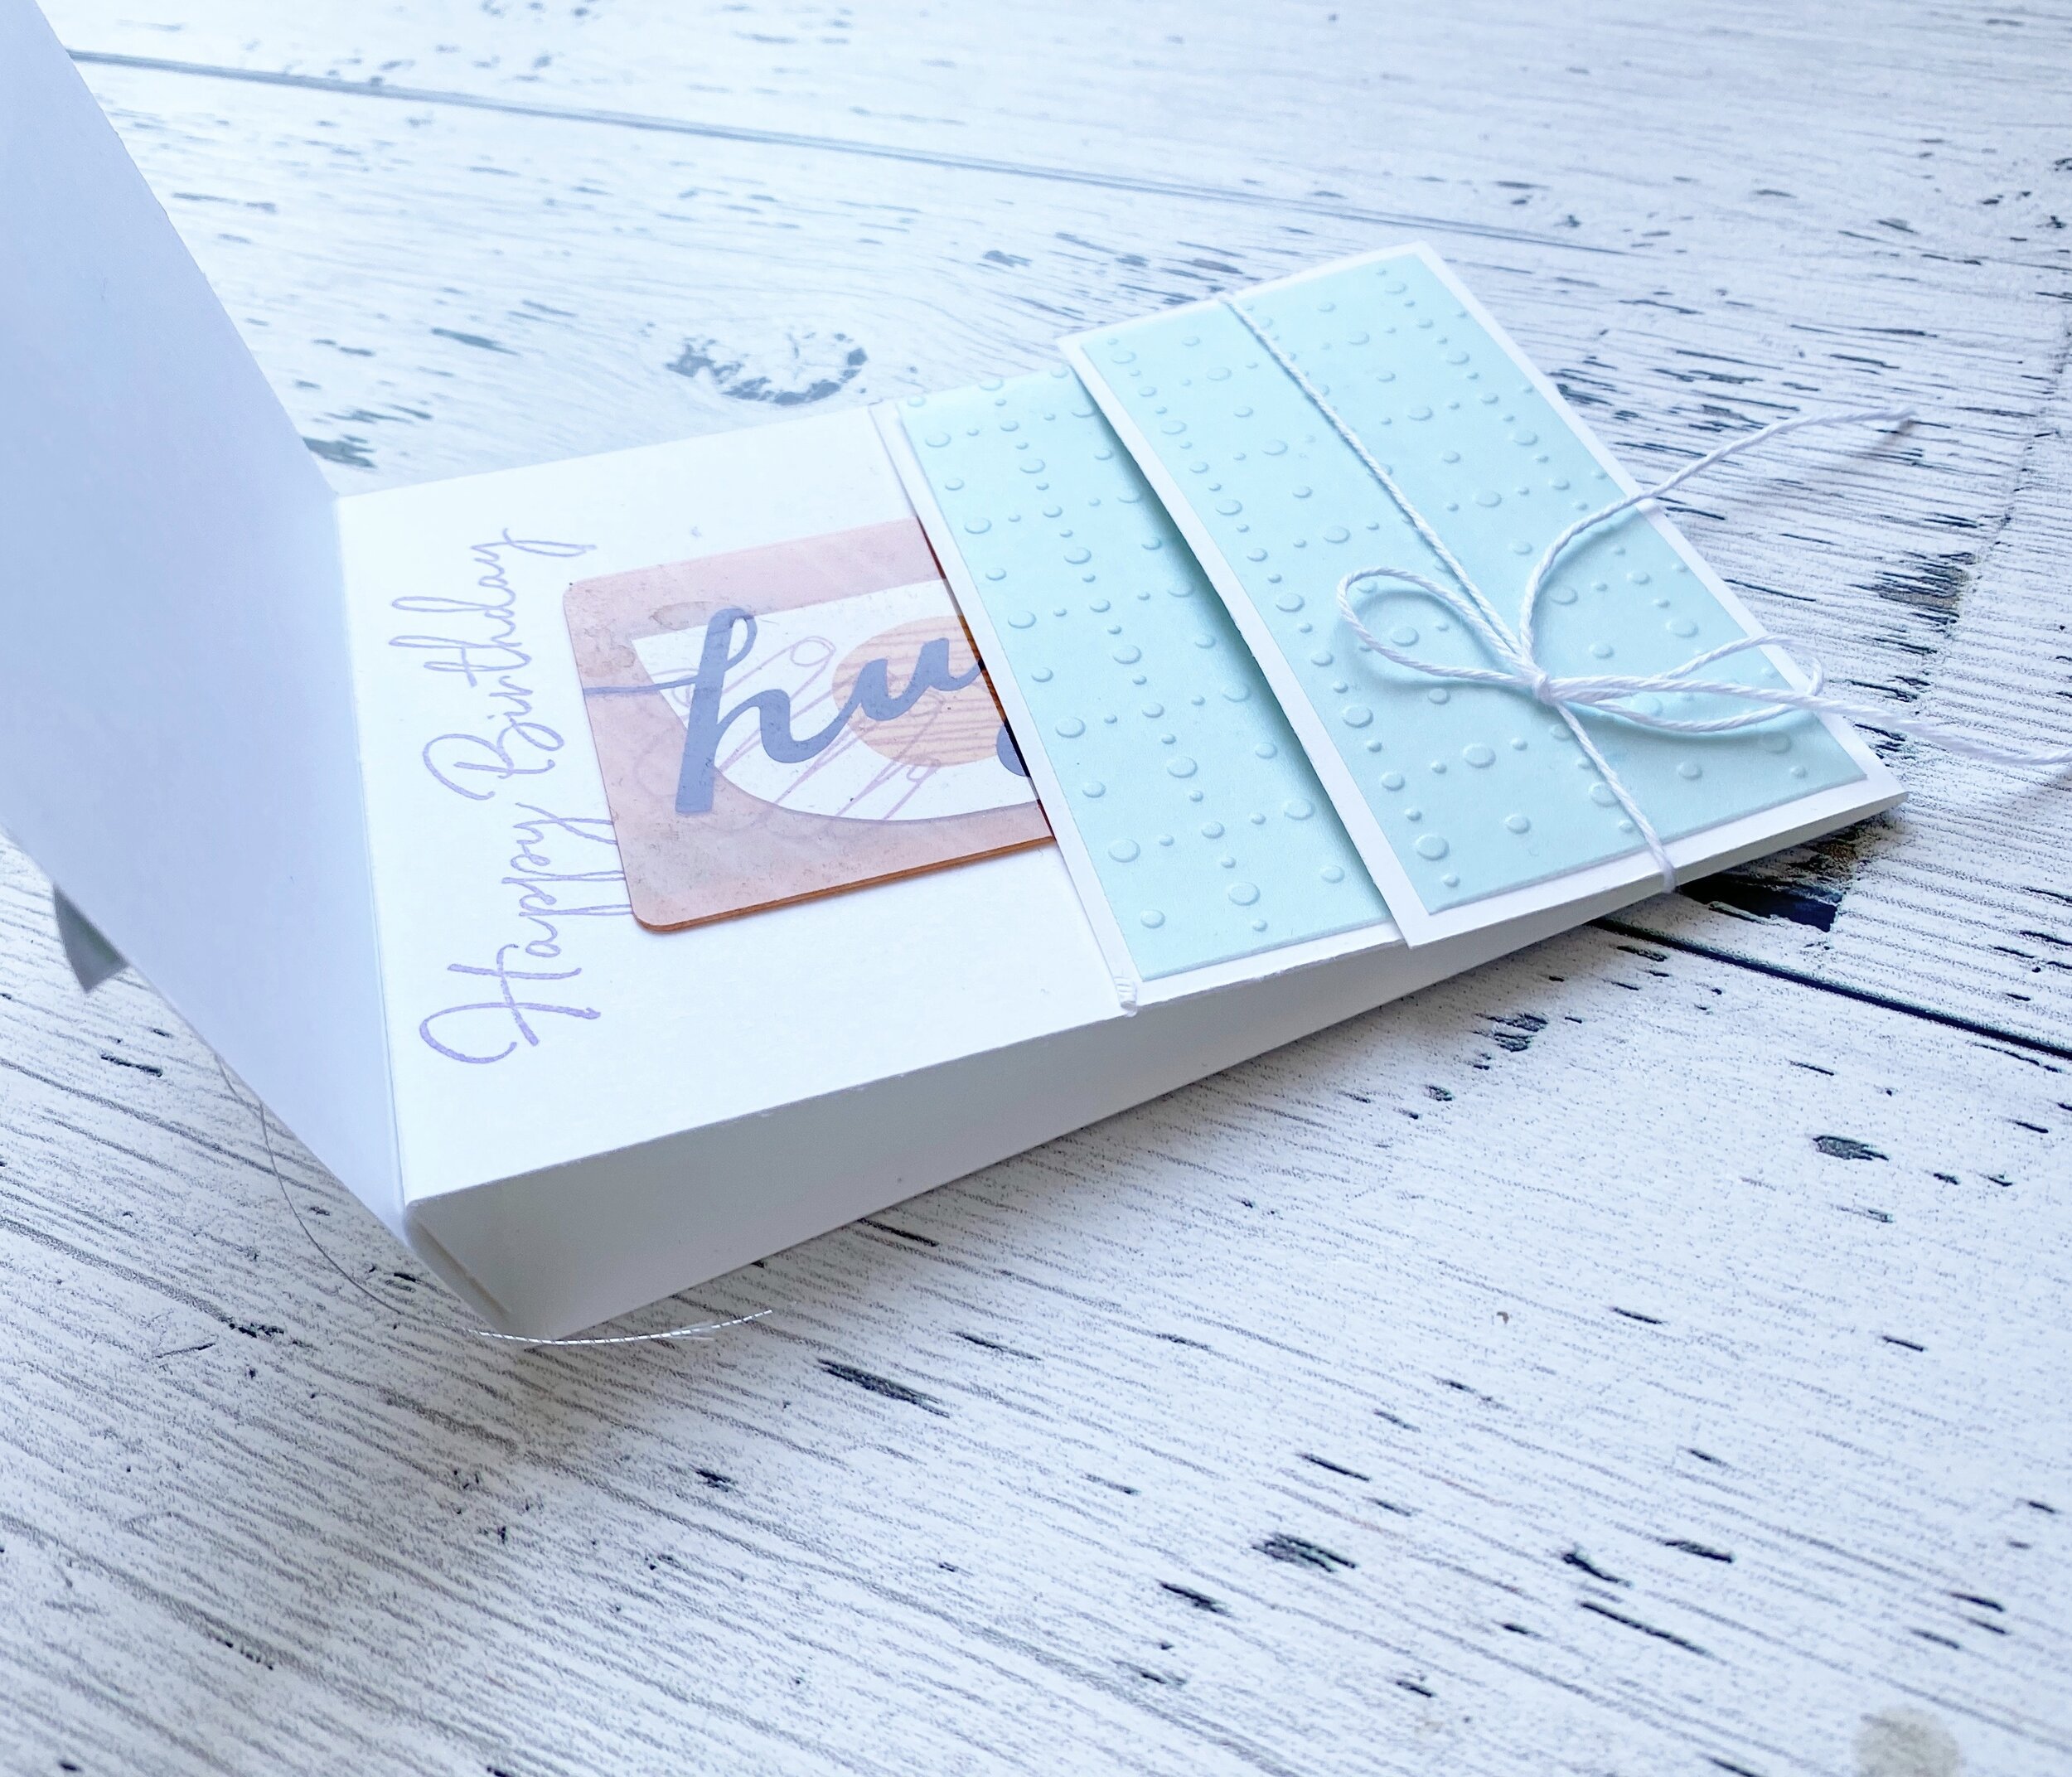
I used our Scallop Gift Card Boxes from the Annual Catalogue for these 2 cute projects, along with the Sending Cheer Bundle and Merry Bold & Bright DSP—you could even include the card I previously shared with your gift card box!


I wrapped a belly band of the star DSP around the top box and made a super cute mini bow to adorn the box. To make a mini bow you need 1 piece of 6x6 DSP that you cut into 1/2 strips and fold into a figure 8 shape. I used our defunct mini stapler to keep the loops together.

You stack them in the shape of a cross or tee, using a mini dimensional to keep them together. You then need one 1/2x3 inch strip attached end to end for the middle. I have a really great reel on my blog from last holiday season that shows you step by step how to make bow. Go check it out @stampwithbrenda

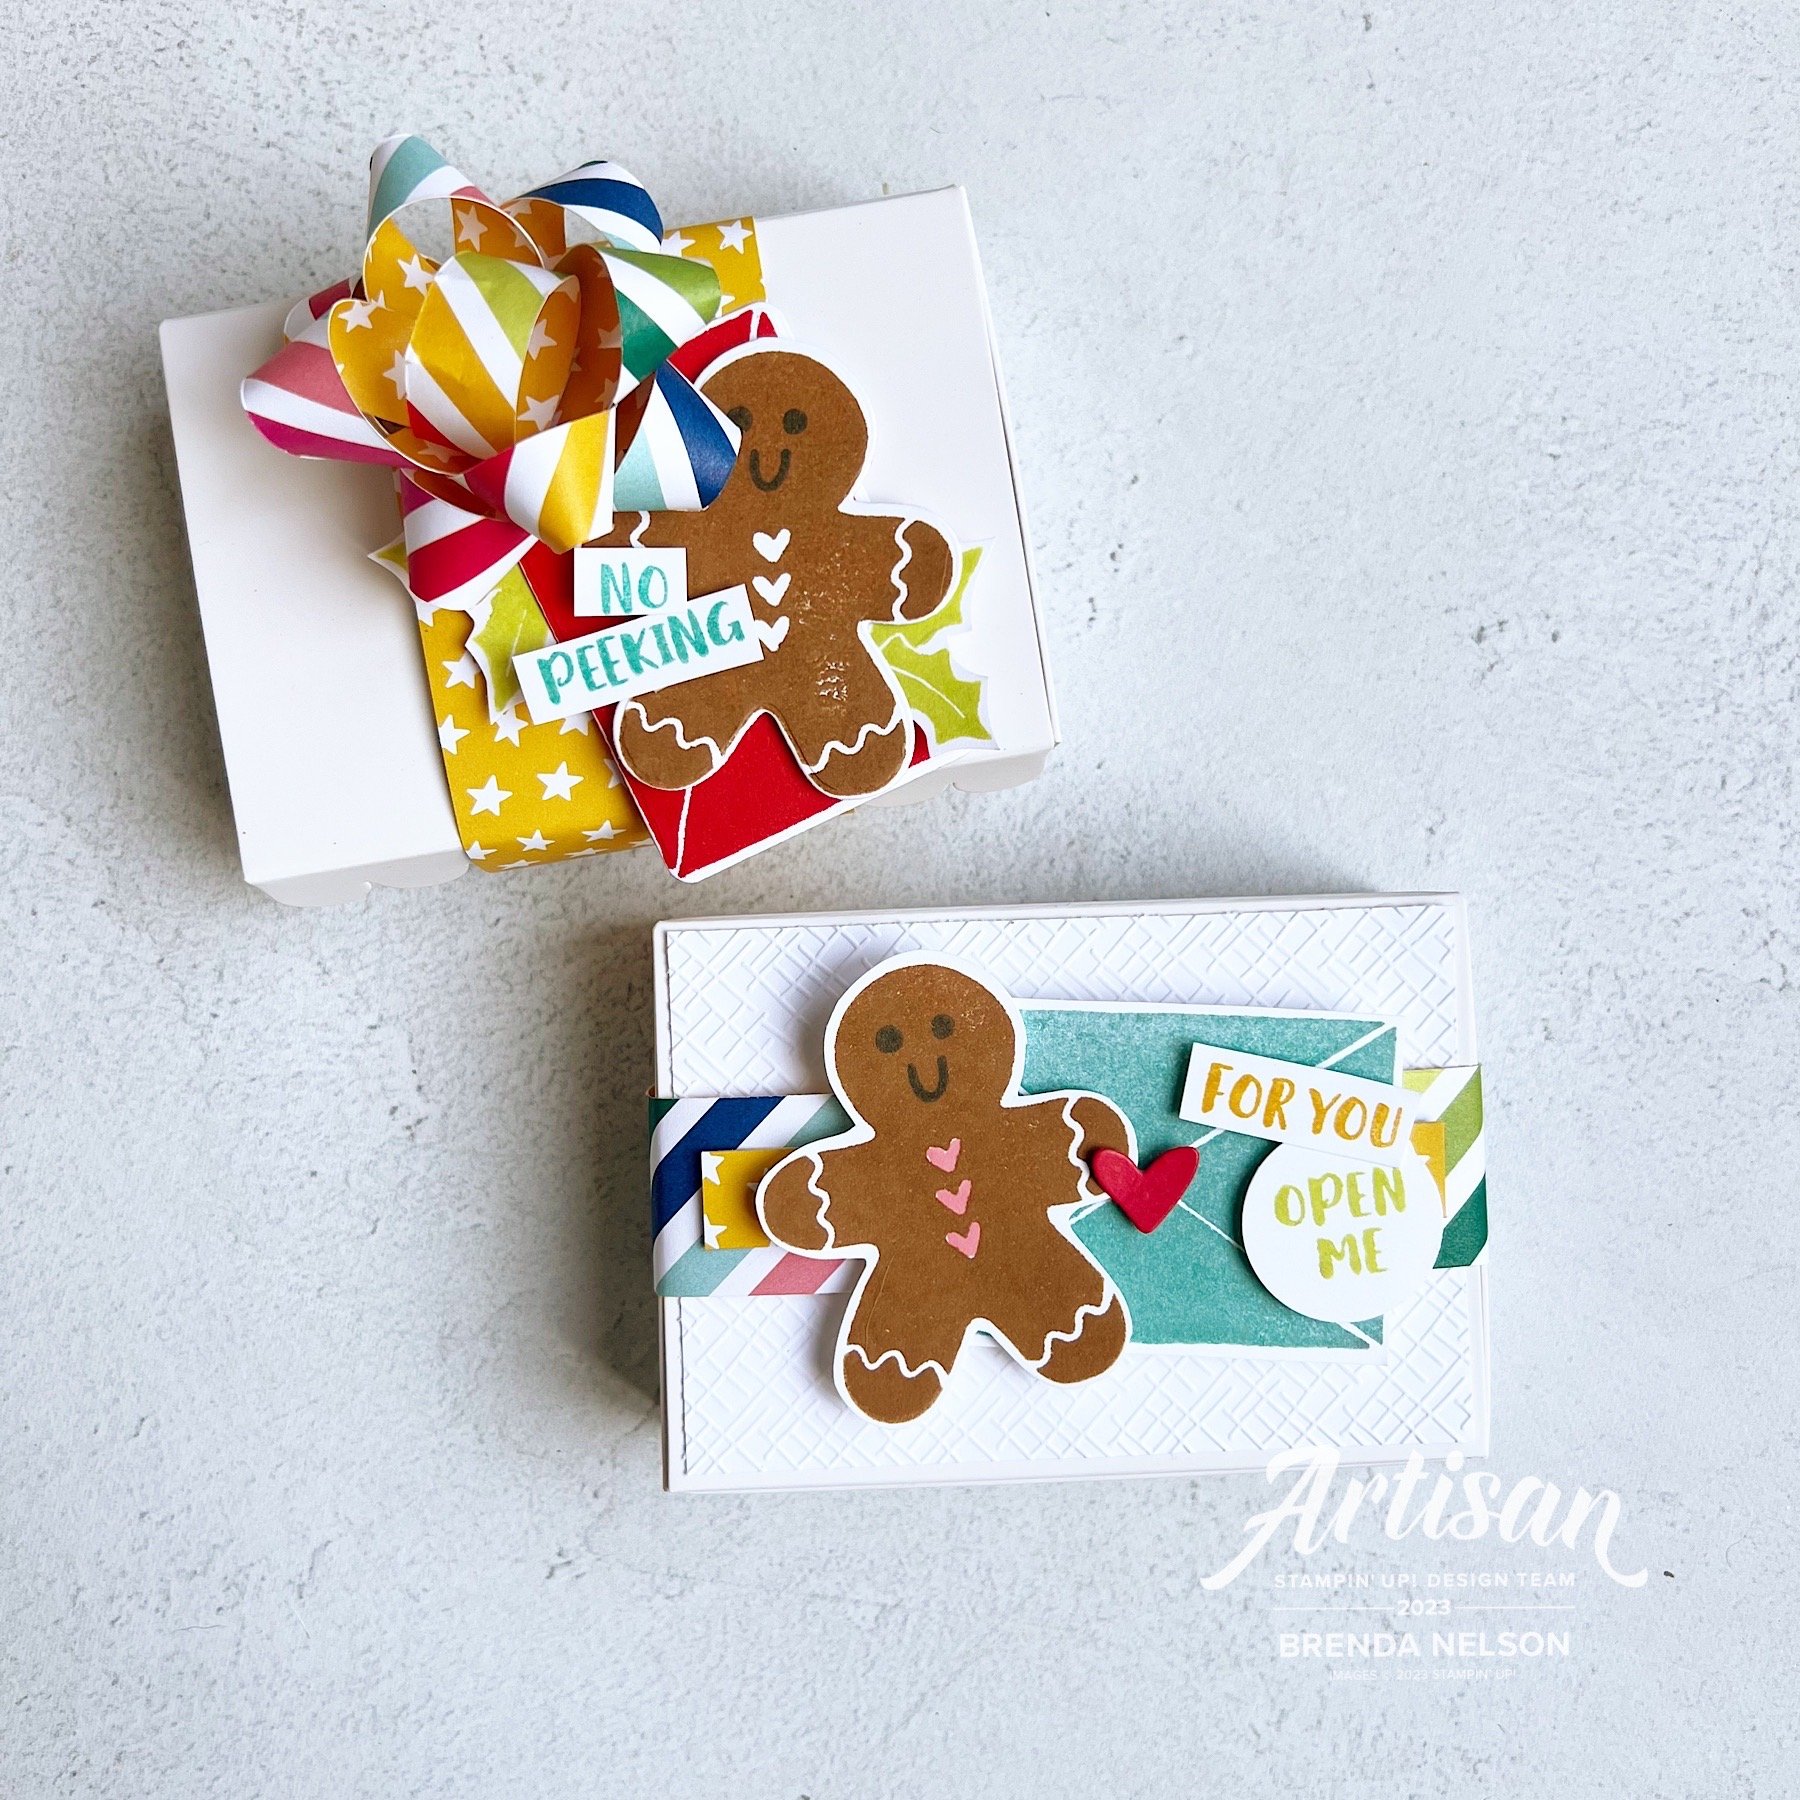
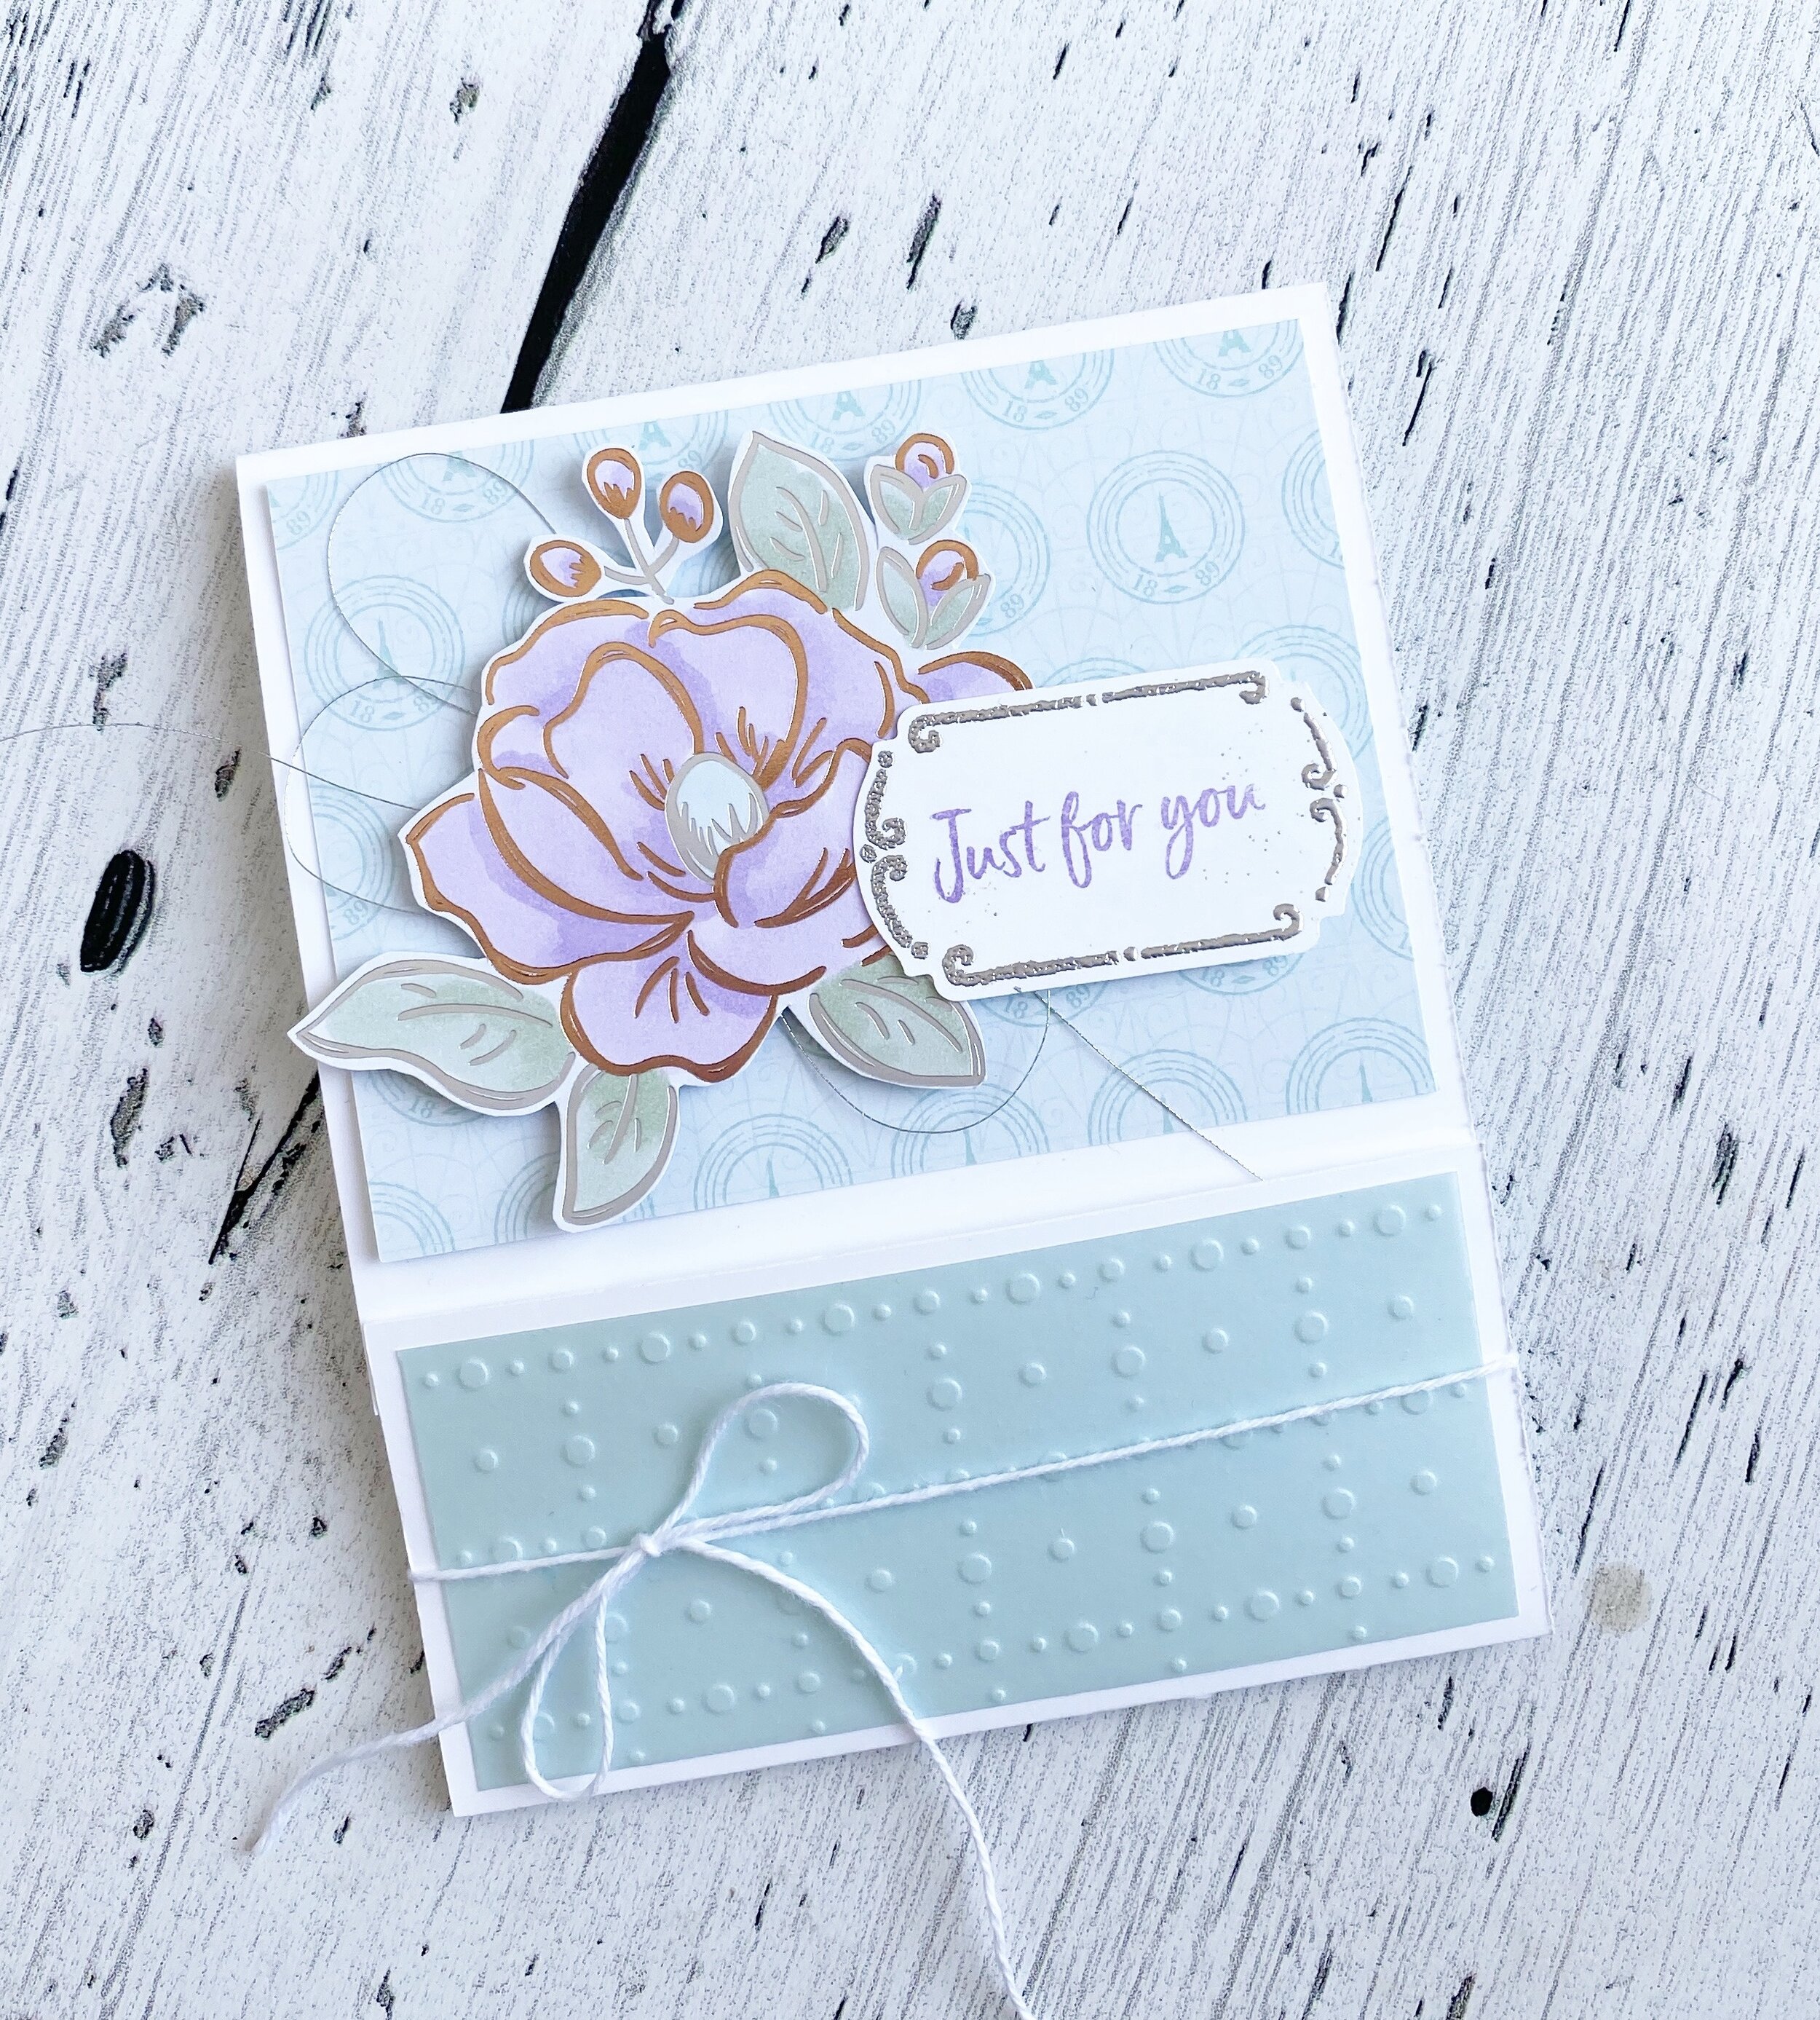
The gingerbread men on both boxes are stamped in Pecan Pie. I used the envelope stamp from the Sending Cheer stamp set on both projects as well. On the top it presents like a tag in Poppy Parade and on the bottom box as its intended, the worlds cutest envelope in Coastal Cabana.

On the bottom box I cut a layer in Basic White and ran it through the 3D Basics Folder for a little texture. The belly band on this project is the fun stripped DSP. I also colored in the little hearts on the gingerbread mans tummy with a Flirty Flamingo Stampin’ Write Marker.

I love these little boxes, they are so festive and fun! I hope you will consider making some too for your family or friends! They will definitely take your gift box level up!

I can’t wait to see what Melanie has designed for us today! Please make sure to go and check out her project!

A Card a Day in December--Day #9

Hello friends! Here is another fun gift card holder idea. It is actually known as a ‘barn door’ gift card holder and I thought it would be a fun project to share as my 9th Holiday card! If you have been following along then you know I do 12 days of Gift Cards for my husband. I actually had him in mind when I created these as they do have more of a masculine feel to them with all of the blue tones.

120087652_3950988378251823_7393277335415621232_o.jpg

What makes this gift card holder unique is it starts with a typical card base size— 5 1/2 x 4 1/4 so you can get 4 bases from one sheet of card stock. Love that!

I wanted to use the Snowflake Splendor Designer Series Paper as the color palette has so many options that you can choose from for card bases! This particular one features Pacific Point.

The Gift Wrapped Bundle was an easy choice to use to create this gift card holder!


To create the ‘barn door’ or flip up section you will cut a piece of card stock to 4 1/4 x 2 1/4 and attach it to the left side of the base. The base designer series is cut so that it covers this ‘seem’ and then beside I added a panel of Whisper White where I did a little stamping and you have a place to write a special message.

I used the Classic Label punch to make a slit on the top flap that your gift card tucks into.

It is then hidden by a front panel that doubles as the card front.

I found this DSP so easy to work with to mix and match the patterns to create a few different gift card variations.

122219011_4031555820195078_4810462249955125759_o.jpg
120135078_3950988631585131_2305485365263012929_o.jpg

This one is on a Pool Party base. I wanted the front of the gift cards to look like wrapped presents and it was pretty easy with the Gift Wrapped stamp set. There are 5 different bow designs in this set and the font as a nostalgic feel to it.


I hope you have been enjoying all of my projects so far!

IMG_0080.png
120164497_3950988304918497_202985258323315200_o.jpg

Birthday Gift Card Holder

I recently participated in a card swap that my upline coordinated. The theme was a birthday gift card holder. I had came across another swap I had made that was laying on my desk and it gave me the inspiration for this one, updated with new stamps and products of course! I think this style of card is called a Matchbook, I could be wrong but that is what I think of at least!

I used two of the new Sale-a-bration second release products, the So Very Vellum and Flowering Foils DSP. I actually really loved colouring the flower with my Blends. I used Purple Posey, Highland Heather (light), Soft Seafood and Pool Party (light) for the flowers. The stamp is from the Tags in Bloom Sale-a-bration stamp set that coordinates with both the Label Me Fancy and the Label Me Lovely punches.

IMG_0785.PNG

I hope these visual instructions help you in recreating this project. It is not as complicated as it seems and is a great way to use up DSP!

final.jpg