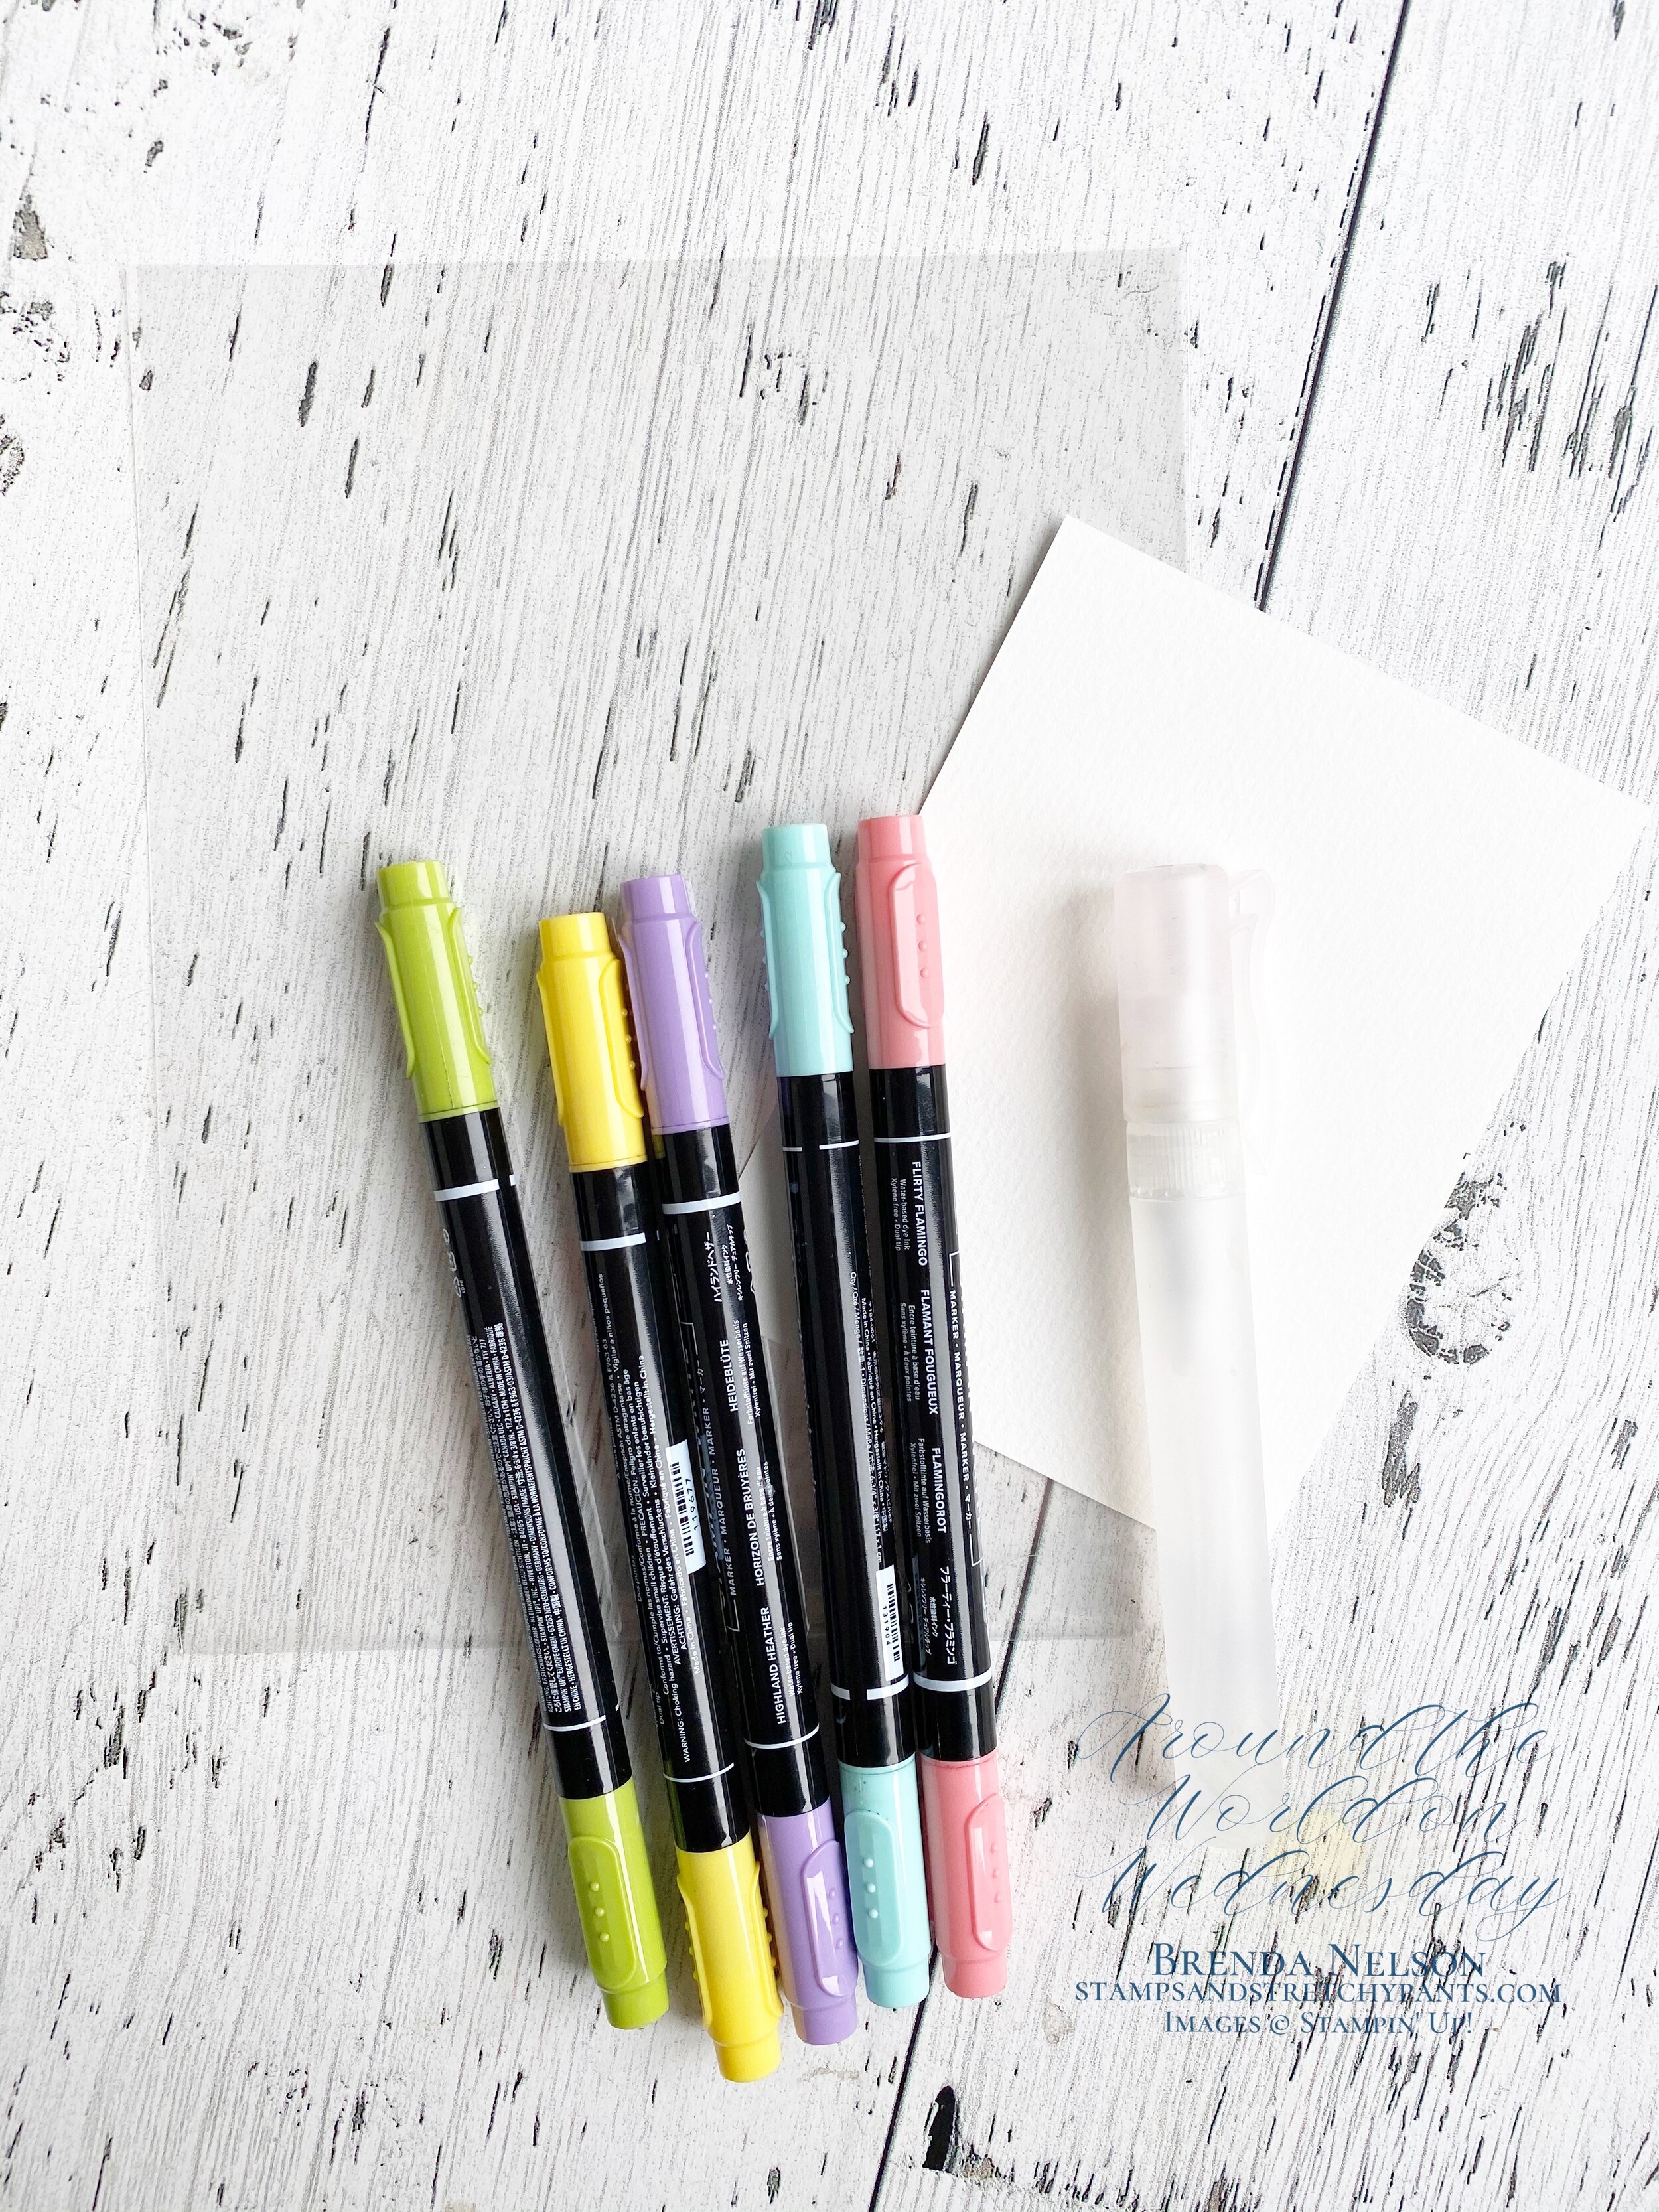
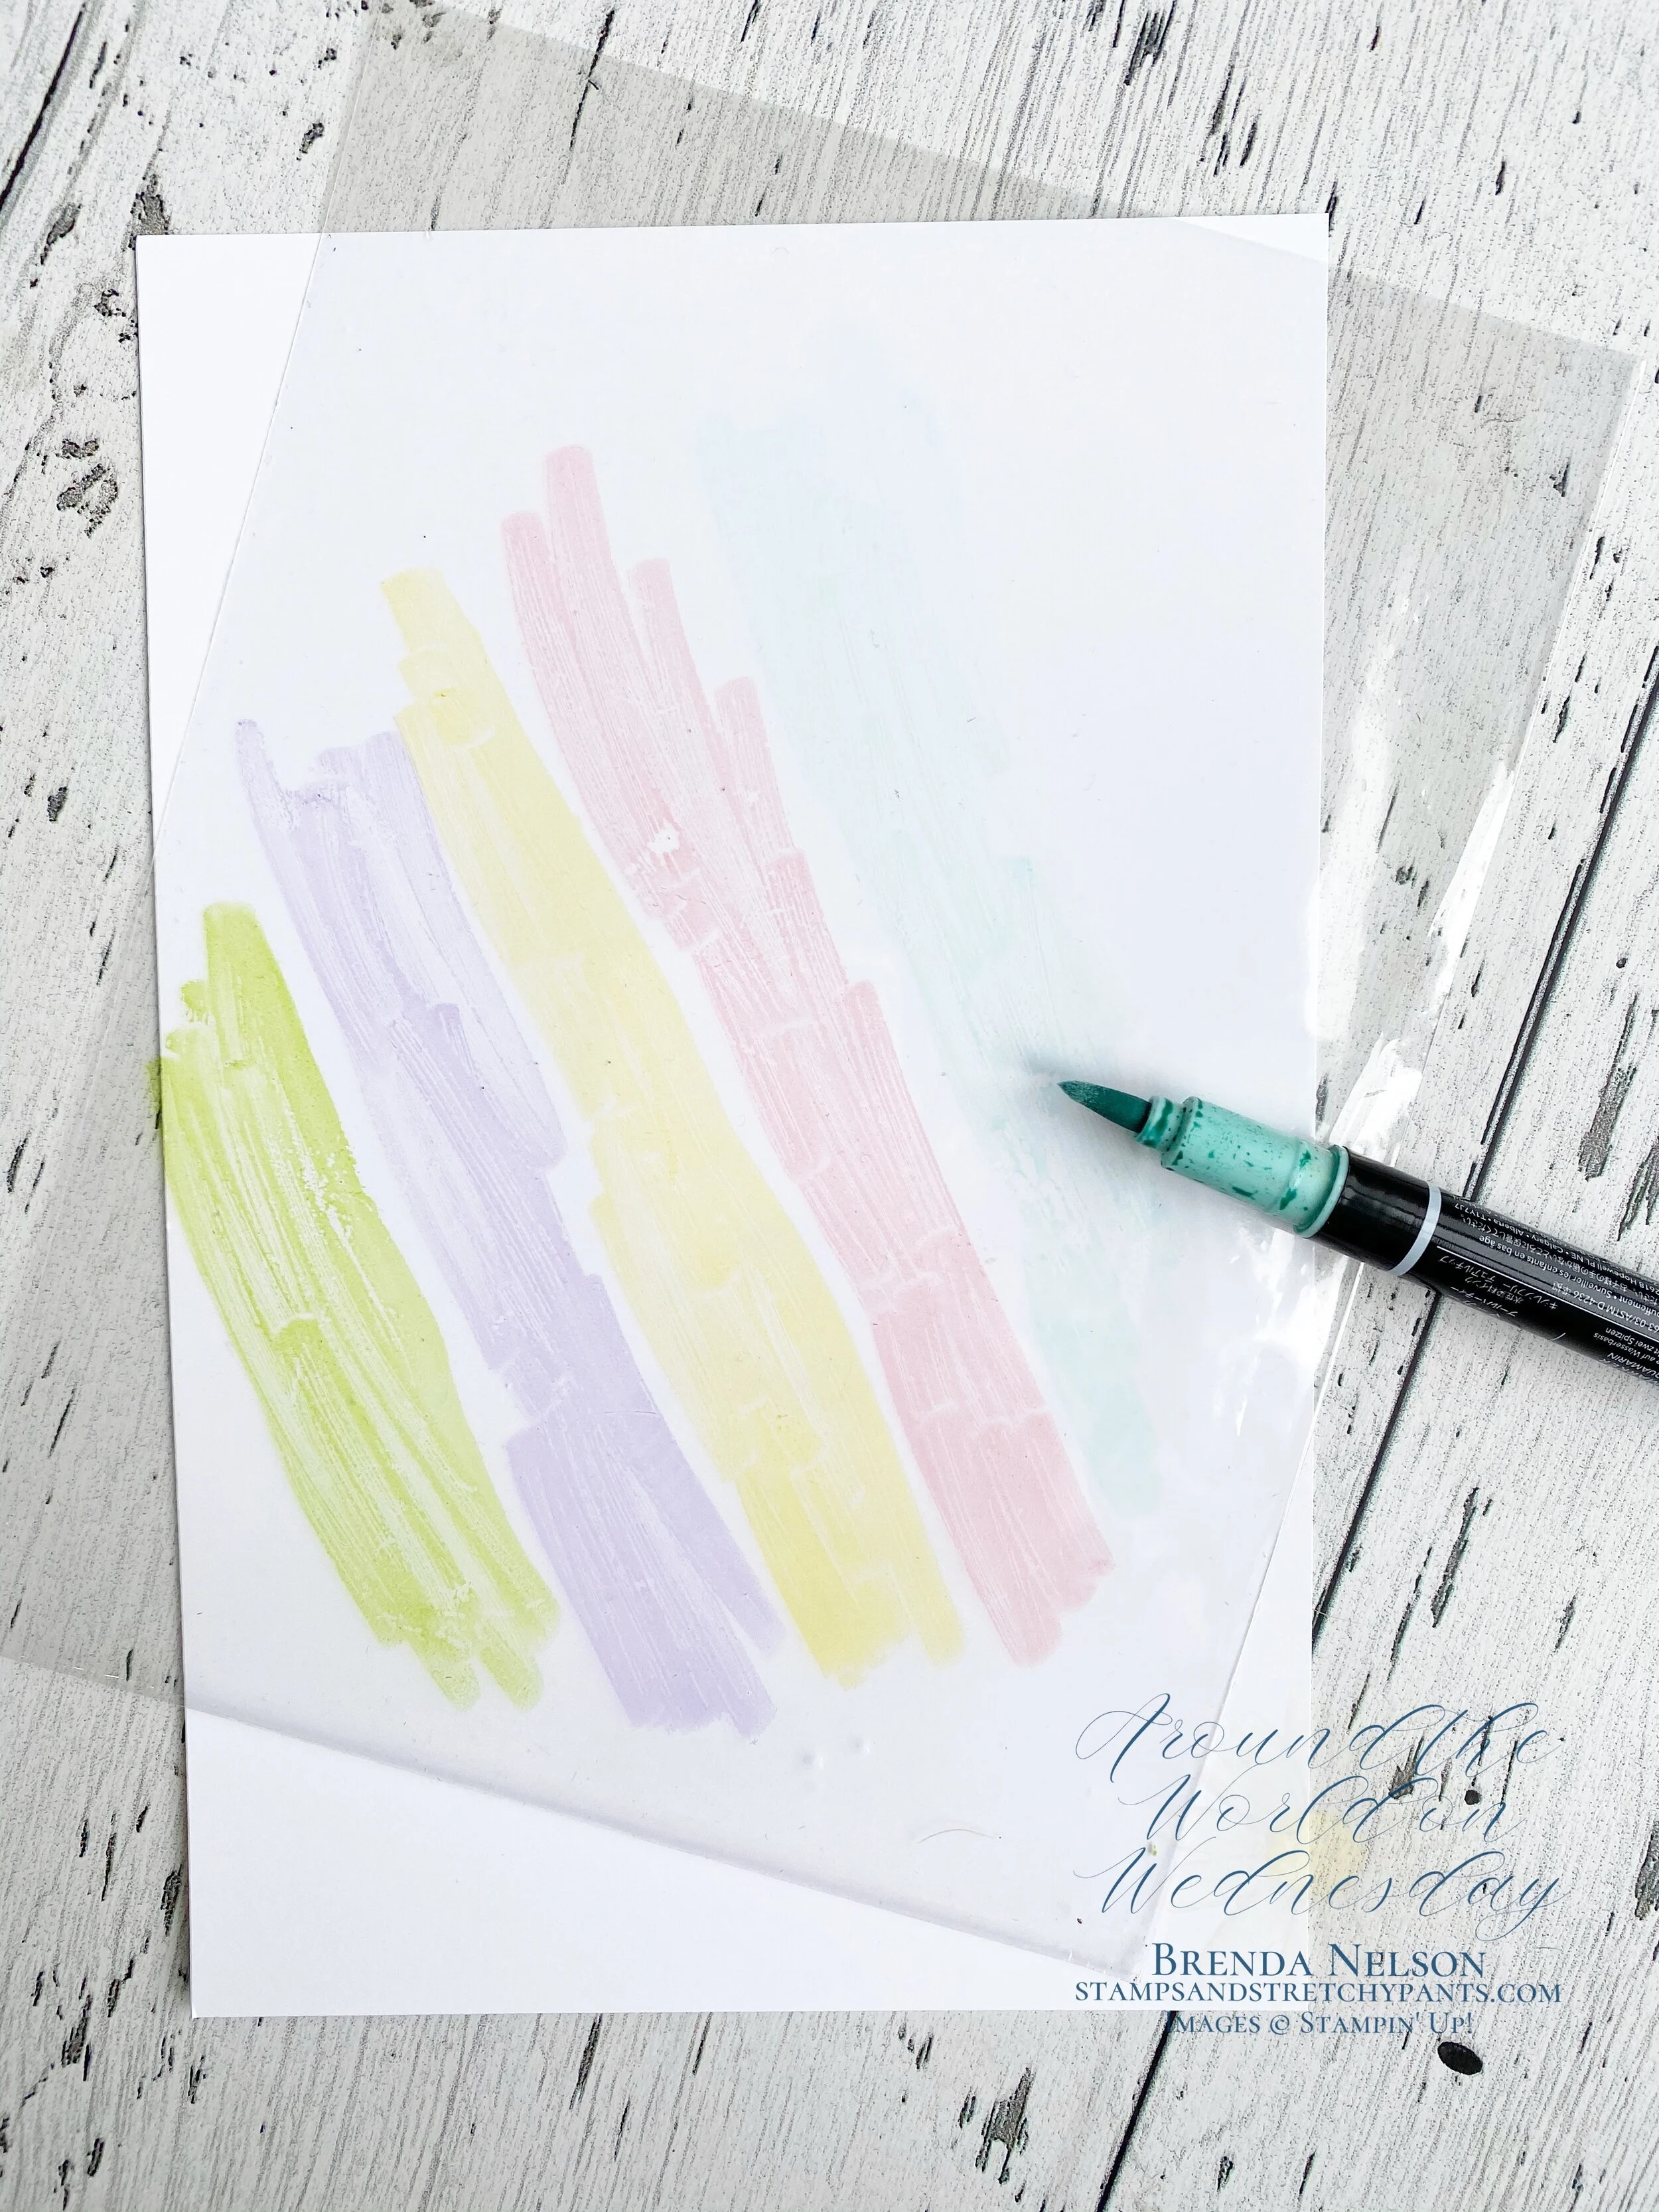
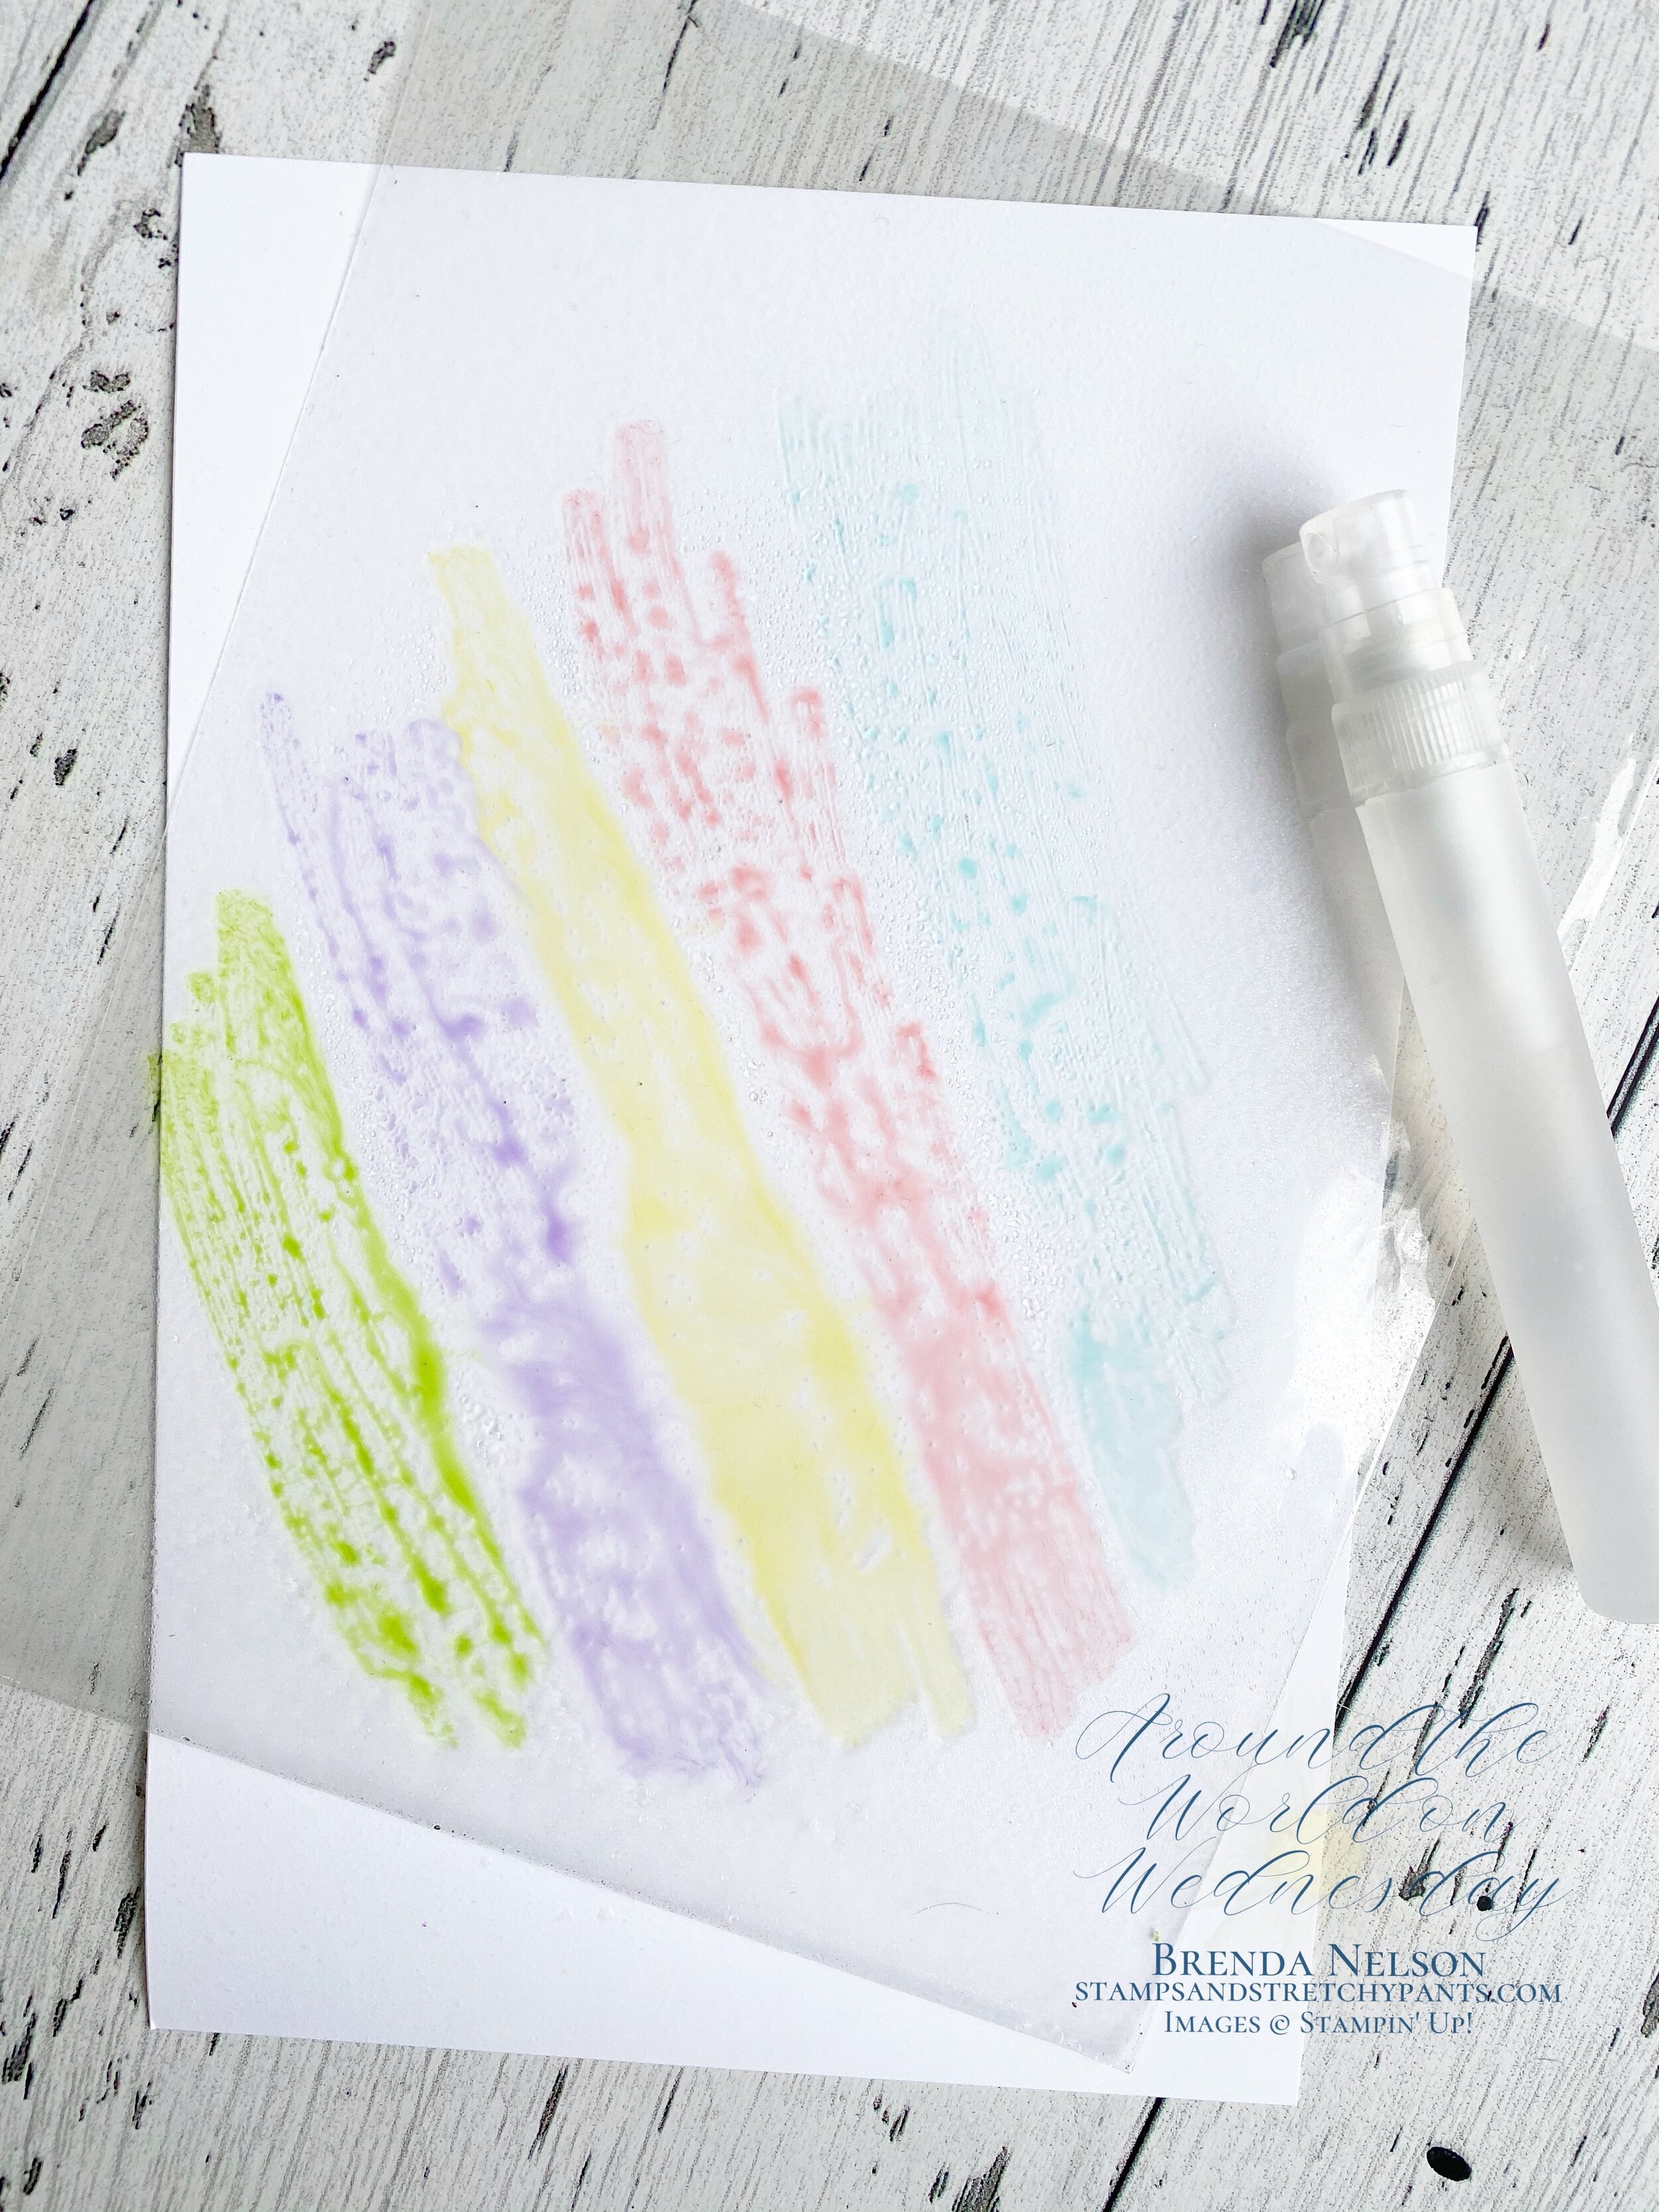
Scrappy Strip Technique

Well it is true that Bruno Bertucci’s Scrappy Strip technique is taking the world by storm! It is a really easy technique and a great one to share virtually in a team meeting or class. I recently shared the technique with my team and then went on to make a whole bunch of these cards for Mother’s Day. This technique is a great way to use up scraps and showcase our wonderful DSP.

After creating a card with this technique I decided to apply the technique to a scrapbook page, and I absolutely LOVE how it turned out!

final.jpg

My Scrappy Strip card features the Best Dressed DSP which is in the current Occasions Catalogue. The flower is from the Healing Hugs stamp set and is stamped in Highland Heather. The Textile Ribbon in Mint Macaron is perfect for this card. You can find the Happy Mother’s Day sentiment in the Itty Bitty Greetings stamp set. Both stamp sets are in the Idea Book & Catalogue.

final.jpg

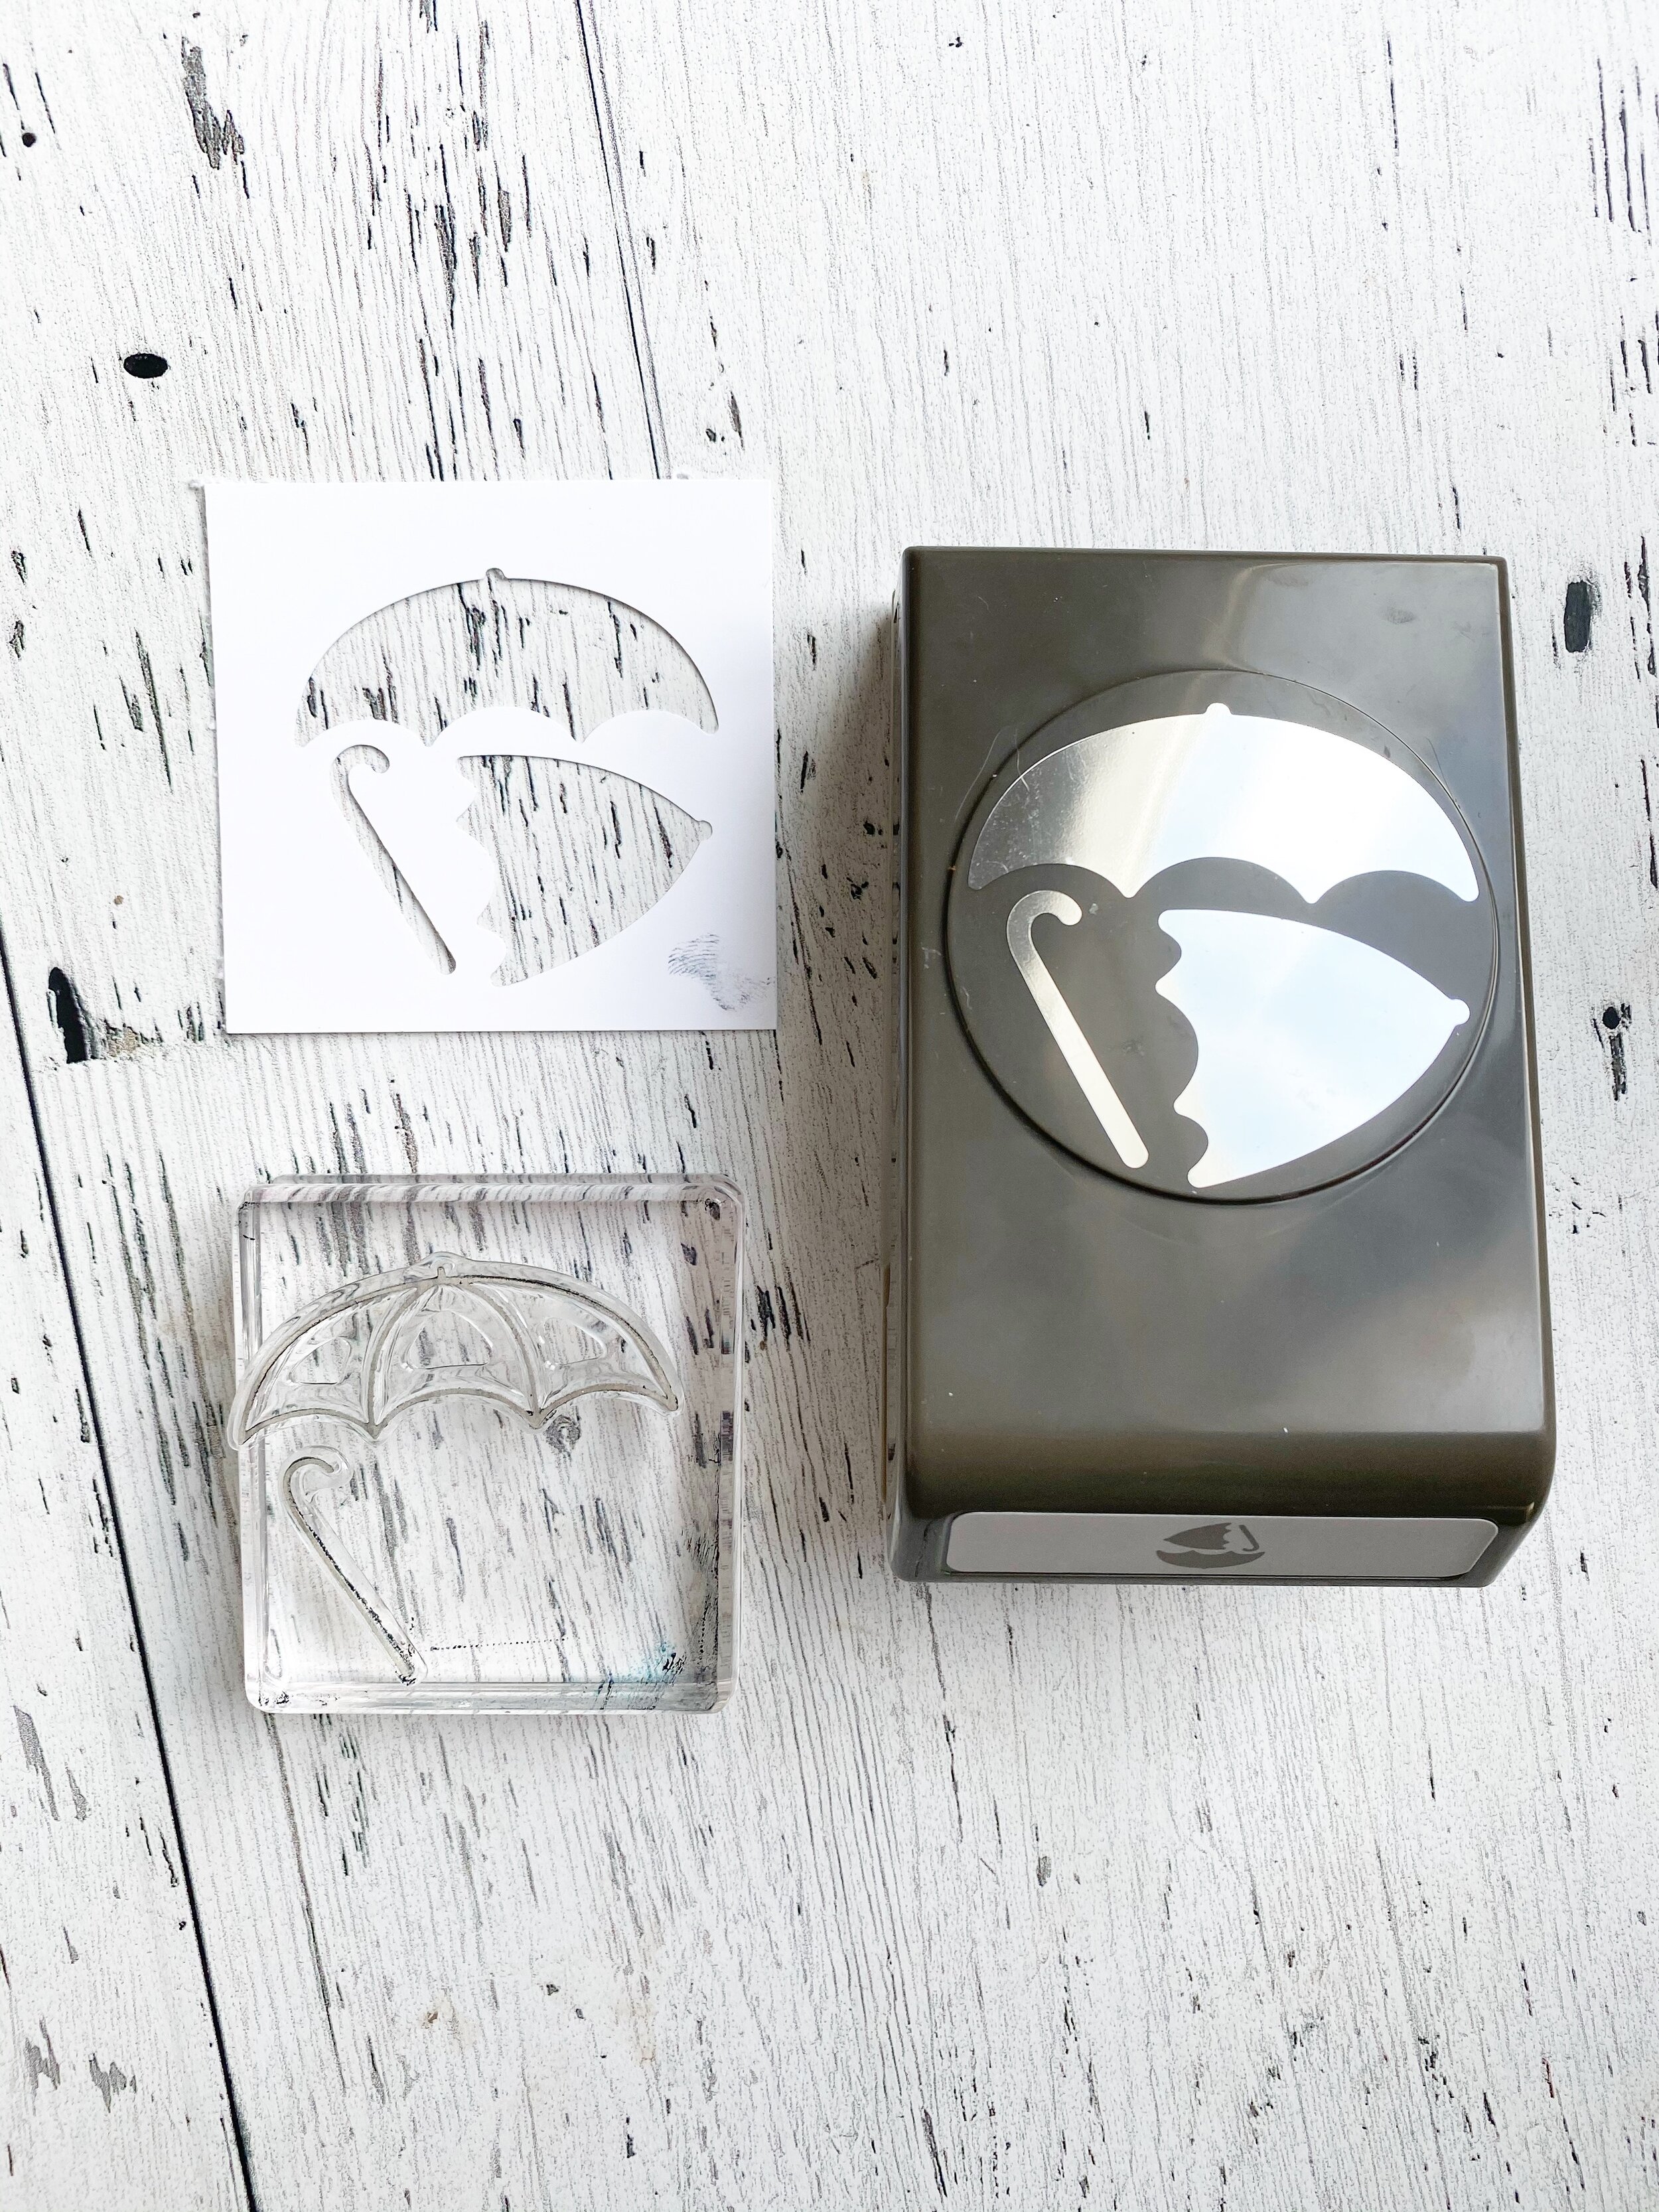
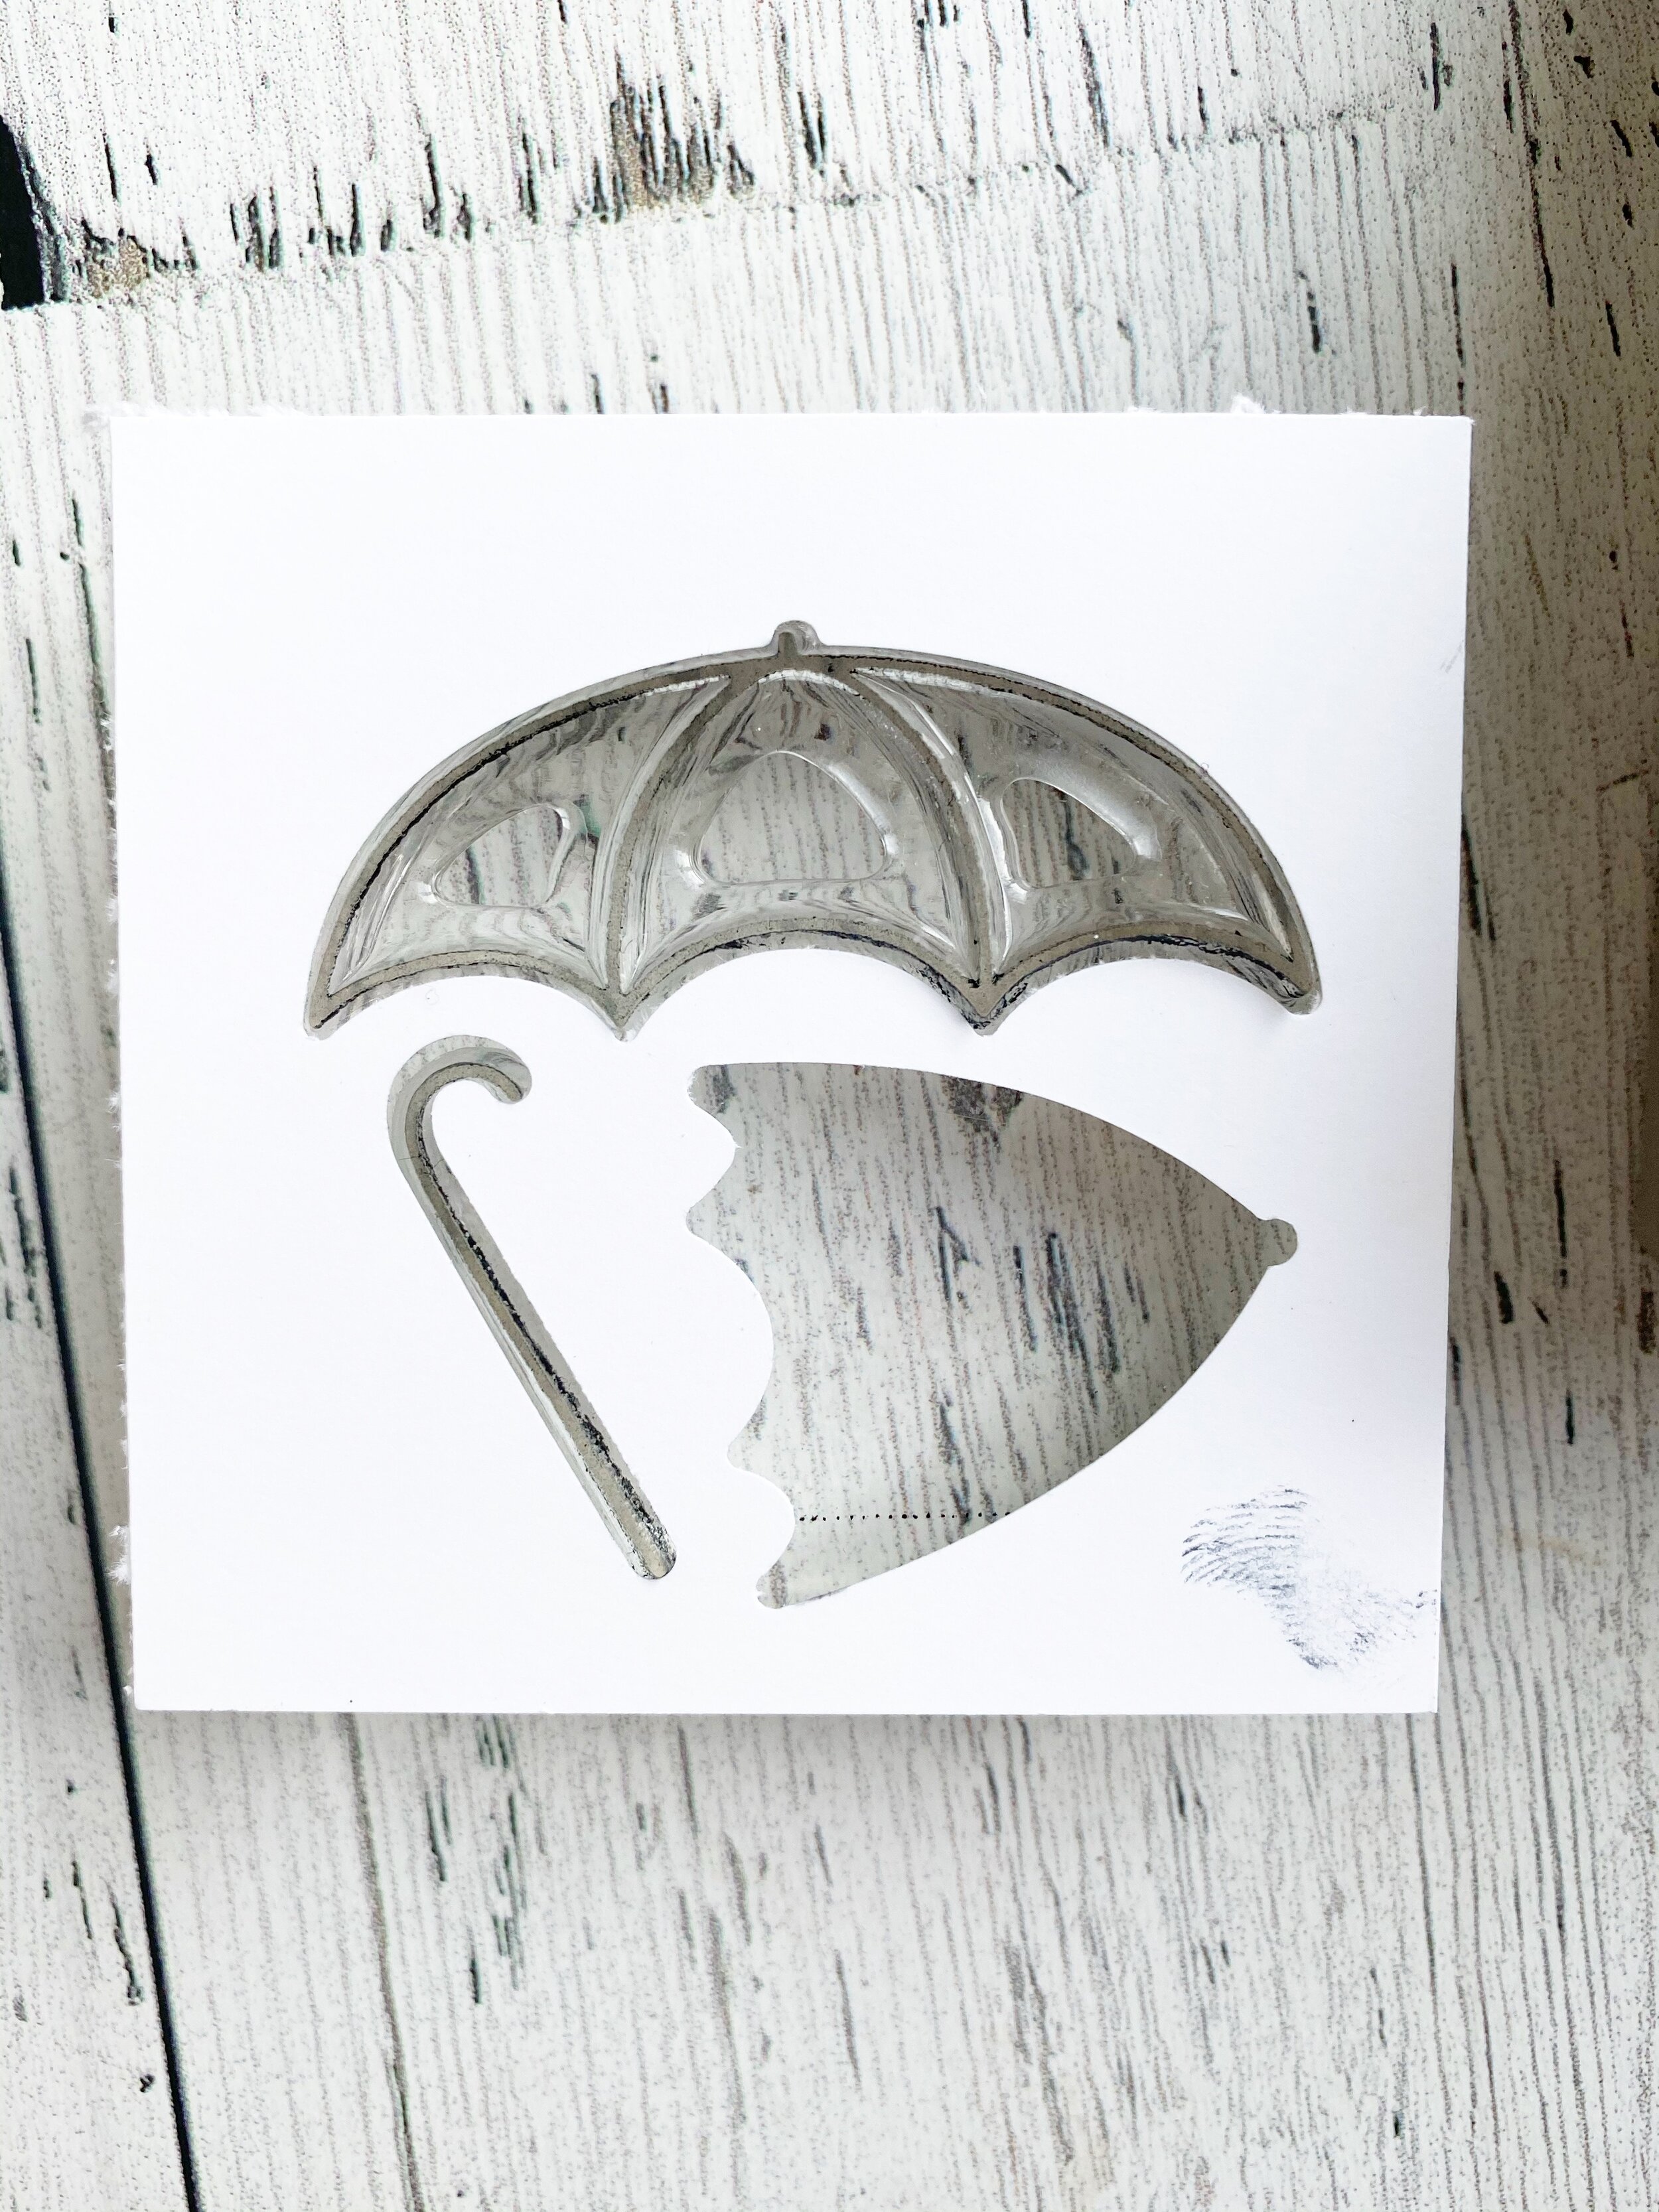
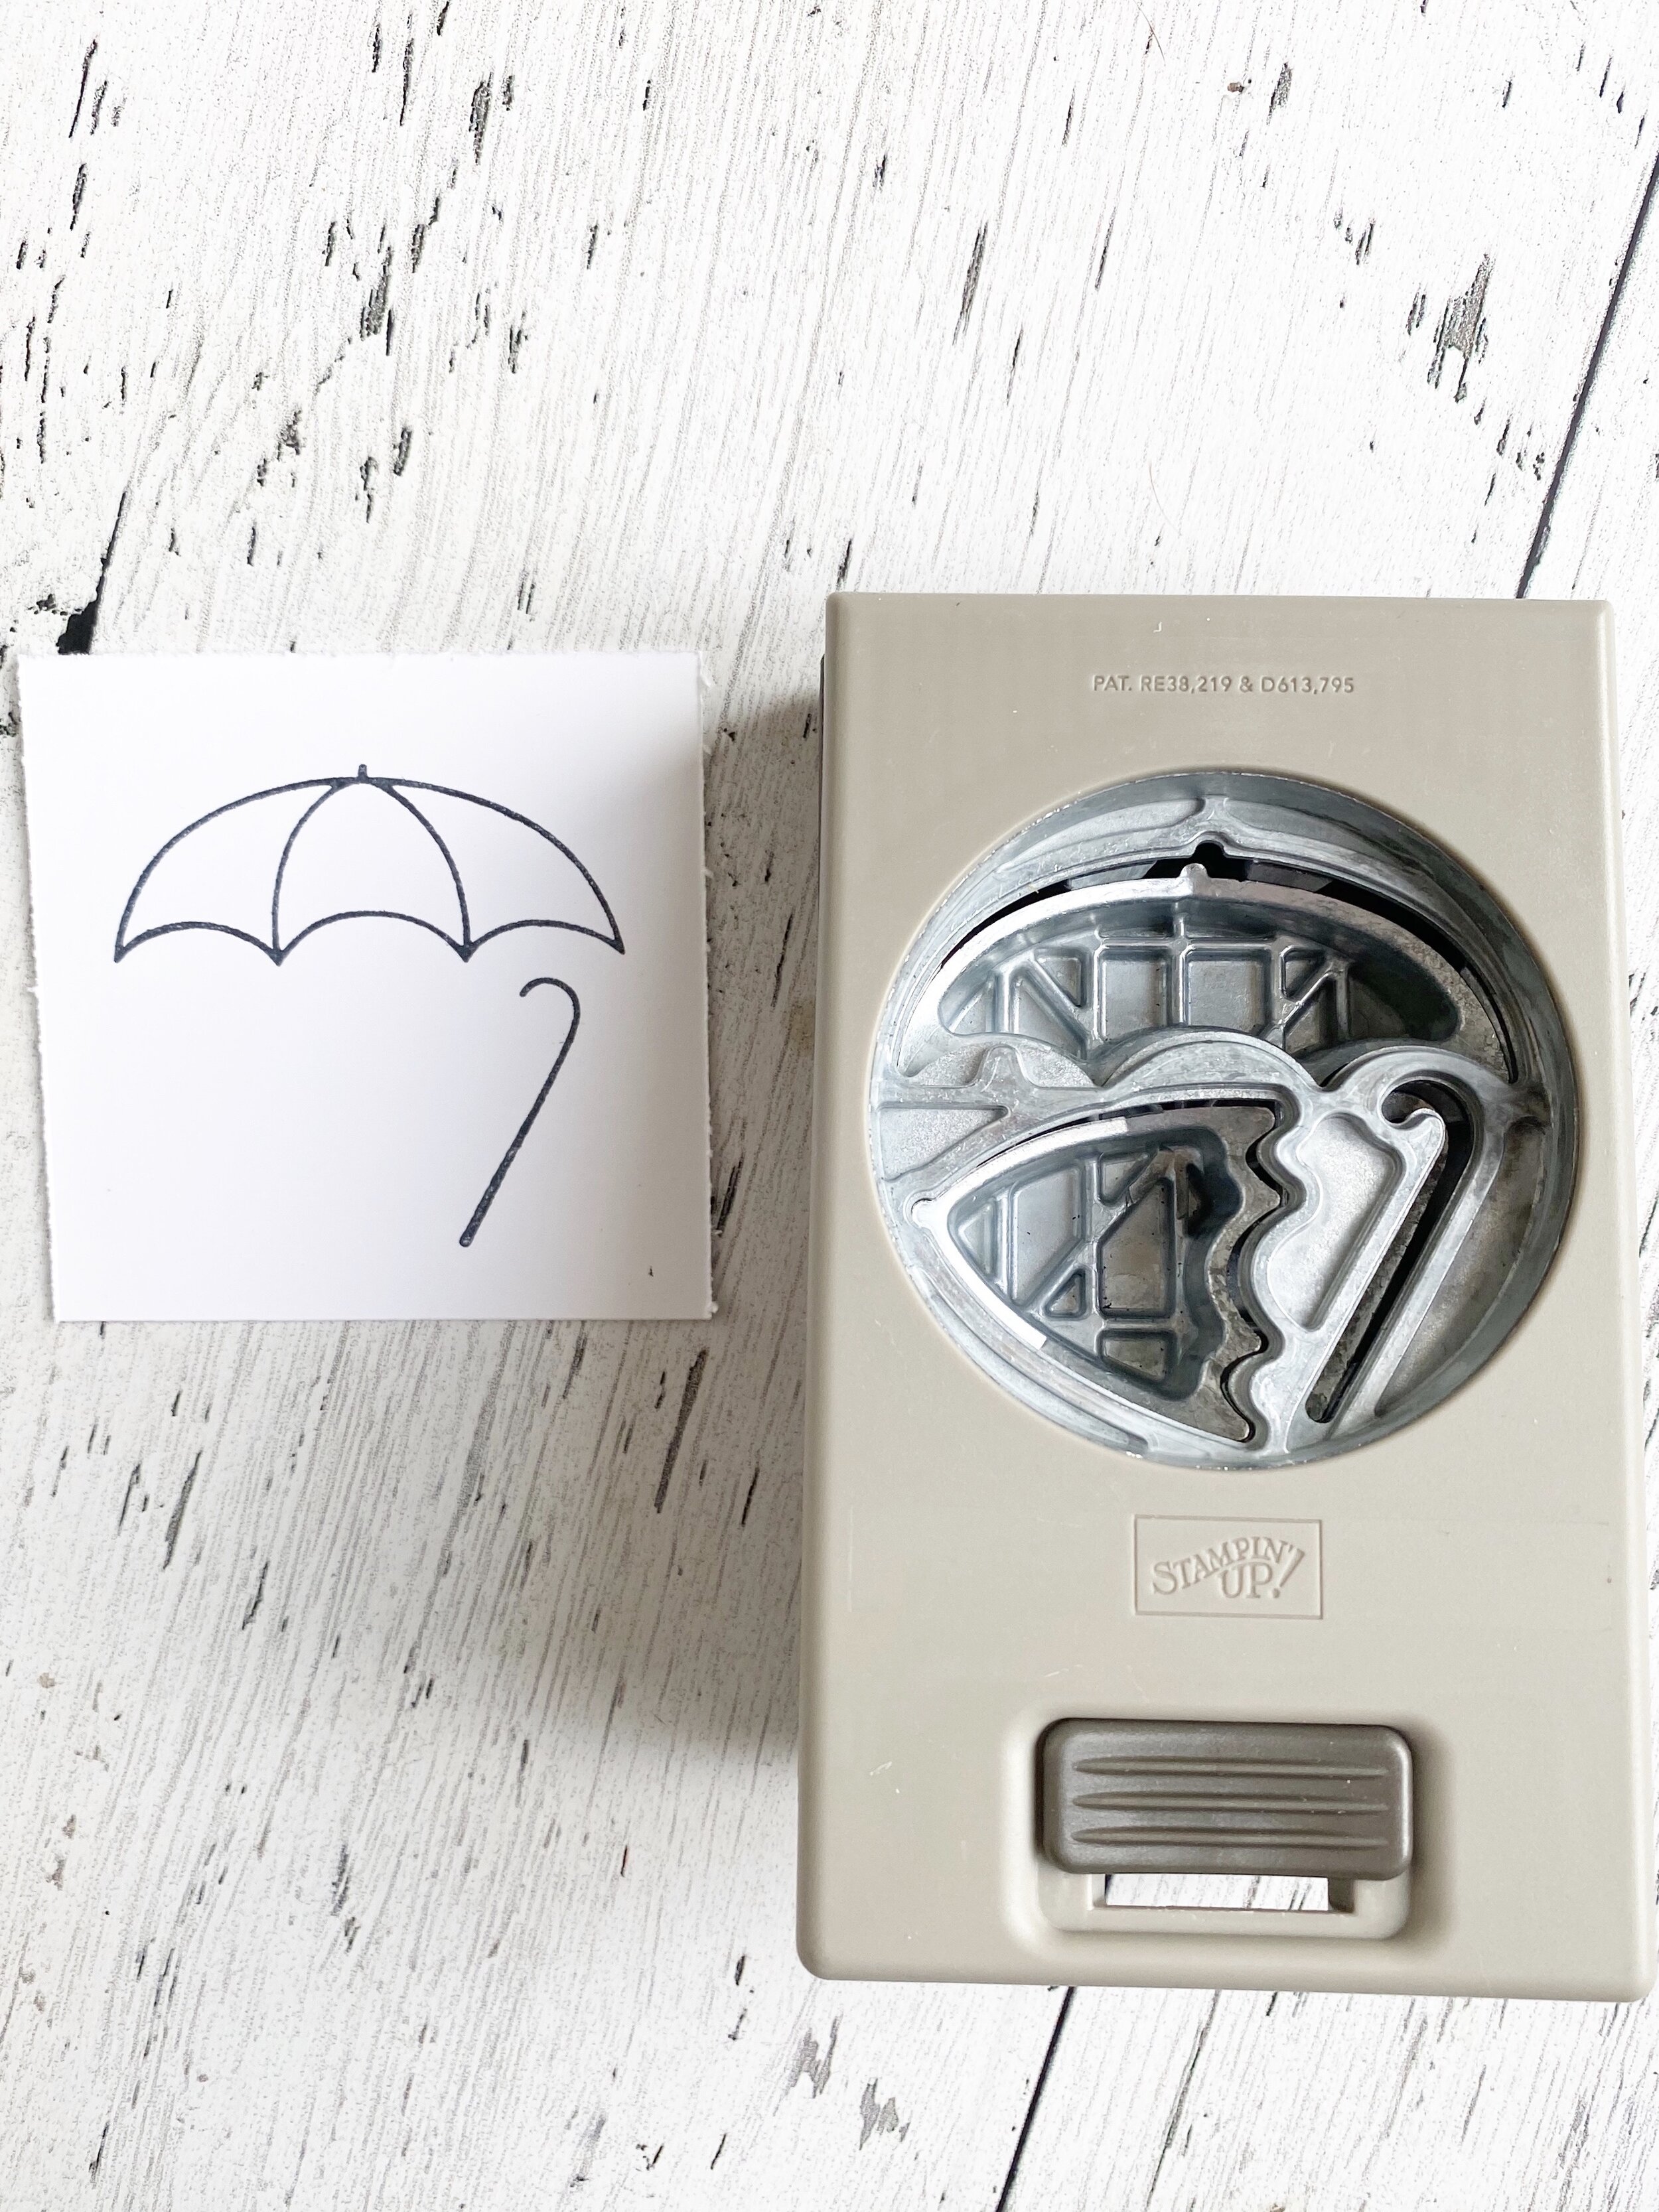
On my scrapbook page, I cut the base white strip to 3 1/5 x 8 and then cut three 4x4 squares that I applied the Scrappy Strip technique to. I used the new Ornate Gardens Specialty DSP. I think this is a fantastic page that showcases many elements from this suite well. The Under my Umbrella bundle felt like a create option to pair with this spring photo taken earlier in March.

Around The World Blog Hop--April

I am so excited to be participating in this BRAND NEW international blog hop started by the amazing Angie McKenzie. Her faith in my technical skills is beyond admiration! You may also see this new blog hop being referred to as ‘aWOW Blog Hop’. We will be posting monthly on the second Wednesday of each month!

The theme for our inaugural hop is ‘Must haves for your creativity’…I thought about this quite a bit and finally settled on ‘things I can colour with’…so my project includes two colouring tools—the classic Stampin’ Write markers and the newer Stampin’ Blends.

IMG_1266.JPG
I love the soft watercolour wash in the background of these cards and the fact that every single one is unique and special. I used the Under My Umbrella and Fable Friends stamp sets and coloured the images with Stampin’ Blends. I did add Wink of Ste…

I love the soft watercolour wash in the background of these cards and the fact that every single one is unique and special. I used the Under My Umbrella and Fable Friends stamp sets and coloured the images with Stampin’ Blends. I did add Wink of Stella on top of the flowers, its another crafty must have in my Home Studio!

The water-colour wash in the background is actually one of my favourite techniques and one that I pull out of my technique closet from time to time. Its actually a great technique to share with beginner stampers as they only need our classic Stampin’ Write markers and either water-colour or shimmery white paper. In my samples I used water color paper. I also used a cello bag as the transfer piece. You could use a window sheet as well, but a cello bag is much cheaper and chances are even a new stamper will have one of these lying around.

The first step as illustrated in the first picture is to gather all of the supplies. Stampin’ Write markers of your choice, a spritzer tool with water, a cello bag or window sheet (if using a window sheet cut it to the same size as your base), and a piece of water-colour paper or shimmery white (regular white card stock is too thin to absorb as of the moisture). You may also want to have a tissue handy to blot up any excess water.

Color each marker in a diagonal line across the cello bag.

Spritz the cello bag with water.

Press the water-colour paper onto the cello bag and let sit to for a few moments to absorb the color. When removing, have a tissue handy to soak up any loose water.

And that is it! Easy peasy and creates such a wonderful background!

Click here to visit the amazing Tricia Butts in the USA!

Click here to visit the amazing Tricia Butts in the USA!

We will weather this together...

Today I was inspired to make a card to send out to some of my tribe. In light of everything, it is our relationships with each other and this amazing Stampin’ community that will see us through these trying times. I am so thankful for this amazing hobby that I love so much!

I don’t know if I would call this card a ‘fun fold’ but it is a bit of a pocket card. A style I have been leaning on a lot lately! You basically score your 4 1/4 x 5 1/2 piece of card stock in half and then score again on one side 1 1/4 inches. That becomes the little flap. I like to round the edges too! I do use an adhesive to keep the flap down so the Bakers Twine around it just helps to keep the pocket card closed.

I used the Under My Umbrella Bundle (found on page 42 of the Occasions Catalogue) to decorate this card. The card base is Balmy Blue, a color I haven’t pulled off my shelf lately and the little strip of raindrop DSP is from the limited edition Pleased as Punch DSP. The Stampin’ Blends in Highland Heather, Daffodil Delight and Flirty Flamingo made colouring the umbrella and little flowers so easy. I did add some Wink of Stella to the umbrella and flowers as well.

This is for all of friends far and wide, thinking of you and knowing we are in this together!

This is for all of friends far and wide, thinking of you and knowing we are in this together!

Quick Tip: I wanted to share a quick tip on how to align your stamps so they coordinate perfectly with the Umbrella Builder Punch. I start by punching a template (do you like my finger print smudge? haha, I kept it there to keep things real :), and then take the template and line up on a block. I align the stamps I need under the template (you can see in picture two how they are underneath) and then when you stamp them out they will punch out perfectly.