A Card a Day in December--Day #16

Today I wanted to share a bit of a fun fold card that I recently designed. This is my 16th card share this month so far! I am excited to be sharing with you and am really looking forward to some New Years cards /projects coming your way on Dec 26th!

I am also planning to share a scrapbook page on Christmas Day so if memory keeping is your jam, make sure to pop on over to check it out!


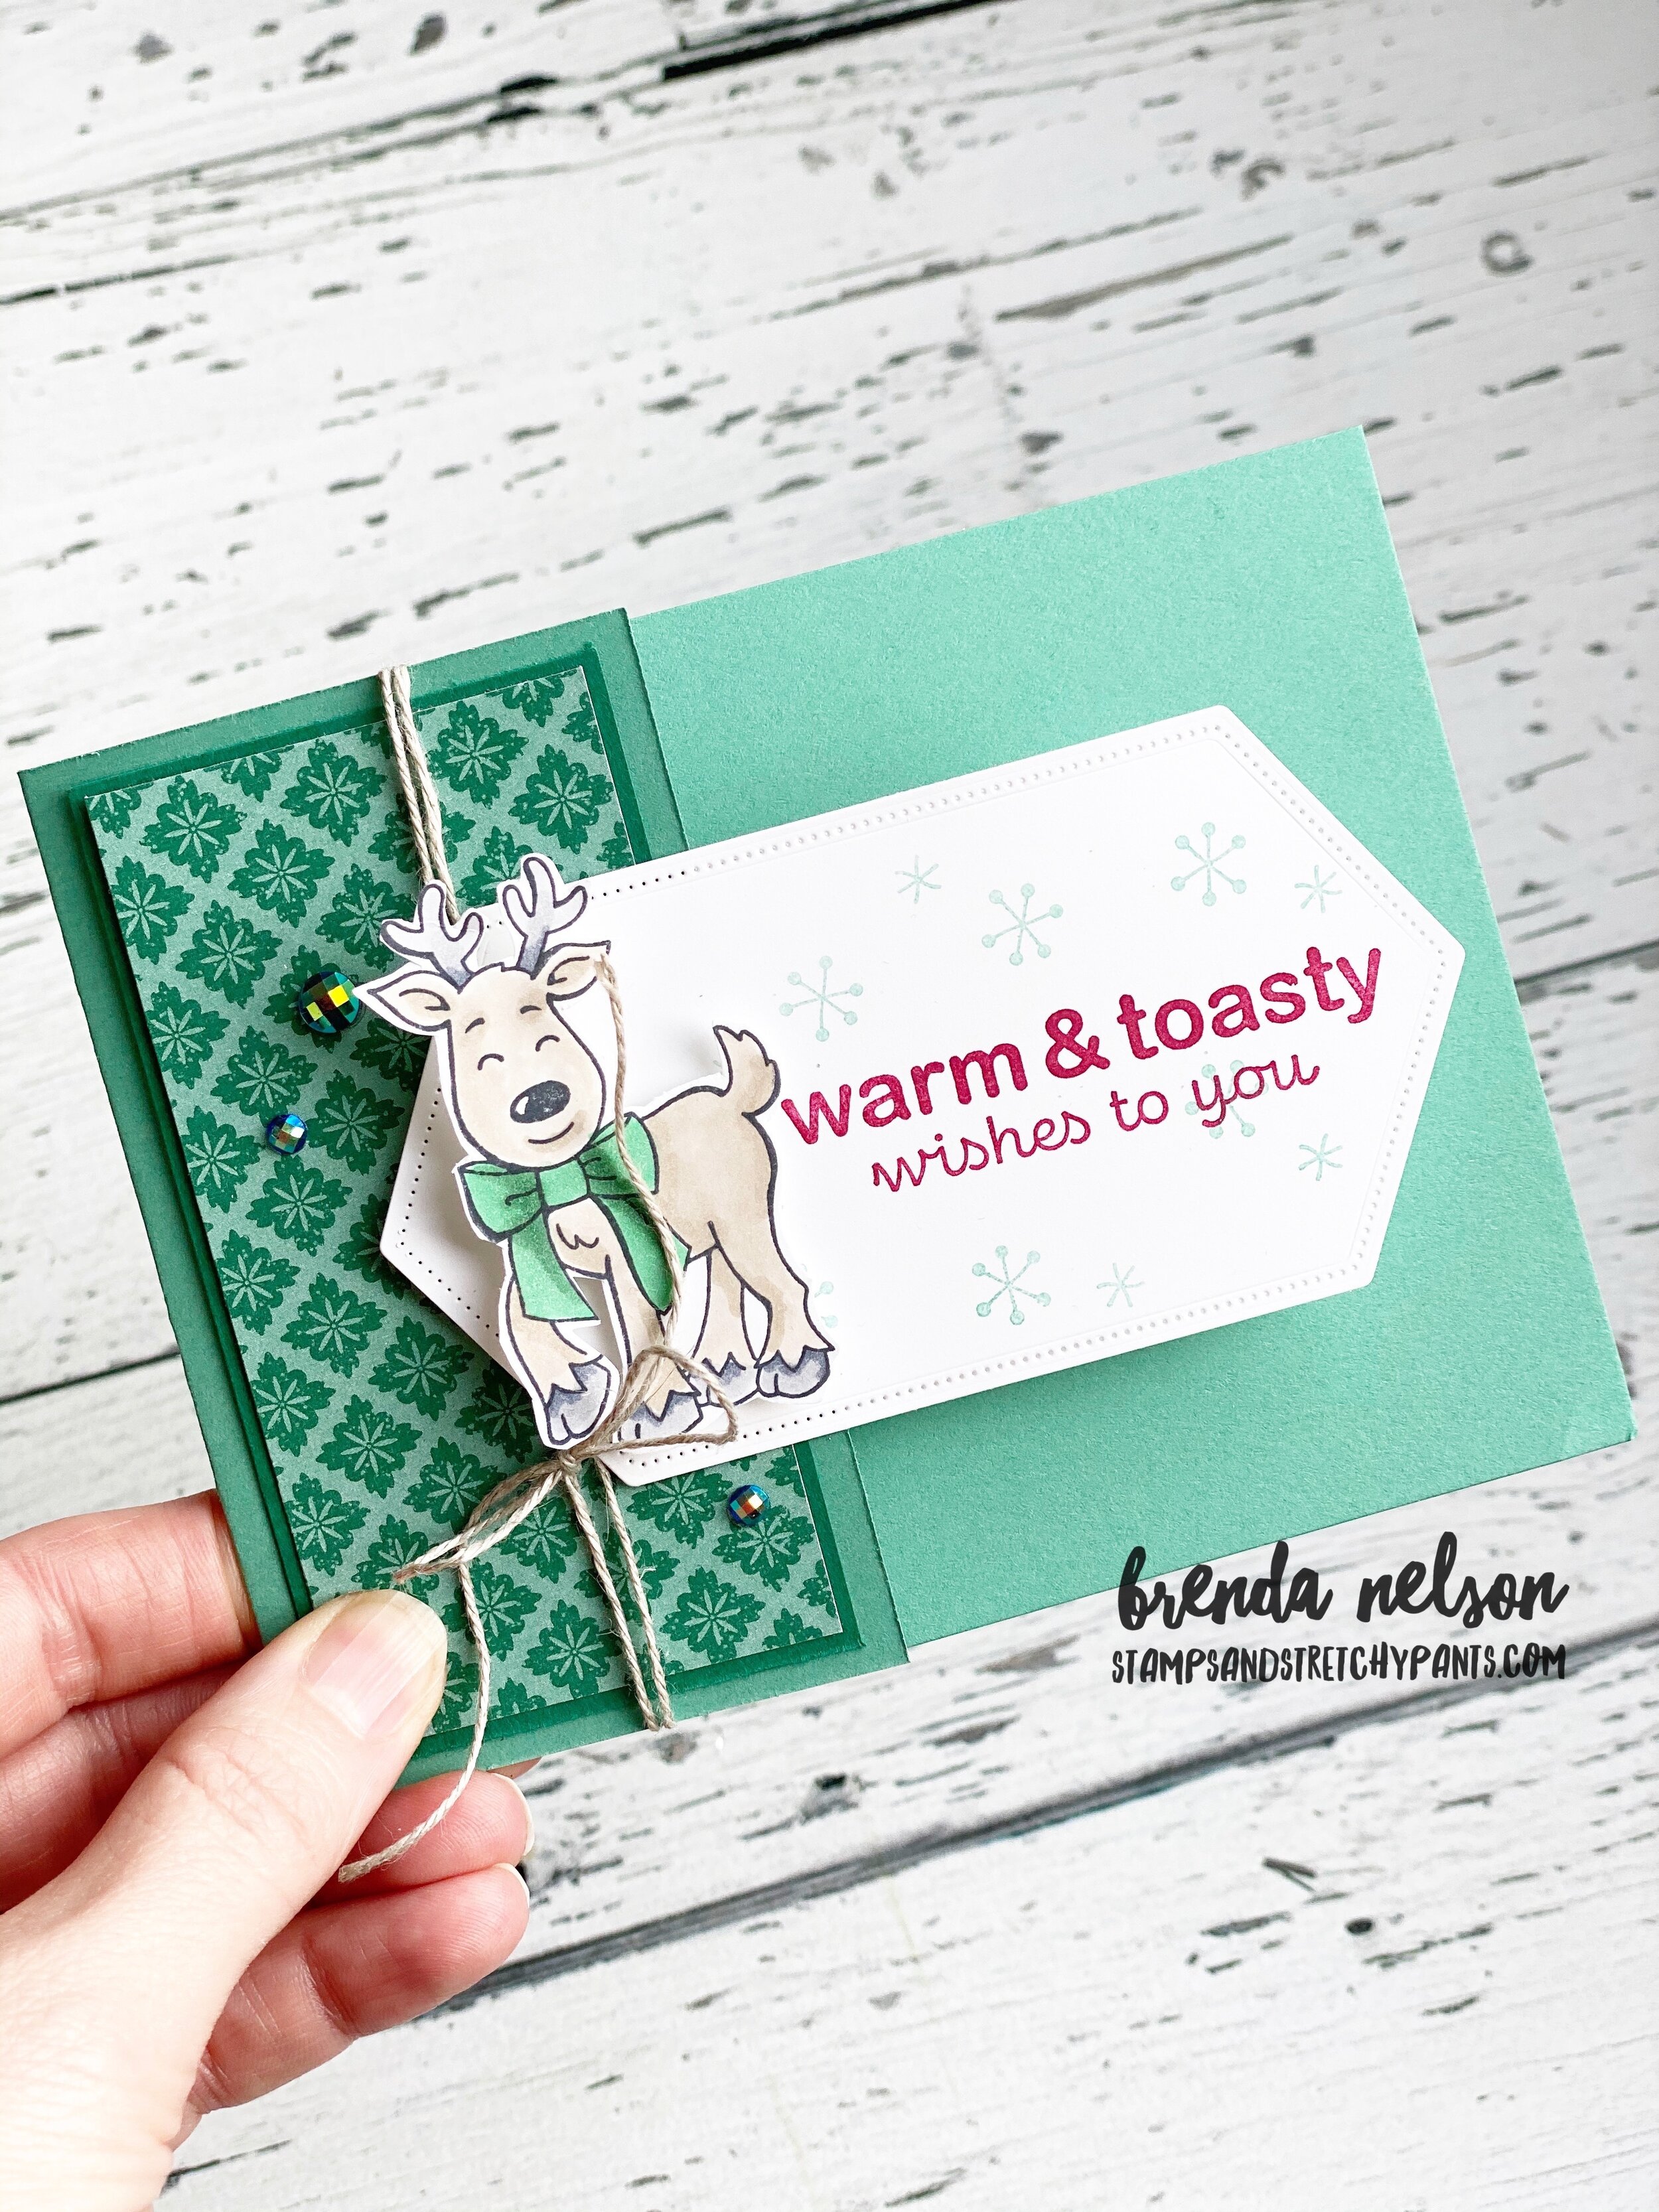
The Just Jade base of this card is 4 1/4 x 8 and is scored on the long side at 2 1/2. That will make the little panel on the front.

I added a piece of DSP from the Tis’ the Season 6x6 stack with a layer of Shaded Spruce card stock behind.

I just LOVE Just Jade and Shaded Spruce together. To me, its the best green duo we have!

final 4.jpg

I cut two Stitched Nested Labels (same size) one you can see on the outside and the second is matched up on the inside of the card.

The little reindeer and sentiment is from the Warm & Toasty stamp set. I colored the reindeer in with Stampin’ Blends and added some Wink of Stella to his green bow.

I stamped a few little snowflakes around the sentiment in Just Jade ink, but I stamped them once on my Grid Paper before I stamped them on the label.

I wrapped some Linen Thread around this front panel (not the whole card) and added some of the Blue Adhesive Backed Gems for a little sparkle!

I wrapped some Linen Thread around this front panel (not the whole card) and added some of the Blue Adhesive Backed Gems for a little sparkle!

final (1) 2.jpg
 

The sentiment on the inside label is from the Dove of Hope stamp set in Cherry Cobbler ink with a few little Just Jade snowflakes sprinked around.

You can see from this photo that the Linen Thread only goes around the panel that flips open.

And you cannot see the inside panel when the card is closed so make sure to perfectly line up the Nested Labels.

A Card a Day in December-Day #10

Have you been following along so far? If not, welcome and make sure you go back to see the Holiday card projects that have already shared! I have really been enjoying creating and curating this A Card a Day in December—Holiday Style series for you!

Today I wanted to share a card that is a spin off of one I originally shared on Monday as part of the Color Fusers Blog hop.


This fun card was created using the Warm and Toasty stamp set as I couldn’t resist making something with this adorable little reindeer! Isn’t he just the cutest?

I paired him up with Poinsettia Dies and the Beautiful Boughs Dies (which were a carryover set from last season! I have used them tons this year too).

And I created another custom background using Water Painters and three ink colors! So easy when you can’t find Designer Series Paper that matches with your vision!

final (3).jpg
final (5).jpg

To create this background you need to work on Shimmery White or Water Color paper as they are thick enough to absorb the water from the Water Painter. You are going to use your largest Water Painter and Seaside Spray, Misty Moonlight and Pacific Point ink. Visit my post from Monday to get the technique details.

I colored my reindeer with Stampin’ Blends and hand cut him. The sentiment is stamped on Seaside Spray card stock in Misty Moonlight Ink. These two blues look extraordinary together! The sentiment is cut using the Beautiful Boughs dies.

Lastly I added in the poinsettia in Whisper White, some Metallic Seaside Spray Ribbon and some Frosted & Clear Epoxy Droplets (another great carry over product from last holiday season!).

Please shop for any of these products from my online store!

Color Fusers-December 2020


Hello everyone! I am SO EXCITED and honoured to be a new participant in the Color Fusers Blog Hop. The talent line up in this Hop is truly like no other so when they reached out to ask me to join, I had to pinch myself!

colorfusers.jpg

If you haven’t followed along before, welcome! Each month we create projects that feature a trio of colors. There are so many fantastic colors offered by Stampin’ Up! and this is a great way to showcase them and get you stamping with different color combos!

For December we are playing with Night of Navy, Pretty Peacock and Granny Apple Green (my favorite of all our greens!).

IMG_8865.jpg
final 3 4.jpg
 

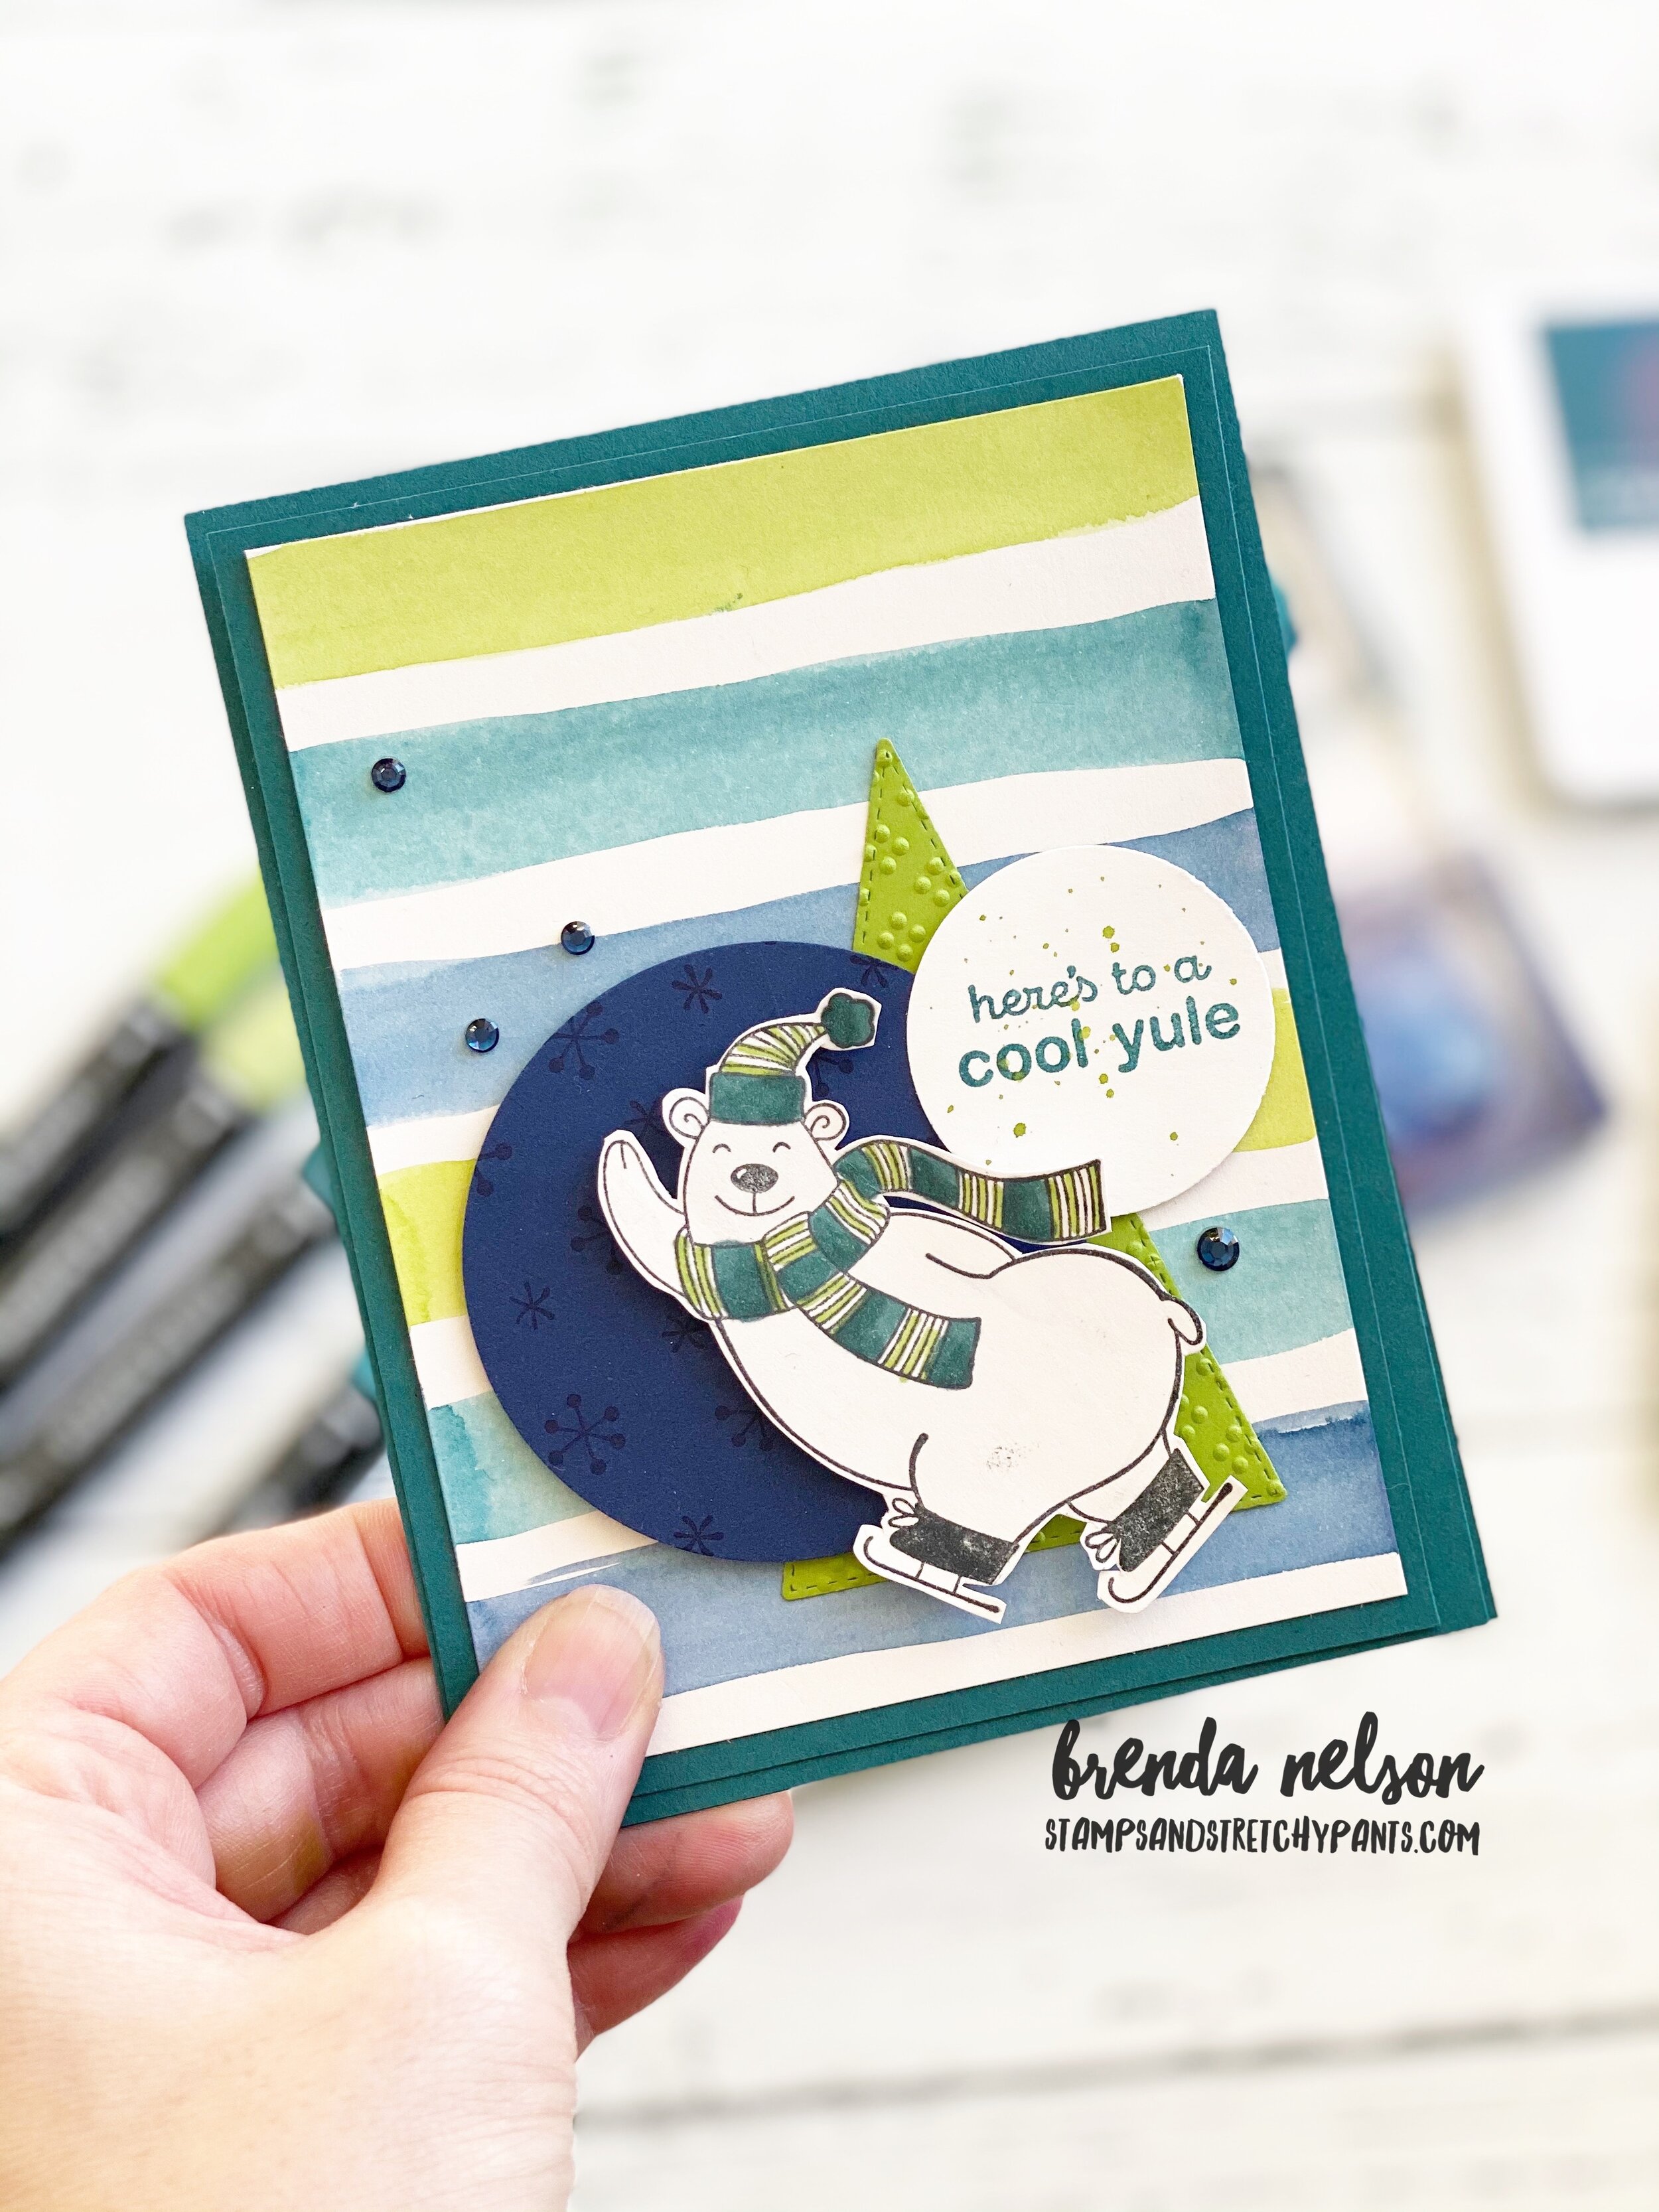
Because it December I wanted to create a fun holiday card using these colors and the cute polar bear from Warm & Toasty. He is just too much fun!

I started with Pretty Peacock as my card base and first layer. I then took a piece of Shimmery White, its a little thicker and can hold water a bit better, and using the widest brush tip from the Water Painters I made some stripes in the three colors.

Granny Apple Green, Pretty Peacock and finally Night of Navy.

final 3 3.jpg

Its actually quite easy to create custom stripes on your projects. If you don’t have the Water Painters, you can even use your Stampin’ Blends.

However in this instance I used the large Water Painter brush and added the three colors onto our acrylic blocks. I just smash the ink pad a couple of times onto the block to leave some ink behind. You then squeeze a bit of water onto the ink on the block and start creating!

final 3 4.jpg

Once my background was done I colored my polar bear’s scarf and toque with my Stampin’ Blends, which are offered in all three of these colors! You will need to hand cut this little guy as this stamp set does not have coordinating dies.

The tree is cut from Granny Apple Green cards stock with the Stitched Triangle Dies and ran through an embossing folder from the Wrapped in Texture duo.

The circle is the largest offering in the Circle Dies and I stamped little bitty snowflakes in the background with Night of Navy Ink.

The sentiment is stamped in Pretty Peacock and I flicked my Water Paper across it for a splash of green. A few of the Holiday Rhinestones were the perfect touch.

I am really happy with how this card turned out and I have already made a different one with a different color combo that I will be sharing later this month! Thank you for hoping along!


You can head backwards if you are just going in to see what Nicole has created or you can go Next to see what awesome project Melanie has designed! Please feel free to leave a comment!

final 14.jpg


Create with Connie and Mary--Christmas Gift Card Holder

This week we are sharing “GIFT CARDS” which is one of my favorite holiday items to make. For several years, I have been married for 20 so I have honestly lost count of when I started this tradition, I have been doing ‘12 Days of Gift Cards’ for my husband. He was hard to buy for so this was a fun solution. And of course, each gift card has to have its own gift card holder! So needless to say, I was really excited to share this idea with you!

Design Team.png

I am really loving the Warm and Toasty stamp set in the Handmade for You catalogue and I couldn’t resist adding this happy polar bear to a project.

This is a bit of unique gift card holder because it really could double as a gift card holder AND just a regular slider card. I usually add my gift card with a Glue Dot and I like that I can also write a message.

Full disclosure though—for my hubby’s gift card holders, I write nothing as I steal them back right after he has removed his gift card :). I actually have quite the sentimental gift card holder collection. Is that weird?

giftcard.jpg
 

It is actually quite easy to create this fun gift card/slider card combo. Esentially you want to create a ‘wrap’ to go around your gift card base. The base is 4 x 5 and I cut mine from Sahara Sand card stock and layered a piece of Whisper White on top.

I created an easy pull tab with the wide green Shaded Spruce ribbon from the Wonder of the Season combo pack. I stapled it to my base and hid a snowflake cut from the Blue Glimmer Paper and the So Many Snowflakes dies.

final 4 2.jpg
giftcardholder.jpg

To create the ‘wrap’ you will need to cut a piece of card stock to 4 1/4 x 8 1/2. Score at 2 1/4 and 6 3/8. I then used a 2 1/4 circle punch to snip a half circle out of the middle panel.

You can create a front layer piece by cutting a different color of card stock, I used Just Jade, to a 4 x 4 square and then stamp as desired in coordinating ink.

I added a strip of DSP from the Feels Like Frost collection and another strip of the Blue Glimmer paper to look like ice for my cute polar bear to skate on. You will have to hand cut this cutie as there is no coordinating die.

I hope you enjoy the rest of the great gift card holder ideas on the blog hop today! You can go BACK to see what Melissa has designed or NEXT to see what Connie has created!