Create with Connie and Mary-Christmas Flowers!

Welcome back to another great week of blog hopping with the Create with Connie and Mary crew! This week we are featuring Christmas Flowers, which is pretty much synonymous with poinsettia’s, don’t you think? Luckily for us Stampin’ Up! crafters we have the amazing Poinsettia Place suite to use!

Design Team.png
 

I knew immediately that I had to create something with this fantastic suite as it has everything. Two amazing designer papers, Beaded Pearls and Red Sheer ribbon plus the most amazing die set that cuts and embosses! LOVE LOVE LOVE!

fullsizeoutput_137c8.jpeg

To create this page I started with a 12x12 base of Old Olive. I added a strip of the designer paper along the side and photo mat of Very Vanilla. I will admit, its been a while since I pulled that neutral out. I typically head straight for Whisper White but this particular pattern in the DSP had vanilla flowers so I went with it!

I stamped two different poinsettia sizes on the background of my page in Old Olive Ink.

I knew I wanted to create a large poinsettia flower with the dies and Very Vanilla card stock. I decided to flick my Wink of Stella pen over top for a little extra shimmer before I added the Beaded Pearl to the center. I love how it turned out.

The DSP strip actually has three different shades of green, Old Olive, Shaded Spruce and Pear Pizzaz which gave me a few options for adding in other colors.


Look at the amazing detail you get from these dies. I love that you can cut and add in the embossed detail at the SAME TIME. Or you can simply cut out the shape.

And the Beaded Pearls, so great in person!

I wanted to play off of the gold accents in this suite so I stamped the sentiment, Happy Holidays, in gold ink and embossed with gold embossing powder. I added in the little sprig from the die set by cutting it from Gold Foil paper.

final.jpg
final.jpg

I decided to add in a phrase from another stamp set, Warm Hugs, as it was a great size to punch with a circle punch and layer with a bit of Soft Suede. The leaves beside it are stamped on Pear Pizzaz card stock in Old Olive ink.

I added a few mini poinsettia flowers up at top of the page to carry that Very Vanilla color across the page.

For me this page came together in a snap and I think you could reproduce it with any type of flower that you have in your collection. I hope you are inspired and if you live in Canada you can shop with me by using my Hostess Code (found on my side bar) or by visiting my online store!

I can’t wait to see what the rest of the gals have created this week! You can go BACK and visit Melissa if you are just starting here or you can go NEXT and see what Connie has designed!


Just Tag it! Create with Connie & Mary!

Happy Christmas in July! Are you having fun hopping with us and getting some holiday inspiration? Stampin’ Up! has really knocked it out of the park with the new upcoming Handmade For You (Holiday) catalogue. Once August hits our stampin’ friends will be able to order! I was able to get my hands on some products because of my demo status #myfavoritething! Getting my hands on new stuff early is super exciting for me!

Image+2020-04-27+at+6.31+PM+(1).jpg

One of the things I was super excited about was the Tag Buffet Project Kit—it is right at the start of the Handmade For You catalogue so you cannot miss it! And you won’t want to! I have been a demonstrator for a long time and I think I can safely say this is the BEST tag kit we have had yet! I love the oversized tags, the traditional Christmas colors and the volume of tags this kit makes—-30 in all of 6 designs! Everything you need is inside a cute decorated box, similar in size to our mini Paper Pumpkin boxes (which I love!).

final.jpg
 

As soon as I put these tags together I knew I needed to create a scrapbook page! It might be the fastest page I have ever made!

final.jpg

There is a separate and coordinating stamp set to purchase to accompany this kit—called Tag Buffet. I used it to stamp the sentiments on the tags and ‘Tis the Season’ on my page. The font is fun and whimsical and perfectly suits this tag kit.

Scrapbooking doesn’t always have to take hours to put together a page! When you have great elements like these in the Tag Buffet kit, fabulous pages can come together in a snap!

Scrapbooking doesn’t always have to take hours to put together a page! When you have great elements like these in the Tag Buffet kit, fabulous pages can come together in a snap!

Isn’t the size of these tags perfect? Great for gifts giving, easy card embellishments and memory keeping!

Isn’t the size of these tags perfect? Great for gifts giving, easy card embellishments and memory keeping!

 
final.jpg
fullsizeoutput_1245a.jpeg

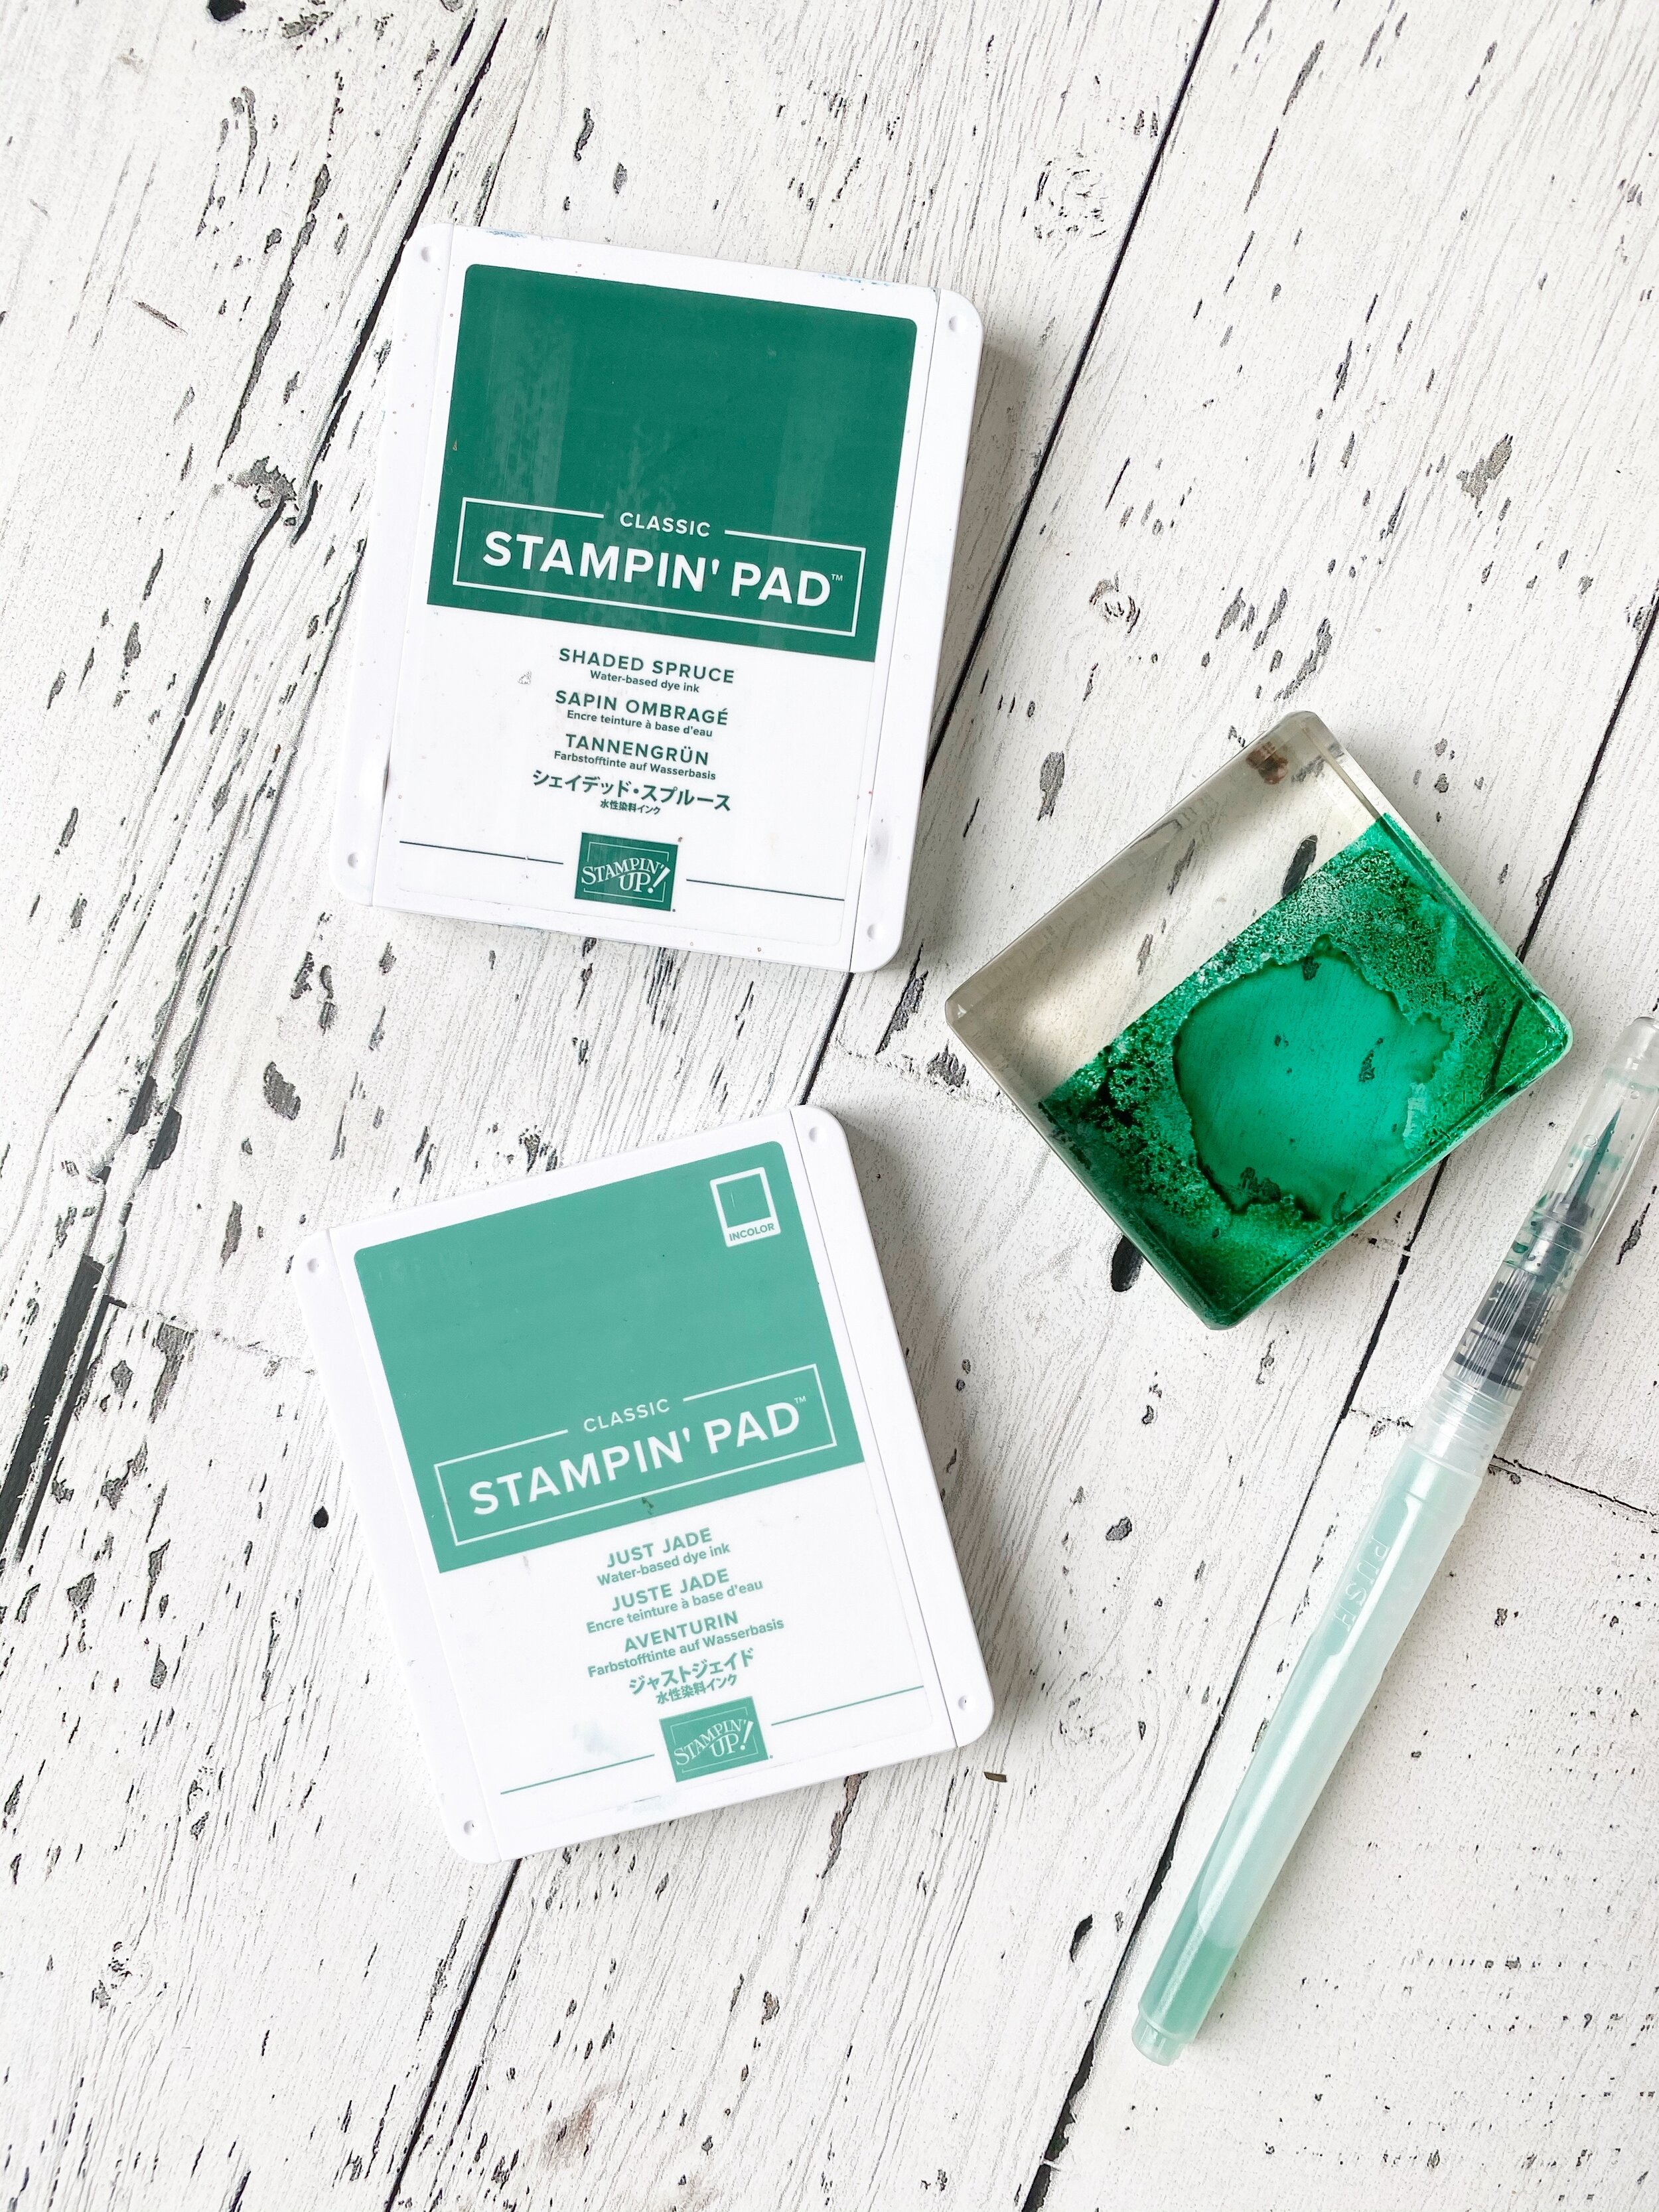
I added a bit of background splatter with my Water Painter and Shaded Spruce ink pad. Just smash your ink pad on an acrylic block, drop a bit of water in and flick the Water Painter across your background. It creates a really easy background.

final.jpg
 

You will notice that I did not pop the holes out on the tags I used on the layout. This helped them look more like shapes versus tags. I added a few of the Gold Glitter Gems to the page and few twigs/leafs stamped in the background here and there!

I hope by sharing all of these fabulous tags you are inspired to purchase this Tag Kit! I cannot wait to offer it as a class when it gets closer to the holidays! You can hop back to see Melissa’s Christmas in July projects and hop forward to see what Connie has created!

Bakers Box of tiny treats!

I am hosting an event and I wanted the stampers attending to create a really fun, bright, awesome project to GIVE AWAY! So I came up with this Bakers Box filled with 4 of the Mini Curvy Keepsakes Boxes. Each is uniquely decorated and contains a different type of Lindt chocolate. I used the Let it Snow DSP as my color pallet inspiration as I love the bright cheery colors of this paper.

Note that a strip of 12x12 paper is not enough to wrap all the way around the box, so I added a piece of Whisper White cardstock to complete the belly band. See the last photo!

I used the Tiny Keepsakes stamp set to embellish the tags and keepsake boxes. I love that the stamp set has 4 phrases so each could be used on box.

I love how this cute project turned out. You could even add a gift card underneath as a secret surprise!

Looking for an adorable gift to give? This bakers box with tiny treats inside is just perfect!

Looking for an adorable gift to give? This bakers box with tiny treats inside is just perfect!

Holly Jolly Christmas!

Excited to share my third card with you all today! I love the traditional images found in the Holly Jolly Christmas stamp set. You can find it in the Holiday Catalogue on page 26. It is part of bundle that includes the Jolly Season dies and is the centrepiece of the Night Before Christmas suite! I coloured this jolly Santa in with the Stampin’ Blends and then used the puff paint on the furry part of his suit! It looks even better in person! The card base is Seaside Spray which adds just the right amount of vintage to the card when paired with DSP from the Woven Threads paper.

IMG_3670.jpg

It's Beginning to look a lot like Christmas!

Okay, I will admit when my group made these cards today they would NOT let me play holiday music! What do you think? Should one be listening to Christmas songs in August while make Christmas cards? I think so.

Nevertheless, they did enjoy making these cards which feature a bunch of new upcoming products in the holiday catalogue. Customers can begin ordering on September 4th—however, demonstrators are already able to order. Amazeballs. Have I mentioned there is a sign up promotion on right now? Just in case you missed it on my social channels, you can get $205 CAN in product OF YOUR CHOICE including items from the Holiday Catty for $135 flat rate when you join my team this month!

These cards were also a part of my new Holiday Card Group that began today. This group is full, however I would LOVE to get another one going meeting on a Monday or Wednesday evening for 5 months! Short and sweet! Joining a group is the best ‘try before you buy’ method I can recommend! Each month we will make fabulous Holiday cards featuring loads of new products, you place a minimum $45 order and each group member (only 5 of you!) gets a chance to be the hostess and earn rewards. Trust me, it’s rewarding! If you would like more details, leave a comment or shoot me a message via email or text. I would love to be your creativity coach!

fullsizeoutput_f664.jpg