12 Days of Christmas--Day 6!

Happy mid-point friends! If you have been following along so far, thank you so much! If you are just joining today, make sure to go back and see what you have missed from myself and Melanie @melsinkyfingers

Switching gears a little bit today—I mean I LOVE card but I also like to use my supplies in other ways. My friend Cindy Schuster shared a version of this project a while back and I fell in love! THIS is what I love about our Stampin’ community! Sharing and inspiring each other!

Cindy’s original project had a photo in the center and was a bit of a different color scheme. I liked the idea to be a tag for a gift bag or box or something pretty to hang on your tree.

I started with the Christmas Classics Dies—truly, they are a must have! You should definitely #addtocart if you have not already!

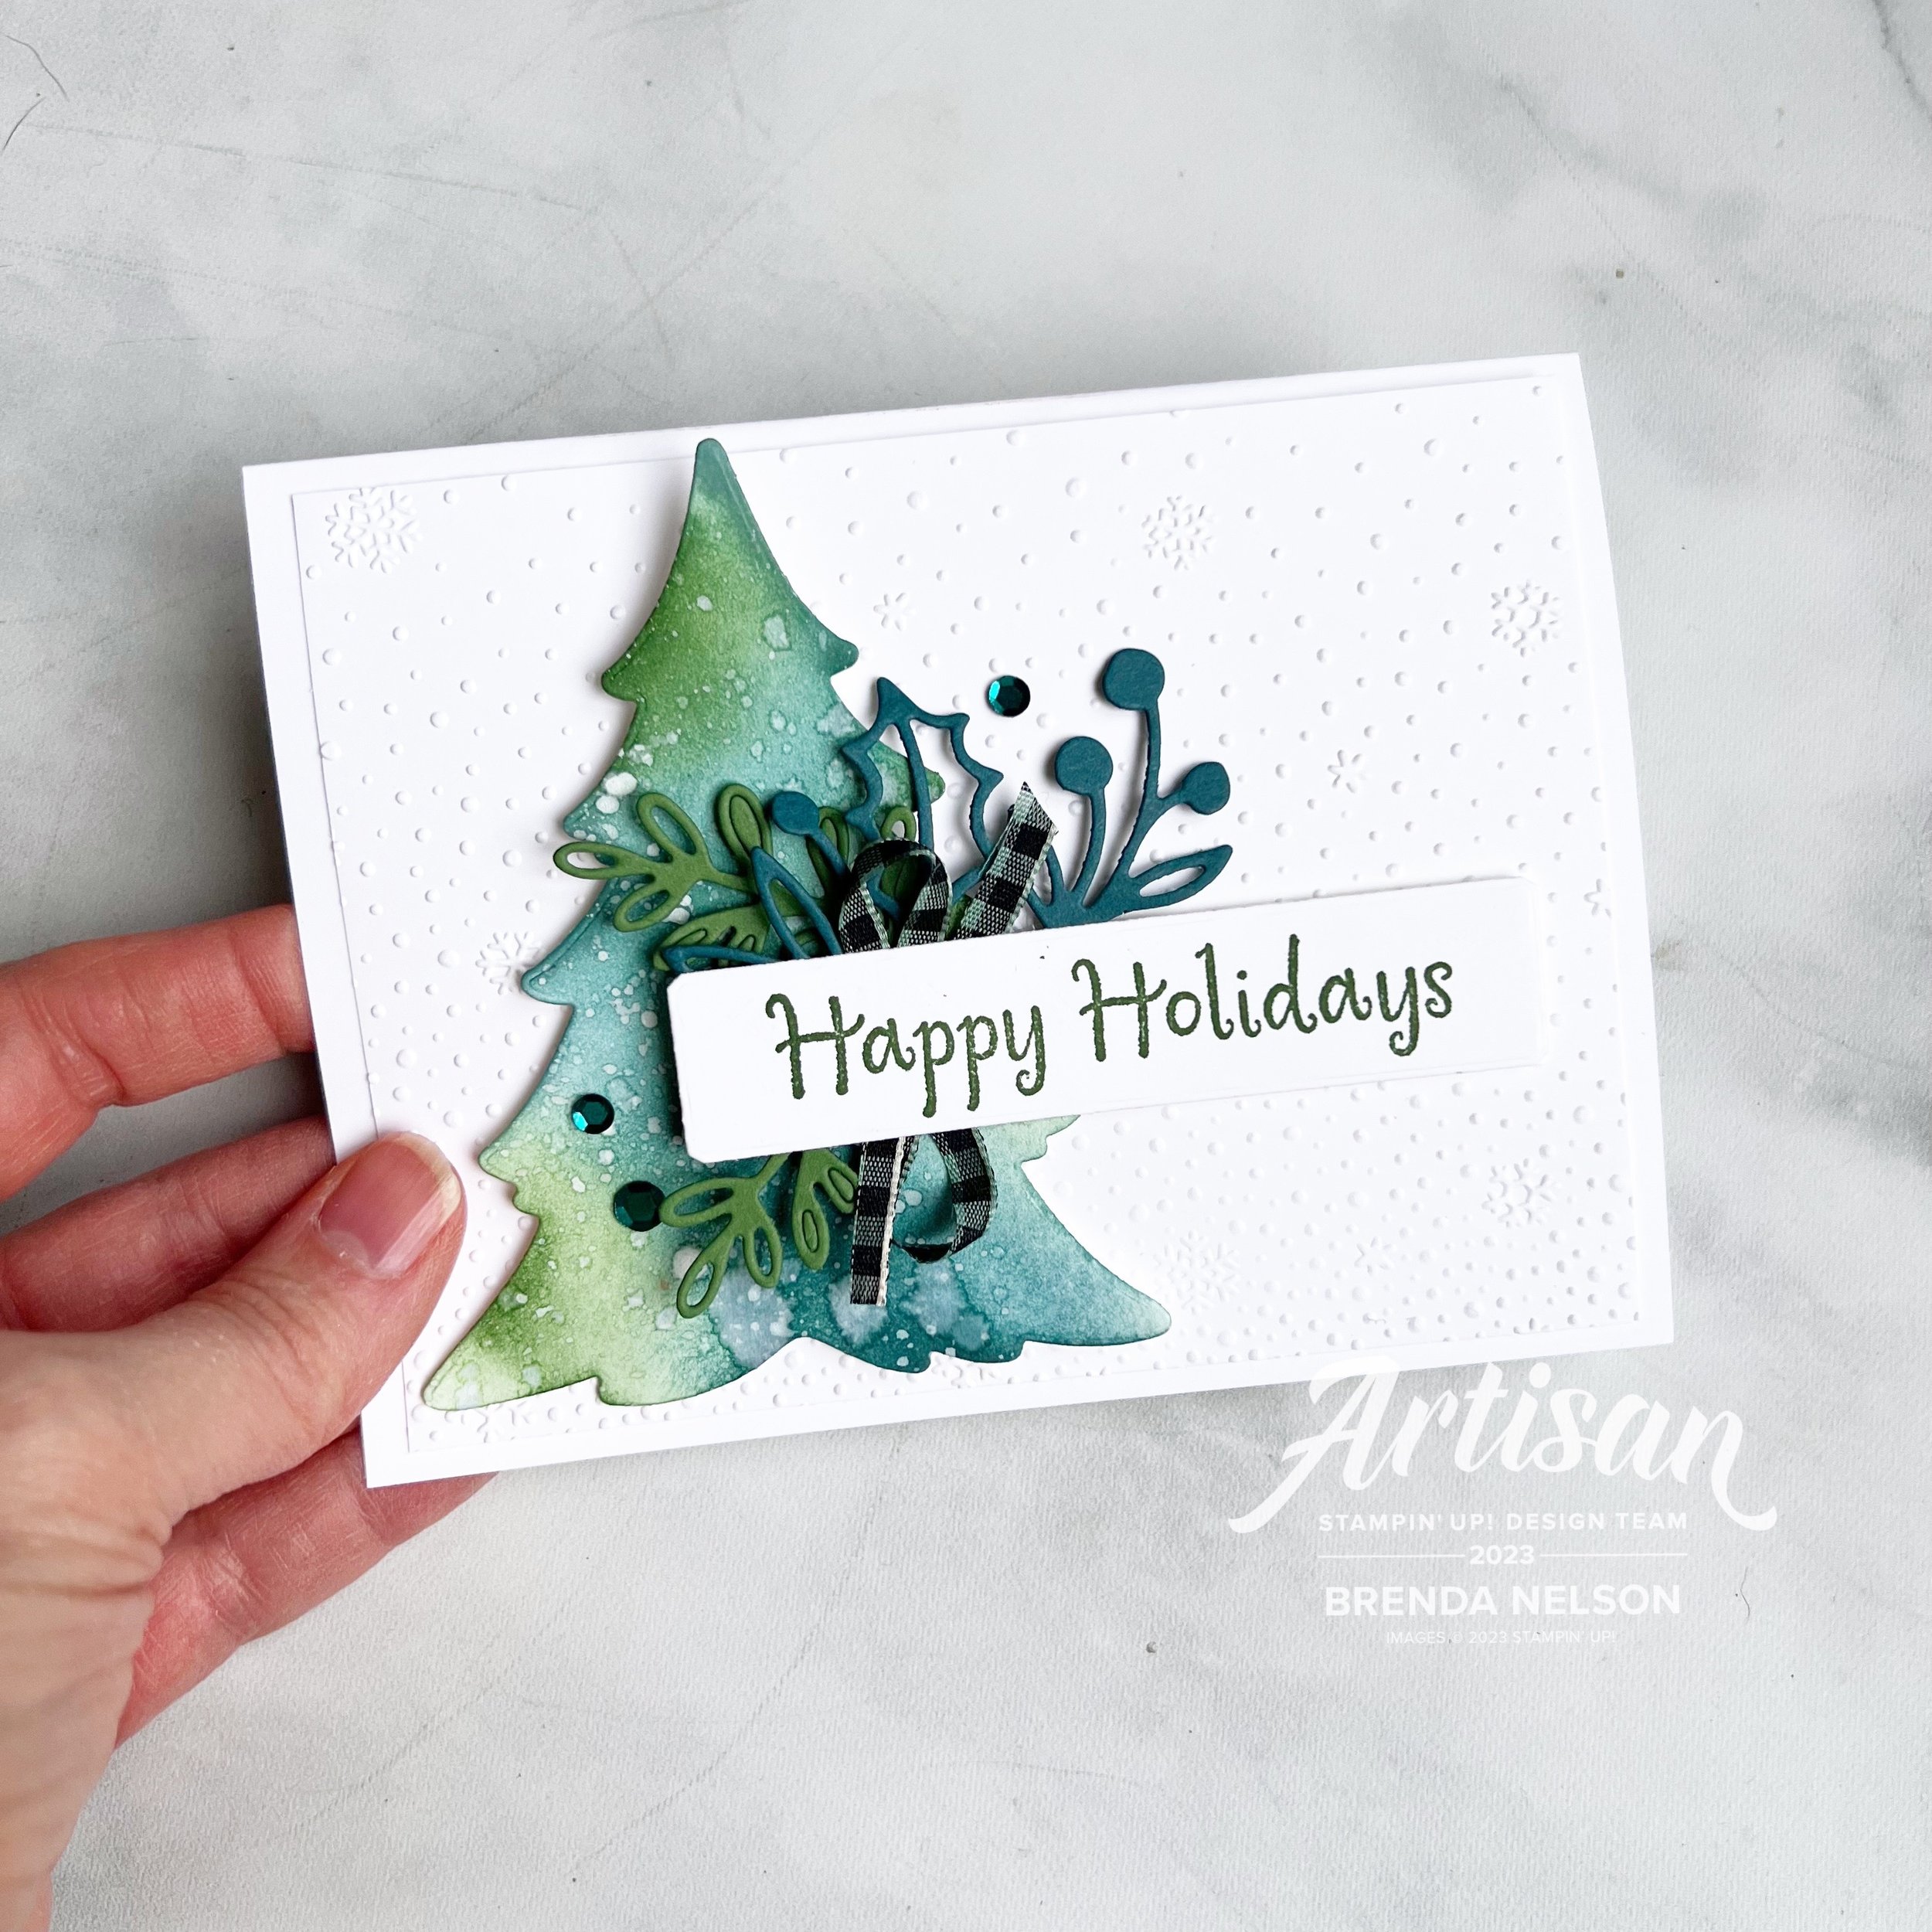
I started with a base of Shaded Spruce for the main panel. I added the another layer with a different die from the set, cut in Basic Black. I love how I was able to incorporate black into this design by using the Black & Very Vanilla Large Check Ribbon as the hanger.

I added a panel/square of DSP from the Joy of Christmas collection. Using Very Vanilla as a base I stamped the large image from the Joy of Noel stamp set in Memento ink and used the ‘lazy watercoloring’ method to color the image in Shaded Spruce and Cherry Cobbler ink.

Once done coloring with the Shaded Spruce and my Water Painter, I flicked it across the background. I could not love it more!

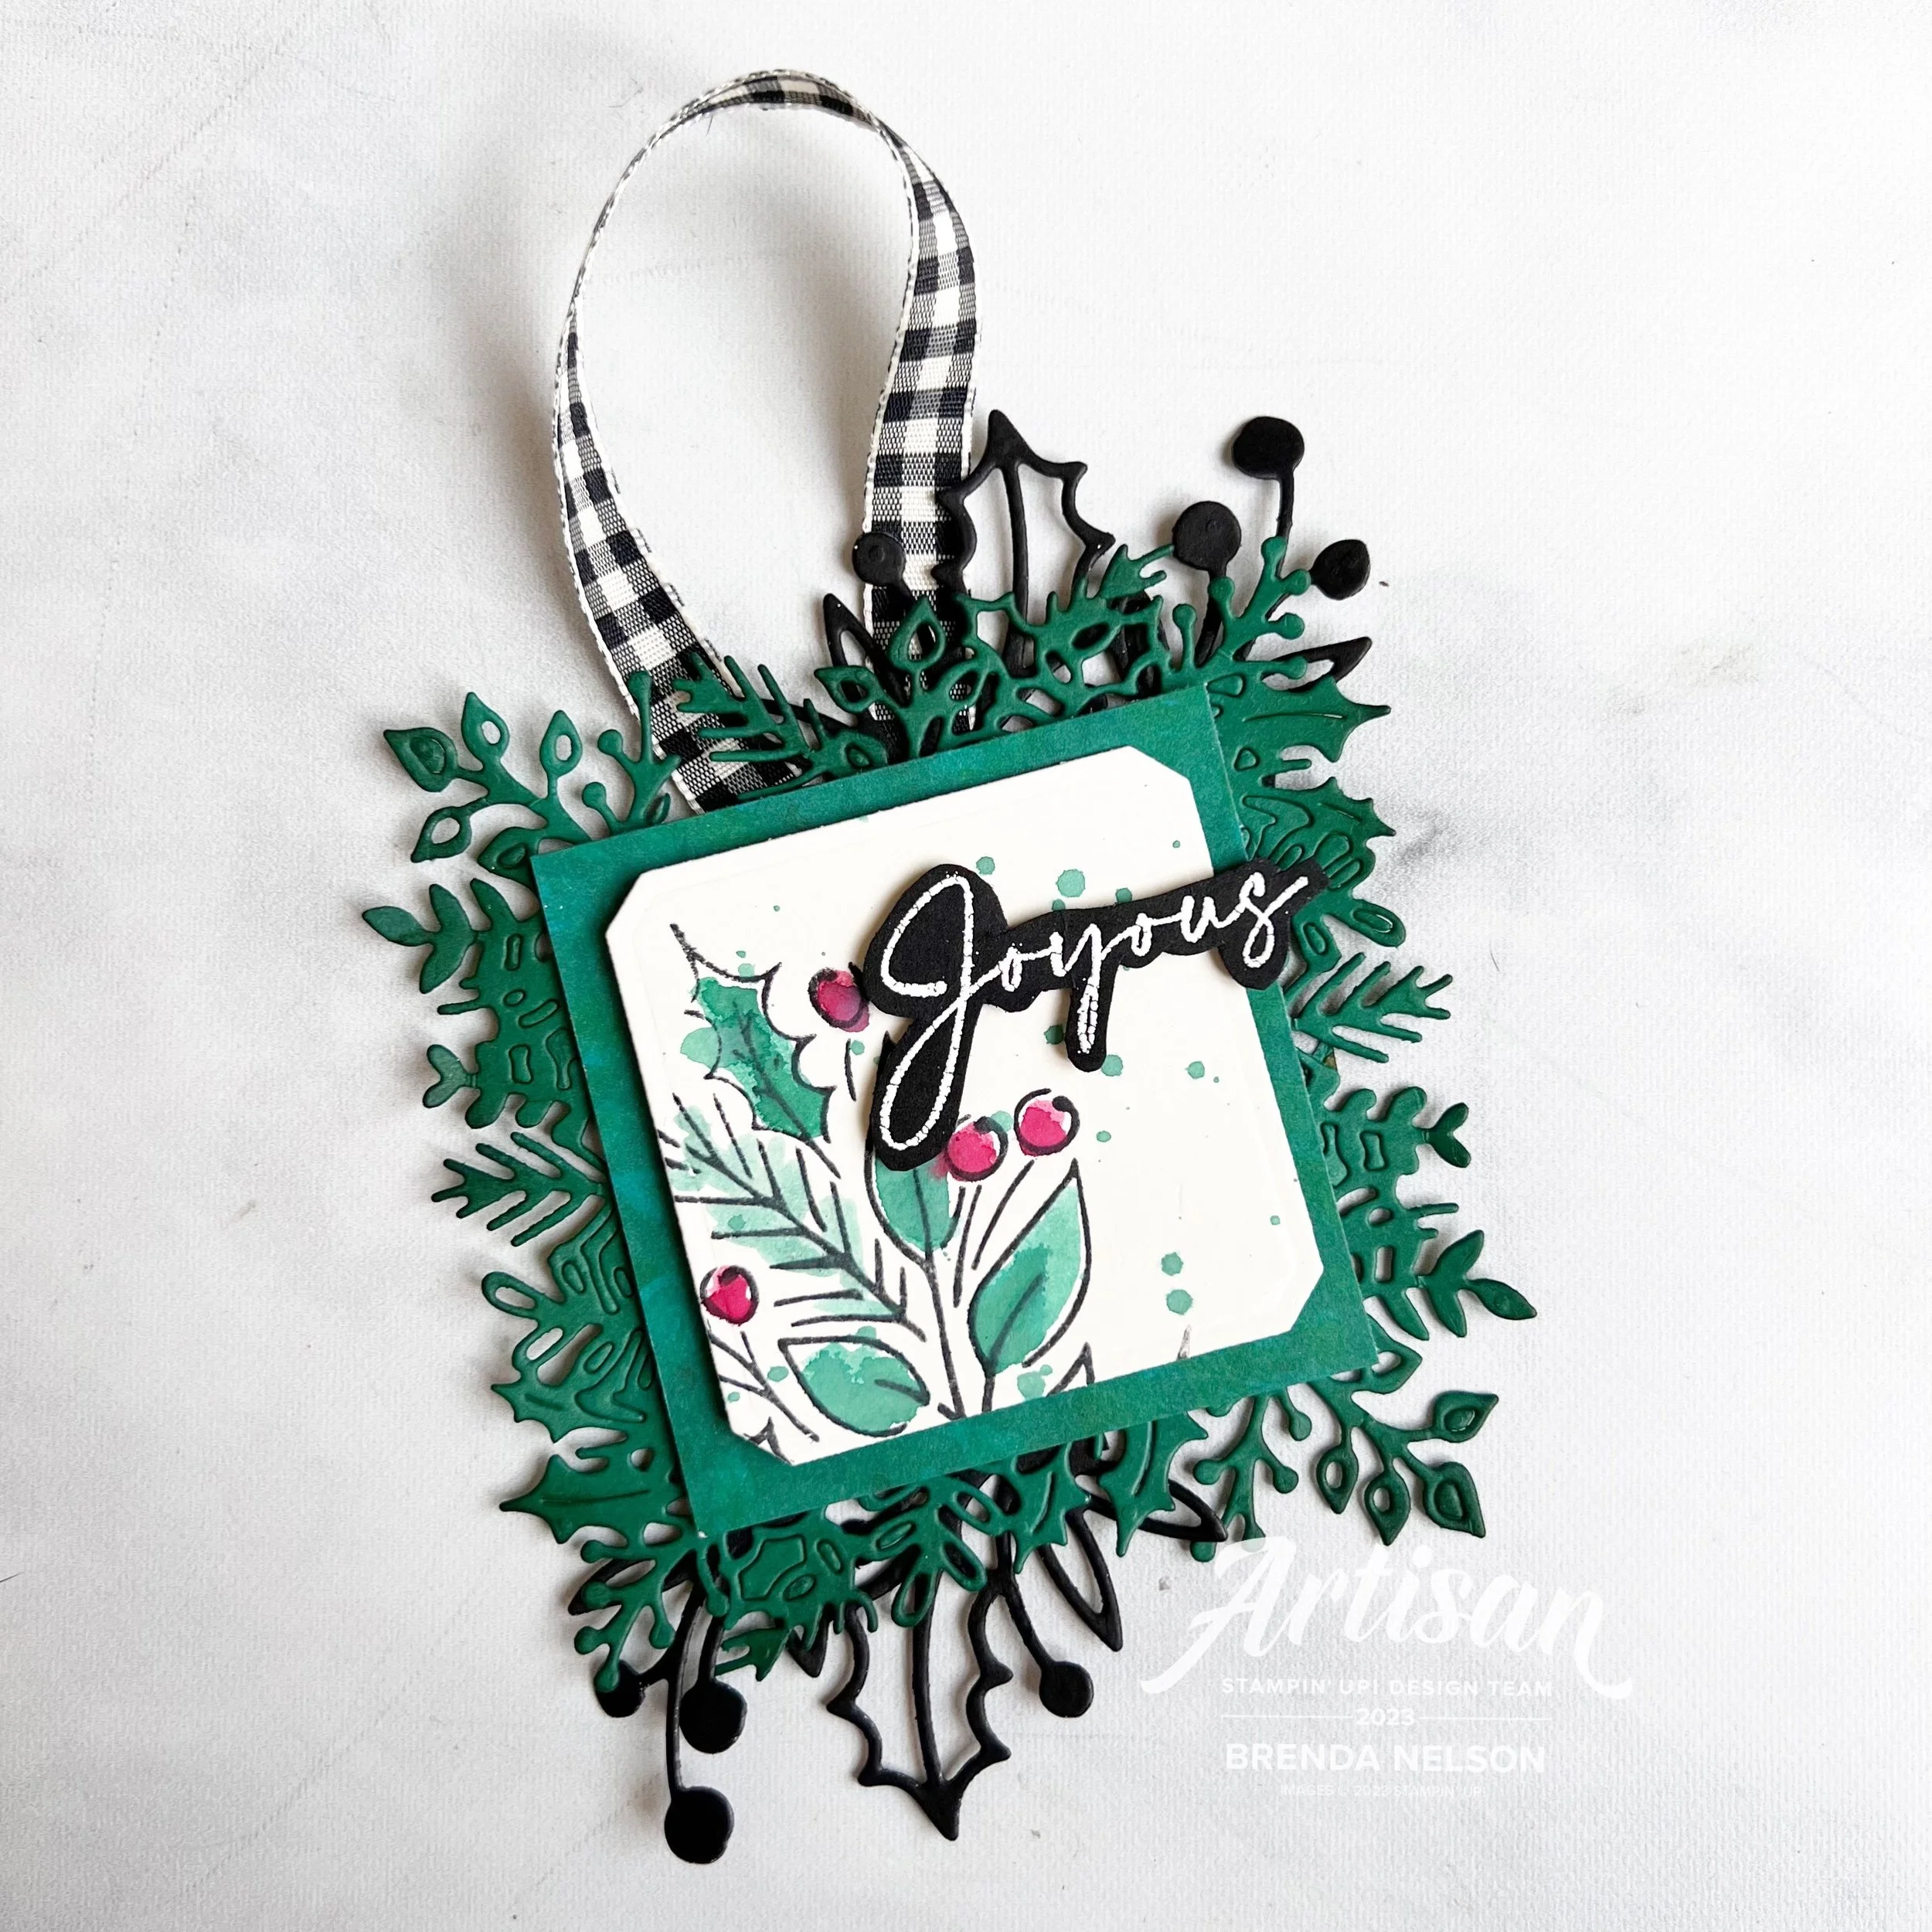
The shape is die cut using the Classic Christmas dies. Fun FACT: I also cut a back piece to cover up and finish off the back of this piece using the same die in Shaded Spruce. This way if the project gets flipped on its back, it has a more professional finished feel.

Joyous is stamped with White Craft Ink and embossed. I fussy cut it out with snips and added it with a couple Mini Dimensionals.

My intention with sharing this project is that you are inspired to use your supplies for MORE than just cards! Who would not love to have this hanging off of their gift?

What does Melanie have to share today? Let’s head on over to check it out!

Please consider shopping my store if you are thinking you want to make these too for your family and friends! You order allows me to keep doing what I love! Thank you in advance!

12 Days of Christmas--Day 5!

5 Days down friends—we are almost halfway through 12 Days of Christmas! I have so many great things to share, its almost hard to decide!

Today’s project might send you to look back at my FIRST card that I shared during 12 Days of Christmas. Remember the ‘Noel’ on my card? Well it gave me the idea to use the negative image as a stencil. Check this out!

The base of my card is Real Red and my first layer is Grey Granite. I used the ‘stencil’ of the work NOEL to create this fun background for my card with Grey Granite ink and a small Blending Brush. I then used a Grey Granite Stampin’ Blend to do a little flicking on the background. Just another easy way to add interest and texture!


To play off the grey tone in the background, I stamped Noel in Versamark and covered it with Silver Embossing Powder. Noel can be found in the Joy of Noel stamp set. However, Noel is die cut using the Christmas Classics dies. I love this square die with the nipped corners. I appreciate that it elevates this basic shape!

Behind the Noel I layered some more retired ribbon—let’s #useourstash friends. We all love new, but we all have retired too right?

‘Happy Holidays’ is from the Classic Christmas stamp set and is stamped in Real Red to play off the card base and ribbon.

I used the Christmas Classics dies to cut the sprigs behind the sentiment in Basic Grey card stock. This die is actually intended to be used as a sentiment holder but I love to cut it up into two pieces and use it as an accent. I added a few Basic Rhinestones to finish off this card! I LOVE it!

I hope this card gives you inspiration to think about shapes that can act as stencils. The sky is the limit with our extensive die and punch options!

Melanie no doubt has a fantastic project to share with you today! Please go check out what she has created by clicking the image below!

Please consider shopping my online store if this project has inspired you to need any Stampin’ supplies. It allows me to continue to love what I do!

12 Days of Christmas--Day 4!

Hello my friends! Welcome back for another day of inspiration from myself and Melanie! We are so happy you are here!

Today I want to share a card that was inspired by a Creative Color Challenge from Stampin’ Up!—I love the colors of Bubble Bath, Fresh Freesia and Petal Pink together. And I am embarrassed to admit this was the first time I have used the Abundant Beauty Decorative Masks!

The base of my card is Fresh Freesia and the first layer is Bubble Bath. I used the snowflake stencil and the three mentioned ink pad colors. I love how soft and lovely this background is. Thank you SU for the inspiration!


I love the softness of the background so I knew the sentiment I picked also had to feel more feminine. I found the perfect fit with ‘Merry Christmas’ from the Stars at Night stamp set.

After stamping the sentiment I used two Deckled Circles to bring life to the sentiment. I added some retired ribbon behind #usethatstash and added a teeny heart on top of the linen thread from the new Bee Mine punch. This punch will be available in the upcoming Occasions Catalogue in the new year.

I added a few sequins from the Pastel Sequins Assortment on the top circle for a little bit of a different look.

I really enjoyed making this card and I think you could easily switch up the color palette and recreate this card in a variety of color combinations.

I am so excited to see what Melanie is going to share with us today!

Please shop my online store if you are inspired and need some supplies! Your support allows me to keep loving what I do!

12 Days of Christmas--Day 3!

Hello and welcome back to Day 3 of our 12 Days of Christmas Hop—I hope you are enjoying what we have both been sharing so far!

My project for today is a fun pull out card—or a pocket card—you can decide which name suits it best. But it is a card style that I do tend to make each year as its such an easy way to add a gift card. I have 3 teens myself and lots of teenage nieces and nephews, so gift cards are a popular gift!

I am trying out my new logo on this photo—what do you think? After 3 amazing years on the artisan team its time to start a re-brand with my new logo!

The base of this card is Old Olive and its simply folded like a standard tent style card, however, on one side you make another score mark at the 1 1/2 inch point. This folds down to create the ‘pocket’.

I added a second strip of Old Olive card stock 1 1/4 x 4 that I ran through the Snowflake Sky embossing folder. To the keep the flap down, I used the 3/4 Herringbone Ribbon from the Annual Catalogue, tied around and secured with some Linen Thread. Sometimes using wider ribbon can be tricky and I thought this was a really good use for it.


I wanted to use the Beary Cute Bundle for this project so I stamped out a big and little polar bear in Pebbled Path ink.

I have been using Pebbled Path quite a bit for outlining images lately. Its not quite as harsh as black.

I used my Pool Party Blend over some of the details on the Polar Bears to add a subtle bit of color and to introduce another color into the card. As you can see with the Beary Christmas DSP, its a very green card. I also colored over some of the snowflakes on the DSP with my Pool Party Blend marker (it might not show in the photo but you can see it in real life).

On the Basic White pull out part, I stamped some of the snowflakes from the stamp set in Pool Party, but I stamped them off first, so they are very faint. The sentiment is stamped in Mossy Meadow ink.

Lastly I added a few Iridescent Pearls to the pull out portion for a little bling!

Head on over to Melanie’s blog to check out her fantastic project! Just click this image below and it will take you right there!

Please feel free to shop my online store by clicking any image—-if I have inspired you and you need supplies, please feel free to shop! It helps to keeping loving what I do!

12 Days of Christmas--Day 2!

Welcome to Day 2 of our 12 Days of Christmas Blog Hop! This is my and Melanie’s second time offering this fun blog hop and we each have a ton of fun projects line up for you—in total you will get to see 24 super inspiring holiday projects!

My second project is one inspired by two of my fellow Artisan Design Team members—Tammy Wilson for the cool tree idea and Charlet Mallet for the fun pop up portion on the inside!

The base and first layer of this card are Basic White and I ran the first layer through the new Snowflake Sky embossing folder. I love how the little snowflakes on the folder are on scale with this project!

The sentiment is from the Throughout the Year stamp set in the Holiday catalogue—its a perfect stamp set as it covers off so many wonderful occasions throughout the year in a variety of fonts.


I cut the tree from the Merriest Trees Dies and used my Blending Brush with three colors—Lost Lagoon, Pretty Peacock and Garden Green.

After blending I flicked my water painter over top—the water acts like an eraser of sorts. I then took some Whisper White re-inker, squeezing a small amount onto a block. Using another water painter (I have one designated to this craft ink) I flicked a few sprays of white over top of the tree. What I love about this fun technique, is that every tree you blend will look different!

I cut some of the sprigs from the Christmas Classics Dies—including the sentiment. I used Pretty Peacock and Garden Green card stock with a little bit of the Vanilla & Black Check ribbon behind the sentiment. Note the color of ribbon!

TOP TIP: Use your Stampin’ Blend markers to color ribbon to your liking to match your projects!

A few sequins from the Adhesive-Backed Sequins Trio from the Annual Catalogue, finished off the front of the card!

But remember I mentioned something fun for the inside? Earlier this year Charlet shared this super fun tip on how to create a little pop up in the cards! The sentiment from the Merriest Trees ‘We Wish You a Merry Christmas’ was perfect, die cut with one of the smaller trees from the dies.

Isn’t this little pop up tree so cool? Thank you for such a cool tip charlet!

To make the fun pop up, according to Charlet’s awesome instructions, is to cut a piece of card stock, that matches your card base, to 3 x 3 inches and score this in half. Fold. Line up the folded edge on your trimmer and at each 1 inch mark cut a 1 inch snip. Unfold and score from snip to snip at the 1/2 mark.

Pop the center fold out. Line up interior fold and adhere to the center of card at the fold line.

I used some Tear’n Tape on each side of the pop up to keep it in place on the top and bottom.

I stamped the sentiment in Pretty Peacock and used some Lost Lagoon ink to softly blend over top so that the tree stood out a little bit more.

I hope this card inspires you to try a fun pop up on the inside of your next card!

I can’t wait to see what Melanie has created for you! You can click on this image to go visit her blog!

If my projects inspire you and you are needing some supplies, please consider shopping my online store so I can continue to do what I love!