Backstage Presents for my People

Hi friends! I really hope you enjoyed my Creative Convention last week while I was in Vegas at Backstage. I had so much fun creating those projects for you!

Backstage was so much fun, my cup and heart are full. I am so excited about this upcoming holiday season and all the fun we are going to have crafting together! I love to have people here in my Home Studio in the YEG area and I host lots of stuff on zoom/facebook! So if you haven’t crafted with me before maybe this will be an opportunity for us!

One of the fun things of getting together at any Stampin’ Up! event, whether is company hosted, or hosted by demonstrators, is the PEOPLE! We know this right? So of course I had to take some gifts to my ‘people’!


The absolute HIGHLIGHT of Backstage for me was getting to me some fellow members of the Artisan Design Team, both current and past! My friends Heather @songbirdstamper was coming over from the UK so of course I had to give her a gift of Canadian maple syrup and some maple Sweet Georgia Browns from a Canadian chocolatier company, Purdy’s.


I thought this little tin was cute to share with my roomie and best stamping buddy, Tammy Nelson @stampandscraptammy—We met a few years back on the Alaskan incentive trip and have been having fun together ever since. I thought after enjoying all of the maple truffles inside she could pop this tin up in her craft room aa a little reminder of me!

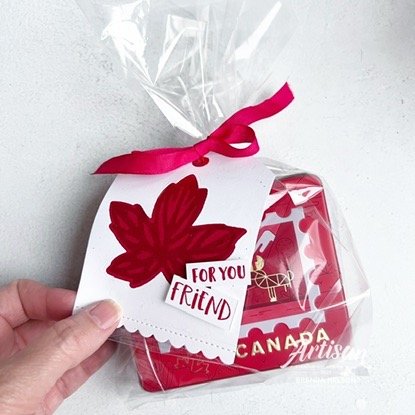
These tags were inspired by a card that my fellow Canadian Teammate Verena @simple_stamper shared a couple weeks back! I thought the design was easy and perfect to convert into tags! The maple leaf is stamped in Real Red ink on coordinating card stock. Once you cut your tag to size, use the maple leaf die cut to create a negative image. You can then pop your stamped image in behind.

For the Starbucks mugs, I wrapped strips of Real Red card stock around the boxes that I stamped with the large maple leaf stamp in the Autumn Leaves stamp set. The sentiments ‘For You Friend’ are from the Best Family Ever stamp set!

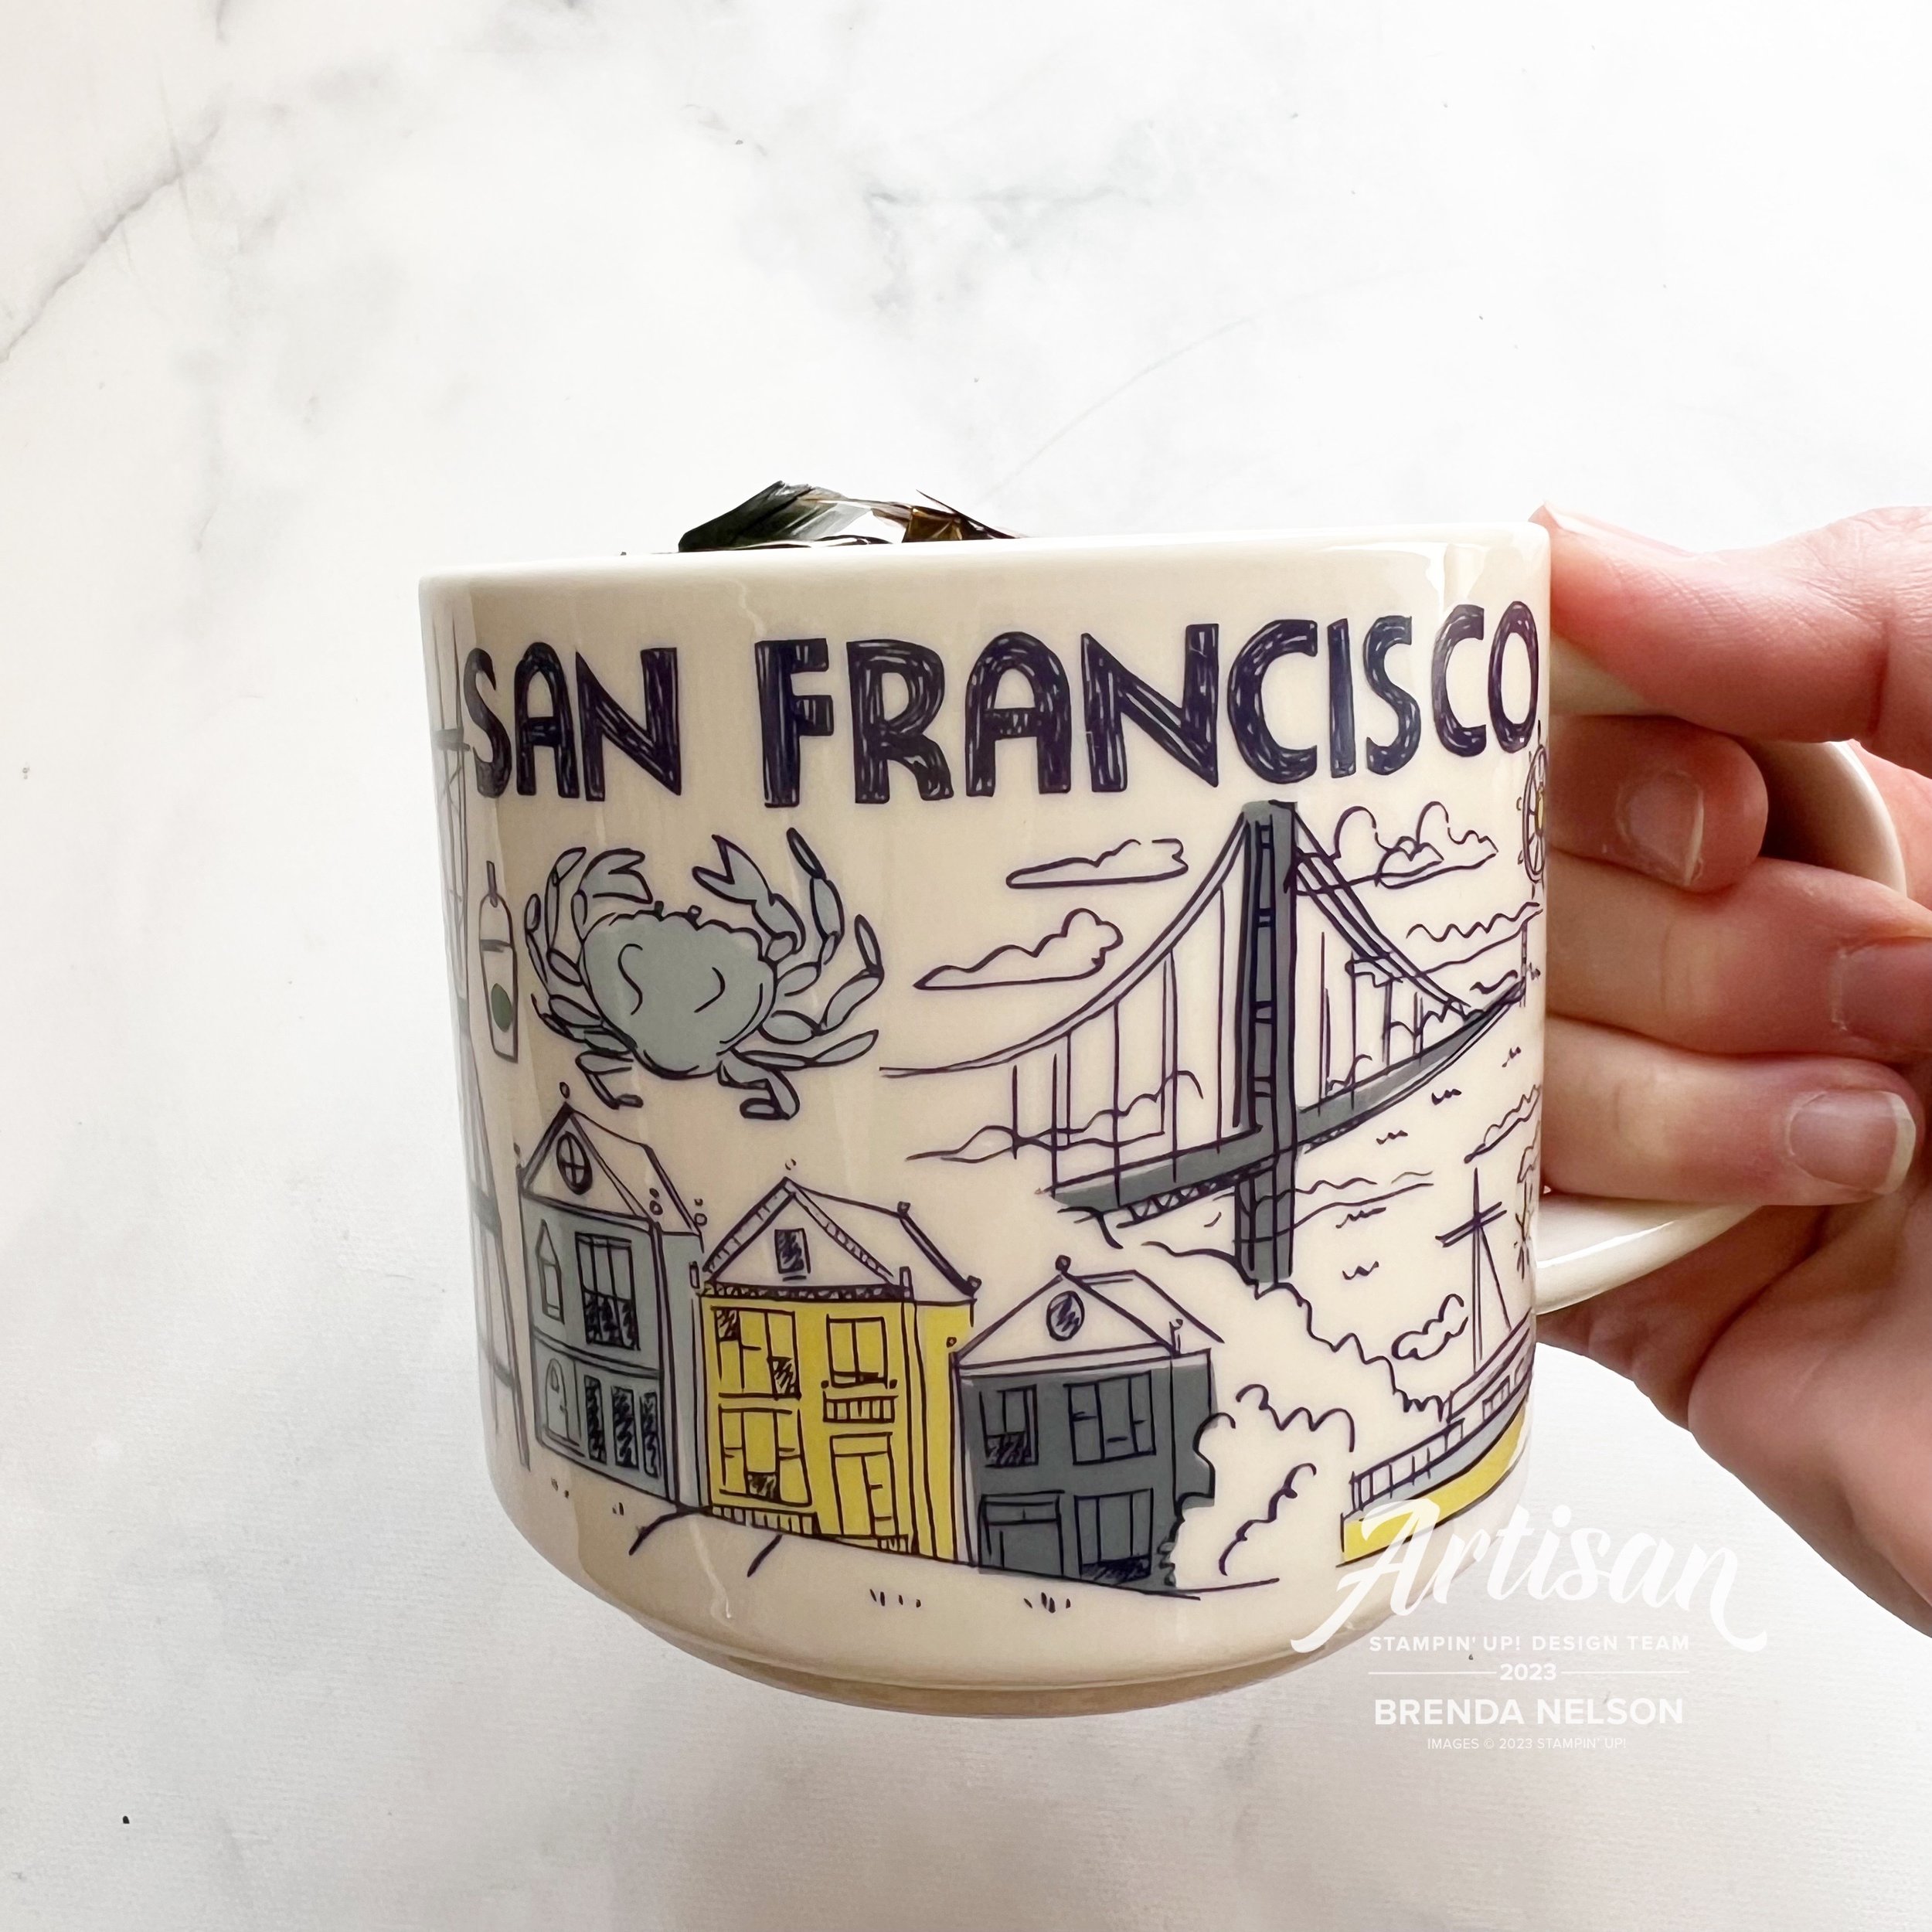
I did a MUG SWAP with Kurstan @stampwithkurstan_ which was so much fun! Now I have a San Francisco mug to add to my collection! She also filled it with chocolates which caused my carry-on suitcase to get inspected at security! I guess they looked suspicious in there!

I took an Alberta mug as a surprise to my friend Melanie @melsinkyfingers—you may remember last holiday season we did a 12 Days of Christmas Blog Hop and I am so happy we are going to offer that to you again starting on November 1st! We are working out the details on an event as well, so stay tuned!

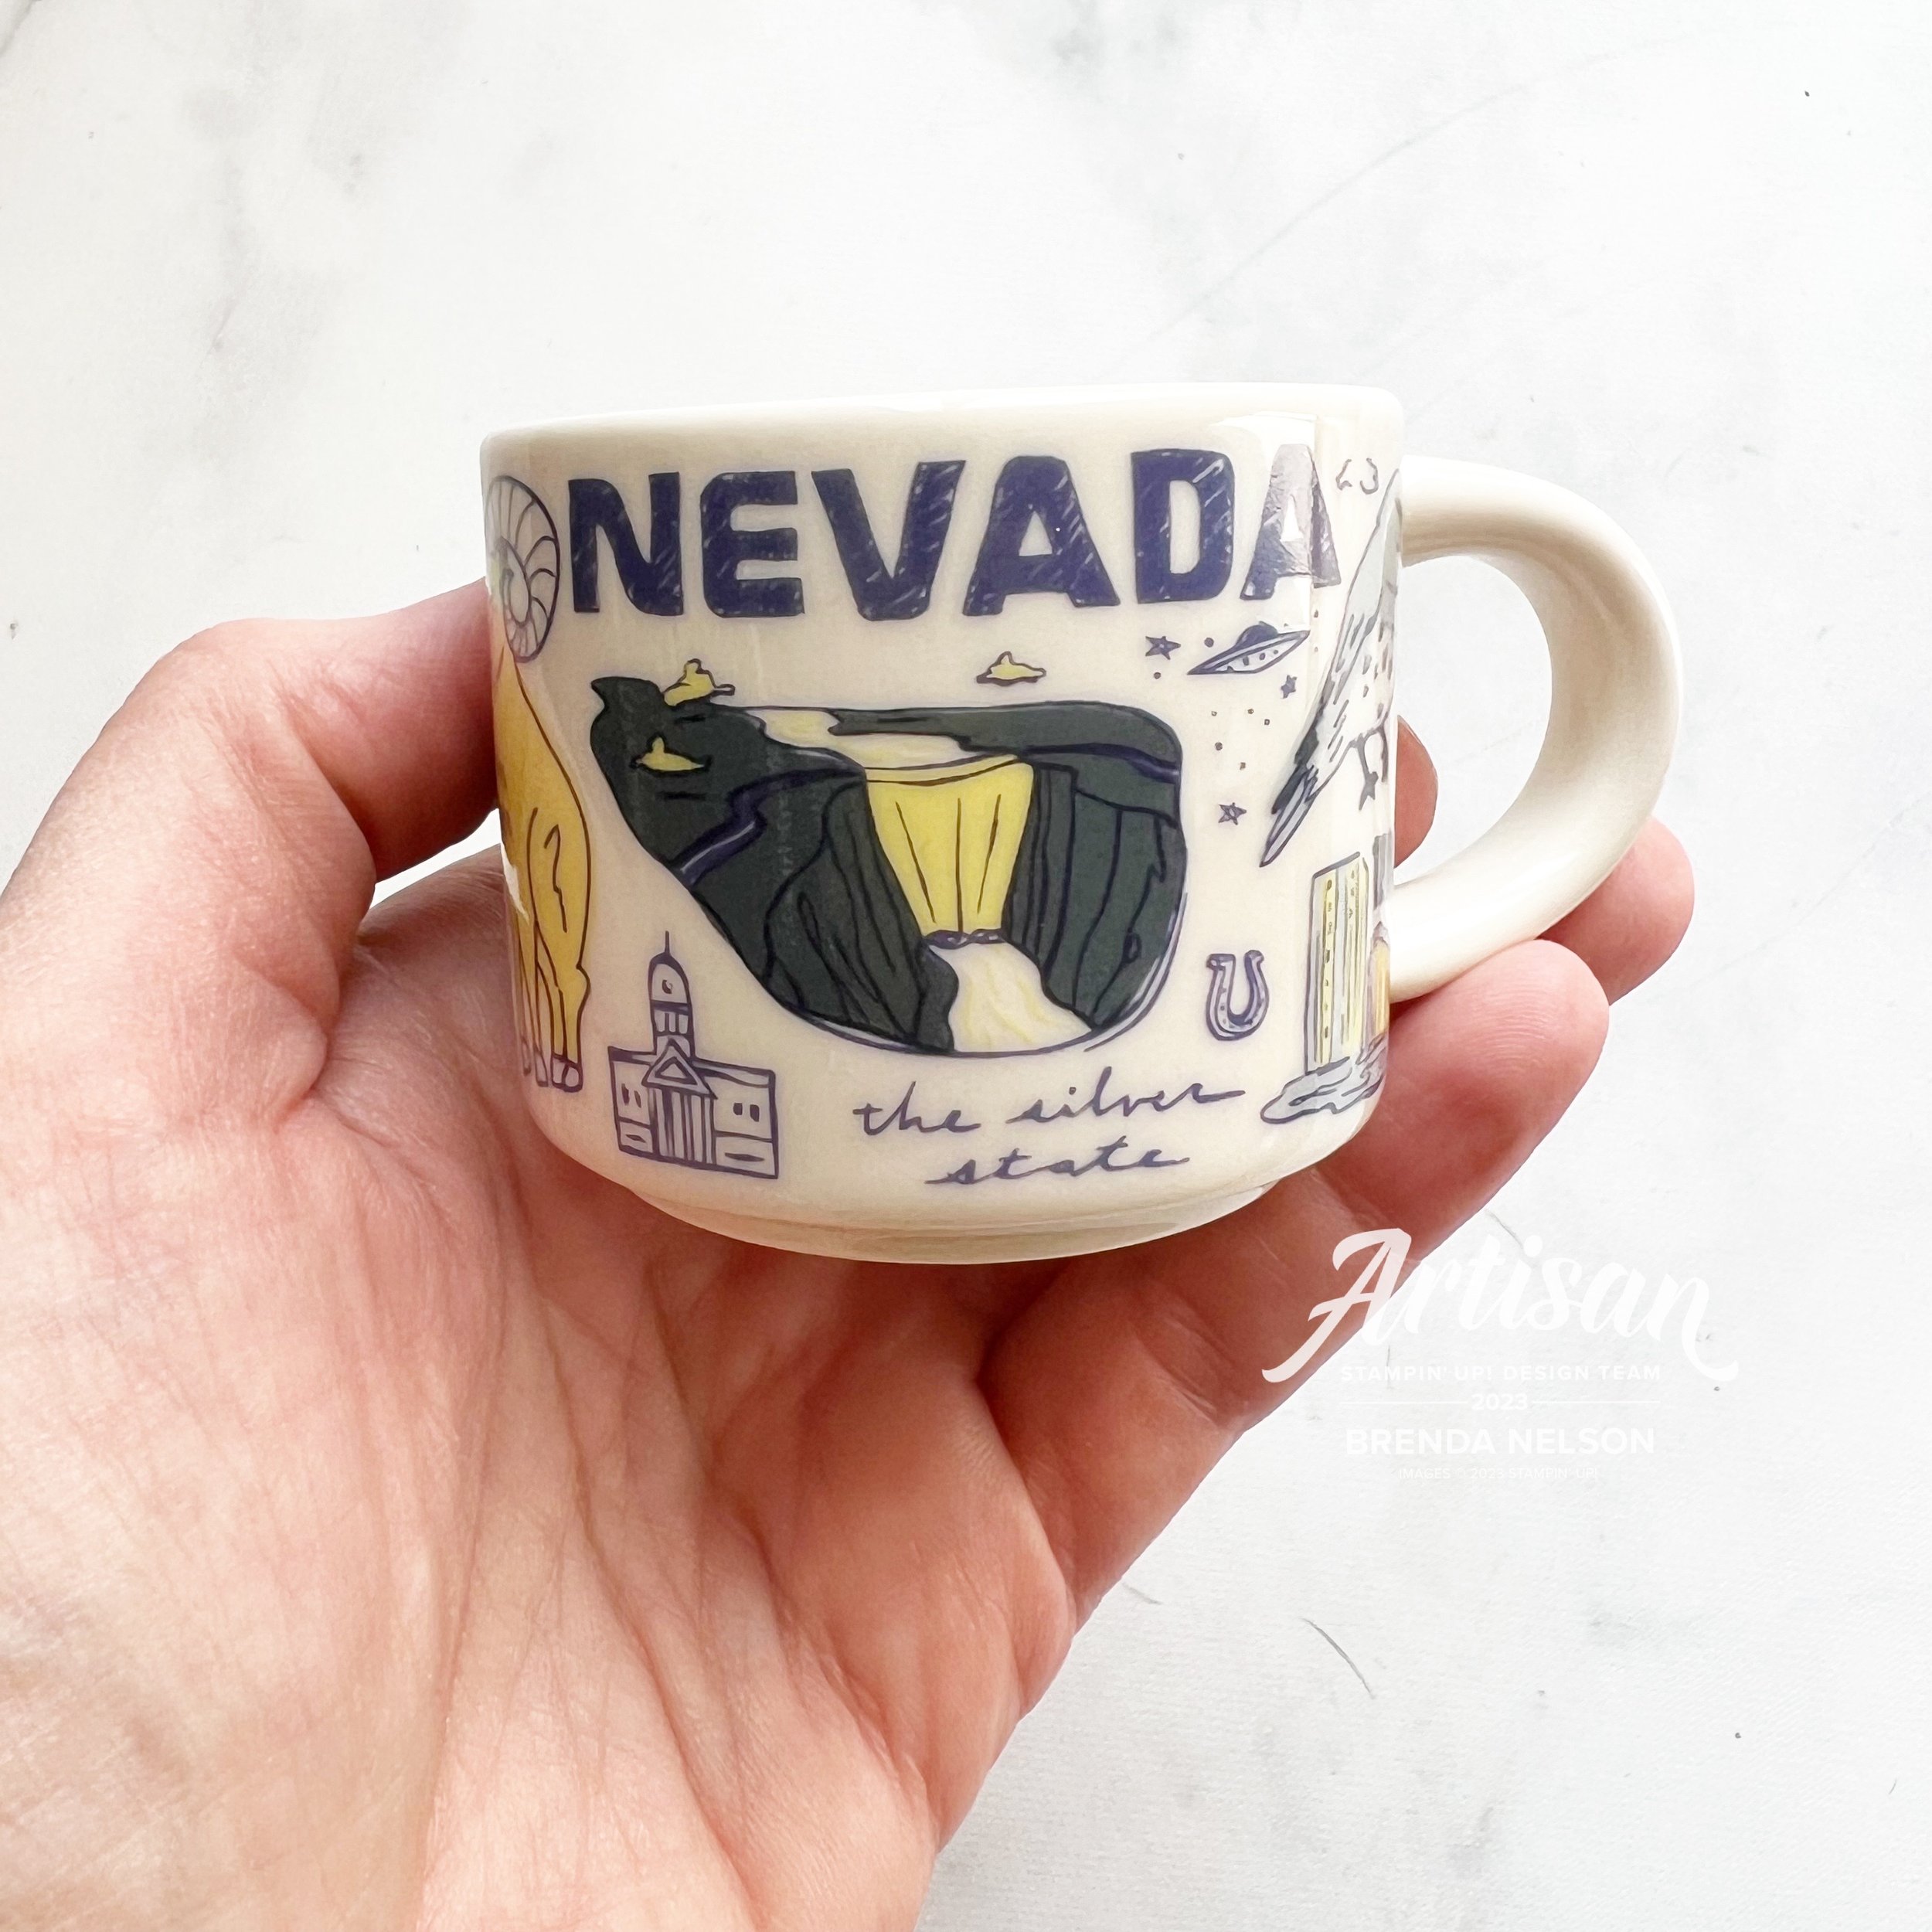
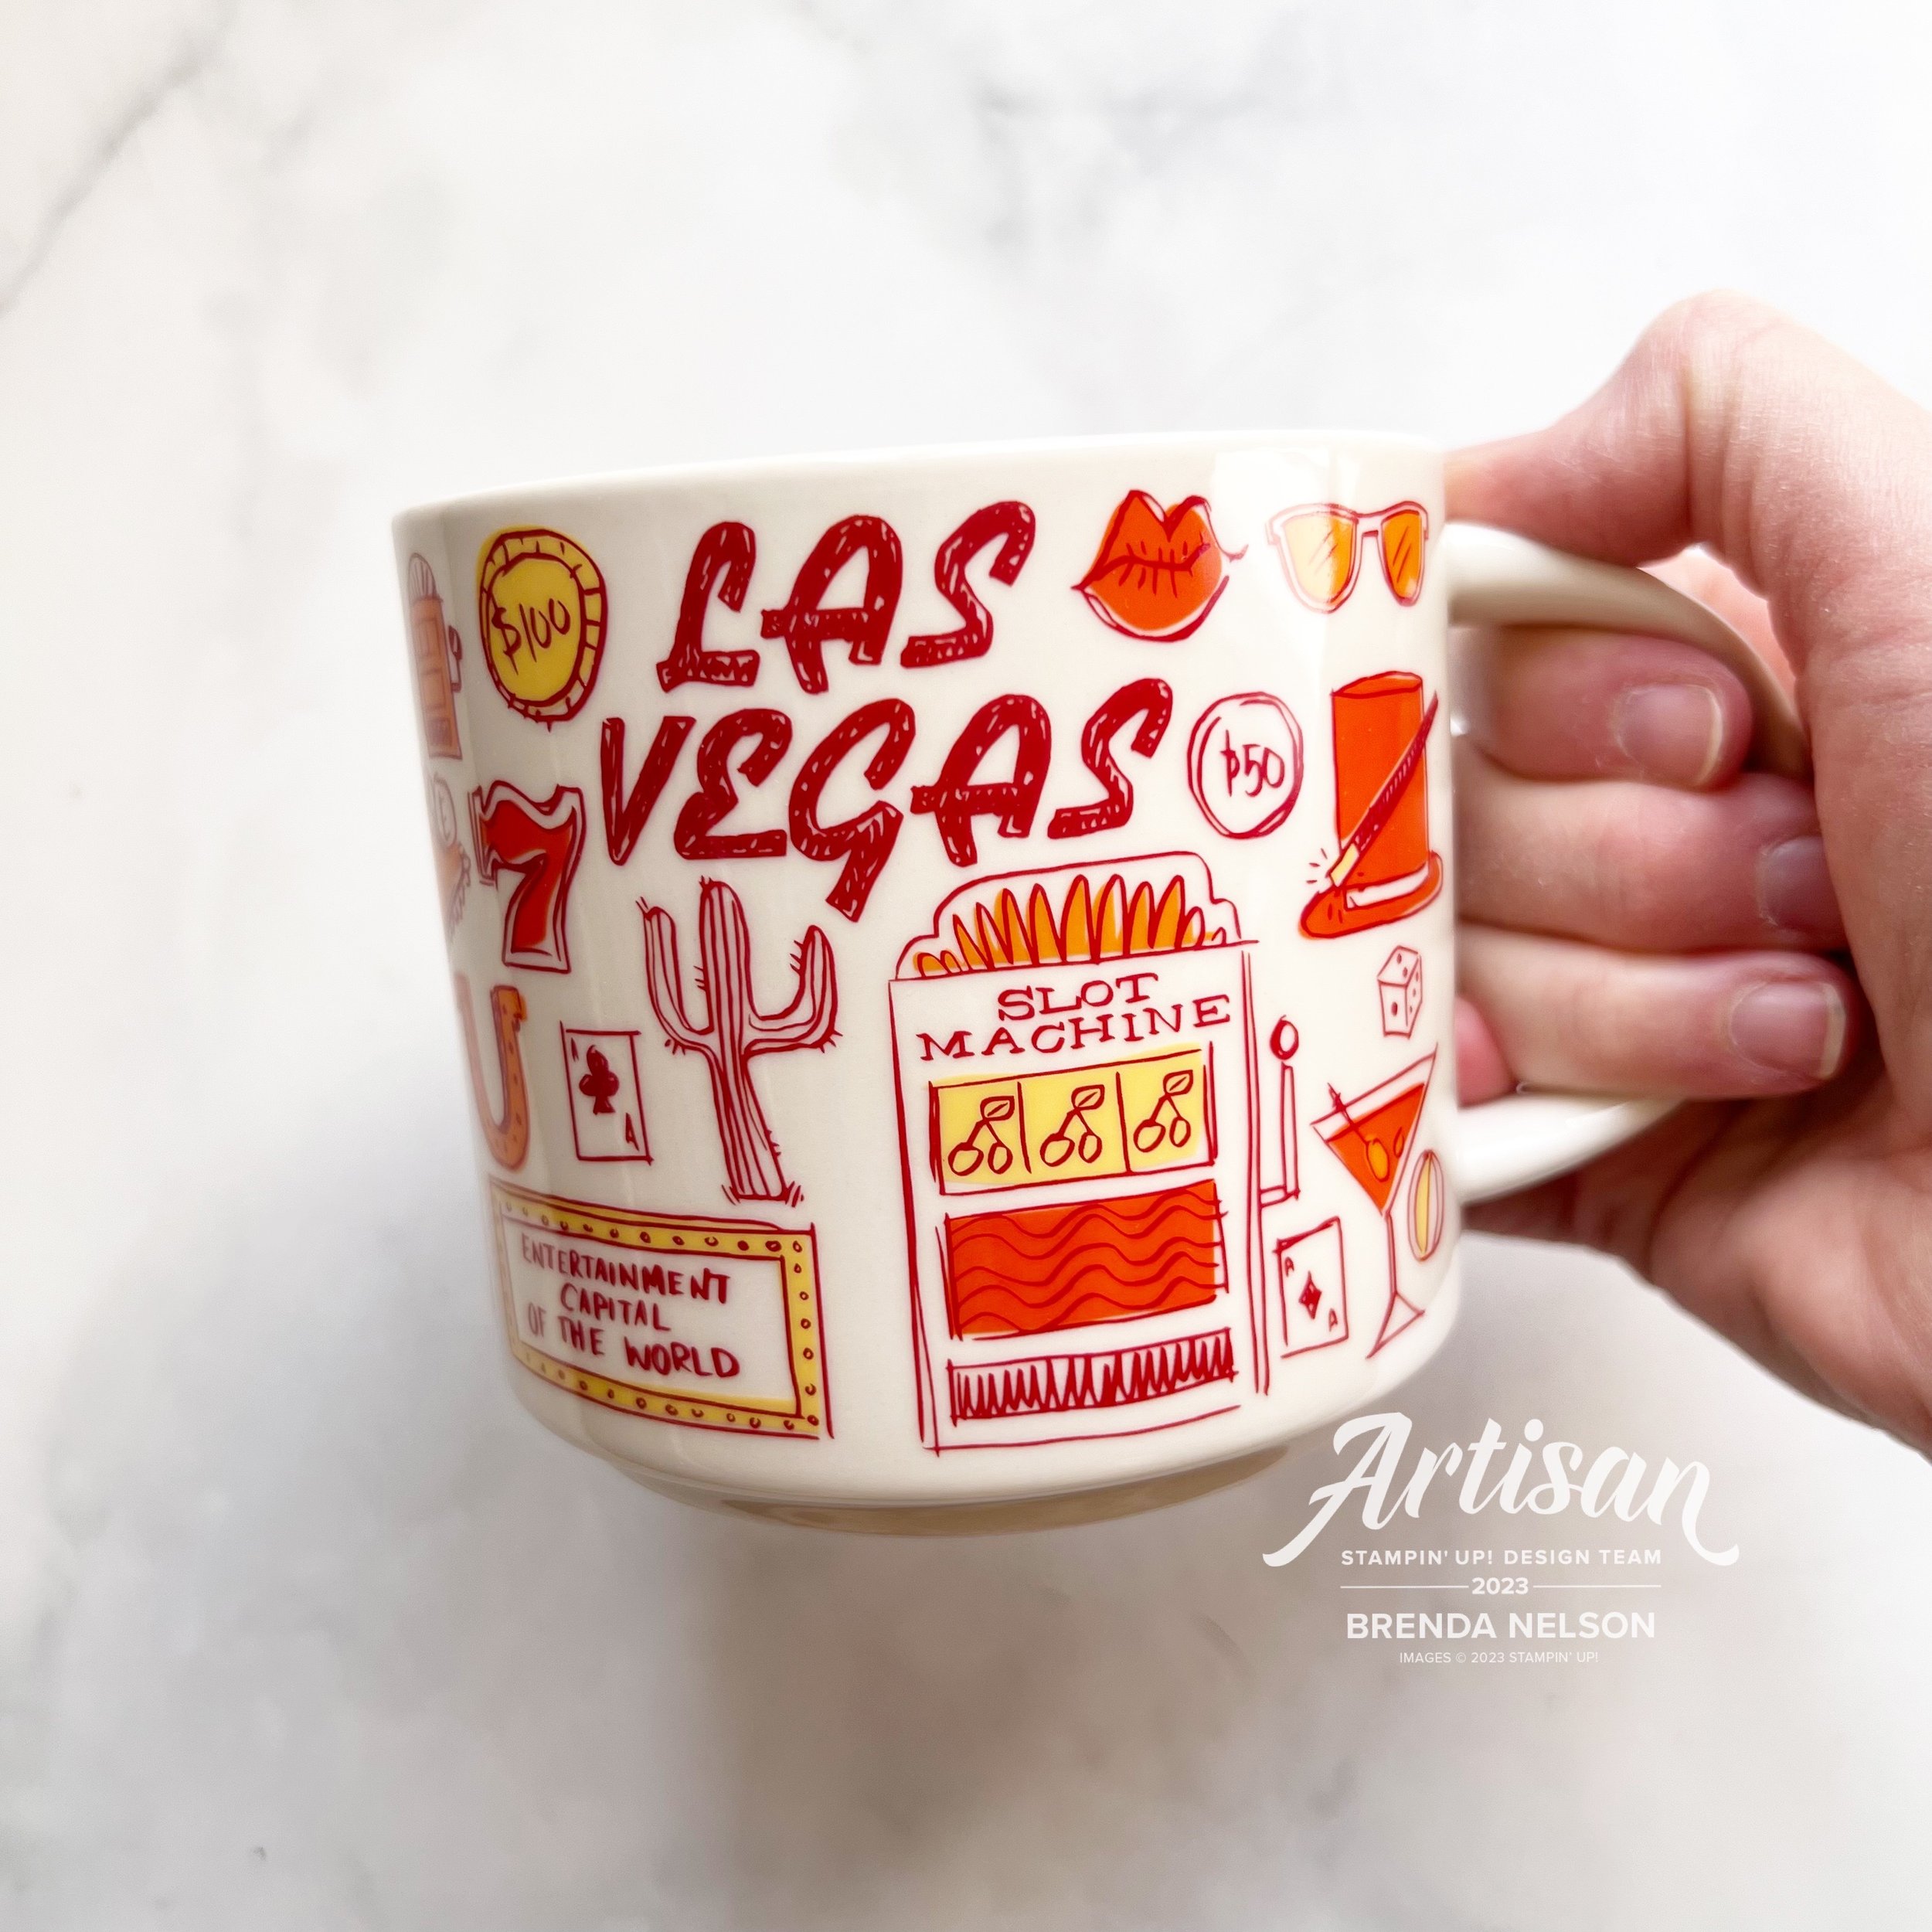
Of course I had to pick myself up a Las Vegas mug for my collection and this itty bitty Nevada mini mug! Isn’t it so cute! Its a perfect little decor item for my stamp room!

I will be sharing alot more fun stuff—pictures and reels on my Instagram so make sure you are following me along there!

Gumball Goodness-Artisan Design Team Project

Hello friends! Welcome to a brand new year of Artisan Design Team projects! I am so happy to be a part of the team again for 2022. I think it took me most of 2021 to get my bearings so I am happy to have another opportunity! One area that I didn’t do the best at was creating a blog post to go with my monthly assignments. There are often lots of fun things to share with you that go along with our monthly posts that don’t always come across in the 2 photos we submit!

Fun fact, we submit 2 photos but I usually take like—30! hahaha! Then I narrow them down to the two best, edit them and all that jazz, and then fingers crossed they get approved! Sometimes we do have to make little tweaks and since I photograph my projects in natural light, even an hour difference can make the whole series of pictures look very different!

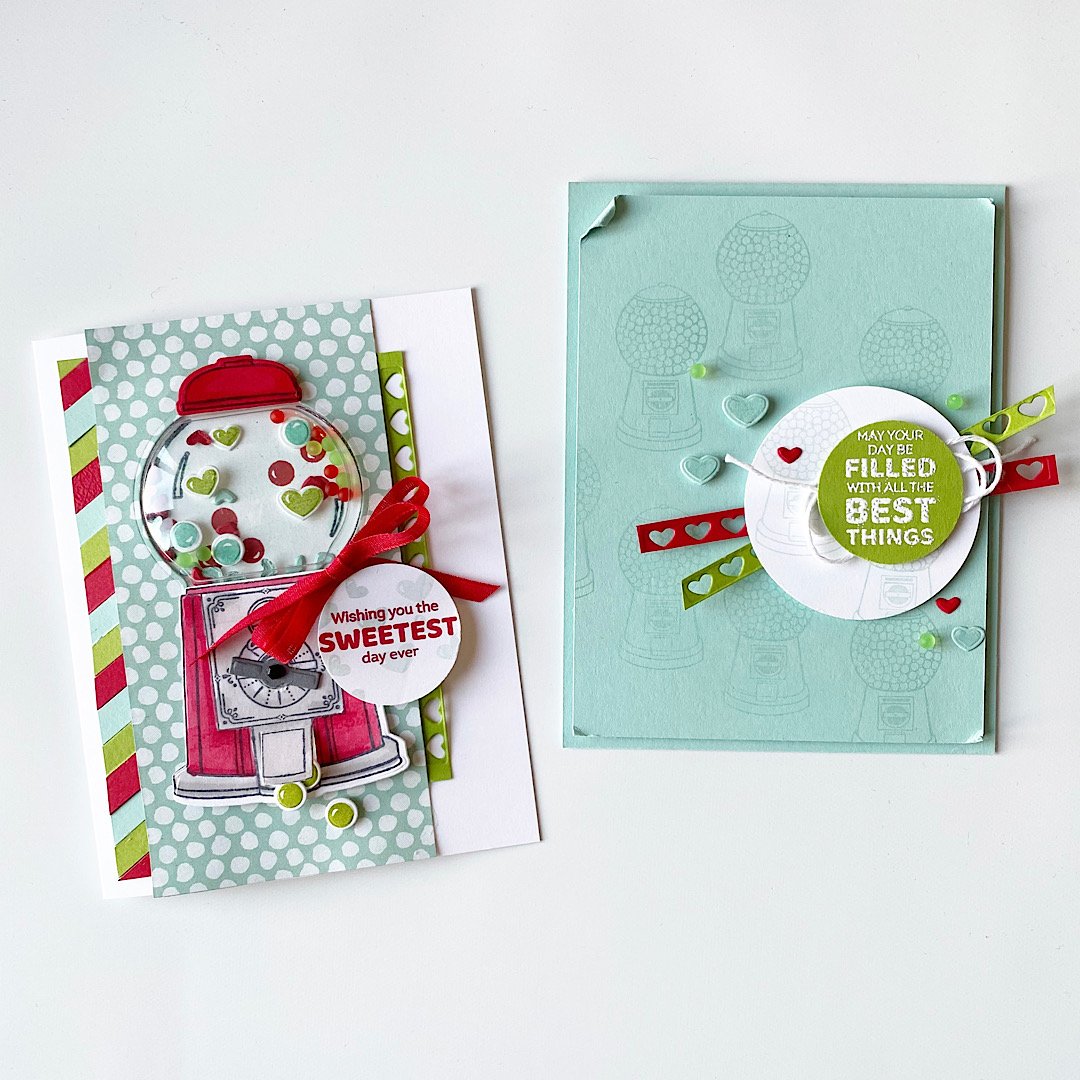
These cards feature the awesome Gumball Greetings Bundle from the new January to June Mini Catalogue—or the JJ catalogue!

My first assignment for 2022 was the Gumball Greetings bundle in the new JJ catalogue—the bundle can be found on page 12 and includes some really unique accents—the Gumball Machine Shaker Domes and the little Frosted Beads Assortment! I used these beads in two ways—-as filler for my gumball machine and as an accent or embellishment on my card front!

Now truth be told, I did actually struggle with this assignment! I spent alot of mental time thinking about my projects and ripped apart several attempts until I landed on these two cards. I think they are a good representation of the stamp set and the dies.

For the gumball shaker card I pulled in some DSP from the Pattern Party DSP Stack (a hostess benefit!) from the Annual catalogue. I then made my own striped accent with scraps of card stock in Granny Apple Green, Real Red and Pool Party as they were the focus colors of my project. I cut a strip of Basic White to 1 x 5, covered it in Tombow Multipurpose Glue and then added the strips of card stock on a diagonal.

This close up view shows you all of the fun things I added into the Gumball Machine Shaker Dome!

On the other side of my DSP panel I have used a die cut included in the Gumball Machine Dies that cuts out a strip of mini itty bitty hearts! The bottom of the machine is stamped in Momento Ink on Basic White, colored with Stampin’ Blends in Real Red and Grey Granite. It is then die cut. The topper of the gumball machine is stamped with Momento Ink on Real Red card stock and then I added a bit of detail with the coordinating Blends.

To add a realistic feel too the coin spinner, I added the little die cut handle and a shape from the Adhesive Backed Hexagons to the center!

The dome shape is cut with a die from the DSP and layered behind it, I stamped the dome filler. I added some stamped gumballs in Read Red, then I stamped and die cut some more in Pool Party. I added these with Mini Dimensionals inside the shaker dome area. I also stamped and die cut some hearts in Granny Apple Green and added some of the mini die cut hearts from the die strip in Real Red and Pool Party. Finally I added in some of the Frosted Beads in green and red. All of these elements made for some fantastic gumball machine filler!

I added a cute #tammybow using the new Real Red Faux Linen ribbon that was cut in half plus a few little gumballs rolling out of the bottom of the machine for some extra touches!

Each month we also need to incorporate a tip or technique into our project. I thought it would be fun to color the inside of the dome with a Dark Pool Party Stampin’ Blend to give a soft blue hue to the dome. Think of how cool this could look if you turned the Gumball Shaker Dome into fish bowl!

My second project uses the little mini gumball machine stamp as a background stamp which I love! I stamped them randomly in Pool Party ink on the coordinating paper. My favorite part of this card is how I used the heart border die as an accent behind the sentiment! I also used my Tombow Multipurpose Glue to add some of the green Frosted Beads to the card front as an embellishment, along with some stamped hearts and hearts from the die cut strip!

The sentiment is stamped in White Craft Ink with embossing powder to help the white pop on the Granny Apple Green. A little distressing of the edges and this card came together pretty quickly! I think its a fun one to give with a gift card inside!

Thank you for following along on my Artisan Journey again this year! I appreciate all of your comments and LIKES and if you live in Canada and my projects have inspired you, please consider shopping my online store!

Color Fusers--April 2021 Blog Hop!

Welcome friends to another monthly Color Fusers Blog Hop! I love this hop because it really gets me out of comfort zone for color coordination!

This month we are all tasked with creating projects featuring Seaside Spray (which is also retiring), Old Olive and Real Red. I wanted to challenge myself to use these colors to create a scrapbook page!

colorfuserapril.jpg

By chance, I happened to have this photo of my youngest son, laying on my craft table. As soon as I glanced at it and saw our color challenge, I thought it was a perfect fit!

final (8).jpg

It worked so well to use the Real Red for apples with Old Olive green accents and a nice Seaside Spray background. I am really going to miss Seaside Spray. I was a blue that I used quite often. However, the new In Colors are also pretty fabulous too!

I added some large polka dots in the coordinating ink onto the background with the Circle Celebration stamp set. The photo mat is made up of a retired piece of 6x6 DSP in Seaside Spray (from the first round of this In Color), Old Olive and Real Red card stock.


I used the stamp Harvest Hello’s to do most of the design work for me on this page. I stamped the apples in Momento Ink and colored them with my Real Red Stampin’ Blends. You can punch out all of the elements of the apple with the coordinating Apple Builder Punch!

I love this stamp set and it will be a keeper for me, especially because I am nowhere near being done scrapbooking school memories of my 3 kids.

final (9).jpg

I added in the A+ and some Old Olive ribbon from the Ornate Garden Ribbon Combo Pack and a few cute red Resin Hearts to create a fun focal point on the corner of my photo. I love how I was able to tuck a cute little apple up underneath the photo too.

One of my favorite sets from this catalogue was Ridiculously Awesome. I can’t tell you how many times i have used it! It is such a fantastic set to use for scrapbooking!

final (4) 3.jpg

I stamped the phrase in Seaside Spray and then again in Old Olive so I could hand trim out the word ‘Awesome’. I really wanted it to pop and this is an easy way to draw the eye to a certain word out of your sentiment.

Of course I added a few more apples and Resin Hearts!

final+%281%29+3.jpg
 

I created another area of interest on the top left by adding in “You Make me Smile” and another A+, plus a couple different twines and Resin Hearts.

final (8).jpg

I love how this page turned out and am so happy I have this memory recorded of Shepard. This color challenge worked perfectly for me!

I can’t wait to see what everyone else on the Design Team creates this month! You won’t want to miss what anyone has designed. You can go back to see what Tami Hewlett has created or next to see what Melissa Kerman has stamped for us. Make sure to visit everyone, we are a small awesome group!

Please feel free to leave a comment and if you are in Canada and would like to order any of the supplies I used, please use Hostess Code on the side bar!