A Card a Day in December--Merry Christmas!

Merry Christmas everyone! May your heart be full and full of gratitude for all that you have. I hope you all have a lovely holiday.

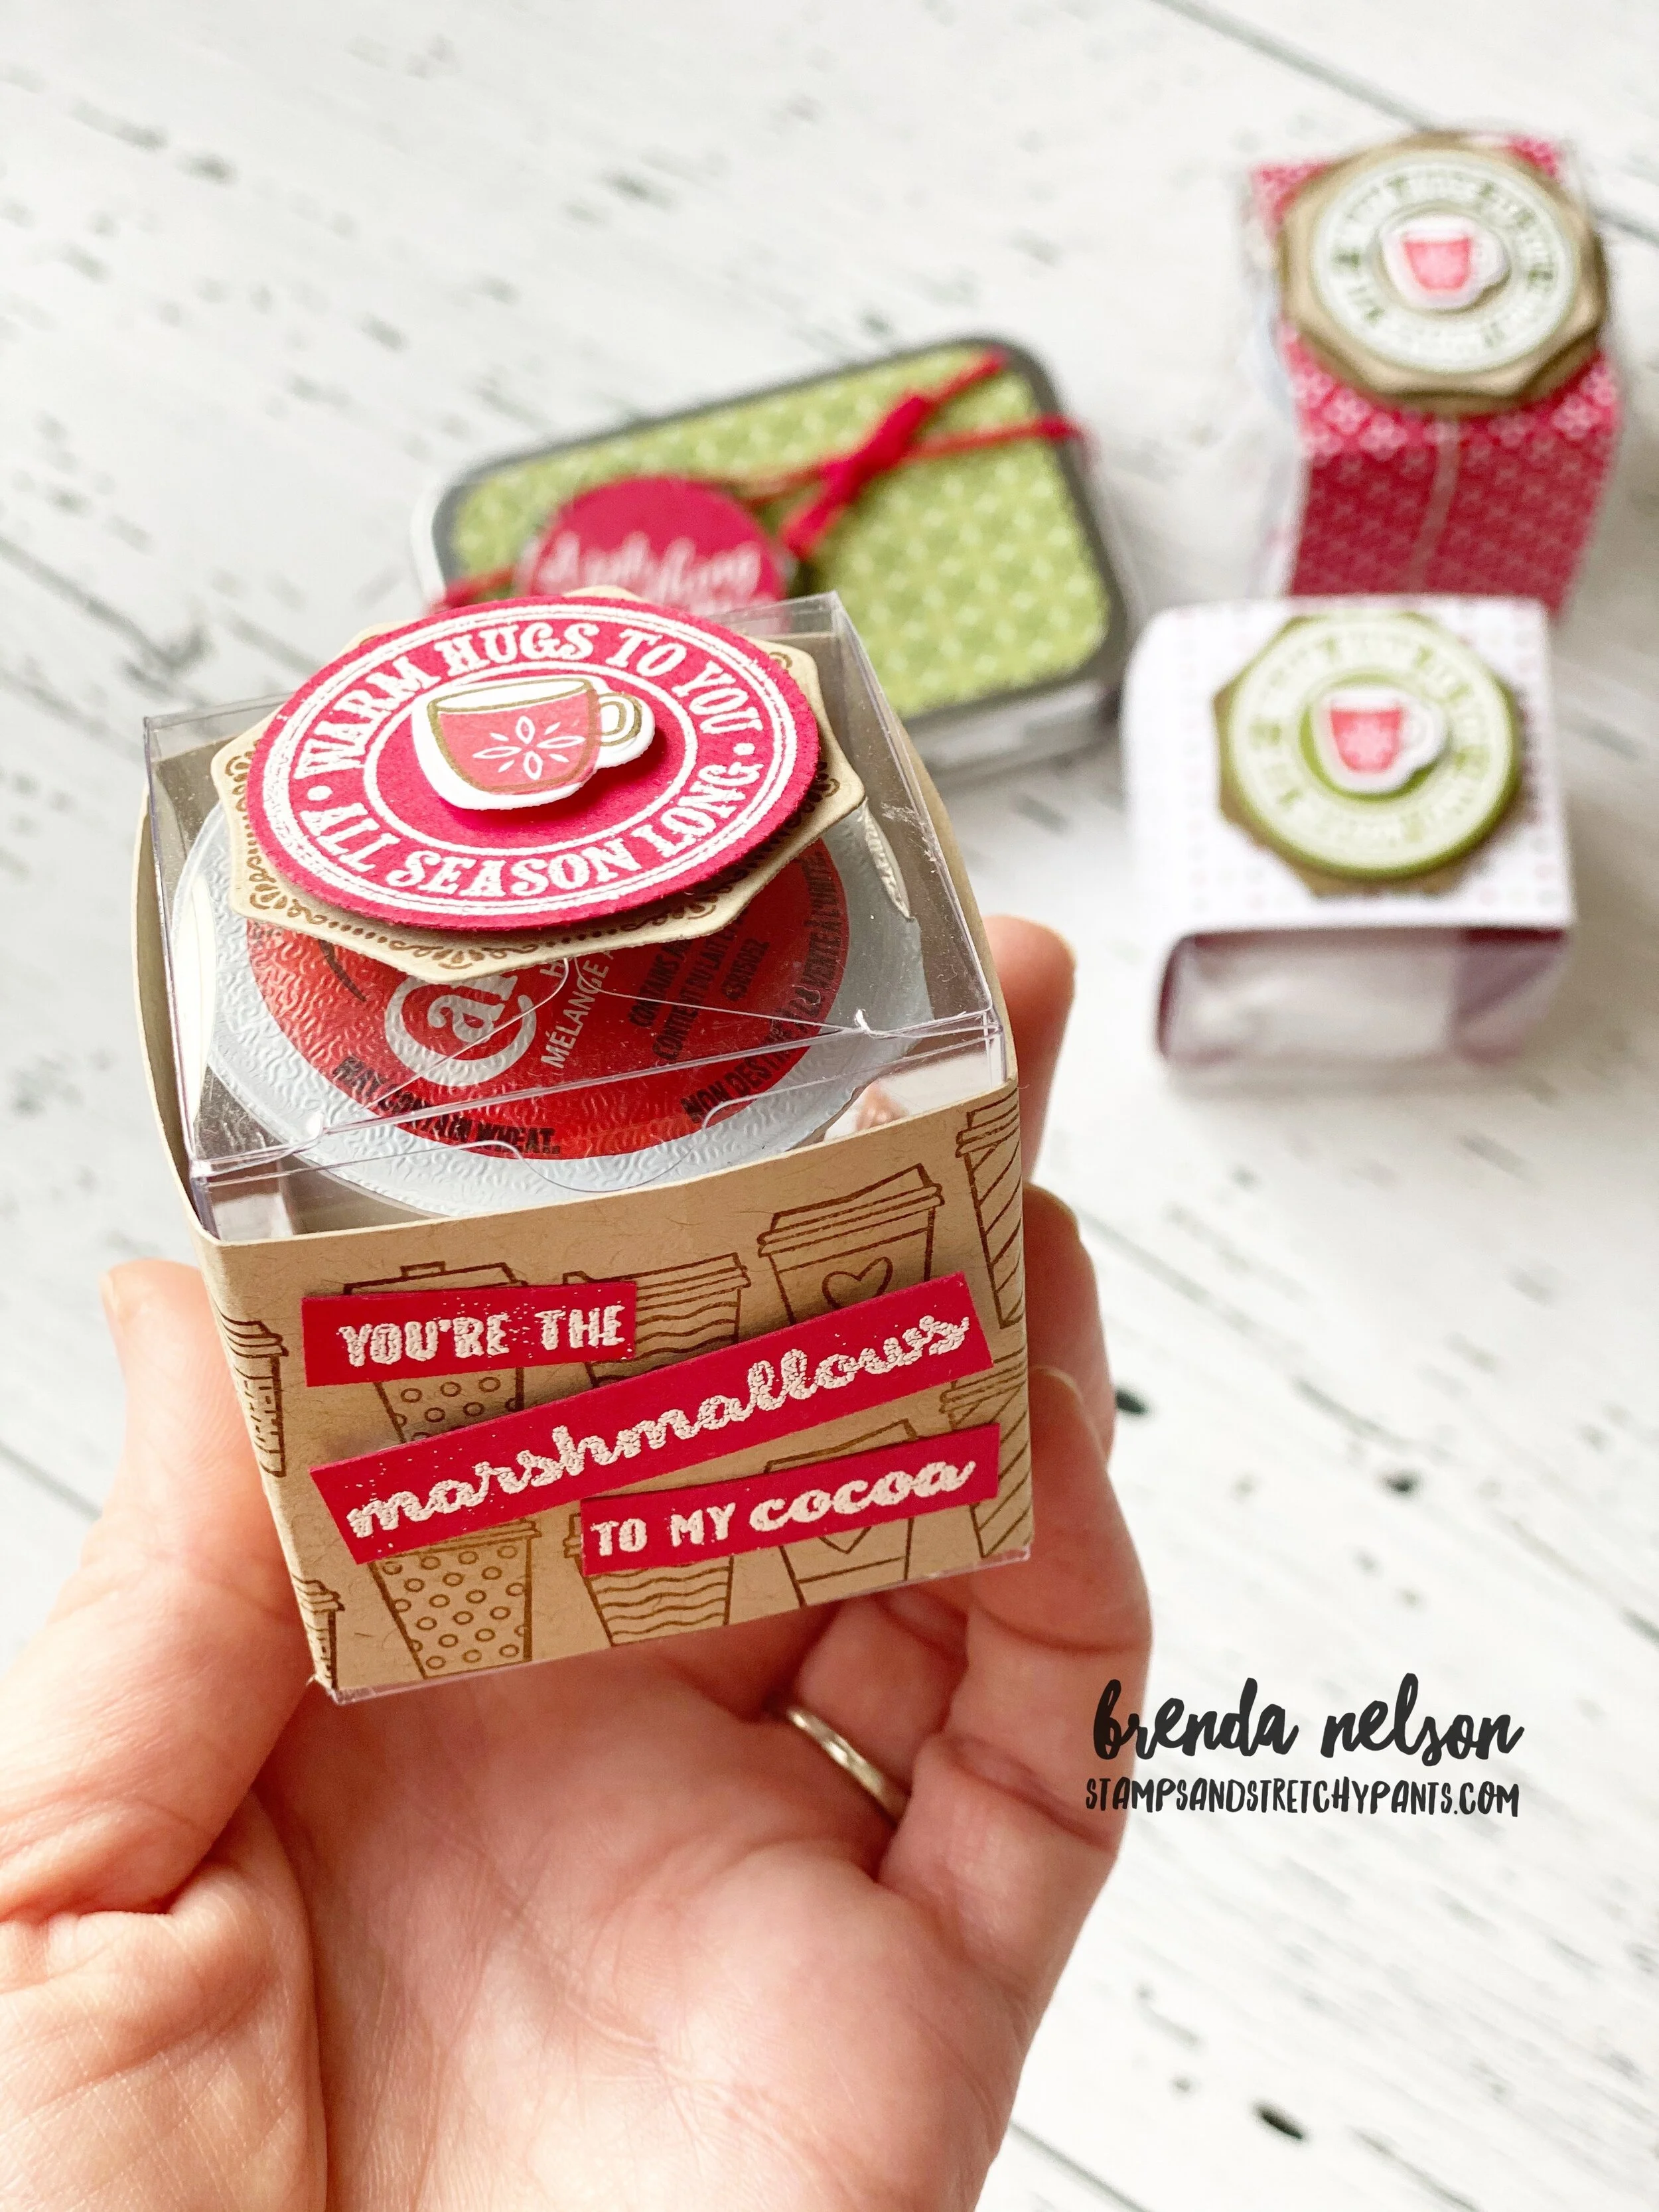
Now that my kids are getting a bit older I am taking some joy in creating a fancier Christmas table. This year I was inspired to make some personalized boxes for each person’s place setting. I am hoping to use these for a few years to come and will include a special gift inside each year.

final+%2824%29.jpg

I used the mini pizza boxes and created a wrap using the Heartwarming Hugs Designer Series paper. It is snug enough to stay on but easy enough to slip off and on.

I used the Wreath Builder dies in Mossy Meadow and Old Olive for the wreath and then added a banner in Real Red card stock. I cut everyone’s names with the Playful Alphabet dies and Foam Adhesive sheets. I added some sparkle with my Wink of Stella pen on top.

final (19).jpg

I wanted the mini pizza boxes to double as a gift card holder. We have entered that season of parenting when our kids have moved beyond toys and are happy to get clothes and gift cards. So each person will get a final gift card when we enjoy our family meal.

It easily attached the gift card with a glue dot and can reuse the lid again and again to add a gift card.


I am hoping this will become a new family tradition. I told my hubby to buy me a gift card and then had Summer sneak it inside so it will even be a bit of a surprise for me too!

I love personalized gifts and I think my kids will be excited to see their names on something!

I hope you are inspired! These could make cute place settings for any holiday occasion!

final (25).jpg
final (23).jpg

A Card a Day in December--Day #23

Can you believe we are only 2 days away from Christmas? I do feel like this month went by quickly! And if you are a mom you know that Christmas is like planning a big wedding once a year :)

For my card project today I am sharing a pretty traditional card in the sense of the color scheme. In fact red, white and a bit of green are the holiday colors I use to decorate my house for the holidays.


This card is on a Real Red card stock base and on the first layer I stamped the little mini Christmas trees from the Warm Hugs stamp set and then flicked my Real Red marker over the background. This fills the top of the card base.

The bottom section is embossed with the Wrapped in Texture folder.

I added a strip of Heartwarming Hugs Designer Series paper over top and cut a cute scallop border with the Festive Felt and the Peony Dies.

final (7) 13.jpg

I stamped the sentiment in Old Olive ink on Pear Pizzaz card stock and layered it with a die from the Warm Wraps dies. The fun touch is the Glittered Star Ornament. I cut off the string and tucked the top part in between the layers so it looks more like an embellishment than a hanging ornament. It was easy to keep attached with the use of a few Glue Dots.

This card is pretty simple which I like because the design of the card can easily be recreated with birthday stamps or Valentine’s Day.

final (17).jpg

So if you need to make a couple of last minute holiday cards this one will not take you much but has alot of charm to it! I hope you have been inspired this whole month!

A Card a Day in December--Day #20

Hey friends! Today I decided to take a break from cards and show you some cute little stocking stuffers I made for my kids and hubby. We are some serious hot chocolate and chocolate lovers over here so I dressed up some fun treats Stampin’ style!

Thank you for visiting my blog today, my 20th share this month!

final+%285%29.jpg

The mini acetate boxes fit a Keurig pod perfectly and I was able to find some hot chocolate ones..the best part is the color coordinates perfectly with the Heartwarming Hugs suite! It is the little things!


This suite is one of my favorites and one that I will keep around for future projects. I just love how the Warm Wraps dies have so many layering combinations.

The Warm Hugs stamp set is perfect for all of your latte, coffee and hot chocolate giving needs.

And really, what is cuter than a mini coffee cup?

If you do not have the Press On stamp set—add it to your shopping cart! It is the perfect accompaniment to this suite!

final (9).jpg
final.jpg

The Rectangular Tins are the perfect size to hold some chocolates! I added the Heartwarming Hugs Designer Series paper to the inside and outside of the tin and was able to round the edges with the Detailed Trio Punch.

I tied it shut with a little bit of Real Red Braided Linen Trim.

The Warm Hugs stamp set has a variety of sentiments and works fantastically with its partner stamp set Wrapped in Christmas.

I really enjoyed making these fun little treats to add to my families stockings!

Create with Connie and Mary--Favourite Christmas Project!

Welcome to our weekly blog hop! If this is your first time joining in make sure you go around the whole group! Everyone is so talented and has unique and distinct crafting styles. I tend to make variety of projects including scrapbook pages, memory albums, 3D projects and cards. In fact today for our “Favourite” Christmas project I have created a Christmas Mini Album!

Design Team.png

This mini album is created using 5 pieces of 5 1/2 x 8 1/2 pieces of Crumb Cake card stock. Instead of scoring the card stock in half to make a card I just kept as is.

final (7) 15.jpg

The album is kept together with two 1 inch binder rings that are found easily at any office supply store and are jazzed up a bit with a variety of ribbons. I love how many options Stampin’ Up! has for us to choose from.

I added a Soft Suede piece to mimic a book binding. The scallop edge is created using the Peony Dies.

What is really awesome about this album is the whole project uses only ONE stamp set! The Wrapped in Christmas stamp set was perfect for this project!!


I used two different stamps to create a lovely cover page. My idea was that this album could become a piece of holiday decor that the recipient (yes, I made this for my mom) could have on display year after year.

I used some of the Mossy Meadow Diagonal Stripe ribbon paired with Linen Thread and some Red Rhinestones to bring the sentiment “Let the Joy..” come to life. It is stamped on a shape from the HIppo & Friends dies.

final (2) 4.jpg
final (20).jpg

I added in elements from the Pine Woods Dies and the Warm Wraps Dies throughout the album. The color palette is paired to the Heartwarming Hugs Designer Series Paper.

final (1) 4.jpg

I love how you can layer up elements from the Warm Wraps dies and add in a few simple embellishments such as the Real Red Braided Linen Trim and Linen Thread.

final 6.jpg

The Stitched Stars Dies were another great choice to embellish this album. I also stamped out many of the images and cut by hand certain words that I wanted to highlight or isolate. A perfect example of this is pictured above on the JOY page (right hand side).

final (11) 10.jpg

I was able to use every stamp in this set except for one…can you figure it out?

I hope this project inspires you to think about making a mini album! They don’t have to be complicated or require a ton of time. I really just looked at this project like designing card fronts!


You can go BACK to see what Melissa has created or NEXT to see what Connie has designed. Please feel free to leave a comment :)

A Card a Day in December--Day #17

Happy Thursday! I am so excited to share this fun combo project with you today! It is a cute decorated pizza box with a mini card and a gift card all inside! Talk about a small package packing a big punch! This is my 18th share in my A Card a Day in December, I hope you are enjoying everything I have shared so far.

 
final (7) 14.jpg
 

I started by decorating the mini pizza box with a piece of designer series paper from the Heart Warming Hugs collection. I added a belly band of Mossy Meadow card stock with the cute little mini cups from the Warm Hugs stamp set stamped in the same ink color. When making a belly band you want it to be snug enough to stay on but loose enough to slip off and on (it would be sad if the recipient had to rip it off to get at what is inside).

I punched a 2 1/4 inch circle in Pear Pizzaz card stock and ran it through the Wrapped in Texture Embossing folder.

The little cup is from the Press On stamp set and is hand cut. I added a little decorative detail to the cup with a piece of DSP and some light coloring with the light Smoky Slate Stampin’ Blend marker.

The sentiment is stamped in Soft Suede ink on Crumb Cake card stock from the Warm Hugs stamp set.

final (1) 3.jpg

On the inside I made a cute little 3x3 card with matching envelope. It has a Crumb Cake layer that is also embossed with the Wrapped in Texture embossing folder and another strip of DSP.

The to go cup is also from the Press On stamp set and looks cute with a little DSP coffee cozy on it. I added “I Like You a Latte” on Crumb Cake with a bit of marker spritz.

The 3x3 mini envelope is dressed up with a trio of little coffee cups!

The card is designed to fit in the bottle of the pizza box and the top of the lid has a gift card—a coffee one of course!

The card is designed to fit in the bottle of the pizza box and the top of the lid has a gift card—a coffee one of course!


If you are looking for a last minute gift for a teacher, neighbor, or coworker I think this would be an easy yet adorable gift left on someone’s door step or mailbox.

Thank you so much for checking out my projects so far this month!


final (11) 9.jpg