Create with Connie and Mary--Home for the Holidays!
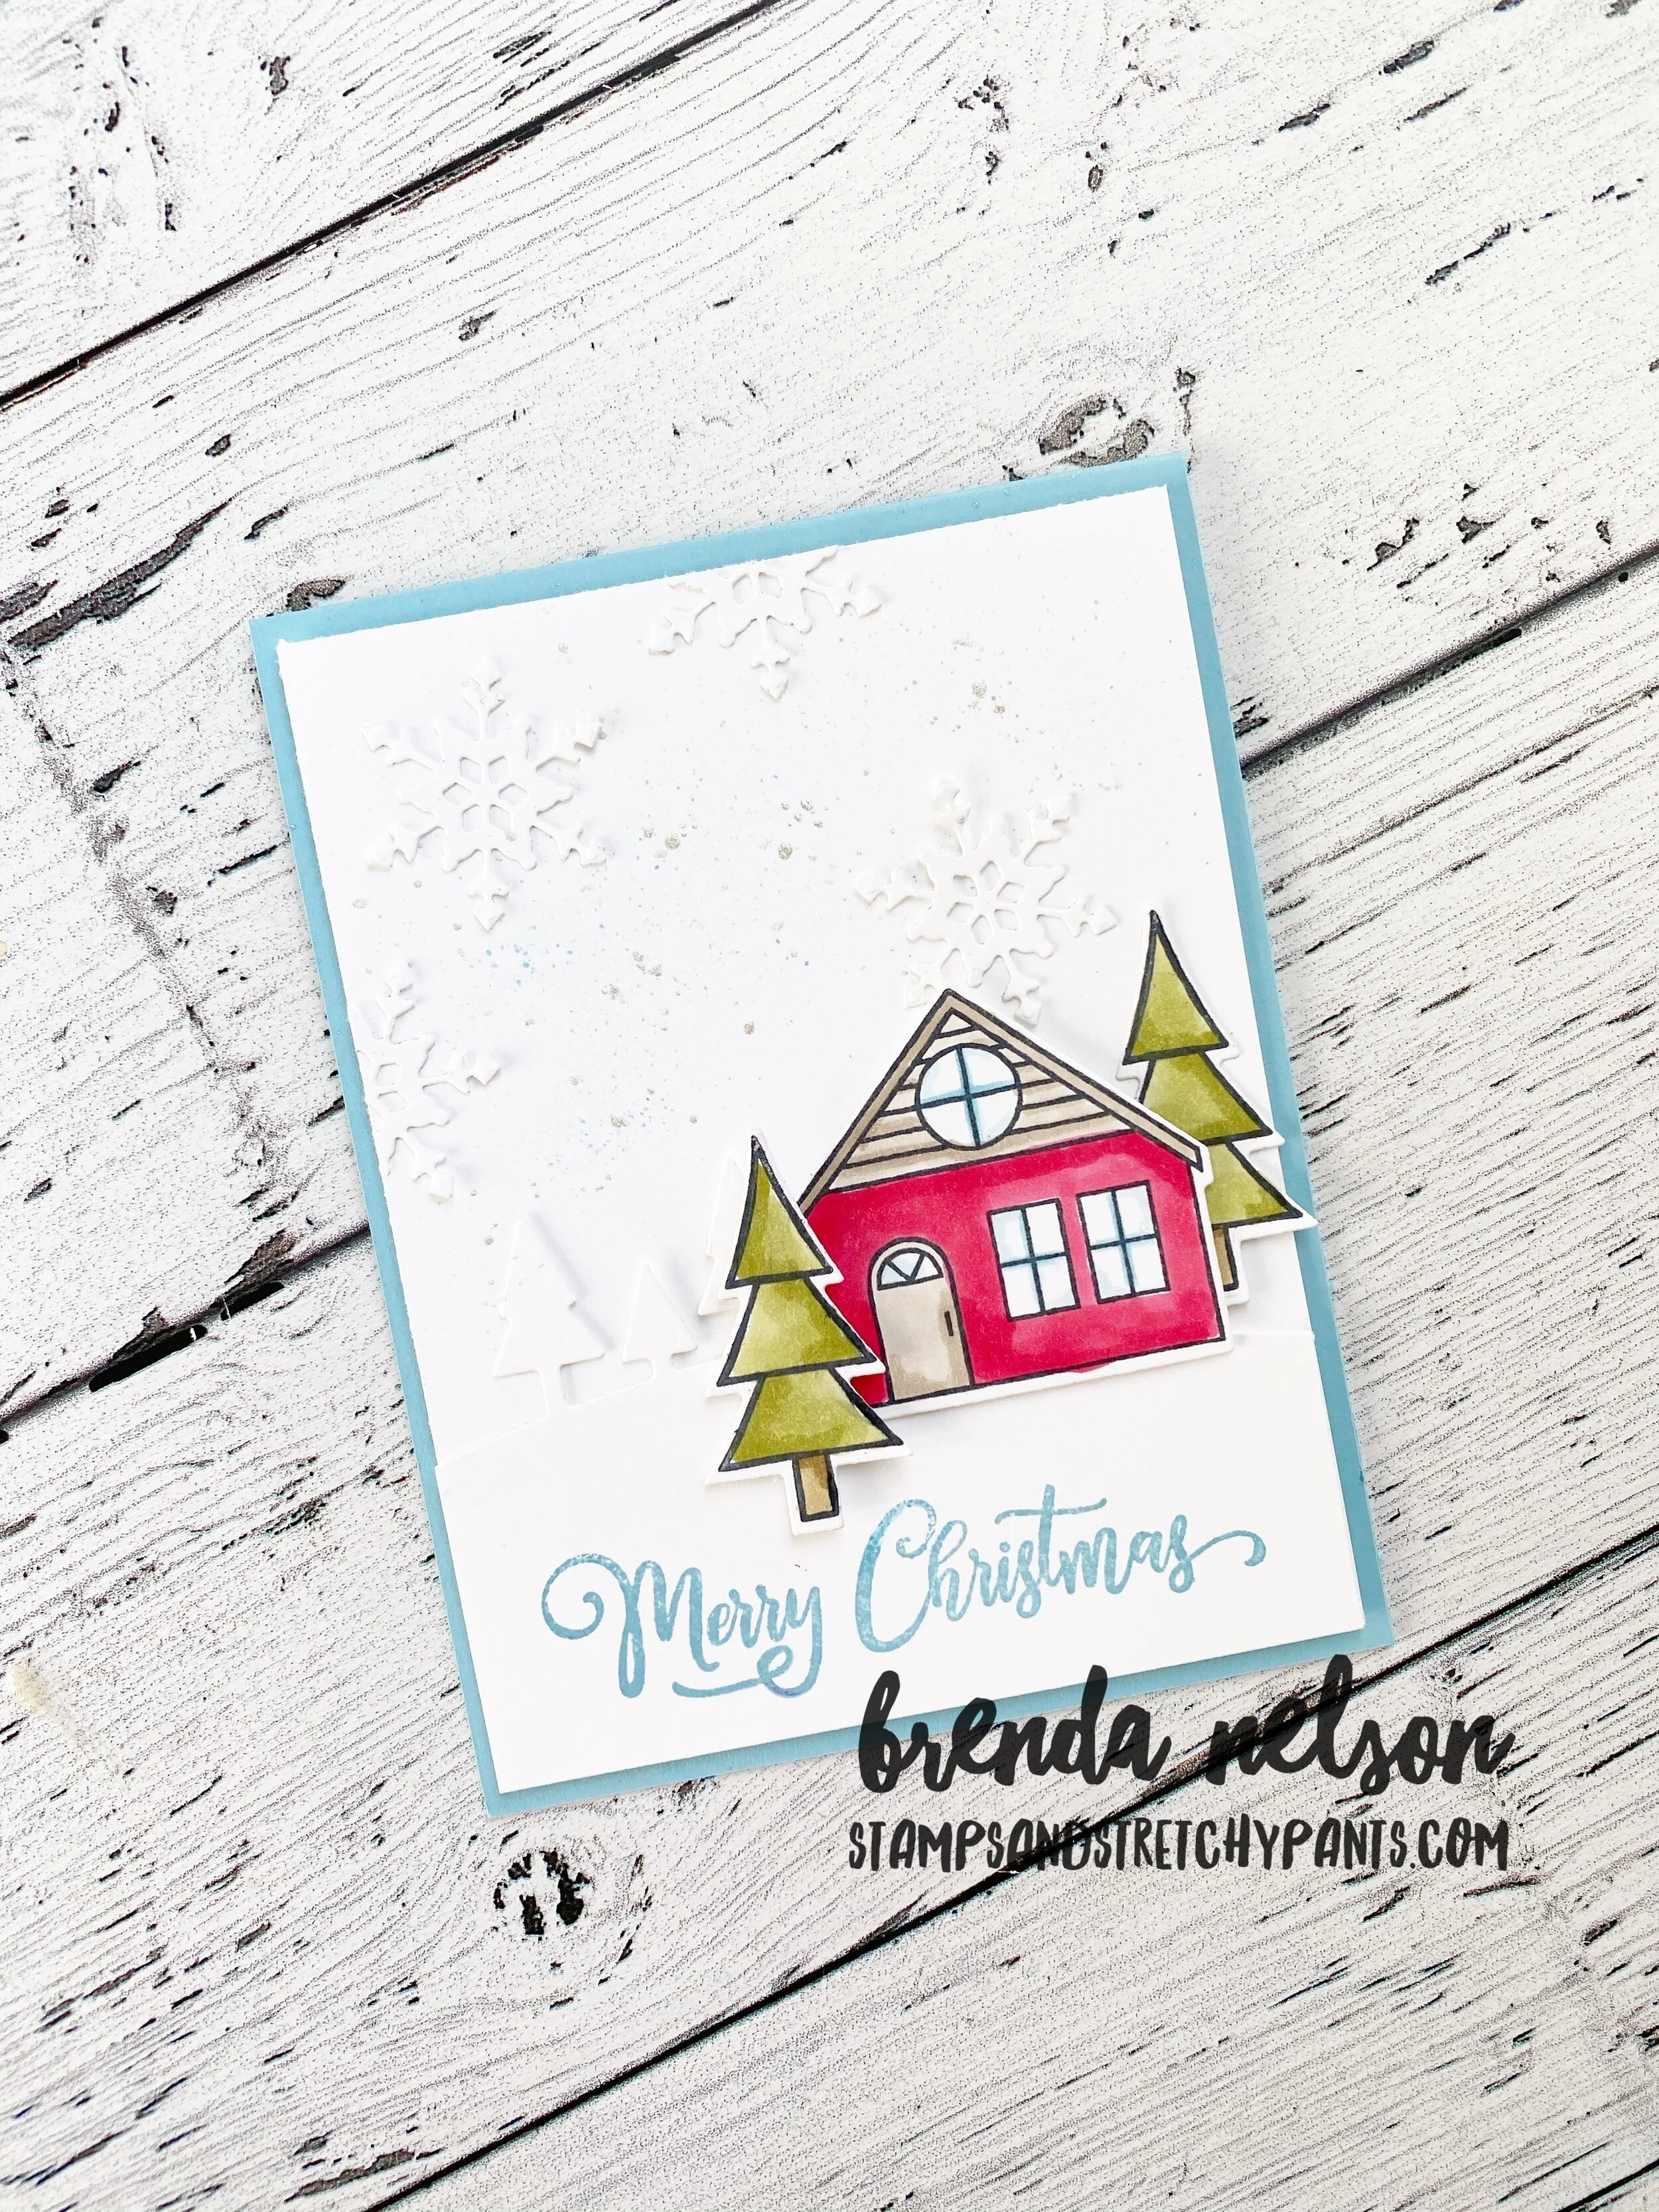
Hello and welcome to our weekly Saturday Blog Hop! This week we are sharing projects with the theme “Home for the Holidays” so naturally I thought of the Trimming the Town suite as it has stamp images to create a bunch of different homes!

Design Team.png

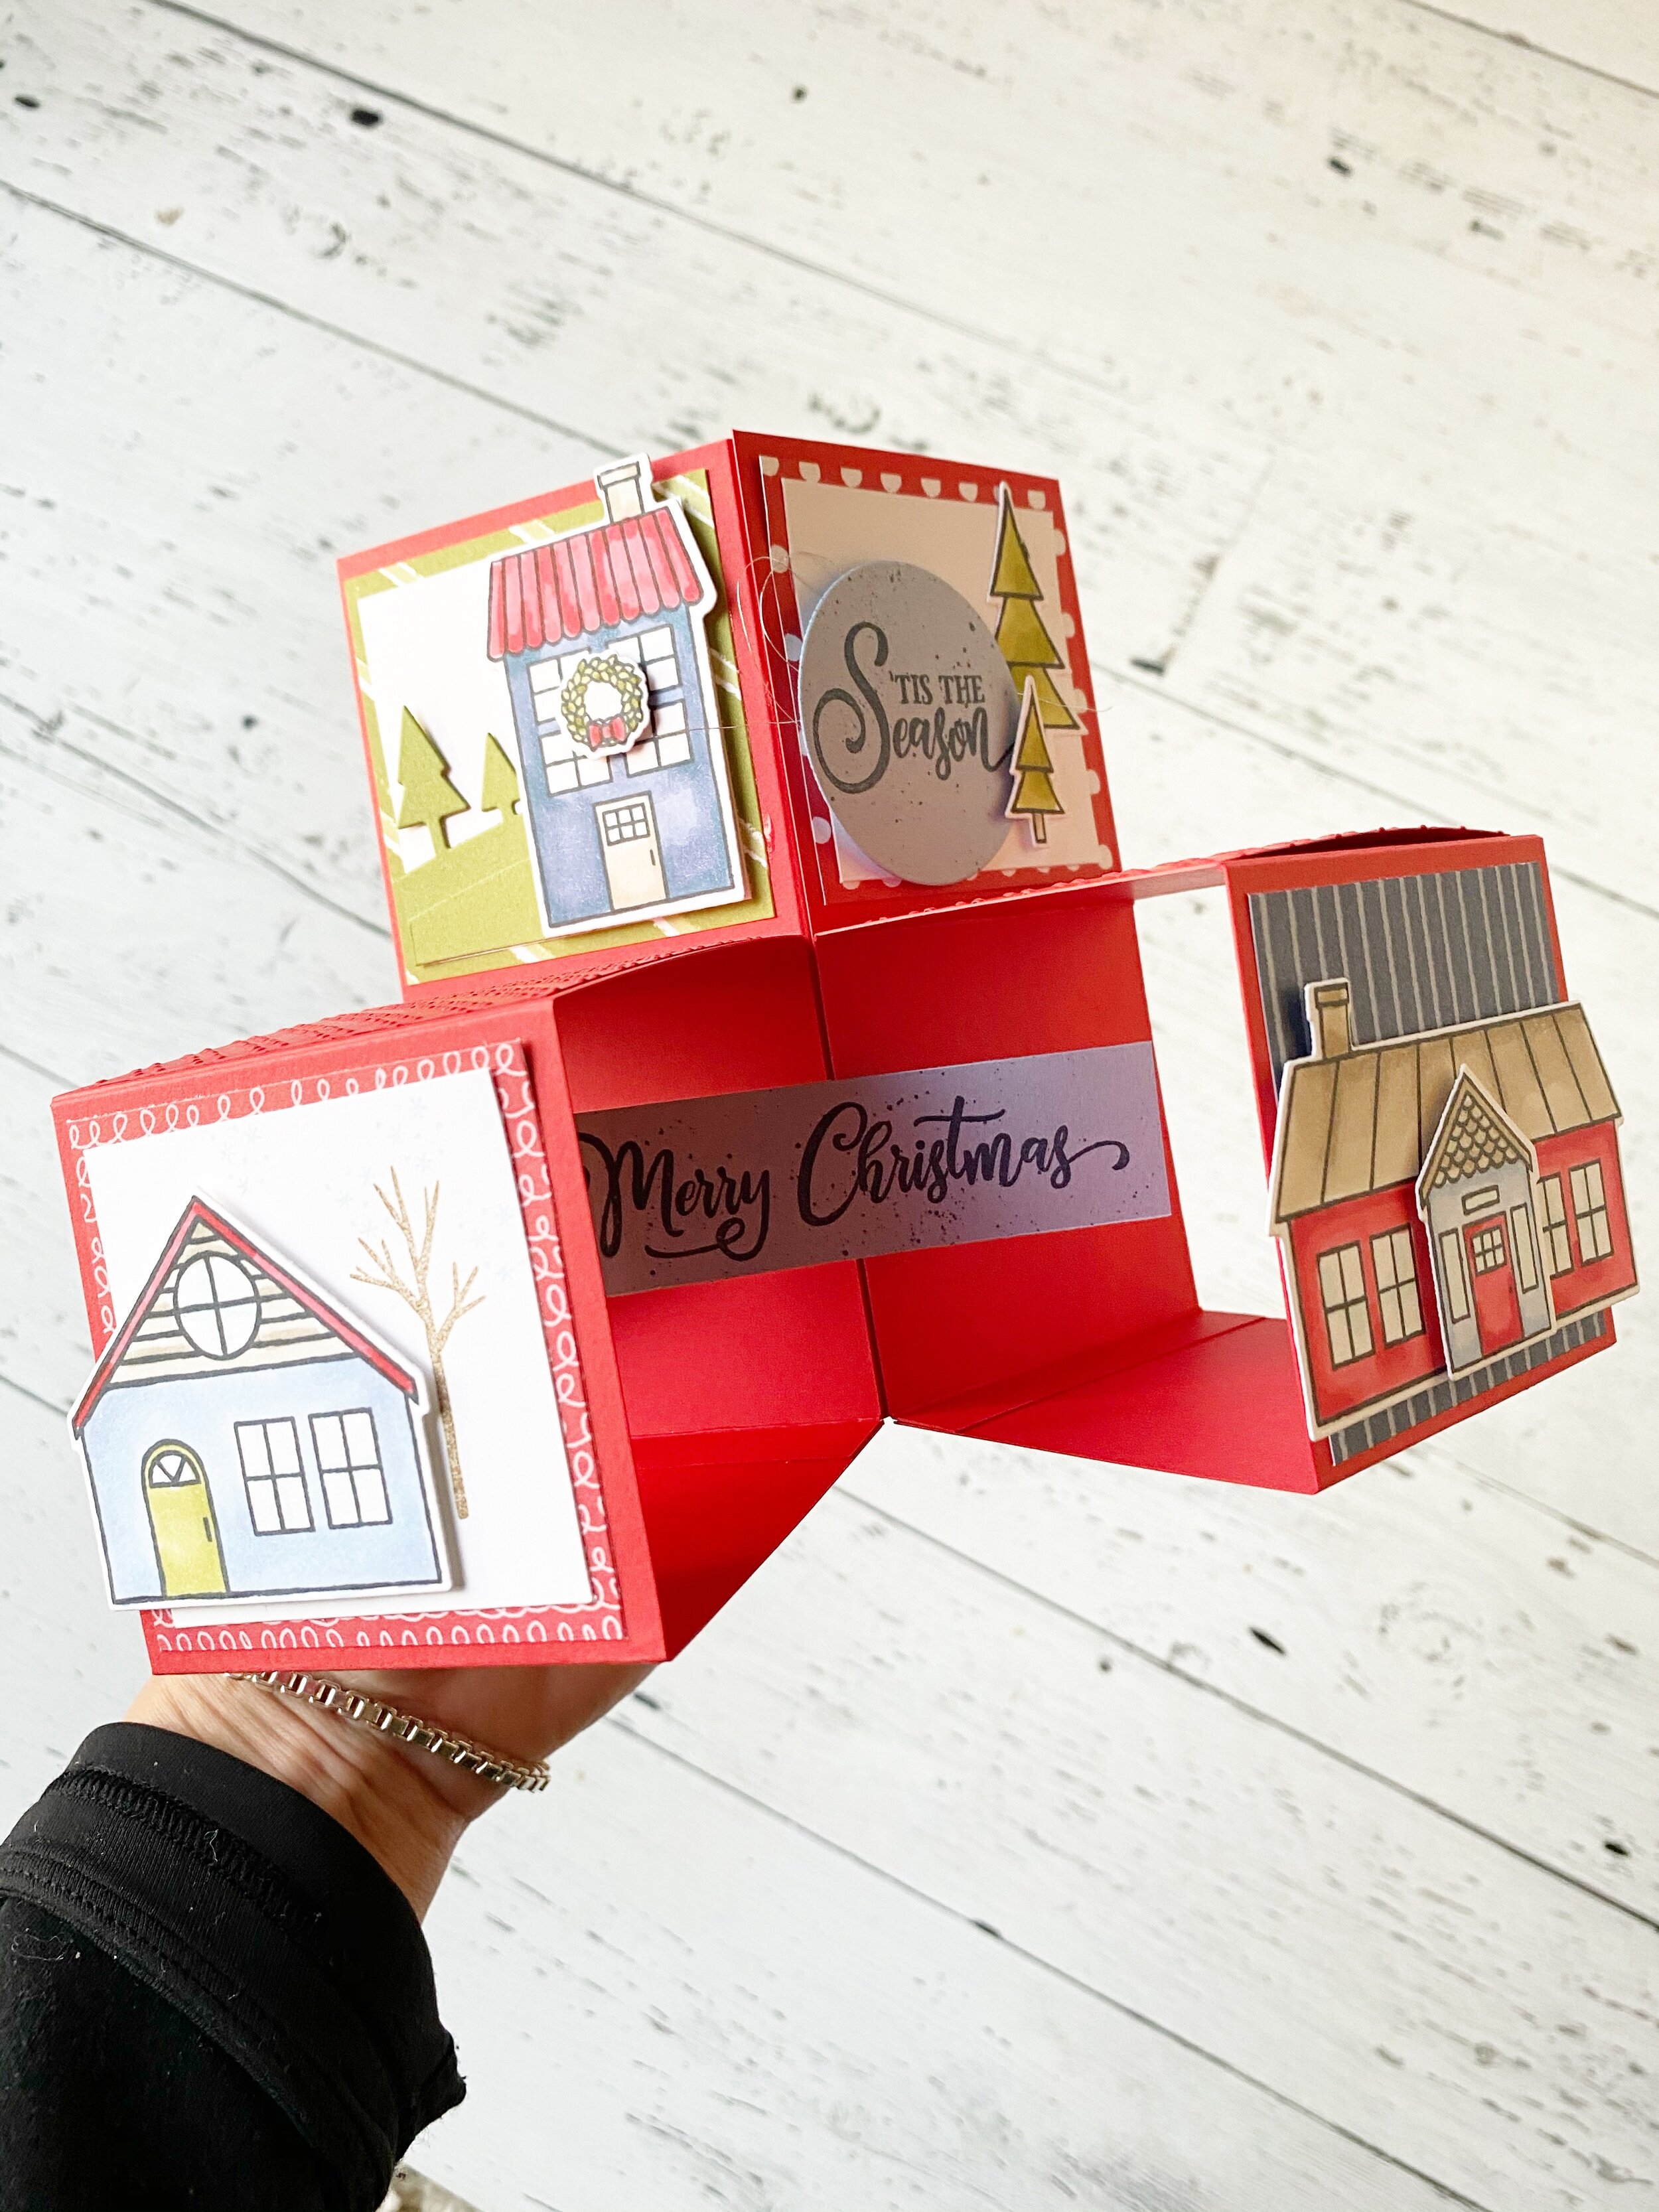
Recently my team had a virtual meeting and we made a Cube Card together! Have you tried this fun fold style yet? I actually thought it would be complicated but its actually surprisingly easy!

This is my ‘Home for the Holidays’ themed Cube Card! I really enjoyed designing the panels and putting this project together.

This is my ‘Home for the Holidays’ themed Cube Card! I really enjoyed designing the panels and putting this project together.


To create a cube card you will need a piece of 12x12 card stock. I used Poppy Parade as my base because its coordinated with the Trimming the Town DSP.

On your trimmer cut down one side of the 12x12 to 11 1/2 inches. On this side (11 1/2) SCORE at 2 3/4, 5 1/2, 8 1/4 and 11.

Rotate the paper so your 12x12 length is across the top and CUT at 2 3/4, 2 3/4 and 5 1/2. Thus creating 3 strips of paper—-2 will be at 2 3/4 width and one at 5 1/2 width

.

final.jpg

You will notice that you have a 1/2 inch section and this will be where you will add your adhesive to fold your paper into cubes. You will have two cubes that are 2 3/4 wide and one that is 5 1/2. The largest one is the base.

final.jpg

You will attach each of the smaller cubes to the largest cube, ONLY adding adhesive to the bottom cube. If you glue the whole thing is will not pop up into the cube card shape.


Hopefully this visual helps you as well. There are a bunch of YouTube videos you can also watch on how to create a Cube Card.

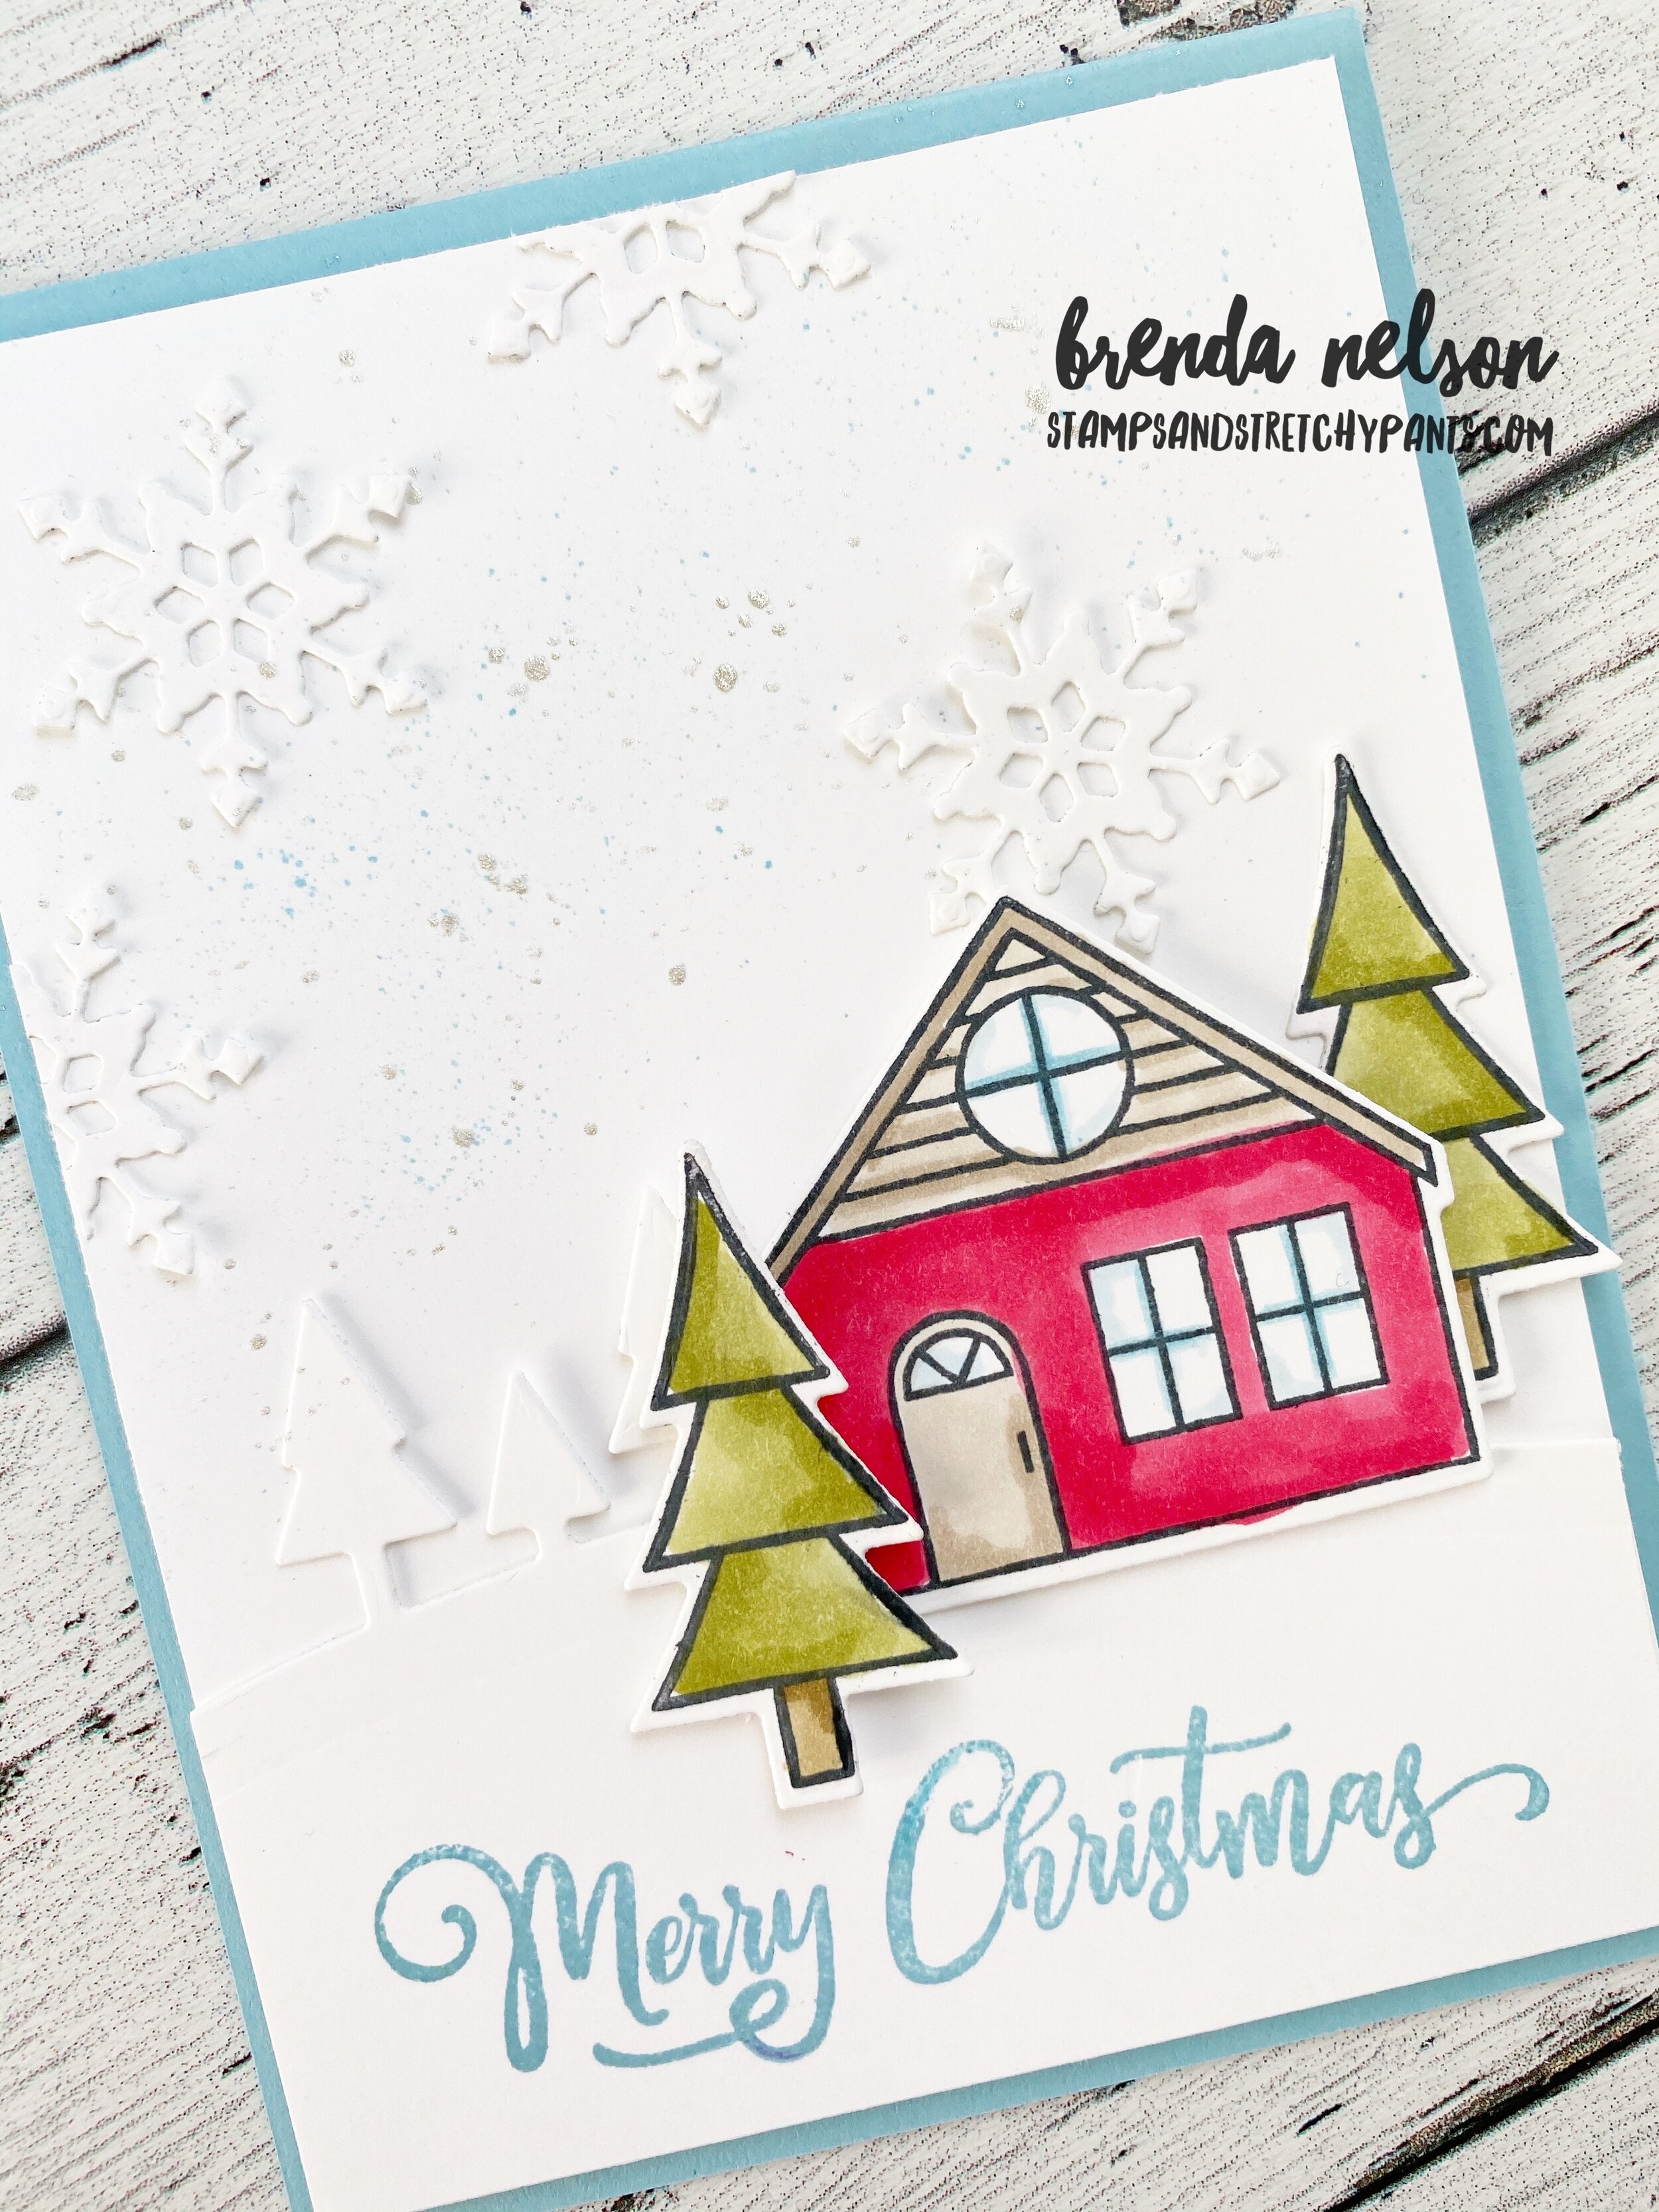
Once you have the basic design mastered, decorating and embellishing is all up to you! I decided to mix up some of the panels with DSP and card stock that I ran through the Wrapped in Texture embossing folders from the Heartwarming Hugs suite.

I added in Merry Christmas and ‘Tis the Season from the Tag Buffet stamp set.

final.jpg
fullsizeoutput_1363e.jpeg

I hope you are inspired to give this fun Cube Card design a try! My team had a lot of fun putting its together and I challenged them to share their finished design on our group page.

I can’t wait to see what the other gals create this week! You can go BACK to see what Melissa has designed and NEXT to see what Connie has created!


Stampin' For Christmas-Let's get Christmassy!

Stampin' For Christmas .jpg

Thank you for joining us on this monthly Christmas themed blog hop featuring the many fabulous Stampin’ Up! products we all have to choose from! Sometimes it is hard to pick just one set to focus on! I did narrow it down to the Coming Home Bundle as I am having too much fun colouring all of the houses and trees. Colouring can be so relaxing and its so easy with our Stampin’ Blends! This bundle is part of a larger suite called Trimming the Town.

final.jpg

This stamp set does not have any sentiments to it, which is sort of unique to Stampin’ Up! It is all images. So I pulled in a nice sized ‘Merry Christmas’ from the Tag Buffet stamp set.

I used Balmy Blue as my card base and stamped the sentiment in the same color. The house is coloured in Real Red with Crumb Cake accents and Balmy Blue on the windows. The trees are classic Old Olive and Crumb Cake.

final.jpg

I used one of the dies from the Home Together Dies that has the trees and the snow drift shapes. It created a great background and I stamped directly to this piece. The house and trees are layered over top.

I wanted the illusion of a snow storm too so I stole a snowflake from the So Many Snowflakes dies and added those in. I then created a spray with my Wink of Stella and Balmy Blue markers to add to the snowfall feel.

final.jpg

I think this is a great card that you could easily mass produce and enjoy the relaxing creative benefits of colouring!

You can visit Sue Allen’s blog next to see what her crafty Christmas creation is! I hope you hop all the way through so you do not miss anyone’s creativity!


Hot Pink House!

Who would not love to live in a hot pink house? I mean its just beyond cute! I bet if I searched there are people on the east coast of Canada living in a hot pink house as it seems to be an east coast thing! Sadly on the prairies we are pretty boring! When I was a kid I would see images like this and imagine the life I would be living inside, did you ever do that? I can safely say I didn’t see myself designing cards as a living but I am so blessed to be doing so!

This is a card I shared with my Christmas Card group the other night and I couldn’t keep it to myself. It uses the Trimming the Town Suite from the Handmade for You catalogue. This suite is extra special because proceeds of the stamp set or bundle go towards charities devoted to adoption, infertility and foster care. Three things that I have a connection too so this suite has a bit of extra meaning to me.

final.jpg

I am not exactly sure what inspired this unique color combo but it is Magenta Madness, Granny Apple Green and Seaside Spray! And I could not love it more. I stamped the ‘Be Merry’ in Seaside Spray across the background and flicked it with the coordinating Stampin’ Write marker. The sentiment is from the Banner Year stamp set in the catalogue. It is a perfect set to recommend to new stampers because it has imagery and sentiments for fall, halloween, Christmas, and Valentine’s Day so they can get quite a bit of mileage out of it.

I cut the snow bank using the Home Together dies and used Shimmery White card stock so it was one or two tones different than the background. The hot pink house (sounds so fun) and the trees are all coloured with our Stampin’ Blends.

This is a card you can recreate in a million different color combos! I hope you are inspired and if you need any of the supplies, please feel free to order from my online store!