Around the World on Wednesday--Just Sketch It!

Hello friends! It has been so so so long since I have been able to participate in the Around the World on Wednesday Blog Hop! I am so excited that I was able to prioritize the time to create something and participate in this fabulous blog hop!

This month the theme was a sketch—our fabulous hop organizer, Angie, gave us a few to choose from. Once I selected mine, I knew right away I wanted to use it to help design a scrapbook page!

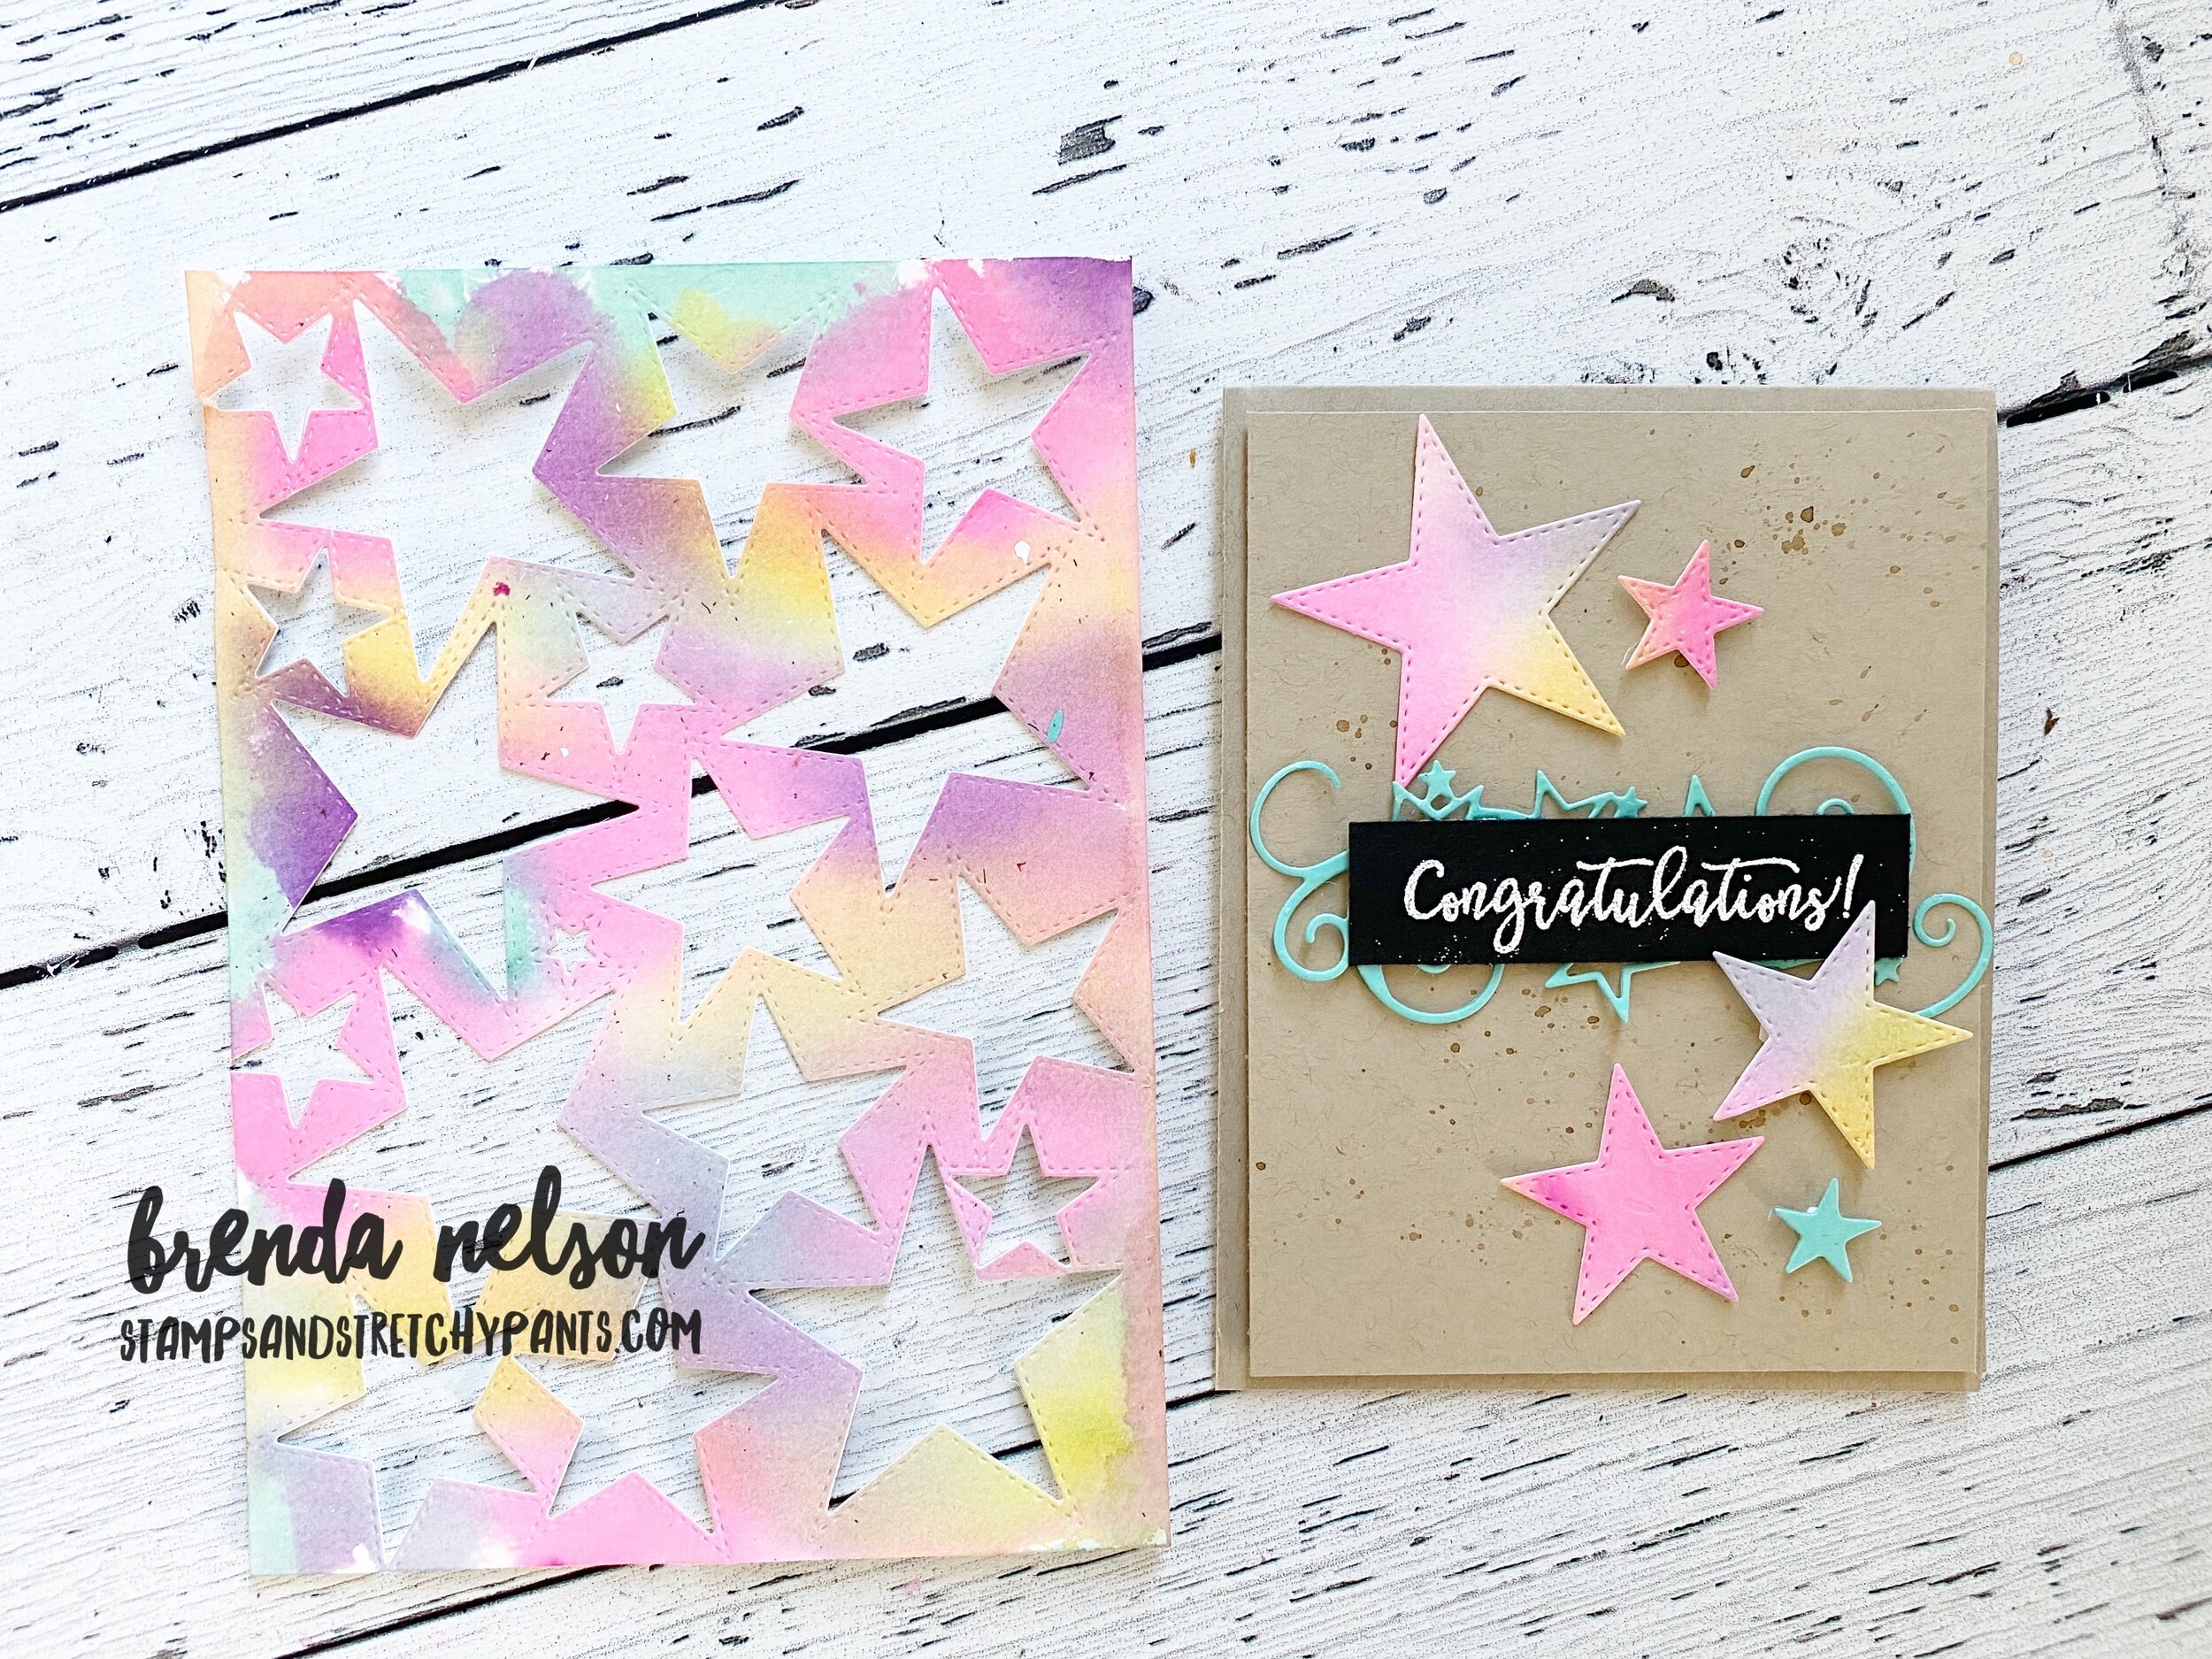
This is the sketch that I selected. I liked the idea of using strips of paper—either card stock or Designer Series Paper.

And I interpreted the 3 shapes to represent a photo mat and supportive shapes to tell the story of my scrapbook page.


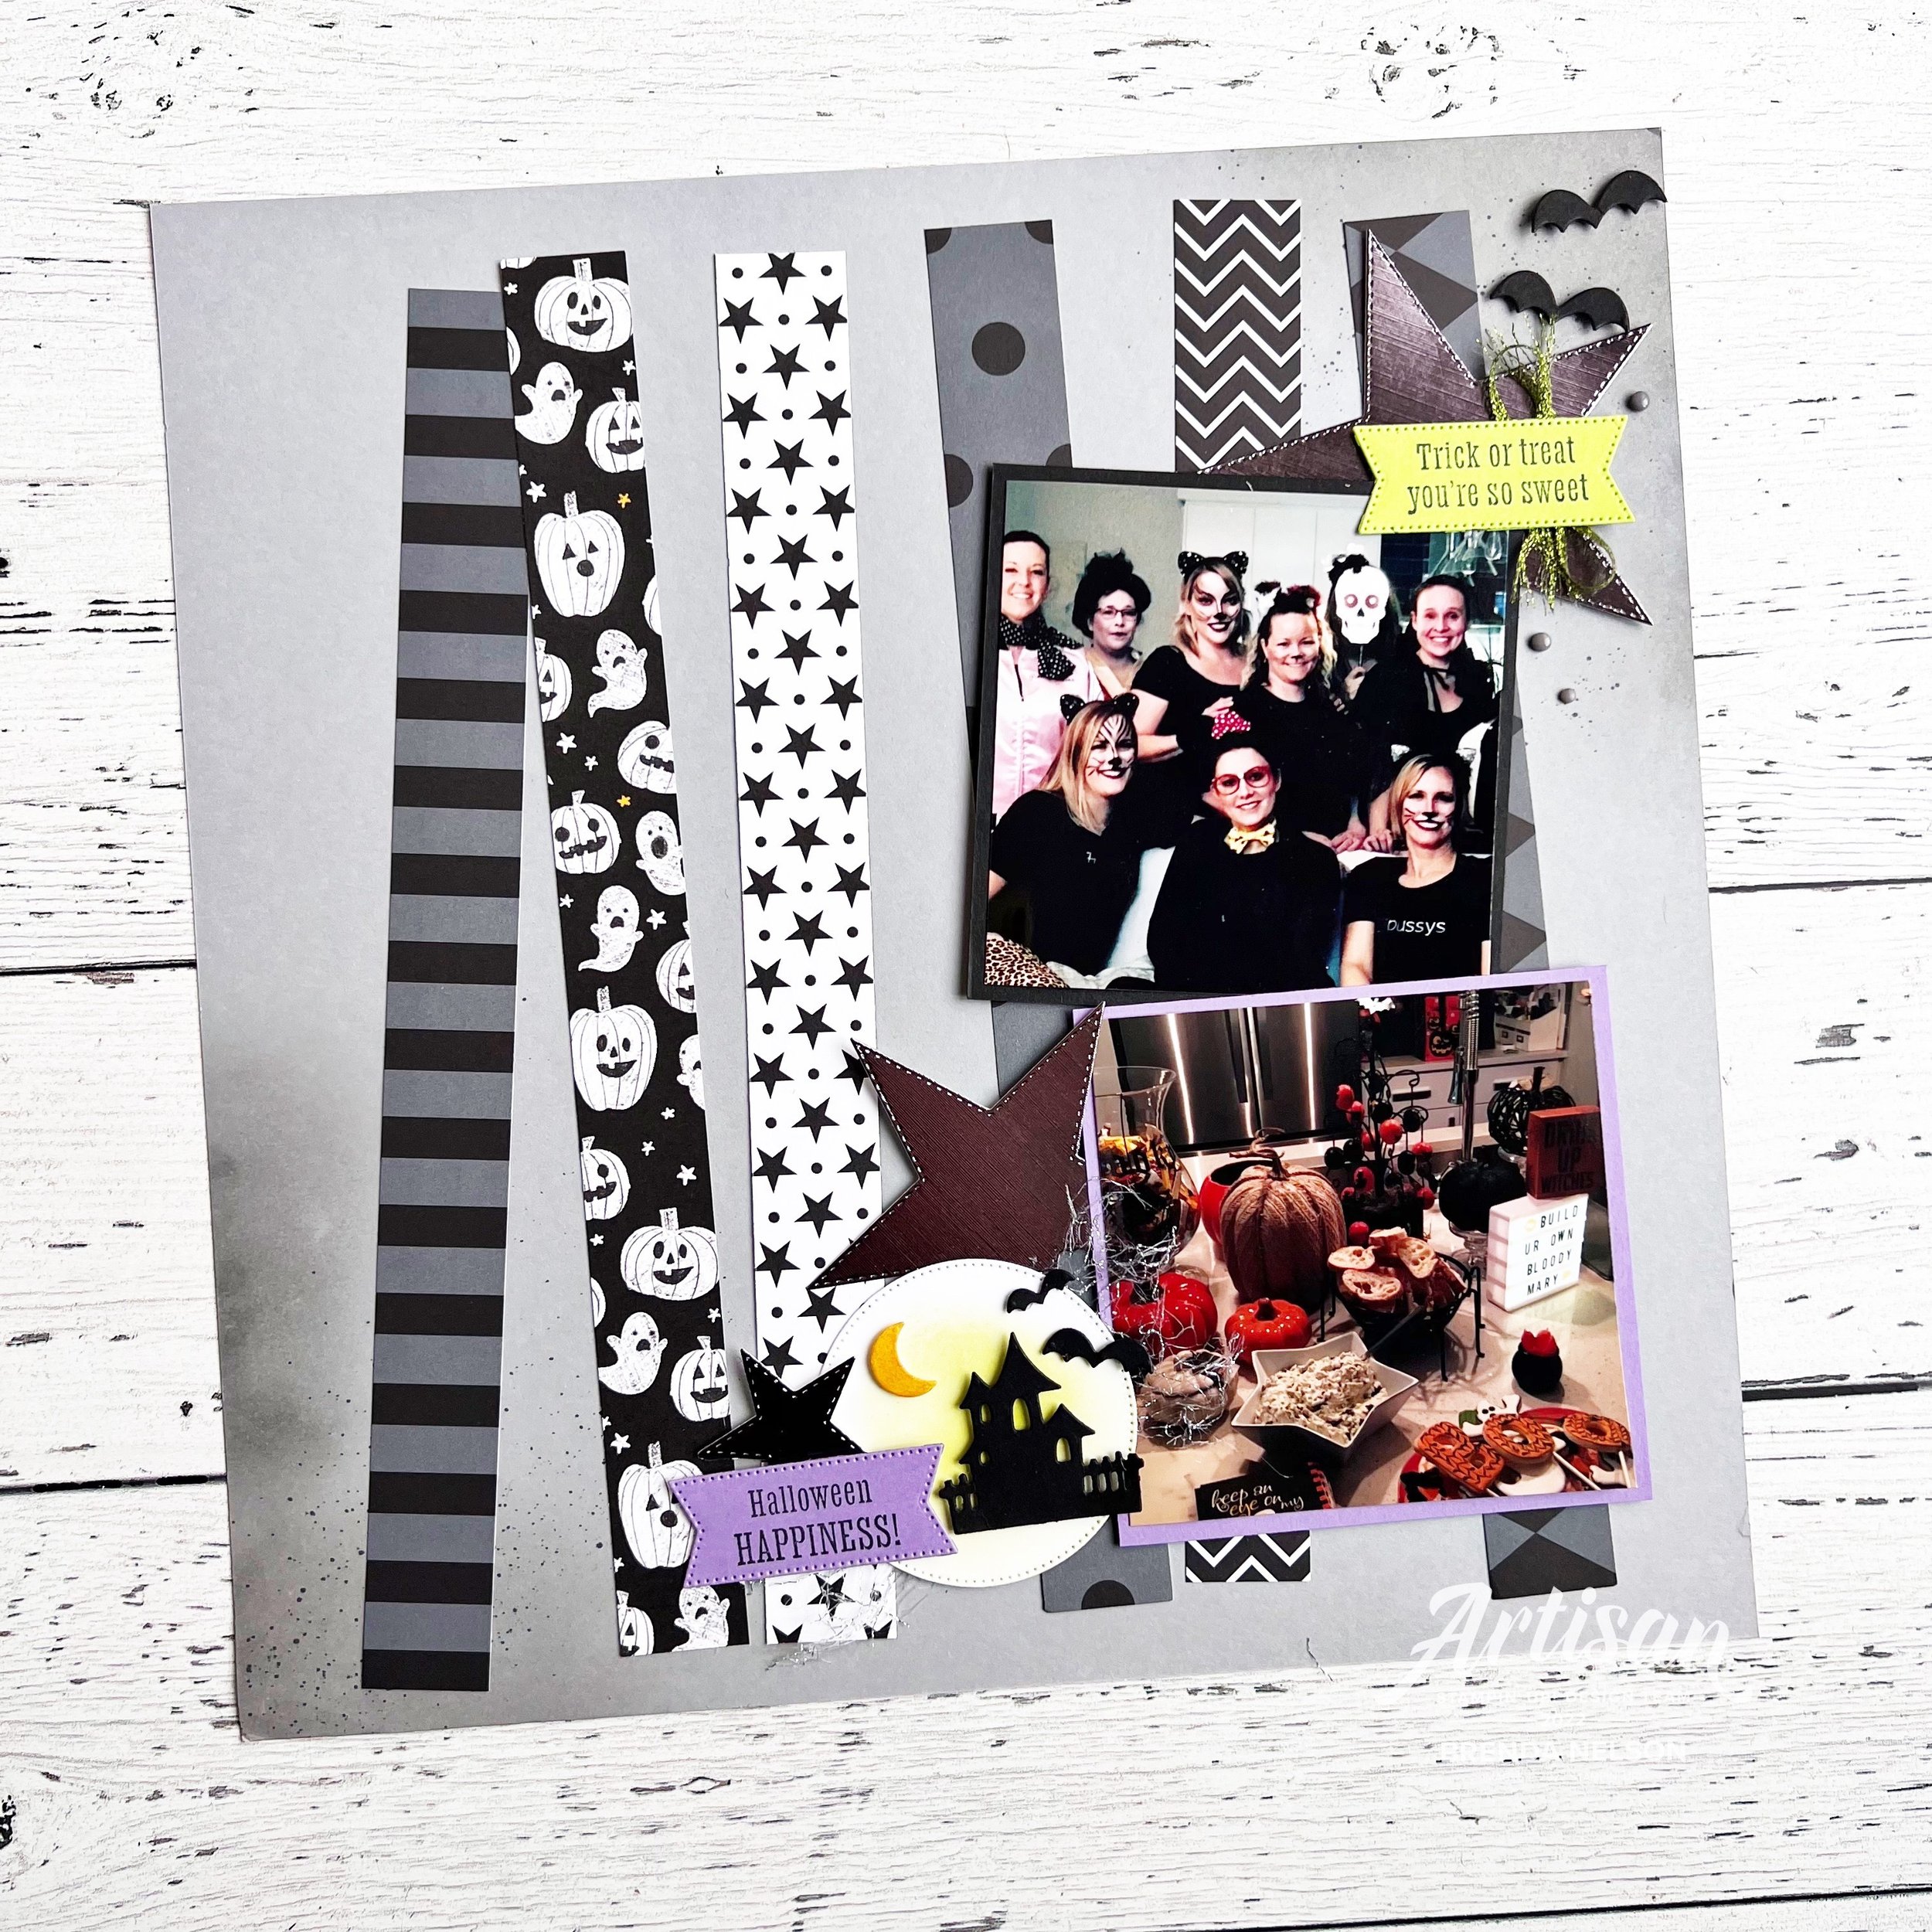
I started with a base of Smoky Slate card stock and decided to make it feel a little grungy to go with the spooky theme of Halloween. I used my Blending Brush on the edges and then flicked my Basic Black Stampin’ Blend over top.

I cut 6 strips of DSP—all except the pumpkin pattern are from the Black & White Designs collection. The pumpkins are from the Celebrate Everything hostess stack. I added the DSP strips and wonky angles as it also felt like the spirit of Halloween.

I decided to play up the stars from the DSP by added them to my design using a retired die set. Some sets though I just can’t part with as I find I do still reach for them. I cut them out using the Silver Foil Specialty Pack.

My two photo mats are cut to 4 1/4 x 4 1/4 which are perfect for adding 4x4 photos. I also wanted to get two pictures on this layout and this size works really well when you want to stack pictures. I felt that adding two pictures didn’t take away from the page design too much.

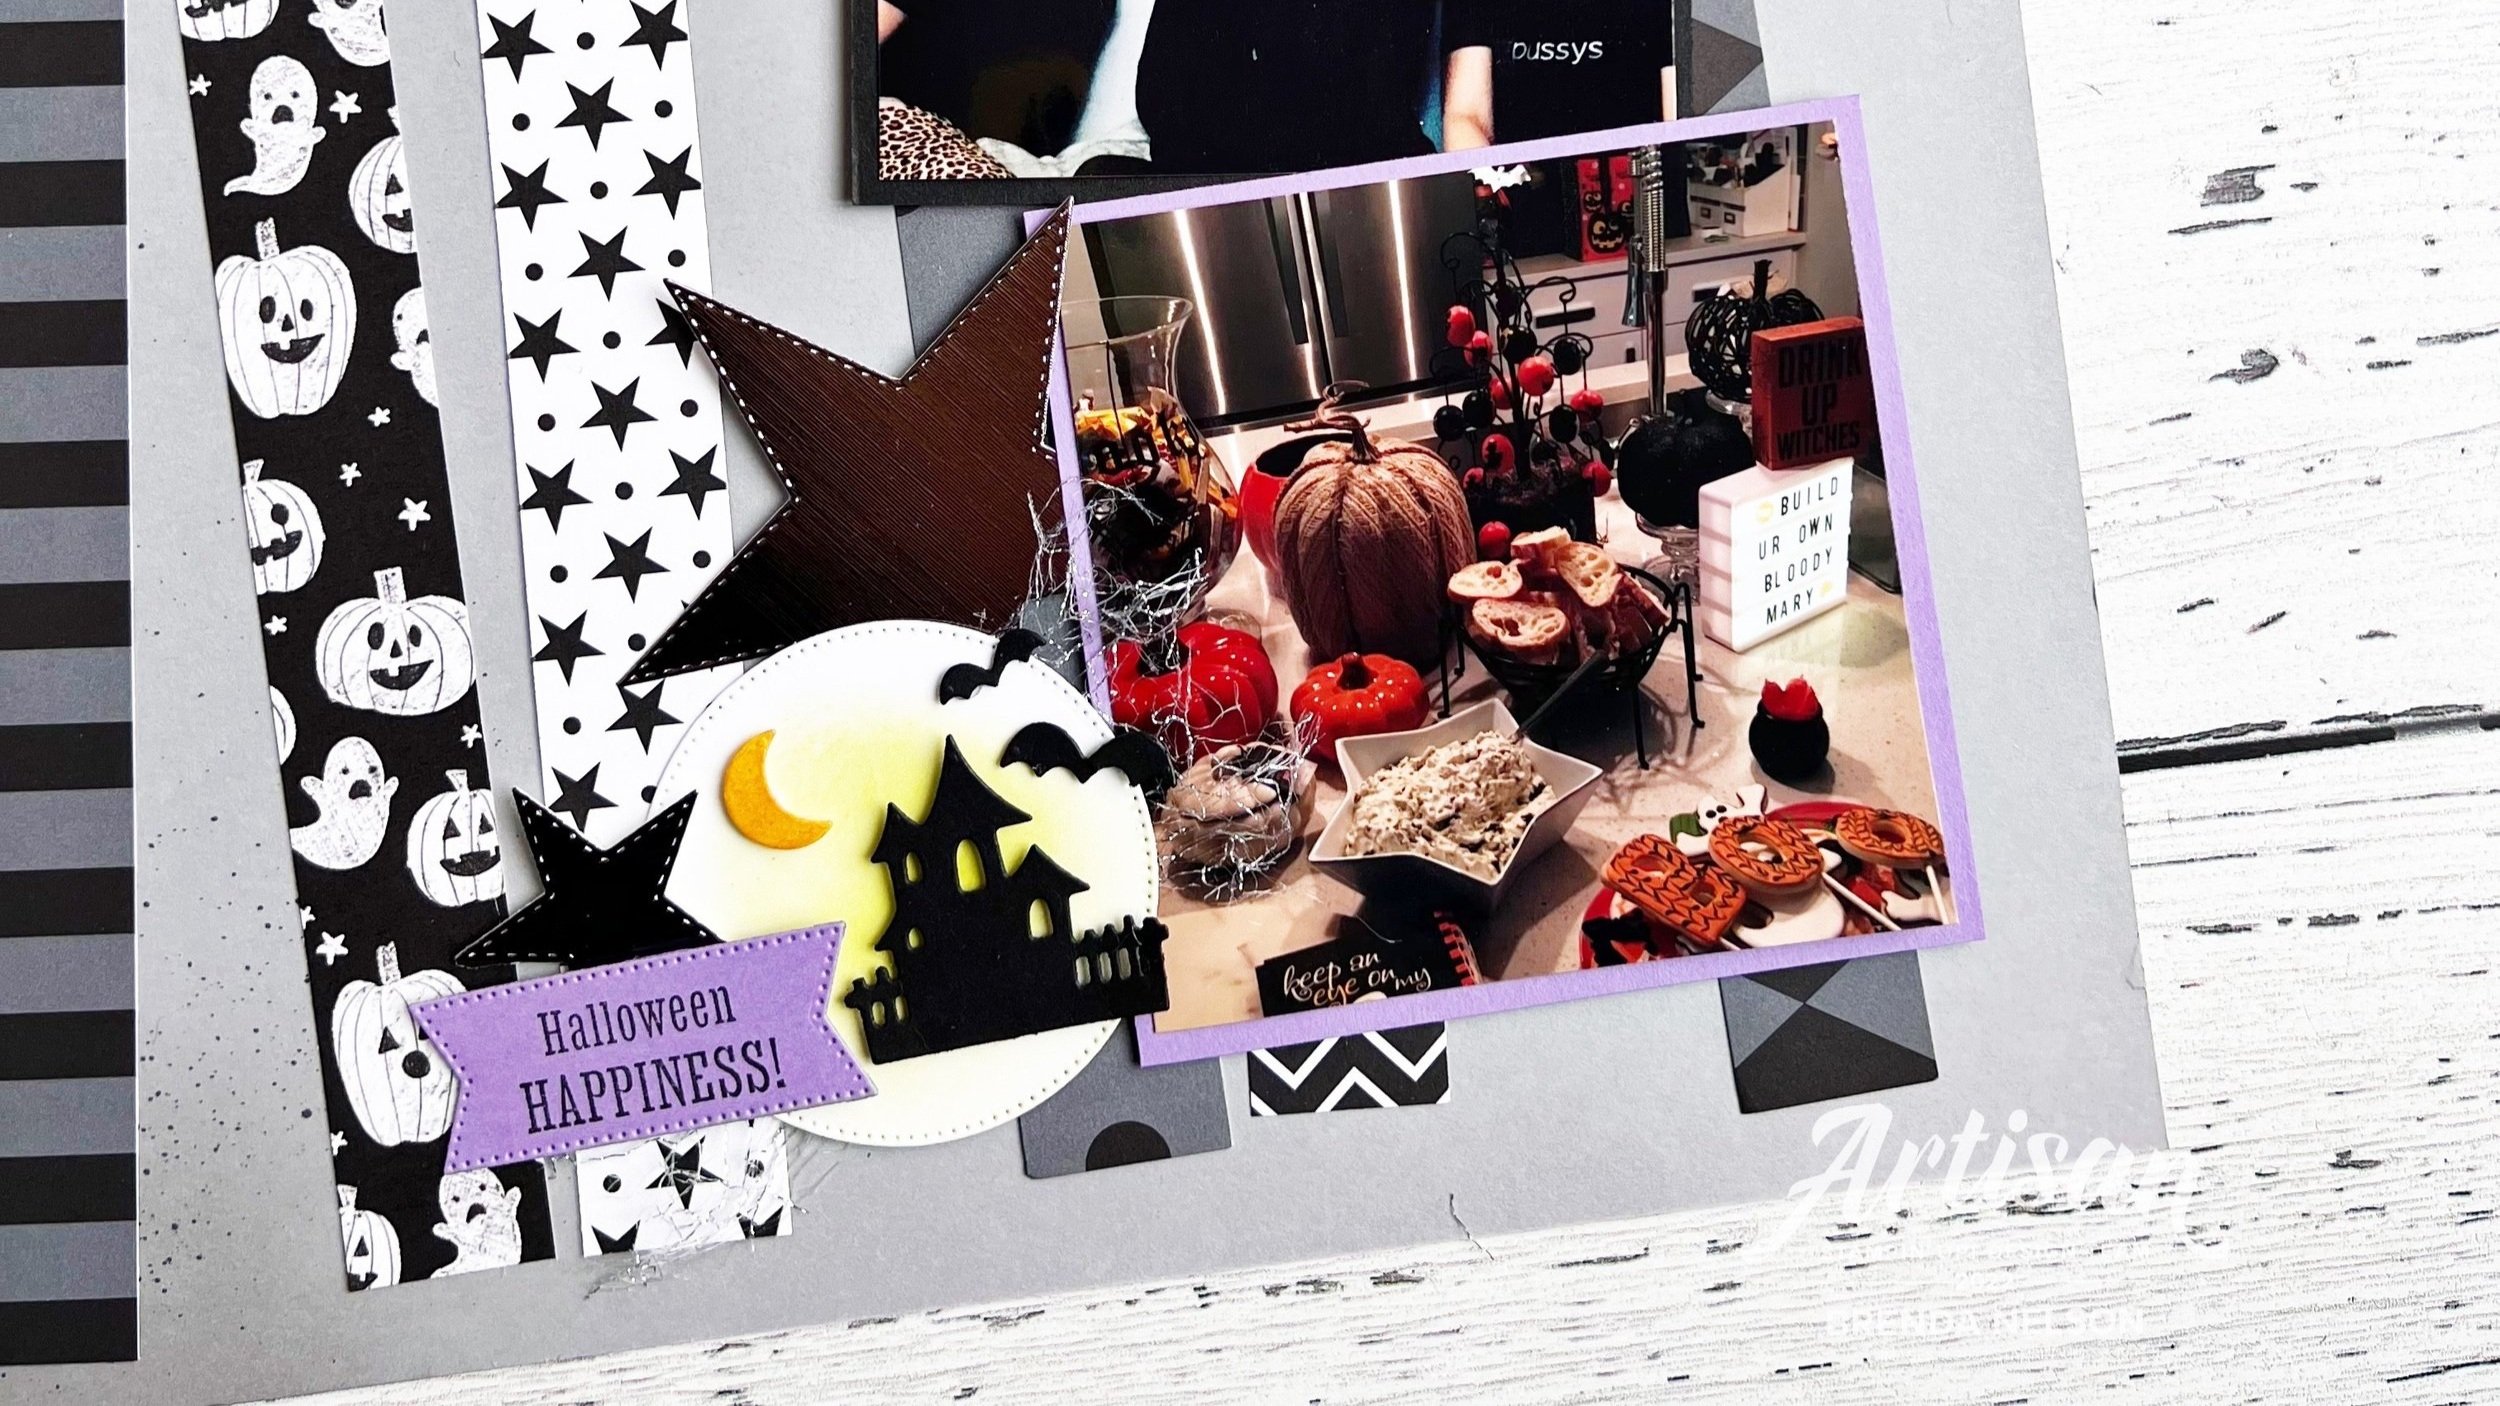
I cut a stitched circle from the Stylish Shapes Dies and then gave it a little yellow hue using my Crushed Curry ink pad and Blending Brush. The Scary Silhouette Dies were perfect for this page. I love the spooky little house, moon and bats die shapes.

Both of the sentiments on this page are from the Scary Cute stamp set and are die cut with the Stylish Shapes Dies. I added some of the Parakeet Party Ribbon and frayed the edges a bit too. A few of the Classic Matte Dots added to the design as well.

This sketch was perfect for coming up with this scrapbook page. You could switch out the elements to do a Christmas page, birthday page, a summer holiday page. There are so many options with this sketch. I hope you will give it a try!


Click the NEXT BLOG button to see what Tricia Butts from the USA has created to share with us this month. And hopefully you can go all the way around the world with us as we share creativity and inspiration from around the world!

If my project has inspired you in any way and you find yourself needing some supplies, please shop my online store by clicking any of the product images or by visiting my store!

Create with Connie and Mary-Yellow Submarine Theme!

Hello friends! Thank you for checking in this week! This week our design theme was ‘Yellow Submarine’ and I decided to create a project that features the many yellow colors that Stampin’ Up! makes. This is actually a great card design to feature any of our colors, especially our upcoming new In Colors, so you might see this design again in the future!

21DesignTeamBadge.png
final (4) 4.jpg

I started my card on a Basic White base and added a layer with a stitched star die cut. I love stars and I am happy these dies are carrying forward.

Behind this die cut is where I added strips of all the yellow colors that Stampin’ Up! makes! I started with So Saffron, then Daffodil Delight, Bumblebee, Crushed Curry and Mango Melody. Now the Mango might be controversial (is it yellow or is it orange?) but in this configuration I think that it works.

final (1) 4.jpg

The sentiment is from the Pierced Blooms stamp set and is stamped in Bumblebee ink on So Saffron card stock. I added two ribbons behind—Bumblebee Gingham and Daffodil Delight Ruched Ribbon. And a few Artistry Blooms Sequins and voila! A fun sunny yellow card!

I can’t wait to see what the other Design Team members come up using this theme. You can go BACK to see what Melissa has made and NEXT to see what Connie has created! Please feel free to comment or use my Hostess Code if you live in Canada for any of your ordering needs.

A Card a Day in December--Day #30

The end of 2020 is so near we can almost start celebrating! So of course I had to design a page layout to capture our celebrations tomorrow as we say Hello to 2021! I think this page is simple and sophisticated and won’t take you long to assemble. You can substitute any stamps that you have too as you will see that I combined retired, current and BRAND NEW stamps all on this layout with a mixture of fonts and design styles.

final (57).jpg

I designed this page on Very Vanilla 12x12 because I new that I wanted to use gold accents and Very Vanilla has a warmer tone to it. I used a photo mat of Basic Black to accommodate a future 5 x 7 photo. I can anticipate my family taking a selfie so this photo orientation supports that better.

The sentiment ‘Cheers…’ is from a retired set called Cheers to That. It is a set that I will keep in my collection as I do find that sets to do with New Years do not come around very often. It is stamped in Versamark with gold embossing powder on Very Vanilla. Behind the sentiment I added some retired black twine and some new gold hued ribbon called Fine Art Ribbon. And of course I had to add the Matte Black Dots from the Love You Always suite—love! A few glittery stars and this little section is perfect.

final (56).jpg

I wanted to use a Gold Hoop as well on my page to highlight the word Hooray. I used my Stampin’ Write Basic Black marker to highlight the word Hooray from the rest of the stamp as it is a part of a phrase. This stamp is from the You Are Amazing stamp set which is the stamp set designed to complete the You Are Amazing Project Kit.

final 2.jpg

I added a gold leaf behind the hoop which is cut from Gold Foil paper and the Forever Flourishing Dies. 2021 is cut from black glitter paper using the Playful Alphabet dies and Foam Adhesive Sheets. I really like this little vignette!

Let’s Celebrate is from the Bloom & Grow stamp set in the annual catalogue. It is also modified from its original form and is embossed with gold embossing powder and cut using the largest circle from the Circle Dies. I added a little gold metallic thread behind and a couple die cut starts from the Stitched Stars dies. Gilded Gems were the perfect accent here!

I hope you and your family have a wonderful New Years however you are celebrating and can capture a memory together!


Rainbow of Congrats!

Did you see the awesome watercoloring technique I shared yesterday on my blog? If you didn’t you need to go there right now and check it out as I used the same technique to create the stars for these Congrats cards I made for a group swap!

These cards are just so bright and fun and I know they will make whoever receives them feel even MORE AWESOME for their accomplishment!

final.jpg

I knew I wanted to play around with that water-colour technique again using a brighter color palette and I thought pairing it up with die cut stars would be a great match. The dies are called Stitched Stars and you can find them in our annual catalogue. Keeping the card background on neutral Crumb Cake I think really helps these stars jump off the page!

final.jpg

I was able to get enough stars to embellish 4 cards and each one is unique! I used Magenta Madness, Gorgeous Grape, Coastal Cabana and Mango Melody for my color palette. I think together they make an awesome rainbow inspired combo!

I also flicked Soft Suede over the background of my card too just to give it a little extra!

Now the Congrats font is from the A Grand Kid stamp set, do not overlook it because of its name! It has some really really terrific sentiments in it and you can find it on page 97 of the annual catalogue.

final.jpg

I also wanted to decorate the inside of this card too! So I added in a few more stars and a bit of Magenta Madness ribbon. I think its a fun surprise!

I hope you will give this fun technique a try! It is easy to do, I promise, and is a great way to incorporate watercoloring into your projects!

Introducing...


The NEW In Colors for 2020-2022 of course! I am sure you have seen them floating around online already! They are Misty Moonlight, Magenta Madness, Bumblebee, Cinnamon Cider, and Just Jade!

final.jpg

This card is a fabulous way to showcase these five new amazing colors! They look outstanding together and will compliment our existing lineup in an awesome way.

I used the Stitched Stars dies to cut out the front image and then layered strips of card stock behind in varying widths. I thought it was a fun way to present these colors especially paired with the sentiment “Hello Fabulous” from the Dressed to Impress stamp set, which will be in the new catalogue!

Adding in a couple couple new embellishments is also a great way to showcase the New In Colors.  I used the In Color Enamel Dots, 1/4 inch ribbon in Misty Moonlight and the 1/4 gingham ribbon in Bumblebee.  I also snuck in some Gold Metallic thread …

Adding in a couple couple new embellishments is also a great way to showcase the New In Colors. I used the In Color Enamel Dots, 1/4 inch ribbon in Misty Moonlight and the 1/4 gingham ribbon in Bumblebee. I also snuck in some Gold Metallic thread as I will use it until my last spool is gone (cue heartbreaking).


Misty Moonlight, Magenta Madness, Bumblebee, Cinnamon Cider and Just Jade—your new best friends until 2022!

Misty Moonlight, Magenta Madness, Bumblebee, Cinnamon Cider and Just Jade—your new best friends until 2022!