Pink Pumpkins and Golden Webs!

Here is a Halloween scrapbook page with a twist! Who doesn’t love the sophisticated colors of pink and gold? I decided to use them here for a unique color palette for this scrapbook page!

final (4) 6.jpg

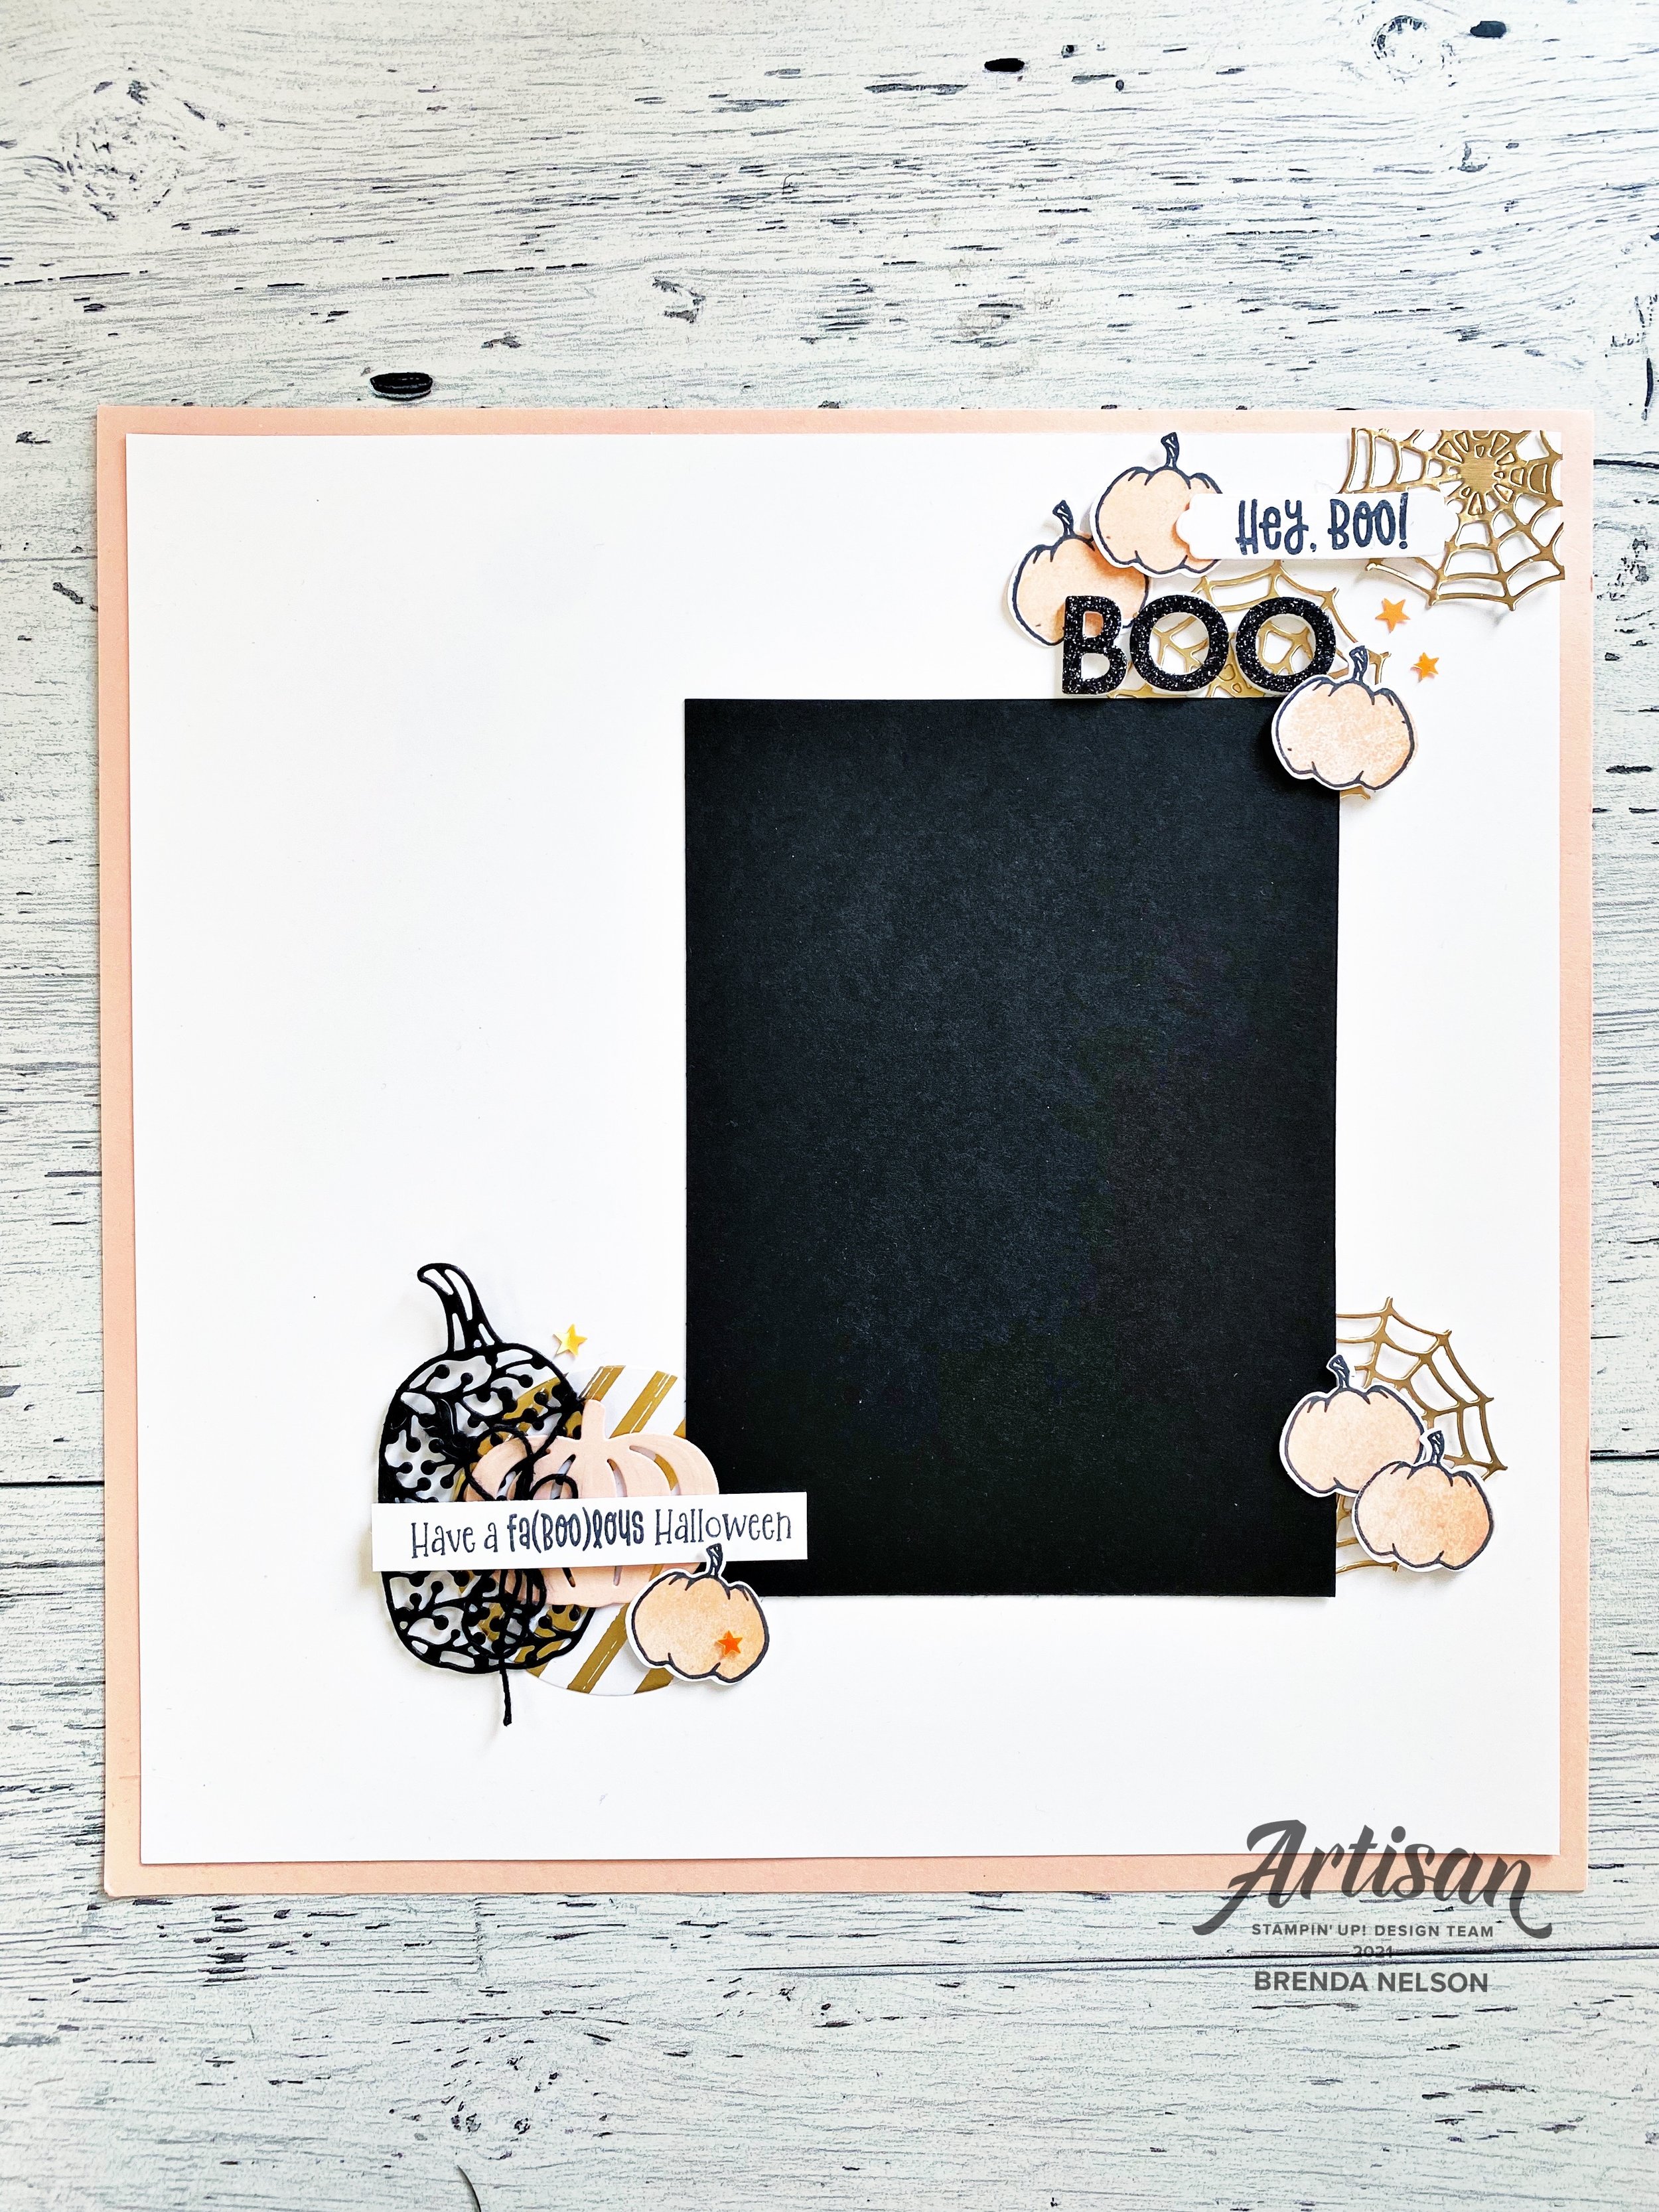
I started with a base of Petal Pink card stock in 12x12 and added a layer of Basic White over top. There is actually no background stamping on this page, which is a little unusual for me! I let amazing dies do all the work to bring this page to life!

I used the stamp set Cutest Halloween for my pink pumpkins and the sentiments “Hey Boo” and “Have a fab(boo)lous Halloween”. I thought they were the perfect sentiments for this page.


I love this fun little area or vignette on the top right of my page. I used the Brushed Metallic Cardstock and the Frightful Tags Dies to cut out the spider webs and I love that they are incomplete webs—meaning you don’t see a full web.

Hey Boo! is cut using one of the label dies from the Seasonal Labels Dies.

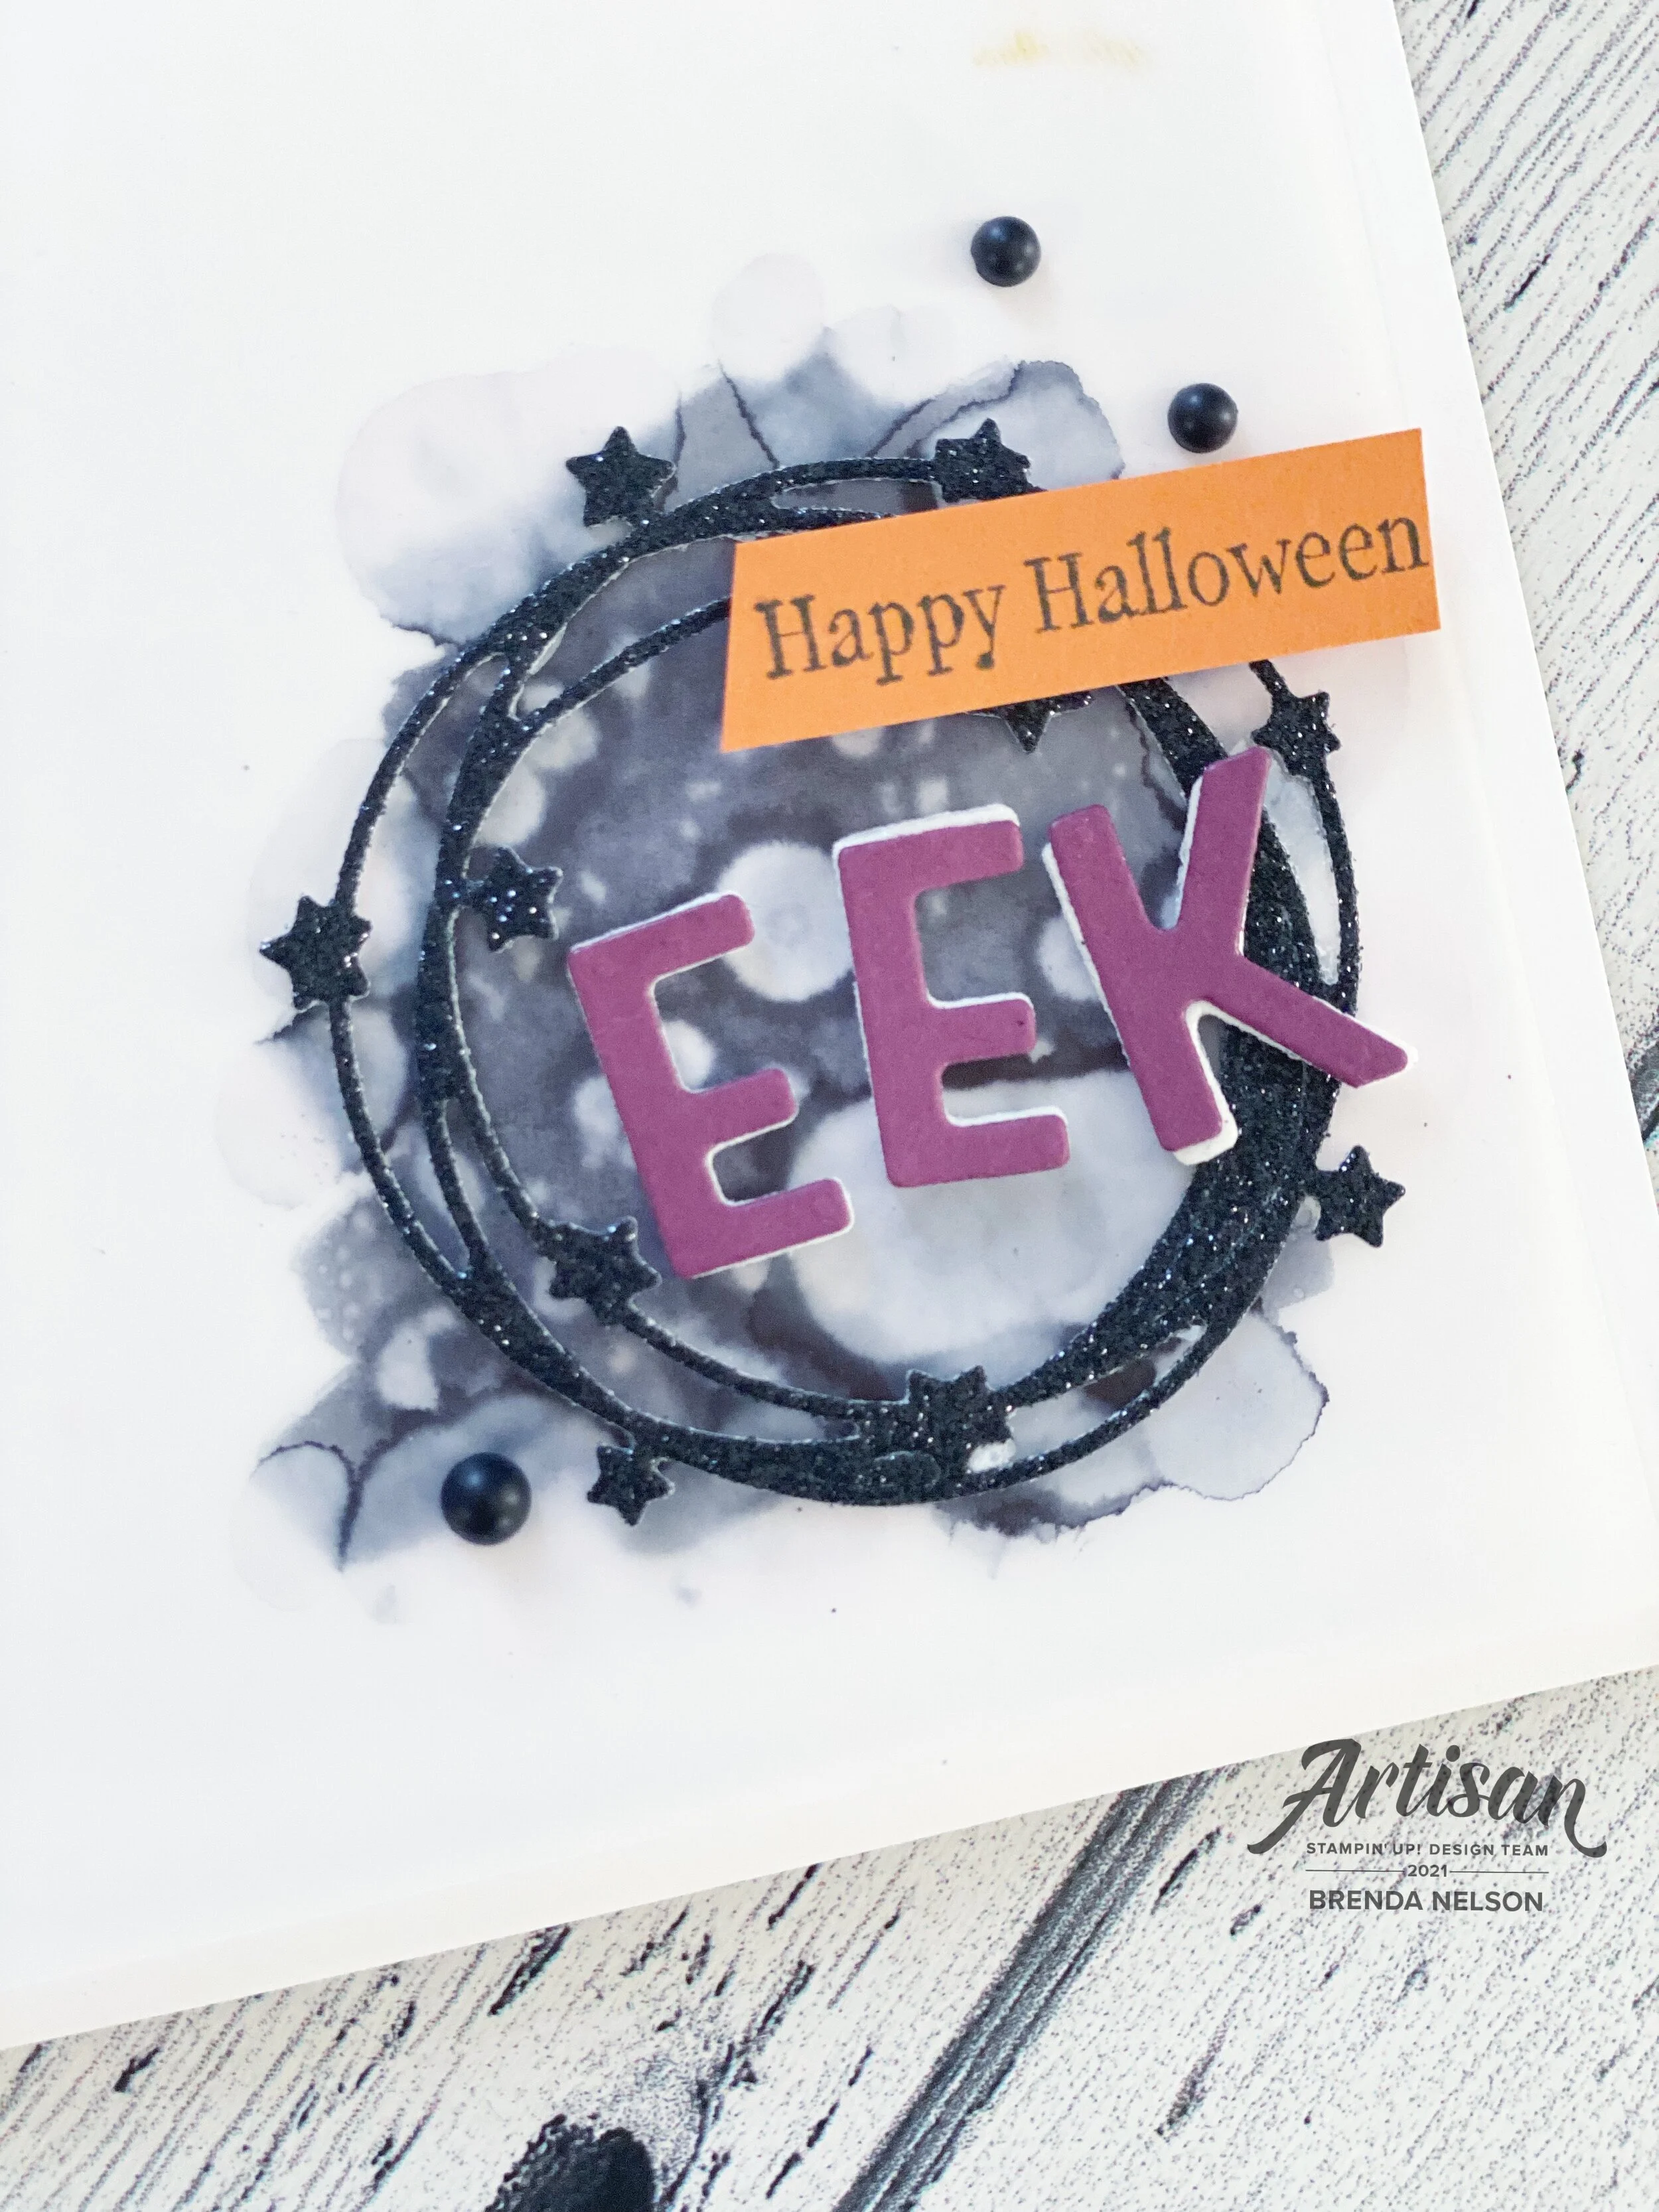
Boo is cut from our Black Glitter Paper, Foam Adhesive Sheets and the Playful Alphabet Dies.

I also added a few of the Cute Stars Adhesive-Backed Sequins as an extra fun embellishment!

final (5) 4.jpg

The pumpkin outline is stamped with Momento Ink and filled in with the Petal Pink ink. You can punch these out using the coordinating Halloween Punch! One is added flat to the page and the other two are elevated with Dimensionals. I think this whole little area has so much texture and interest to it!

final (1) 16.jpg

For this bottom left little vignette I wanted the feel of an elegant pumpkin patch. I started with a large circle but from the Expressions in Ink Designer Series Paper and layered pumpkins from the Detailed Pumpkins Dies in Basic Black and Petal Pink. Of course you want to tie in elements on your page together so I used another stamped pumpkin and some of the Cute Stars embellishments again.

The sentiment also has some black twine from the Bakers Twine Essentials Pack behind it as well. Have you noticed I love me some twine?

final (4) 6.jpg

I hope this page inspires you to create a scrapbook page with colors that you don’t normally associate with Halloween! I absolutely LOVE how it turned out and I can’t wait to add a picture to this page after this years festivities!

If my design has inspired you, please consider shopping with me if you live in Canada! I would love to keep doing what I love!

Skull Shaker Card

I love a good shaker card, but what I love even MORE is an EASY shaker card and this one delivers on both!

To make this EASY shaker card you will need one of our clear envelopes found in the Annual Catalogue. They are self sealing but I do add some tape to the back as you will need to fold over the edges a bit. The clear envelope is designed to fit a regular card so you can see how it is folded a bit smaller. Some tape on the back works perfectly when you get to that step!

The base of this card is Highland Heather and has Basic Black layer that is 4 x 5 1/4.

The ‘shaker’ layer is Grey Granite. I stamped the skull faces from the Cute Halloween set along with some little spiders.

 
final (5) 3.jpg

The stamp set has two different faces that you can stamp for the skull as well. I stamped them randomly in the background in the matching ink color along with some spiders. Once you have this piece stamped you are going to slip it into the clear envelope. Set it aside for now as you will need to make your filler!

You can really use whatever you like for a shaker card. For this one here I used some skulls that were stamped on Basic White and hand trimmed. I stamped a few Candy Corn as well (from the Cute Halloween Set) and added some Subtle Shimmer Sequins. Once you have added all of this to the clear envelope you will want to seal it up. Make sure you leave a little air so that things can shake around. If its too tight of a seal things won’t really move around freely.

final (5) 3.jpg

Every card needs a sentiment so I added ‘Hey, Boo!’ from the Cute Halloween set. I stamped a few Candy Corns in Pumpkin Pie ink on the same color of card stock and then used the Layering Circle Dies to cut it out along with a scallop circle in Highland Heather.

I layered a bit of the Black & White Gingham in between the layers too—since its such a fun ribbon! See wasn’t this easy to create? I really love this simple style of shaker cards!

If anything has inspired you to make a purchase I would love your support if you live in Canada. You can shop directly with my store by clicking this button!

EEK! Happy Halloween!

Following up on my post from Wednesday, here is another look at that amazing technique with our Stampin’ Blends and Isopropyl alcohol!

final (28) 2.jpg

For this card I started with a base of Basic White. I used the same technique, coloring a squiggle with my Basic Black Stampin’ Blend marker in the bottom right corner of the vellum. Remember, you need vellum for this cool technique to work.

I added a few light droplets of the Isopropyl alcohol to this area and let it work its magic!

final (1) 13.jpg

I cut a glittery star wreath using the Seasonal Swirls Dies and added to my Stampin’ Blend area with a few Glue Dots. I cut out EEK from Rich Razzleberry card stock using the Playful Alphabet Dies and the Foam Adhesive Sheets.

Happy Halloween can be found in the Frightfully Cute stamp set and is stamped with Momento Black Ink on Pumpkin Pie card stock.

A few Matte Black Dots and this fun Halloween card is complete!

I really hope you will give this technique a try! Its super fun and easy!

If you are in Canada and are inspired by any of my Halloween projects, please consider shopping with me! I would love to be able to keep doing what I love, which is stampin’ in my stretchy pants!

It's all about the Boo's...

Did you see my earlier post post about the alcohol blending technique? I shared a fun way to use three different colors to create a fun background. For this option using the Stampin’ Blends and Isopropyl Alcohol I am just using one color to help create a fun focal point.

final (9) 6.jpg

To create this look you will need a Basic Black Stampin’ Blend marker (or one singular color of your choice) plus vellum (which is the key paper for this technique).

I started by coloring a section about 2 - 2 1/2 inches wide on the bottom right corner of the vellum with my Basic Black Stampin’ Blend. I then used an old Aqua Painter with some rubbing alcohol to drop little dots on top of where I colored. It ends up creating a really cool unique.

I used the Seasonal Swirls Dies to cut out a sparkly star wreath to layer over top of my Basic Black alcohol area. I cut out “BOO” from Paper Pumpkin card stock using the Playful Alphabet Dies. The letters are cut out a second time using the Foam Adhesive Sheets. It is such an easy way to pop the whole letter up on your project. The Granny Apple Green pumpkin is also from the Seasonal Swirls Dies. I added a few extra stars to my project using the Cute Stars Adhesive Backed Sequins!

Once I had this vellum panel complete I layered it over top of some DSP from the Cute Halloween collection. I love how the vellum softens the DSP and how spooktacular the alcohol technique looks on top of the DSP too. The base of the card is Basic Black.

I hope this card also inspires you to play around with this alcohol Stampin’ Blends technique. Its so fun and you can create some really terrific backgrounds that are all unique!

final (1) 9.jpg

Eyeball Jam, in a Jar of Course!

Who doesn’t love a jar of eye balls? Only in October though right? I couldn’t resist finding some fun things to put into our Jam Jars for Halloween. And it is actually surprising how much you can fit into one of these little jars!

final (21) 3.jpg

Let’s talk about the jar first! Once I had filled it with my eyeball jam, I decided to cover the lid with some DSP from the Cute Halloween 6x6 DSP stack in the polkadot pattern. This pattern allowed me to introduce a variety of colors into this project as well. I add the topper to the jar with Tombow Adhesives so it was really sealed down.

“Witch Way to the Candy” is from the Frightfully Cute stamp set. I just love a good play on words, don’t you? I stamped the sentiment in White Craft Ink and embossed it with White Embossing Powder on Basic Black cardstock.

I added some of the Black & White gingham ribbon around the lid of the jar. I colored it with the Old Olive Stampin’ Blends! So easy and fun!

I wanted my jar to be in a little holder so I created a really easy box bottom——

After making the little box for the Jam Jar to sit in, I added a second back piece to give me an area or surface to add in a sentiment. I attached this to the inside back of the box with Tear & Tape so it was really secure. I covered this panel with another print from the Cute Halloween DSP. I love all of the different fonts of the ‘boo’ printed on this DSP.

final (21) 3.jpg

I leaned into my trusty spiderweb again—seriously, I have gotten my money’s worth from the Frightful Tags Dies!! This time, I cut it from Highland Heather cardstock.

The sentiment, Happy Haunting, is stamped in Old Olive ink and is from the Banner Year stamp set. The little webs are from the same stamp set and are stamped with Smoky Slate ink with a marker spray of Calypso Coral over top! Behind the sentiment I added some Black twine from the Bakers Twine Essentials Package. Both the stamp set and twine are in our Annual Catalogue. The spooky bat is also from this stamp set and needs to be hand trimmed. A mini Black Dimensional fit perfectly behind the bat to add it to the web.

Now, this happy spider is from the Cutest Halloween stamp set and he also fits a mini Black Dimensional behind his body!

final (41).jpg

I think this project would make such a cute gift for a teacher or a coworker who loves Halloween! It can sit on their desk like a bit of a display piece until their willpower gives out and they need to eat their eyeball jam!