Be Inspired Blog Hop--Sale a Bration 2024!

Hi friends! Welcome to the Be Inspired Blog Hop for January! We are all sharing some project inspiration featuring Sale a bration items. Now, if you have been a Stampin’ Up! fan for a while, would you agree with. me that this is one of our BEST Sale a bration offerings EVER! I am loving the variety of things we can choose for FREE!

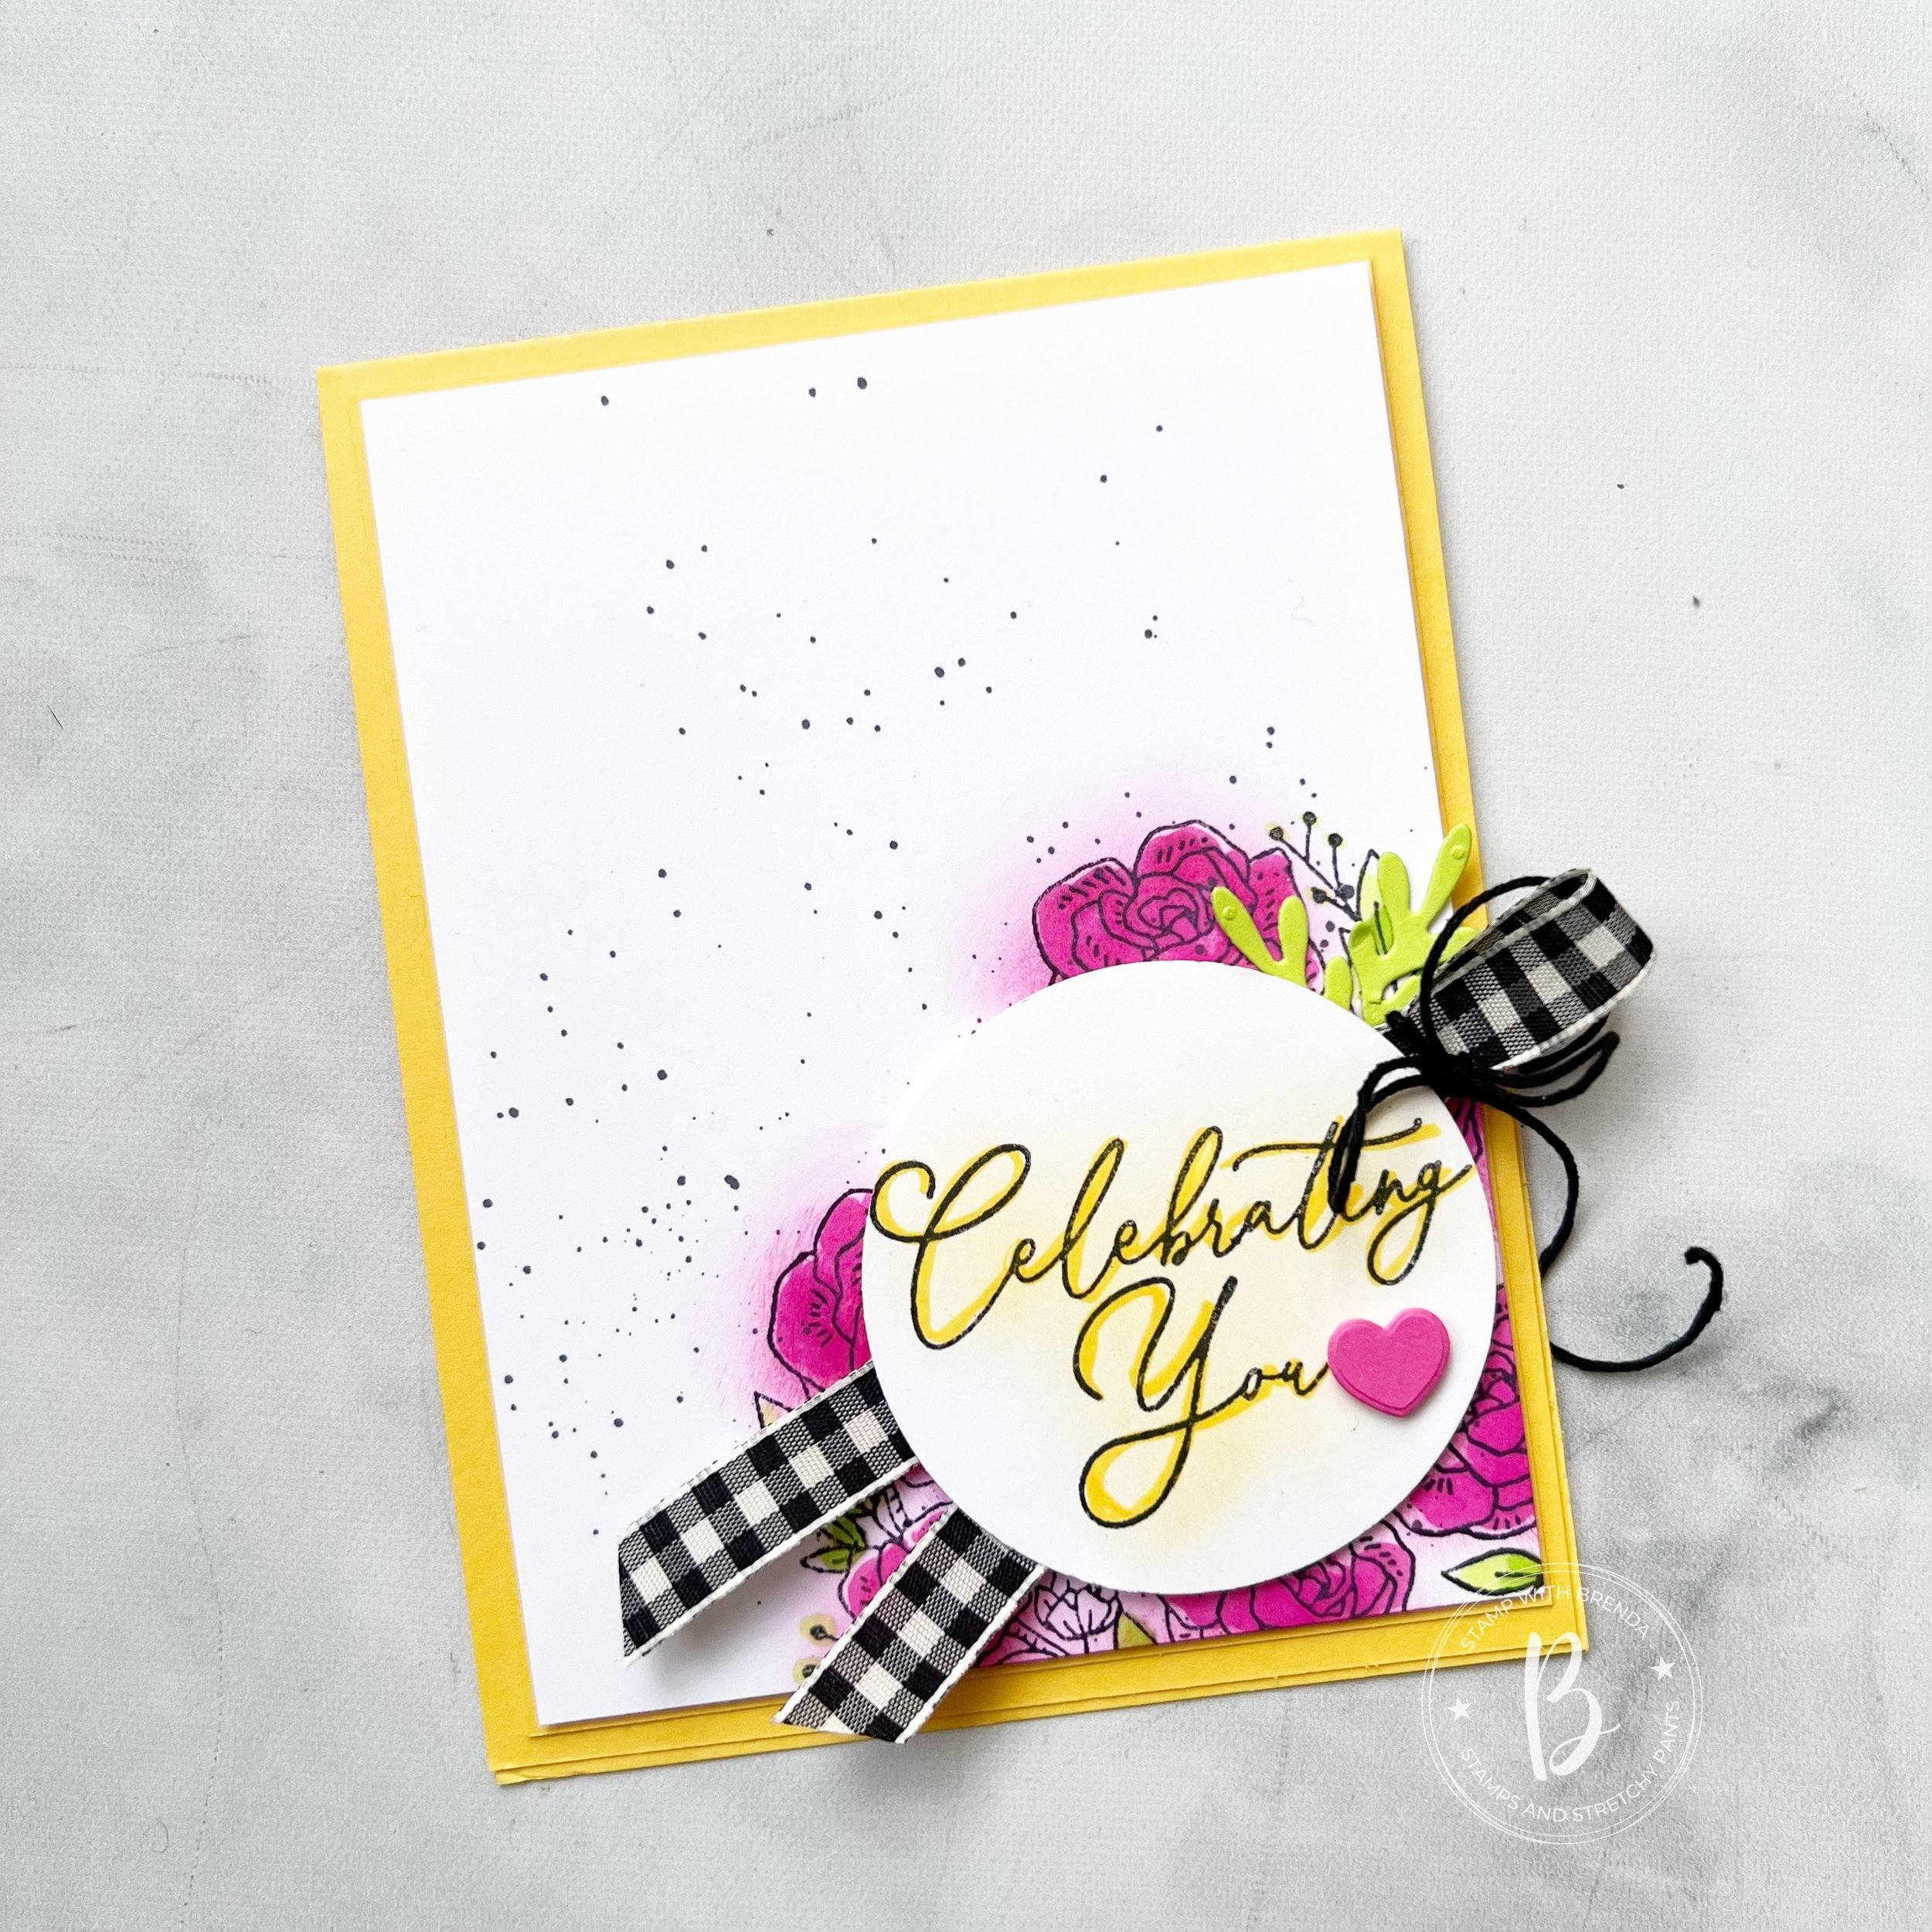
Valentine’s Day is a really fun day around our house. I host a ‘pink dinner’ for my kids and even though they are teens, I still spoil them with fun valentine’s gifts. Of course, I also love to make a fun place setting treat for them for our pink dinner and the Most Adored 12x12 paper was perfect for creating some fun little treat boxes to dress up our table.

I used the Square Pillow Box and left the top flap open to create a fun little box to stick in a box of chocolates. Both the box and chocolates are wrapped in the Most Adored 12x12 paper in the two heart patterns in the DSP. Having the box left open creates a fun opportunity to stuff it full of fun Valentine’s treats and other stuff (I will probably add some gift cards or cold hard cash inside for my teens). Top off the box or add filler around your treat with some paper shreddie that you can easily pick up at most box stores in the party isle.

I love how simply keeping the box open creates the opportunity to stick in fun treats like this wrapped sleeve of chocolates. The sentiment on the box is die cut with the Everyday Details Dies which I am just loving at the moment! I didn’t even get the stamp set, I just got the Dies!

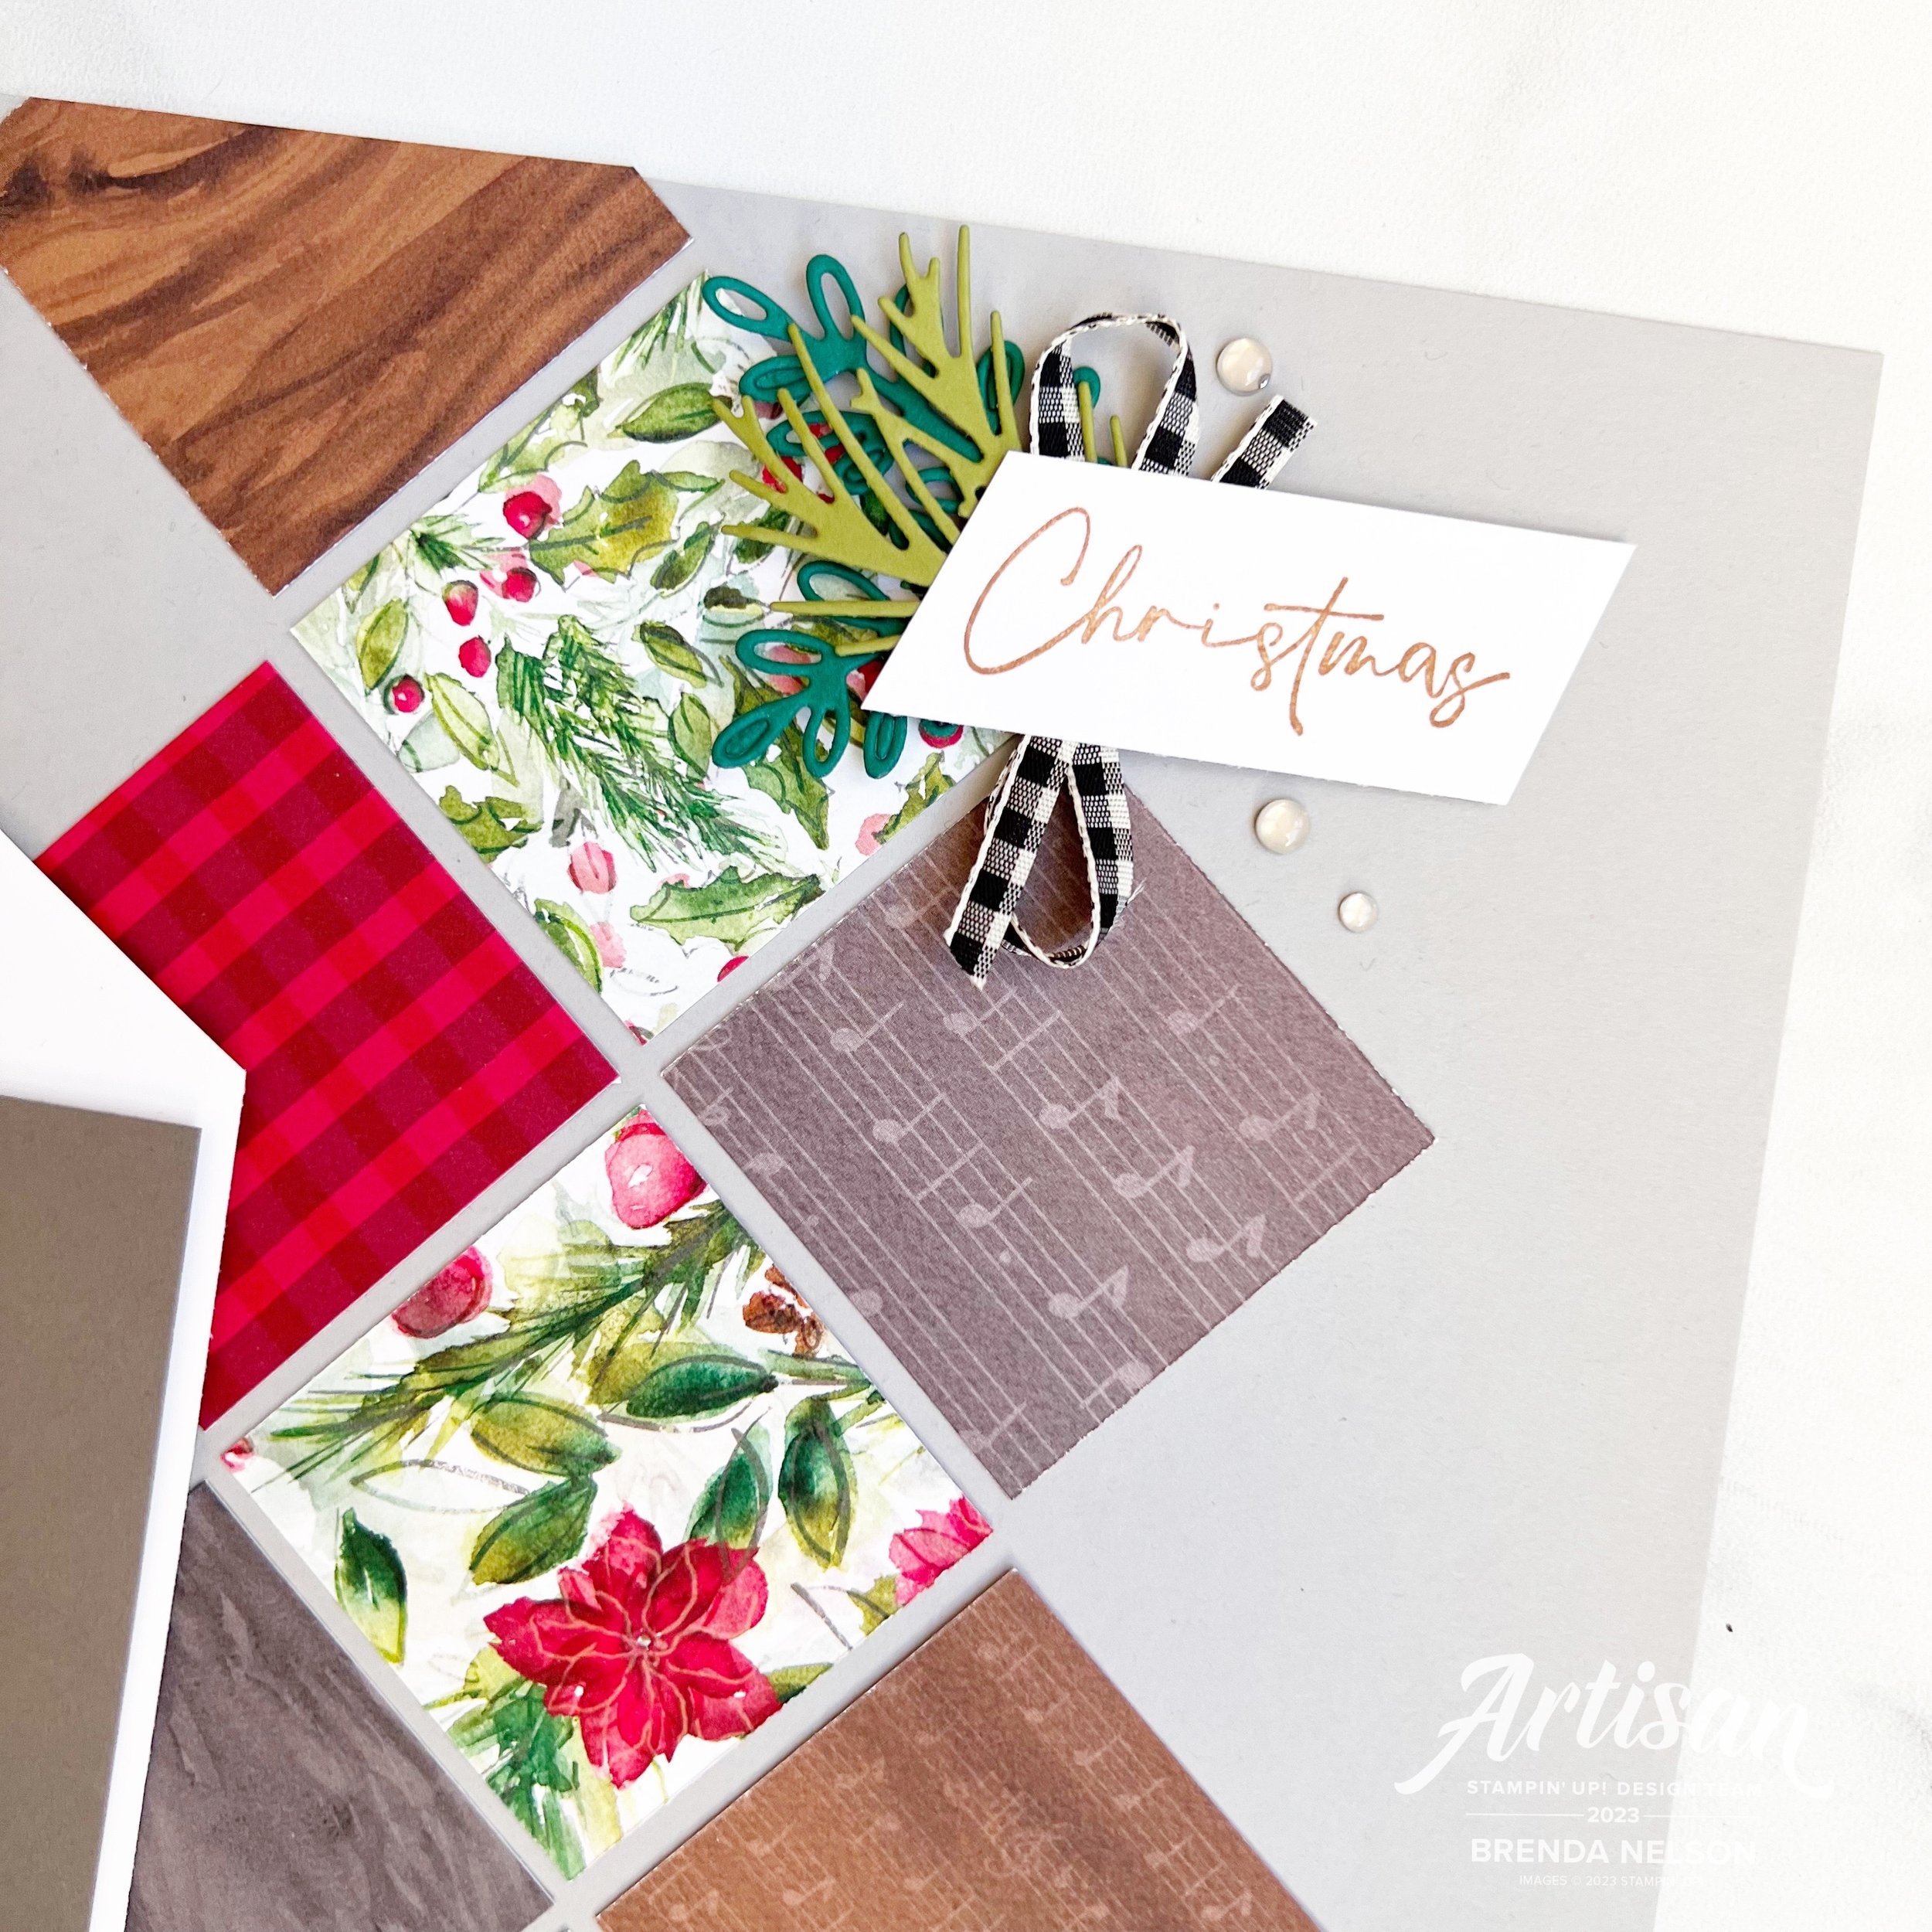
Using the Black& White Gingham ribbon on both projects helps unite the two projects. And the Heartfelt Hellos was a perfect set to add to these projects. A couple cute little foil hearts also add a special touch—you can find them in the Adorning Hearts Dies.

I hope this project inspires you to create some fun easy Valentine’s projects for the special people in your life too using just a few supplies—two of which you can get for FREE during Sale a bration 2024!

I can’t wait to see what new Artisan Design Team member Maheswari has created to share with us! You can see her project by clicking the image below, and of course visit the entire hop to be inspired on how you can craft with the 2024 Sale a bration collection!

If my project has inspired you, you can shop by Online Store by clicking any photo or using the Host Code shared on the side of my blog. Your support helps me keep ‘loving what I do’ and I appreciate you!

Occasions Catalogue Inspiration Project!

Well here we are—2024, a new year and a new fun Occasions Catalogue to inspire us! I thought it would be fun to share a project that I recently created to share at my Birthday Cupcakes & Cards class as it used a bundle that I would say is a true ‘Brenda Bundle’!

This bundle is called the Hooray for Surprises Bundle and is found on page 13 of the new Occasions catalogue! It was one of the first things I purchased from this catalogue.

I started with a base of Pool Party—one of my all time favorite colors, including a first layer that I ran through the 3D basics embossing folder (this is an online exclusive product). This folder is one of my absolute favorites, I use it alot!

I stamped the large flower in three colors—Fresh Freesia, Coastal Cabana and Flirty Flamingo. There is a die in the matching set to cut these out.


The sprigs are a fun die that cuts out two connected pieces, this make them perfect to tuck in as accents. I used Lemon Lime Twist card stock for these.

I die cut a Pool Party and a Lemon Lolly flower and added a small circle of Basic White card stock behind the centers. These are also popped up on Mini Dimensionals

The sentiment is also from the Hooray for Happiness set and I stamped it in Fresh Freesia with a little Linen Thread tied in a bow on the left.

The Pool Party embellishments are a FREE Sale-a-bration reward—the Opaque Faceted Gems—I love when we can pick a free embellishment!

And lastly, to complete my little garden of flowers—I added a little Lemon Lolly flower that I die cut from the Bright Skies Dies.

I hope this card makes you as happy as it makes me and gives you some great inspiration!

You can shop my Online Store by clicking the button below or any product image —or use the Host Code on my main menu! Your support allows me to keep doing what I love!

Color Fusers--January 2024!

Welcome to 2024! It is hard to believe it is the start of an new crafty year, and of course a new year means NEW stamp sets, Designer Series Papers and color combinations!

This month our design team is creating projects with Parakeet Party, Daffodil Delight and Melon Mambo! What a bright cheery combo to kick of the new year!

I was in the mood to make a card this month and of course I knew I wanted to play around with a new stamp set. I decided to use the new Adoring Hearts Bundle to design my project.

I started with a base and first layer of Daffodil Delight. I also used this color over top of my sentiment. The Adoring Hearts stamp set has some really beautiful script fonts. I used my Blending Brush with Daffodil Delight lightly over top of the script and then took my Stampin’ Write Marker to trace over the script. It is a really easy way to help your sentiment come to life. The little heart beside the sentiment is from the Adoring Hearts Dies—-these dies are full of hearts!

The background of the card is actually my favorite aspect!

I stamped the large floral image from the set a few times using Memento Ink in the bottom right corner. I used my Melon Mambo and a Blending Brush over top of the flowers—this is a great way to create a ‘color halo’ over a stamped image. I did add some more color with my Melon Mambo blend, however I didn’t want the blooms to look perfect. Hence, the initial layer with the Blending Brush.

I colored the leaves with my Parakeet Party Blend and added a few little die cut sprigs.

I also flicked my Black Stampin’ Blend marker over the background of the card to take away the ‘white’.

Honestly, in my opinion, there isn’t a project that the Black & Very Vanilla Gingham ribbon can not make better! Haha! It looks great with everything, especially this card with a little black Baker’s Twine tied in a bow.

I hope you like this project are inspired to give the Adoring Hearts Bundle a try! It is so much more than just a ‘Valentine’s Set’ ! Don’t be fooled by that one sentiment in the set!

Up next on our Hop is Melissa Kerman! Melissa is actually the one who keeps us on in check each month, and I am grateful for her reminders and patience with us (we know who we are! hahaha!). I can’t wait to see what she has designed for her first project of 2024~

If you need to go backwards or if something happens to our links, you can check out my fellow Canadian friend, Kim McGillis (she is also a former Artisan Design Team member as well!)

As always, thank you for stopping by my blog, following me on Instagram and Facebook @stampwithbrenda

Please consider shopping my online store so I can continue to do what I love! Please keep in mind that the Adoring Hearts Bundle cannot be ordered until the Occasions Catalogue goes live on January 4th (what a great birthday gift to me!)

Color Fusers--December!

Hello friends! Welcome to the Color Fusers Blog Hop! I am really excited to let you know we have some new friends joining our monthly hop which means you will have even MORE fantastic projects to inspired you with a new color combination each month!

This month we are created with Pool Party, Orchid Oasis and Fresh Freesia. Now I will be the first to admit, I have not been using Orchid Oasis as much as I should ESPECIALLY after realizing how freaking awesome this color combo is!

As you may know, I love to scrapbook and this color combo was too fun to not try as a page layout—especially a holiday page layout! Who says this color scheme can’t be for Christmas?

I started with a base of Orchid Oasis and added a 4 x 12 strip of some retired Fresh Freesia DSP. I am really leaning into using this I have that are retired with stuff that is NEW so that I can encourage my own customers to use their stash AND pair it up with things they may have just purchased.

I also decided to use the Stars at Night Bundle for this page as I have had it for a while and it hadn’t really touched any ink! I love the big star burst in the background of the page!

My photo mats are in Pool Party and are also horizontal, which honestly, is not typical for me! But they work perfectly this direction so that I can have ‘Oh What Fun’ as the focal point for my page. The sentiment was really inspired by this fun color combo!

I cut the letters out with the Alphabet A La Mode dies and the Foam Adhesive Sheets. While the letters were still nestled in the Foam sheets, I used a Blending Brush with Pool Party ink over the bottom portion of the letters. I really love this look and its so easy to create two toned or even ombre colored letters for your projects.

I die cut a variety of the other star shapes with the dies in Orchid Oasis and Fresh Freesia. Some of the dies also emboss and then a couple of the solid shapes I ran through the 3D Basics Embossing Folder to give them a bit of texture.

I also used a couple sentiments from the stamp set, but I cut them up to make them feel different and I am really pleased with how they help tell the story of this page.

The Ombre Matte Decorative Dots are also perfect because they are offered in this collection of In Colors and a little tab of the Herringbone Ribbon (both from the Annual Catalogue) are awesome additions to the overall design of the page.

I really hope this page sparks some joy in you—it does for me! And I can’t wait to see what the rest of the crew has designed for you!

Up next is Sue Vine and I know you will be amazing by what she is sharing with us this month. Click on the image below to go directly to her blog!

You can always go backwards and you will be visiting my friend Melanie Hockin—Melanie and I just finished a 12 Days of Christmas Blog Hop between the two of us which was lots of fun as well!

And of course, if you are needing any supplies, click any image to shop my store below!

Be Inspired Blog Hop-Holiday Time!

Hi friends! Welcome to the Be Inspired Blog Hop! We have added some new members to our monthly Blog Hop and I am so excited! So make sure you go and visit all of the wonderful projects being shared and leave us some happy comments!

The theme for our Hop this month is HOLIDAY TIME and of course that meant that I had to share something Christmas related in the form of a scrapbook page. As much as I love to make cards, I really do love to scrapbook as my first passion.

When thinking of Christmas I was thinking of gift tags so I decided to make an oversized gift tag as a photo mat, and I am so happy with how it turned out!

I cut my standard 4 1/4 x 6 1/4 photo mat in Pebbled Path—this color choice was a direct result of the Joy of Christmas DSP—I LOVE this paper! I love the unconventional use of grey and brown tones in with classic Christmas colors.

I cut the tag portion of my photo mat after gluing the Pebbled Path layer to some Basic White. I added a scallop border to the bottom with Real Red and some Black & Very Vanilla Gingham ribbon to the top portion.

I used the Classic Christmas Dies to add in ‘ Season’s Greetings’, stamped in Pecan Pie ink. I used the large image from the Joy of Noel stamp set, to add some background stamping in Smoky Slate at is the base of my scrapbook layout.

I cut a variety of 2x2 squares of the Joy of Christmas DSP to add in a diamond format to the base of my page. This is such a good way to highlight and incorporate DSP into your page designs.

It also gave my another opportunity to add a sentiment and I decided to focus on ‘Christmas’ also stamped in Pecan Pie ink for continuity. Some greenery in behind in Shaded Spruce and Old Olive helps tie in the color scheme found in the DSP.

I used a little more gingham ribbon behind both sentiments as well so that everything feels connected on the page.

I love how this page is a mix of modern with the grey tones and traditional with the red and greens. Its one of my favorite scrapbook pages I have made lately and I can’t wait to add a holiday photo to it!

I am so excited to see what the rest of the Be Inspired Blog Hop team has created with our theme of ‘Holiday Time’!

You can get to Janneke’s project by clicking the link below!

If my project has inspired you, please consider shopping my online store! You can do so by clicking any image below!